
Locked the moment after the main quest Life After Life and the victory over the Defect Chimera, The Beast Within is one of the first quests that plunges you into the night horrors’ clutches. You will be tracking the print of an unseen beast as you are pursued by the terrifying Volatiles.
Since Volatiles are invincible at the moment in the story, the best advice is just to run, don’t fight. This guide takes each step apart so you’ll know exactly what to do.
Finding the Beast’s Traces
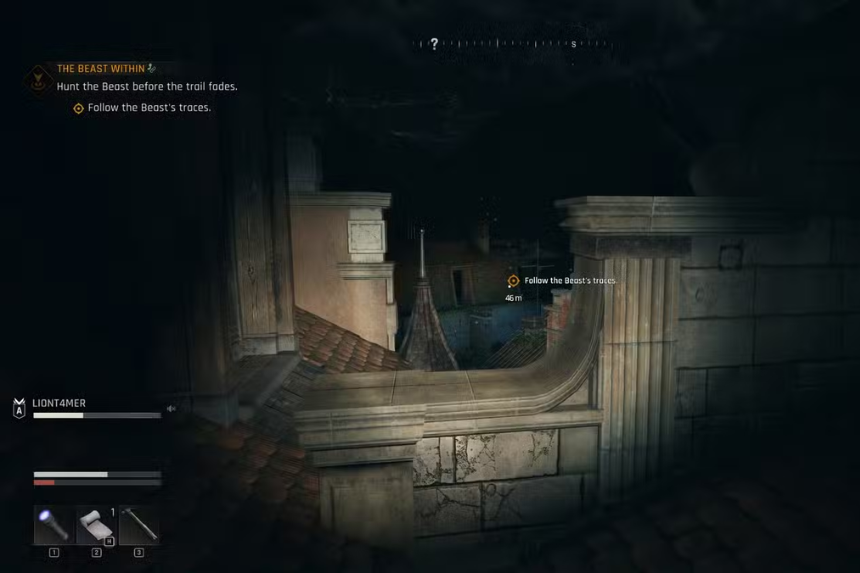
Start from the Town Hall and flee through the window on the top floor. The quest marker will lead you to the first corpse, as well as give you your initial Volatile encounter. Keep at a distance and follow the footsteps of the Beast with Survivor Sense.
If you are caught, don’t worry—just head back to the Town Hall, where UV lights around the entrance will keep Volatiles away. Keep close to the quest marker and follow the trail until you hear a boom. The marker will update its position.
Investigating the Explosion Site
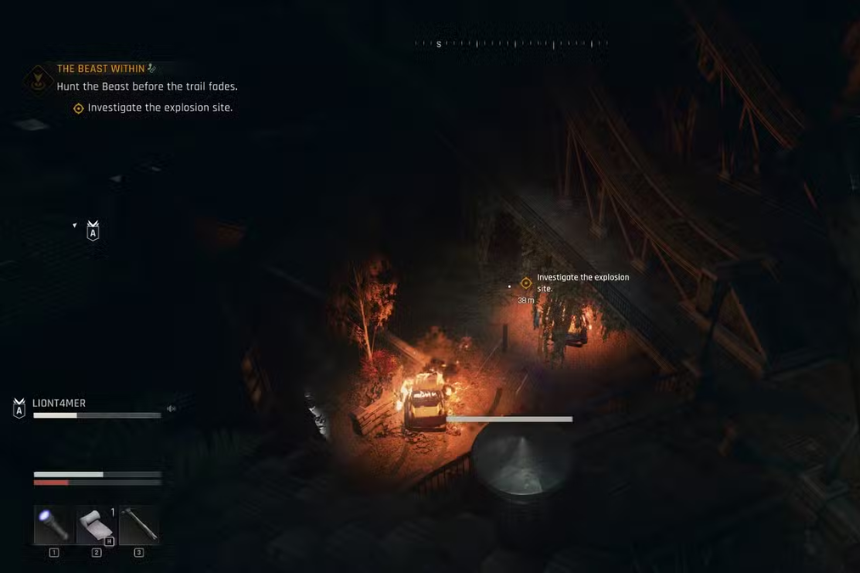
Since you’re farther from the Town Hall now, you can no longer rely on its UV protection. Take care and approach, since Volatiles roam at night here.
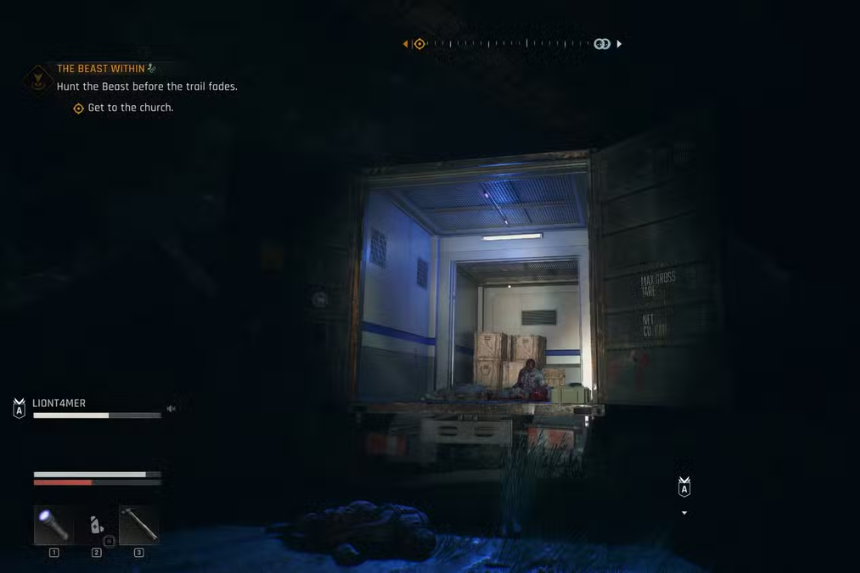
The area is full of Biters, but you don’t need to battle them. Approach the container truck in front of the burning car. There, you’ll start a cutscene and learn about your next destination.
Before you exit, loot the truck—it contains fuel, ammo, and a Cartel SMG, which is extremely useful for future missions.
Arrival at the Church
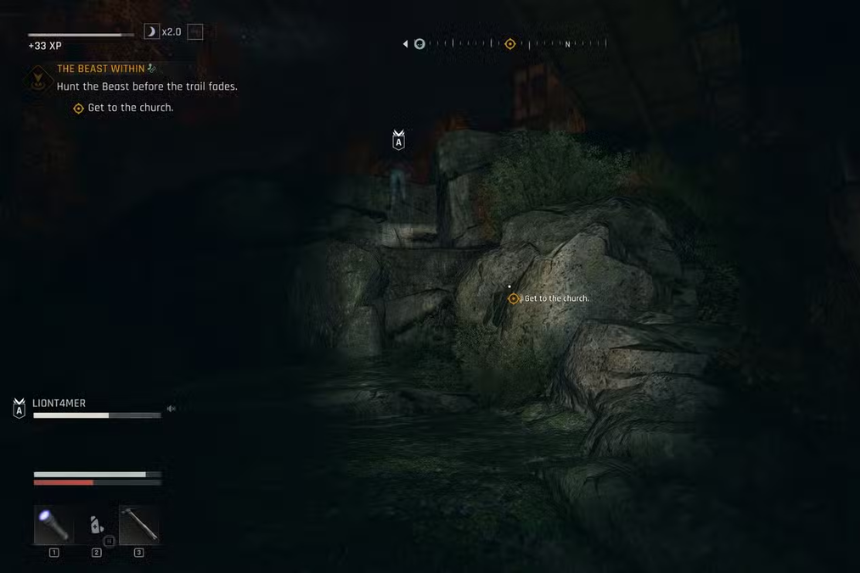
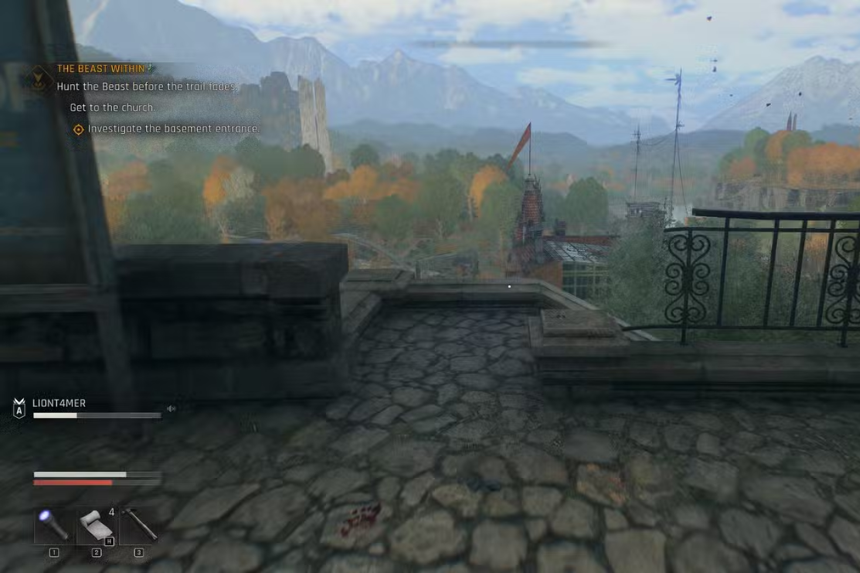
The way to the Church is one of the riskiest parts of the mission. If you are being chased by Volatiles, don’t turn anywhere—just turn straight for the main gate, which is filled with UV lights. To be in the light will keep you safe even outside.
The front door is locked, so take the stairs leading downward to the underground entrance. Look for a hole on the right side, crawl through, and follow the passage.
You’ll eventually reach an open chamber filled with Biters. Fighting them is risky, so sneak around and move directly toward the main hall.
Climbing the Tower
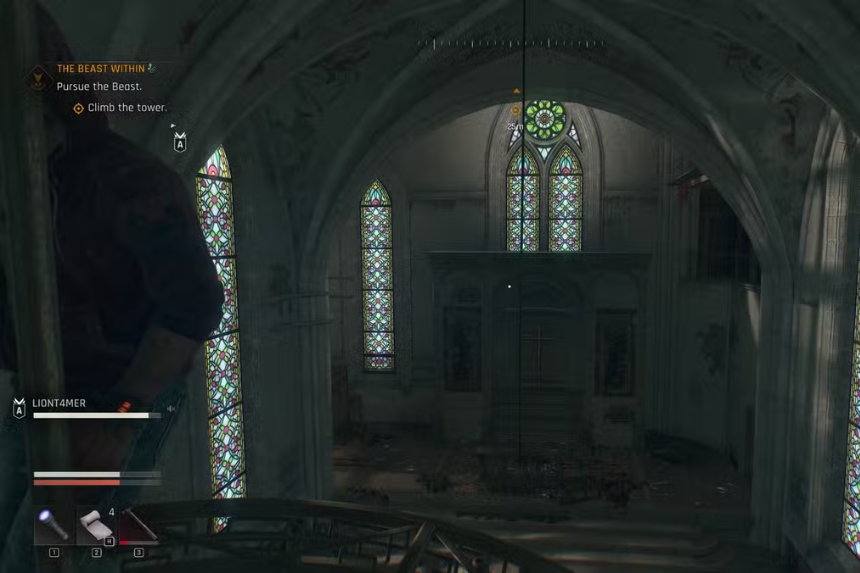
Parkour is the showstopper of the spot. From the altar, look to the left and climb the scaffolding. Grab the ledges, slide on, and pull yourself up onto the other platform. Drop the ladder so you have a backup path in case you fail.
Jump on the chandelier, swing from the rope, and climb higher towards the altar. There’s a tiny loot room also hidden underneath if you can spare the time to take a shortcut.
Keep climbing the ledges on the wall until you reach the top of the church tower.
The Train Tunnel and the Beast
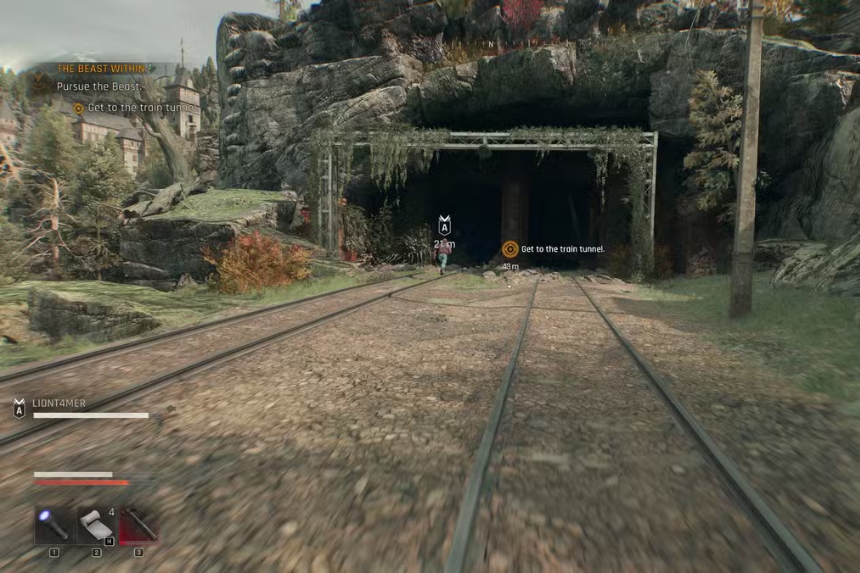
Since it’s daytime now, you will not have to deal with Volatiles. Quickly travel via ziplines towards the train tunnel, collecting loot occasionally but staying away from hostile rebels.
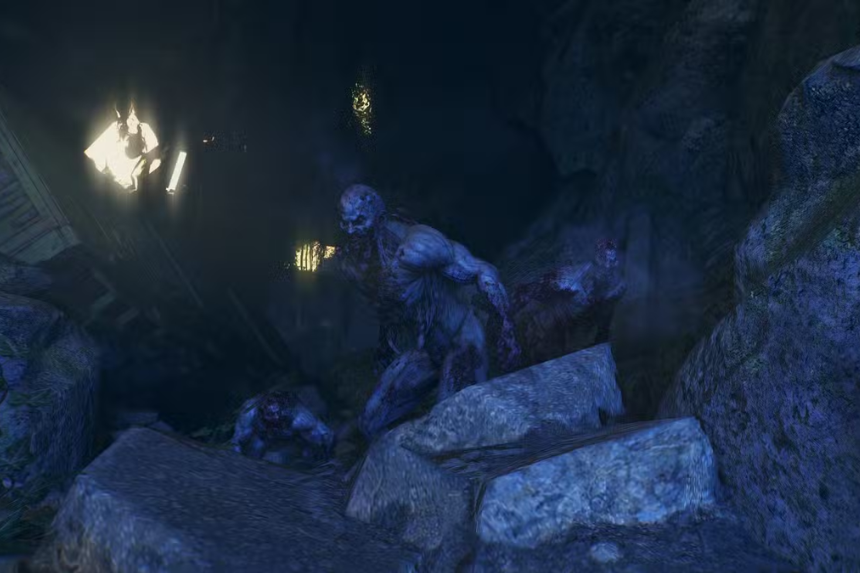
Inside the tunnel, the path is mostly linear, but check side rooms for valuables. Eventually, you’ll face a Brute surrounded by Biters. To survive, defeat enemies quickly to charge your Beast Gauge, then activate Beast Mode to overpower the Brute.
Afterward, open the train doors, clear remaining Biters, and push forward.
Escaping the Tunnels
Just when you think it’s over, Volatiles appear—even during the day. The last bit is a frantic rush. Don’t stop for loot or fighting; go straight for the marker, chaining parkour moves when you need to.
If you get there safely, the quest completes.
Quest Rewards
Successfully completing The Beast Within rewards:
- +10,000 XP
- +500 Old World Money
- Co-op Lootpack (if completed in co-op)