
Highlights
- This puzzle requires you to extinguish all six torches spread across different rooms.
- There is no specific sequence required to explore and clear the room to solve the puzzle.
- Once you collect all the stones, go back to the Oasis to continue the story and solve the puzzle.
The Hidden Pyramid Puzzle in Dragon Quest 7 Reimagined is one of the early dungeon puzzles that can confuse players due to its mechanics. This area requires both exploration and finding different stones to solve the puzzle. The stones are hidden across different basement levels inside the pyramid. In this guide, we will walk you through all the stone locations of the Hidden Pyramid Puzzle in Dragon Quest 7 Reimagined.
All Stone Locations in Hidden Pyramid Puzzle
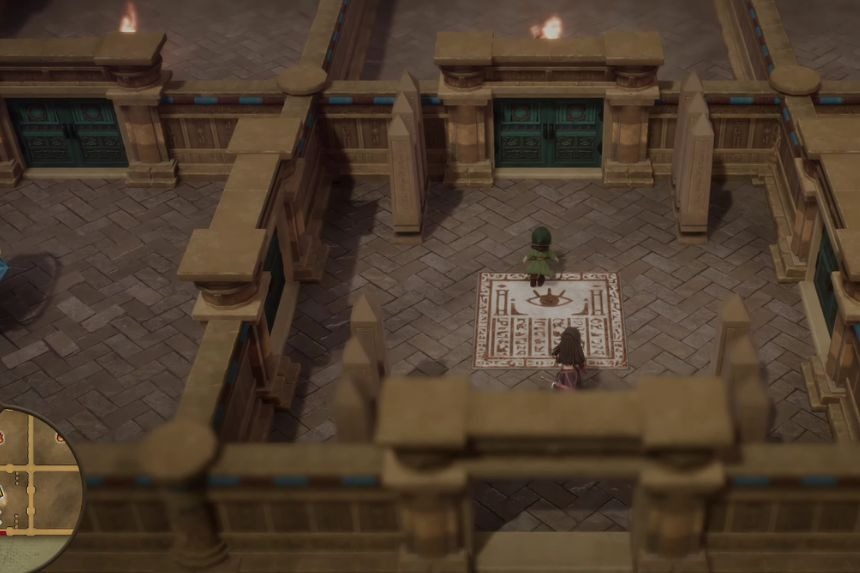
When you enter the Hidden Pyramid, you will reach a large puzzle room, and in the middle, you will see 6 burning torches. To solve the puzzle, go through the whole room and put out every torch. You can do this in any order, and the area will get darker as you extinguish them. Once all the torches are extinguished, go to the centre room to collect the Eye Stones.
How to Get the Mouth Stone
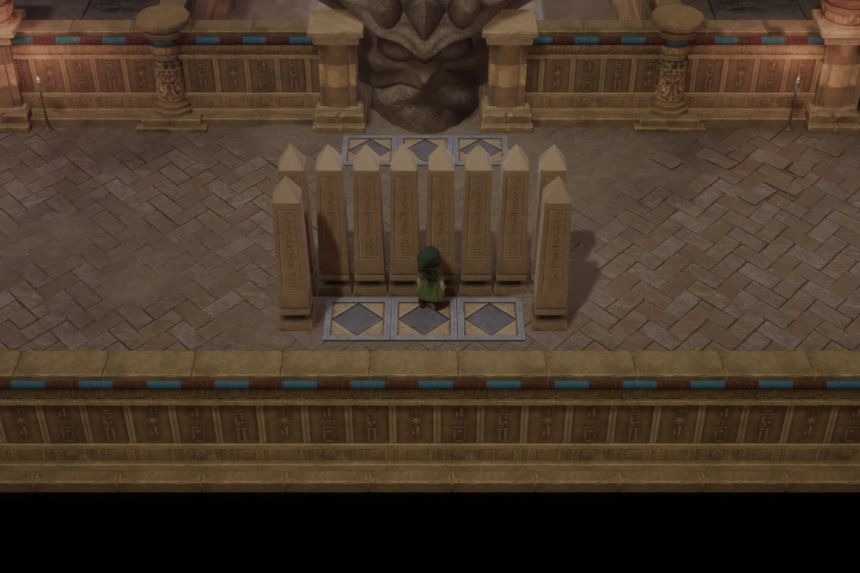
Use the ladder to go down to the basement level 2. You will see a big stone face blocking the way to the Mouth Stone. To solve this, hide behind the nearby barrier and stand still for a short time. After a few seconds, the stone face will lift up, letting you pass and get the Mouth Stone.
How to Get the Heart Stone and Turn It into the Ear Stone
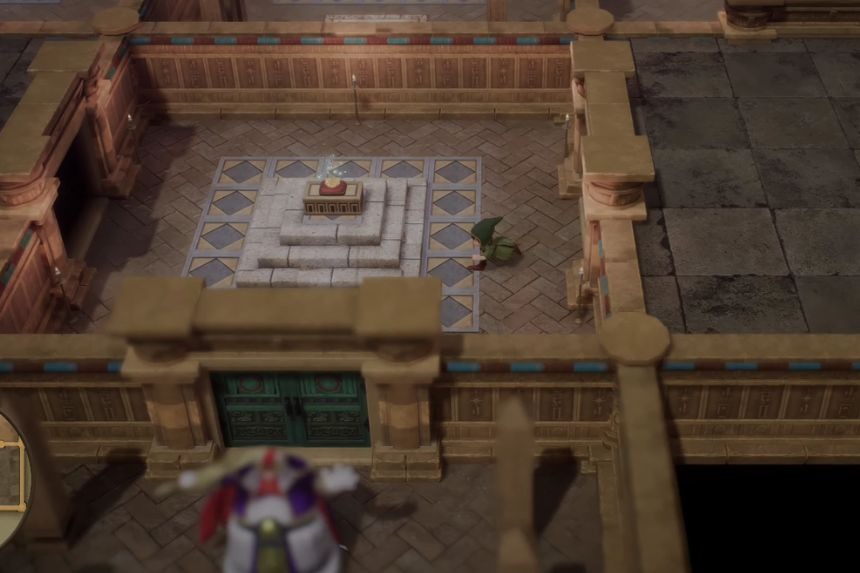
Jump down the hall to reach the assessment level 3. The Heart Stone is on the pedestal, so just walk up to it and collect it. After picking it up, open your inventory and examine the heart stone again. You will get the option to split it. Do this to turn it into the Ear Stone.
How to Find the Nose Stone

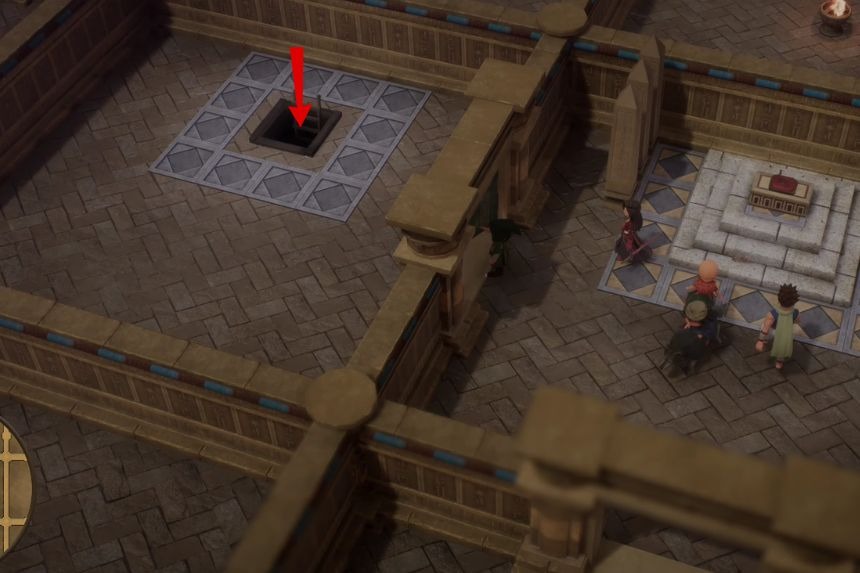
Jump down another hole to the basement level 4. Step on the tiles just north of the clue tile. This will let you fall into the area where you will find the Nose Stone. Collect it and step on the circular panel to teleport back to level 1.
Once you have all the stones, leave the pyramid and go back to the Oasis.
FAQs
- How can you cross the big stone face which is blocking the Mouth Stone?
- To cross the big stone face, you need to hide behind the nearby barrier, stay still and don’t move forward for a few seconds. The stone face will automatically open.
- What will happen after you collect all the stones?
- After collecting all the stones you need to return to the Oasis. This will complete the puzzle and you can continue the main quest.
- Is the Hidden Pyramid Puzzle difficult to solve?
- The Hidden Pyramid puzzle is confusing for the players, but the puzzle mechanics are simple if you know how to do them. You need to explore the area to find all the stones.