
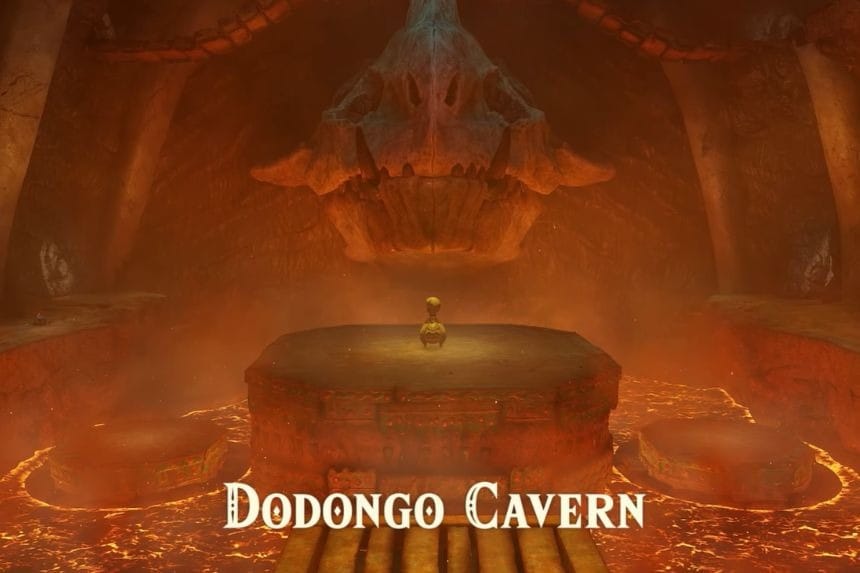
The Dodongo Cavern in The Legend of Zelda: Ocarina of Time Remake includes a lot of obstacles which can be hard to overcome. In this guide, we have covered everything you’ll need to know for going through the dungeon with as much as possible.
Dodongo Cavern Walkthrough
How to Unlock Dodongo Cavern
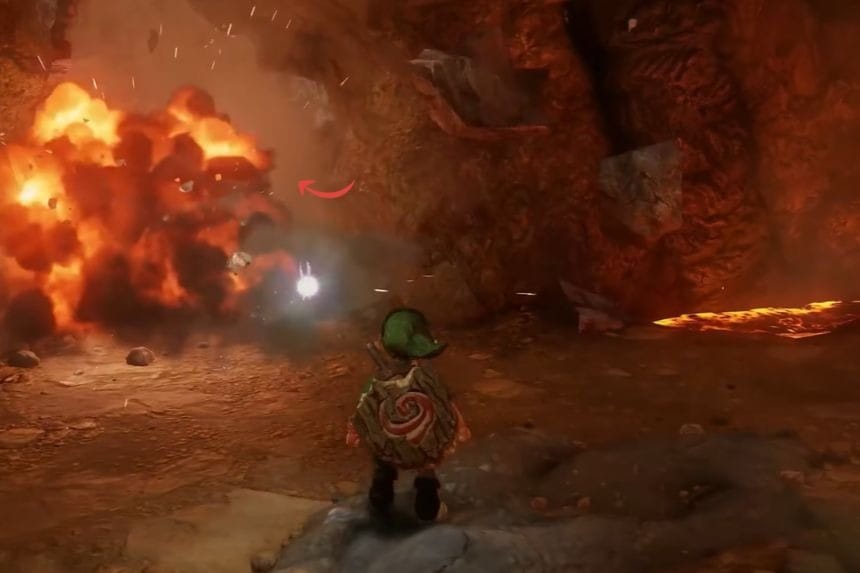
Prior to going into the dungeon, make sure you get the Goron Bracelet from Darunia while playing Saria’s Song in Goron City. Exit the city and grab a Bomb Flower near the entrance, where you can throw it over the fence to hit the large stone blocking the cave entrance.
Main Hall: Opening the First Passage
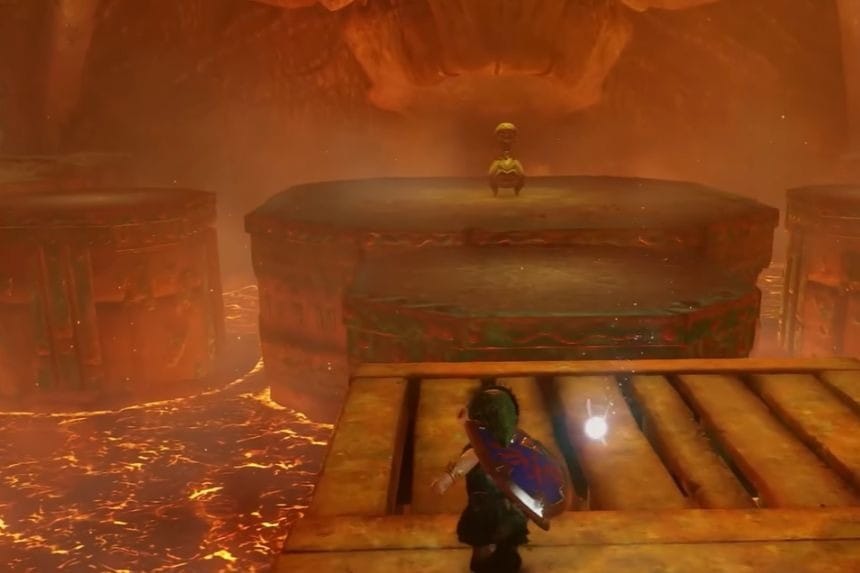
Within the cave, use a Bomb Flower to break through the broken wall. This leads to the Main Hall where you will find lava, platforms, a huge Dodongo skull, and a stone tablet giving you clues to a hidden route.
Dungeon Map: Western Main Hall

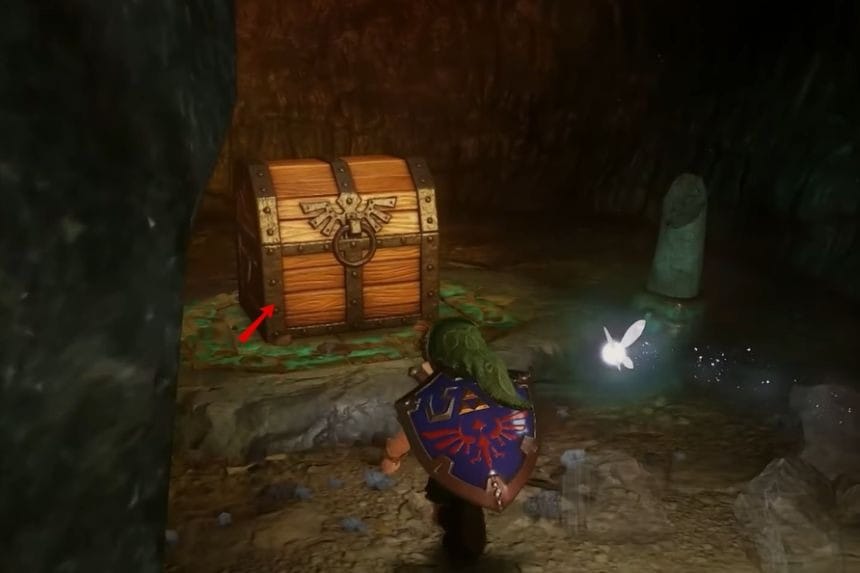
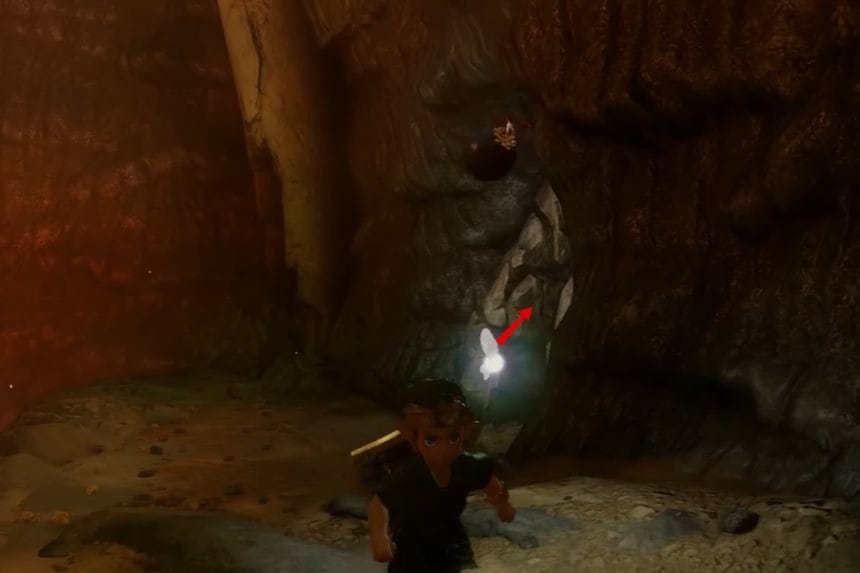
Proceed across the platforms until you reach the west side of the Main Hall and break down the wall using the Bomb Flowers to open the two rooms where you’ll find the Dungeon Map and Blue Rupee.
Gossip Stone: Eastern Main Hall
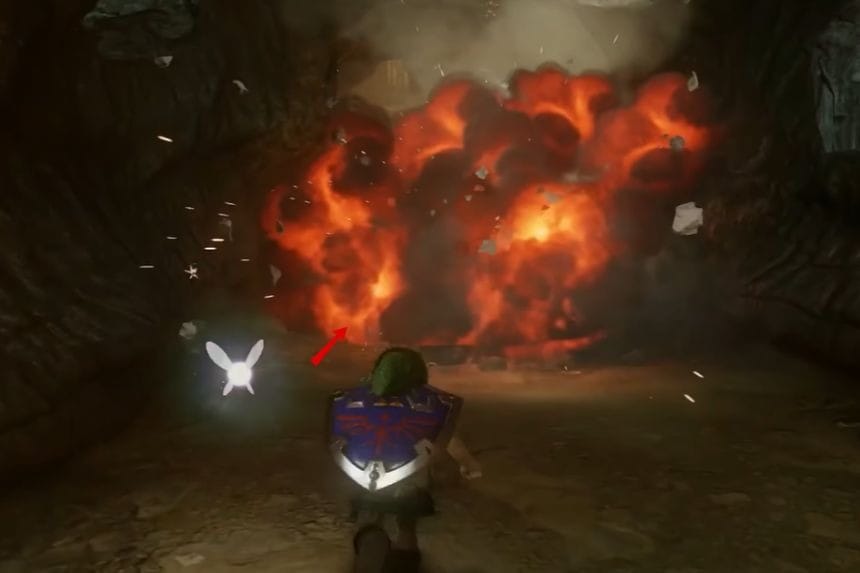
Now, go to the east side and destroy the cracked wall that is next to the entrance to find a Gossip Stone. Then go through the passage to get to the next section.
Beamos Encounter

In the first lava chamber, players will find Beamos, enemies equipped with lasers that shoot from their eyes. Ordinary attacks will not work against the Beamos, so using Bomb Flowers from afar is the only option available.
Gold Skulltula #1: Baby Dodongo Hallway
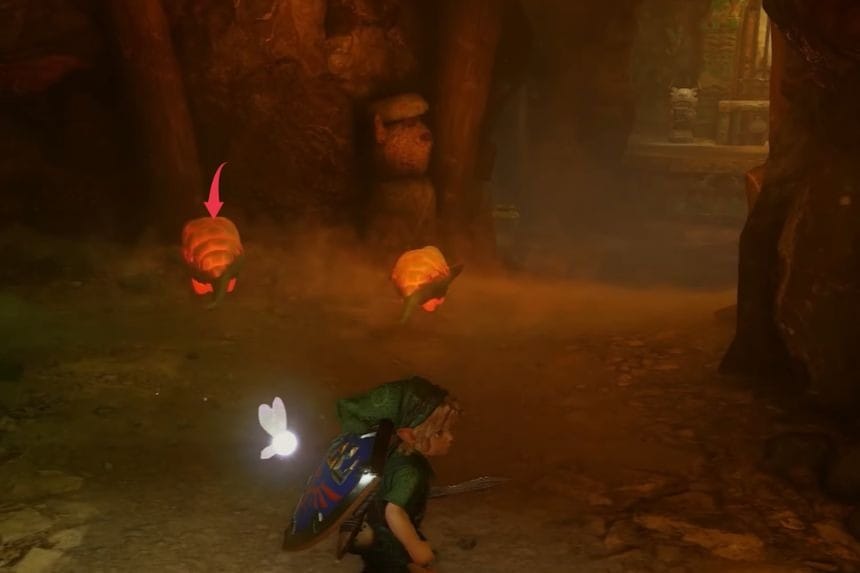
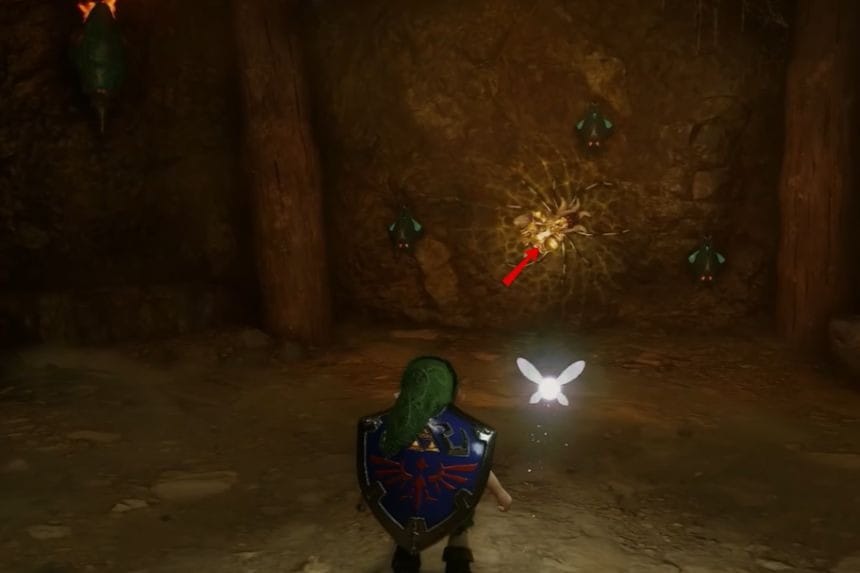
Go down the Baby Dodongo corridor until you find the cracked wall on your right. Kill all Baby Dodongos around so that their explosions destroy the wall and reveal the first Gold Skulltula. If you miss it, you can always return later with Bombs.
Statue Switch Puzzle
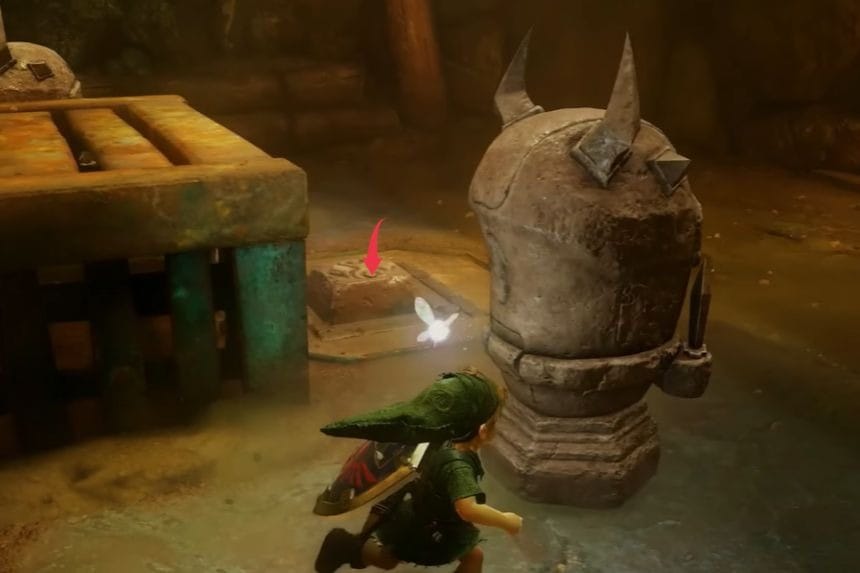
At the end of the hallway, push the statue onto the pressure switch to keep the door open.
Lizalfos Encounter: First Pair

The next room has two Lizalfos fighting on platforms above lava. You need to defend yourself with your shield and attack whenever there’s an opening. Once you defeat them, the barrier will be eliminated and a chest will become accessible containing a Red Rupee which is worth 20.
Fairy: Eastern Alcove
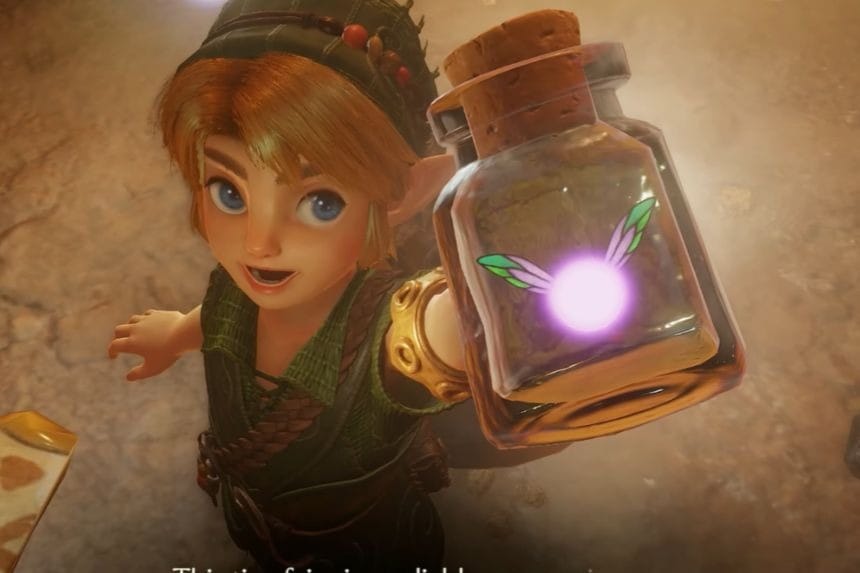
In the Lizalfos room, look for the eastern alcove where there is a Fairy. To catch it, you require an Empty Bottle.
Business Scrub: Deku Seeds and Deku Sticks
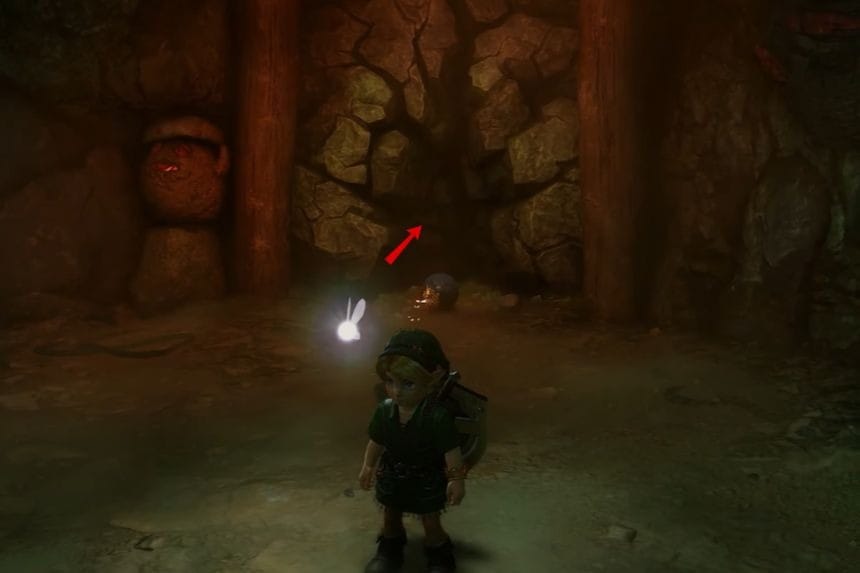
Smash the wall with the cracks in the corridor past the Lizalfos to discover a Business Scrub selling Deku Seeds and Deku Sticks.
Adult Dodongo Encounter
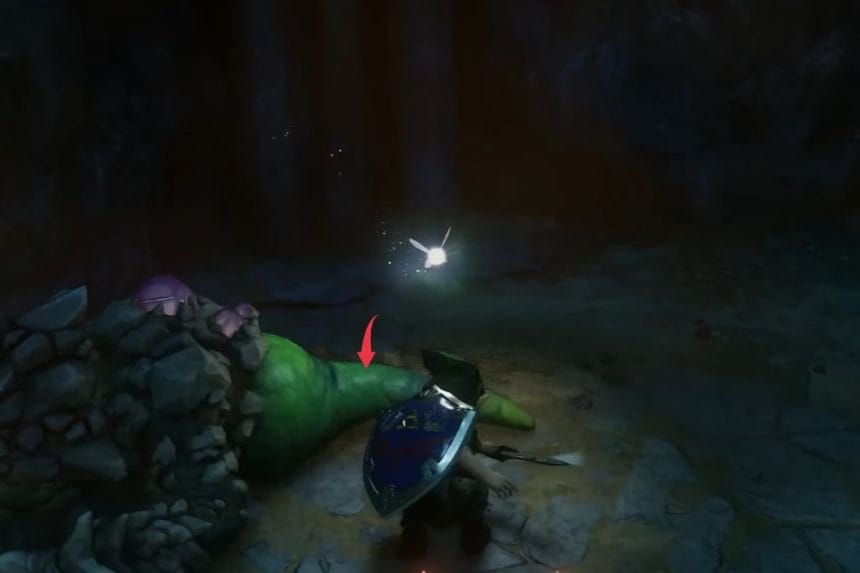
In the next room, confront the adult dodongos from behind so you can hit their tails, or you can feed them bomb flowers. You should then move away since they will explode after being defeated.
Three-Torch Puzzle
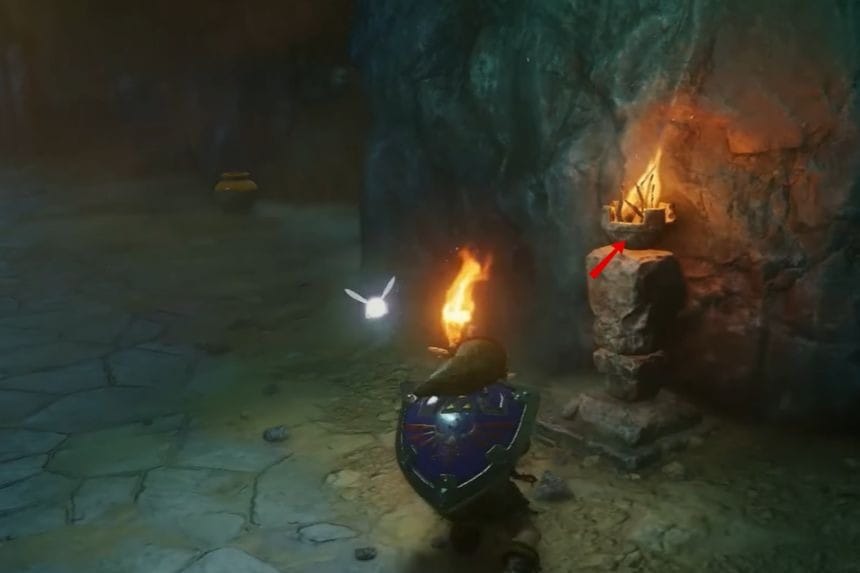
Grab a Deku Stick and take the flame from the lit torch. Use it to ignite all three torches that are currently not lit to unlock the door.
Pressure Switch Puzzle: Main Hall Door
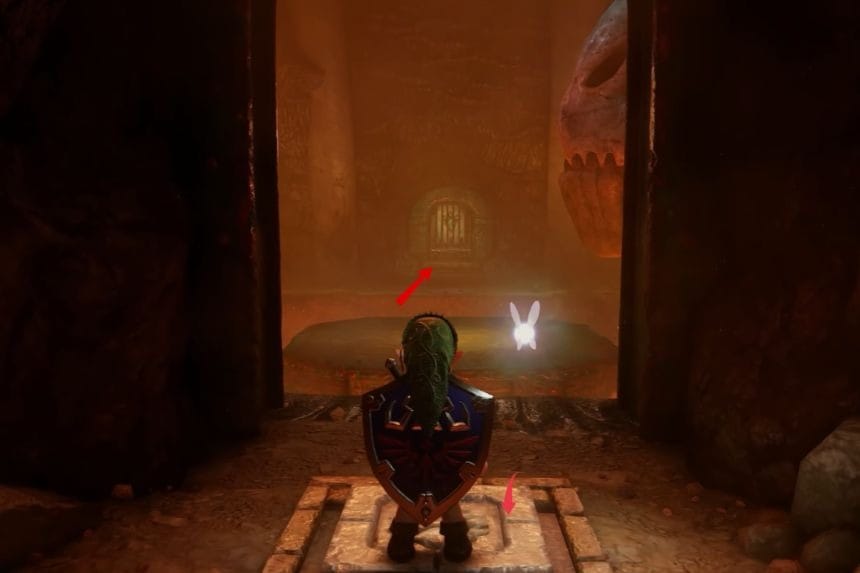
Activate the pressure switch located in the adjacent room in order to open a door that leads to the other side of the Main Hall. After that, go back to the main area and enter the newly opened west passage.
Armos Puzzle: Getting the Compass
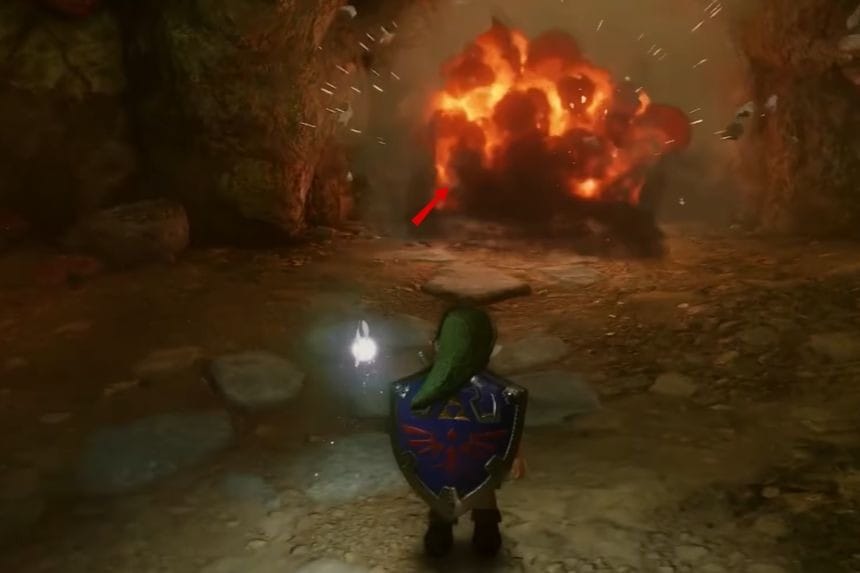
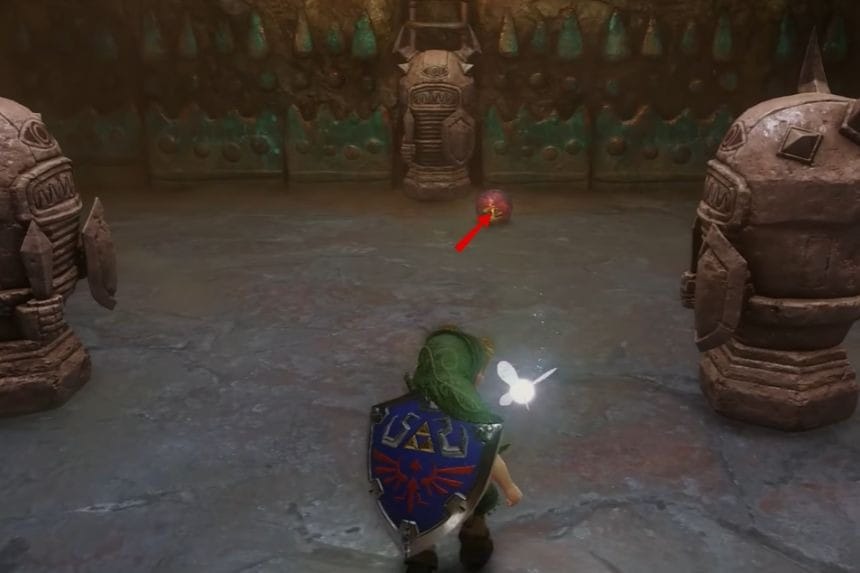
To make your way into a room with Armos statues, you’ll need to demolish the damaged wall using a Bomb Flower. Then, once an Armos statue is within range, you will need to get it close to the Bomb Flower. Bypass the explosion. After doing so, you can pick up the contents of the chest that becomes accessible.
Bomb Flower Chain Reaction Puzzle
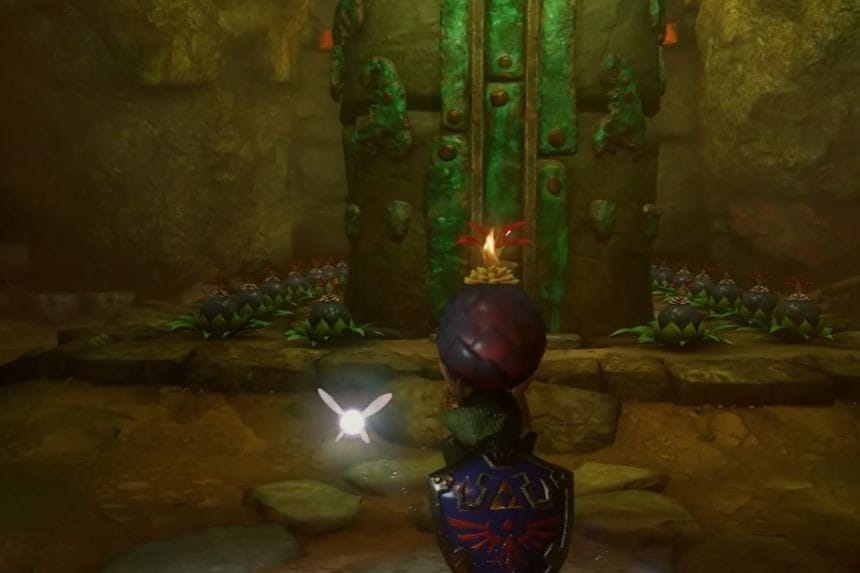
You’ll see in the subsequent room a staircase enclosed by Bomb Flowers, with one space unoccupied. You need to put the Bomb Flower in this open space to ignite a chain reaction that will lower the staircase.
Gold Skulltula #2: Chain-Link Fence
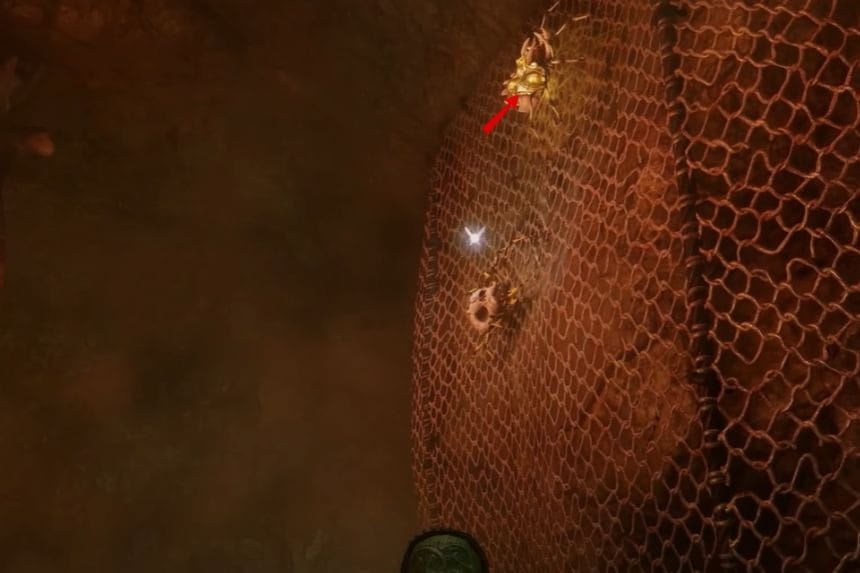
Go up the stair-step that has been lowered and search for the Gold Skulltula on the chain-link fence. When you see it, hit it with your Slingshot and go collect it.
Fire Keese and Armos Encounter

The next room will be filled with both Fire Keese and Armos statues. Before you face the flying enemies, use your Slingshot against them. There’s a working ladder behind the statue farthest from the entrance. Move the statue aside, climb up the ladder, and push the switch to unlock the door.
Stone Block Puzzle: Five Deku Seeds
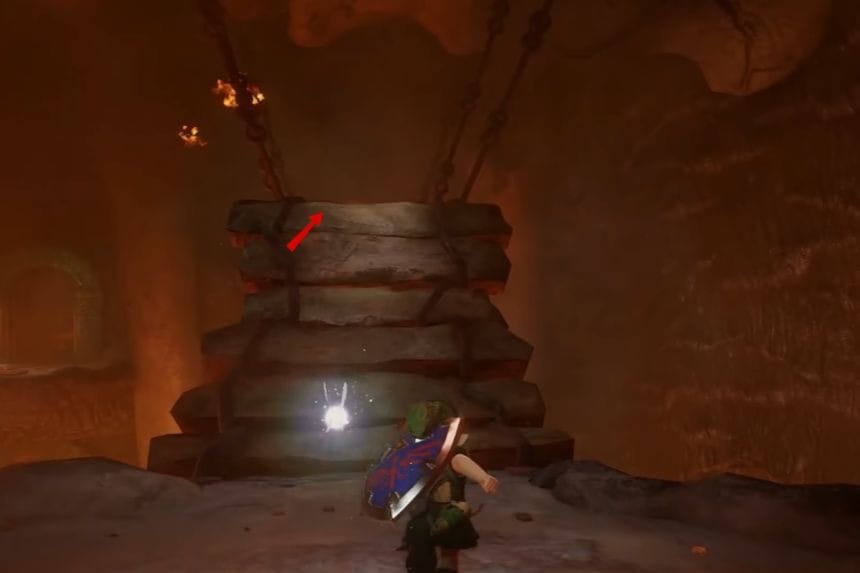
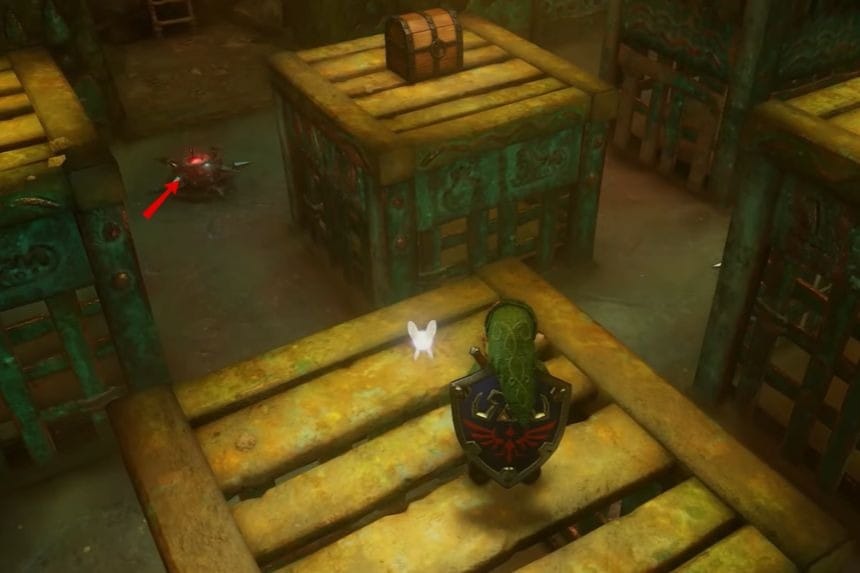
Crossing the bridge and overcoming the gap will lead you into a chamber with dangerous spikes moving around. Move toward the southeast corner and take the stone block from below the ladder. Get on the stone block and jump to reach the box behind.
Then jump to the box containing the bomb flower and toss it on the cracked wall. Finally, go to the top of the ladder.
Flaming Platform Puzzle: First Eye Switch
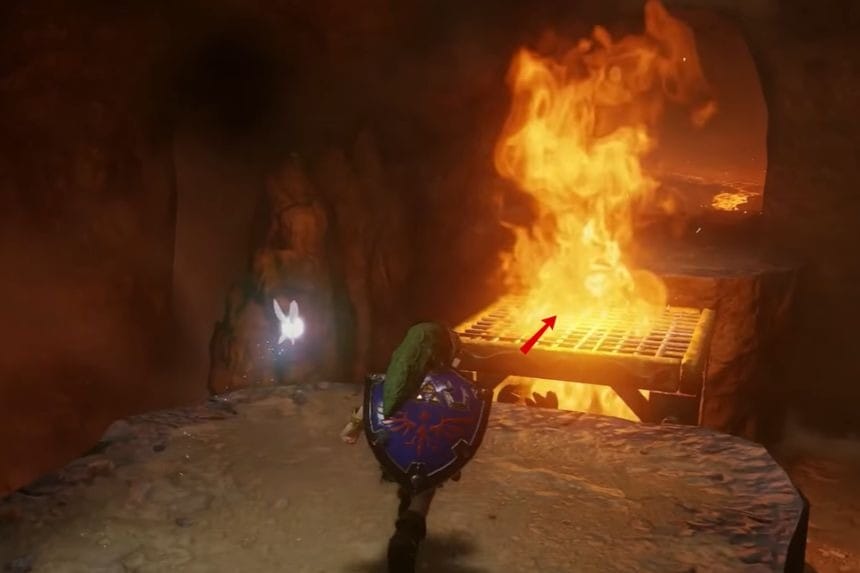
Utilizing the Slingshot, shoot the eye switch on the wall to put down the path of fire obstructing the way. Quickly dash towards the other side before the flames return.
Lizalfos Encounter: Second Pair
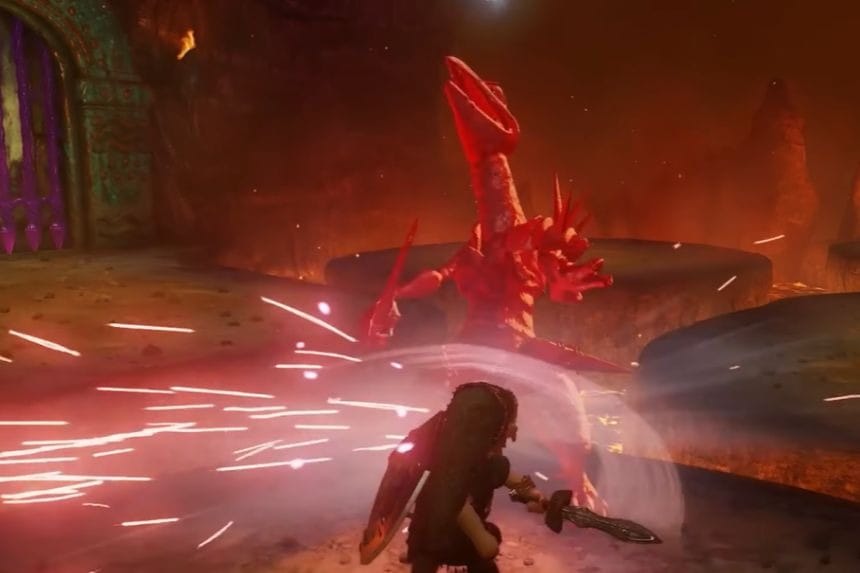
Proceed down the corridor filled with Baby Dodongos to find another two Lizalfos. Use your shield to block their blows, and counterattack when the chance arises. Defeating them results in a treasure chest containing a seed that enables you to bring a Business Scrub shop to you whenever you want it to.
Flaming Platform Puzzle: Second Eye Switch
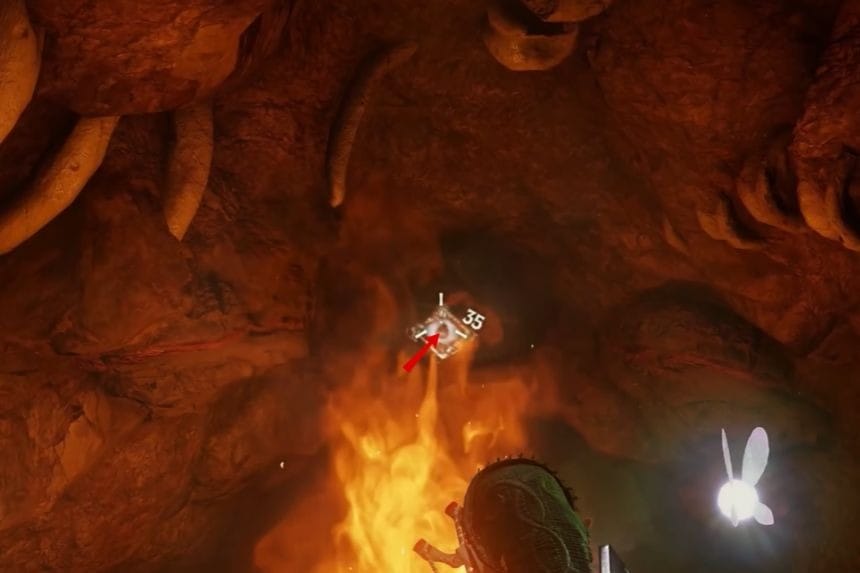
Fire at the eye switch above the first flames in order to extinguish them and leap onto the first platform. Locate the second eye switch located within the green gap on the left wall and shoot it to extinguish the remaining flames.
Bomb Bag: Main Dungeon Item
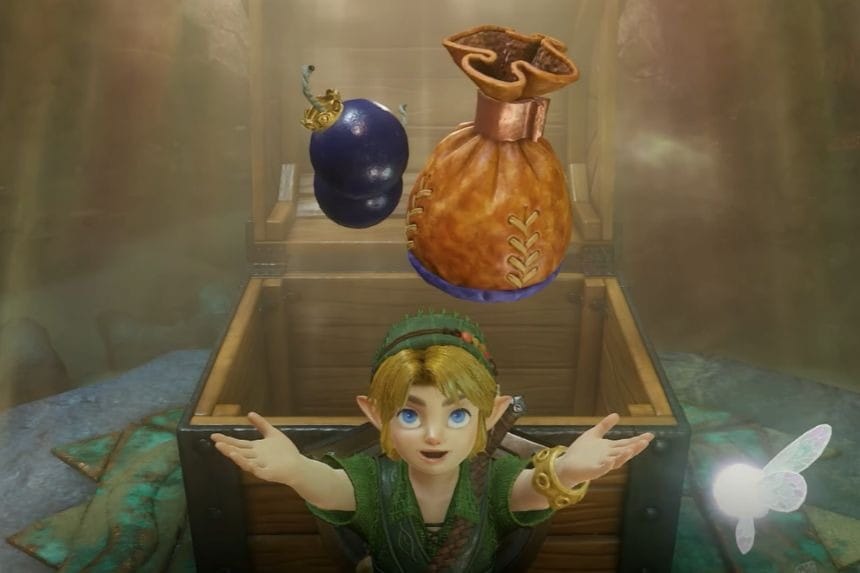
To get the Bomb Bag that can carry twenty bombs, open the large chest found across the fire platforms. Press on the switch nearby to set off the elevator that connects the floors of the dungeon.
Gold Skulltula #3: Room Beyond the Cracked Wall
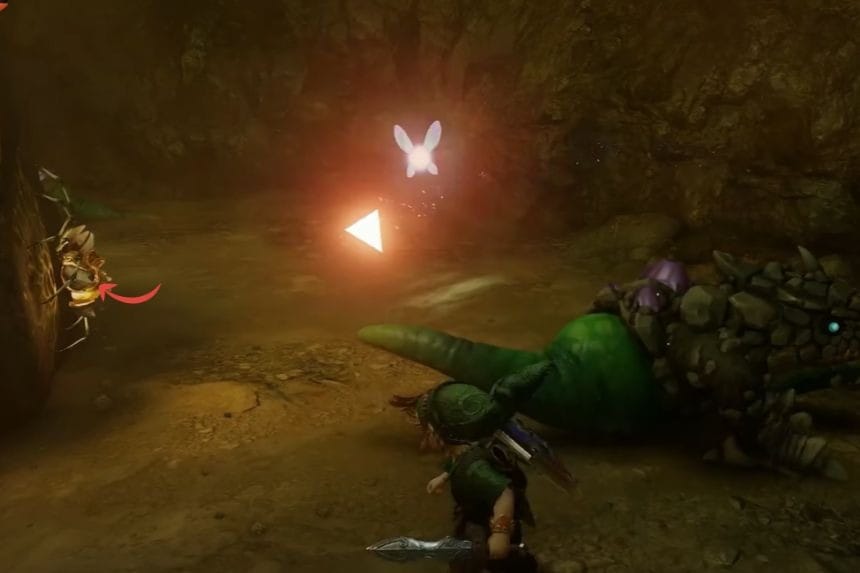
To get the Bomb Bag that can carry twenty bombs, open the large chest found across the fire platforms. Press on the switch nearby to set off the elevator that connects the floors of the dungeon.
Skull Bridge Puzzle: Opening the Mouth
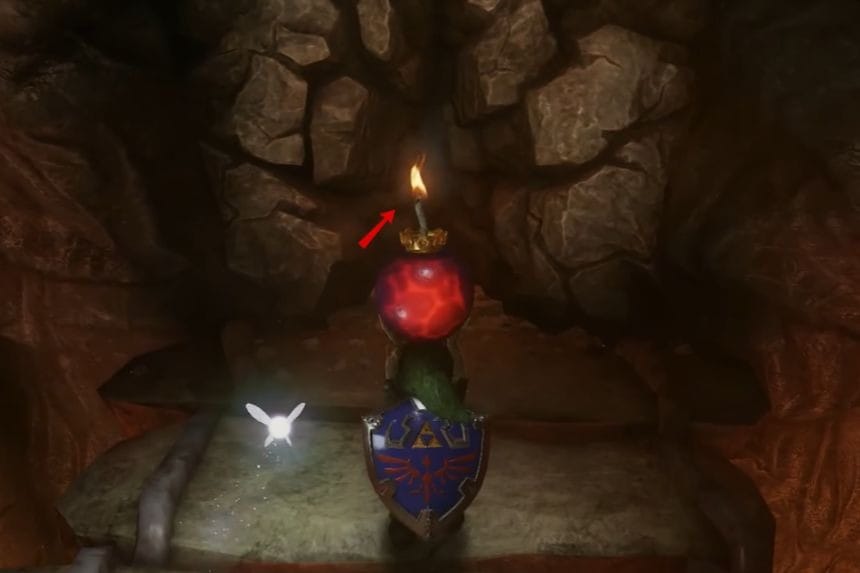
Head back to the Main Hall and go across the bridge that goes over the giant skull of Dodongo. Go and break the cracked wall to find a treasure chest with a Blue Rupee hidden.
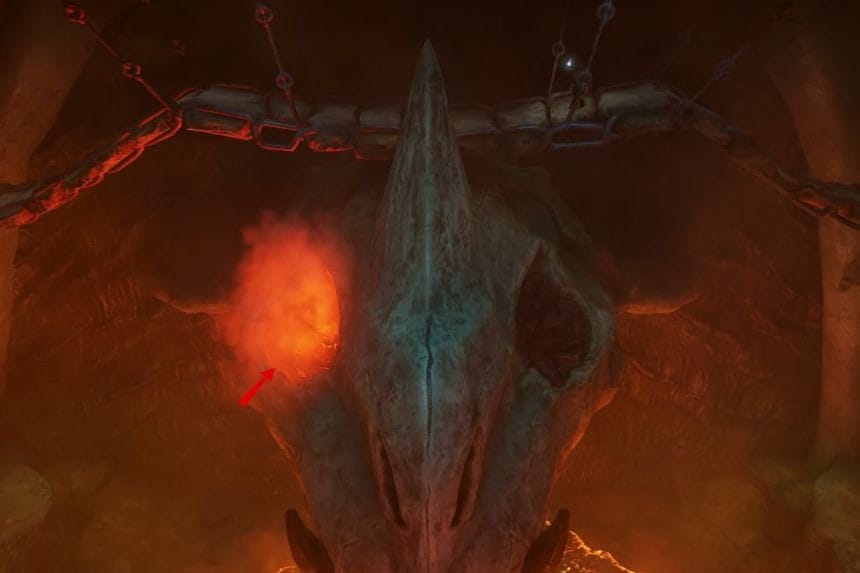
To open the mouth of the skull, drop a Bomb in both holes above its eyes. As soon as the eyes shine red, the mouth will open up.
Gold Skulltula #4: Eastern Dark Room
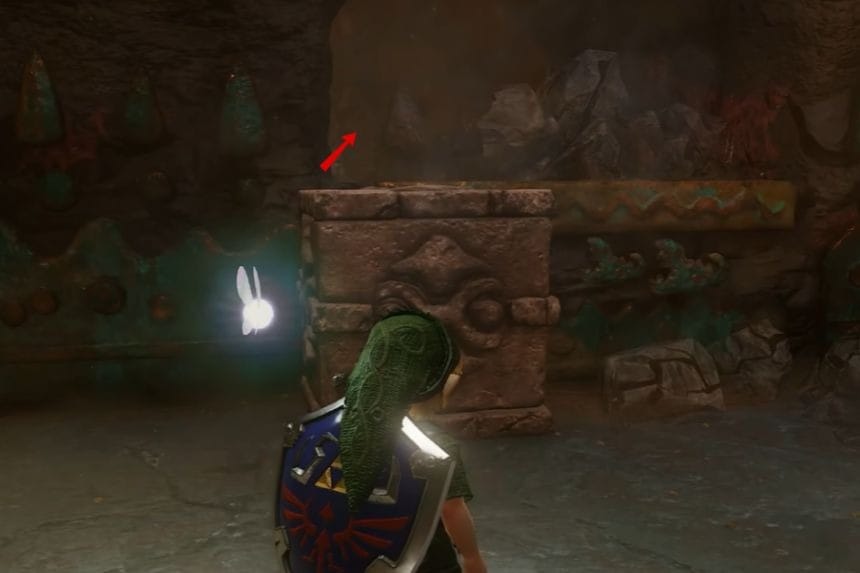
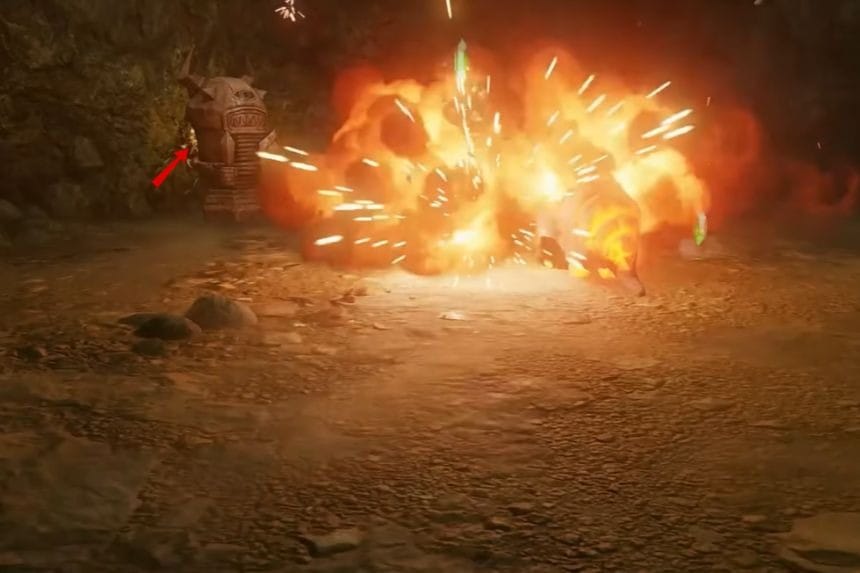
In order to gain access to the skull, make sure you go back to the level beneath and locate the dark room located on the eastern side close to the beginning tunnel. Use your bombs to destroy the damaged wall and kill the Keese creatures inside; collect the fourth Golden Skulltula.
Stone Block Puzzle: Lowering the Upper Block
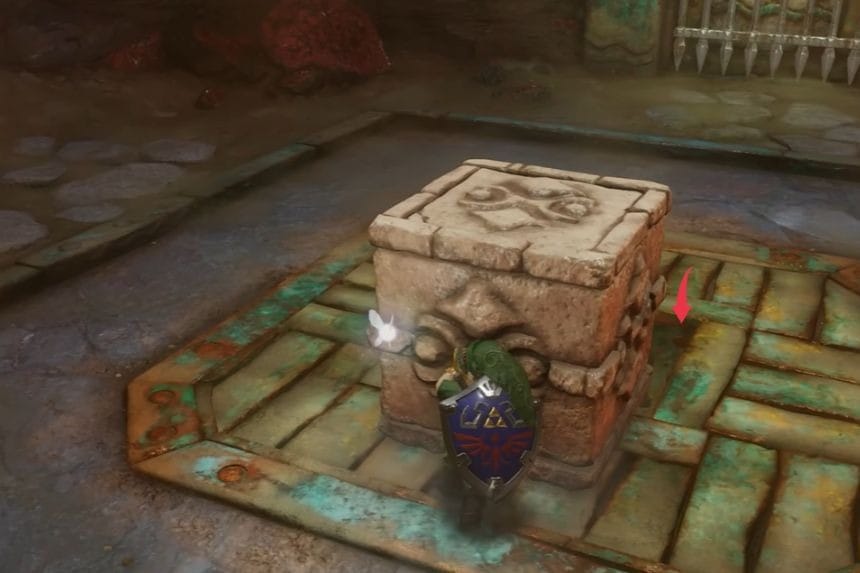
Go inside of the skull, which is open through the mouth, and fight the Keese. In the room where there are rocks, you will have to push the lower rock under the upper one. After successfully pushing the lower block under the higher one, you will need to stand on the lower rock and push the upper block down.
Hidden Room Puzzle: Additional Gold Skulltul
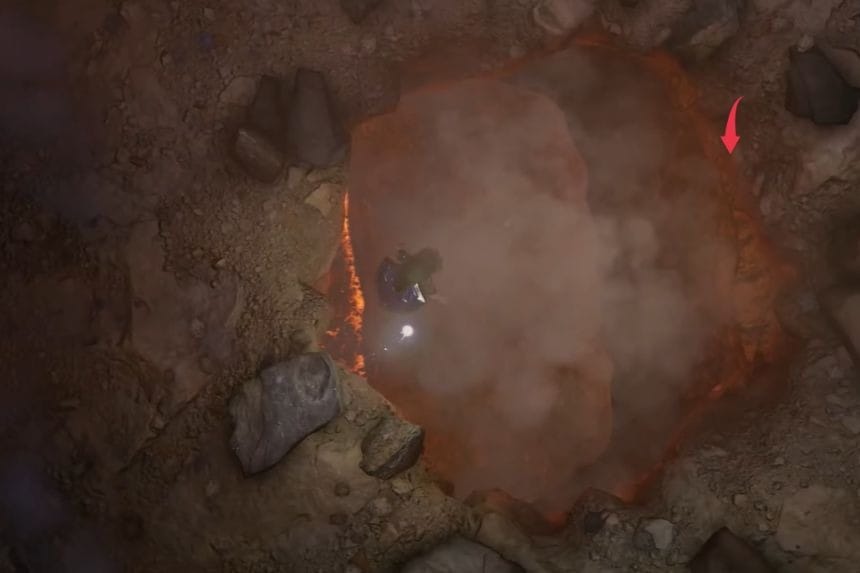
Search for a wall in the lower region that is slightly raised and cracked. Keep a Bomb in hand until it becomes close to getting ready, then throw it in the direction of the wall so that it explodes at the right height. Go into the hidden chamber and kill the three Baby Dodongos present inside. Use a Bomb on the Armos statue positioned behind them to cause the Gold Skulltula to be visible.
King Dodongo Boss Fight

Go back to the stone blocks and push the lower stone block towards the stone block that is near the exit. Climb on it to reach and move the stone block that is higher up. Push the last stone block into the gap and gain entry to boss room.
In the next level, you have to blast away the crack on the floor of the center to open a path into the boss arena.
King Dodongo launches an attack by sucking in air, spewing lava rocks, and rolling through the arena. Wait until he opens his mouth as well as starts sucking in air so that you can chuck the Bomb as well as the Bomb Flower inside of it. A blast will stun him and give you the chance to target his tongue with your sword.
He will then curl and roll throughout the arena and it is critical that you keep yourself from his rolling path and wait until he has stopped rolling. Use the same strategy for the moment he starts sucking in air again. In case of running out of explosives utilize the Bomb Flowers found in the arena.
Once King Dodongo is finished and defeated, grab the Heart Container and head to the blue portal.
Goron Ruby: Dungeon Completion Reward
After exiting the cave, Darunia can be consulted. He explains how Ganondorf’s troops want the Gorons to surrender their Spiritual Stone in exchange for the removal of the Dodongos. He then proceeds to declare Link as his Sworn Brother and gives him the Goron Ruby, which is the Spiritual Stone of Fire, as well as suggesting a visit to the Great Fairy at Death Mountain’s top.
