
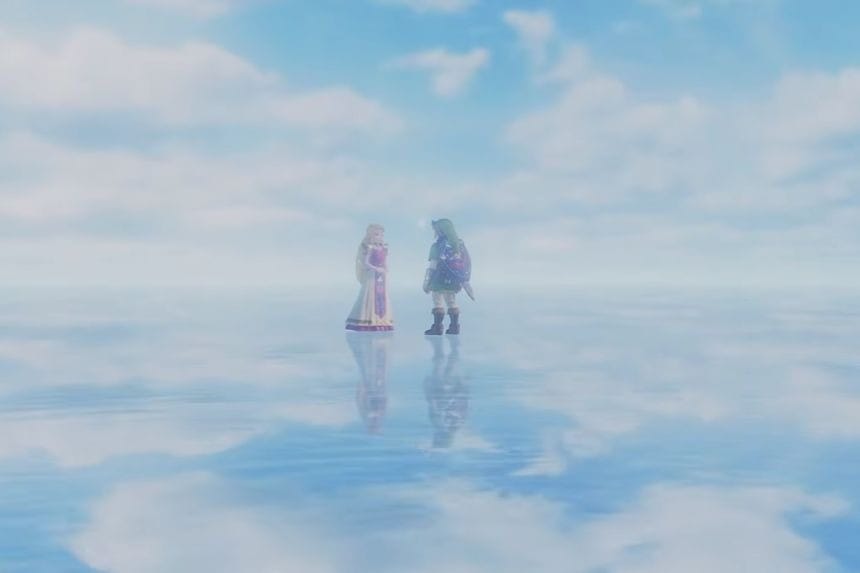
In this guide, we will demonstrate how you can navigate through Ganondorf’s Castle in the game The Legend of Zelda: Ocarina of Time. You will learn how to overcome all six barrier tests, how to obtain the Golden Gauntlets and the Boss Key, and how to vanquish the bosses Ganondorf and Ganon. Follow each step to complete the final part of your adventure and save Hyrule.
All Collectables & Walkthrough in Ganondorf’s Castle & Ending
Enter Ganondorf’s Castle
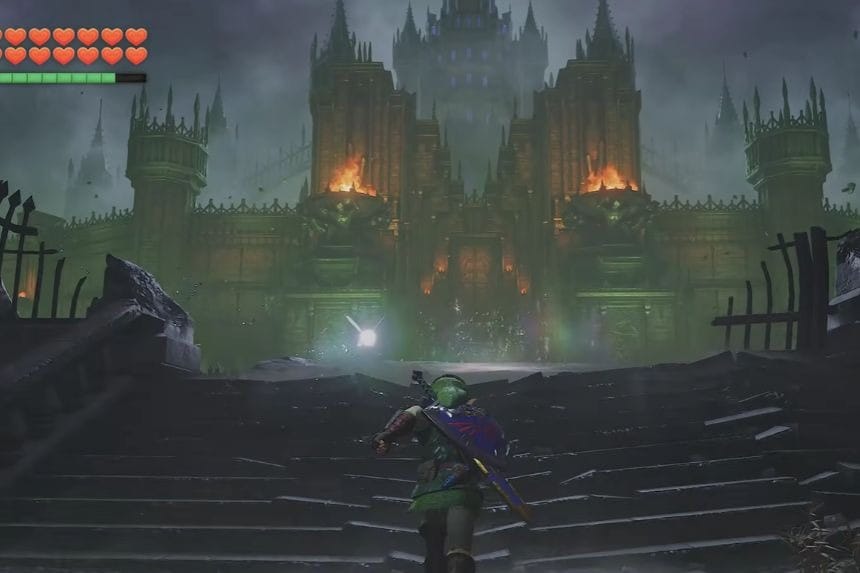
Once you have talked to Sheik and found out the reality behind the Triforce, the Princess of Hyrule is introduced to you as Zelda. You also get the Light Arrow from her, and this is the last arrow type needed for removing barriers within Ganondorf’s Castle.
But very soon, Ganondorf appears, trapping Zelda in a red crystal. He tells you that he allowed you to find her because he had known that sooner or later, she would get out of her hiding place. Then, after the cutscene, go out of the Temple of Time and move toward Ganondorf’s Castle along the destroyed road. Move along the path of light until you reach the entrance point. There you will find Rauru explaining that six magic barriers were protecting Ganondorf’s Tower. To destroy them, you need to pass through six trials.
Forest Door

Go through the Forest Door located at the centre of the hall to fight against Wolfos in the first room. Use your shield to guard yourself against their attacks and slash them when an opportunity presents itself. Once you have defeated them, a chest will show up with Five Arrows to restore the total number of arrows to 50.
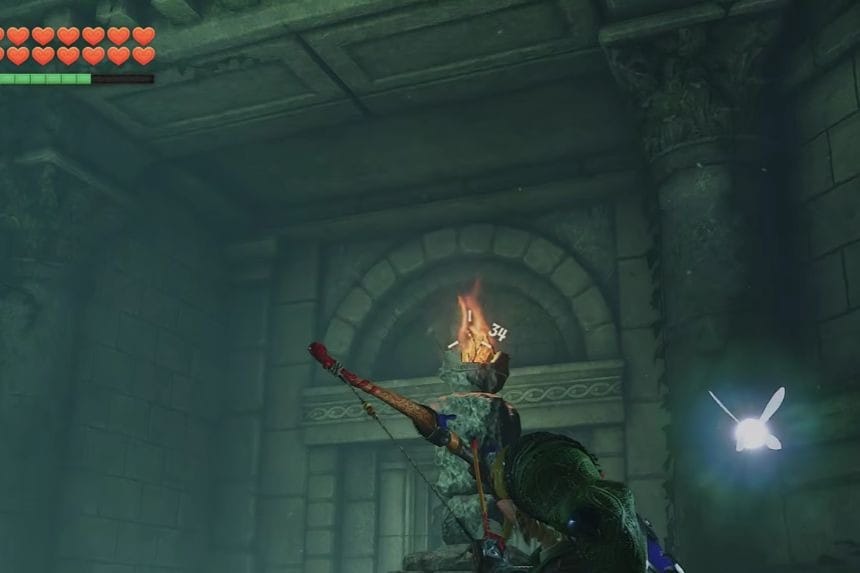
Enter the room by the teal door and find floating hexagonal platforms. Use Lens of Truth to see the invisible platforms and use Hover Boots to cross the gaps. Throw a Bomb on the distant platform to remove the barrier.
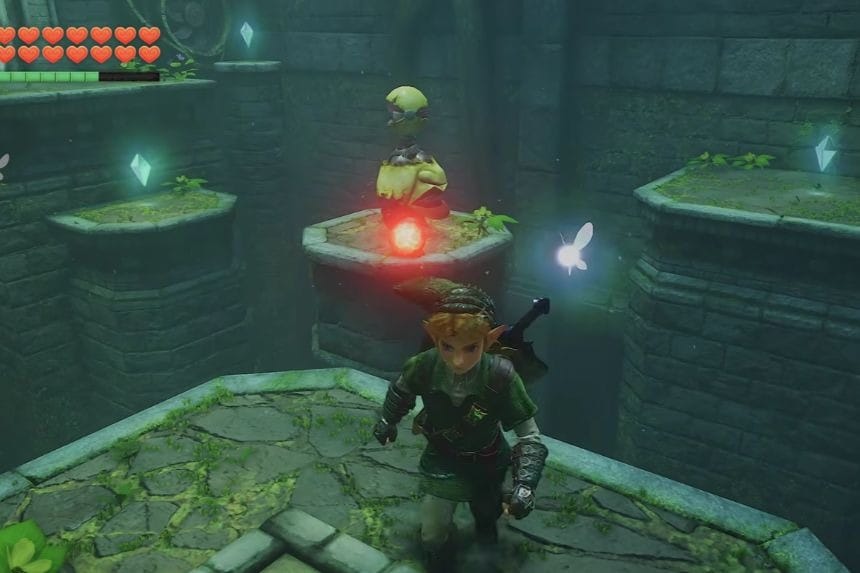
Then stand on any of the hexagonal platforms near the wall and play the Song of Time to create blue blocks for you. Use them to get to the rest of the platforms using Longshot. Continue moving until you reach the teal door under the green swirl symbol.
Inside the final room, shoot the dark orb with the Light Arrow. Saria will appear and confirm that the evil power has been removed. This completes the Forest trial and removes its barrier.
Water Door
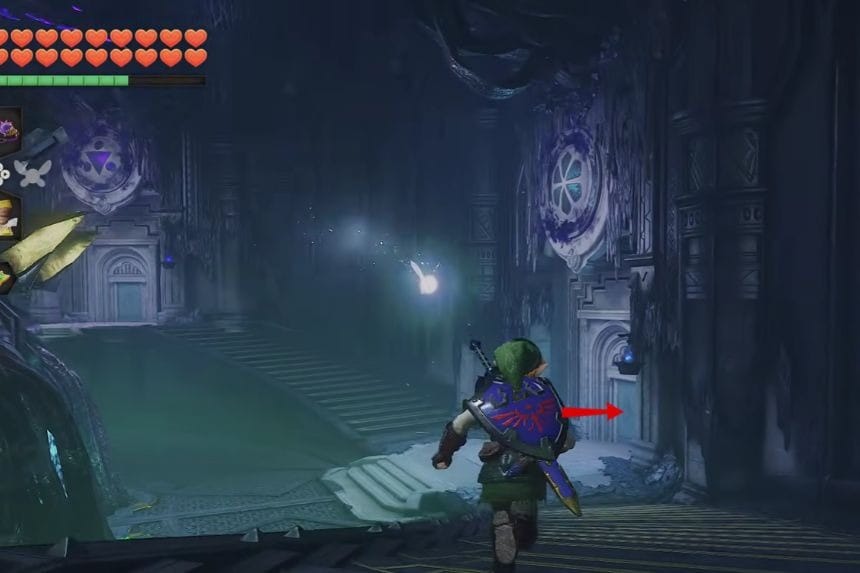
Go back into the central hall and go up through the golden stairs to get to the blue Water Door. There, you will see a chilly chamber with ice floors and red ice crystals preventing your progress.
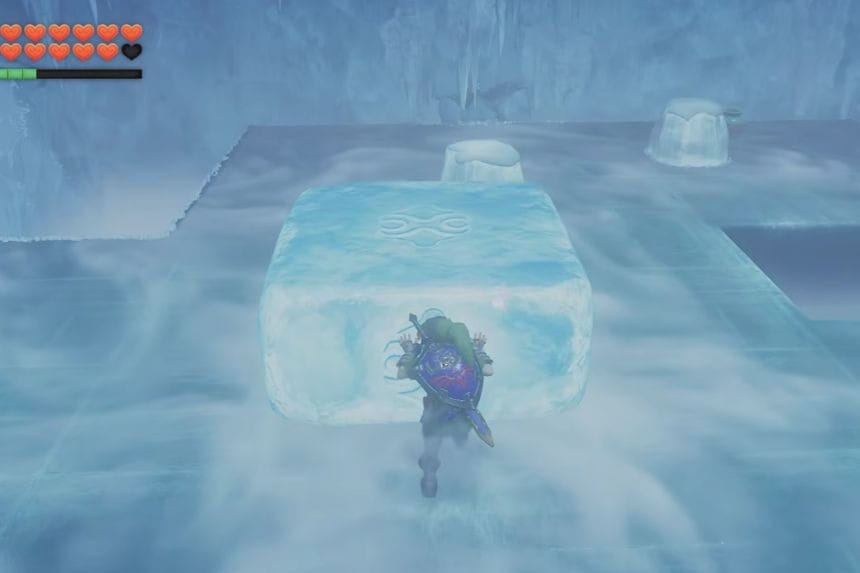
In the first chamber, pick up the Blue Fire from the nearby pedestal using an Empty Bottle and pour the substance on the red ice crystal in order to melt it. Then, you may open the chest by breaking ice stumps using the Megaton Hammer and take Five Bombchus inside.
Pick up one more bottle of Blue Fire at the nearby pedestal and go further. In the next chamber, you will find several big ice cubes. You have to push them to activate floor switches and use Blue Fire to destroy red ice crystals on your way; the Megaton Hammer is helpful in this case as well.
After you pass through the dark hallway, shoot a dark orb with the Light Arrow. Ruto’s spirit will appear, telling you that evil power has been defeated. It will remove the Water barrier.
Shadow Door
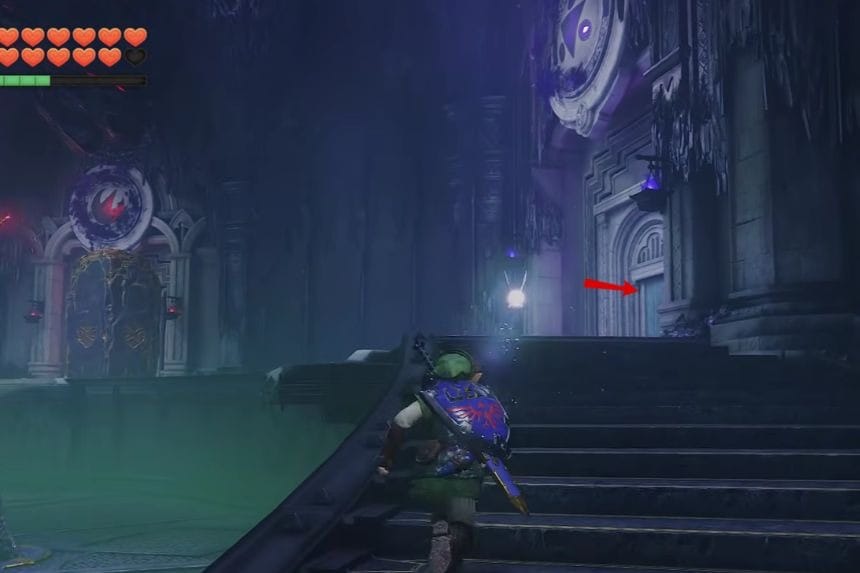
Go back to the main chamber and take the dark blue hallway leading towards the tower staircase. Take the green-lit stairs, pass the purple hallway, and arrive at the Shadow Door.
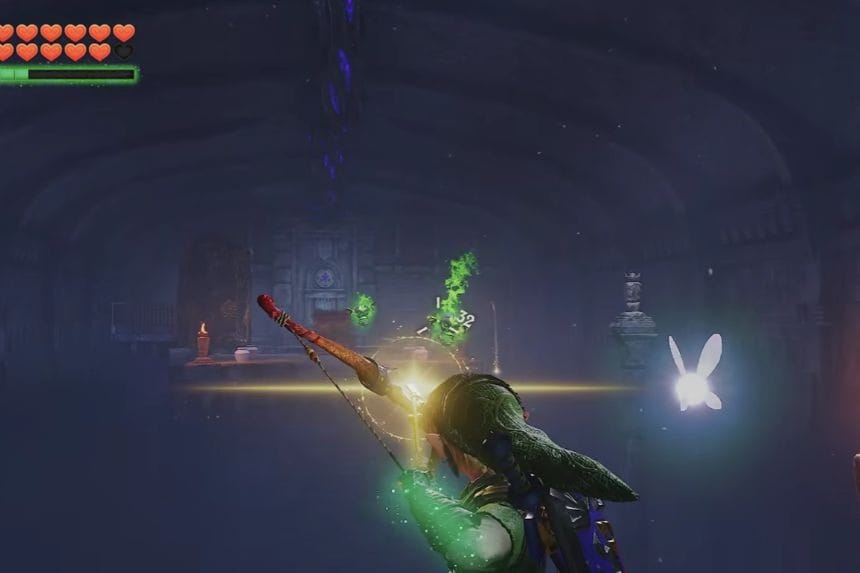
In the first chamber, there will be a brazier and a chest positioned on a ledge across from a gap. Use your Fairy Bow to shoot an arrow from the fire of the brazier and aim for the torch located on the other side. It will create several stone platforms, which you can use to retrieve the chest with Five Arrows.
Proceed to the second chamber and kill the Like-Like. Maintain some distance from it, keep circling the Like-Like, and strike whenever possible. Once it is dead, proceed across the stone platforms.
Equip the Lens of Truth to see the invisible pathway ahead of you. Follow the invisible platforms, and jump across the gaps until you find a big chest containing Golden Gauntlets, with which you can move very heavy objects.
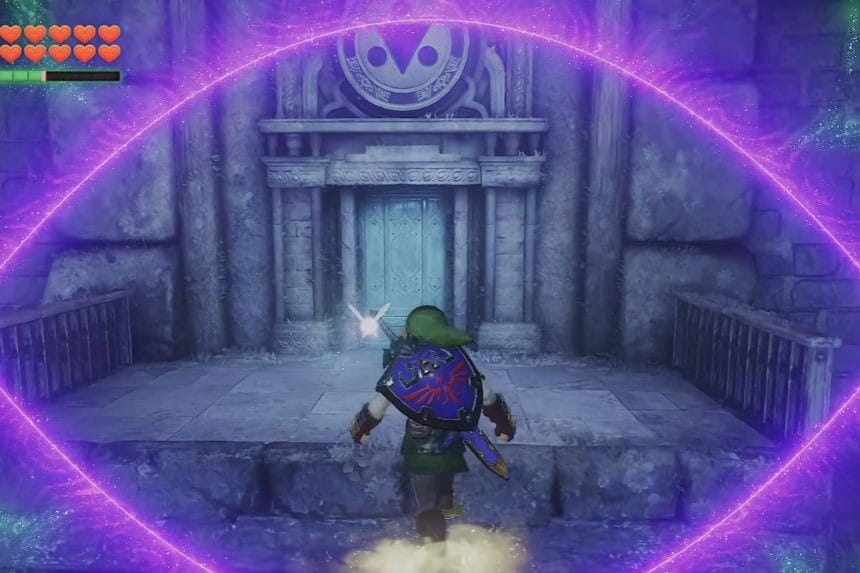
With the Golden Gauntlets, move the big pillar with gold marks on it. The pillar will roll across the gap to serve as a bridge to the other side. Continue along the path and use the Lens of Truth to make your way through an invisible path to the purple altar.
Once there, shoot the dark orb with the Light Arrow. Impa will show up to assure you that the evil force is gone. Shadow trial completed.
Great Fairy (Half Damage)
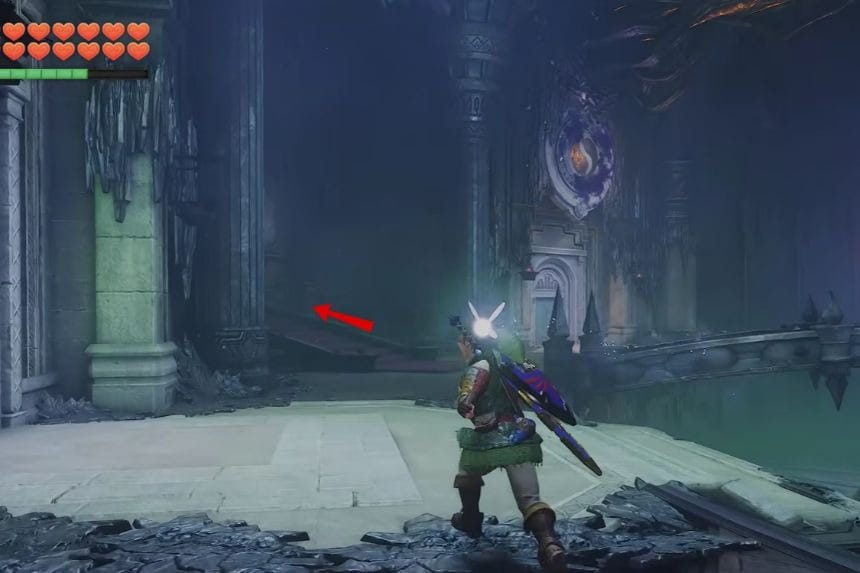
After overcoming these four barriers available at this stage, move out of Ganondorf’s Castle and make your way towards the cliffs nearby. Use the Golden Gauntlets to move aside the golden pillar and use the stairway to come out through the red carpet corridor.
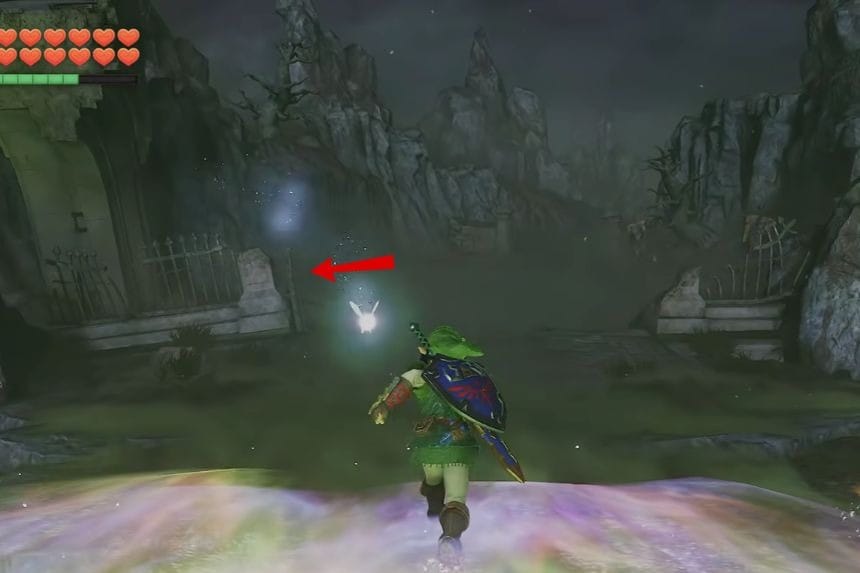
On exiting, use the rainbow path on the rocky region to locate the entrance of the cave. Move through the teal mist to reach the Great Fairy of Fountain.
Stand before the Great Fairy of Fountain and play Zelda’s Lullaby. This will call up the Great Fairy of Courage. She will ask for 500 Rupees from you in return for her blessing. Give her the money, and you will be bestowed with the Gift of Halved Damage.
This will reduce your damage by half and will make the rest of the trials and bosses quite easy. After getting the gift, leave the fountain and move backwards to Ganondorf’s Castle using the rainbow path and the bridge.
Fire Door
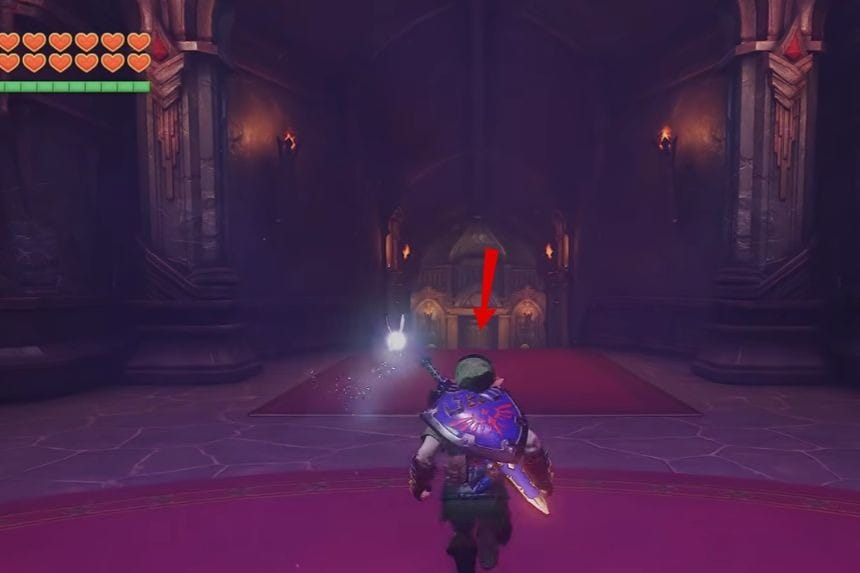
Head back into the main chamber and go through the red-colored Fire Door. Before proceeding any further, make sure that you have the Goron Tunic equipped from your Equipment option since the next room has lava.
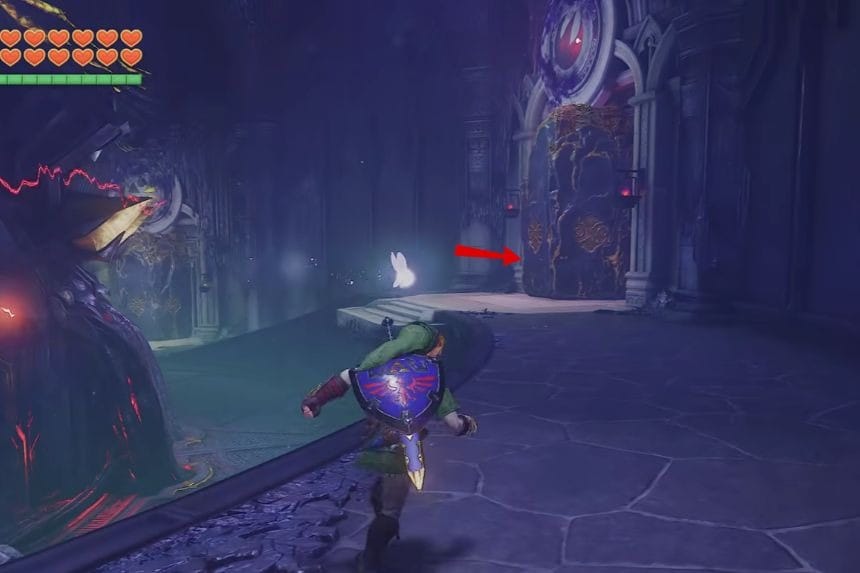
Make your way to the platforms and use the Longshot to grab hold of anything if you feel like there is too much distance between two platforms. You will see a tall pillar covered with gold marks at the platform ahead. Make the pillar fall down into the lava using the Golden Gauntlets.
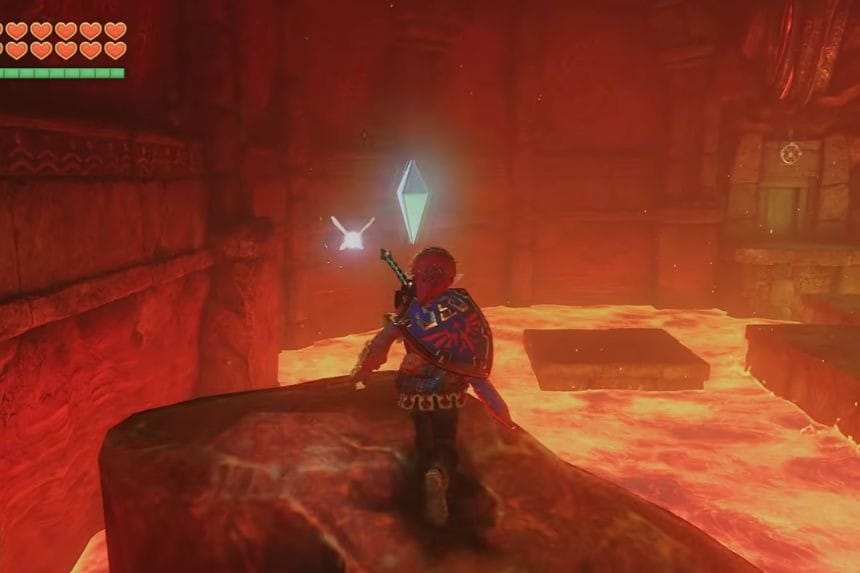
Keep making your way towards the platforms until you see a red door with lava around it. Use the Longshot on the target just above the door to pull yourself towards the other side. Open the door and head inside the purple hallway.
After going through the hallway, you will come to another dark orb. Fire the Light Arrow at it to call forth the spirit of Darunia. He will praise you for removing the evil force and tell you to fight against Ganondorf.
Light Door
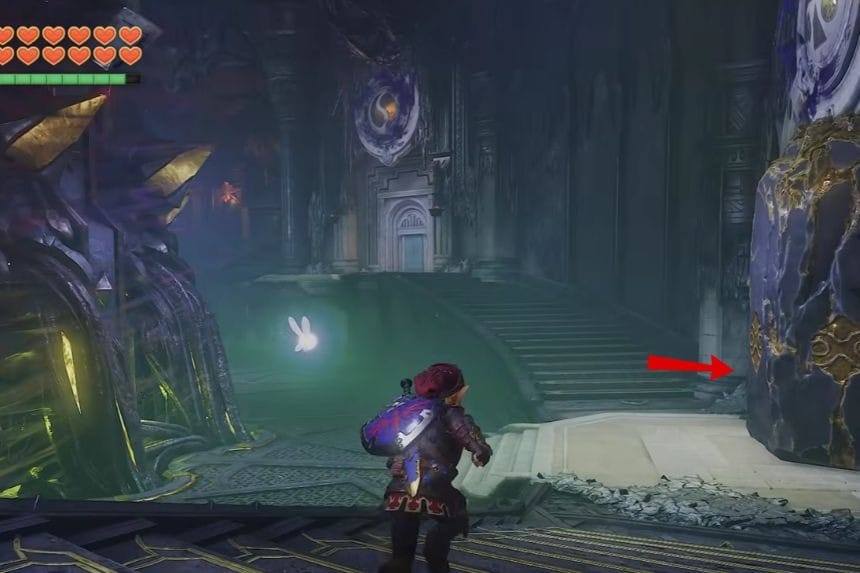
Now go back to the main hall and move towards the door bearing the blue Triforce symbol. Make sure you have put on the Hero’s Clothes. Push the pillar that blocks the door entrance with the help of your Golden Gauntlets and proceed to the Light Trial.
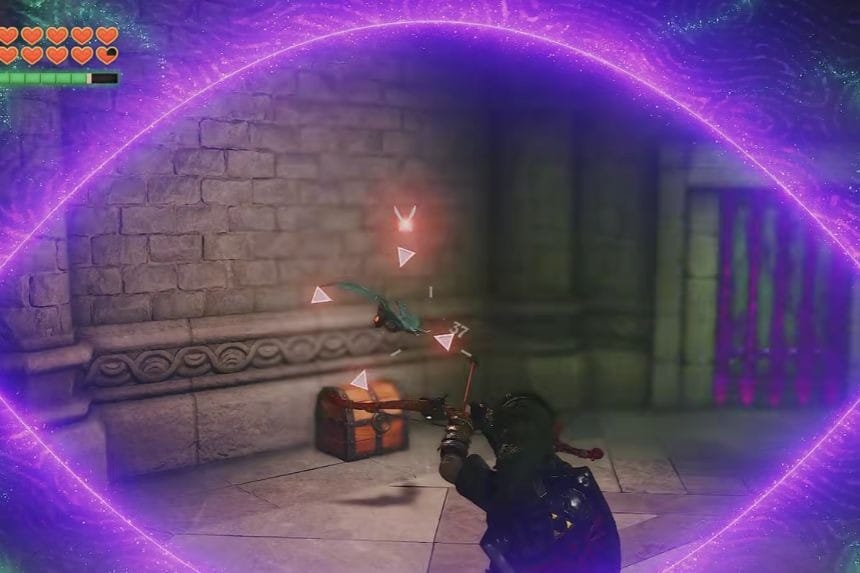
The room is dark and houses several enemies along with several chests. Use the Lens of Truth to see all your surroundings and then attack the enemies using the Megaton Hammer. Next, pick up your Fairy Bow and kill the enemy present at the ceiling of this room. Killing the enemies will allow you to discover a chest on a glowing platform. Several chests inside this room contain rupees, such as the blue rupee containing 5 rupees and the red rupee having 20 rupees.
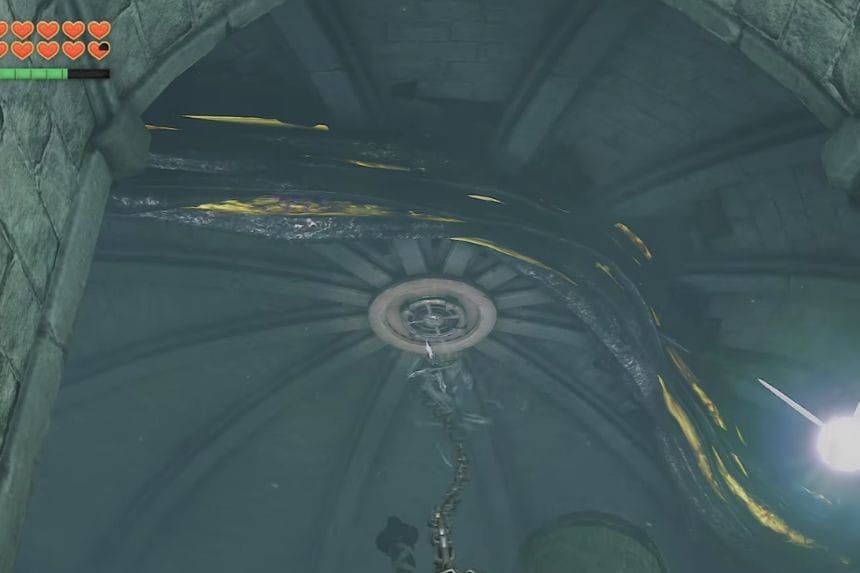
Next, open up the chest to get hold of a Small Key and then move to the next room with checkered walls. Stand on the Triforce tile and play Zelda’s Lullaby to get another chest containing a Green Rupee. Unlock the door using the Small Key.
The next room contains big rolling stones. You can use your Longshot to pass these obstacles and get to the door of teal color located at the end of the room. Proceed to the next corridor and eliminate all enemies standing there. Destroy the pots and gather some more rupees.
Once you get to the other side of the corridor, you will see a dark orb there. It is necessary to shoot the Dark Orb using a Light Arrow. Then Rauru – Sage of Light – will appear before you and tell you about the victory over the evil force and ask you to save Princess Zelda. Climb up the stairs that lead to the dark platform near the tower.
Spirit Door
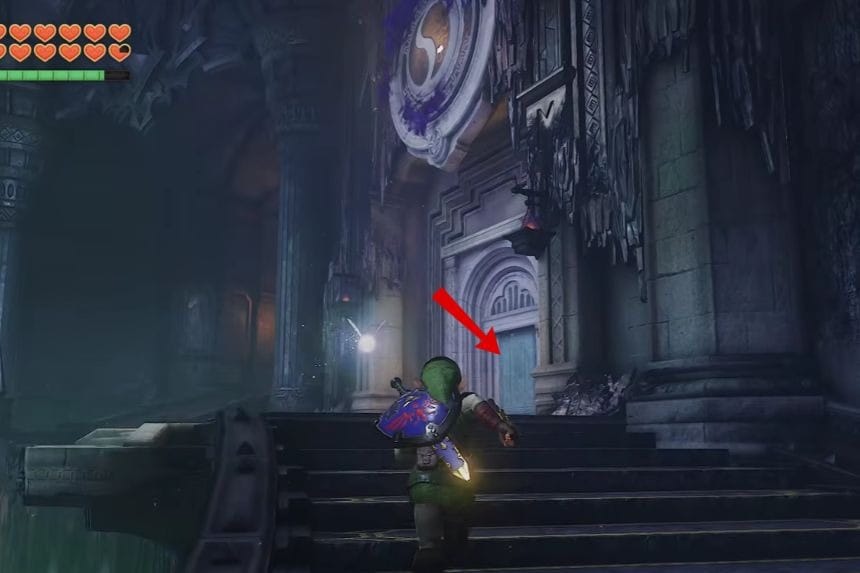
Backtrack to the central chamber and go to the Spirit Door. In the first room, there will be some stone statues. Use the Longshot on the symbol on the ceiling to teleport yourself to the green door on the other end of the room. In the next room, defeat the fire animals and dark monster with the Megaton Hammer. After they are defeated, a chest will spawn on the glowing platform, containing a Business Scrub Seed.
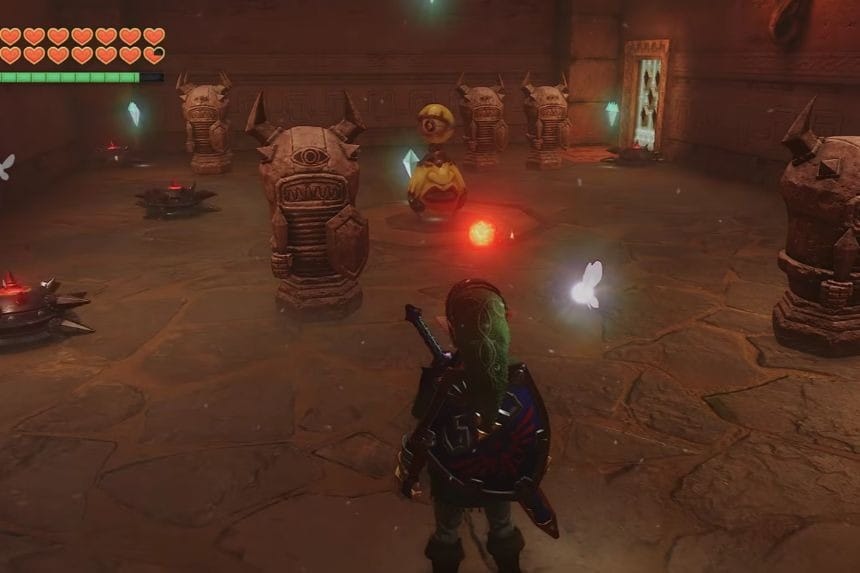
Go to the grated wall with the glowing yellow symbol and throw a Bombchu onto it. When the symbol changes colour to green, the way will become clear. Enter the green door and ascend the stairs to reach a circular chamber with a web on the ceiling.
To solve this problem, use Fire Arrow to eliminate the cobwebs and make it possible for the sunlight to shine inside the room. Then, stand in the sunlight and hold Mirror Shield. You have to change the position of Mirror Shield in such a way that sunlight can be reflected onto the sun symbol located above the green door. Once the symbol is illuminated by the light, you can easily open the door.
Enter the room and notice the dark orb hovering above the platform. Do not approach the orb, but instead use the Light Arrow to destroy it. As soon as the orb is destroyed, Nabooru will come out and declare that evil power is defeated.
Reach Ganondorf
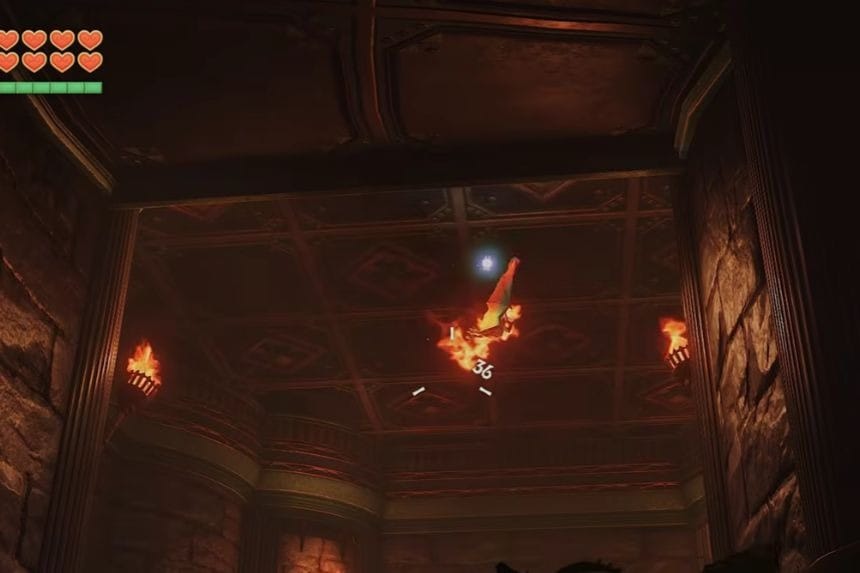
After going past the six obstacles, ascend the steps and then go through the stone path to reach the next chamber. You should see some red pots placed in the red-carpeted corridor. Smash them to gain arrows and other important items.
Continue climbing the tower until you come to the staircase which has torches on both sides of it. Change to Fire Arrows using your Fairy Bow and fire at each torch while ascending. After you light all the torches, proceed through the fancy door at the end.
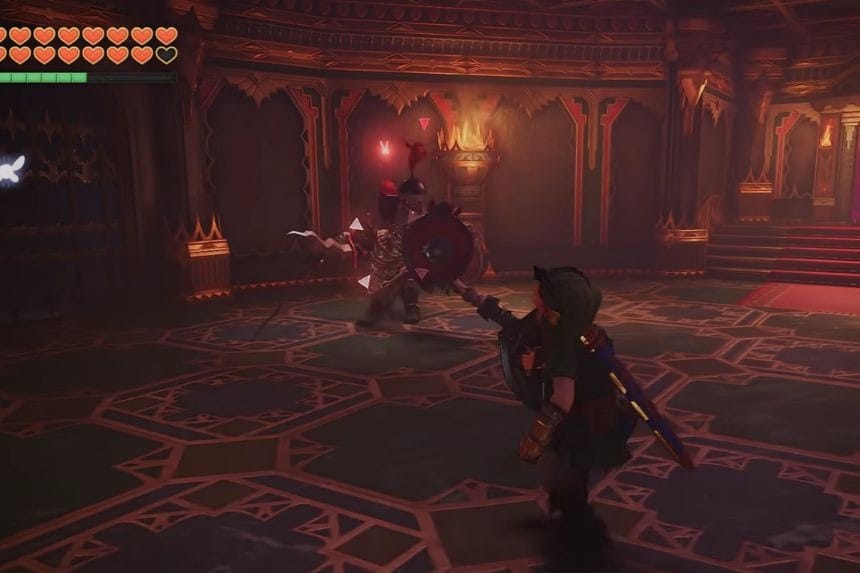
The next chamber will have two Dinolfos at once. Lock onto one of the Dinolfos and defend yourself against its attacks by blocking them with your shield and attack when the opportunity arises. After defeating them both, you will be able to open the purple sealed door.
Proceed up to the next arena, where there are two Stalfos waiting. Parry their strikes and try to hit them from the side or the rear. Be careful since their strikes do serious damage. Once you kill them both, the door in front of you will open.
The next room is guarded by two Iron Knuckles wielding massive axes. Watch their red flashing, then parry their strikes and hit them when their axes are planted in the floor. Focus on beating them individually rather than fighting them simultaneously.
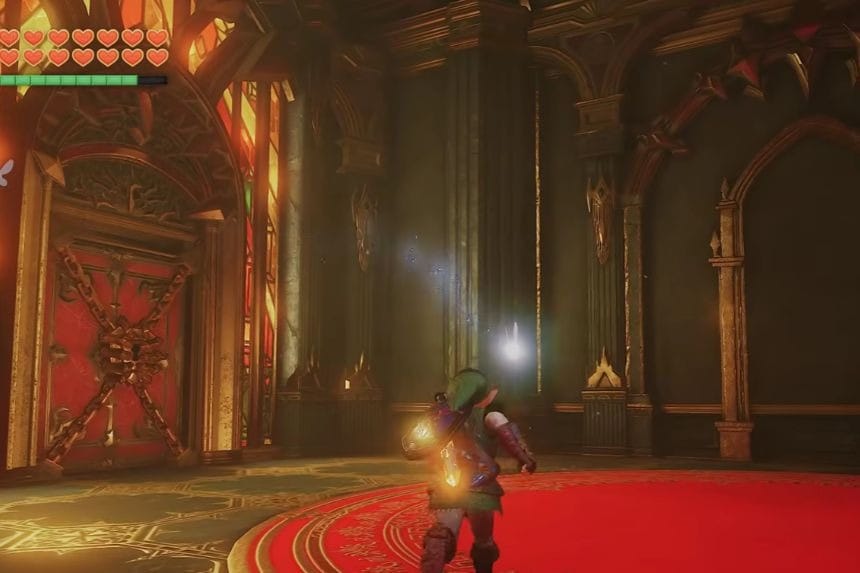
Once you kill the second Iron Knuckle, a chest will appear containing the Boss Key that you need to get into Ganondorf’s lair. Go through the door and take the stairs. Smash the red pots in the next room to refill your arrows, preferably getting them up to 50 again. Proceed through the red door and go up the magenta-carpeted stairs. When you reach the gold room, you will see a large red door bearing the Triforce symbol. Use the Boss Key on it and enter Ganondorf’s lair.
Ganondorf Boss Fight
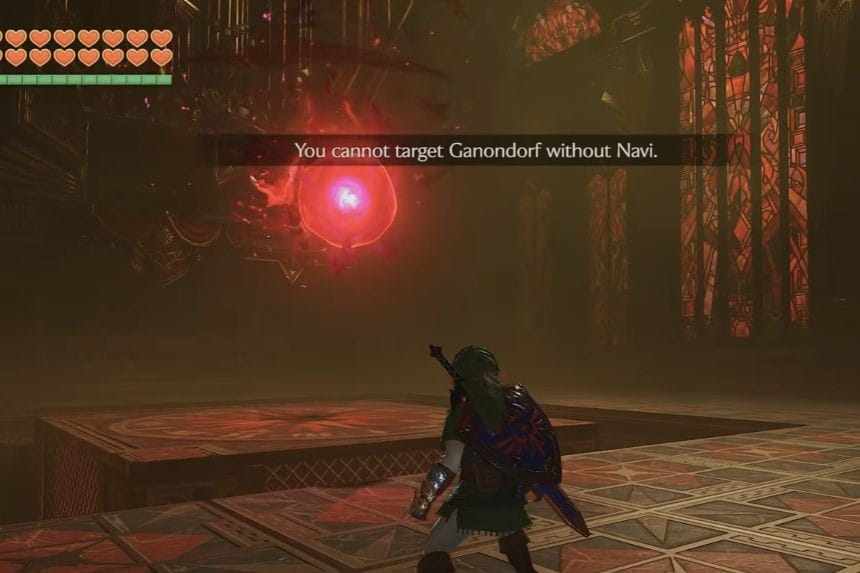
Within the room, you will see that Zelda has been captured and encased within a crystal, and Ganondorf is playing the organ. After he notices your presence, he reveals to you that the Triforce is trying to reunite itself and asks for the pieces of the Triforce from you and Zelda. The fight starts not long after.
Ganondorf will hover over the arena and will shoot orange or red energy balls at you. Because Navi can’t get near him, you cannot lock on to him. Instead, you should face the ball that he fires at you and attack it with the Master Sword.
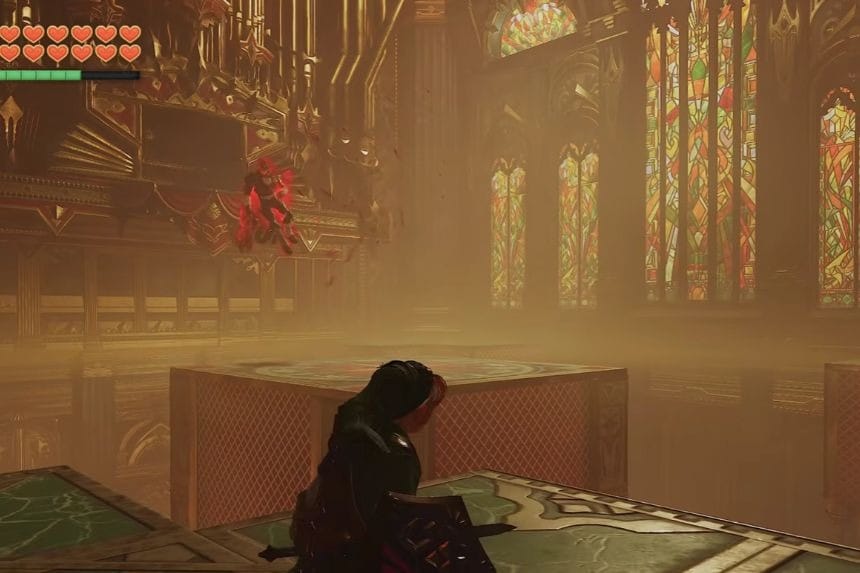
When the reflected ball touches him, Ganondorf will be stunned and become weak. Switch over to the Light Arrow immediately and shoot him with the help of your Fairy Bow. He will fall down, and now you can go in to attack him with the help of the Master Sword. Go on with the same process of reflecting his balls, shooting and then attacking him with your Master Sword when he falls down.
With the continuation of the fight, various parts of the arena floor will start sinking, making raised platforms and some open spaces between them. Ganondorf will also throw several red colored energy balls in all directions. Keep yourself moving to dodge them, and use your sword to reflect the energy balls. You can also go up to the lattice sides of the raised blocks and move around in the damaged arena. Continue doing the same till Ganondorf is defeated.
Escape With Zelda

After beating Ganondorf, the castle will fall apart, and the crystal that holds Zelda will vanish. She will tell you that Ganondorf was not able to control the powers of the goddesses and then ask you to follow her outside the tower. Run through the burning corridor, go down the path covered with debris and go through the golden gateway. Follow Zelda until she opens the gate for you,u and the two Stalfos will come at you the moment you enter the other room.
Kill both Stalfos with your shield and sword. After you have killed them, the gate will be opened again,n and Zelda will be able to follow you. Proceed ahead till you come across a collapsed bridge. Take the Longshot and shoot it at the wheel-like target in the other gate. Follow the way near the burning walls till you come across a tunnel filled with debris.
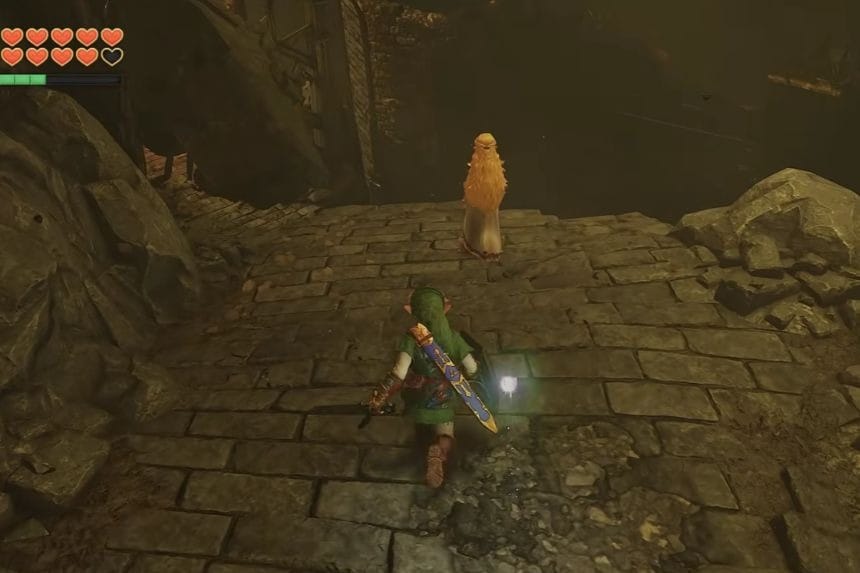
Stalfos in shields would appear, but Zelda would stop them in their tracks with a barrier made of golden light. Equip the Megaton Hammer quickly and break the rocks on your way. Do it quickly, because Zelda won’t be able to hold the enemies for long. Next, you’ll encounter some ReDeads that will be guarding a bridge of stone. They will be frozen in place by Zelda’s golden light, giving you the chance to kill them with the Master Sword.
Cross the bridge and enter another passageway that is sealed with a purple crystal. Zelda would kneel and pray, destroying the barrier. Go after her through the gap and get out. Watch as the castle of Ganondorf falls into pieces after you. When it is all over, Zelda tells you that it is all over now. Navi also apologises for being unable to help in the fight.
Ganon Boss Fight

Just when everything appears to be finished, Ganondorf emerges from the remnants of the castle. He takes the form of a gigantic monster known as Ganon, and the boss battle ensues once again. The entire area is surrounded by a ring of fire, and you’ll notice that your Master Sword is lodged in the ground at the centre of the ring. Open your Equipment screen, pick up another sword like the Biggoron Sword, and begin the battle. Note that the Biggoron Sword needs both hands to hold it, so you won’t be able to wield your shield.
Ganon attacks with two huge golden swords, so move around to avoid his attacks. Find the purple crystal located in his tail and attack it with the additional sword you picked up. Alternatively, you can use Light Arrows to get him out of the way. Continue hitting the tail crystal until it breaks, and the first phase of the battle will come to an end. Once the tail crystal is broken, Zelda will release your Master Sword back to you.
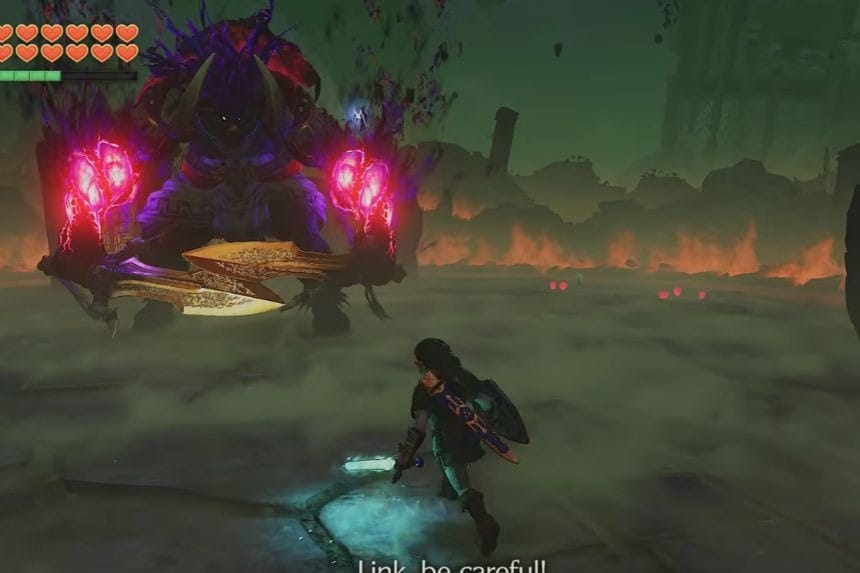
Always keep your Hylian Shield handy to deflect the strong attacks of Ganon, and find cover by hiding behind the shattered stone columns whenever possible. Identify the pink spots on his body and shoot them with the Light Arrows. Whenever Ganon stumbles, rush toward him and slash him with the Master Sword.
Be aware of the red lightning and the red parts of the ground, as they indicate the area where his magical spells will strike. Keep moving to dodge the attack, pick up any available heart, and drink a Green Potion in case you run out of magic.
In the last stage, Zelda will be using her powers to reveal the purple eye of Ganon on his forehead. Zelda will inform you that she has done what she could, and the rest is left to you now. Attack the revealed purple eye with the Light Arrows while dodging the red lightning pillars emerging from the ground. As soon as Ganon gets stunned, move toward him and hit him in the face with the Master Sword.
Ending
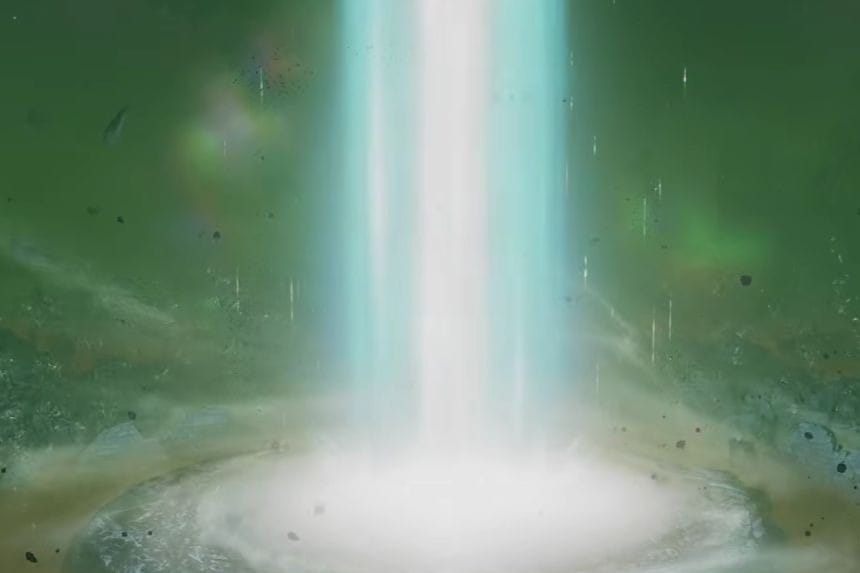
Upon defeat of Ganon, Zelda lifts up her hands, and there is a ring of light shining from above the ruins. Then Rauru summons the six sages and tells them to seal Ganondorf in the Evil Realm.
The sages appear above the Triforce and together put him into a column of blue light. Before disappearing forever, Ganondorf curses you and declares that he will escape and take his revenge. After Ganondorf is sealed in the Evil Realm, Hyrule is finally at peace. You and Zelda stand together while she tells you about the evil king who has been banished into the Evil Realm.
Zelda gets the Ocarina of Time and tells you that now she will return you to the moment before you first met her. Now you can finally come back to your true destiny. She plays the Ocarina, says goodbye, and thanks you for everything you have done. Fade out, credits roll,l and The Legend of Zelda: Ocarina of Time comes to an end.
