
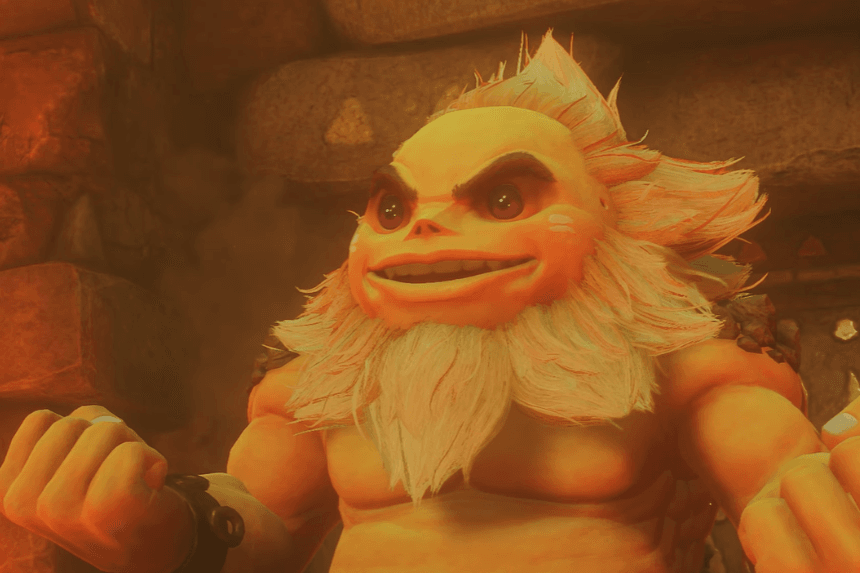
Zelda: Ocarina of Time Remake has many temples including the Fire Temple which has many puzzles, enemies, and collectibles. This walkthrough covers everything you need to complete it 100%, including all nine Goron rescues, five Gold Skulltulas, the Dungeon Map, Compass, Megaton Hammer, Boss Key, and the final battle against Volvagia.
Reaching the Fire Temple
Acquire the Goron Tunic before entering the Fire Temple to withstand the heat. Bomb the rolling Goron in Goron City to stop him. Obtain the tunic from the son of Darunia along with the information on a secret passage to Darunia’s room.
The statue in Darunia’s room can be pulled aside to reveal a passage into Death Mountain Crater. Go within; use the Hookshot to cross the broken bridge. Sheik will show up and teach you the Bolero of Fire. When reaching the Fire Temple, equip the Goron Tunic and enter.
Fire Temple Walkthrough
Free Goron #1 and Collect the First Small Key
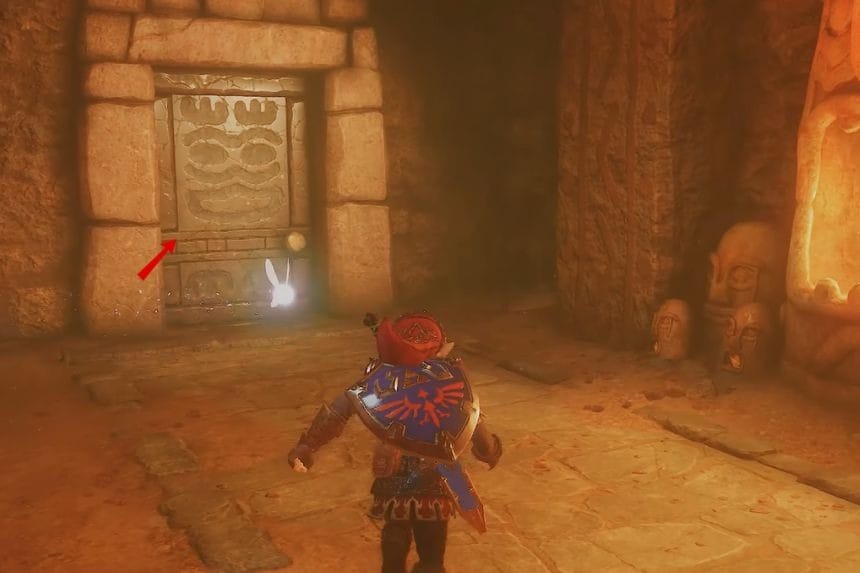
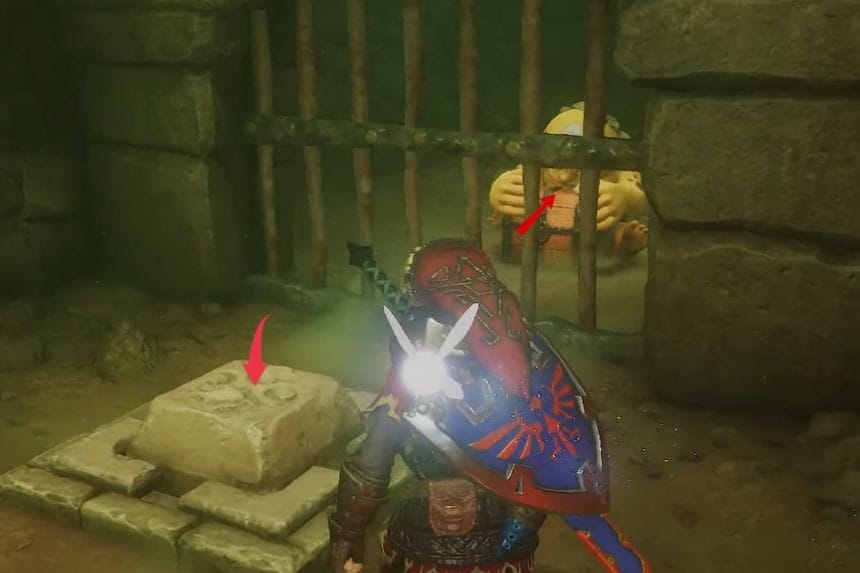
Go up the stairs within the entry room and open the door to your left. Darunia will inform you that Ganondorf has brought Volvagia back to life and has taken the Goron people captive. After Darunia leaves, jump across the platforms on the left side to reach the first captive. Then stand on the switch to free him and get the Small Key from the chest.
Free Goron #2 and Collect the Second Small Key
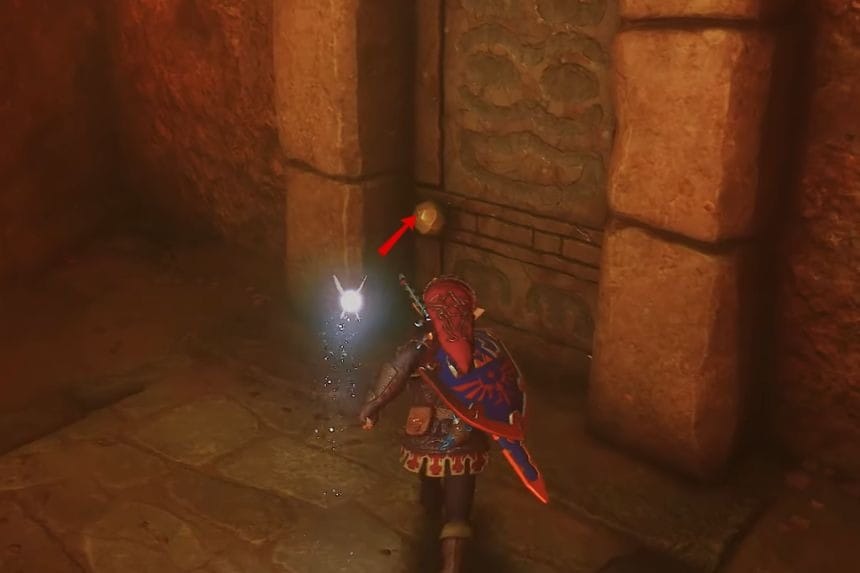
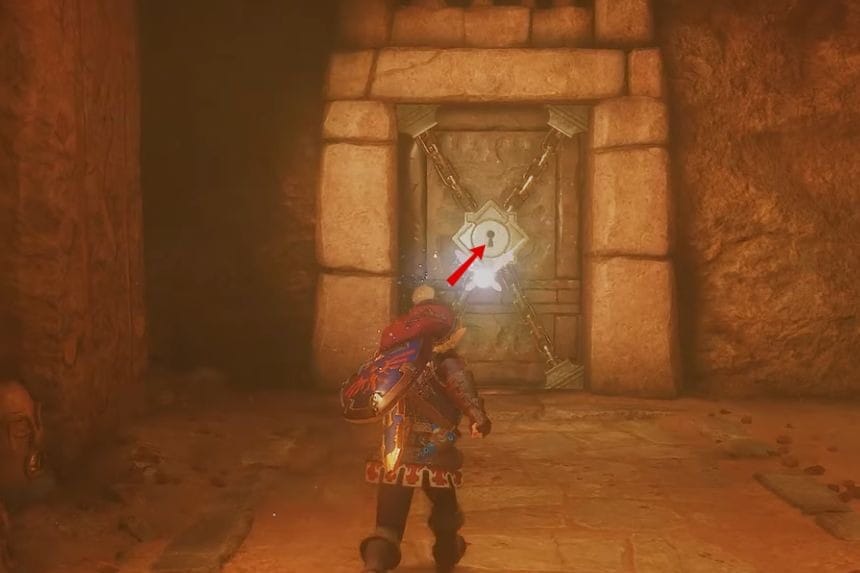
Go back to the main chamber and open the door on the other side of the room. After that, move across the room by using the floating platforms that sink upon contact. Next, reach the cage with the switch and set free the second Goron trapped there. Finally, get another Small Key from his box.
Gold Skulltula #1
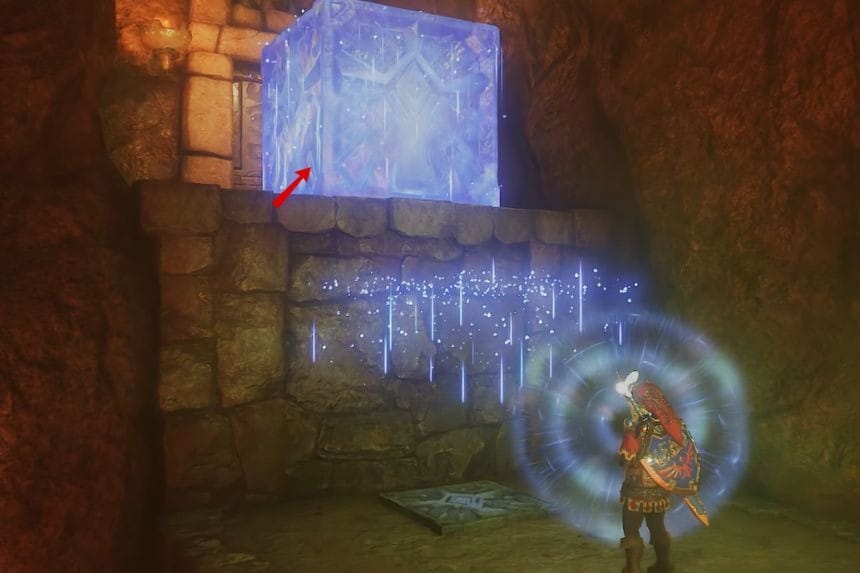

Go back to the main chamber and go to the other side of the river. Locate the stone raised platform and play the Song of Time to move the time block. Go up and go into the room next door. Defeat the Flying Tiles and Like Like, then collect the Gold Skulltula hidden behind the Like Like.
Free Goron #3
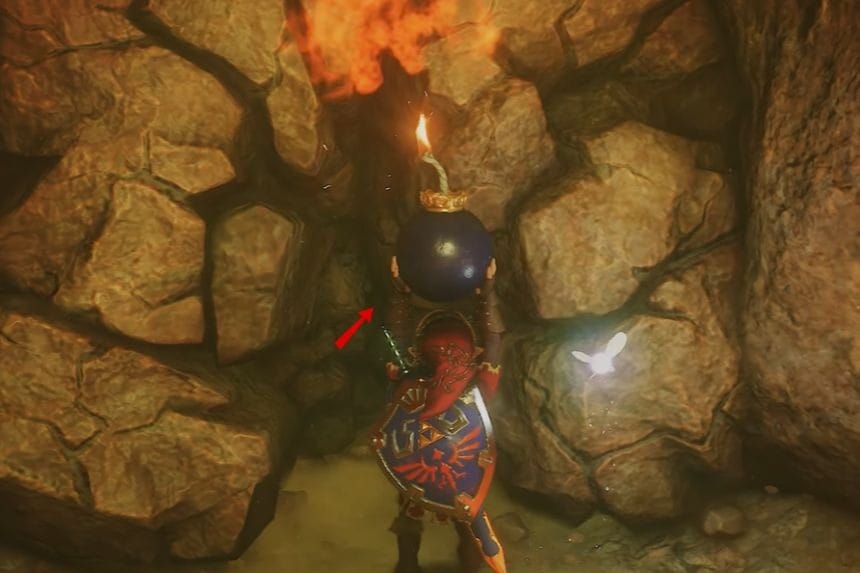
Proceed into the southern part of the main room and search for the wall that is broken. Use a Bomb to break through it, go inside and activate the lever to release the third Goron. Get the Small Key from the Goron’s treasure chest.
Obtain the Dungeon Map
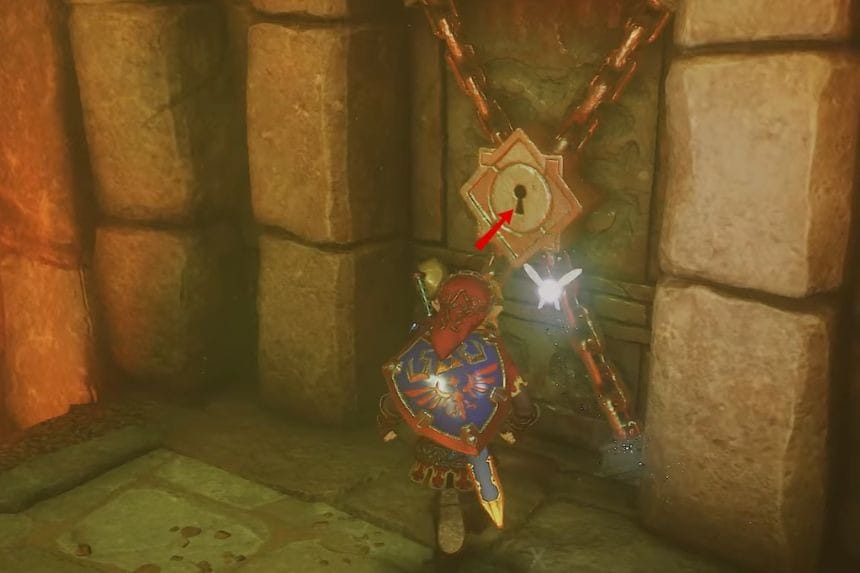
Unlock the door on the east side of the main area and proceed past the fire. Use one more Small Key to unlock the following door. Climb the wall and push the stone block onto the fire pillar to reach the upper floor.
In the next area, pull the block out from the wall and put it under the fire. Hit the blue stone to stop the fire, climb the stairs and shoot at the stone using your Fairy Bow. Finally, climb the fence up to the next level.
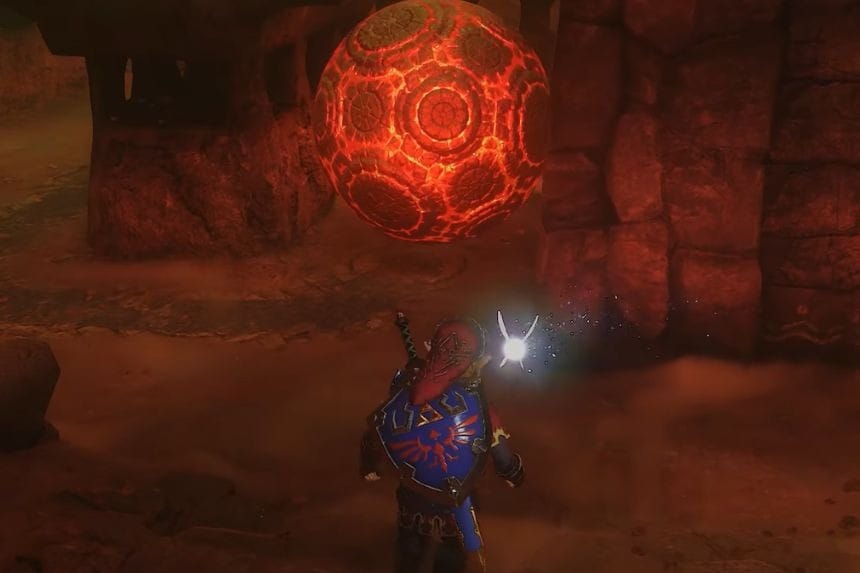
You will encounter an area where the boulders roll on the tracks. Proceed along the left path to get the Dungeon Map from the chest.
Gold Skulltula #2
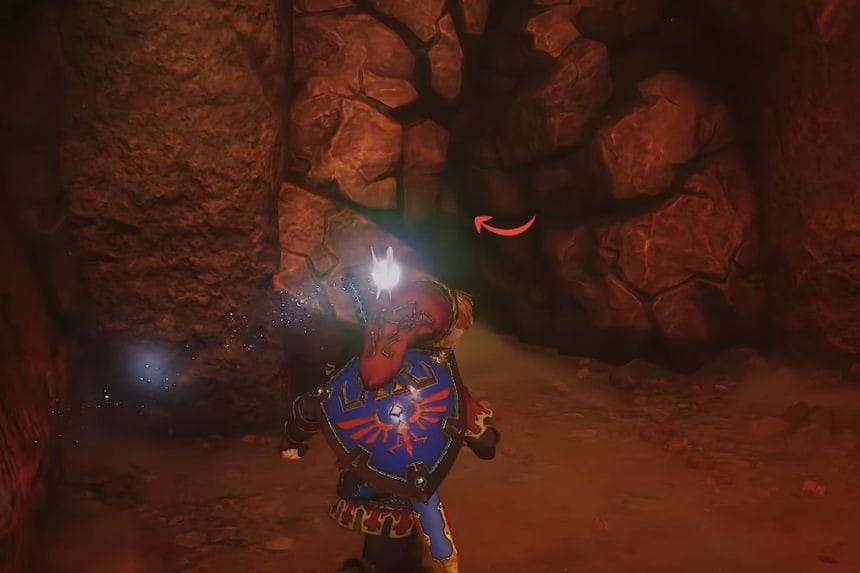
Head back to the room where the boulder is located and take the path that goes to the right. Make sure to search for a broken wall that can be found on the way and use explosives to expose a secret area. Collect your reward in the form of the Golden Skulltula from this area.
Free Goron #4 and Obtain the Compass
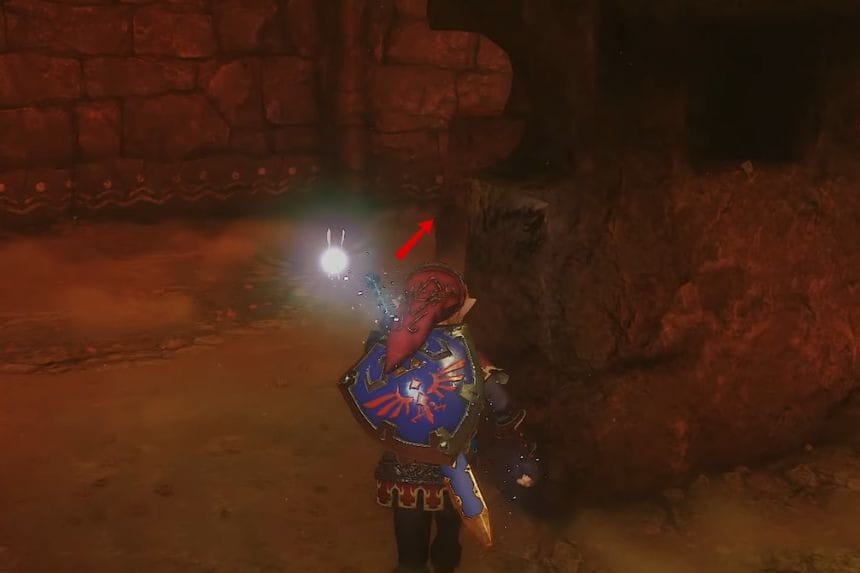
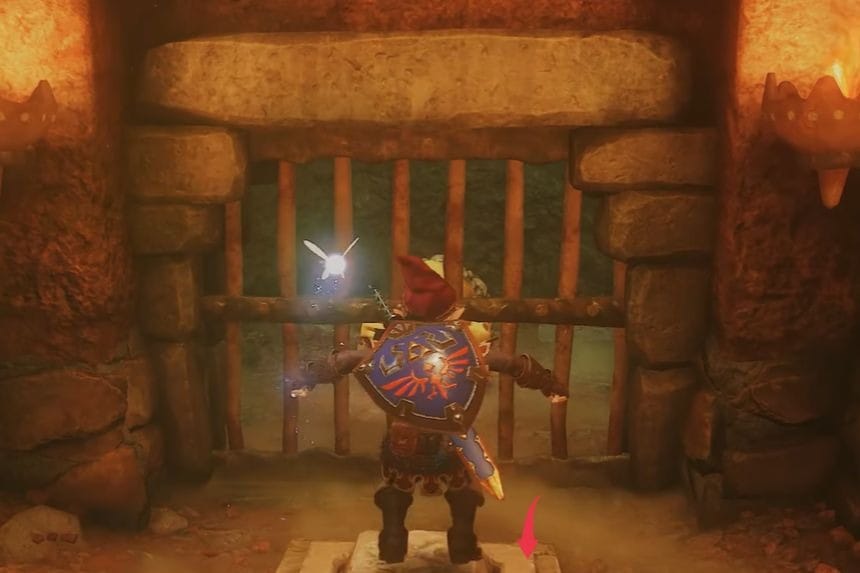
Proceed ahead through the boulder area until you see another captive Goron. Activate the switch to free him and collect the Small Key from his chest.
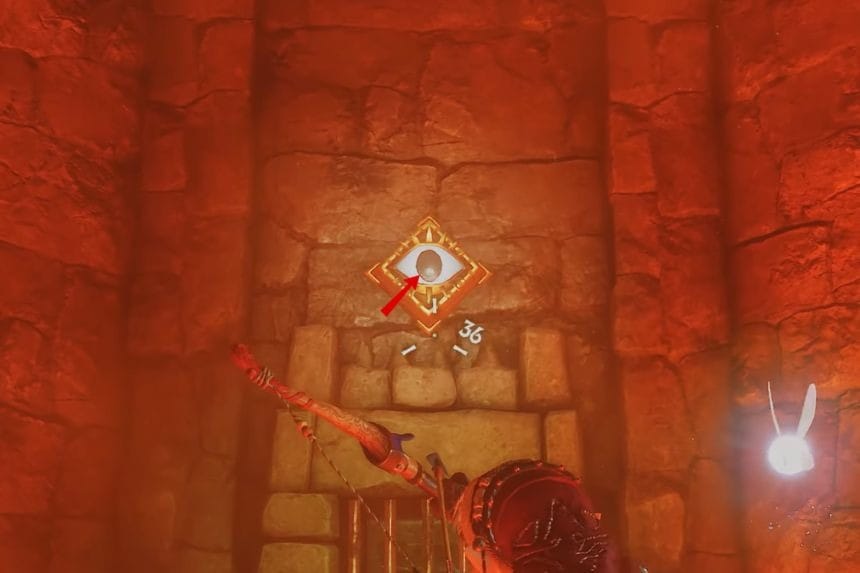
Turn around and unlock the door nearby you. With the help of the Magical Bow, shoot the eyeball above the door that is on the right and enter the area behind it to find the Compass.
Free Gorons #5 and #6
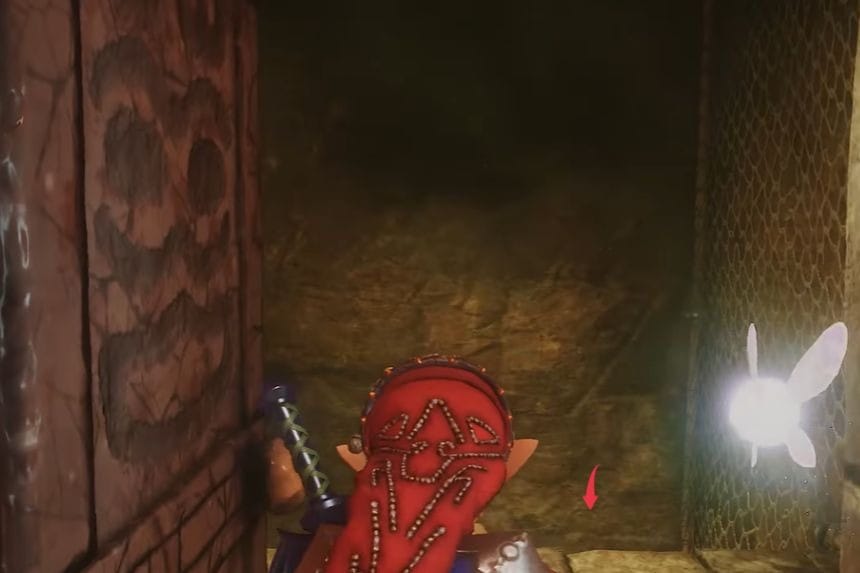
Exit the Compass Room and navigate to a new section that features suspended metal platforms. Simply cross over each platform, while moving on quickly, since activating it will trigger fire walls in the room. Look past the locked door and keep going.
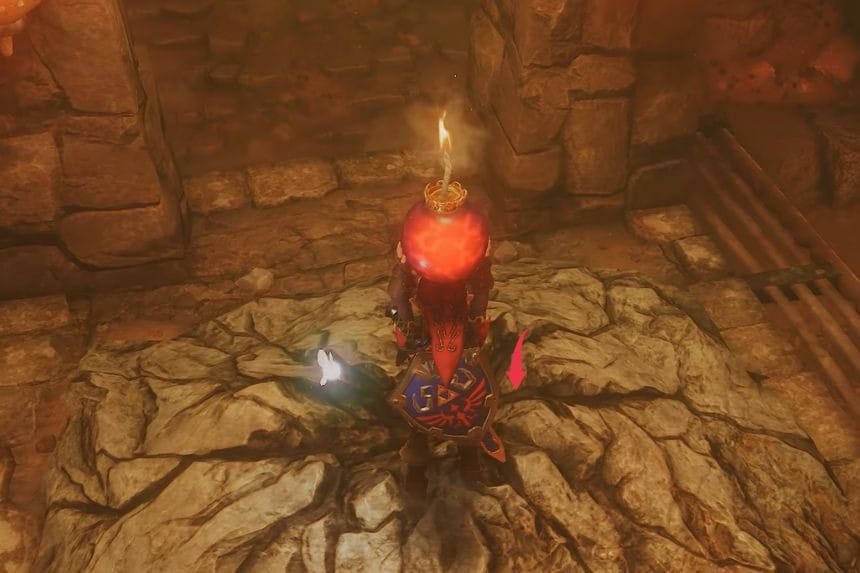
Now push the stone block so you can get to the upper part of the room. As you walk on platforms toward the southern part of the room, you will see the fifth Goron. Press the switch and free Goron, then collect the Small Key.
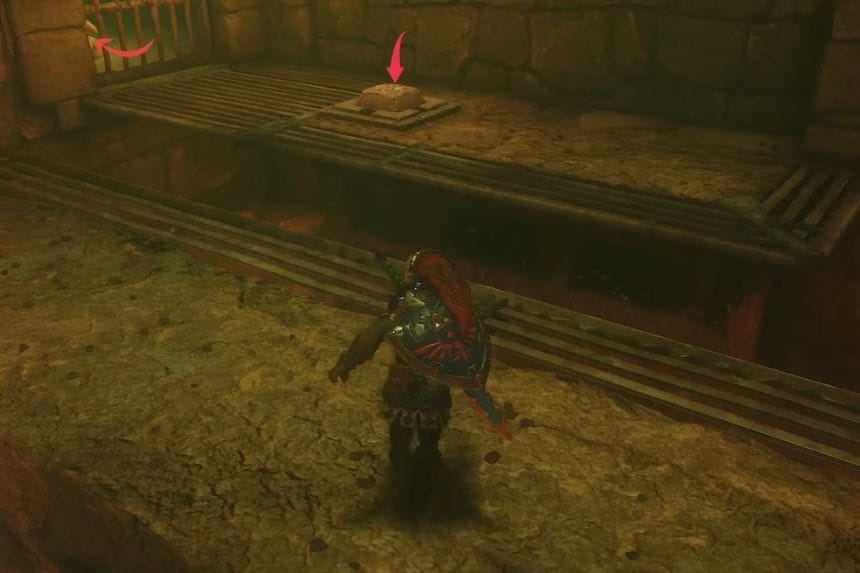
Next, check out a pile of rocks near the central part of the floor. Use a bomb to displace some of these rocks, so that you can drop down through the opening into the last cell. Rescue the sixth Goron, collect the Small Key and return back up to the room.
Gold Skulltulas #3 and #4
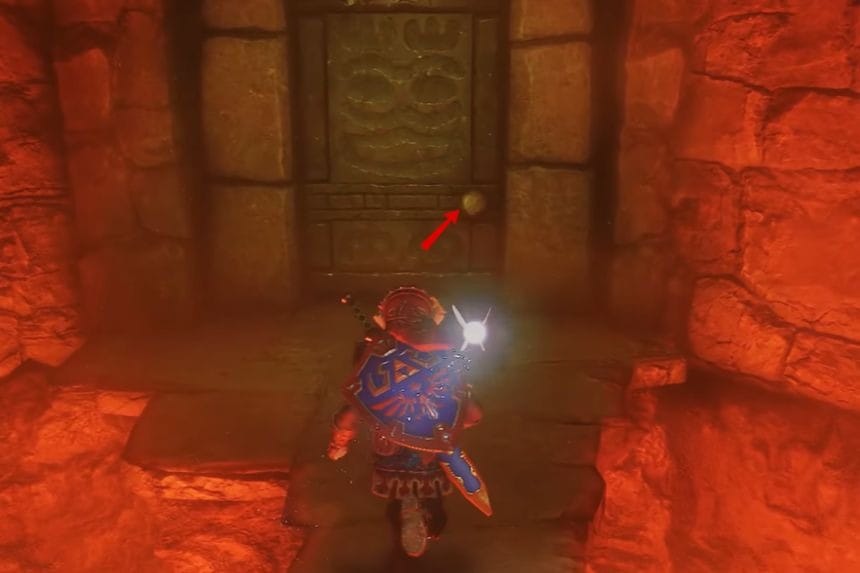
Go back to the fire wall room and walk to the edge where the platform is located. Play the Scarecrow song to summon Pierre, and use the Hookshot to get to him and continue upwards.
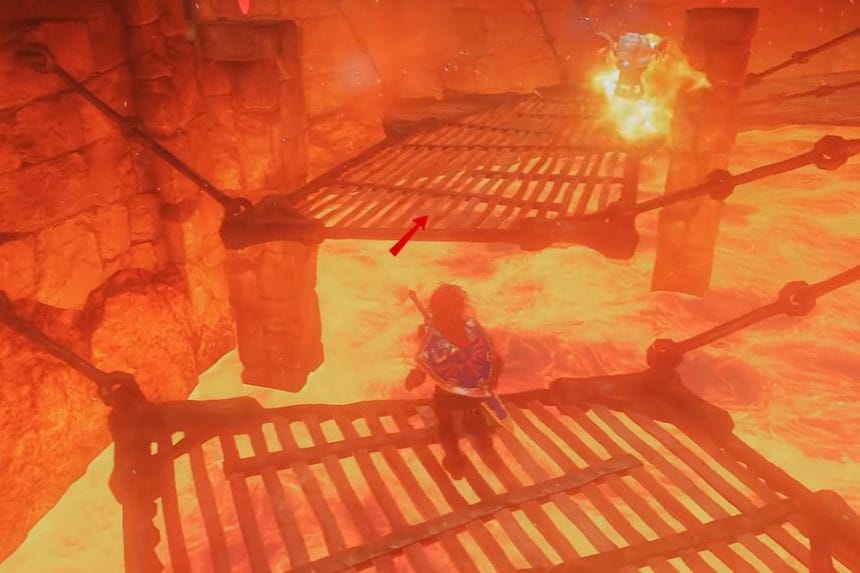
Climbing up through the metal nets, you will go to the next room. Check around the walls of the room and locate the third Gold Skulltula. Use your Hookshot to collect it.
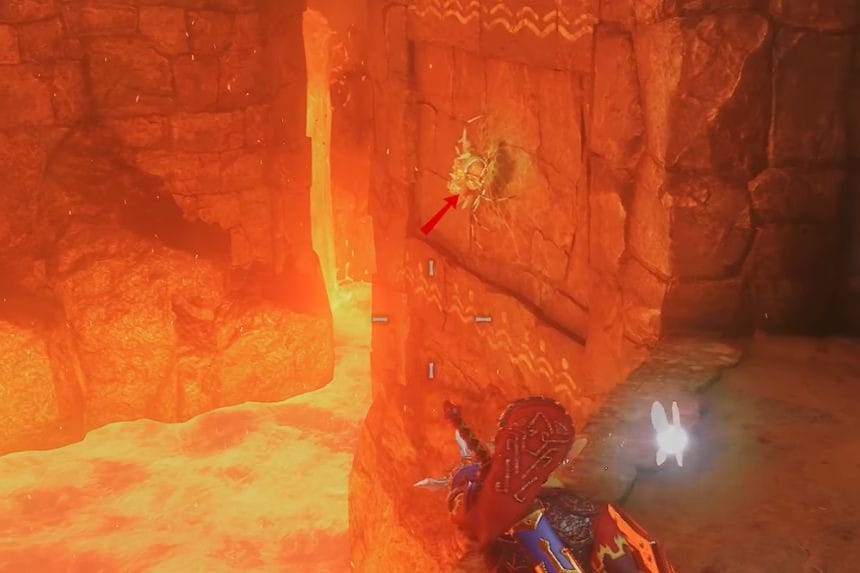
Go into the next room and check the right wall, you will see the fourth Gold Skulltula. Again, use your Hookshot to collect this target, There are also three chests in this room containing Rupees.
Free Goron #7

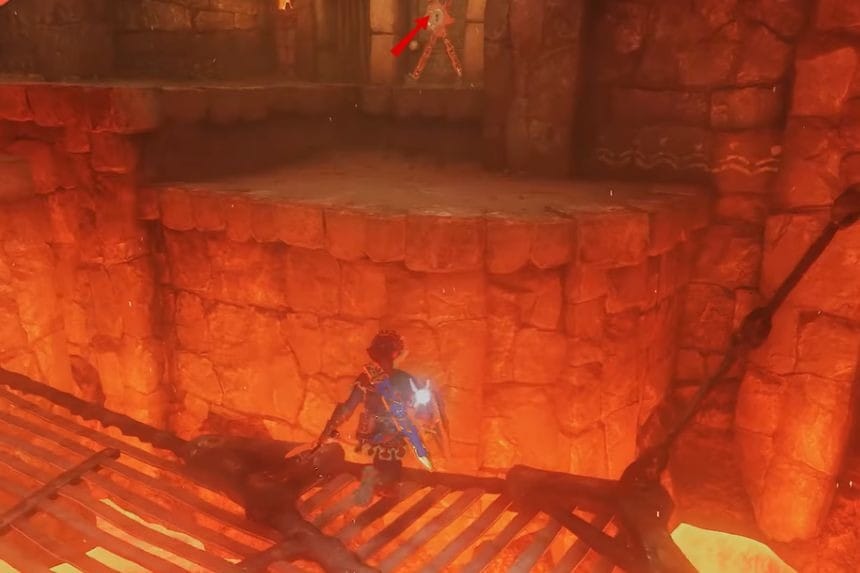
After returning to the area with metal platforms, you can use a Small Key to open the door you went past before. This new area is filled with spinning wooden pillars, fire traps, and walls of fire that cannot be seen.
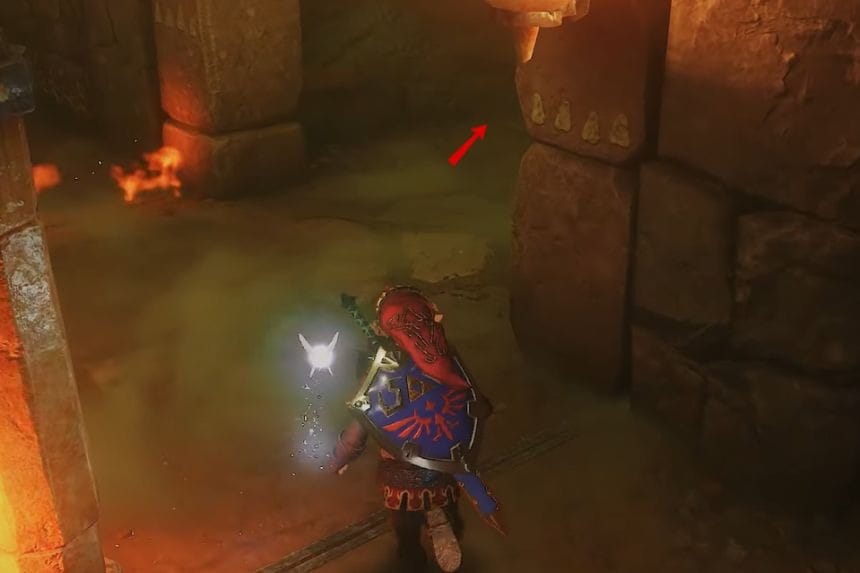
You can avoid all these traps until the area is reached where a stone block is located. You should move it onto the button in front of it. After the flames are disabled, make sure to go to the upper right corner of the room and free the seventh Goron. After that, you will be able to harvest the Small Key stored in the chest next to him.
Defeat the First Flare Dancer
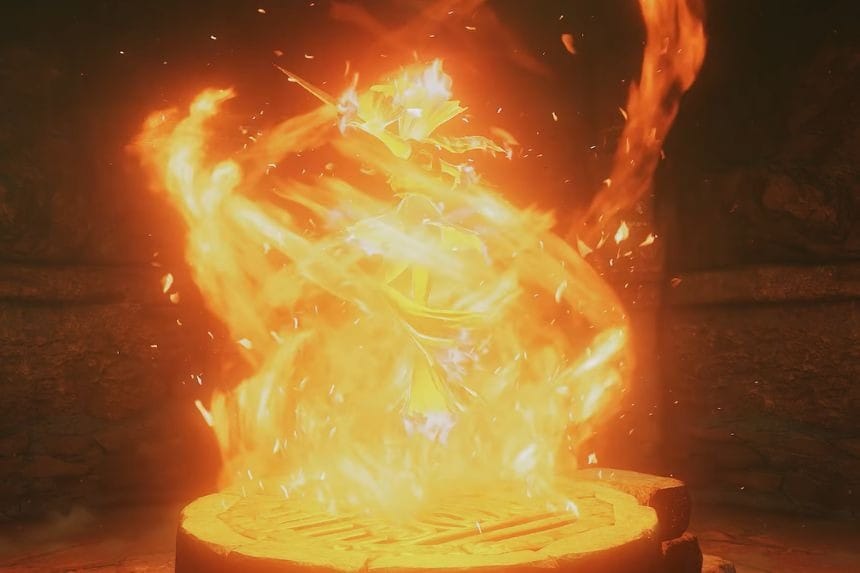
Enter the new room through the unlocked door and confront the Flare Dancer. Utilize the Hookshot to bring its metal core out of the flames and strike it with your sword. As the Flare Dancer returns to the fire, repeat this process. Once you defeat it, move away as it will explode.
Obtain the Megaton Hammer
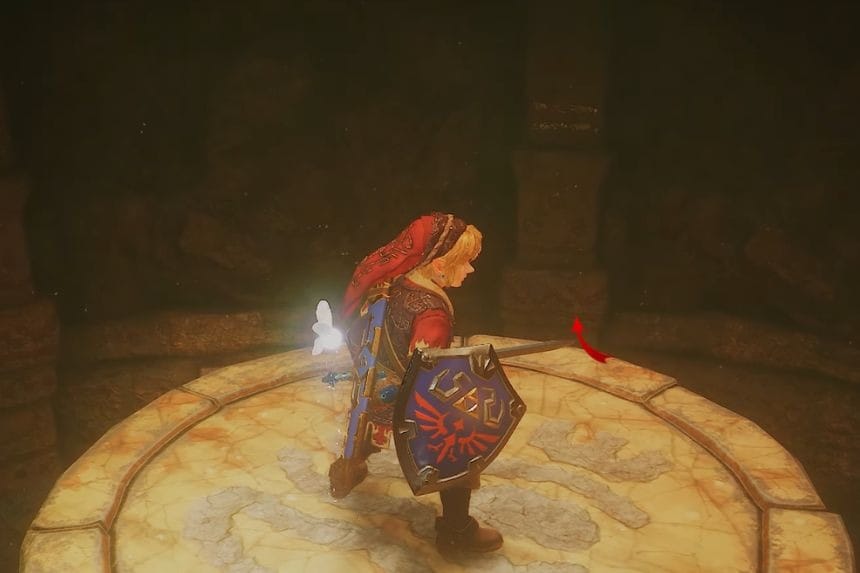
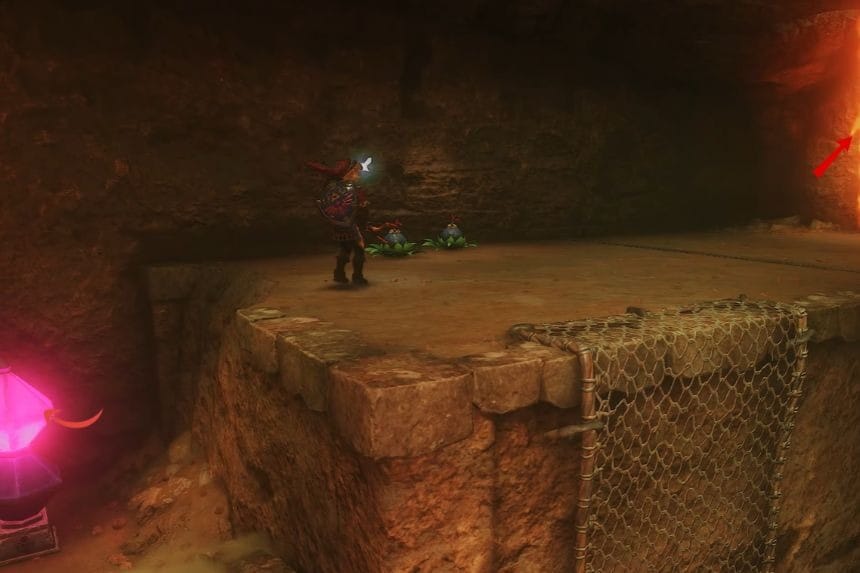
Go to the center platform to reach the next level and then climb the metal fence. Use Bomb Flowers to push the diamond-switch and pull down the fire barrier. Use another Bomb Flower to push the switch and move quickly across the room before fire reappears. Climb the metal gate once the fire disappears.
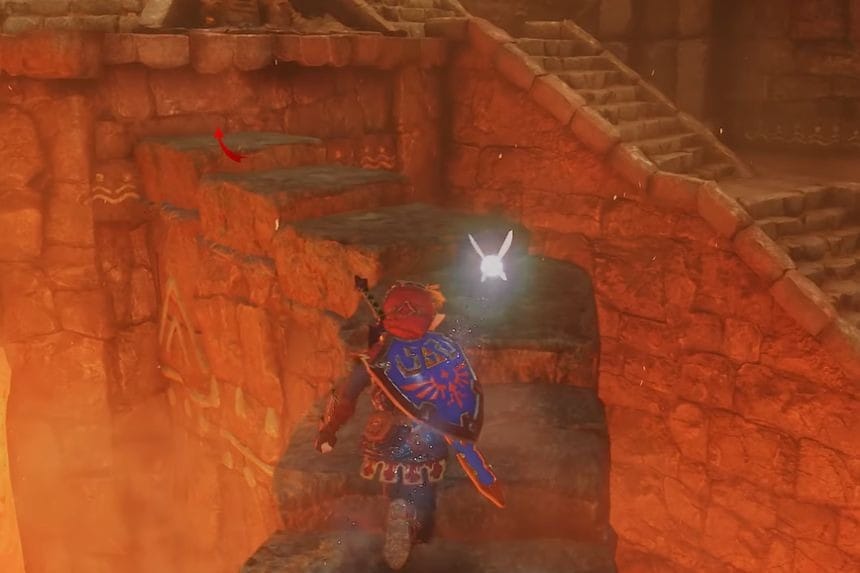
Step on the switch on the way to bring the spiral staircase up; walk up to the top and find a chest with the Megaton Hammer.
Returning for the Remaining Collectibles
Free Goron #8 and Obtain Another Small Key
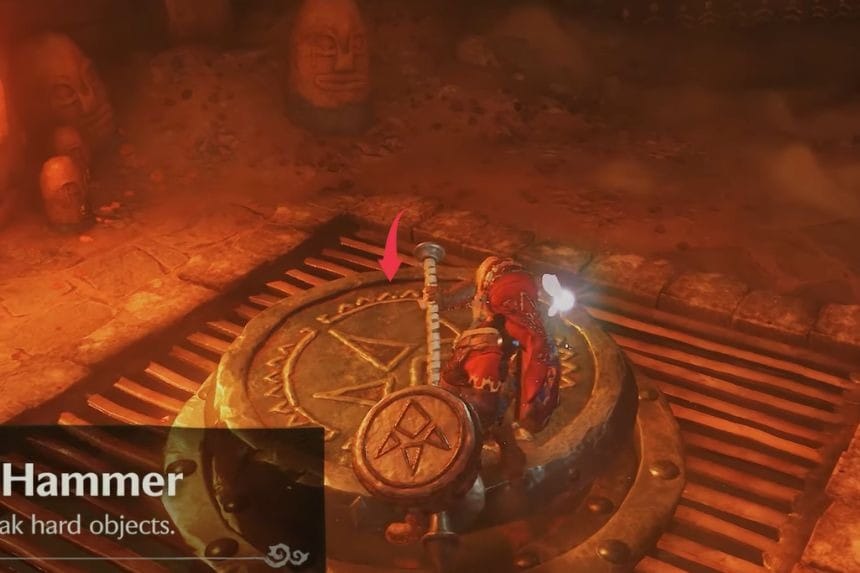
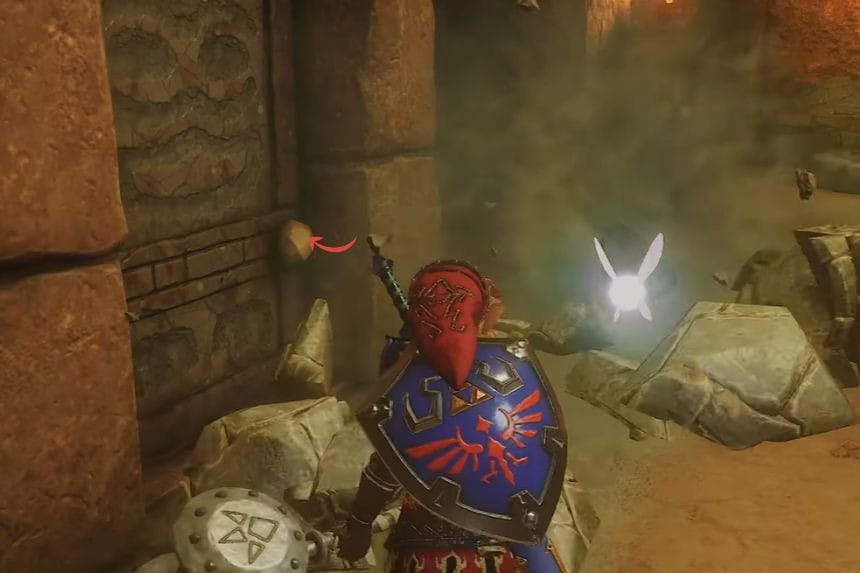
Utilize the Megaton Hammer on the round platform to bring it down to the lower level. Destroy the stone structure that is obstructing the way, and then go inside and defeat the Fire Keese. Hit the switch with your hammer and make a staircase appear.
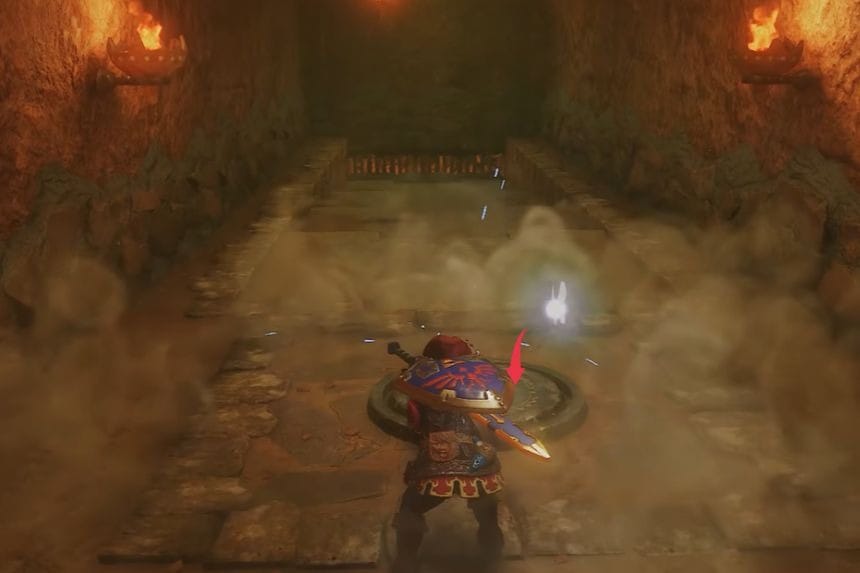
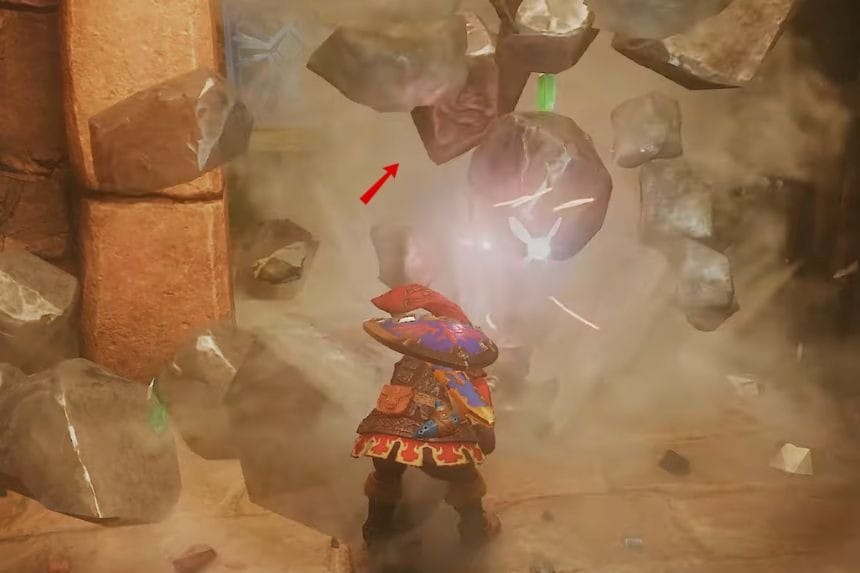
Move downstairs, and then strike the round platform to open another door. Destroy the dark rocks and play the Song of Time to shift the time block. Fall down into the opening and press the switch to rescue the eighth Goron. Take the Small Key from him.
Gold Skulltula #5
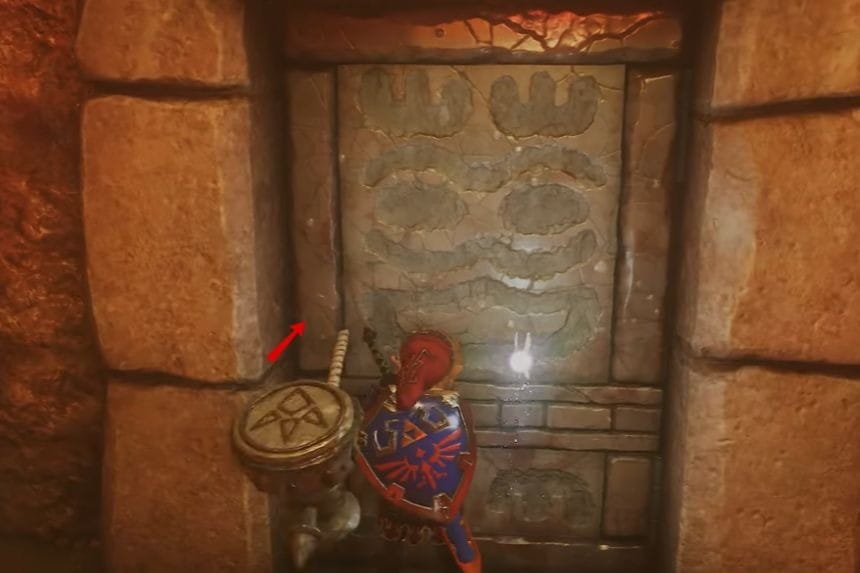
To get to the lower level, use the hammer to break the platform that is nearby. Then head back to the beginning of the area and destroy the stone that is blocking the northern passage. Unlock the door by using the last of your Small Keys.

In the next area, defeat the Torch Slugs. If you hit one of them with the hammer, the other will fall over too. Continue to the next place, where there are Flying Tiles and a Like Like. Break the black rock using the Megaton Hammer to locate the last Gold Skulltula before collecting it with the Hookshot.
Defeat the Second Flare Dancer
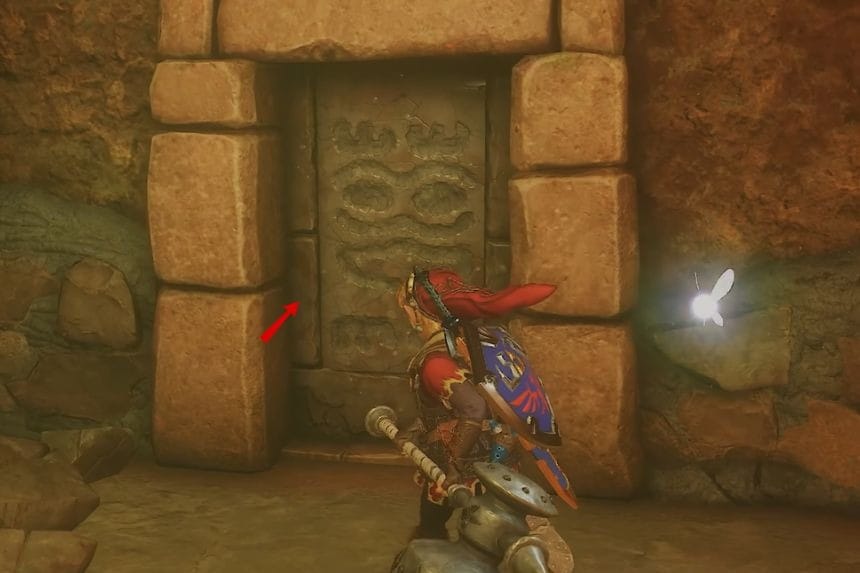
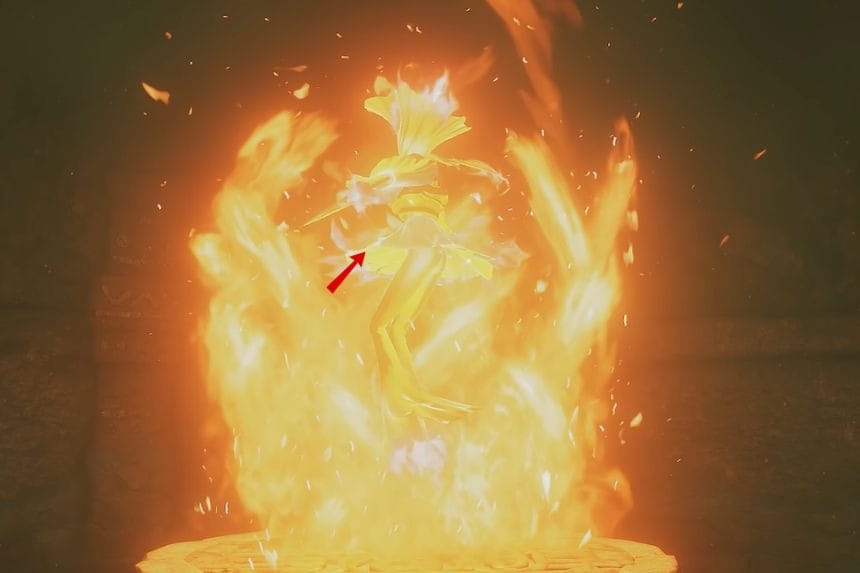
Break the stone formation found in the next room to uncover yet another Flare Dancer. Drag its metallic core from the fire using your hookshot, and then attack it with your sword. If it moves rapidly, you can also use the Megaton Hammer to drop it. Once it is defeated, open the chest to acquire the Red Rupee.
Free Goron #9 and Obtain the Boss Key
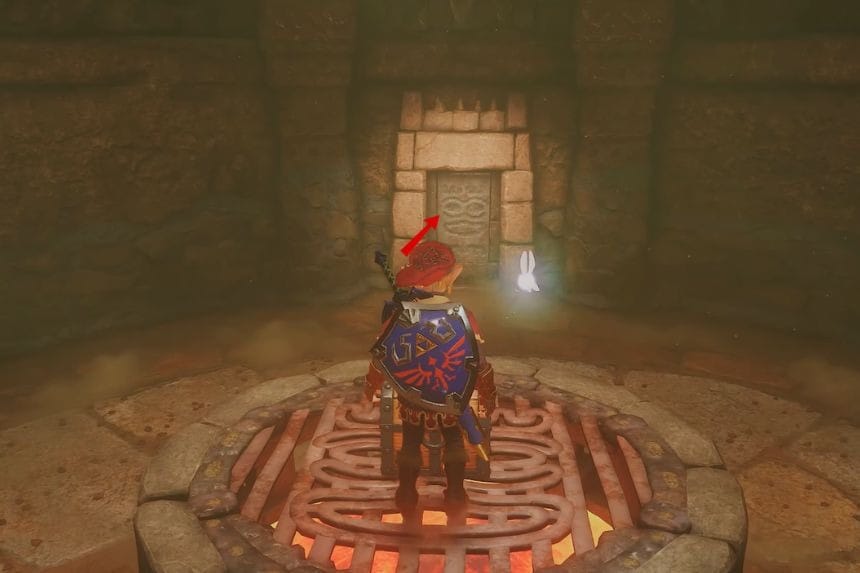
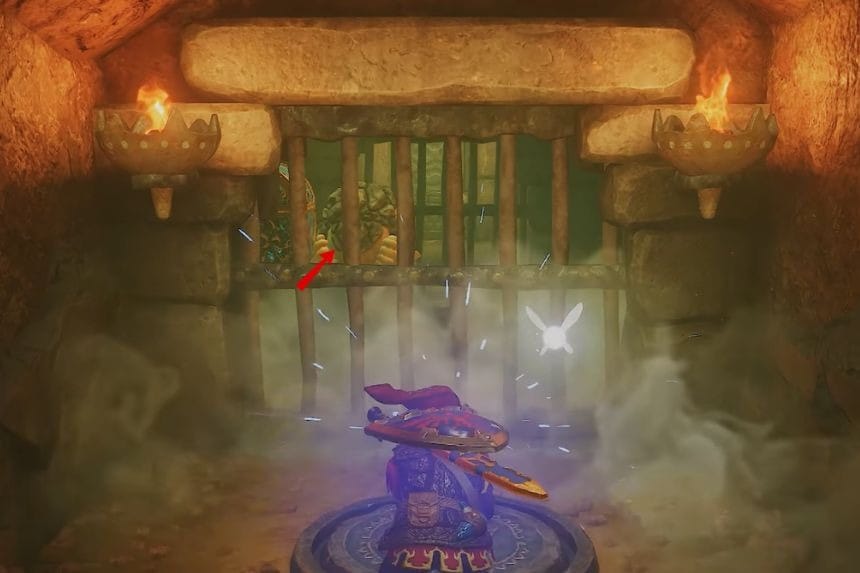
Enter the southern room and strike the switch with your Megaton Hammer to open the final Goron’s cell. Free the ninth Goron and collect the Boss Key from his chest.
Defeat Volvagia
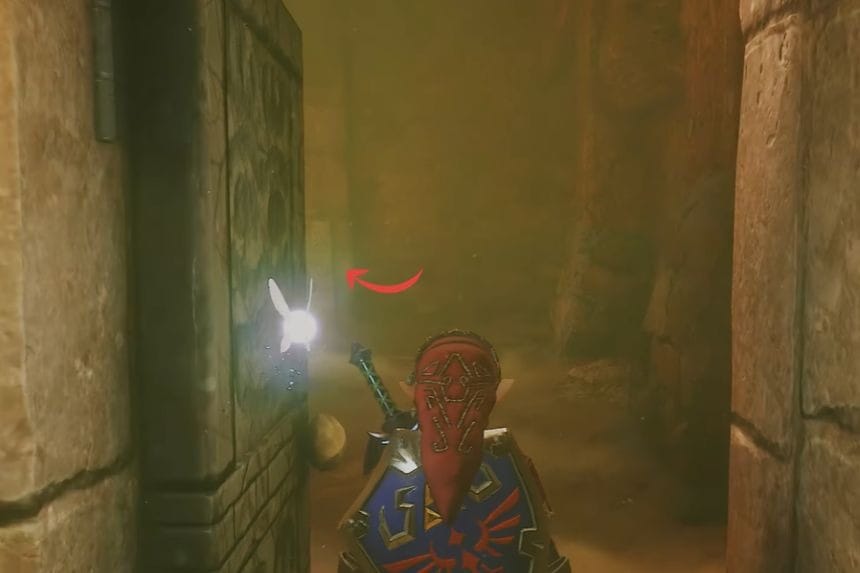
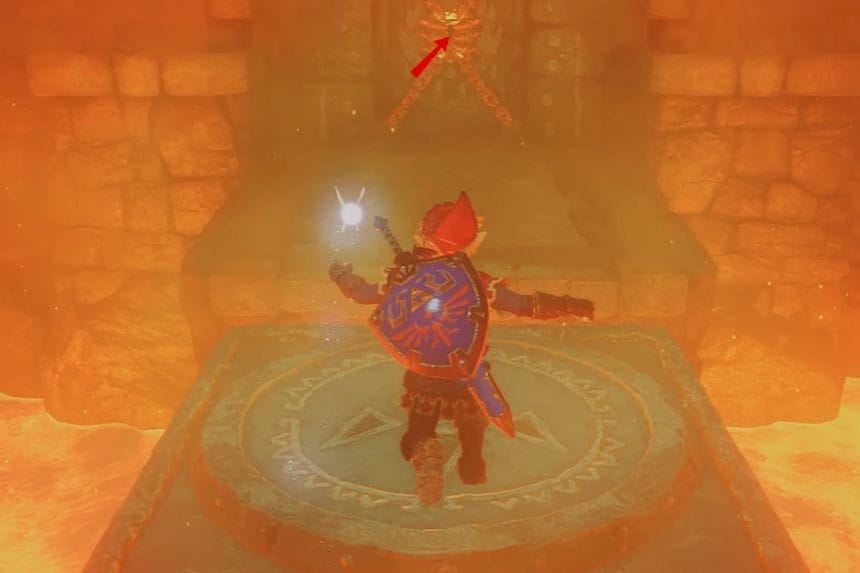
Enter the boss chamber and leap into the battlefield to initiate the combat. Volvagia rises from the lava and spits out flames at Link. It also flies through the sky before diving at Link, burning the floor with a tail of flames. At times, it flies to the heart of the arena and drops fiery rocks.
Whenever Volvagia pops up in the arena, go up to it and pound the head using the Megaton Hammer. In case it spits fire, get close from the side. After the head goes down, use the sword on Volvagia.
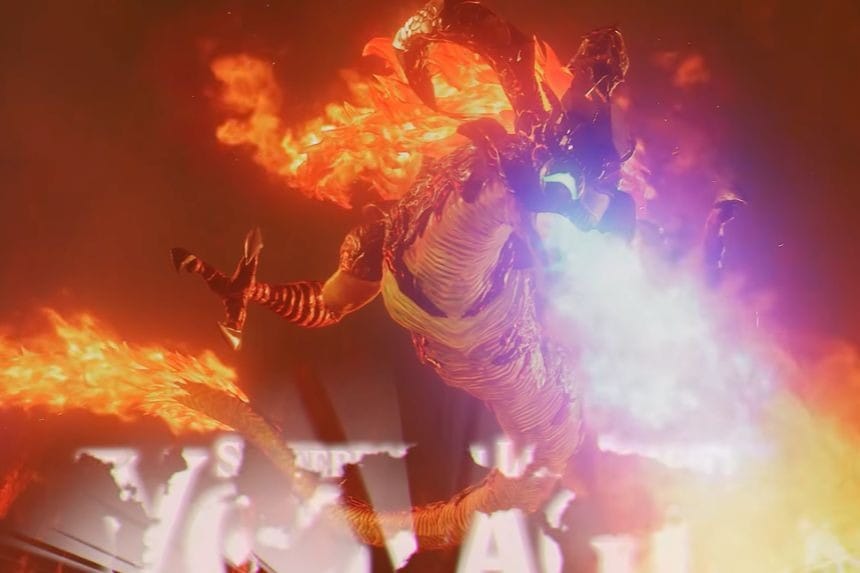
As Volvagia moves to the edge of the arena, follow it, and dodge the running down attacks. If it does scream from the middle, prepare to avoid the rocks dropping from the sky.
Sometimes, Volvagia drops into the lava and then hits the surface again. While avoiding the lava, use the hammer and sword to bring it down.
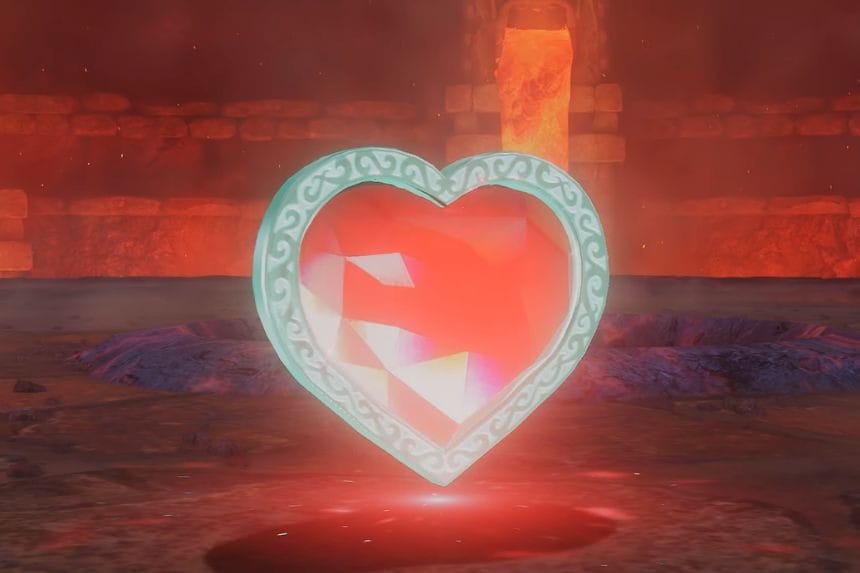
Collect the Heart Container and leave through the light to complete the Fire Temple and receive the Fire Medallion.
