
The Shadow Temple is among the most difficult dungeons in the Zelda: Ocarina of Time Remake game. The dungeon has dark passageways, secret passages, traps, and enemies. In order to access all areas in the dungeon, you require various items such as the Lenses of Truth, Hover Boots, Megaton Hammer, and Longshot. There are five Gold Skulltulas, several Small Keys, the Dungeon Map, the Compass, and the Boss Key to collect. Follow this walkthrough to find all the collectables, solve the puzzles, and defeat Bongo Bongo at the end.
All Collectables & Walkthrough in Shadow Temple
Enter The Shadow Temple
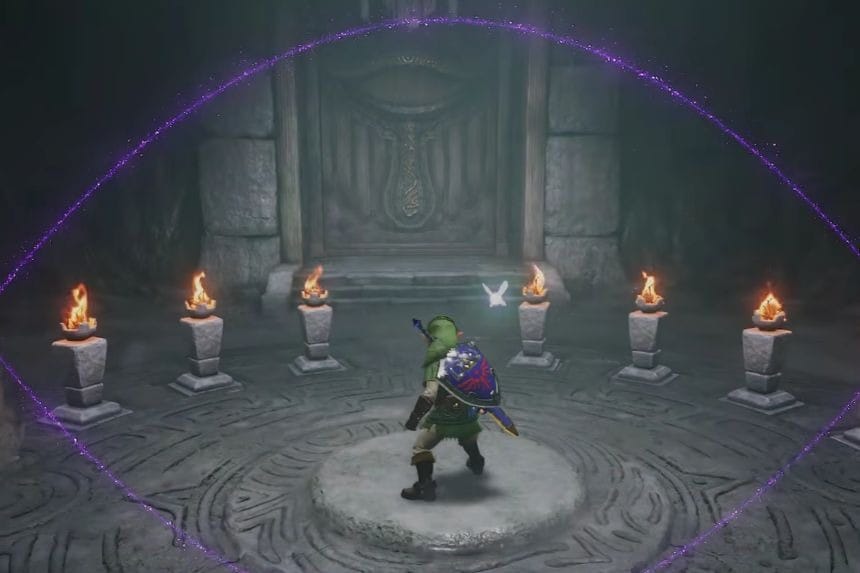
After learning the Nocturne of Shadow, play it on your Ocarina to be teleported to the Graveyard. Traverse through the dark passage to get to the entrance of the Shadow Temple. Make sure that you bring the Lenses of Truth because you will need them to solve puzzles inside the temple.
When you get to the entrance, place yourself at the centre of the platform and use Din’s Fire to light up the nearby torches. This will open up the way to the Shadow Temple, but remember to watch out for your magic meter, as you will need it.
Dungeon Map

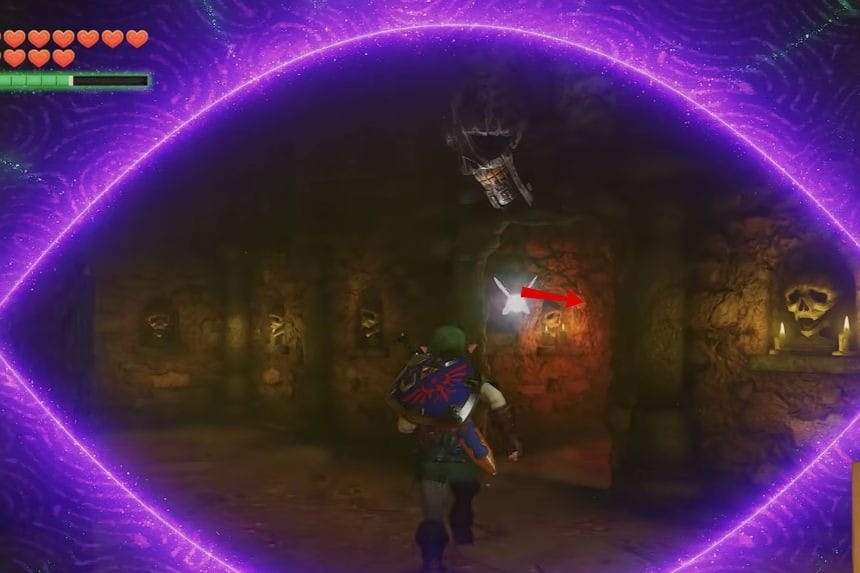
Explore the dark hallways on the ground floor and be aware of the Flying Pots, which are disguised as ordinary pots. You may smash them to gain Rupees and hearts; however, a few of them will attack once they see you approaching. Utilise your Longshot to get over the chasm leading up to the big stone face, and then use the hallway until you reach the Sheikah eye door. Go through the door into the room with many pots and torches. Defeat all the red enemies in the room to make a chest appear on the stone platform. Open the chest to obtain the Dungeon Map.
Hover Boots
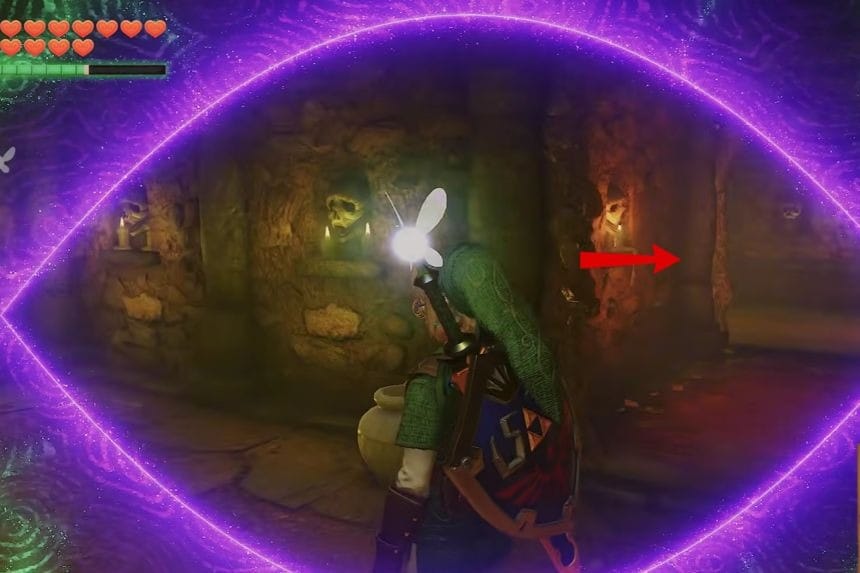
Proceed through the next Sheikah eye door, and continue moving ahead along the passageway until you reach the purple barred door. Once you have the Lenses of Truth, you will be able to move straight through it. In the room beyond the door, you will see a fog-filled room with several hands emerging from the ground.
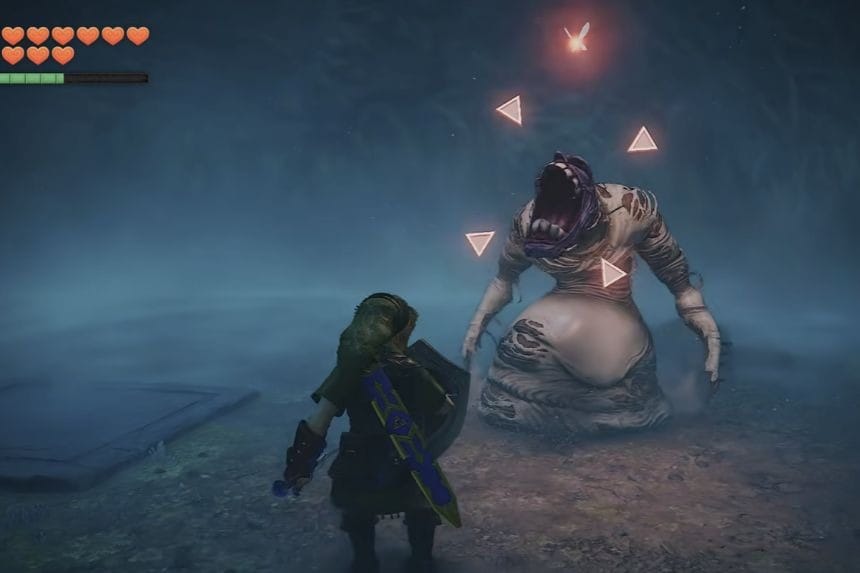
Head toward the centre of the room and engage in battle with Dead Hand. Try to avoid the hands emerging from the ground as they attempt to grab hold of you, and strike the monster when it emerges from the ground. You can also use Din’s Fire to destroy the hands. Once you have beaten Dead Hand, you will be rewarded with a chest containing the Hover Boots. These boots allow Link to hover over small gaps and even walk on thin air for a few moments.
Rotator Puzzle

Go back to the eye door and then move into the room where there is a statue with wings between two skull pillars. The statue provides you with a puzzle on how to locate the skull of truth, but you do not have to interact more with the statue.
Go through the next Sheikah eye door and descend via the stairs to level B2. This floor has a number of dark tunnels with chains, wooden planks and secret passages. You have to get the Megaton Hammer and destroy all the wooden planks which are obstructing you. Use the Longshot to reach targets across the gap and keep moving in the maze.
You will come to a room with a big rotating stone structure. Use the Lenses of Truth to reveal the secret passageways and then search the surroundings. Keep your Hammer and Longshot handy, as you will be needing them in this area.
Small Key #1
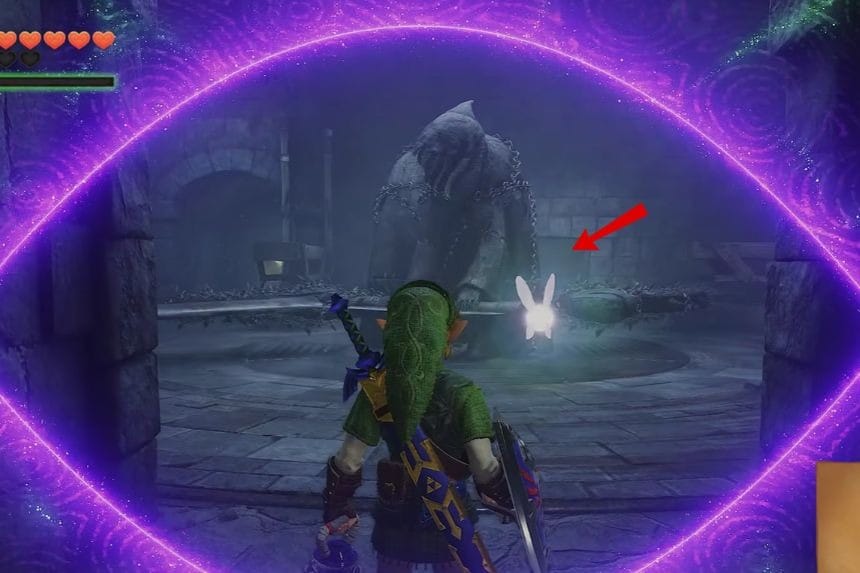
While exploring B2, look for a side room containing a chest. Open it to collect your first Small Key. You will need it to unlock a door further into the dungeon, so make sure you don’t miss it.
Compass
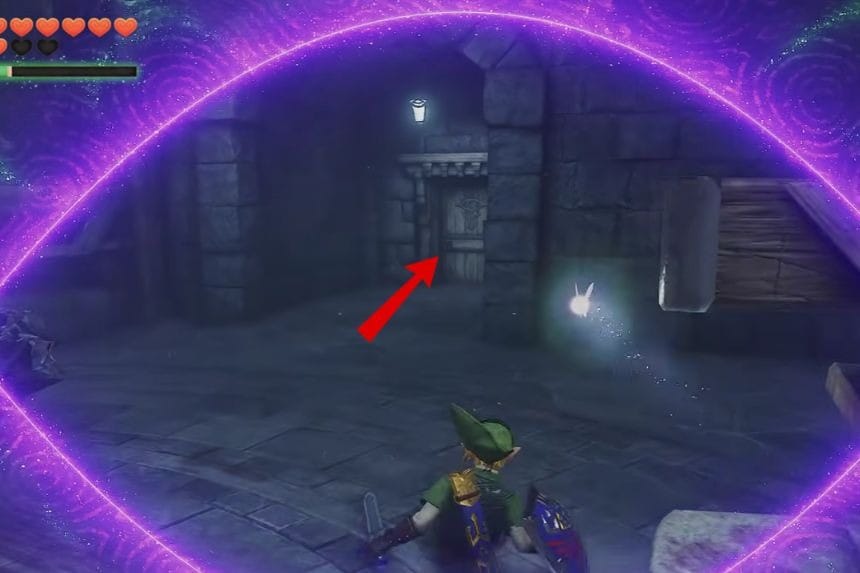
Keep going through the Sheikah eye door until you come to an area where there are mummies wrapped in bandages attacking you. Slash them all down with your sword and make your way towards the gold chest in that room. The item in this chest is the Compass, which shows you where the chests are on the Dungeon Map.
Gold Skulltula #1
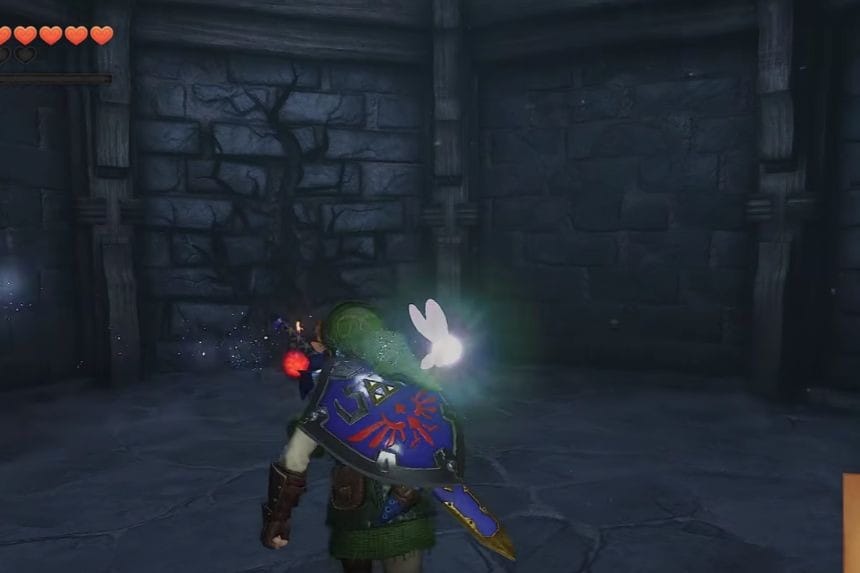


Keep on moving around in B2 corridors until you get to the section where there is a narrow pathway. Here, look out for the Gold Skulltula that hides in the section and kill it using your sword or Longshot. The token will give you your first Gold Skulltula of the Shadow Temple.
Gold Skulltula #2
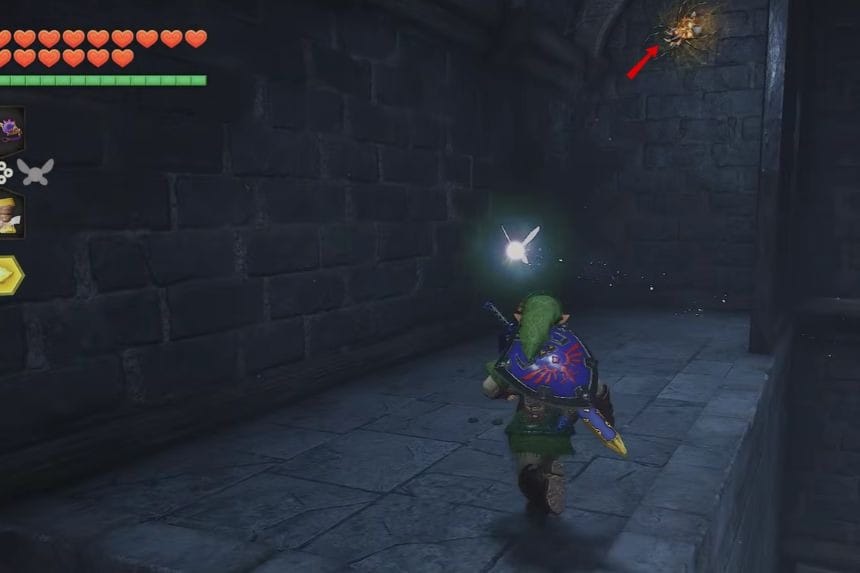
Just keep moving through the corridors and look on the walls and in the corners for the second Gold Skulltula. Use the Lenses of Truth to see any hidden things in the darkness. Kill the spider and get the token for Gold Skulltula #2.
Small Key #2
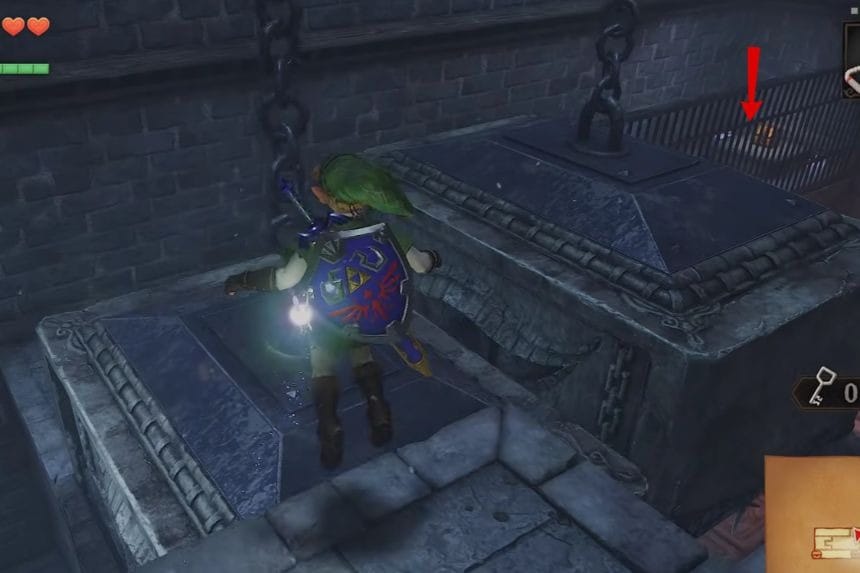
Take your first Small Key to unlock the wooden door that is found past the Compass room. Defeat all the enemies that come your way in the following room and proceed along the spiky corridors. Eventually, you will find another chest which contains Small Key #2.
Small Key #3
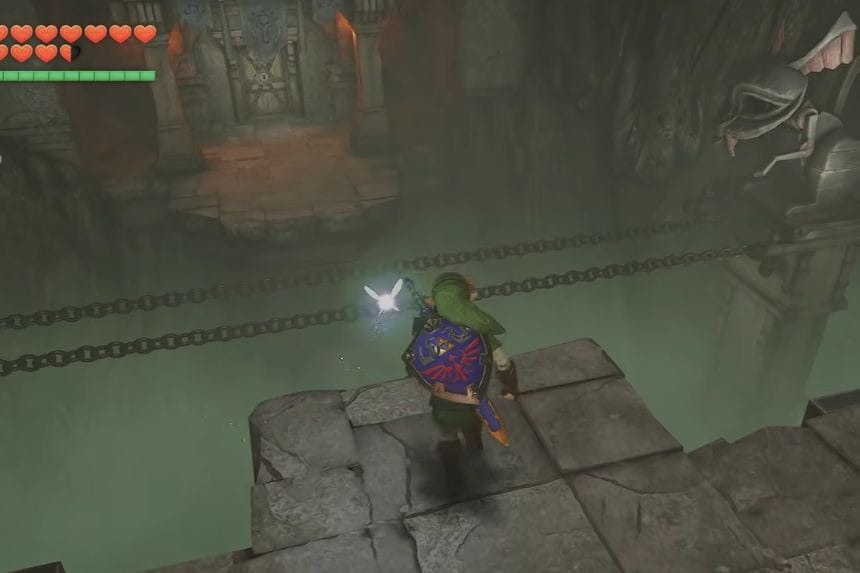
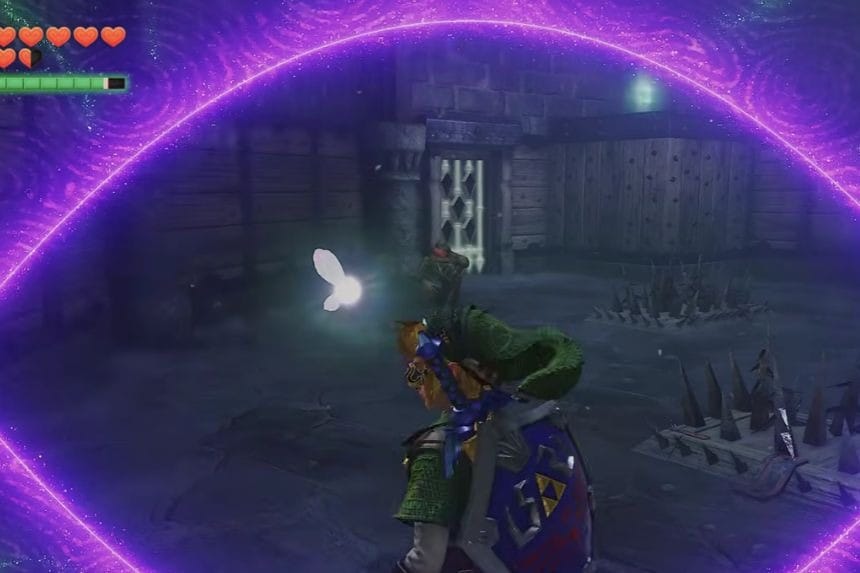

Go to B3 and use the purple gate that shines. There will be a Business Scrub in the dark room. The Business Scrub sells you a Green Potion, Magic Jar, and Business Scrub Seed for 30 rupees. Pass by other rooms after the Business Scrub and kill the red glowing creatures. After finding the next door with the Sheikah eye on it, open it and go into the room after it. Find the chest with Small Key #3.
Gold Skulltula #3
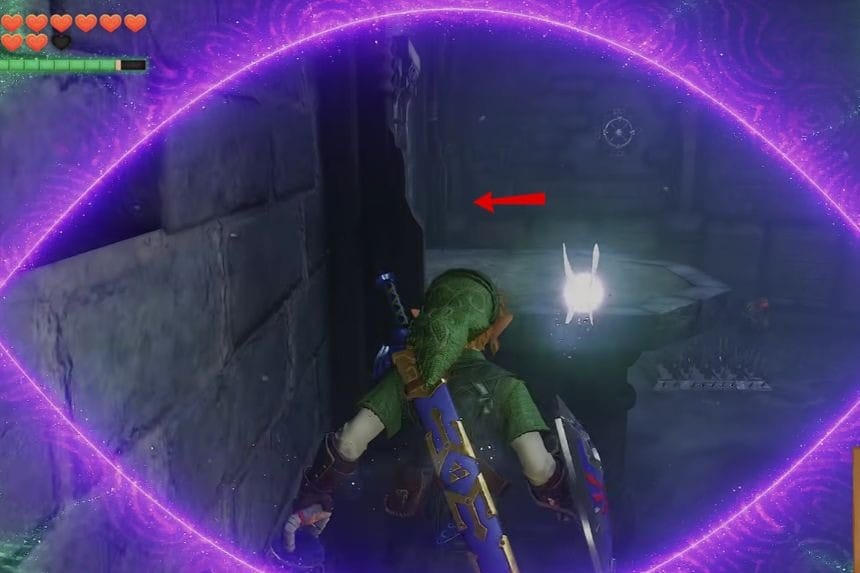
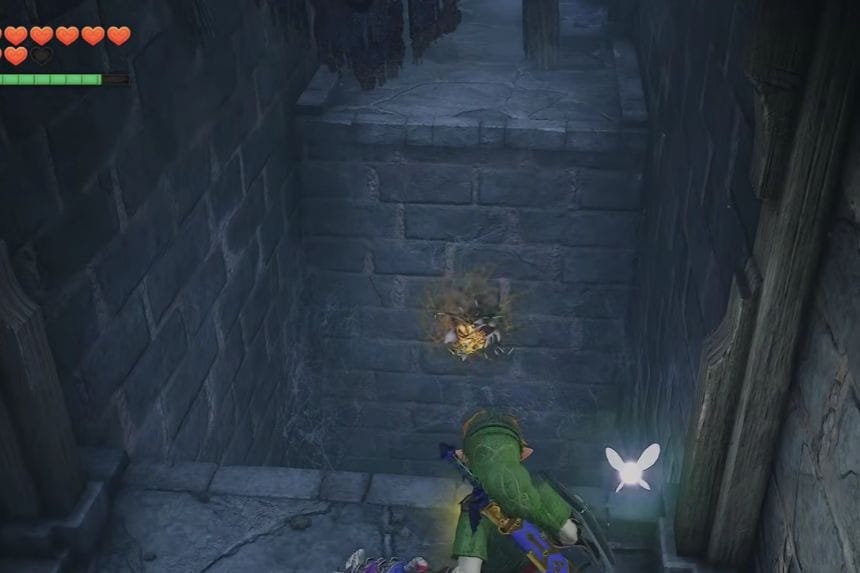
After getting the key, go around the area where there is the large skull made out of stones and the corridors. There should be a Gold Skulltula behind a barred door, which can be shot through with the Longshot to get Gold Skulltula #3.
Wind Bridge Puzzle

Keep moving forward into the room with skulls and use the Small Key to open the locked door. Navigate through the dark rooms until you come to a graveyard-like section where there is a stone tablet. Examine the stone tablet and discover that it speaks about an invisible pathway guarded by the wind. Wear the Lenses of Truth and find the invisible platforms. Wear the Hover Boots and move across the invisible platforms to get to the chest at the end.
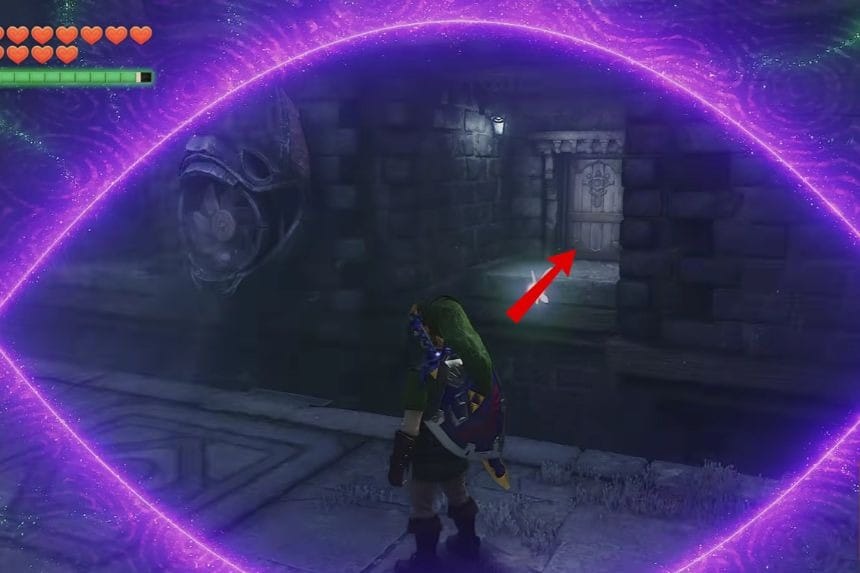
Open it to receive a Business Scrub Seed. Go back to the other side of the invisible platforms and enter another Sheikah eye door. In the next room, you will be facing some undead creatures. Play the Sun’s Song to stop them from moving and smash the cracked stones around the carved door using the Megaton Hammer.
Small Key #4
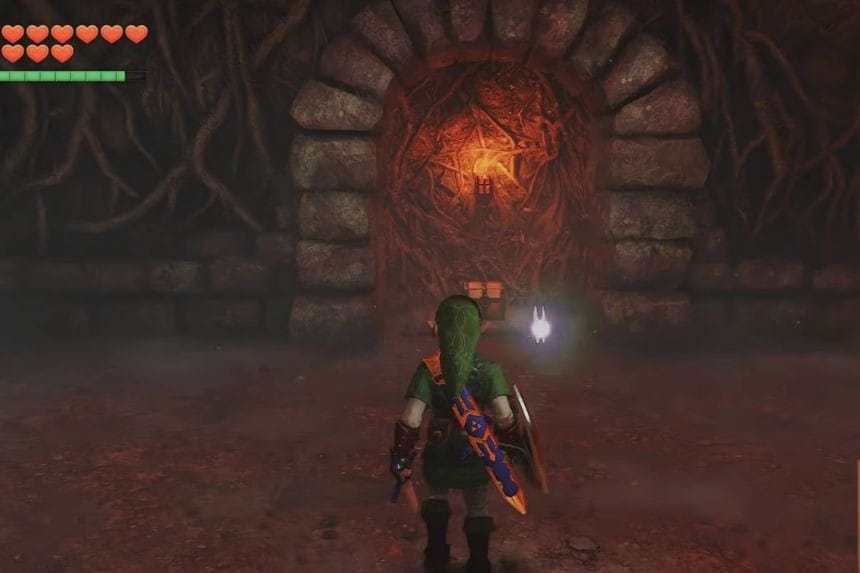
Enter the room after the shattered stones and find a chest under the stone archway. Open the chest and take the Small Key inside. With this key, open the barred door ahead of you. Walk along the wooden path ahead of it to reach B4.
Gold Skulltula #4
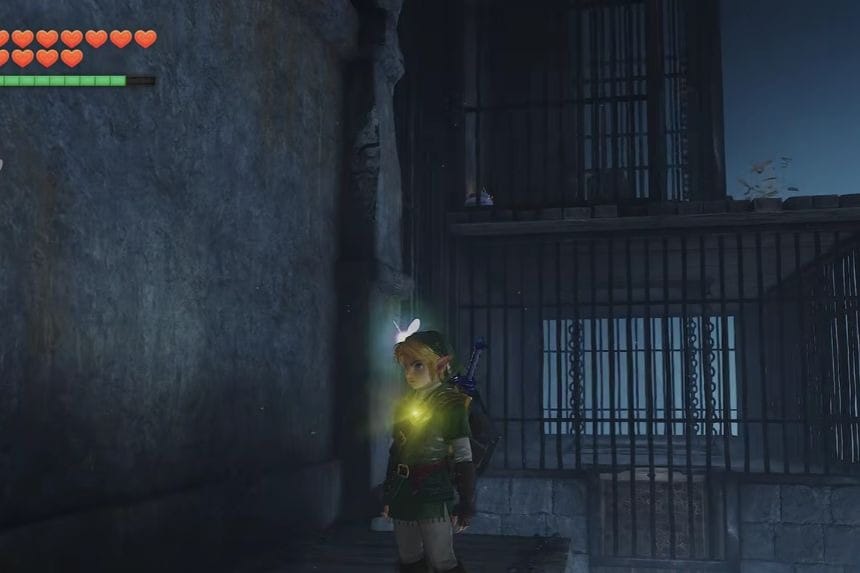
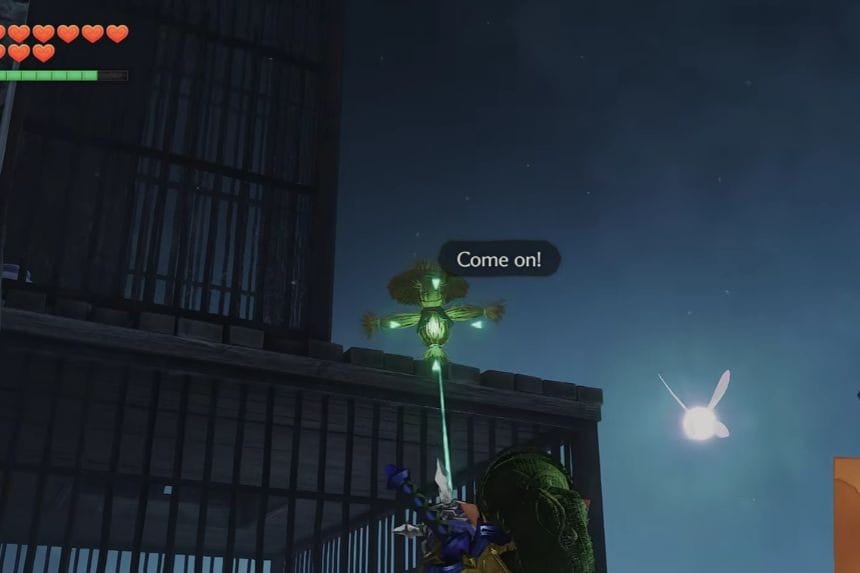
On B4, make sure that you go through the wooden path and locate the stone that is carved. Slide this stone along the pathway to be able to move ahead. You will see that there is a wooden cage that is dangling above the walkway. Approach the cage and play the Scarecrow Song using the Ocarina. The Scarecrow will show up on top of the wooden cage. Use your Longshot to reach the top of the cage. Find a Gold Skulltula inside, and defeat it.
Play Zelda’s Lullaby
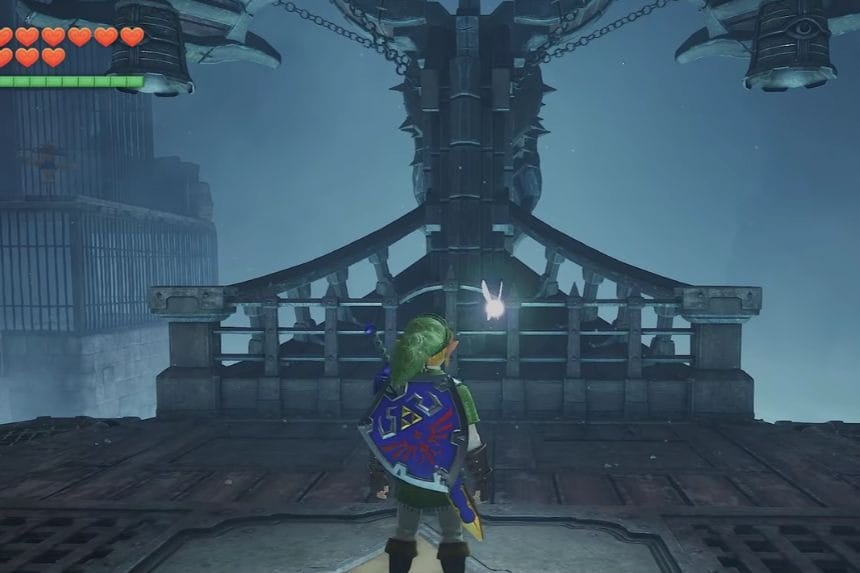
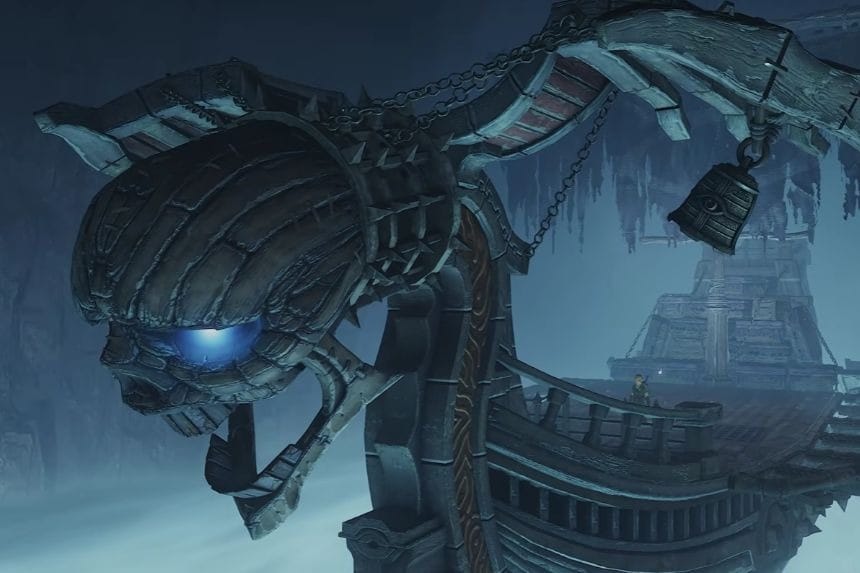
Keep going along the B4 passageways until you come to a mist-covered ship that is suspended above a bottomless pit. Step up to the Triforce on the ship’s deck and play the tune of Zelda’s Lullaby. The ship will begin making its way through the mist. Eliminate the skeleton enemies with red shields on the deck, then take the bridge leading to the stone structure in front. You will see a spider web blocking the doorway. Equip your Fairy Bow and fire a Fire Arrow into the spider web.
Small Key #5


Explore the rooms beyond the ship until you reach a chest sitting on a stone platform. Open it to collect another Small Key. Keep moving through the corridors until you find a chained Sheikah door. Use your Small Key to unlock it and enter the room beyond.
Gold Skulltula #5

Continue through the round platform rooms until you reach a balcony overlooking several metal cauldrons. You can throw Bombs into the cauldrons to make them explode and release Rupees. Head down to the round wooden platform and look for a Gold Skulltula on the floor near the golden plaque. Defeat it and collect the token to obtain Gold Skulltula #5.
Boss Key
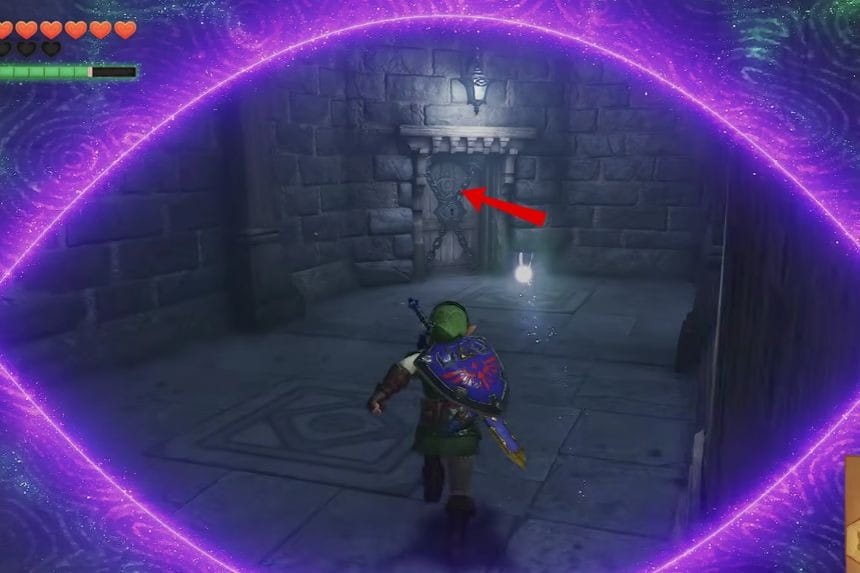

Follow the stone passage until you reach a large golden skull door held shut by crossed chains. Before opening it, make sure you have collected the Boss Key. If you haven’t collected it yet, return to the chained door section and use your Small Key to open the locked passage. Inside, you will find thorny webs blocking the way. Cast Din’s Fire to burn them and clear the path. Continue forward to find a large blue and gold chest. Open it to collect the Boss Key.
Reach The Boss Door
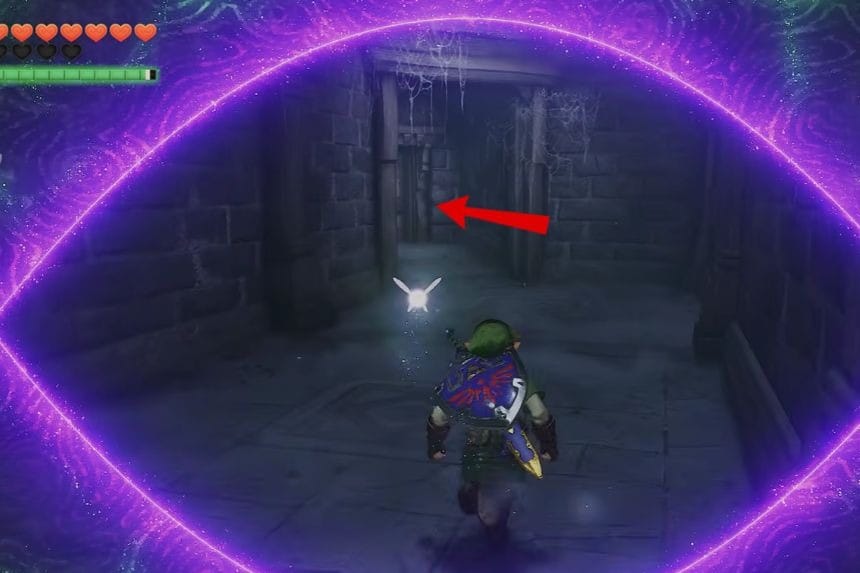

Head back to the golden skull entrance, and now with your Boss Key in hand, open the door by placing the key inside it. After the chains vanish, head on through the door and into the big round room full of green mist. Remember to take your Fairy Bow and arrows with you, because you will be needing them.
Boss Fight
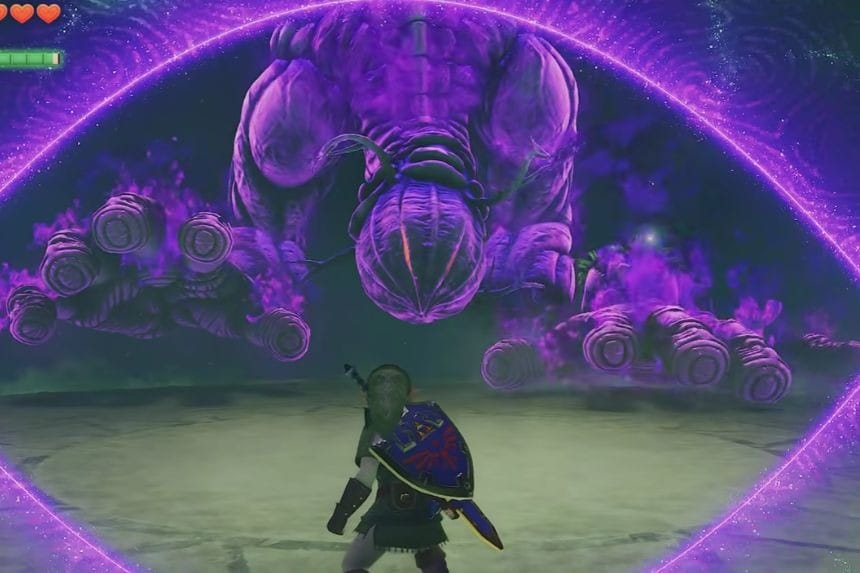
Bongo Bongo is the boss of the Shadow Temple. Upon entering the field, you will see that two large hands will emerge from the ground. The boss also has an eye in the centre of its body.
Phase 1: Attack Bongo Bongo’s Hands
First, equip your Fairy Bow and start shooting at Bongo Bongo’s hands. These hands can attack by slamming their bodies on the ground. Move around in a circle and dodge their attacks.
Upon hitting one of the hands with the arrow, it will get stunned for a while. Continue with the other hand as well.
Phase 2: Attack the Eye of Bongo Bongo
Once you have stunned both hands of Bongo Bongo, point your Fairy Bow towards the glowing eye located in the centre of Bongo Bongo’s body. Use the Fairy Bow to shoot the eye so that it opens up and reveals its weak spot.
As the boss gets down on the ground, run toward him and attack him with your sword until he starts moving again, after which time you will need to get out of the way.
Repeat this process of stunning both hands, shooting the eye, and attacking with your sword until Bongo Bongo is defeated.
Heart Container
Once Bongo Bongo is defeated, a Heart Container can be seen on the ground of the arena. Pick it up to gain a heart of life and restore your life. After you get it, enter through the blue warp portal to exit the Shadow Temple.
