
The Water Temple is one of the major dungeons in Zelda: Ocarina of Time Remake. It includes solving puzzles, changing the level of water, and exploring flooded rooms in order to proceed to the boss. In this dungeon, players can find the Dungeon Map, the Compass, four Small Keys, and some Gold Skulltulas. Also, players will encounter Dark Link and get the Longshot. This guide covers the complete Water Temple walkthrough and all collectables, including the final boss fight against Morpha.
All Collectables & Walkthrough In Water Temple
The Water Temple is located deep beneath Lake Hylia. Before you can enter it, you’ll need to collect the Iron Boots from the Ice Cavern and get the Zora Tunic from King Zora. Once you have both items, head towards the island with the large tree from the northeast side to find the entrance to the Water Temple.
Meet Up With Ruto

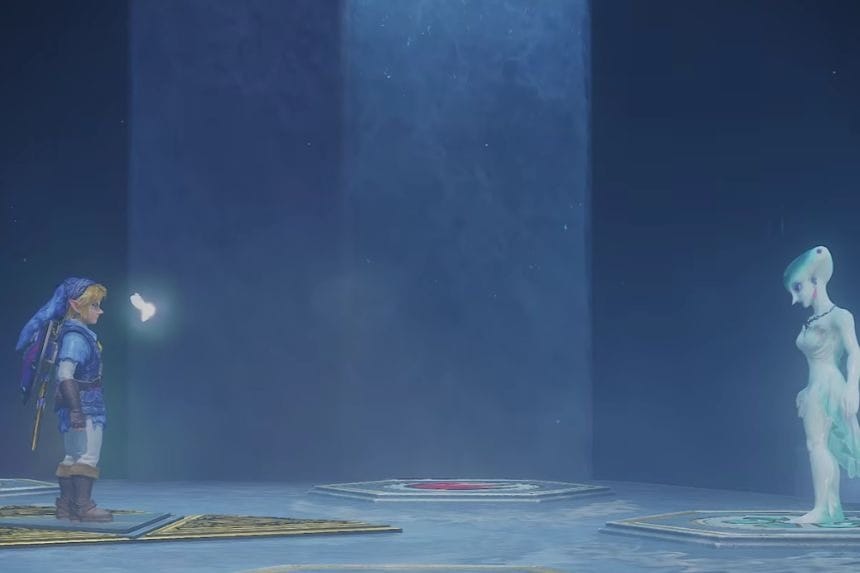
Swim through the flooded halls until you find the spirit of Ruto shining underwater. Ruto knows Link as her fiancé and accuses him of abandoning her for seven years. However, she tells him that Sheikh rescued her and asks you to save the Zora and return their domain to its glory. Ruto explains that she must investigate the depths of the temple and swims away. Follow the flooded hall and keep exploring the dungeon.
Dungeon Map

Get out of the water and locate the Hookshot targets on the walls. Make use of them to get to the upper platform and access the chest in the blue-lit hallway. There, you will be able to acquire the Dungeon Map, depicting the four levels of the Water Temple: 3F, 2F, 1F, and B1.
After that, try to find a door with the Triforce symbol and stand before it, playing the song of Zelda’s Lullaby using your Ocarina. This helps to lower the water level in the entire temple and explore the first floor.
Small Key #1
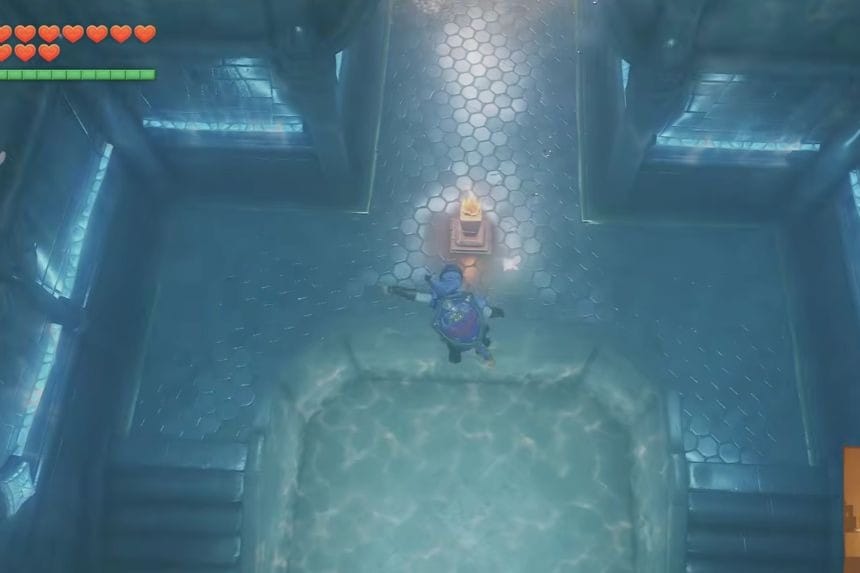
Now that the water level has been reduced, you can freely explore the first floor. Locate the teal door and light the torches adjacent to it with the help of Din’s Fire.

Go into the circular room and defeat all the Spikes moving within it. Attack the first Spike with your Master Sword and then utilise your Fairy Bow to kill the other enemies.
After defeating all the Spikes, you will be presented with a chest. Take the Small Key from there to unlock many doors in the Water Temple.
Compass

Exit from the Spike room, and head along the sandy passage until you see a cracked stone wall. Use a Bomb to break this wall and expose yet another area full of water.
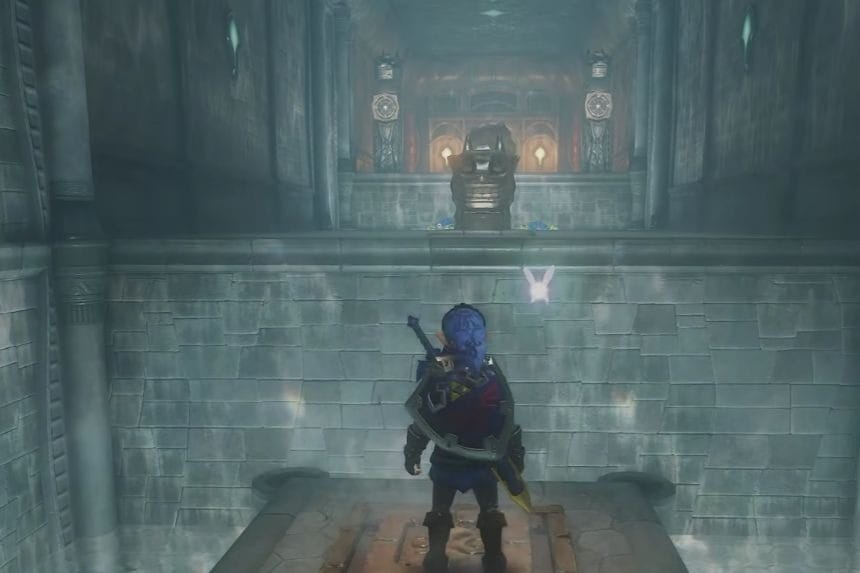
Swim to the bottom, and navigate your way through the underwater passages until you find yourself in a long passage full of stone pillars. Use your Hookshot to grab all the targets on the walls, and your Fairy Bow for any switches.
Proceed and eventually enter a golden-hued room. Inside the chest here, you can get the Compass that shows the locations of all the chests in the dungeon.
Small Key #2

Move on through the flooded areas using your Hookshot to hit the targets and your Fairy Bow to press the buttons. Move on through the sandy corridors until you find a locked door.
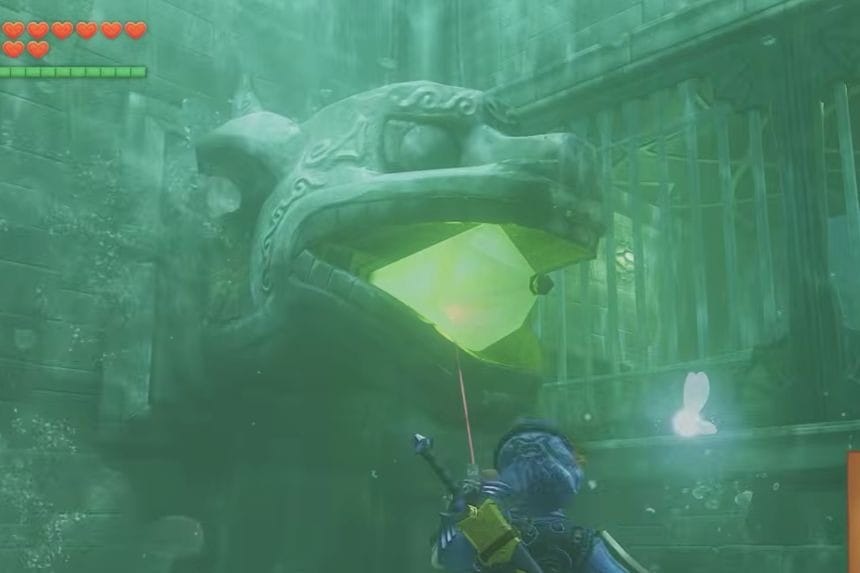
Open it using your first Small Key to get into the green-lit corridor. At the end, there will be another door with a Triforce marking on it. Use Zelda’s Lullaby to increase the level of water in the room.
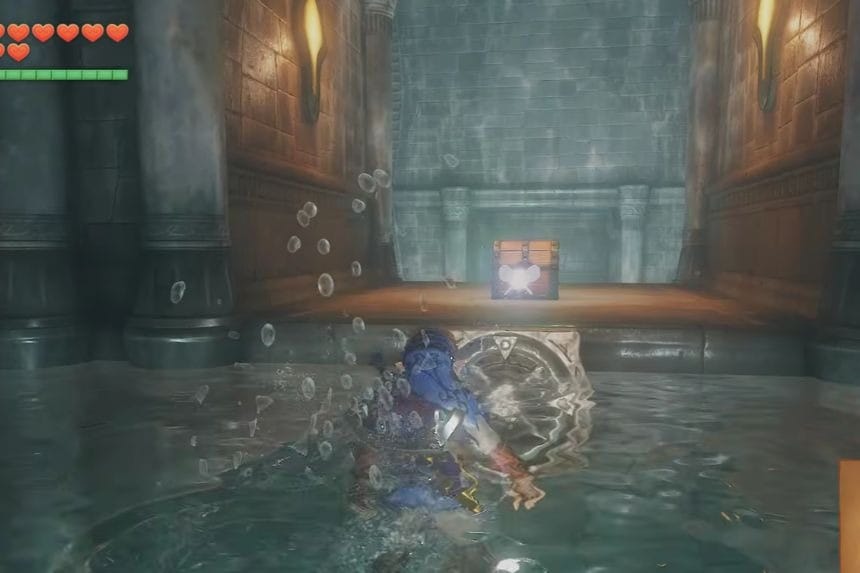
Use your Hookshot on the targets located under the water. After that, destroy the cracked stone wall using a bomb. Then use your Hookshot on the targets again to get to a golden-barred area with the chest containing the second Small Key.
Raise The Water
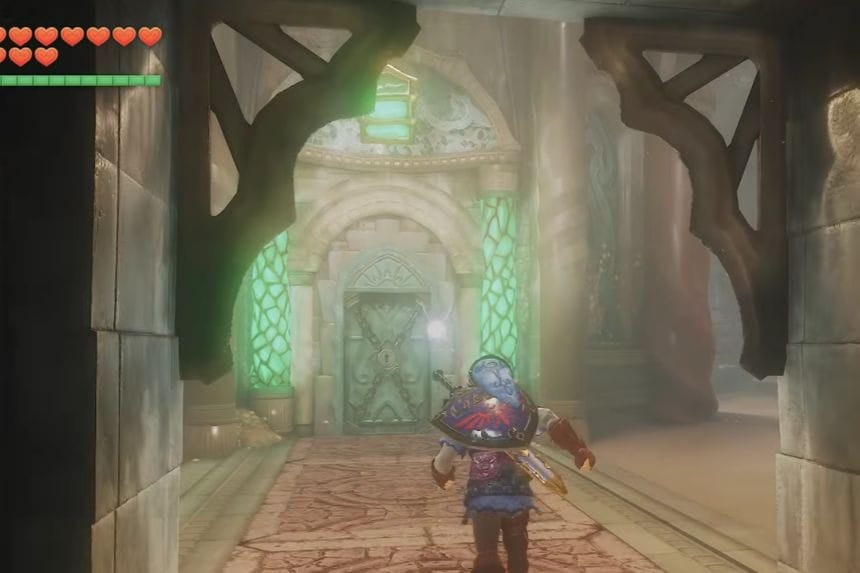
Move further into the flooded corridor and search for the shaft that goes down to the lower level of the temple. Swim through the shaft and move along the green-lit underwater corridors. Use the Hookshot to get to your targets and take care of enemies in your way. After that, you will come to the amber-lit room with the chest placed next to the platform surrounded by water.
Make sure that there is no one else nearby before you open the chest. It will contain your third Small Key. Move back through the rocky and teal halls and use both of your Small Keys to open the locked doors that appear in your way.
Past the doors, you will see the corridor with the pink glowing walls and the crystal in it. This corridor leads to the Triforce door. Play Zelda’s Lullaby to move the water and open the next section.
Gold Skulltula #1

After passing through the temple, you will come across a room containing a grate lift. Step on the grated surface and shoot the glowing target above you using your Fairy Bow, thus activating the grate lift and making you go up to the top floor.

Go through the golden-lit rooms until you come across a dark-brick room where you can speak with Navi to learn a Fairy’s Thought; however, this thought is not helpful at all.
Move along the stairs and follow the hallways on the third floor. Shoot pink and blue crystals using your Hookshot in order to climb on the platforms above water.

You will come across Shell Blades in these flooded areas, so get rid of them. Continue going through the golden hallways until you come across a green-colored door.
Small Key #3
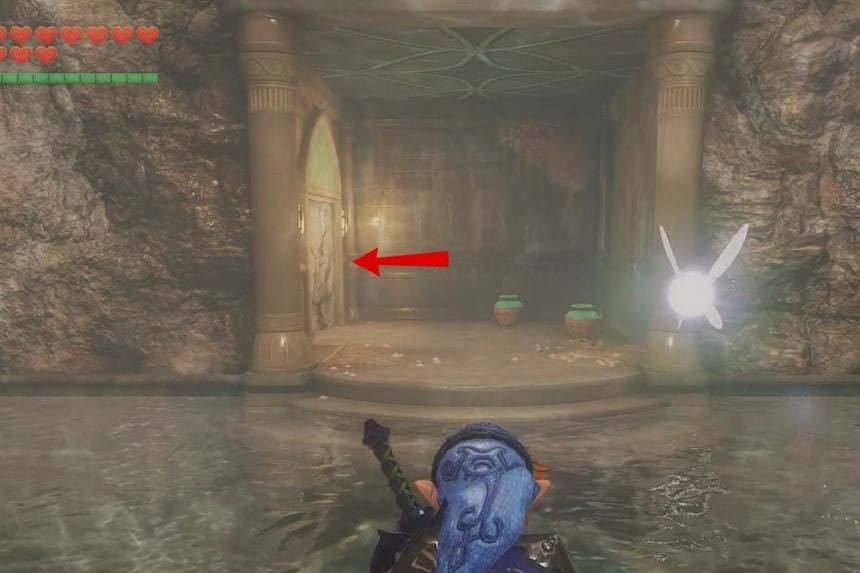
But before entering the green door, you should make sure that you are ready to meet the next enemy. You’ll go into the room, in which you will have to fight with Dark Link.
Having defeated Dark Link, enter the next room and open the chest, which contains an upgraded Hookshot called the Longshot, which allows you to get access to distant objects.
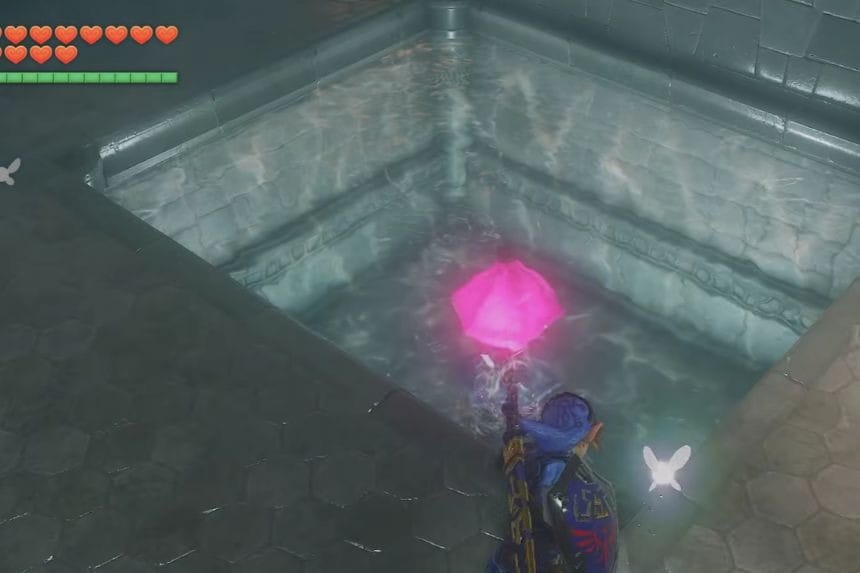
Leave the chest room and find a green ring above the nearby cage. Using your Longshot, you will be able to reach it and go further through the corridor.
There is a fairy flying in the room, and you should try to catch it with an empty bottle. Move through the long underwater tunnel, which will be pushed by the current.
At some point, you will come to the dark cave situated on the second floor. Go through the corridor and, using your Longshot, destroy Gold Skulltula.
Gold Skulltula #2
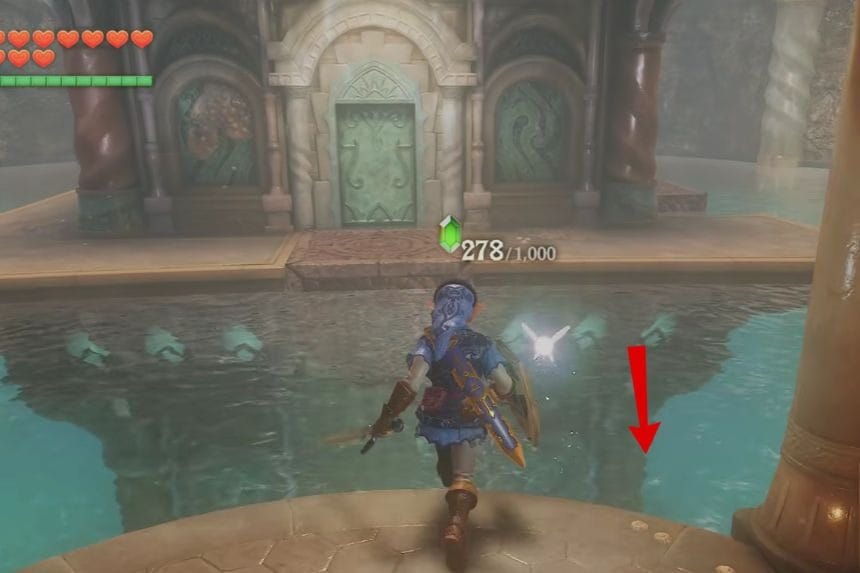
After obtaining the first Gold Skulltula, move forward and exit the cave to find a way to return to the upper levels. Use your Fairy Bow to activate the wall switch and Longshot to hit the gear switch, which will aid you in getting back to the Triforce door on the third floor.
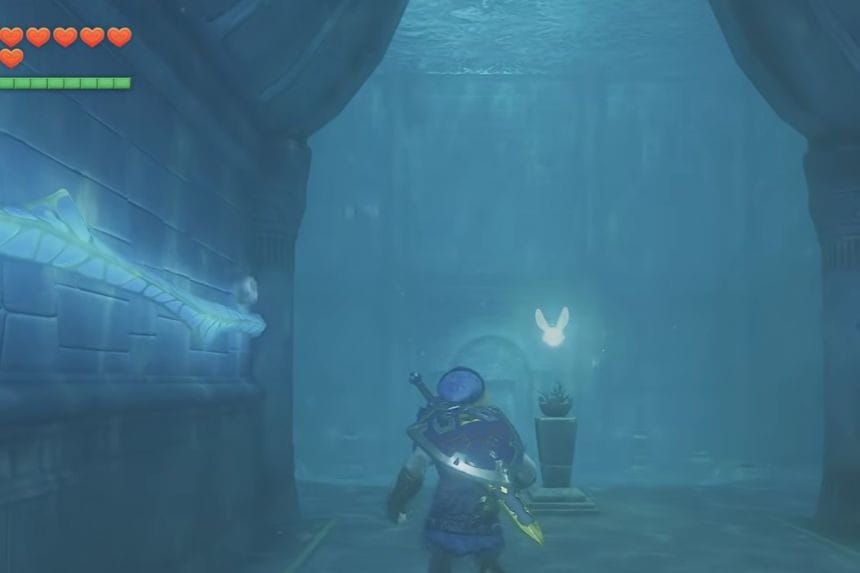
Play Zelda’s Lullaby near the door to once again change the water level. If you wish to skip the cutscene, feel free to do so in order to save some time. Move down to the first floor and locate the stone room with glowing green symbols as well as the Triforce door. Take a look above you and see a Gold Skulltula suspended from the ceiling. Use your Longshot to obtain the token.
Raise Water

While you’re in the same room, stand in front of the door with the Triforce on it and play Zelda’s Lullaby. It will lower the water level and allow you access to the passageway ahead.
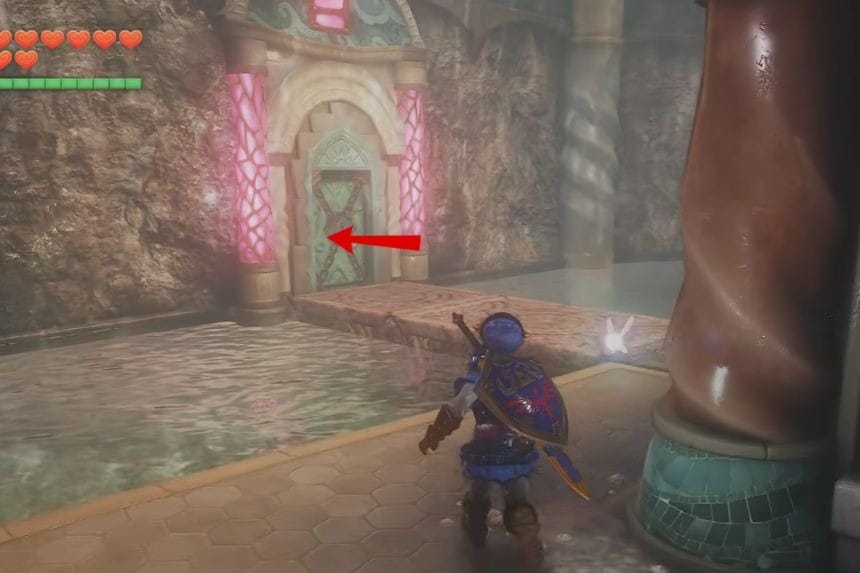
Follow the passageway with the green lights and reach the second level of the room. Find the eye-shaped door and shoot it using your Fairy Bow.
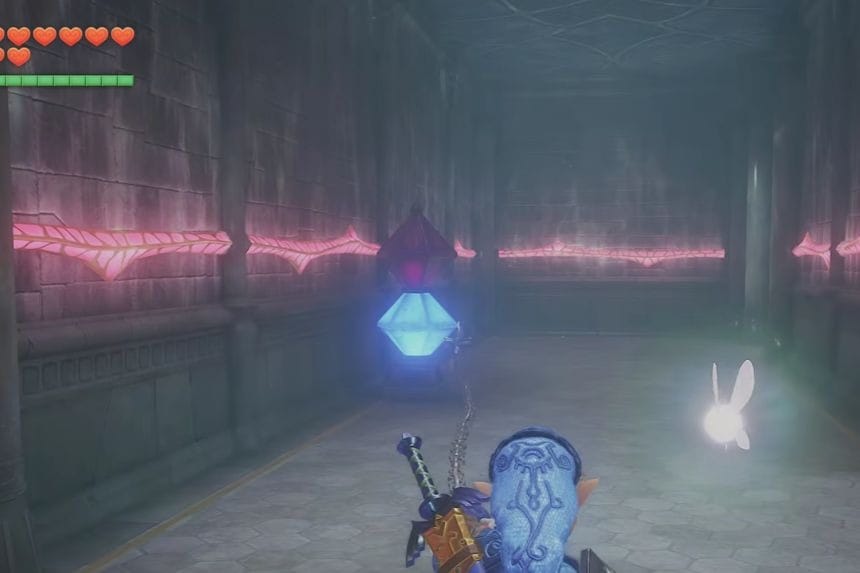
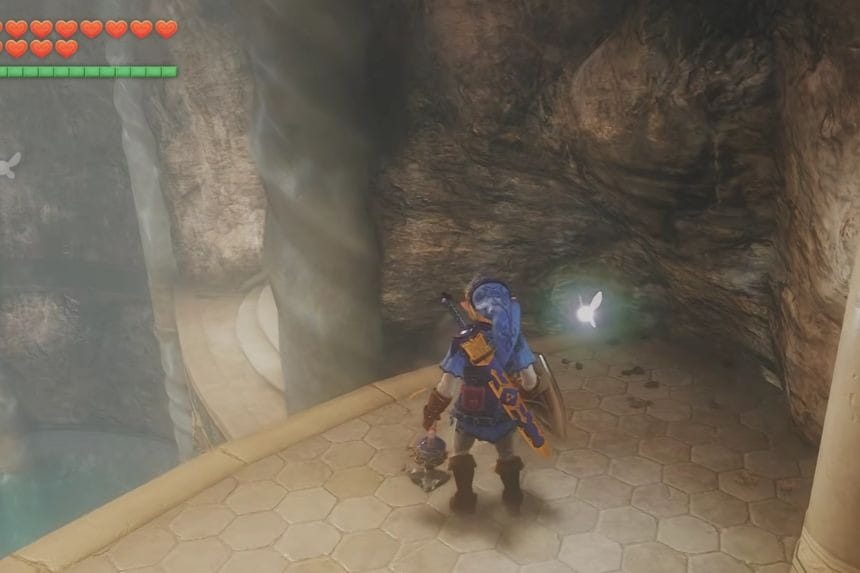
Proceed to the flooded passages past the door and find the glowing alcove where you can retrieve the fourth Small Key from the chest inside.
Reach Dark Link

To proceed towards Dark Link, pass through the temple and look for the next Triforce Door in a blue-lit hall. Play Zelda’s Lullaby and open the door to enter the room full of water after that.
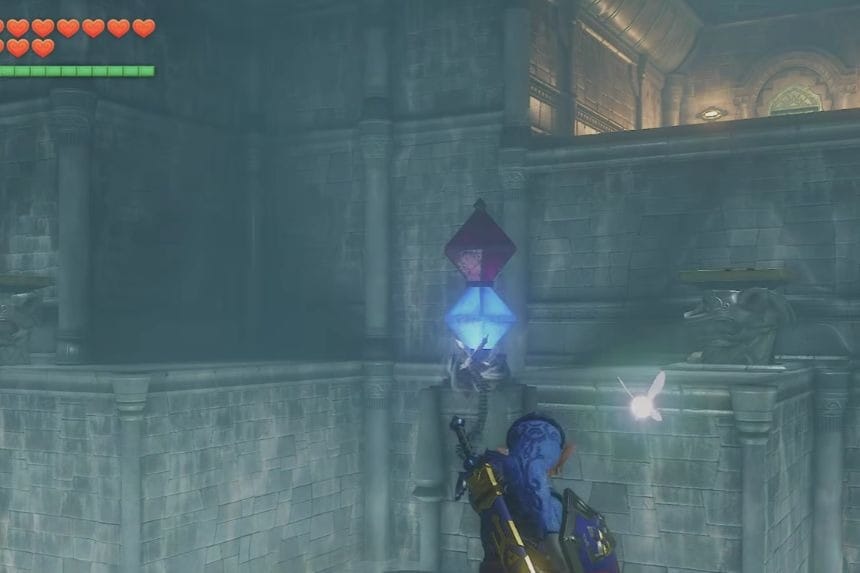
Go to the golden chained door located on the ground floor and use your Small Key to unlock it. Pass through the flooded room and beat the Shell Blades to open the teal colored door. In the room, you will have to face cracked walls and stone blocks, which need to be destroyed using the Megaton Hammer.
Destroy the cracked area and push the stone block to its place. Pass through the flooded room and step on the square-shaped stone switch on the floor.

These switches raise round-shaped platforms from the water, and using your Fairy Bow and Longshot, get to the other side of the platform. From there, pass through the teal colored door and follow the golden hallway till the room where the chest ofthe Boss key lies.
Dark Link Boss Fight

Go to the green door at the end of the gold corridor to enter an unusual battleground full of white mist. There’s a dead tree in the middle of the arena, and you’ll also notice Dark Link there.
Dark Link imitates whatever you do and also uses a sword and shield as Link does. Do not lock on to him because he will block your attacks.
Do not come close to him; you should stay far away from him. He will swing his sword, so you have to block his attack with your shield.
When he completes his swing, go ahead and attack. Repeat this process until Dark Link disappears, and once done, you will find a door through the mist.
Get The Longshot

Enter the newfound portal and ascend the stone staircase. At the top of the stairs, you will see a large chest. Open it and get your hands on the Longshot, which is an enhanced Hookshot and allows for targeting things from double the distance than previously allowed.
This item will come in handy when you are collecting the Gold Skulltulas and the last stages of the Water Temple.
Gold Skulltula #3

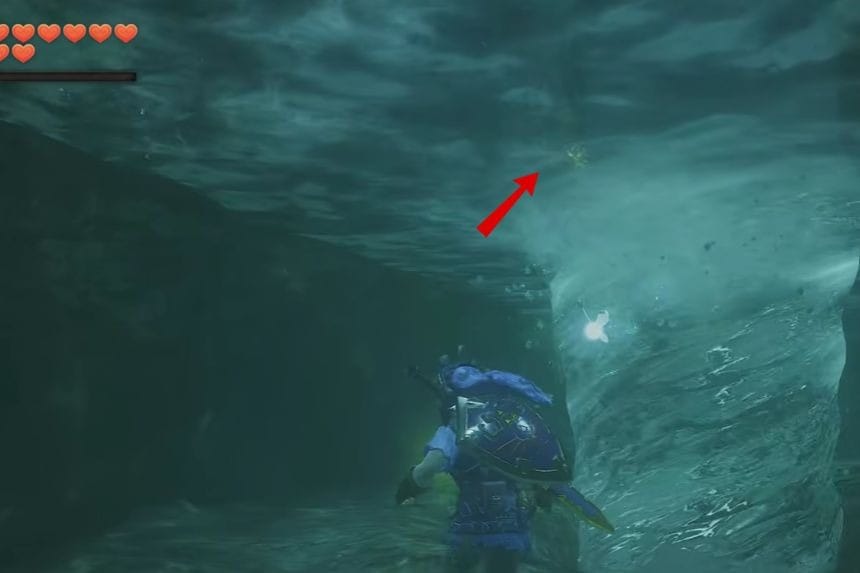
After you get the Longshot, proceed ahead through the flooded corridors, and head for the second level. There, you will come across the golden passage, where water is falling from its walls. Look behind the falling water, where you will find another Gold Skulltula, which you have to shoot with the Longshot.
Lower The Water

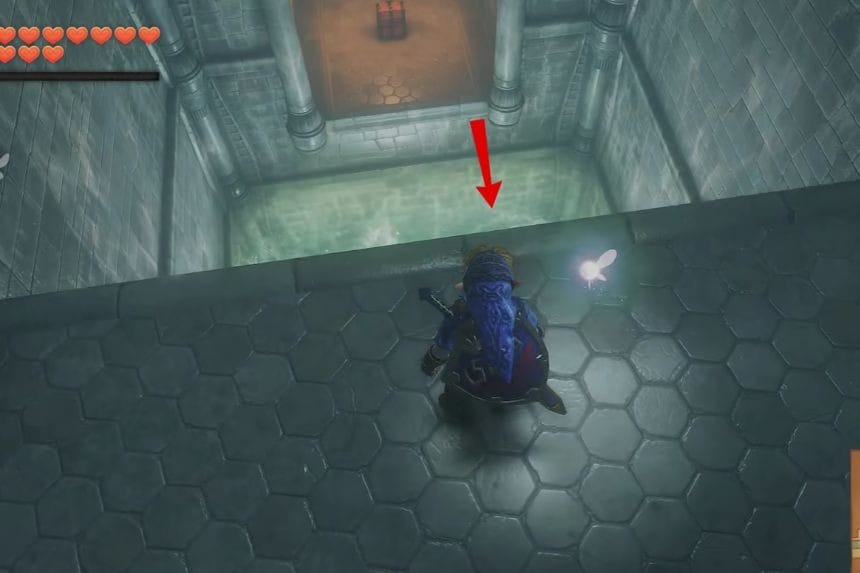

Explore further the flooded rooms on the first floor until you come to another corridor that is marked by green light and a Triforce door. Stand before the door and play Zelda’s Lullaby to alter the water levels once more and unlock access to the basement floor. Step into the accessible room on B1 and swim through the flooded corridors inside.
Gold Skulltula #4

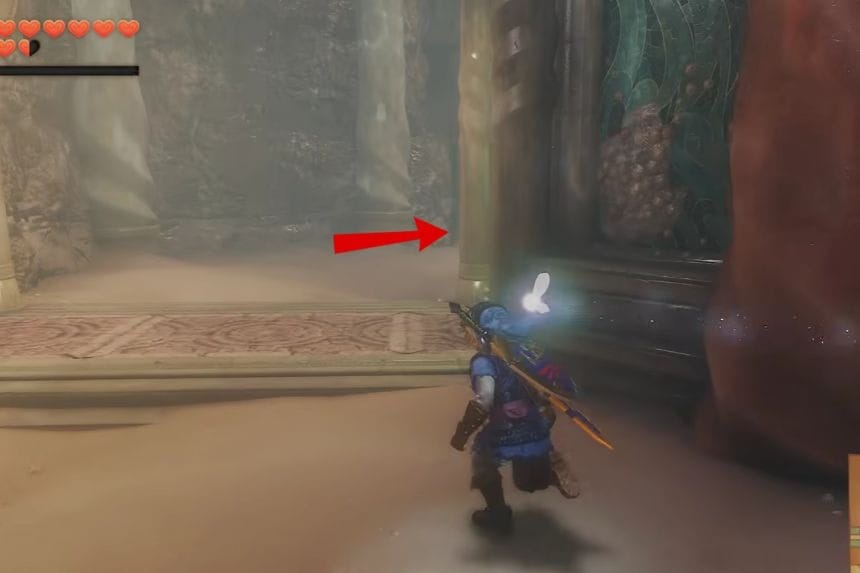
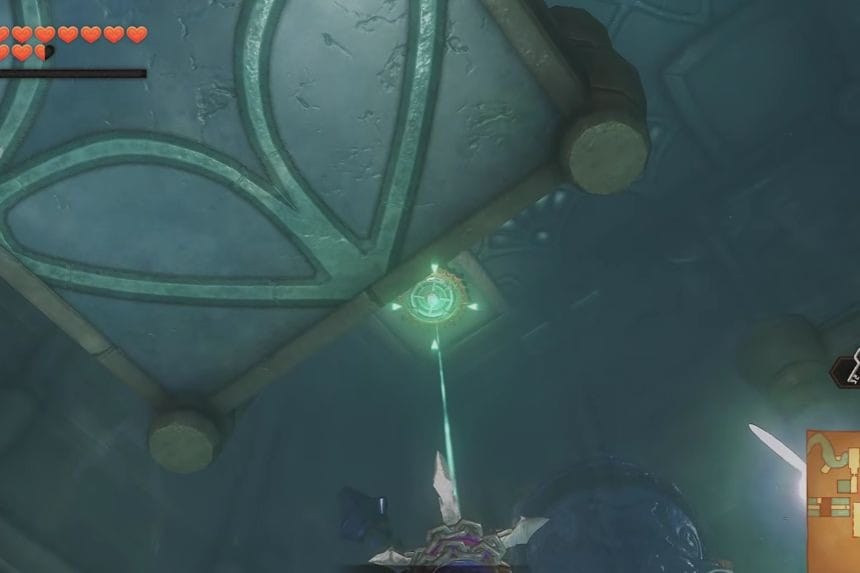
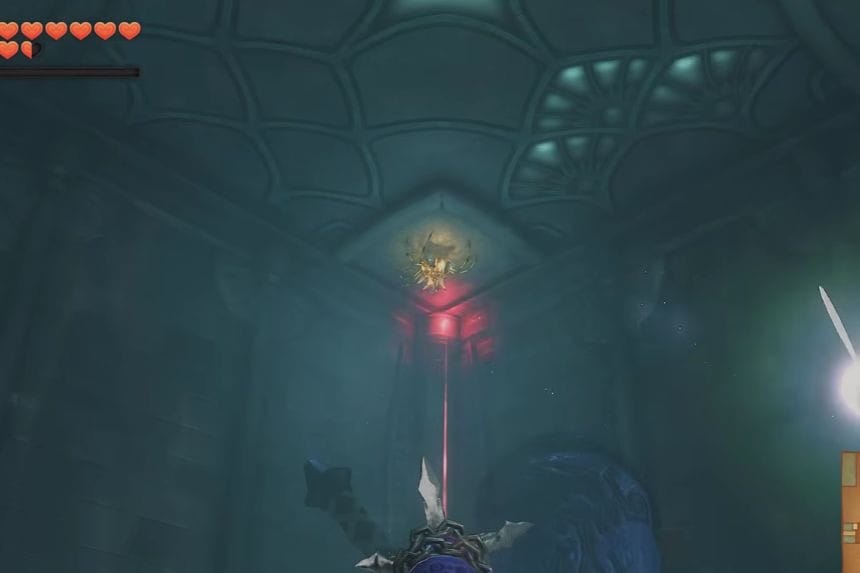
Swim in the glowing green basement hallways, where you need to overcome the enemy plants and Shell Blades that stand in your way. Once you get close to the end of the flooded hallways, turn your attention upward and notice one more Gold Skulltula hanging on the wall. You can use your Longshot to lower it and get your fourth Gold Skulltula token. Before leaving the basement, go ahead along the dark hallway to get a Red Rupee.
Small Key #4
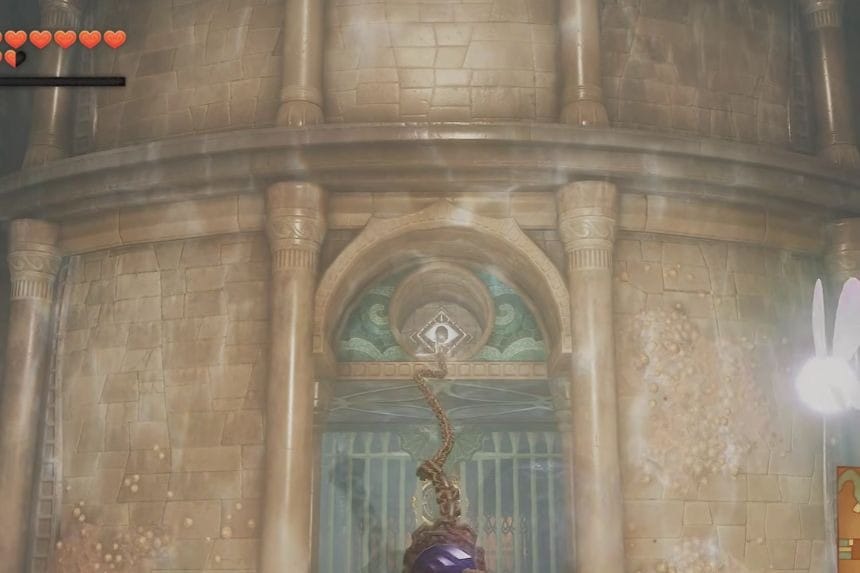
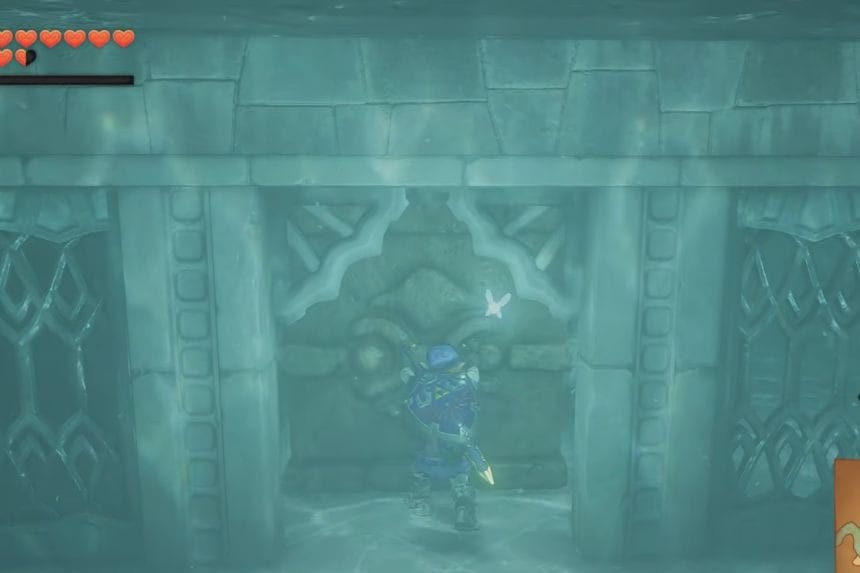

After getting the Red Rupee, head upwards again until you reach the second floor. Find a cracked stone wall and use the Megaton Hammer on it to get inside. You will find some Shell Blades there; fight them and proceed further. See a stained glass wall, on which you will find another Gold Skulltula. Kill it with your Fairy Bow to get the token. It is the fifth and last Gold Skulltula of this part of the Water Temple.
Gold Skulltula #5
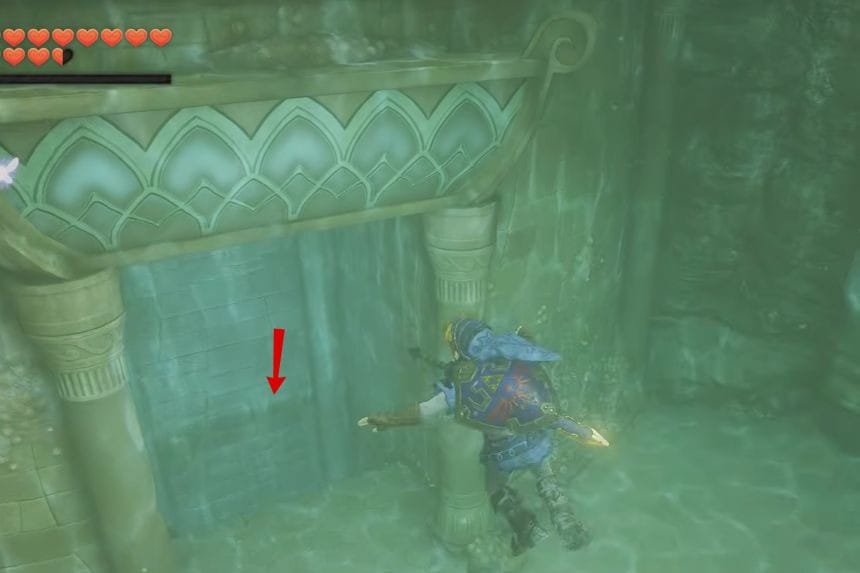

After retrieving the Gold Skulltula in the stained glass wall, proceed through the flooded areas. Return to the hallway that is pinkish in colour and locate the blue crystal. Shoot the blue crystal using your Longshot to start the mechanism and advance further.
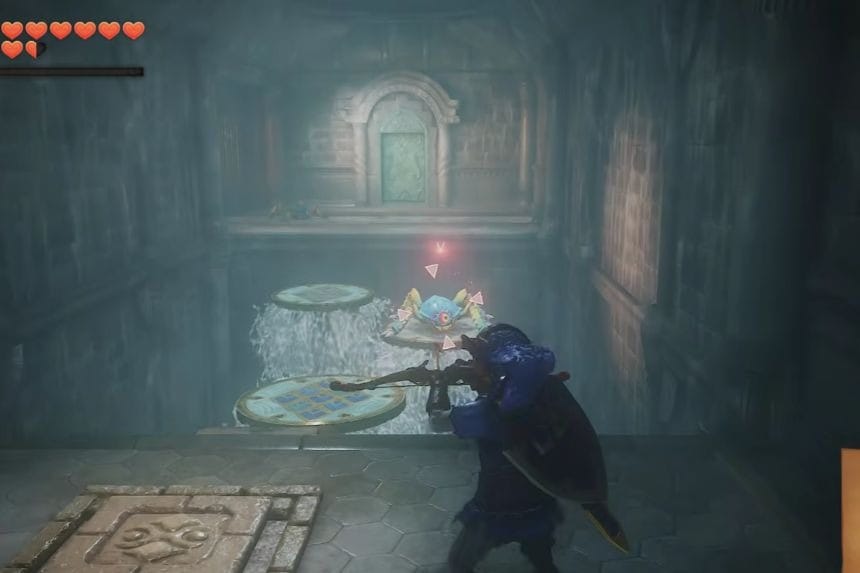
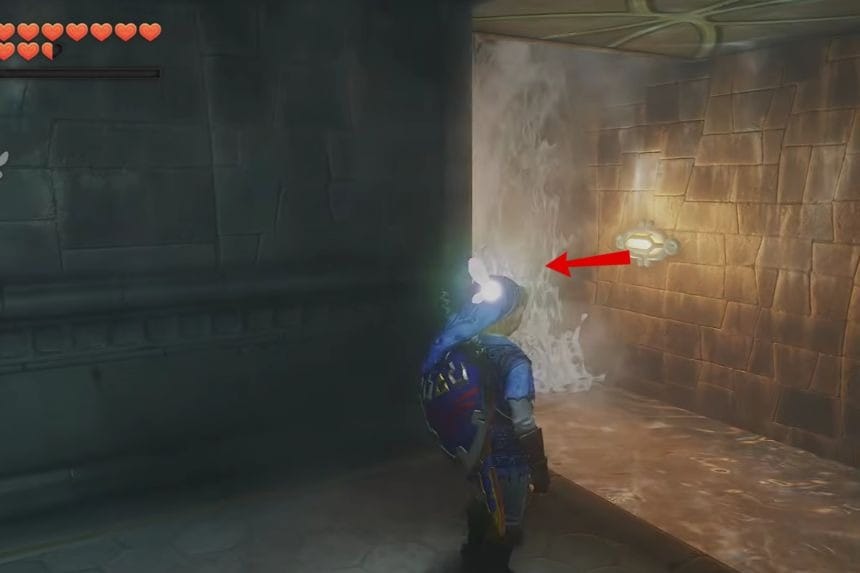
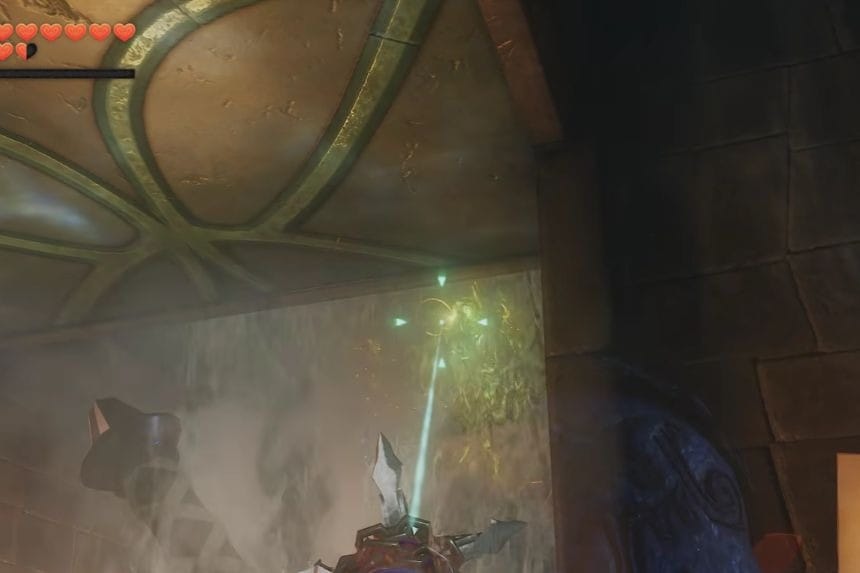
Proceed down the hallway and find yourself at a Triforce door again. Play Zelda’s lullaby to make a tiled pavilion emerge in the middle of the water. Proceed by crossing over the water to reach the pavilion.
Boss Key
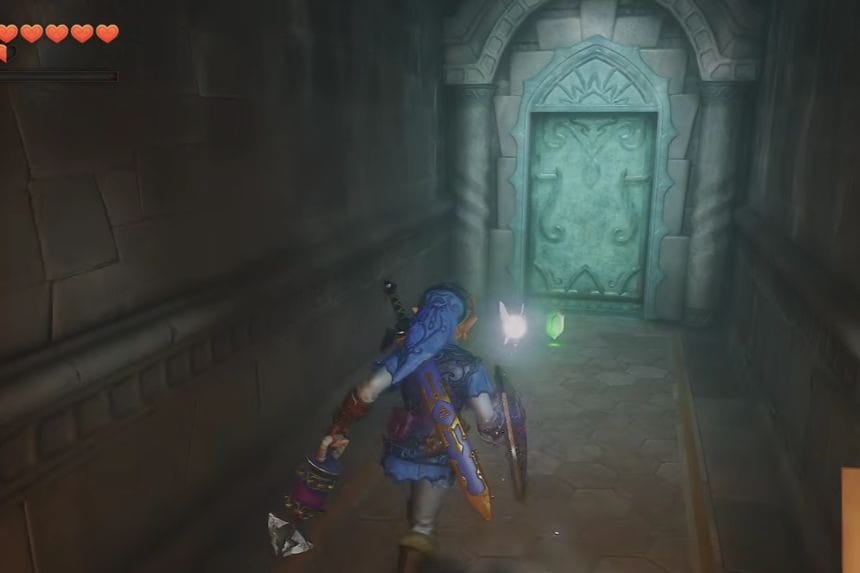
Once at the pavilion, you should drop to the next ledge and hold on to its edges. Then, pull yourself up and search for the golden gear column beyond the gap.
Then you should shoot with your Longshot to get to the golden gear column and pass to the other side of it. Remember to have the Longshot equipped since it is required for the last boss fight.
Continue through the dark tunnel with the red light until you find the golden chained door and open it with your Boss Key.
Reach The Boss Room

Once the Boss Key door has been opened, continue walking on the path of stones until you find a platform overlooking a large arena filled with water.
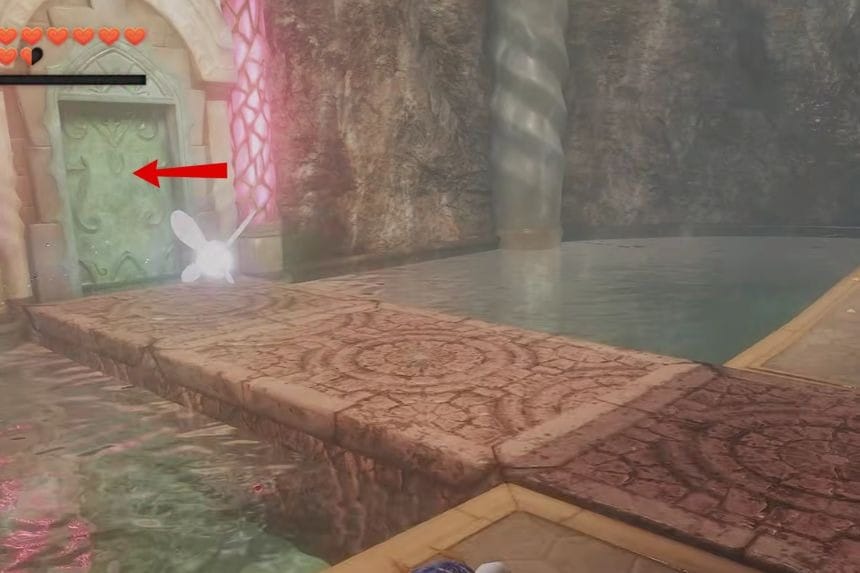
Go up to the platform and wait until the water moves. A cutscene will show you Morpha, the Giant Aquatic Amoeba, the final boss of the Water Temple.
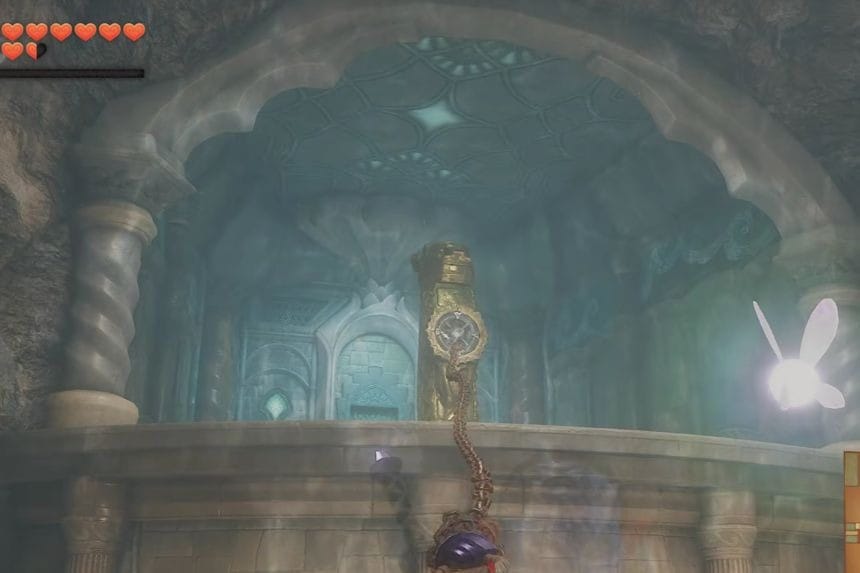
The arena features some narrow stone platforms amidst water. Make sure that you proceed to them and avoid the tentacles of Morpha.
Boss Fight

One big problem that Morpha faces is his red core, which will be floating in a ball of water. This core must be removed from the water using your Longshot.
Target the red core and shoot your Longshot at it to remove it to the stone platform. Run quickly towards it and attack it with your Master Sword.
However, take caution of the tentacles since they may attack you whenever you come too close or stand in one spot. Continue running in circles around the ring to avoid the tentacles.
Once the core returns to the water, repeat the same strategy. Pull it out with your Longshot and attack it with your sword until Morpha is defeated.
Heart Container

After you defeat Morpha, search the floor near the blue portal for a Heart Container. Collecting the Heart Container will raise your maximum life by one heart and heal you completely. Once you have collected the Heart Container, proceed through the blue portal to exit the Water Temple.
