
The collection for Little Nightmares 3 Backstage DLC consists of 10 Pictograms and some Trophies that you can unlock throughout the chapter. While most of them will be easy to find, you might miss a few if you hurry in one area or another. Since there is no way to select a chapter here, you should try to collect all collectables and Trophies when you see them. This guide will show you the location of every Pictogram and how to unlock all Trophies in a single playthrough.
All Collectables & Trophies
Remember, DLC lacks any form of chapter selection menu; therefore, if you miss a collectable or Trophy, you will be required to restart your game from the first to obtain them again.
Pictogram 1/10
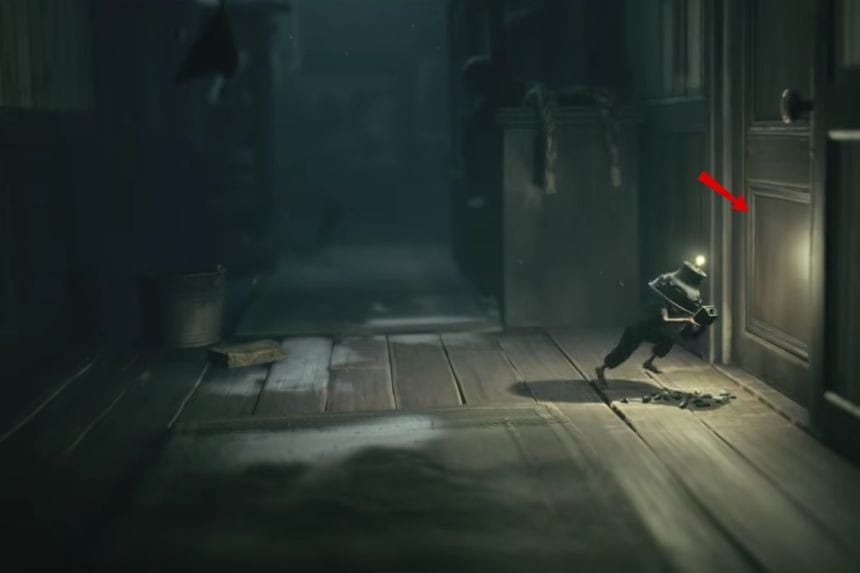
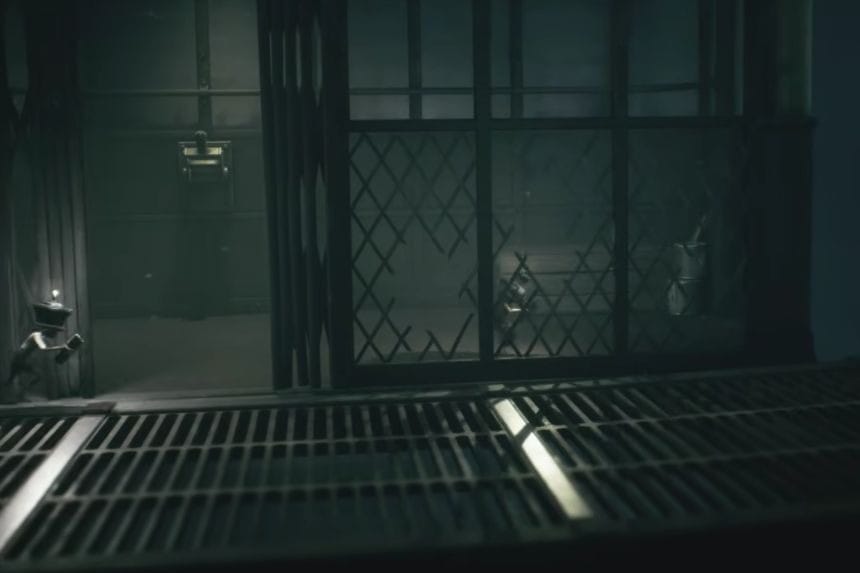
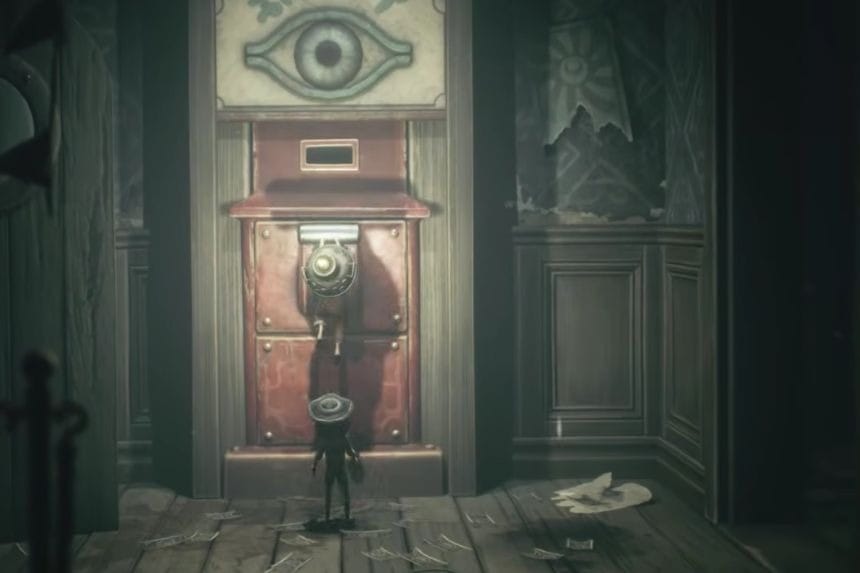
Once the DLC starts, get into the broken window in the door and walk inside the next room. Before proceeding, activate the flashlight power and examine the wall. You will see a hidden image, which is your first Pictogram.
Trophy – Clean up your Act
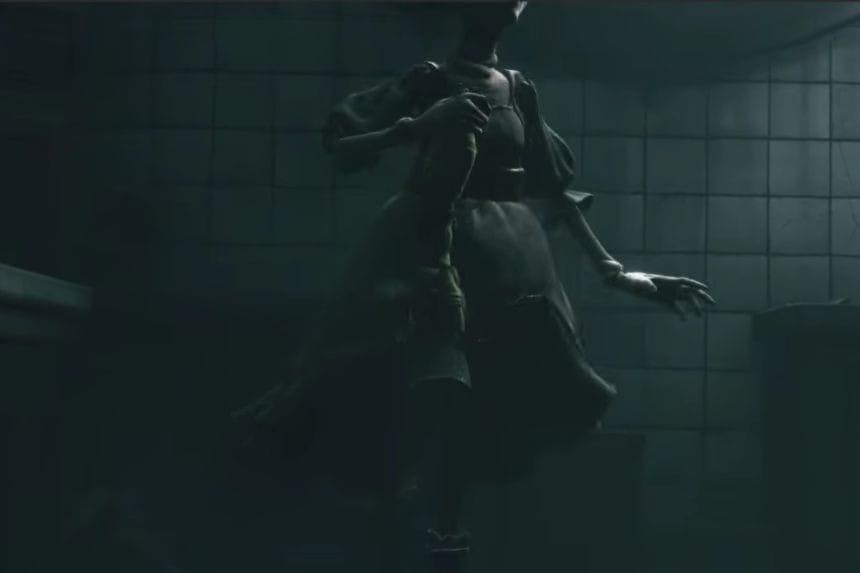
As you work your way through the introductory area and make your way up the giant stairway, be on the lookout for a hole in the wall that connects to the bathroom area with showers.
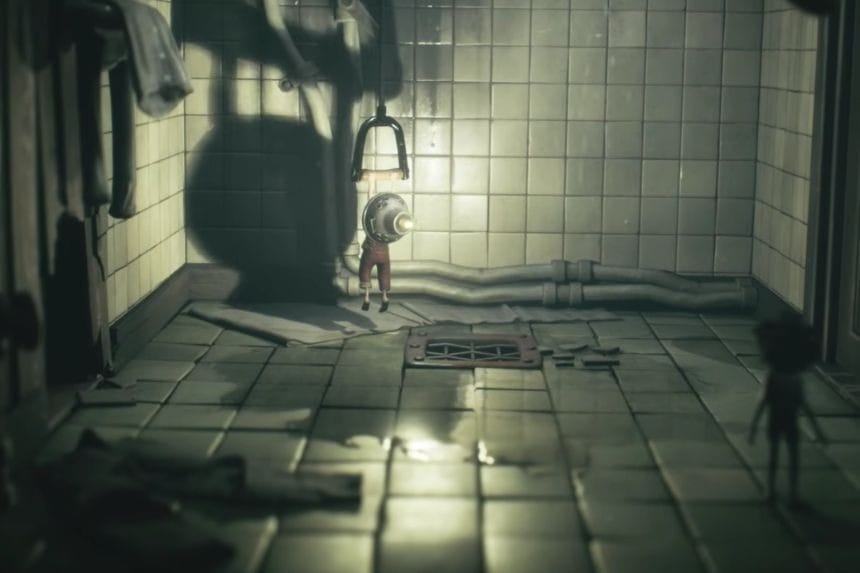
The Trophy can be unlocked by getting one of the characters under the showerhead while the other is holding the shower cord in their hands. This needs to be done because it turns on the water and douses the character below, unlocking the Trophy automatically. In a single-player game, the AI-controlled character takes care of this on their own.
Pictogram 2/10
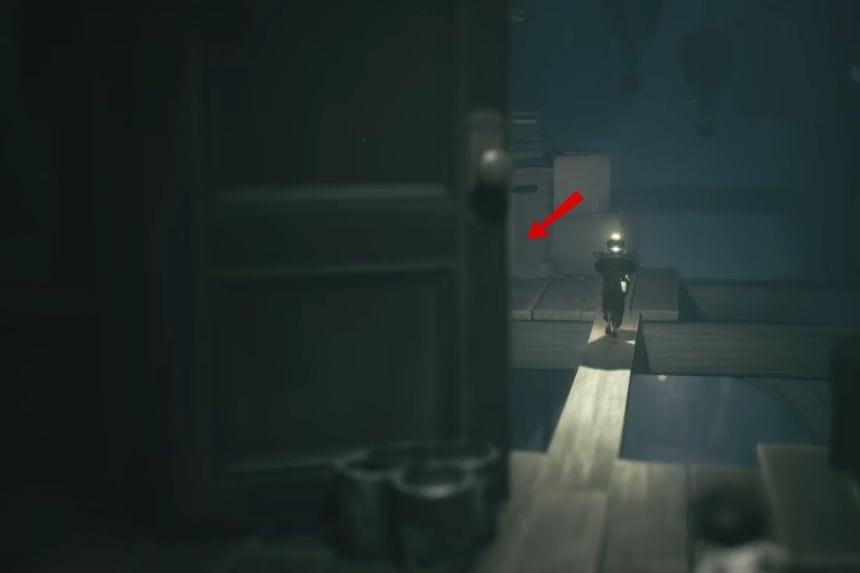
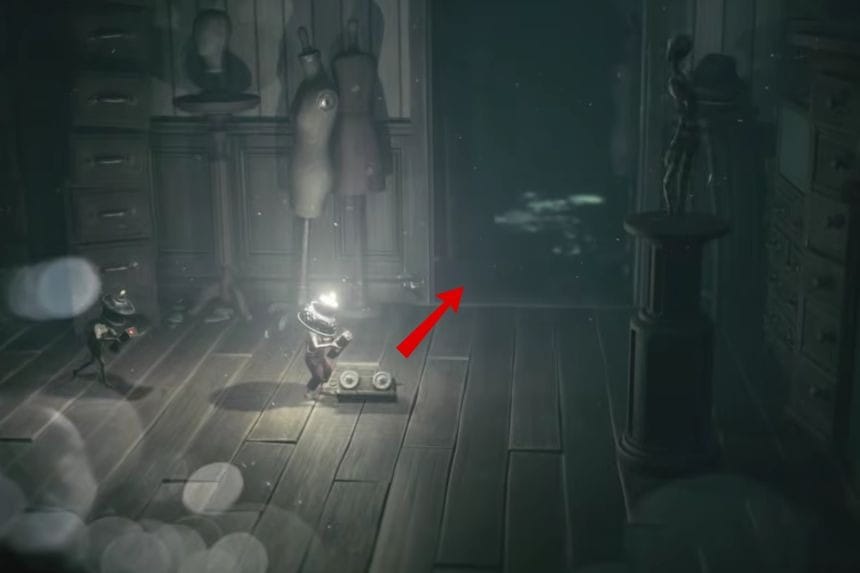
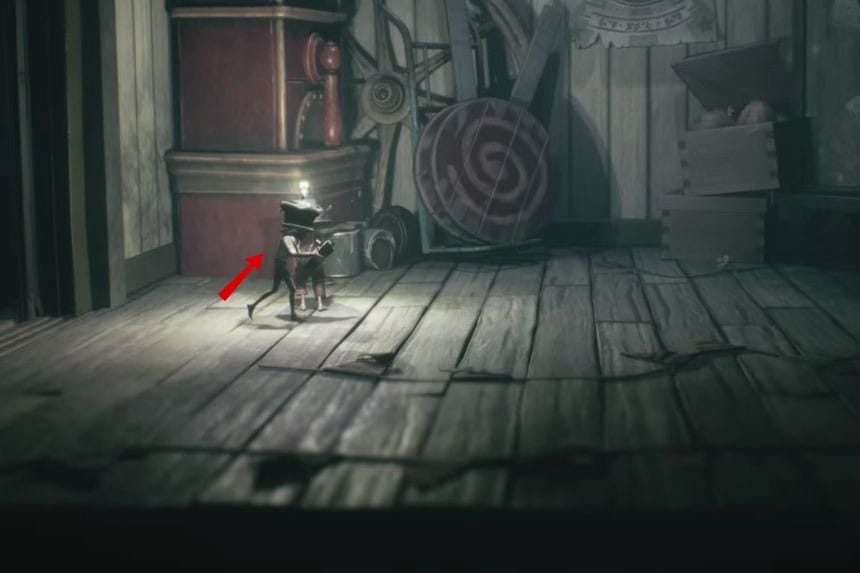
From the shower room, go along the path made from planks. After a while, you will find a box by the side of the path. Using your flashlight, find an image hidden within the box and take your third pictogram.
Pictogram 3/10
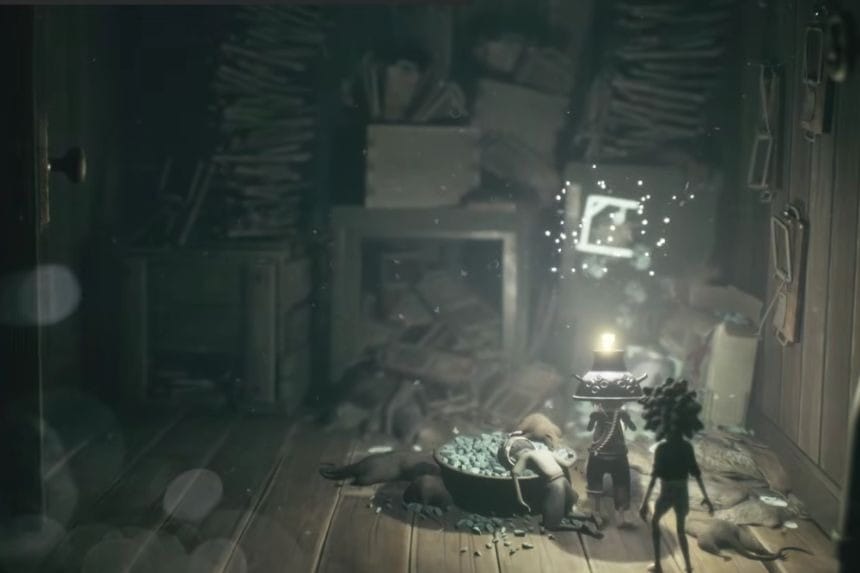
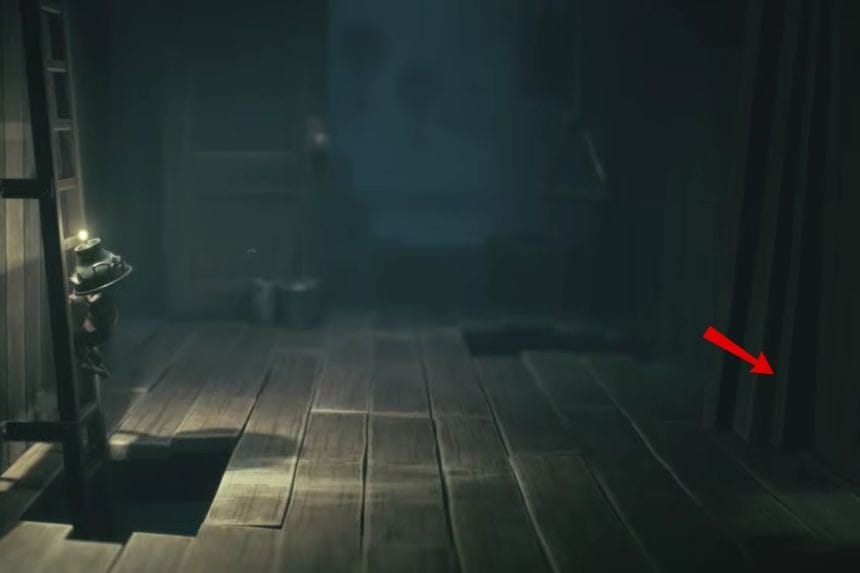
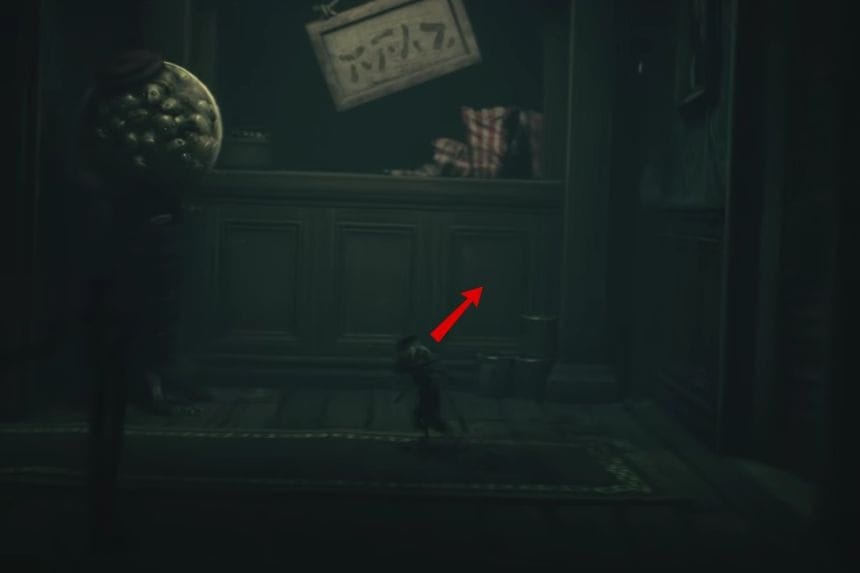
Continue going forward in the chapter until you come across a hallway where there is some water dripping from the ceiling, along with a bucket lying on the floor. Close to this location, you will find a doorway with some stones lying outside it. Go in and switch on your flashlight to uncover the third Pictogram.
Pictogram 4/10
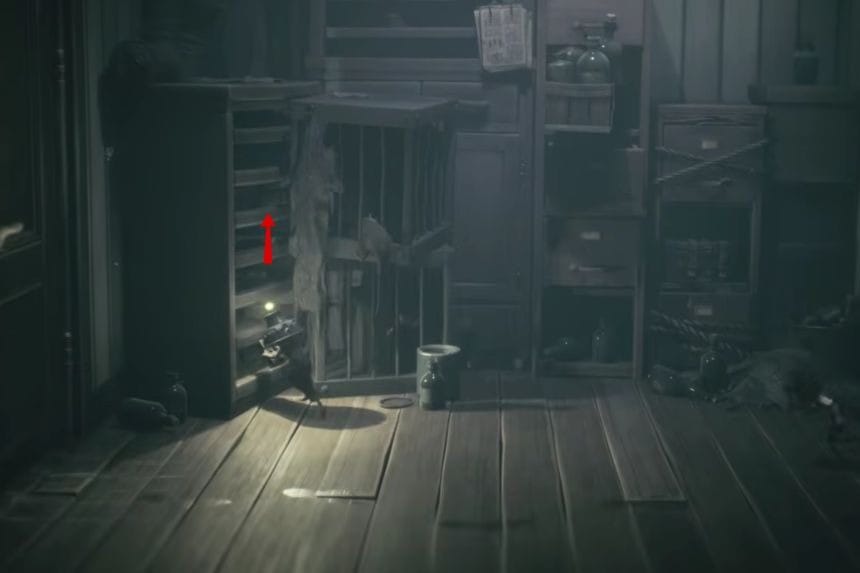
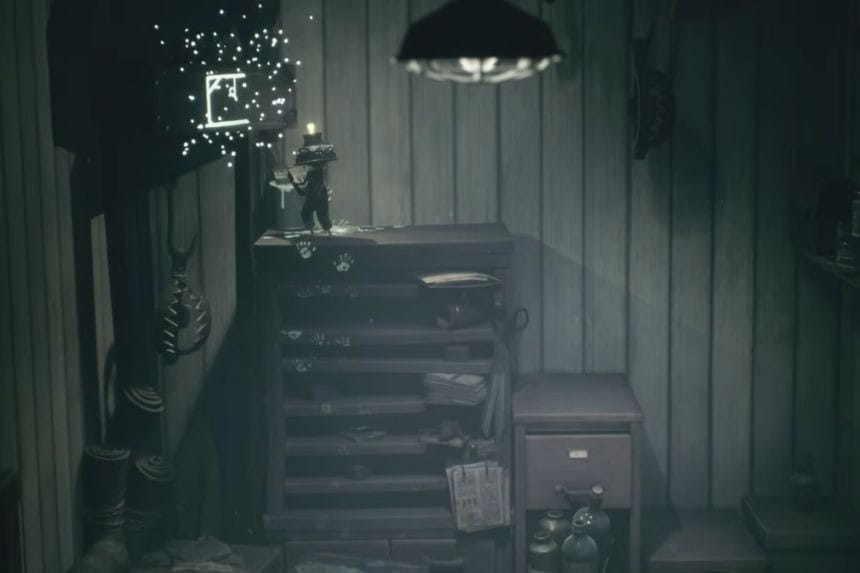
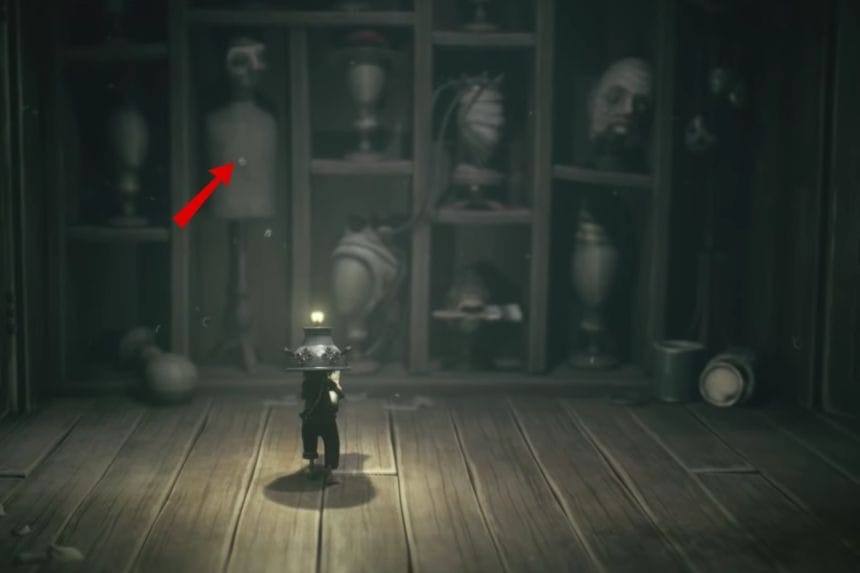
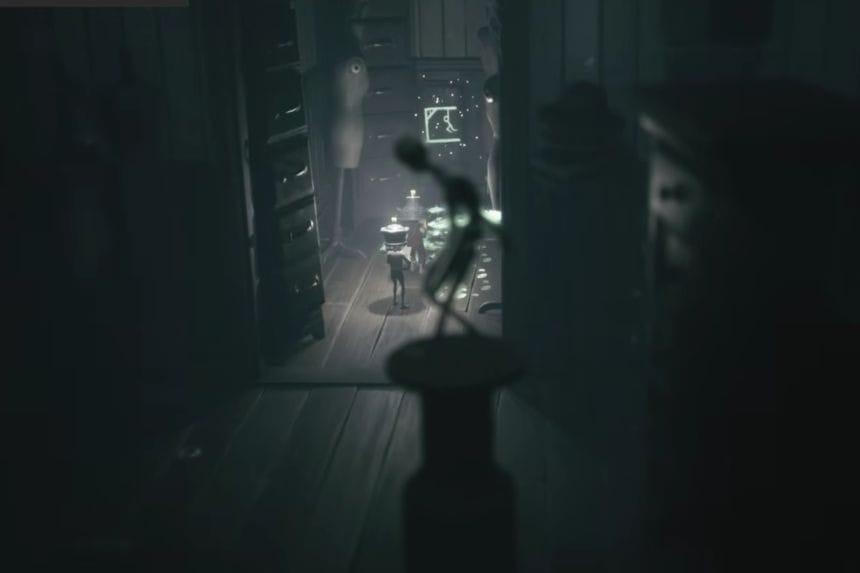
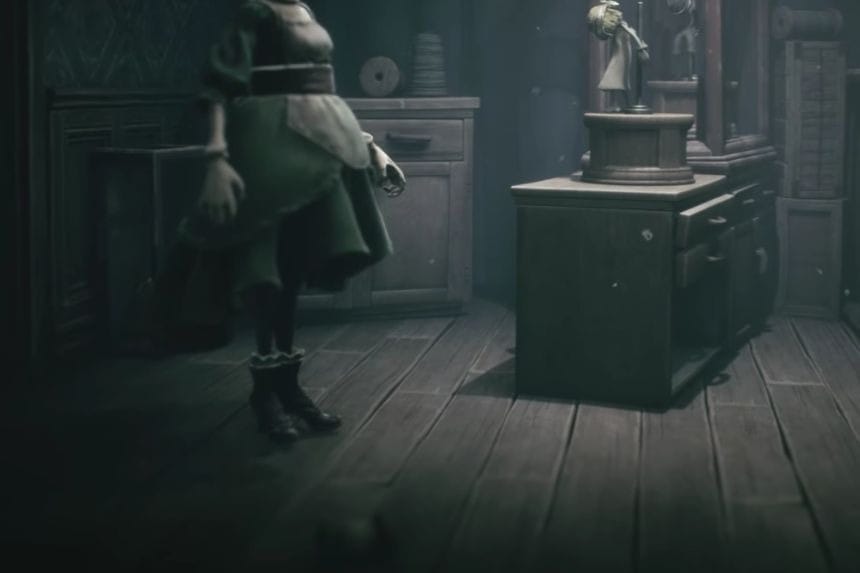
After navigating through the electrified chamber and obtaining the key that is hanging on the wall, do not move towards the next destination. Rather, pause for a few moments and climb up to the nearest cabinet or shelf. At the very top of these, activate your flashlight on the wall to find the fourth Pictogram.
Pictogram 5/10
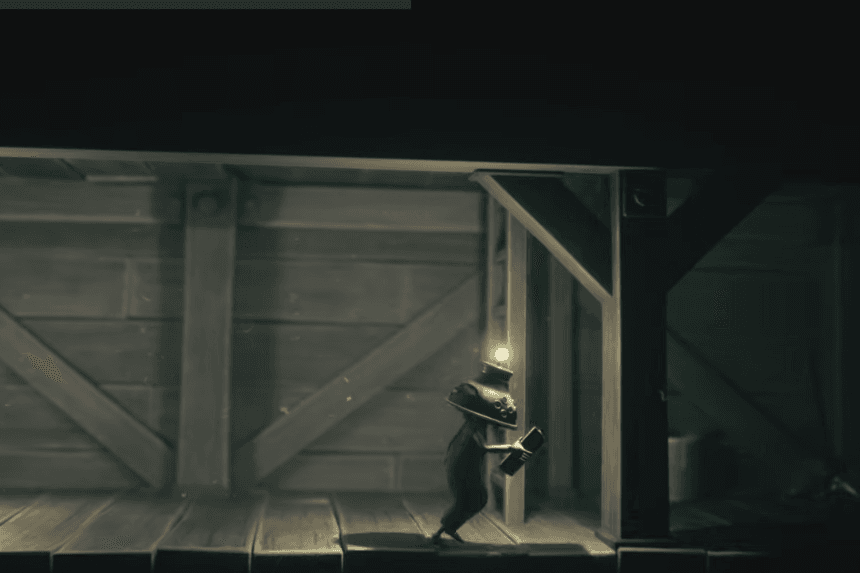
Following the completion of the book puzzle and the unlocking of the way forward, move on until reaching the cable car. However, before pressing the switch and starting your journey, have a look at the cable car using the flashlight. This is where you will find the fifth Pictogram.
Pictogram 6/10
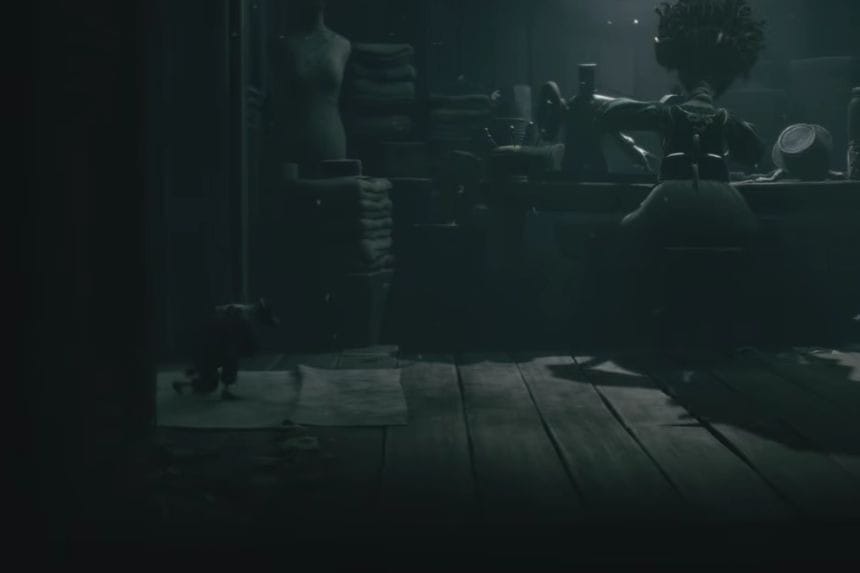
Once you exit the cable car, head on to enter the following room. There is a small side room towards the left of the place. Go there and switch on your flashlight to spot the hidden picture and obtain the Pictogram.
Pictogram 7/10
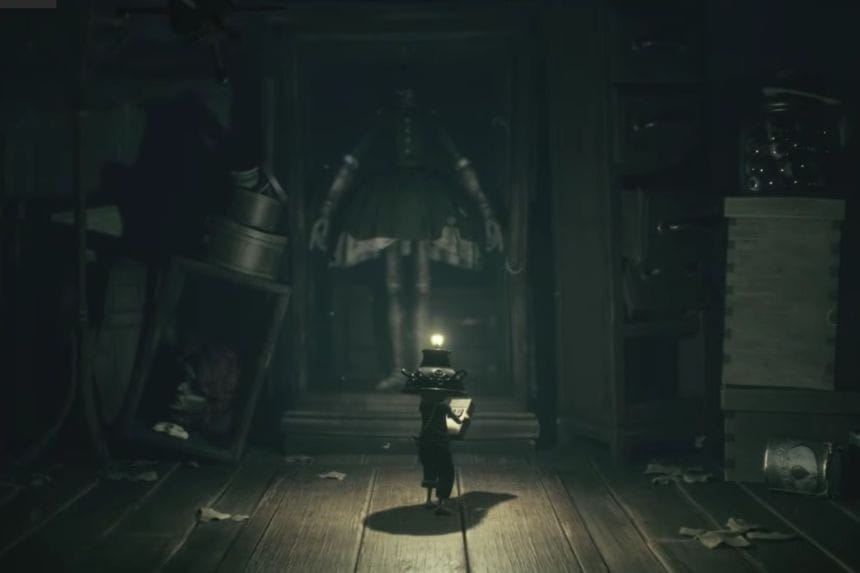
When you meet the Puppeteer for the first time, just keep going ahead to find a stairway that will take you to another part. Prior to moving upstairs, check out the right side of the staircase. Using your flashlight on the wall here will show you the seventh Pictogram.
Pictogram 8/10
Head up the stairs and pass through the hole in the wall at the top of the staircase. Upon entering the new room, take a brief pause and examine the wall with your torchlight to uncover the eighth Pictogram.
Trophy – Puppet Master – Part 1/3
This will require you to complete all Puppeteer encounters within the level without being killed at any point. The key to successfully unlocking the achievement is to be extremely careful not to get caught by the Puppeteer. Should you realise that you are about to be captured, press “Pause” to reload your latest save point.
Trophy – Puppet Master – Part 2/3
This will require you to complete all Puppeteer encounters within the level without being killed at any point. The key to successfully unlocking the achievement is to be extremely careful not to get caught by the Puppeteer. Should you realise that you are about to be captured, press “Pause” to reload your latest save point.
Pictogram 9/10
Further into the chapter, you will find yourself at a point right after The Puppeteer takes hold of Alone. You will need to throw something in the direction of the elevator button in order to switch its direction. Then you will have to ride the elevator upwards and, once inside the room, use the flashlight to find the ninth Pictogram.
Trophy – Just the Ticket
After collecting the Pictogram, continue moving towards the left side past the other rooms. Soon enough, you will find yourself in front of a ticket machine with a lever hanging from it. Pull out the lever for a few seconds, and it will activate.
Trophy – Shadow Puppets
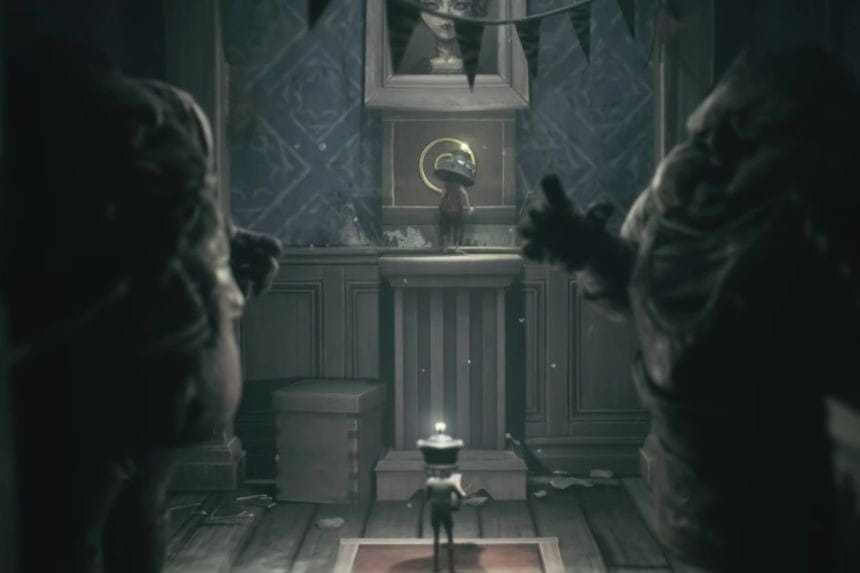
Once you get the Circular Key, five Shadow Puppets will attack you. In order to get this Trophy, you should be able to kill five Shadow Puppets at once. The easiest method to accomplish this is by using your flashlight in the opposite direction of your enemies. You will notice that your buddy’s flashlight will go off, stunning all the Shadow Puppets nearby. After the enemies are stunned, head to another room full of even more Shadow Puppets. Then, try to corner them in a smaller room, so you can easily kill all of them with a single shot.
Trophy – Puppet Master – Part 3/3
In case you know that you are being pursued by the Puppet Master, then you should reload your checkpoint right before dying, and then try your luck again. After the successful blinding of the Puppet Master, run into the room and jump on the lever.
Pictogram 10/10
Once out of the elevator after completing the latter part of Puppet Master, go around the surrounding area to look for the box. When you see the box, use your flashlight to illuminate the box and find another hidden picture, getting your next Pictogram. The box is near the path and easy to access.