
The training ground treasure map puzzle in the Echoes of Old Battle quest in Where Winds Meet might seem a bit confusing at first, especially when the clue only consists of scattered flame symbols shown to you. If you are wondering how to go about solving this puzzle, then this guide is for you! We will walk you through how to read the hint, find each flame pillar, and activate them in the correct order so that you can light the final contraption and easily move on with the quest.
How to Light the Correct Flame Contraption
Following the detection of the treasure map from within the training ground during the quest Echoes of Old Battle, the game will prompt you to “search the clue,” and ignite the proper flames. The puzzle is not challenging, although the map’s sketch may be a bit ambiguous, if you’re not sure what you’re looking for. You can simply follow these steps for ease:
Step 1: Look at the Map Clue Again
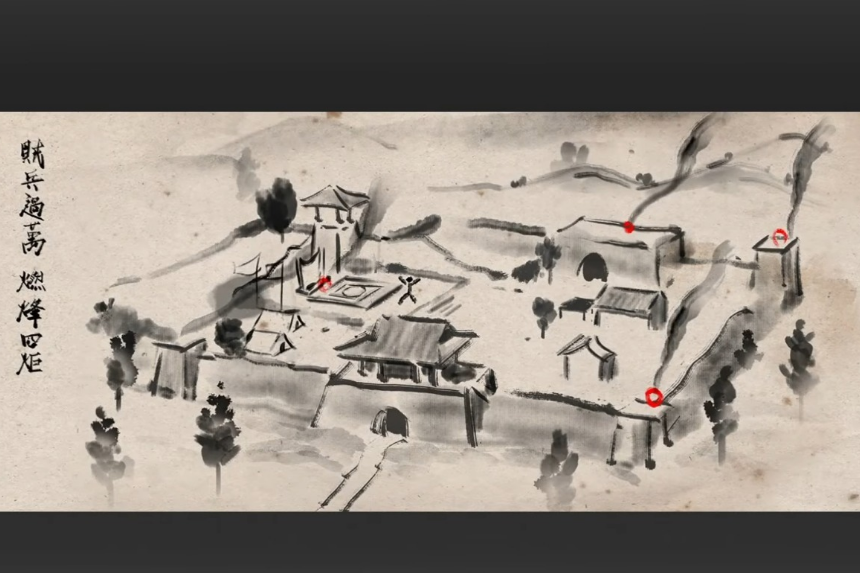
Access your map via your inventory. There are multiple flame icons around this area which indicate the pillars you can interact with. You need to light each one of the pillars before the final pillar in the center will respond.
Step 2: Locate the Four Outer Flame Pillars
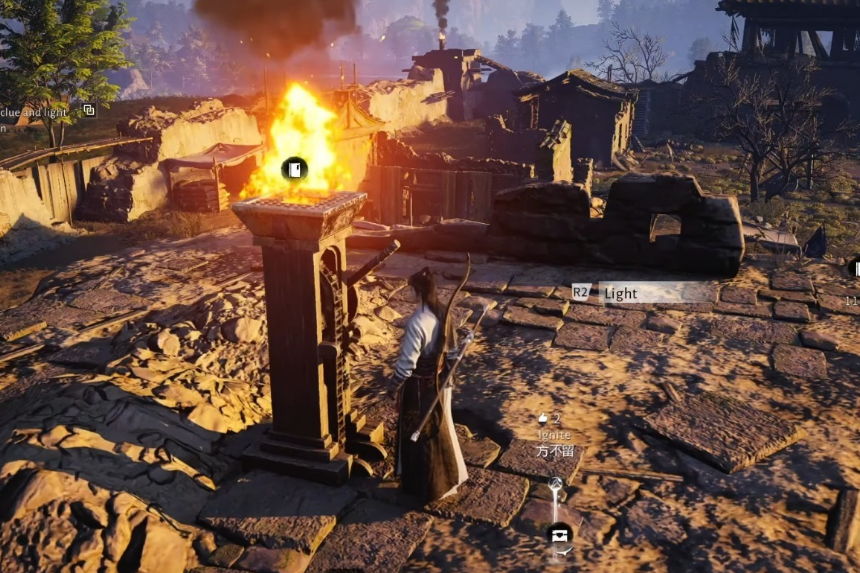
Walk around the training ground and check the four corners and side sections:
- One sits to the right of the spot where you originally picked up the map.
- Another one is positioned along the far left side.
- There’s one tucked into the top-left area.
- The last one rests in the top-right section.
Some of these may already be lit, while others will be completely dormant. Make sure every single one is producing flame.
Note: There’s also a chest on the rooftop near the right-side pillar if you want to grab it, but it isn’t required.
Step 3: Return to the Center
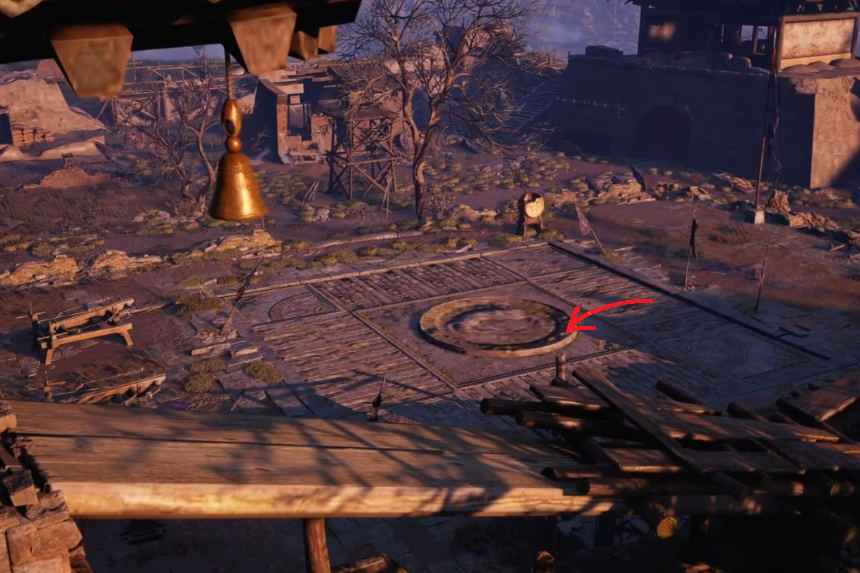
After confirming all four outer pillars are burning, go back to the middle of the training ground. Light the central pillar. As soon as that one activates, the puzzle resolves automatically and a cutscene takes over, pushing you to the next part of the quest.