
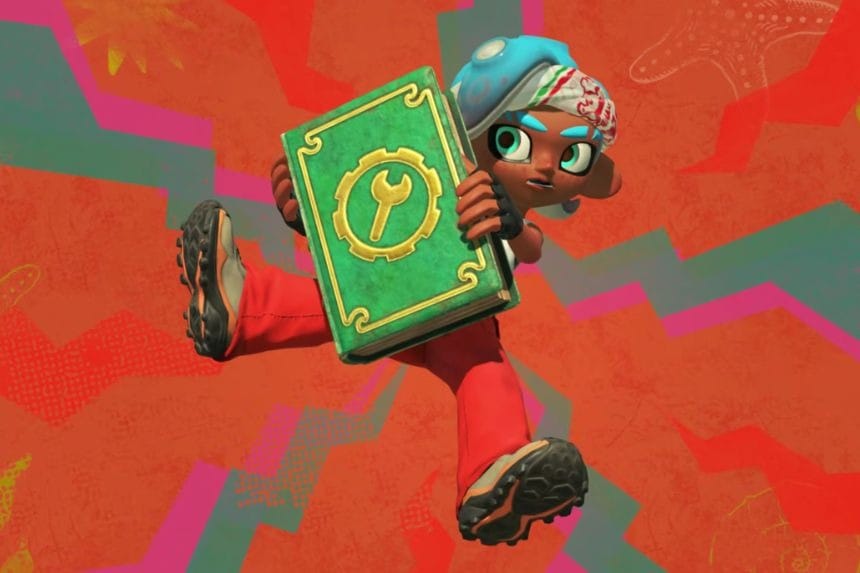
The Stick Sweet Sampler Dungeon is one of the early puzzle dungeons in Splatoon Raiders in which the Bombloons are used to blow up objects. Even though the puzzles might seem difficult, they are very simple when you know how Bombloons work and connect to form chains of explosions. In this guide, we’ll show you how to unlock the dungeon first and then walk you through every puzzle step by step.
Sticky Sweet Sampler Dungeon
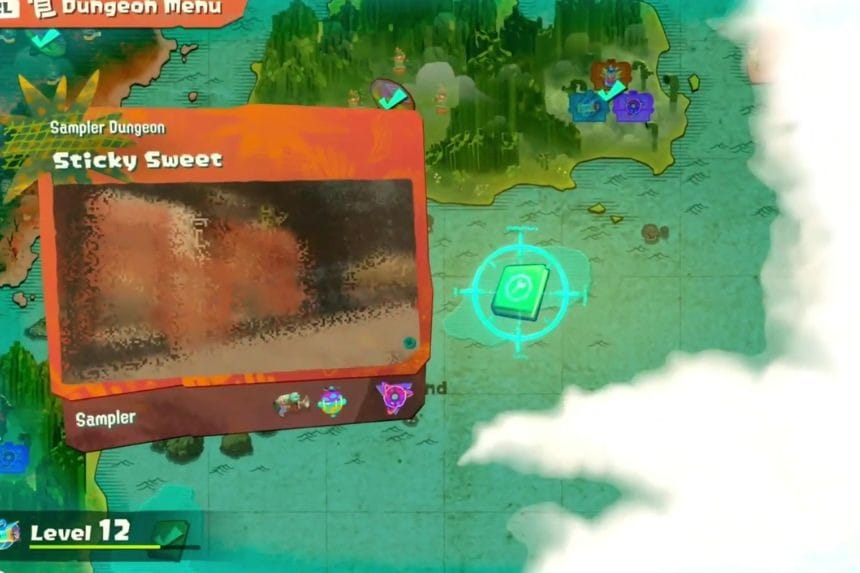
Before entering the Sticky Sweet Dungeon, you must first unlock the dungeon using the Unlock Compass. The compass is found in the Pipyoni Cliffs Compass Dungeon. After you have unlocked and taken the compass from the dungeon, check the direction that it is facing and go in that direction. There is an island where the Sticky Sweet Dungeon is. As a reward, you’ll receive a Skill Tome, which gives you skill points. You can spend these points at the Mechanic’s Shack to upgrade your tanks and make future dungeons much easier.
Puzzle #1
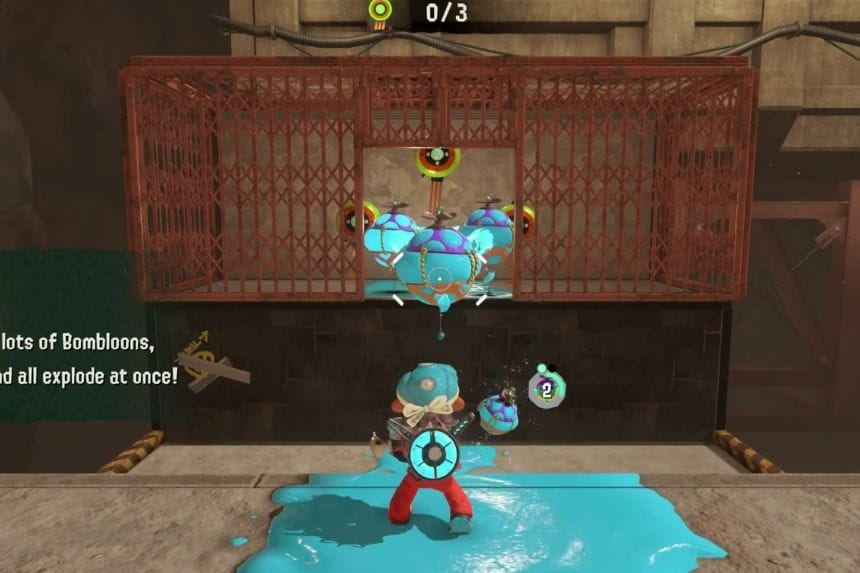
Position yourself in front of the cage in which the targets are placed. Throw a Bombloon into the cage, and then throw another Bombloon in the space in between you and the cage. The two Bombloons will touch each other. Now, blast the Bombloon in space to cause an explosion, and that will in turn cause the explosion of the Bombloon inside the cage.
Puzzle #2
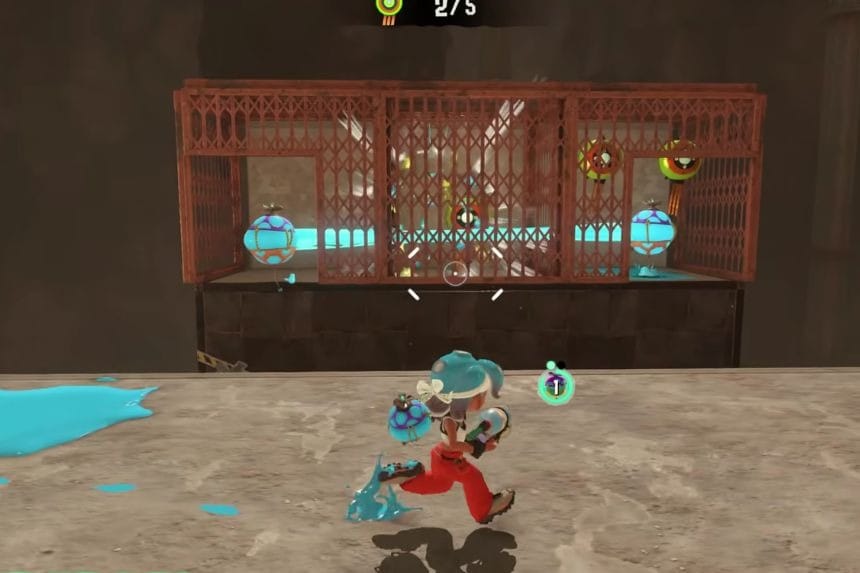
For the second puzzle, remain on the same ledge as before, but this time facing the cage. Begin by firing a Bombloon from the right opening of the cage. Then, fire another Bombloon from the left opening of the cage. The connection will automatically be established, and it will take care of the targets in the centre.
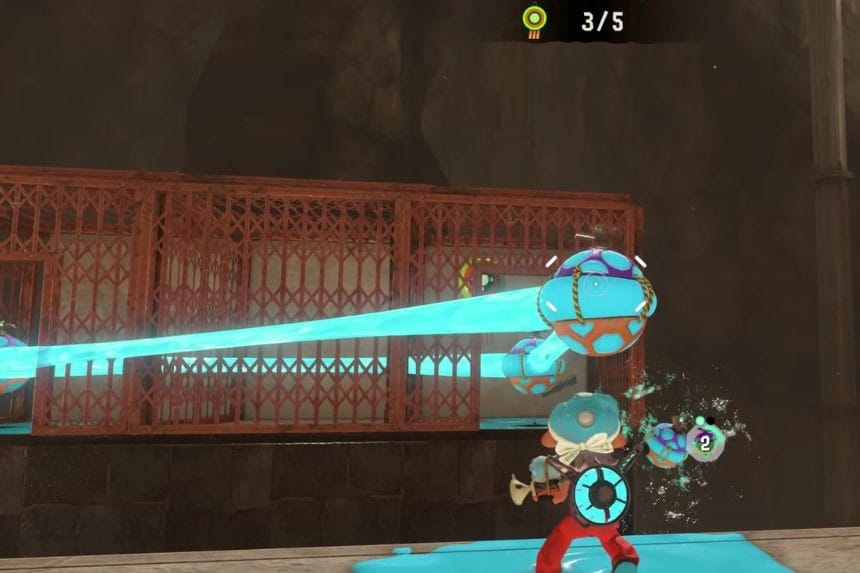
Now, launch a third Bombloon from the gap between yourself and the cage. Shoot this Bombloon to start the chain reaction, thus blowing up all other Bombloons and taking care of the other targets on the right side. All that you have to do is to simply fire a Bombloon from the right opening and another one from the gap and shoot it to finish the targets.
Puzzle #3
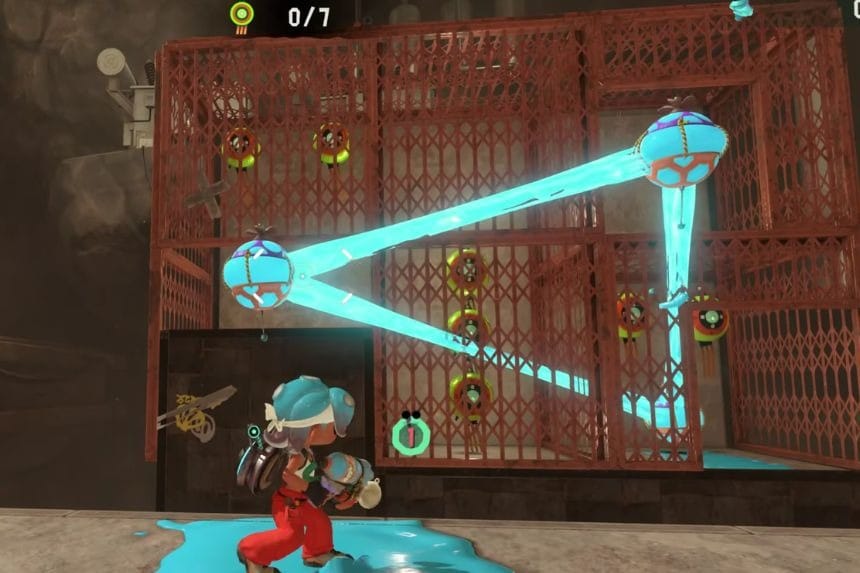
Position yourself on the ledge across from the cage and shoot a Bombloon towards the hole on the right-hand side. After the moving platform reaches its lowest position, launch another Bombloon towards the hole on the left-hand side. The link between the two Bombloons will take care of destroying the middle targets as the platform rises.
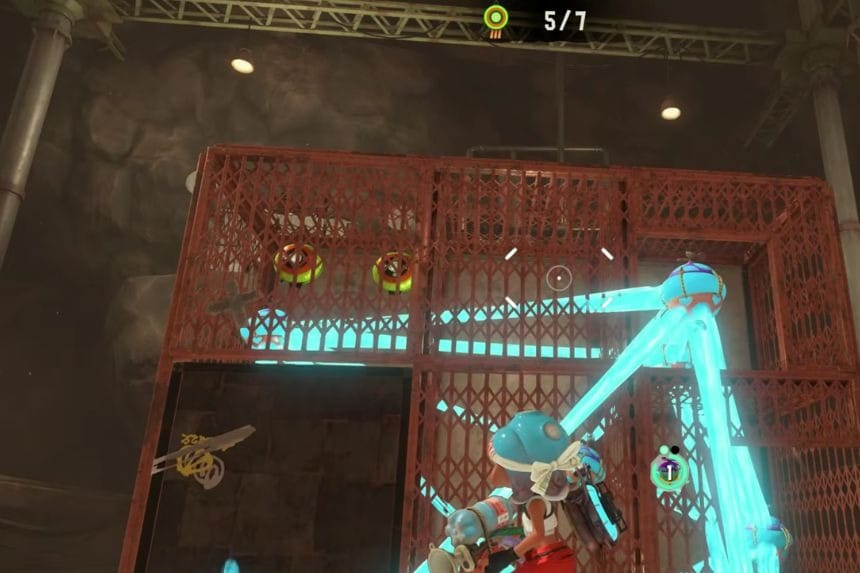
The next thing you need to do is position your third Bombloon in the space between you and the cage. Fire your third Bombloon in order to cause the explosion, which will in turn result in the destruction of all three Bombloons. If your Bombloons become inactive before you complete the task, it is much simpler to destroy each side individually.
Puzzle #4
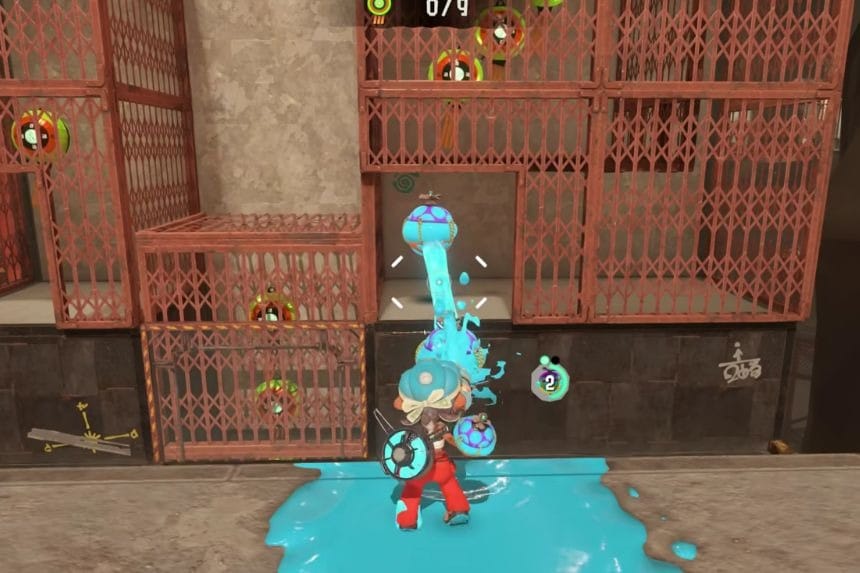
The first thing to do is to launch a Bombloon at the opening on the right-hand side of the cage, followed by another Bombloon through the opening on the left-hand side of the cage. The connection between these two Bombloons will take care of the targets located in the middle and rising and falling. The next step is to launch a third Bombloon at the gap located before you and explode it to destroy the left-hand target.
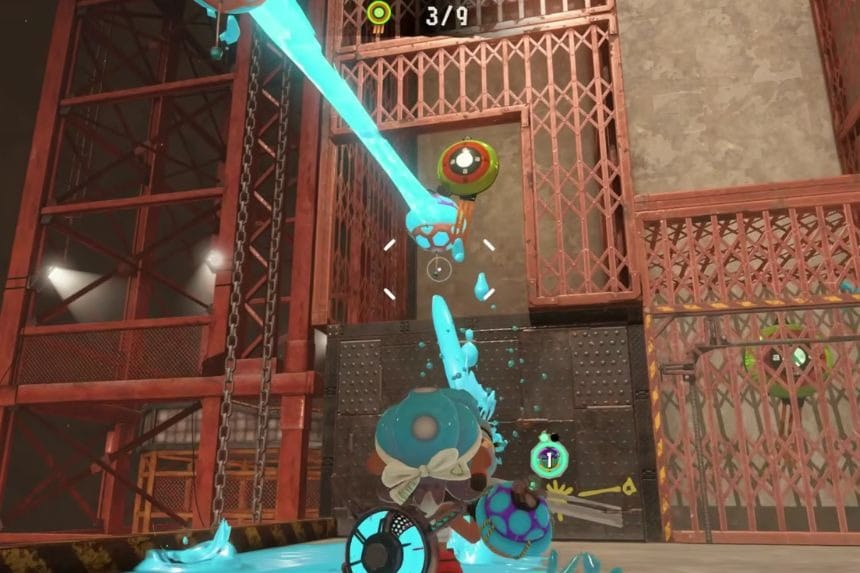
Having destroyed these targets, it is time to wait for the moving platform to reach the midway point. At this point, launch a Bombloon at the opening on the right-hand side of the cage, followed by placing another Bombloon on top of the moving platform. In this way, the rising and falling of the moving platform will cause the connection between the two Bombloons to destroy the right-hand targets.
At last, launch another Bombloon at the gap between you and the cage. In this way, when the Bombloon on the moving platform reaches the upper-right-hand targets, launch the Bombloon in the gap for an explosion.
