
There is no shortage of collectables waiting to be discovered in the game campaign of Call of Duty: Modern Warfare 4. Examples of these collectables include notes, contraband, and yellow supply crates found within various levels. Some are easier to discover than others, some hidden in sealed crates or within buildings and bunkers that one may pass by unnoticed while playing. It also earns you a number of achievements. In this guide, we’ll show you where to find all the campaign collectables, along with the keypad codes and steps needed to get them.
All Campaign Collectable Locations
Here are a number of collectables that can be collected in the game Call of Duty: Modern Warfare 4, which include notes, contraband objects, and yellow supply crates. Collecting these objects will assist you in unlocking some achievements like No Stone Unturned, Noteworthy, Time to Crate, and Never Forgotten. These objects are mostly found in three missions: Following Orders, Stranded, and Escape.
Following Orders – All Collectable Locations
The first collectables can be found in mission 3, “Following Orders.” You will have to collect four pieces of contraband and four notes for the “No Stone Unturned” achievement.
Contraband #1 – MP3 Player
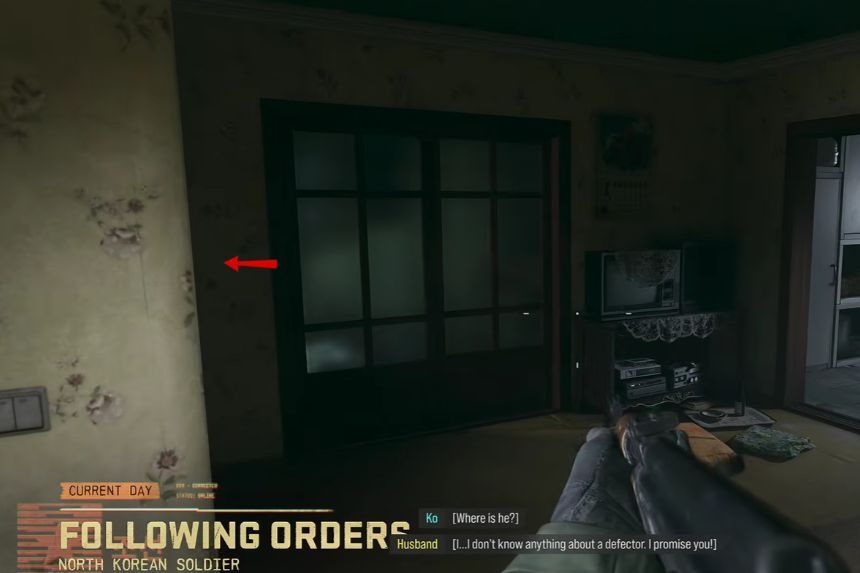
When you step into the first house, open the left door and go into the bathroom. In the bathroom, open the cabinet to get the MP3 player.
Contraband #2 – Western Novel
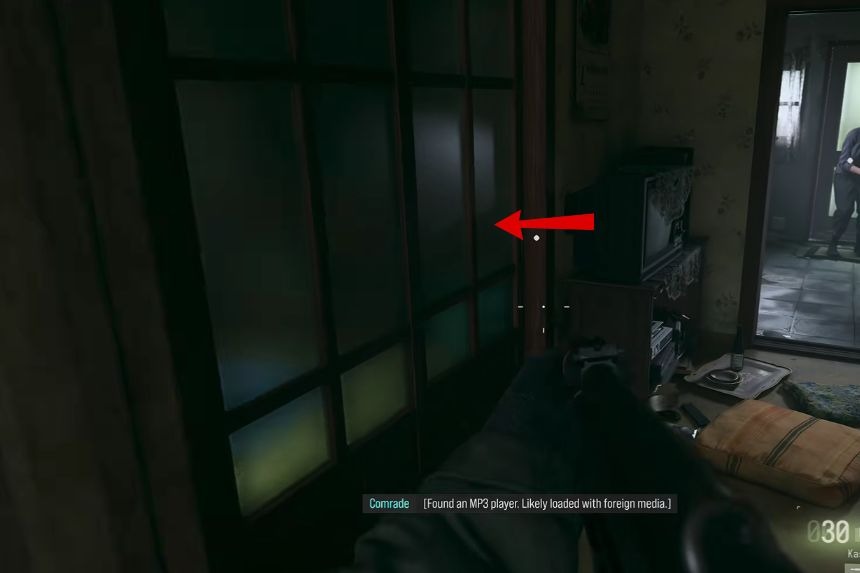
In the same house, slide the doors open and examine the cabinet to your right. There you will find the Western Novel.
Contraband #3 – Extra Rations
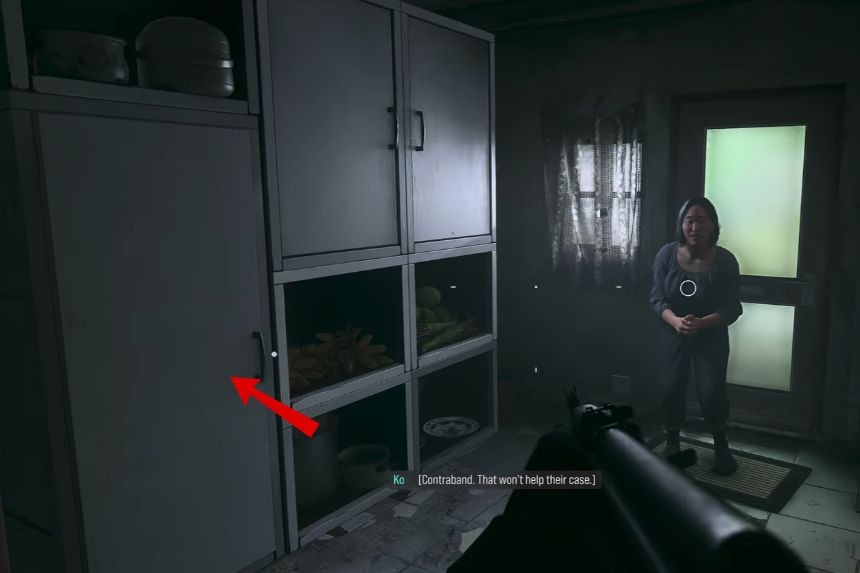
Leave the room and head into the kitchen. Open the second set of white doors to find the Extra Rations.
Note #1 – Recipe
Again, in the kitchen, the door to your left is the one to the recipe note. This note will help you decipher the code to get access to the locked toolbox. In the recipe note, you are told not to use any salt. This means no number 5. Your code is 214.
Contraband #4 – Medicine
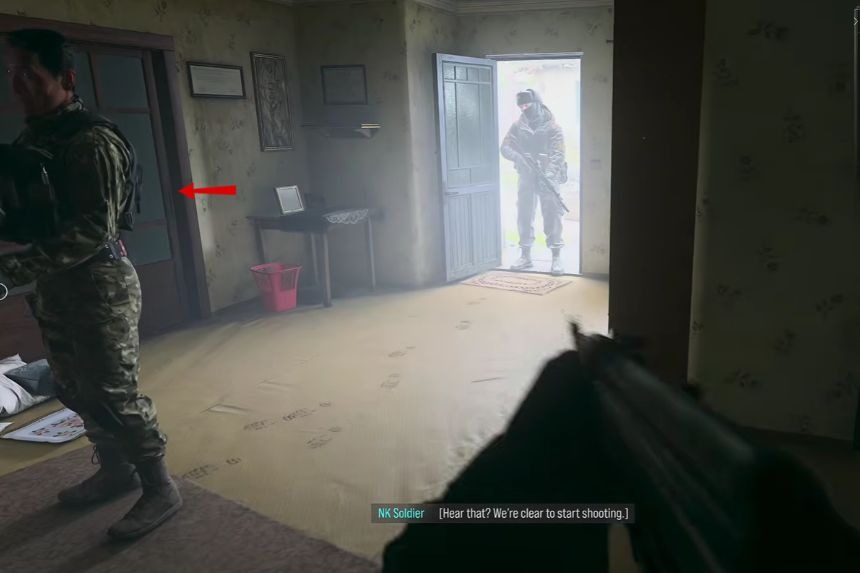
Now open the sliding doors and see the locked toolbox inside the cabinet. To unlock the toolbox, enter 214 and get the medicine as your last item of contraband.
Note #2 – Note From Your Friend
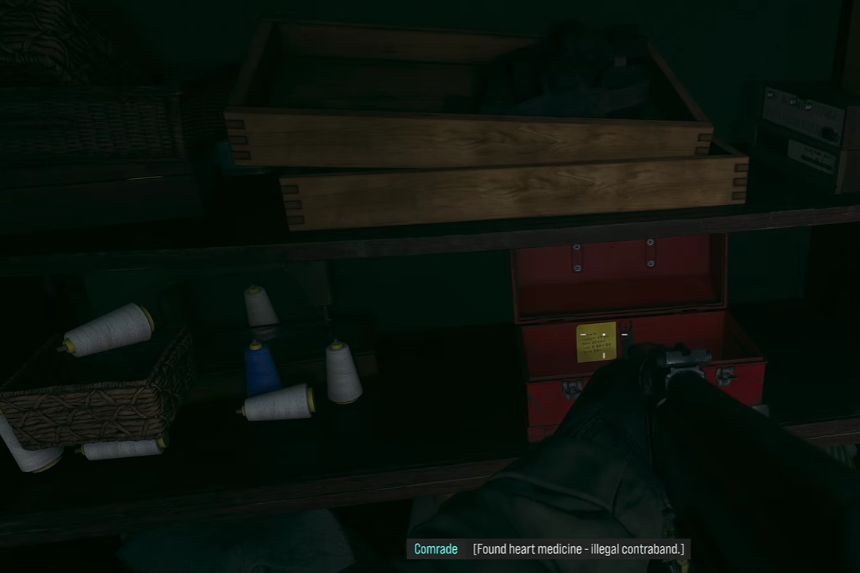
After accessing the box, take the Note From Your Friend. Having acquired the four banned items and both notes, talk to the person around you. There is no specific thing that you should say in the dialogue. After talking twice, you will find out where the defector is.
Note #3 – Note From Your Neighbour
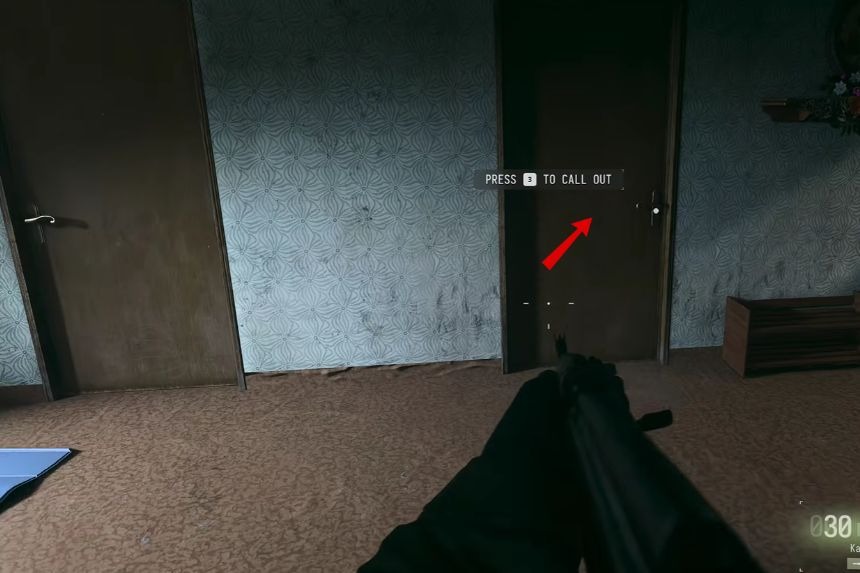
Go to the third house and slide open the doors. Go to the bedroom on the right side and look for the Note From Your Neighbour in the closet.
Note #4 – Final Hidden Note
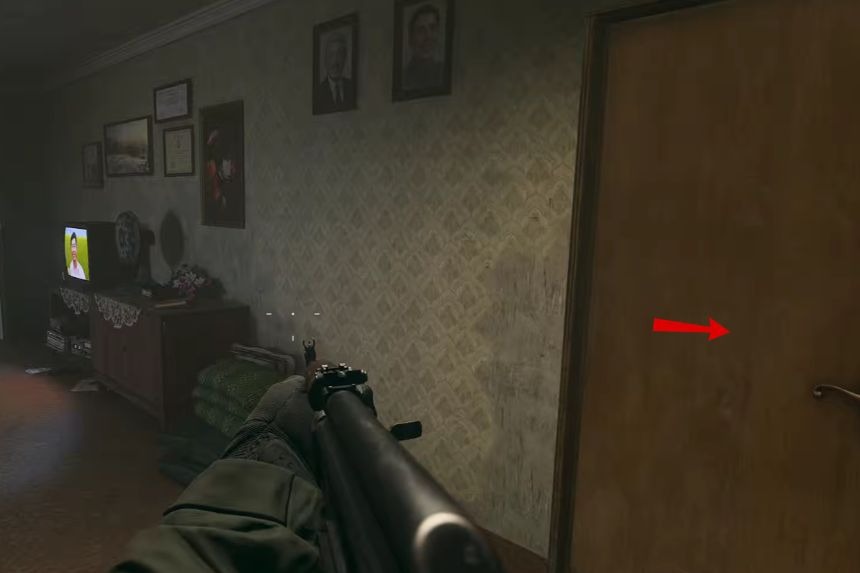
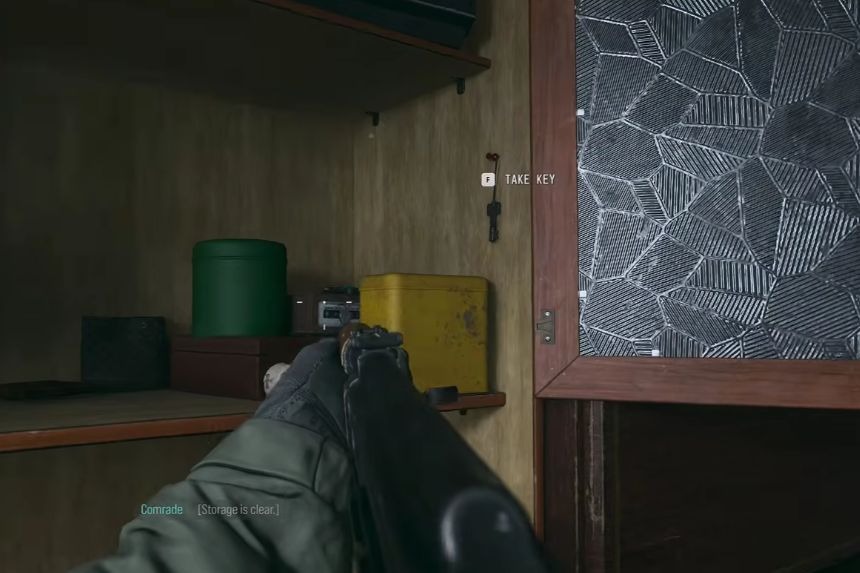
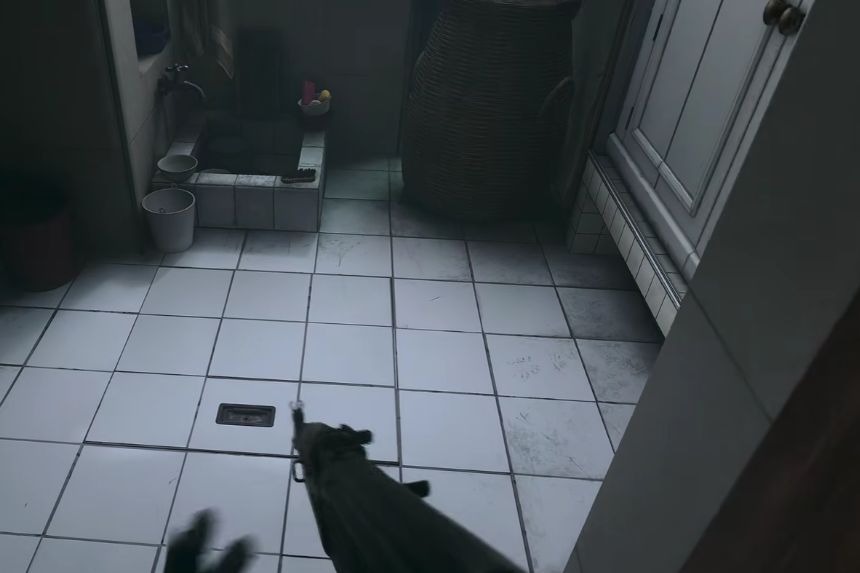
From the bedroom, go to the living room and open the doors. Go to the bedroom on your right and look in the cabinet to get a key. Use the key in the kitchen to unlock the door. There will be a woman hiding in there. Talk to her and say these things:
- “Please come outside with me.”
- “No, we’re going outside.”
Once she leaves her hiding spot, jump down and crouch to read the final note. After collecting all four notes and four contraband items, you’ll unlock the No Stone Unturned achievement.
Stranded – All Note and Yellow Supply Crate Locations
Stranded is Mission 10 and is set on an extensive open world map. The map has 58 notes and 26 yellow supply crates. Getting 50 notes will unlock the Noteworthy achievement, whereas unlocking all 26 yellow supply crates will get you the Time to Crate achievement.
Once the mission starts from Base Camp, Cal will ask if you want to go directly to the mission or explore the world yourself. Pick “Find your own path,” so you can freely roam the map and gather everything.
Note: Numbers provided below refer to the above-mentioned route. The numbers on your screen may vary depending on the order in which you collect them.
Note #1 – Base Camp Keypad Note
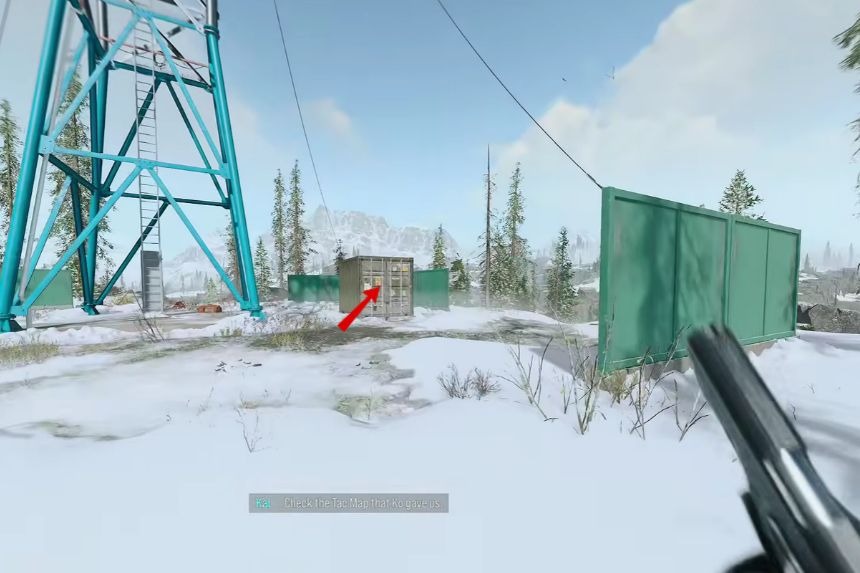
From Base Camp, proceed towards the radio tower. There will be a cargo container present on the right side of the radio tower. Open the note attached to the door of the cargo container and obtain the Base Camp Keypad Note. The numbers increase by six in the code. Use 0024 to unlock the door.
Note #2 – Radio Tower Note
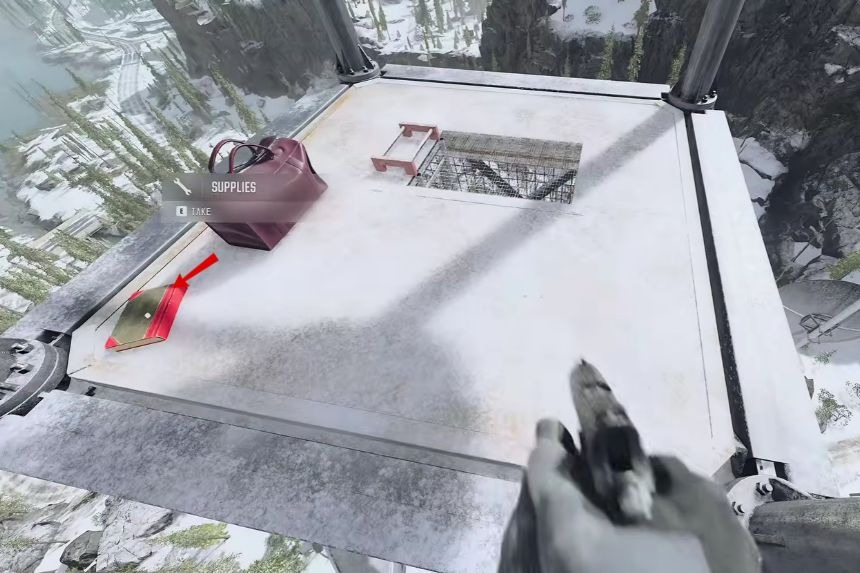
Begin climbing the radio tower from Base Camp. Once you are on the first landing, leap to the platform and hold on to the red and white ledges. Keep climbing until you get to the second landing, where you will find the Radio Tower Note.
Note #3 – Top of Radio Tower Note
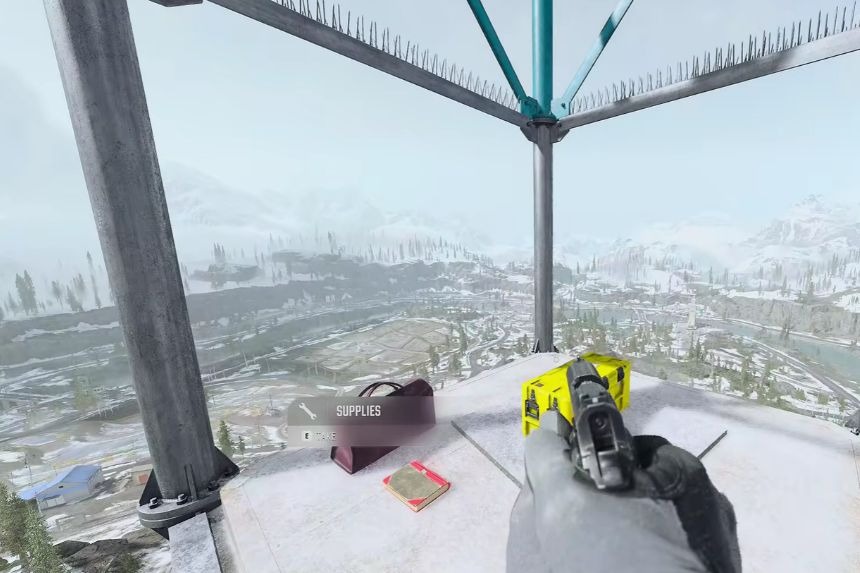
Keep climbing until you reach the top of the radio tower. You’ll find the third note and some extra supplies.
Yellow Supply Crate #1 – Radio Tower
The other yellow supply box can be found at the very top of the radio tower near Note #3. Make sure to open it before returning down.
Note #4 – Smuggler House Note
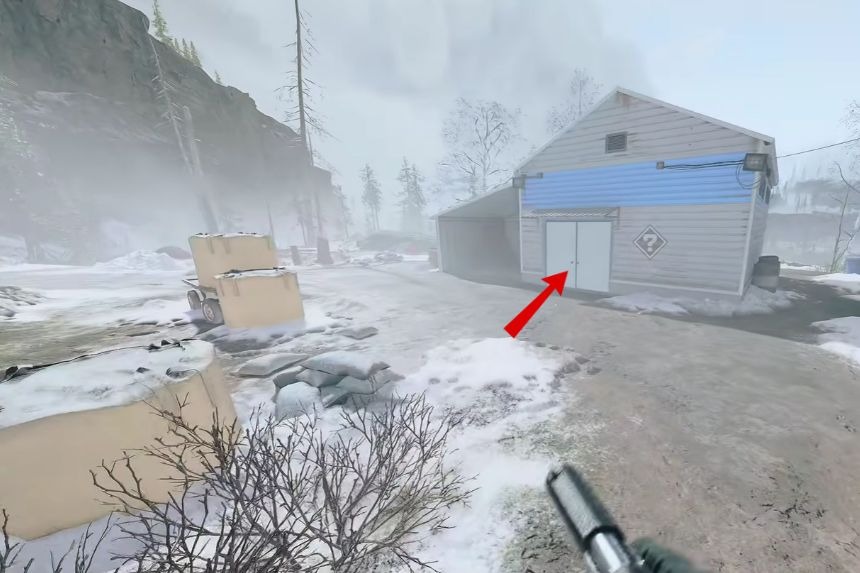
Make your way southeast from Base Camp in the direction of the blue building. You can use a parachute from the radio tower to get there quickly. Look for the double white doors and head inside to find the Smuggler House Note.
Note #5 – Cargo Container Note
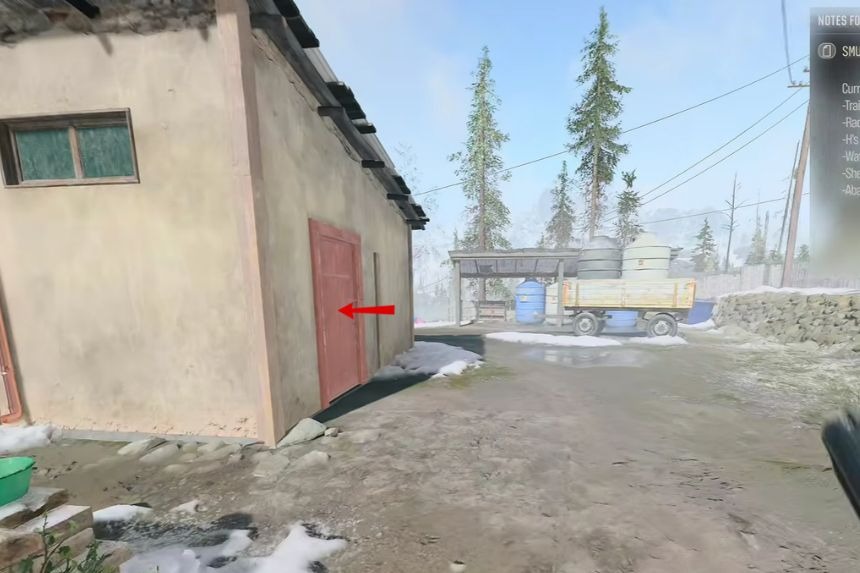
From the blue building, head toward the smaller building nearby. Go through the orange door to find the Cargo Container Note.
Note #6 – Water Treatment Note
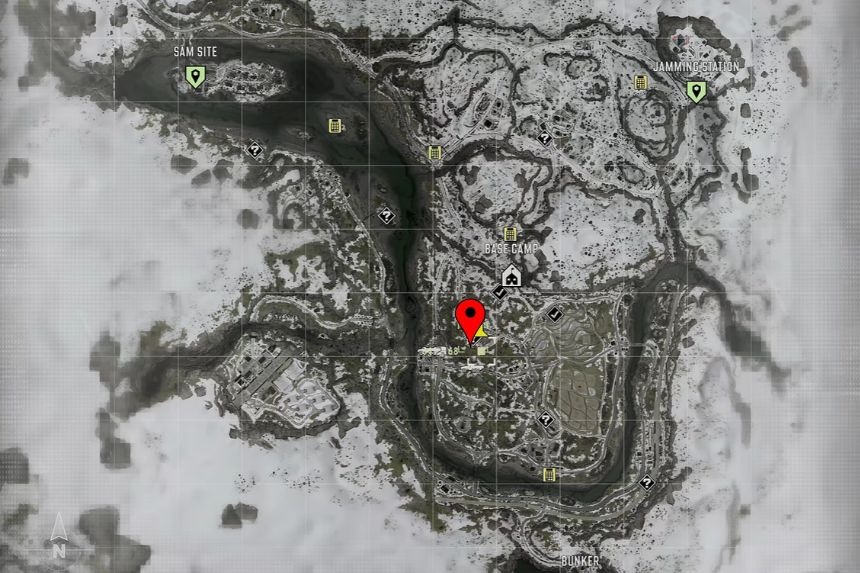
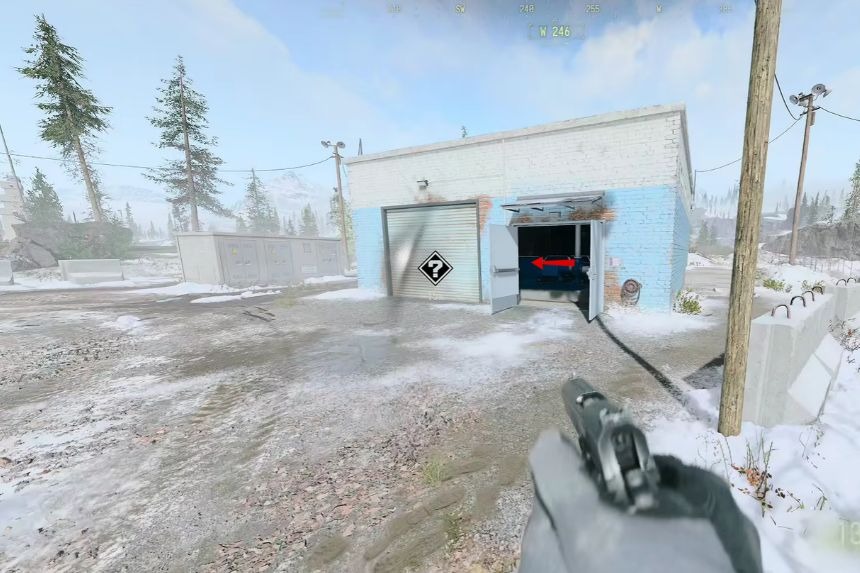
Go slightly to the eastern direction towards the Water Treatment Building, indicated by a question mark in your map. Go into the building and turn left. The Water Treatment Note will be on the corner among the supplies.
Note #7 – Sewers Note
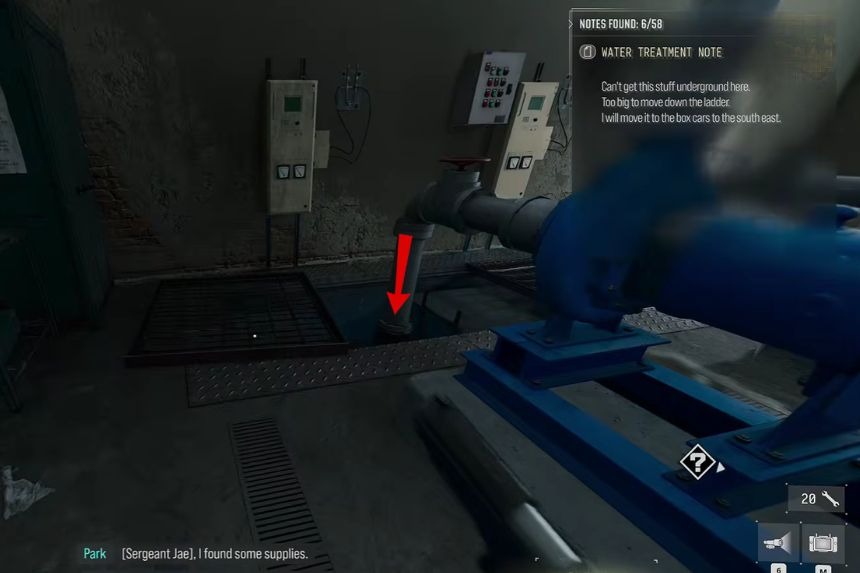
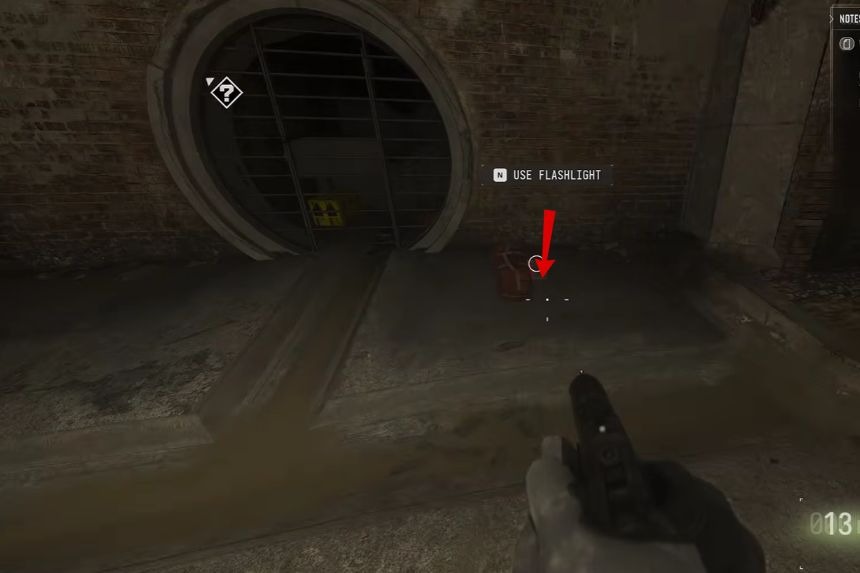
The Sewers Note can be found in the Water Treatment Facility in an area located across from where you will see a ladder which leads to the sewers.
Note #8 – Sewer Smuggler Remains Note
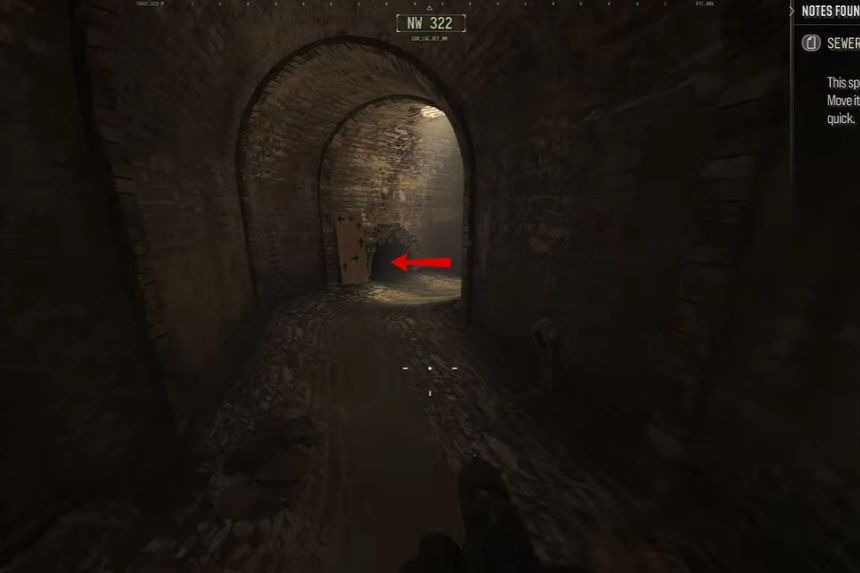
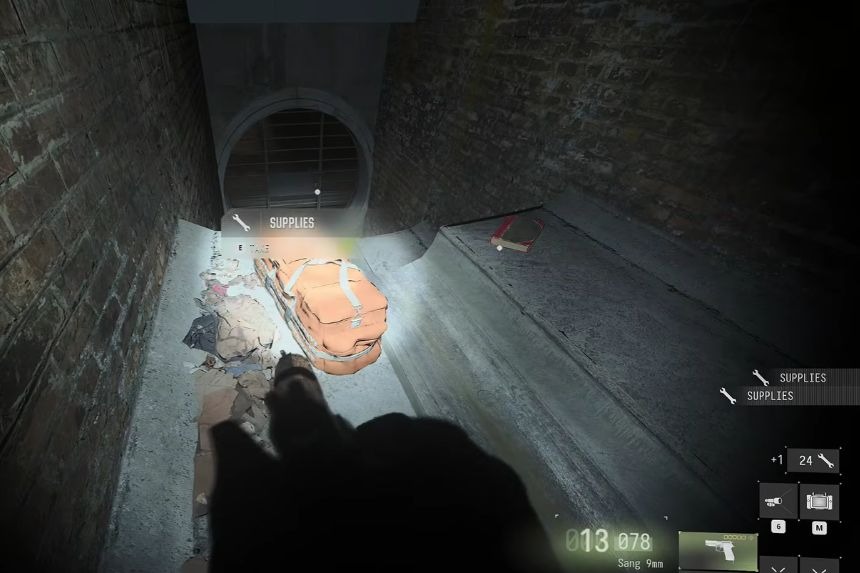
Continue through the sewers until you reach a sign showing a pattern. You’ll need to follow the shapes on the sign to navigate the tunnels. For the first section, turn right, then left. Continue straight at the next intersection, and turn left when you see the remains ahead. Follow the passage until you reach a ladder.
Climb up to reach the second puzzle. Follow this route:
- Go straight and turn right at the first intersection.
- Turn left, then take another left.
- When you see a pipe sticking out of the wall, turn right.
- Turn left at the dead end and continue straight through the open area.
- When you reach another pipe, turn left and keep going.
At the end, you’ll find some supplies and the Sewer Smuggler Remains Note.
Yellow Supply Crate #2 – Sewer Smuggler Area
You’ll find the second yellow supply crate in the same area as Note #8. Open it before leaving the sewers.
Yellow Supply Crate #3 – Infantry Checkpoint 1
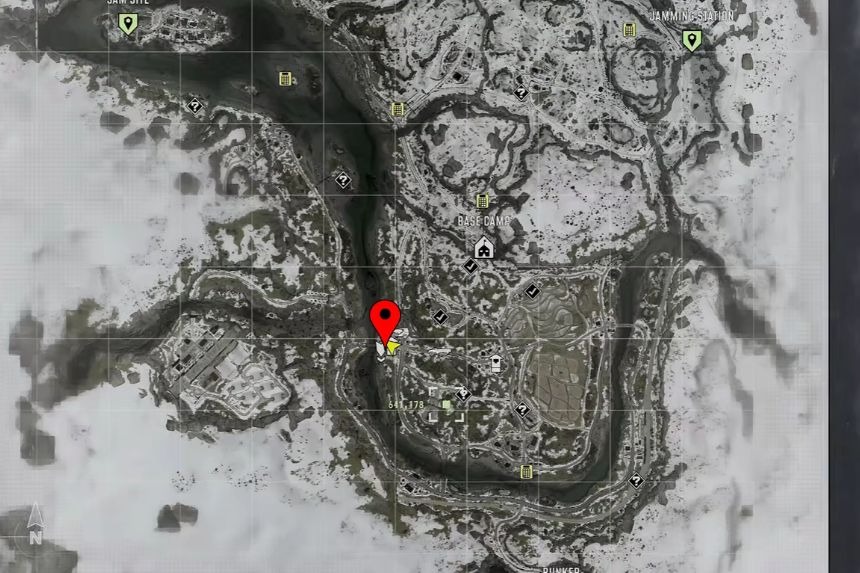
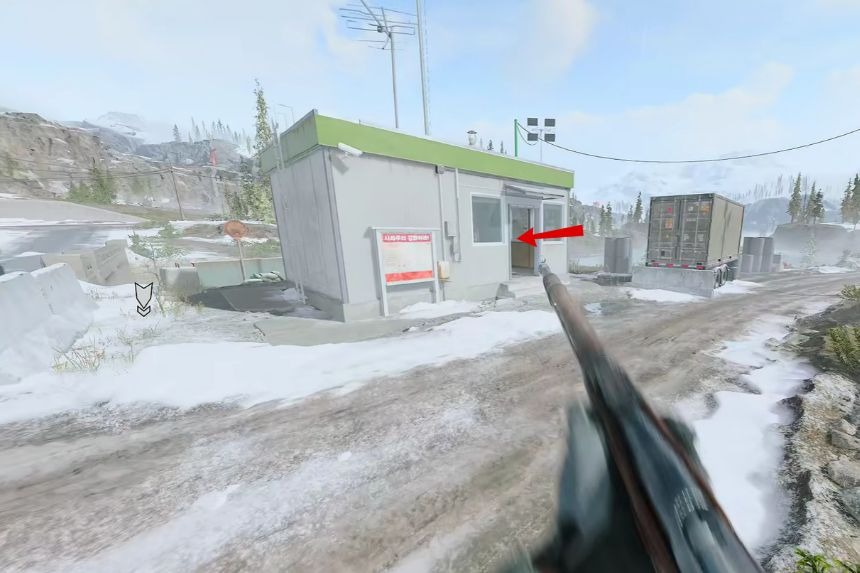
Head southwest of the Water Treatment Building toward Infantry Checkpoint 1, located near the river. Clear out the enemies, then enter the guardhouse. The yellow supply crate is in the corner.
Note #9 – Supply Crates Weapon Inventory
You’ll find this note at Infantry Checkpoint 1, near the third yellow supply crate. Make sure to collect the extra supplies and ammunition on the desk as well.
Note #10 – Island Hidden Bunker Note
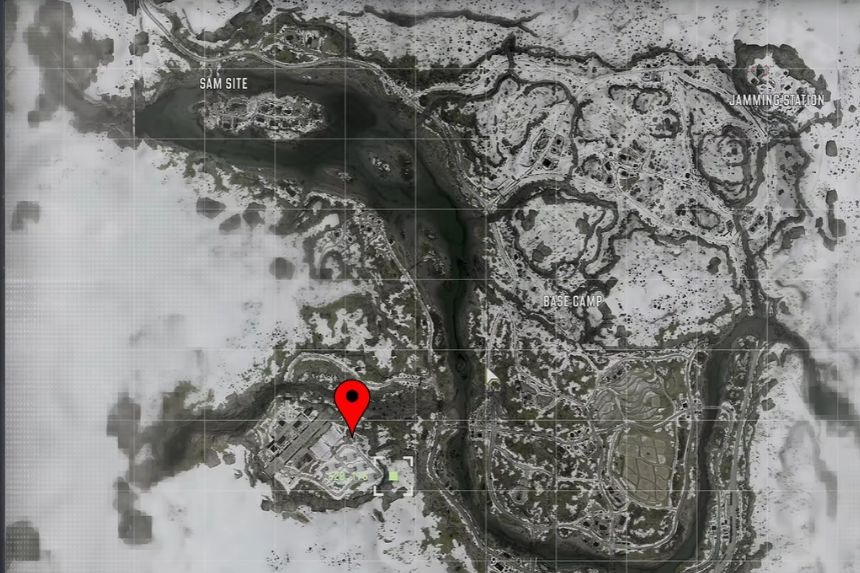
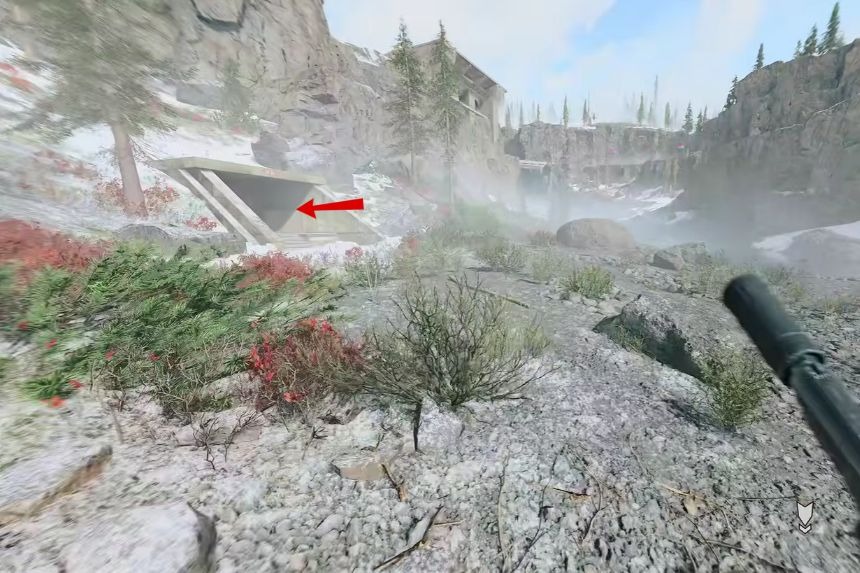
Cross the river from Infantry Checkpoint 1 and look for a hidden bunker. Interact with the note on the wall near the entrance. It explains that the keypad code is calculated using the numbers of the infantry checkpoints along the river. Enter 00008 to unlock the bunker.
Note #11 – Northwest Island Bunker Note
Once you’ve unlocked the hidden bunker, drop inside and check the desk to find the Northwest Island Bunker Note.
Yellow Supply Crate #4 – Northwest Island Bunker
The fourth yellow supply crate is inside the same bunker. Open it after collecting Note #11.
Yellow Supply Crate #5 – Logistics Station 200
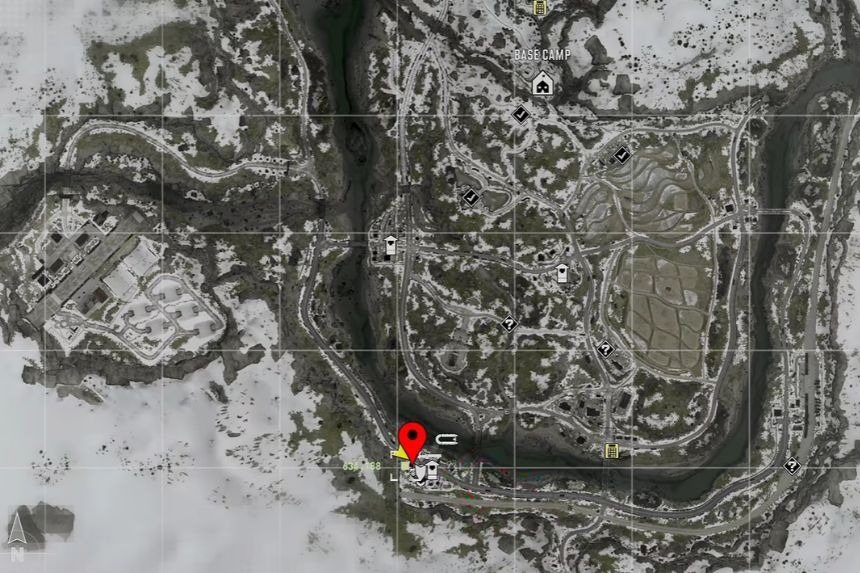
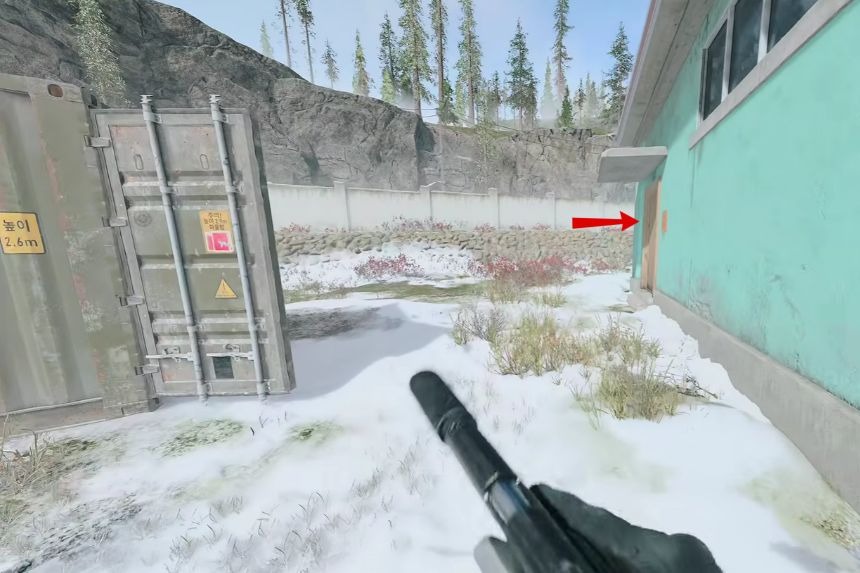
Head east toward Logistics Station 200 in the southern part of the map. Clear out the enemies and look for a green garage with three doors. Enter through the door on the left side of the building to find the yellow supply crate.
Note #12 – Supply Crates Equipment Inventory
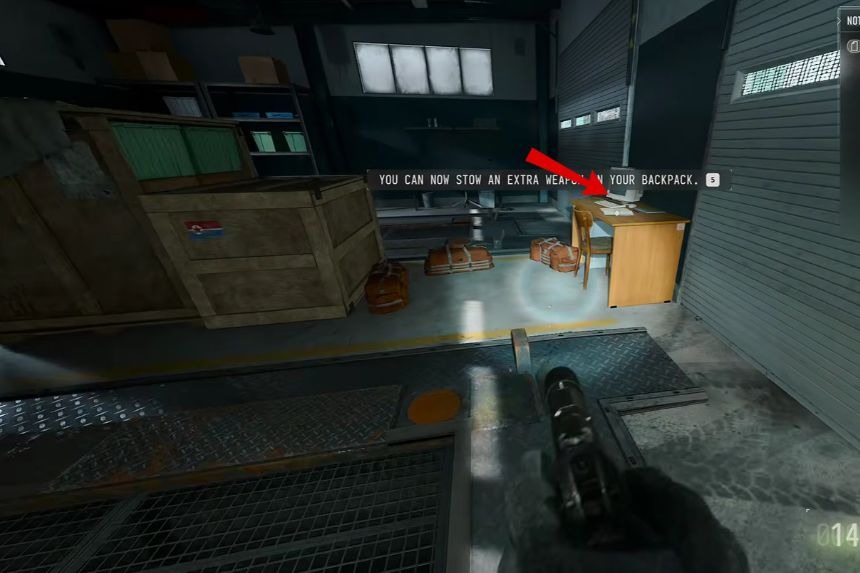
You’ll collect this note when opening the supply crate at Logistics Station 200. You can also gather intel from the desk and pick up supplies from the floor.
Note #13 – Top of Southern Monument Note
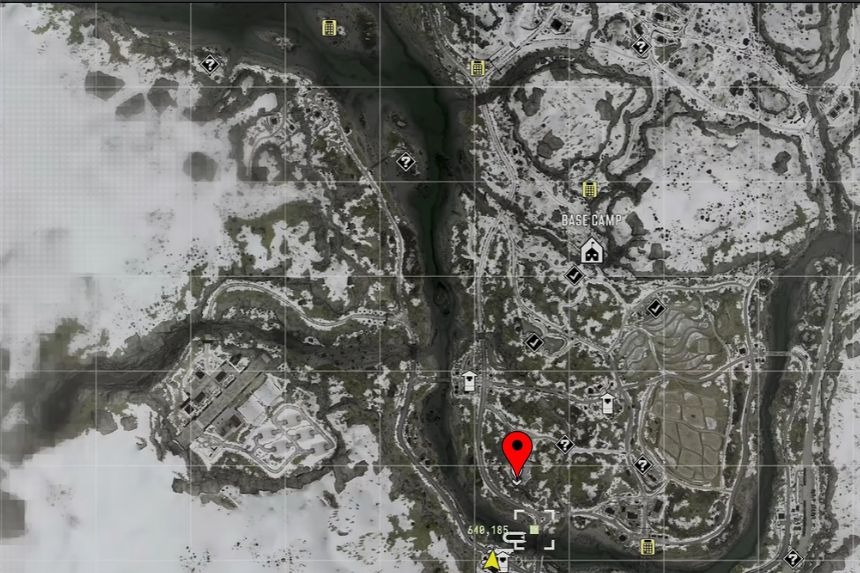
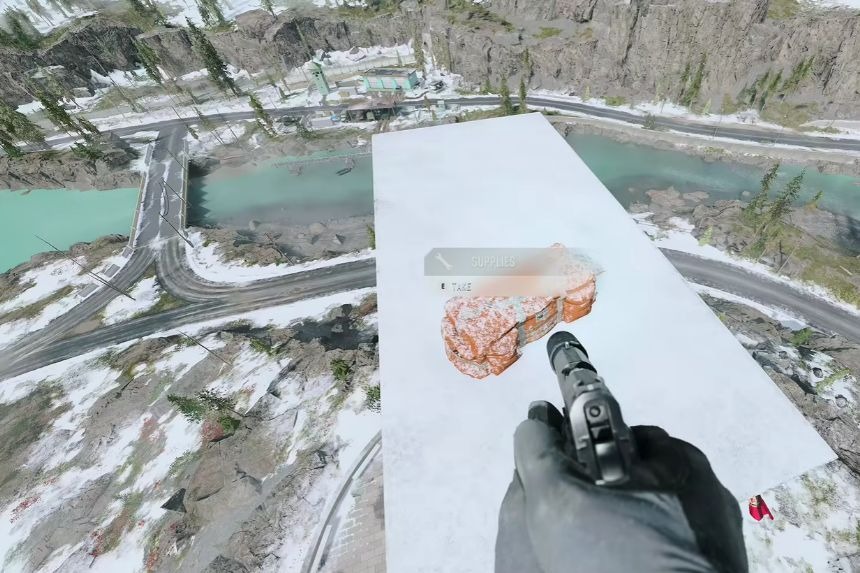
Cross the river and head north of Logistics Station 200 to reach the Southern Monument. Climb to the top by following the available ledges and platforms. Watch for the indicators showing where you can grab or jump. Once you reach the top, collect the note and nearby supplies.
Note #14 – Under the Bridge Note
From the top of the Southern Monument, look northeast toward the bridge. You’ll find the next note underneath it. You can parachute down from the monument to reach it quickly.
Yellow Supply Crate #6 – Artillery Battery 7
Head northeast up the hill toward Artillery Battery 7. Clear the enemies, then enter the guardhouse to find the sixth yellow supply crate. There’s also intel on the desk.
