
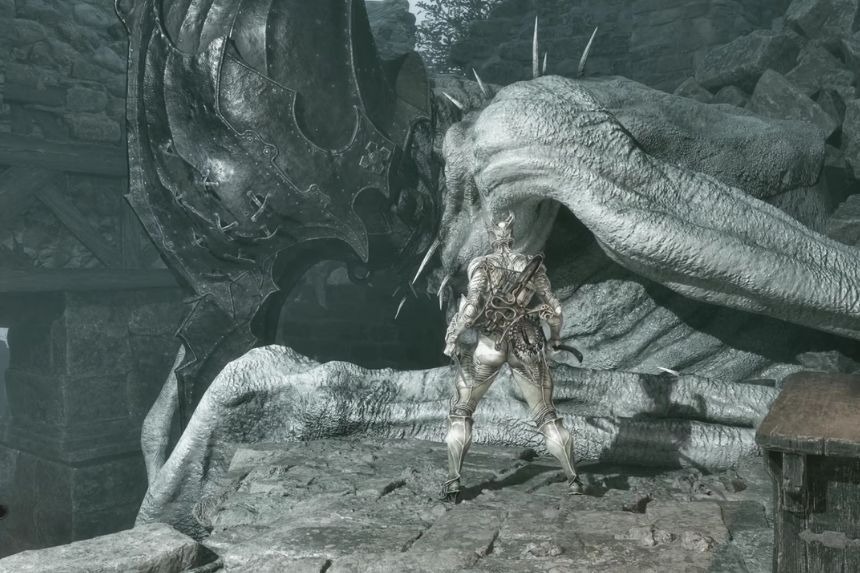
The Depleted Gland, Thawed Gland, and Faded Gland are three hidden items you need to find to obtain the Seedbearer’s Scripture in Mortal Shell 2. Each Gland is found in a different area of the game, and some of them can be easy to miss if you do not know where to look. In this guide, we’ll show you where to find all three Glands and explain what you need to do after collecting them to unlock the Seedbearer’s Scripture.
All 3 Gland Locations – Depleted Gland, Thawed Gland, and Faded Gland
You would have automatically collected the three glands while clearing the corrupted gates in the southern section of the map. Even if you do have it stored away in your inventory, you won’t know what to do with them. These glands can offer a unique item if given to the right NPC. In case you have missed collecting the glands entirely, here is where each gland is located.
Depleted Gland
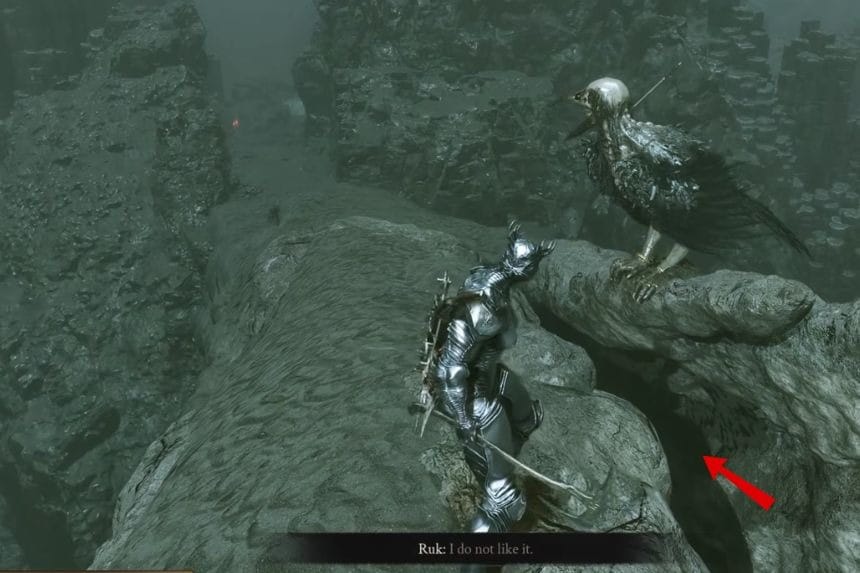
Enter the Withered Shoals from the south-west corner of the map and progress towards the second Beacon, Nameless Pass. Once you come across Nameless Pass, keep moving ahead along the way until you spot Ruk sitting on a rock. Talk to Ruk and let him finish his dialogue.
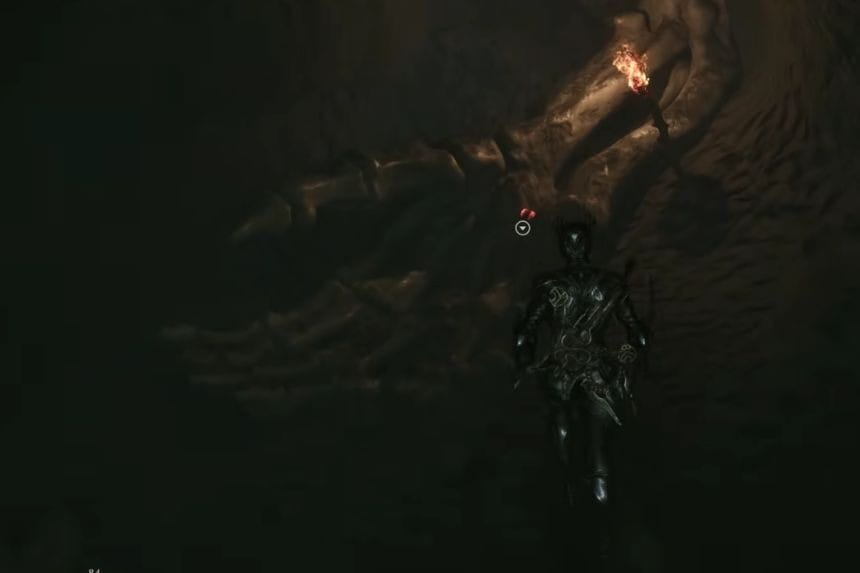
Once you have spoken to Ruk, jump down onto the lower rocks. However, this time instead of moving forward, you should look back and notice the lit torch at the end of the path. Beside the torch, the Depleted Gland is being held by a bone arm.
Thawed Gland
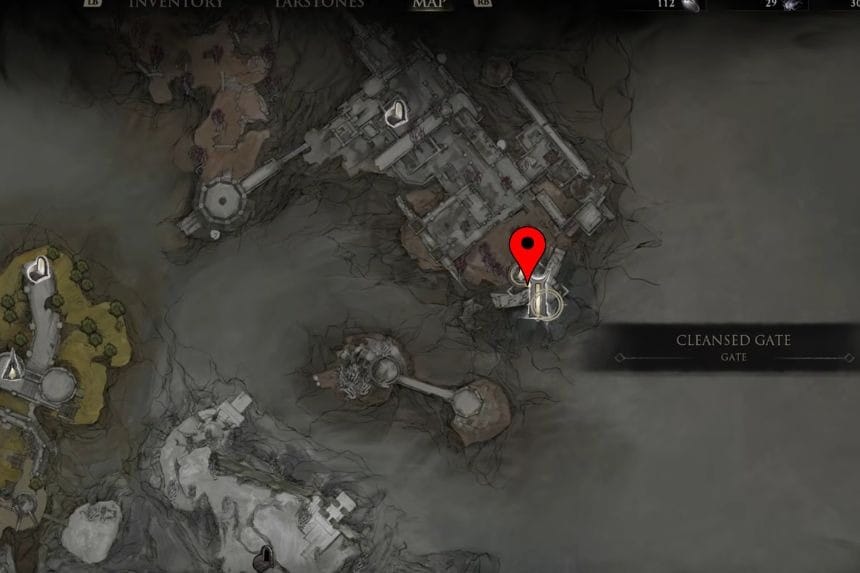
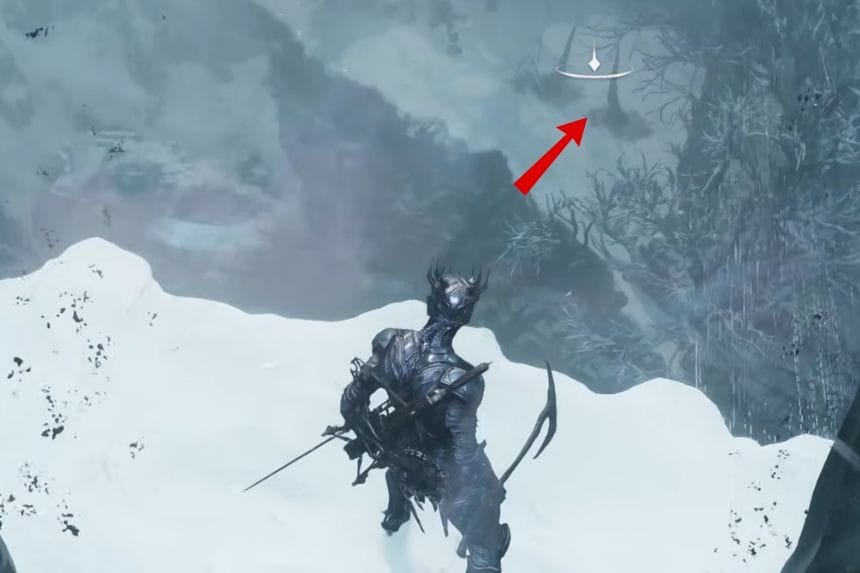
Go to the Corrupt Gate, located close to the Abbey on the east part of the map, and go inside. Walk along the main road once you’re in the Valley of the Revered. Take note of the walls as you progress through the Valley. You should see a small opening where you can pass through.
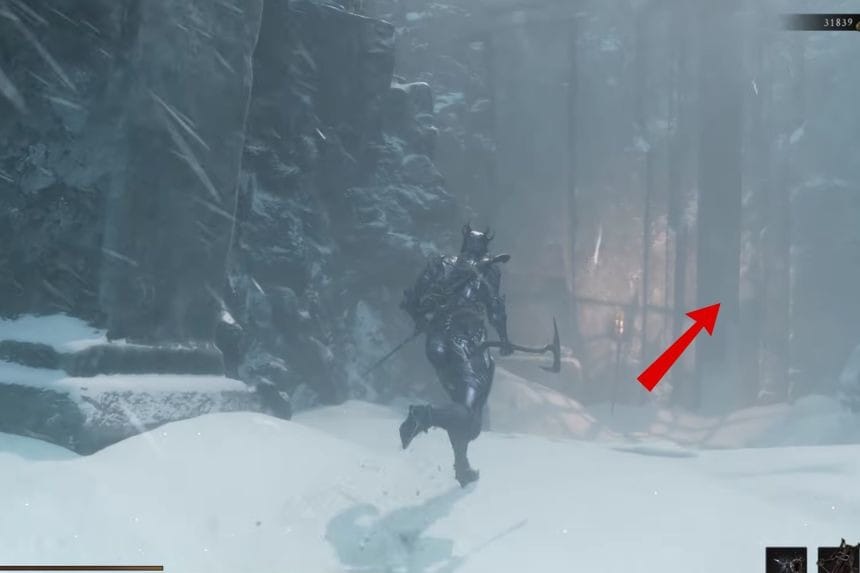
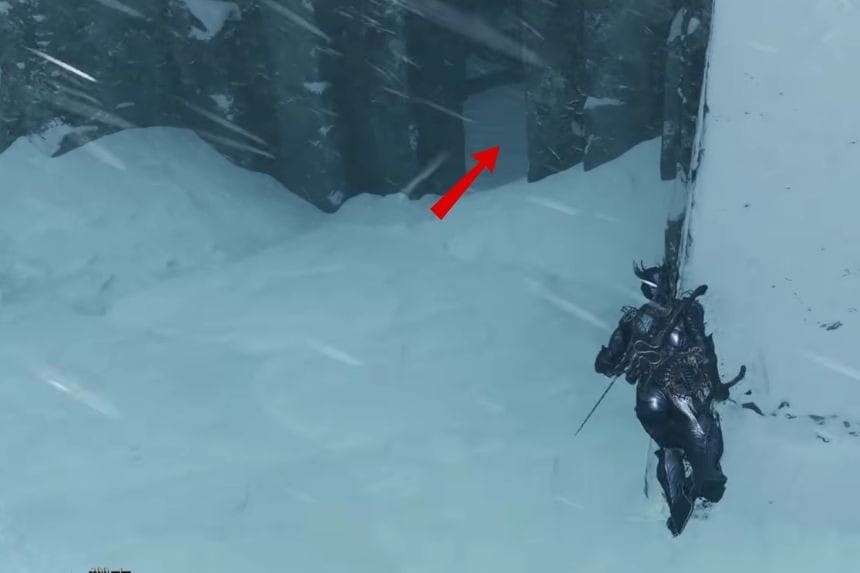
It may be hard to notice since you’ll have to fight enemies along the way, so take your time when the path gets narrower. Go through the opening, and you should see a room with a statue. There are several Martyr’s Ash pickups around the pillars, so you can collect them first. Then, walk up to the statue and take the Thawed Gland from the stone pedestal.
Faded Gland
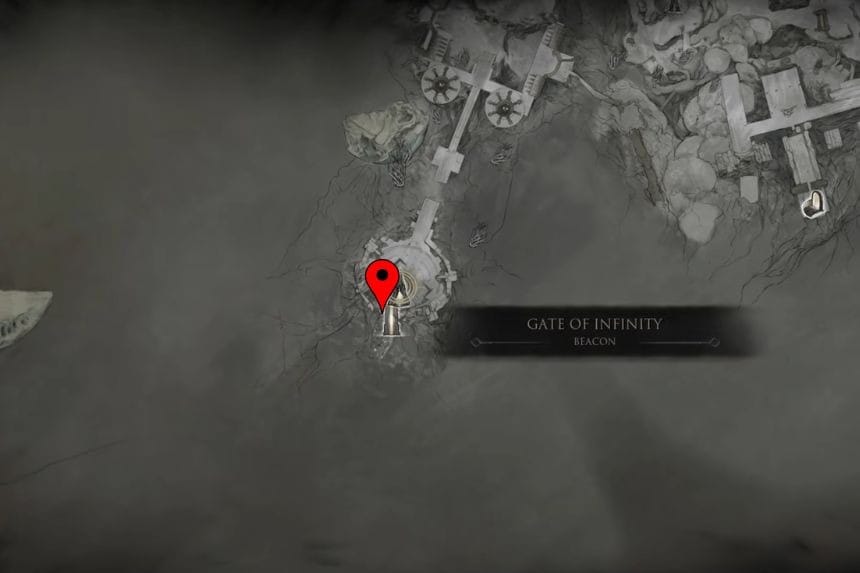
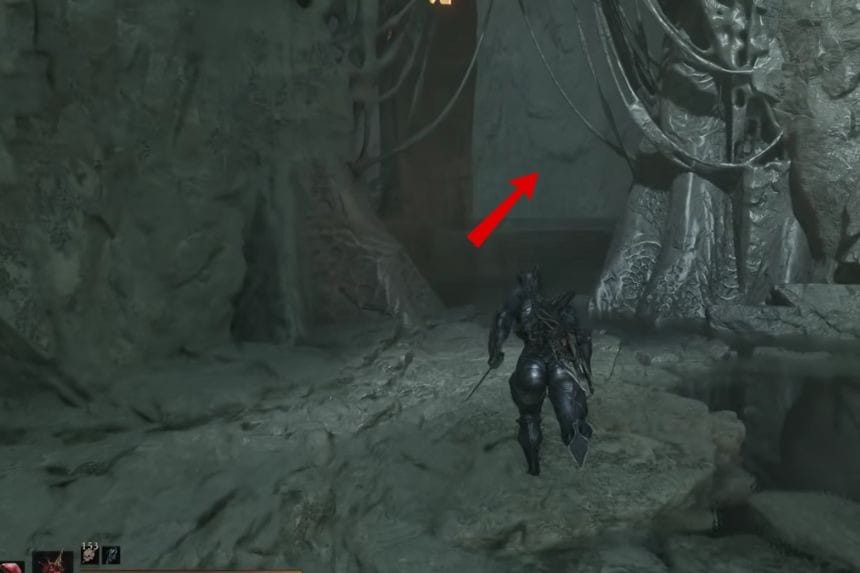
Travel to the Faded Capital, which is the Corrupt Gate, located on the southernmost part of the map. After reaching there, travel to the Citadel Annex Beacon. When you reach the Citadel Annex Beacon, don’t go upwards but go back and then move down to the area below.
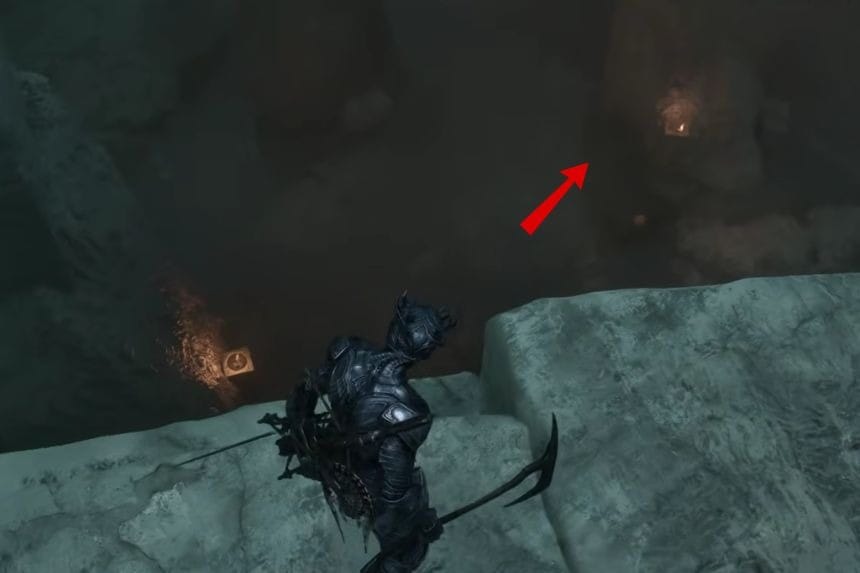
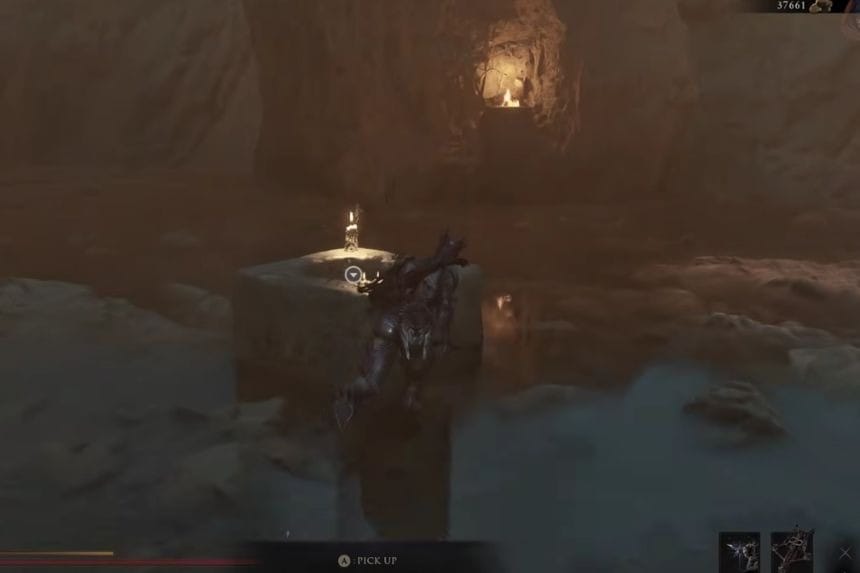
You will see a group of enemies equipped with dual swords; thus, it would be better to kill them first before looking for the Gland. After clearing the enemies, look toward the centre of the area. You will find a well-like structure surrounded by candles. The Faded Gland is hidden inside it. Walk up to the structure and pick it up.
Where to Use the Glands
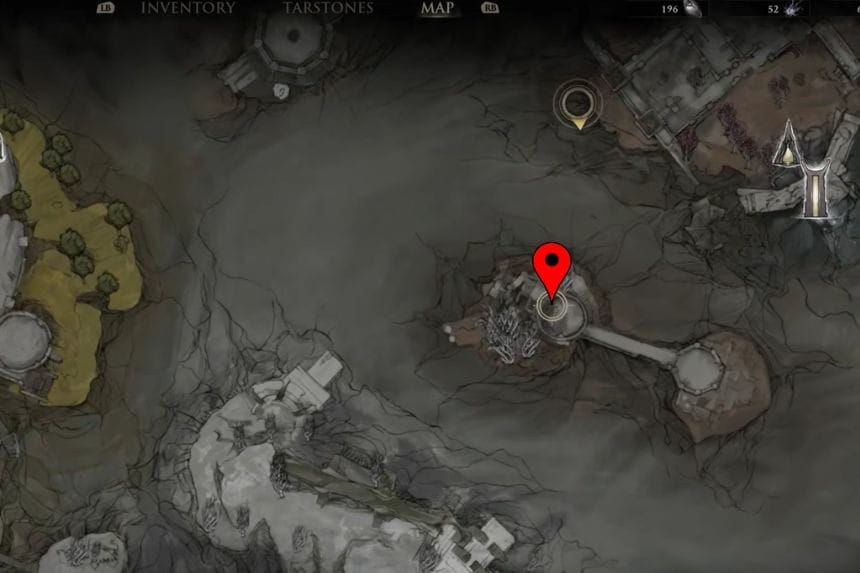
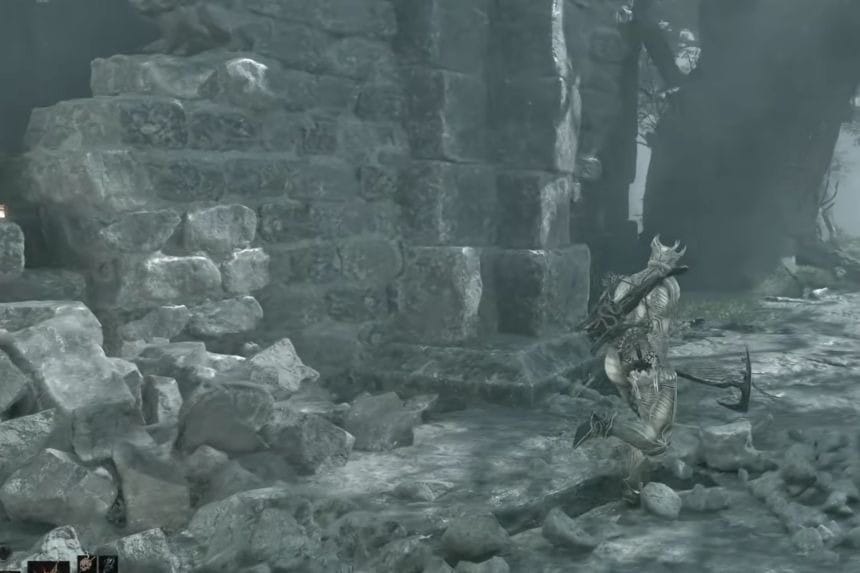
Before being able to make use of the glands, you must first activate Night Mode. Once Night Mode is activated, fast travel to the Sester’s Beacon. From the Sester’s Beacon, travel west towards the Forgotten Tower, which can be seen on a different island on the map.
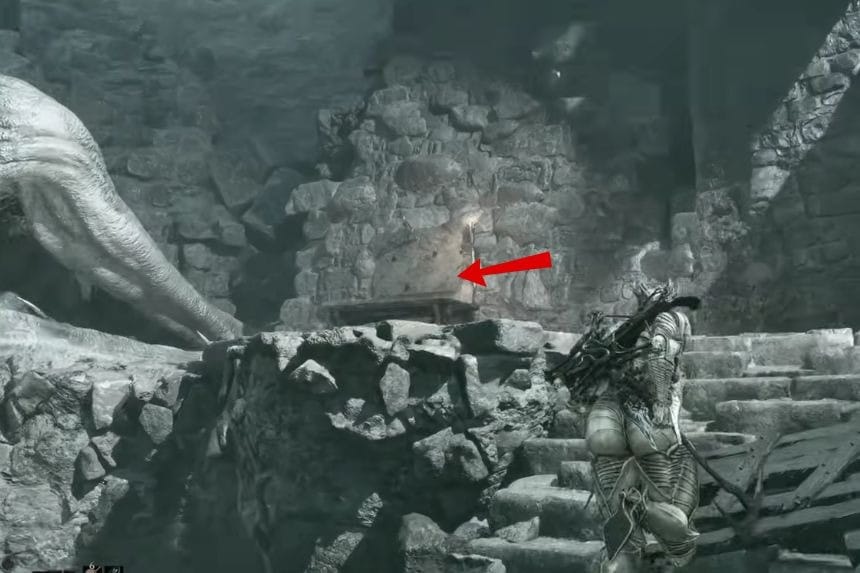
Enter the Forgotten Tower and take the stairs to the very top of it. On reaching there, you will find a body with the ability to offer an item to it. Offer the three glands (Depleted, Thawed, and Faded) to this body. Once this is done, your screen will turn black temporarily. Once the scene comes back into focus, you will receive the Seedbearer’s Scripture.
The Seedbearer’s Scripture can be used to defend against the Cosmic Disease. The Seedbearer’s Scripture offers the following stats:
- Cures cosmic disease.
- Offers 50% Cosmic Disease Mitigation when activated (lasts 30 seconds).
- 15% Cosmic Disease Mitigation if used passively.
