
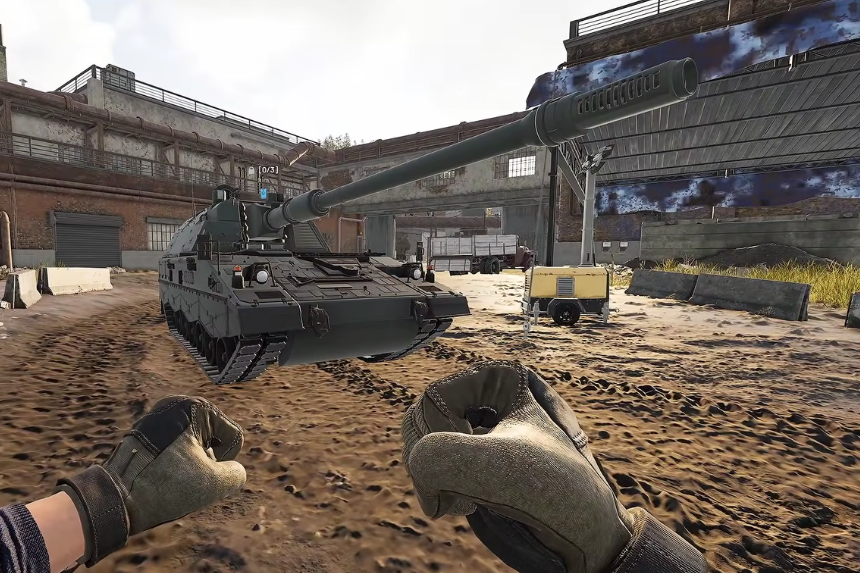
In Wardogs, the artillery tank is an offensive vehicle that allows you to launch attacks on your enemies from a safer distance. The artillery tank can cause serious damage to enemy troops, but you should be able to position it well and aim accurately in order to use the tank efficiently. In this guide, we’ll show you how to get the artillery tank, where to position it, and how to aim and use it effectively.
How To Use The Artillery Tank
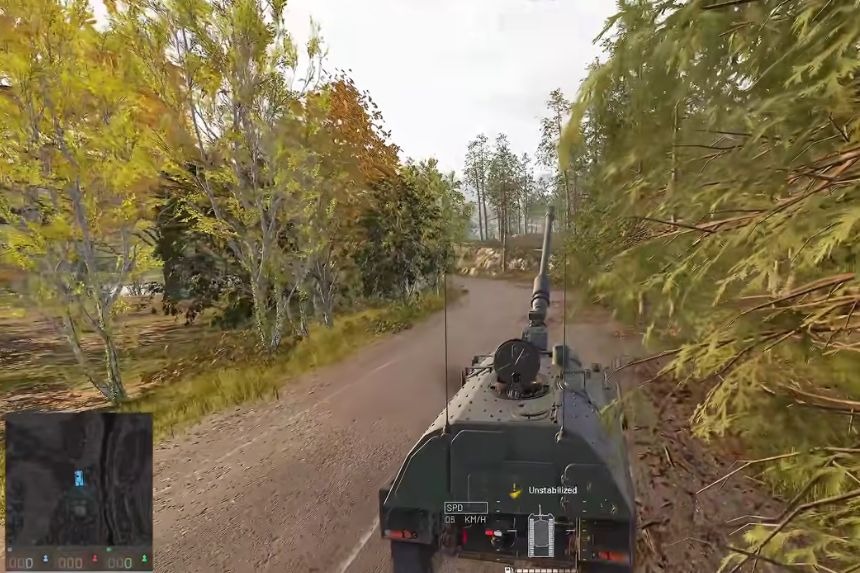
If you are fond of playing frontline, the artillery tank may not suit you. It will help you harm the enemy at a distance and allow your teammates to create pressure on their positions. In case you wish to play as a supporting soldier or if you want to understand the artillery tank better, here are some key points.
How To Get The Artillery Tank
First of all, to be able to purchase the artillery tank, you will have to level up to Wardog Level 55. Having done that, head to the vehicle vendor, unlock it for $400,000, and then buy it for $8,000 per single purchase. This vehicle does not require you to level up the specific driver skill like the other vehicles in the game. It only requires your basic Wardog account level.
After purchasing the tank, it will spawn in one of the awnings near the spawn point of your team. Enter it and, using the supply menu, purchase the necessary ammunition. You had better load it with as many artillery shells as possible.
In this vehicle, there are three positions available for you: the driver, the gunner, and the operator of the M249 machine gun. However, you can operate the tank alone. You can park it in a safe location, get out, and use the gun yourself when needed.
Artillery Tank Weapons
The artillery tank, or PH2, is fitted with the L52 cannon as well as an M249 machine gun. The L52 cannon shoots 155mm artillery shells that are high-explosive. Ensure that the right 155mm shells are ordered when you seek ammunition from other players. The artillery tank requires a different type of ammunition from the main battle tank.
Where To Park The Artillery Tank
Finding the appropriate position is one of the most critical factors in the use of the artillery tank. The artillery tank can have an effective range of about 2,700 meters, and therefore it would be better to park your vehicle at a distance of approximately 1,600 to 2,000 meters from where you spawn.
This will depend on the map that you will be playing on, but it is a good range that will ensure you can effectively target your opponents without being within their range of attack.
Parking further back will make it difficult for any player to get to you using RPGs and other types of close-range attacks. It is possible to use an artillery calculator to determine whether the position allows you to hit your targets on the map.
How To Set Up The Tank
After positioning yourself, stop the engine before beginning the process of firing. This way, you can hear the movements of enemies and even helicopters. Also, this helps you save fuel; sometimes, you may have to go back to your headquarters to collect extra ammunition.
After this, stabilize the tank. This ensures that your turret and the crosshair remain stable after firing so that your shots are easier to adjust. Never forget to stabilize the tank before firing. This is among the most important steps in creating your artillery position.
How To Aim The Artillery Tank
However, aiming the artillery tank requires some practice. This should not make you worry since you will need some time to get used to the right distances. Take your map and observe the coordinate system. The distance scale changes according to how much you zoom in and out. When you zoom out, each square may indicate 1 kilometre, but when you zoom in, the distances are smaller.
To aim your tank, hover the cursor over the place that you wish to hit, and note the coordinates. After comparing the coordinates with your tank’s coordinates, you can determine the distance. If the target is straight left or right of you, use the X coordinates to do so. But if it is above or below you, use the Y coordinates.
However, if the target is located at a diagonal position, you may have to take into consideration both the X difference and Y difference in order to determine the actual distance. It requires some time to practice, and you cannot hope to get everything right from the very first attempt. If you do not wish to compute the distance, an artillery calculator will come in handy.
Reload Faster
There is also a quick method that will allow you to launch artillery shells quicker. As soon as you launch the shell, quickly start the process of reloading the gun with your reload key. Next, you will have to input the correct directions according to the prompts that are shown using W, A, S, D, or arrows. If you do it all right, the shell will load much faster than using the standard reload bar.
Just be careful because one mistake may reset the timer. Try to do it slowly and carefully in order not to make any mistakes. After practising this skill, you will be able to use the artillery much faster and shoot more shells onto the battlefield. The artillery tank requires some practice and experience in placing the tank, measuring the distance, and aiming, but it can become a valuable asset for your team.
How to Counter Opposition Artillery
While you do know how to manage your Artillery Tank, you should also know how to counter them if the enemy comes at you with their tanks. The only way to defeat enemy Artillery Tanks is to fly out FPV drones by building a Stingray Nest. Use this to scan the enemy territory for their tank’s location. Then, you could either drop the explosive drone directly on their turret, or send your squad out to flank the tank and hit it from behind. Either tactic works, depending on what you wish to sacrifice for the greater good.
