
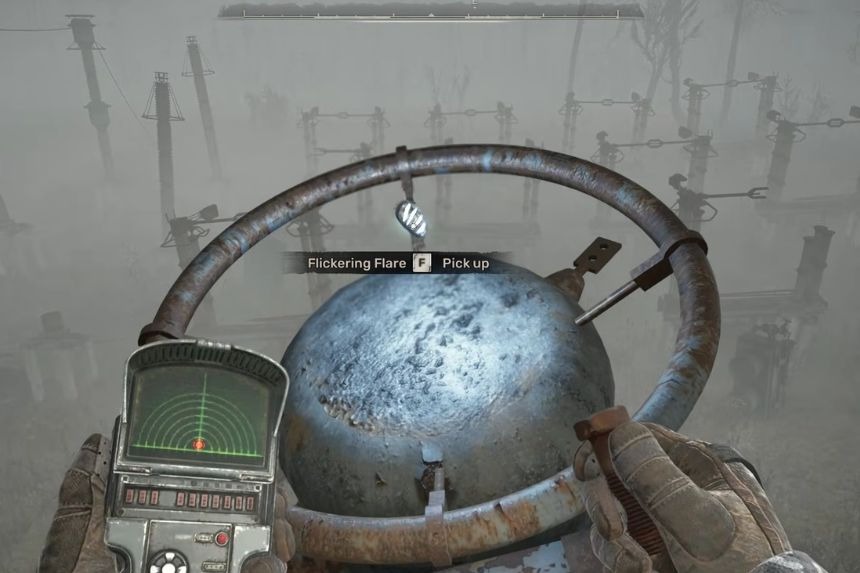
The Flickering Flare artifact requires something called Flare Fragments, and there are 5 fragments that can be found across the map in S.T.A.L.K.E.R. 2: Cost of Hope. Getting to the artifact may be quite dangerous since the surrounding areas contain anomalies. In some cases, you need to complete quests to get the fragments, but otherwise, you need to scale dangerous areas to get them.
How To Avoid the Flare Anomaly
When getting closer to the Flare Fragment, you will see that this anomaly has the ability to cause significant damage. Initially, it might seem that avoiding eye contact with the flare would work; however, this is not entirely the case.
You should always use cover objects when being close to the anomaly. If the flare is visible and there is no object between you and it, the player will be damaged by the flare. As long as you have an object blocking your view of the flare, you’ll be safe.
Keep using your scanner and bolts to check the area for other anomalies. Continue moving between cover points until you reach the Flickering Flare fragment location.
Flare Fragment 1
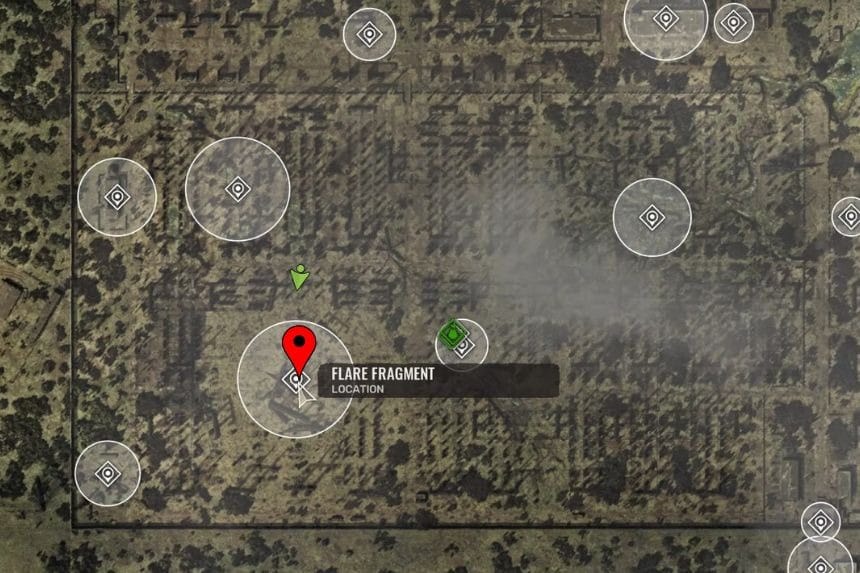
In the Iron Forest, go to the question mark that is shown on the map. There you will find a broken, abandoned crane. Be careful in this area as there are a lot of anomalies. Carry a lot of bandages and food, as the nearby anomalies will deal a lot of damage.
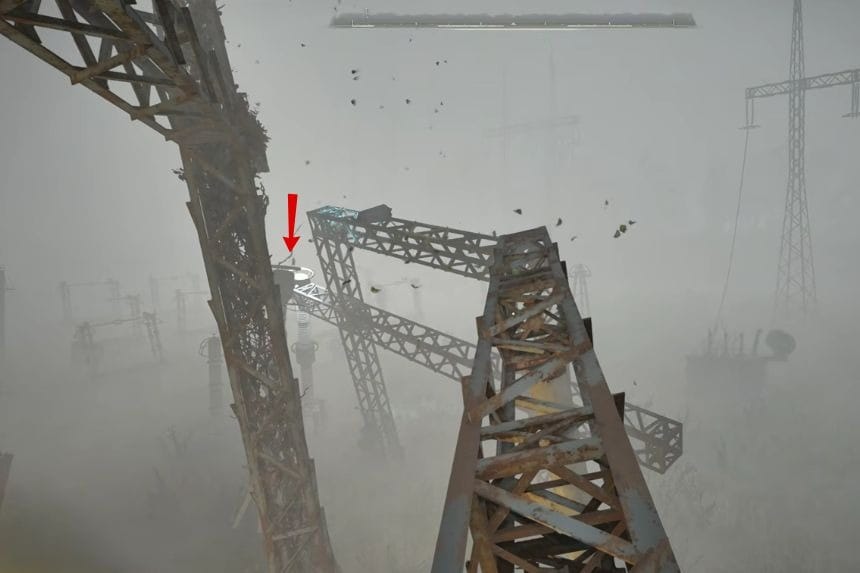
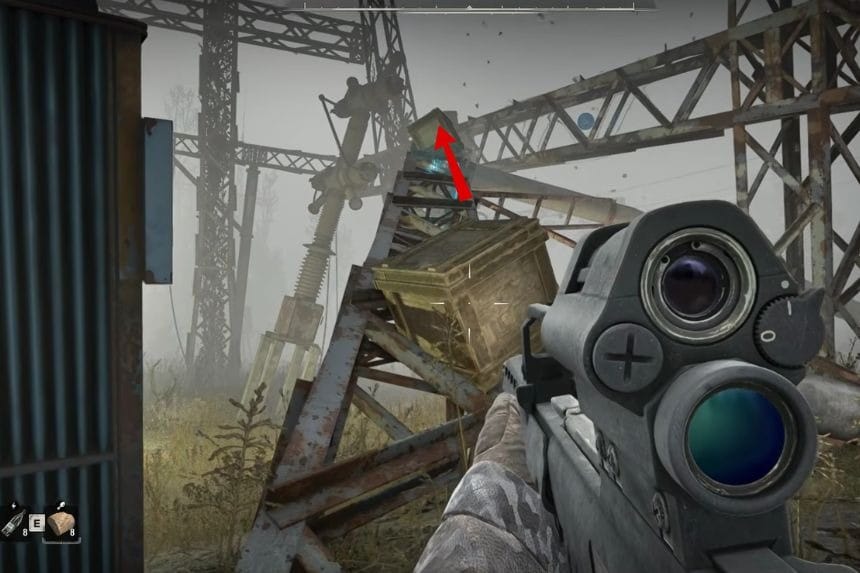
Shoot the box and the electric anomalies first, then quickly move onto the railing. Use the electric coil to stay out of the flare’s line of sight. Use the bolts to remove the anomalies and climb the crane. As you move forward, there will be a lot of electrical anomalies that can be dispersed using the electric orb.
Climb the crane and remove the anomalies by throwing the bolts. At the end of the crane, you will find the Flare Fragment. Once you have the Flare Fragment, jump down to the gravitational anomaly on the right. It will help you land safely.
Flare Fragment 2
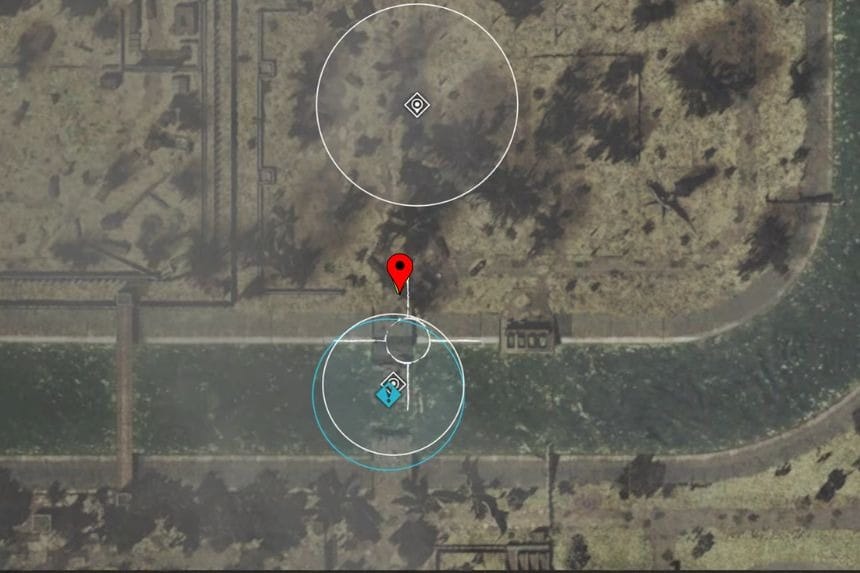
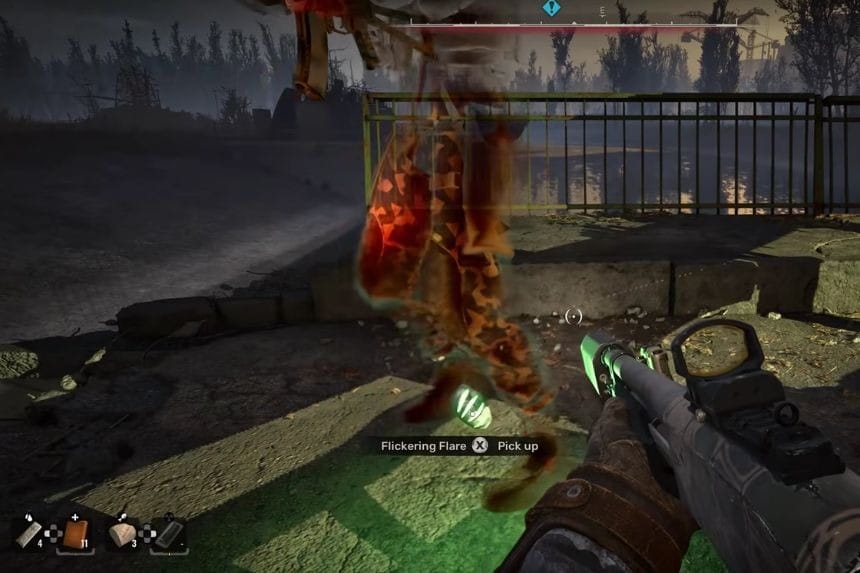
Get to the Flickering Flare in the Bridge to CNPP region from the Iron Forest. Sprint to the cover next to the flare and then leap down to the car floating to the right. Leap to the next car, which should take you to the other side of the bridge. Once you are done with that, go to the CNPP side and climb to the car hanging over the bridge. The Flickering Flare will be next to the toppled truck.
Flare Fragment 3
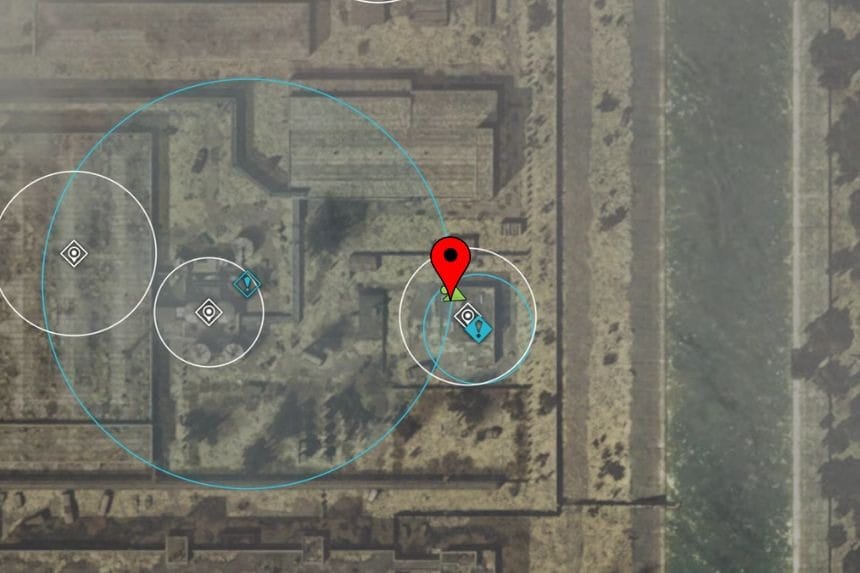
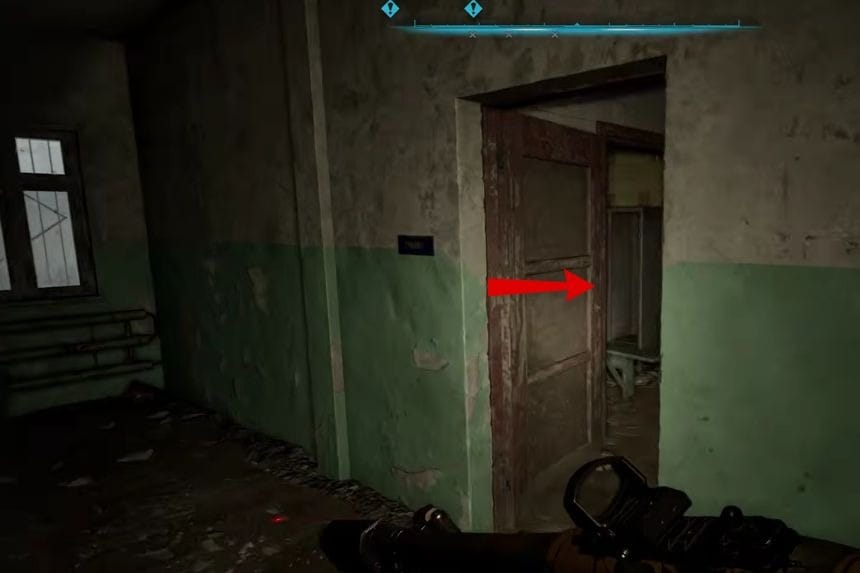
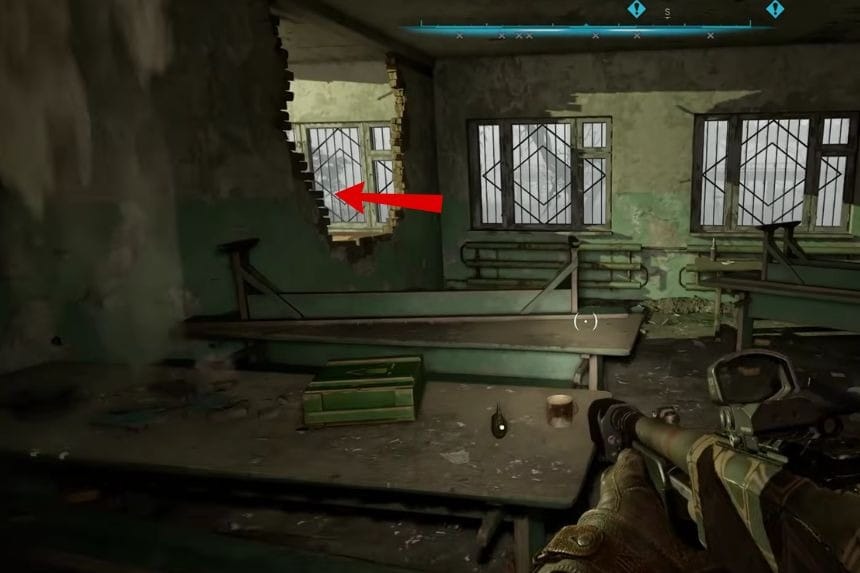
Head towards the Sentry Building and enter through its stairs on the right. After getting to the second floor, move to your right and make two more right turns, after which you should make a left turn. Proceed towards the broken wall, pass through it, then proceed straight ahead until you get to a room containing clinical beds. Find the other broken wall within the room and pass through it to reach the flare anomaly. You’ll find the Flickering Flare behind the bookshelf in the room.
Flare Fragment 4
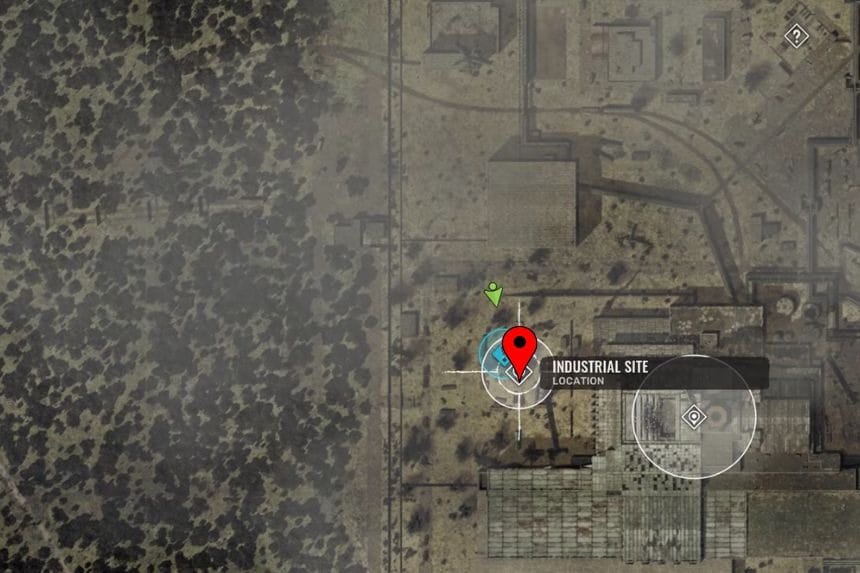
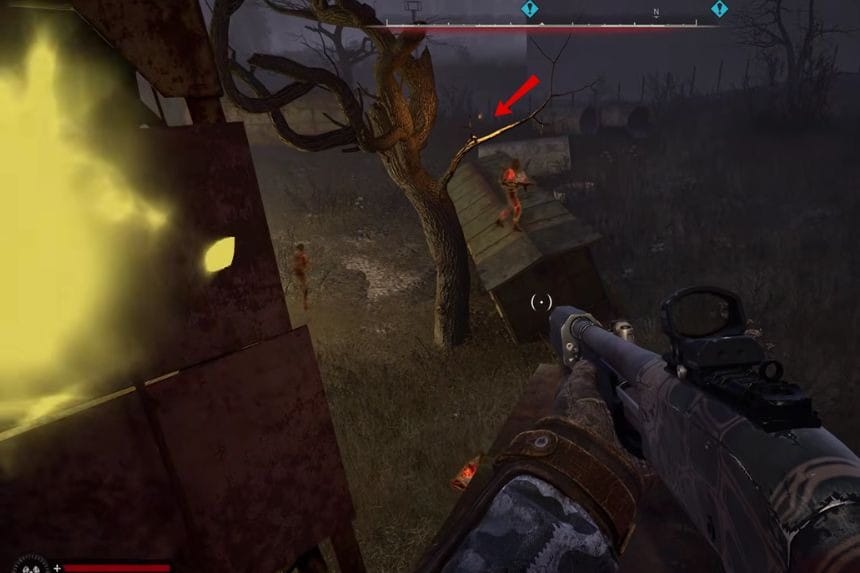
Walk up to the Flickering Flare located in the Industrial Site. Use the truck as cover. Jump on the truck, then take cover using the tree close by to avoid being detected by the Flickering Flare. Jump from the truck to the other truck. Take cover using the railing of the crane, then jump to the trailer which is near the tree.
Flare Fragment 5
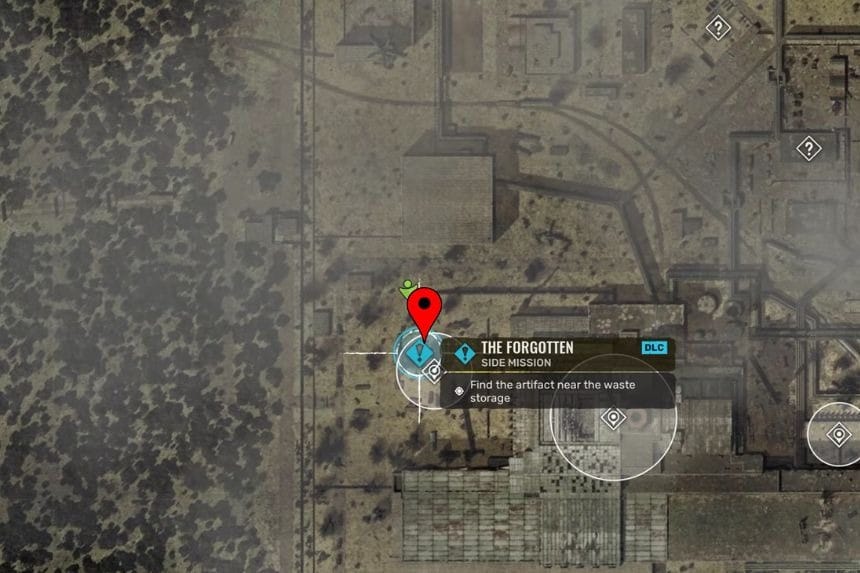
A Flickering Flare can also be acquired for free by completing the side mission called The Forgotten, from Otter. This mission becomes available once you have captured the Water Treatment Facility in CNPP. The missions that you need to do prior to Otter’s mission will also change depending on who you sided with.
- Duty – complete Gunpowder, Sweat, and Blood mission first.
- Freedom – complete Uninvited Guests mission first.
Flickering Flare Overview
After collecting all flickering fragments and obtaining the Flickering Flare Artifact, you can equip it to get the following stats:
- Psi protection – 2
- Inventory Value – 12K Coupon
- Effect – Will reduce headaches when used with your gear.
