
Completing the Frugal Fire and Map Quest achievements is among the quickest ways of saving time while playing Halo Campaign Evolved. Both achievements can be accomplished in a single run of The Silent Cartographer level by taking a particular route without engaging in battle. In this guide, we’ll show you each step so you can complete the mission without shooting, using melee, throwing grenades, or running out of ammo, and unlock both achievements.
How To Get The Frugal Fire And Map Quest Achievements Together

You can unlock both Frugal Fire and Map Quest in a single run. Before starting The Silent Cartographer, set the difficulty to Easy and equip these three Skulls:
- Famine
- Recession
- Johnny Ammo Seed
These are required for the Frugal Fire achievement. If you haven’t unlocked them yet, grab them first before attempting this run. The biggest rule to remember is to not press any buttons used for shooting, throwing grenades, or melee attacks during the entire mission. You are allowed to:
- Drive the Warthog
- Run and jump
- Splatter enemies with the Warthog
However, avoid pressing any controls that are mapped to firing, grenades, melee, or even the Warthog’s brakes if your brake button shares the same input as grenade or another restricted action.
Skip The Beginning

Just when you exit the Pelican, make a U-turn and go the other way rather than going after your squad. You will very quickly come across a Warthog. Get inside and drive through the Hunters and skip the first checkpoint entirely. Continue until you get to the shield control point.
Disable The Shields
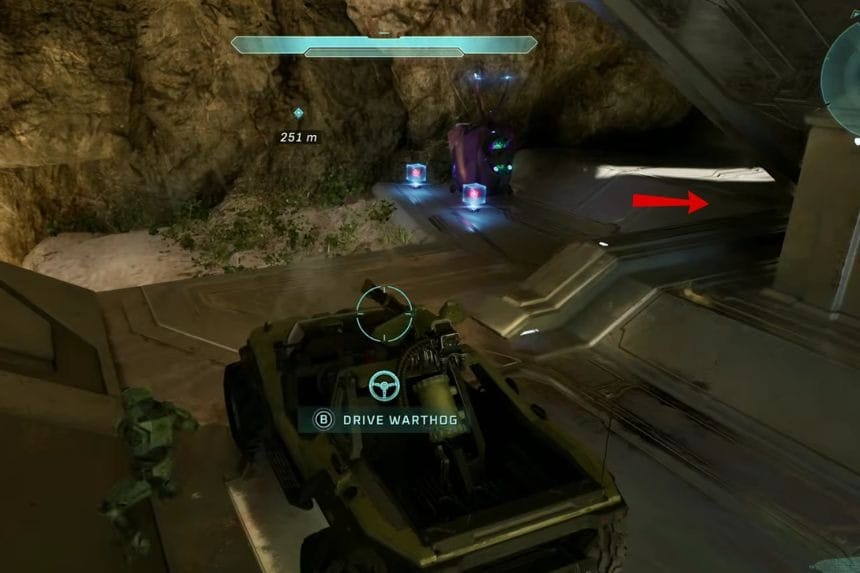
Park the Warthog and take the Overshield close by. Do not use it now because you will receive it once again later. Go downstairs, avoid engaging the two Hunters, and activate the console, thus disabling the shields on the island. After the cutscene, you’ll be placed further into the mission.
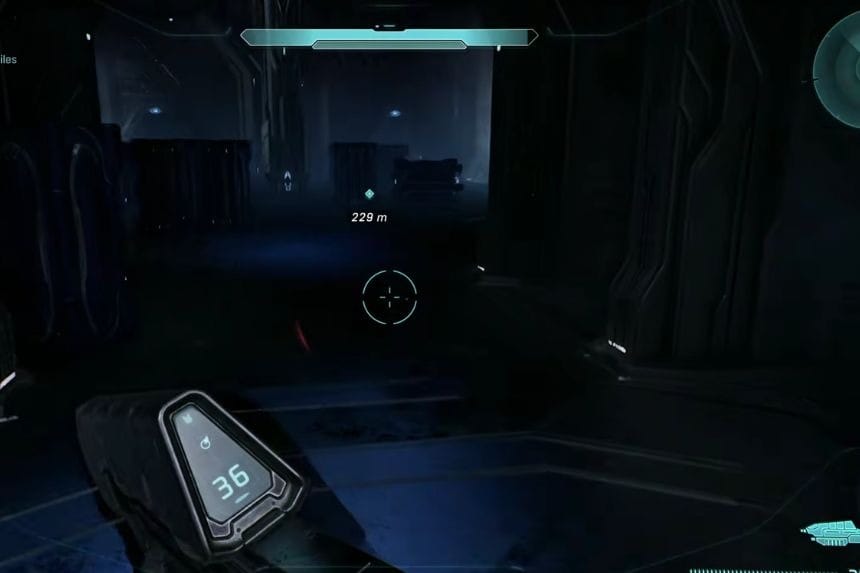
Get outside, still avoiding the Hunters. On your way to exit, collect the second Overshield, which you should keep for later use. Get into the Warthog, and leave the area carefully, without using any prohibited keys.
Leave the area through the cliff, go along the beach clockwise, and get to the entrance of the Cartographer building. Leave the Warthog there and park it on the opposite side from the entrance. It will help you to get out faster later.
Follow The Blue Arrows
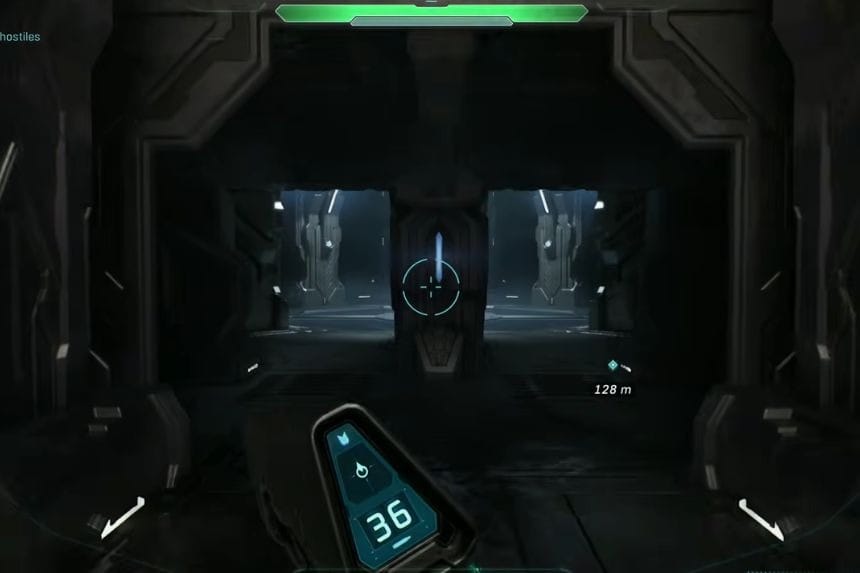
Within the building, all that you have to do is follow the blue arrows marked on the floor. They take you straight to where you want to be without any necessity to memorise the map. Don’t pay attention to any enemies that stand in your way.
You are free to run and jump; just remember that you should not use shooting, melee, or throwing grenades. As soon as you come across the big staircase, you can jump through it and save a lot of time going downstairs. Interact with the final console to trigger the next cutscene.
Escape The Facility

Now it’s time to retrace your steps back to the entrance. All you need to do is walk back the way you came from, but remember to keep on walking towards the exit while ignoring all enemies. Make use of your Overshield only when you are about to get out of the facility.
This way you will be faced with a number of Hunters and later an Energy Sword Elite, which is very strong. Get your Overshield activated before you run past the Elite because it does a lot of damage in no time.
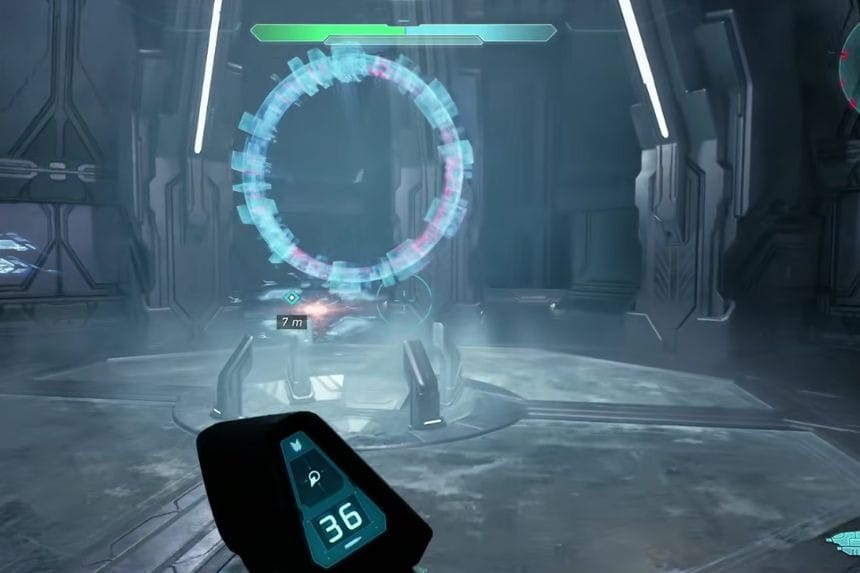
Your Warthog would still be parked where you left it. Climb in it and drive out of the facility. While exiting the facility, you will be on the beach. Get hold of your Overshield if you wish to be protected from the Hunters outside.
Just wait until the Covenant dropship has left. After this, you will see the Pelican. Take the ride in it, but remember not to press any restricted buttons. Once the mission ends, Map Quest and Frugal Fire should both unlock together.
