
In Chapter 8 of Doom: The Dark Ages, there are 11 hidden secret areas and a collectible toy to find. This level is open-world, which means you can explore in any order and go through the Gore Portals however you like. Some secrets are hidden behind breakable walls, locked gates, or high ledges, while others are hidden away near waterfalls or statues. This guide will help you find every secret and collectible in the chapter so you don’t miss anything important.
All Secret Areas & Toys in Chapter 8 Abyssal Forest
Chapter 8 of Doom: The Dark Ages has 11 secret areas and a collectible toy. Since the level is open-world, you can go to the Gore Portals in any order you like.
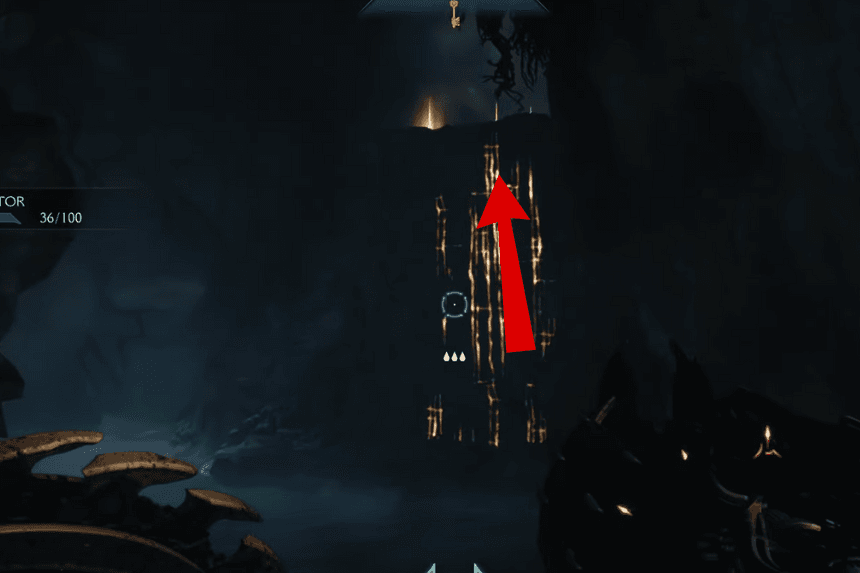
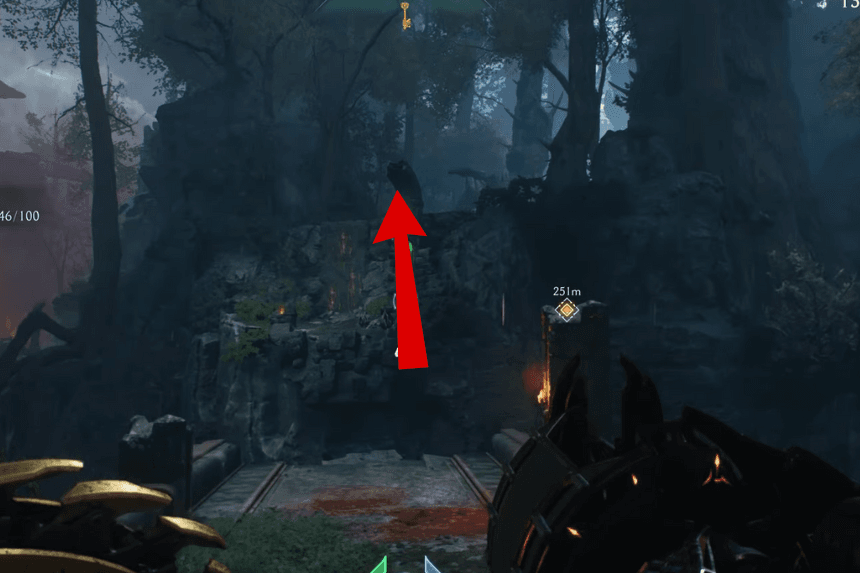
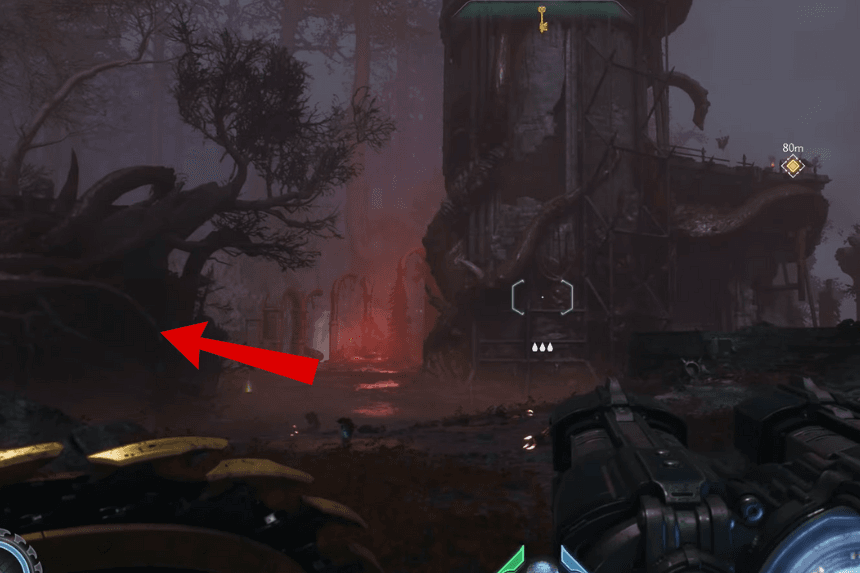
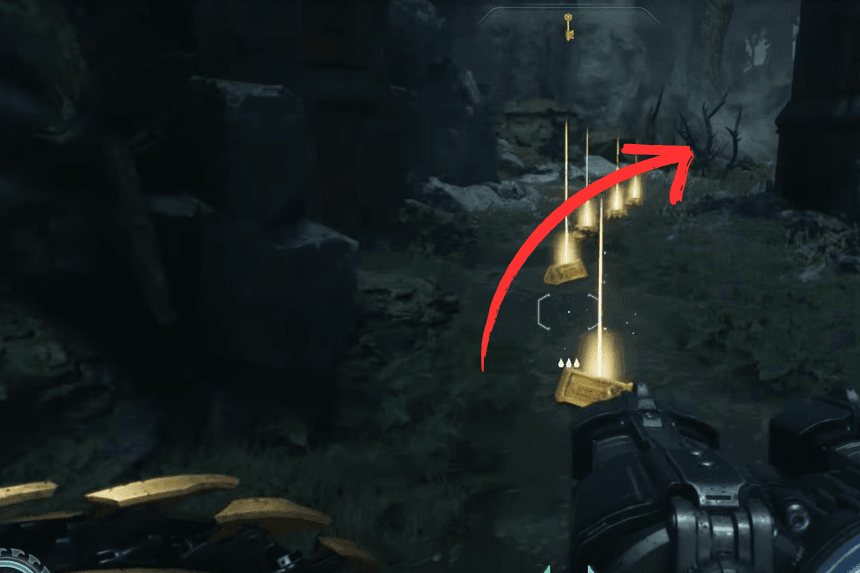
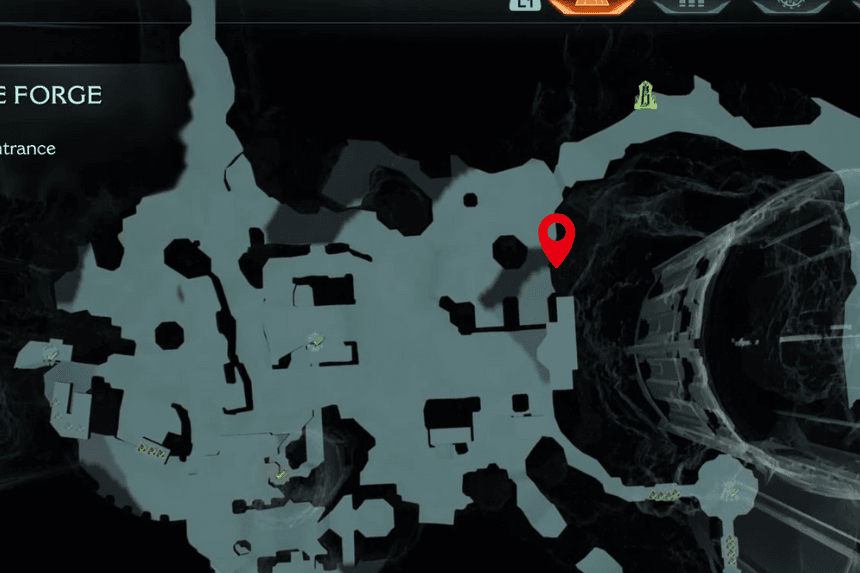
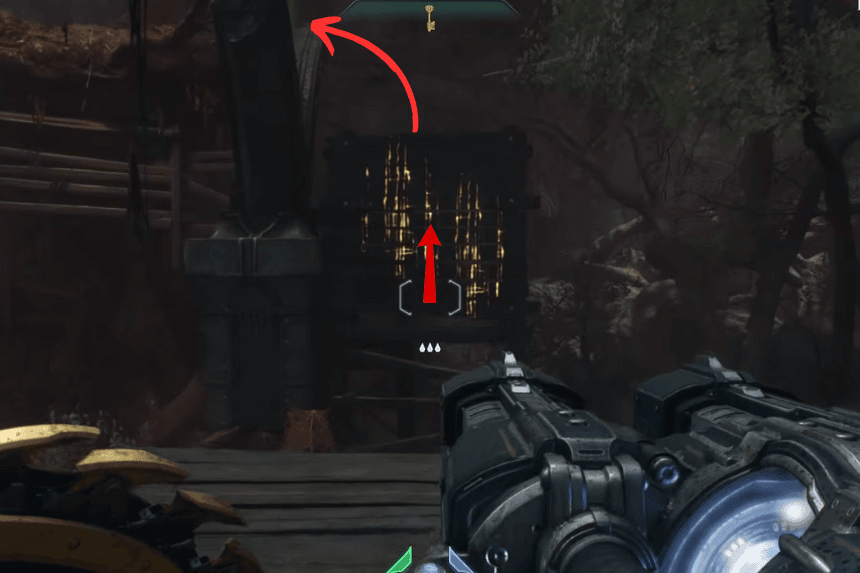
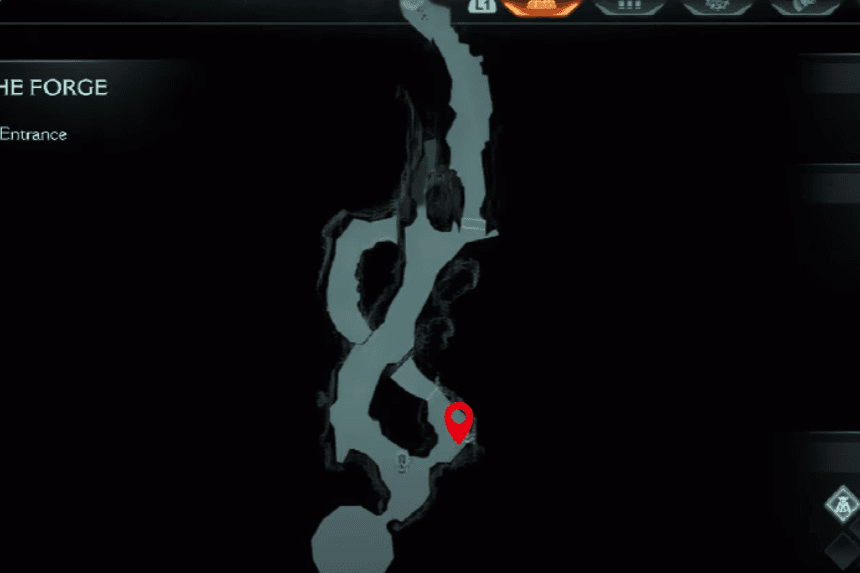
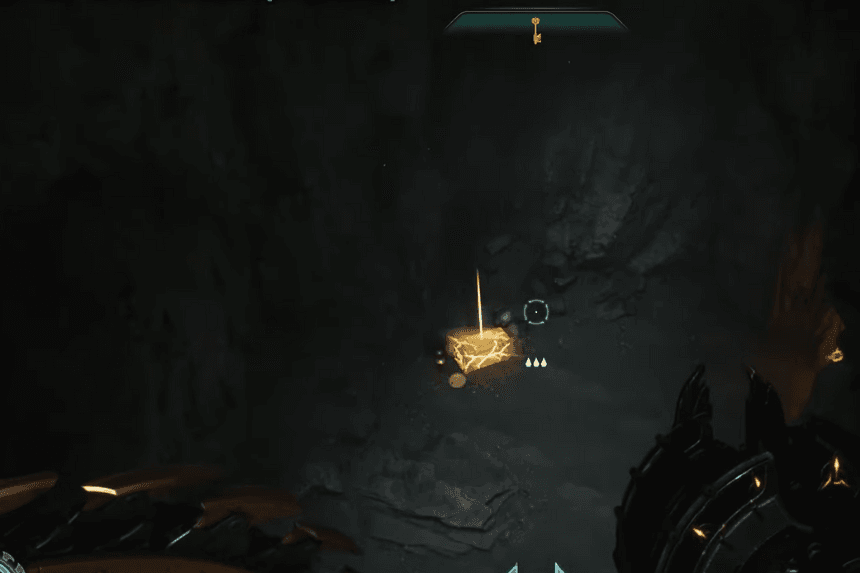
1. Secret Area – Life Sigil
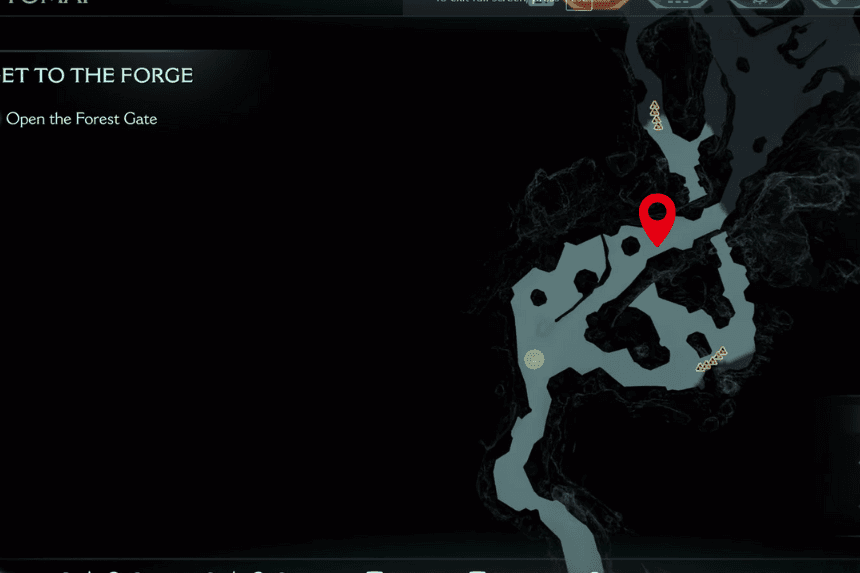
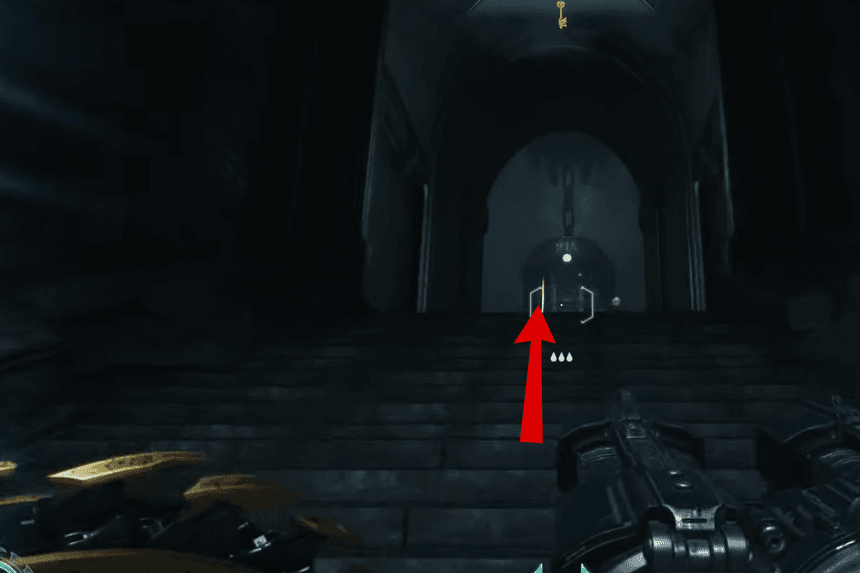
There will be a Secret area with a Life Sigil at the end of this trail. Move forward and at the end of the path you will find the Yellow Key.
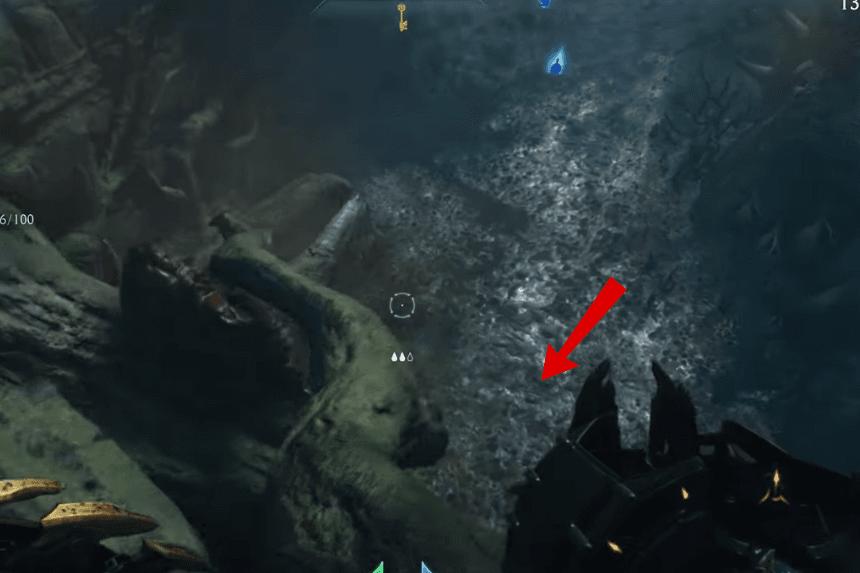
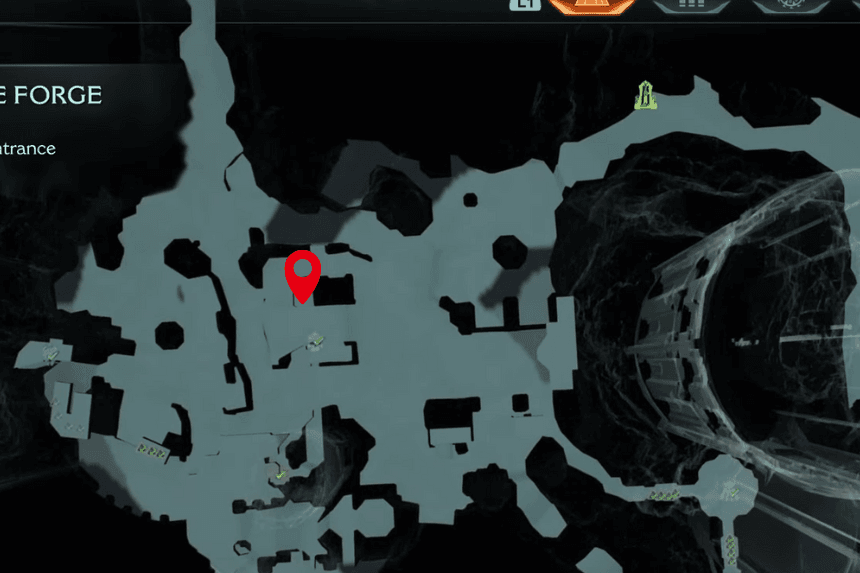
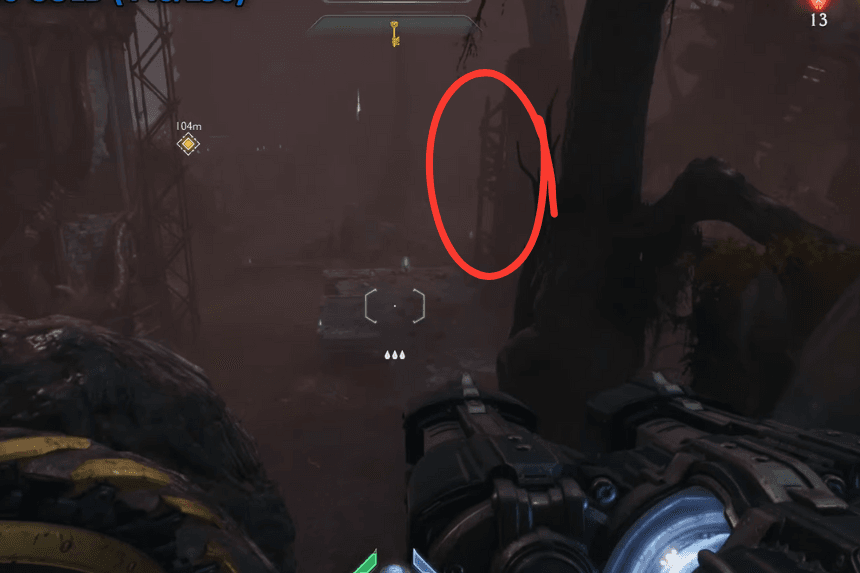
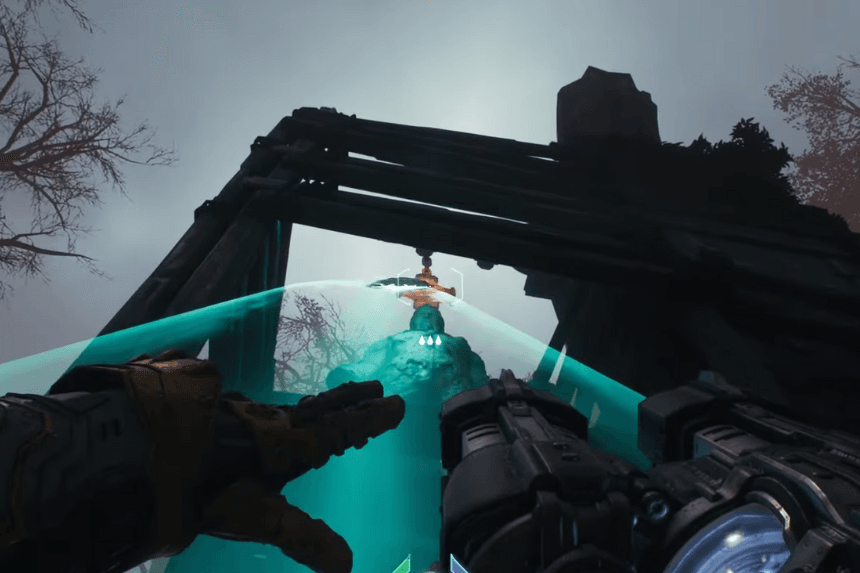
2. Secret Area – Ruby

Go inside a hidden cave. Adjacent to the water will be a climbable wall with 10 Gold on top. You will find a Jump Pad use it to reach the Ruby.
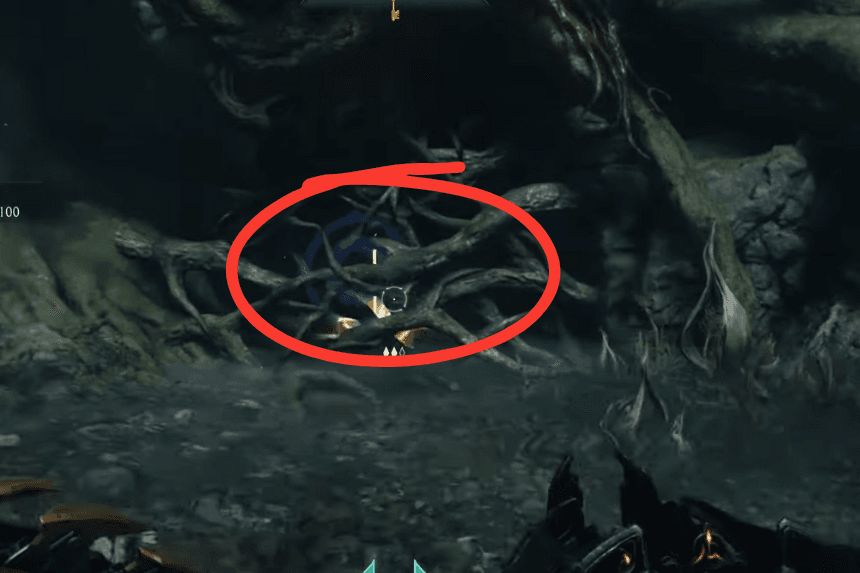
3. Secret Area – Codex Entry

There will be some bramble along the way, which you can shatter with your shield. To discover Codex entry inside it.
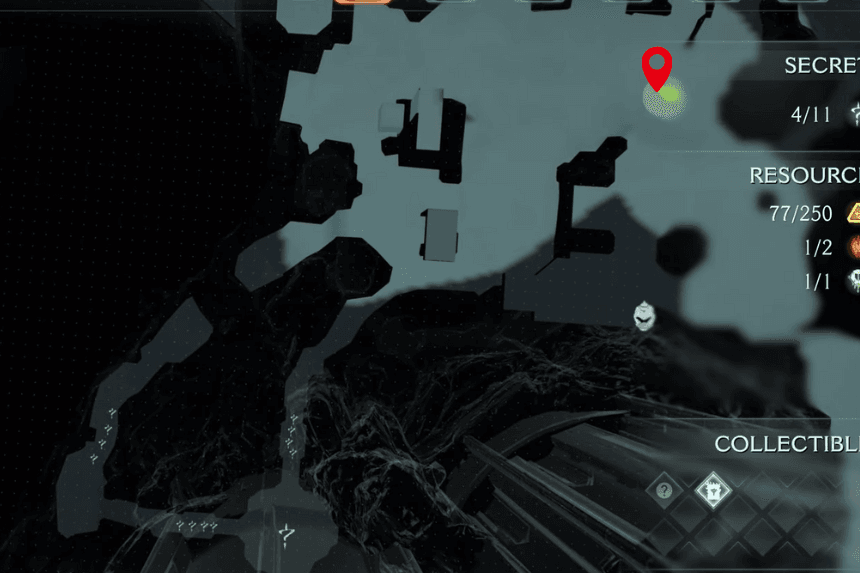
4. Secret Area – Collectible Area
You can use your shield to break down a ramp that leads down to additional brambles with the gold within after you’ve crossed a gap.
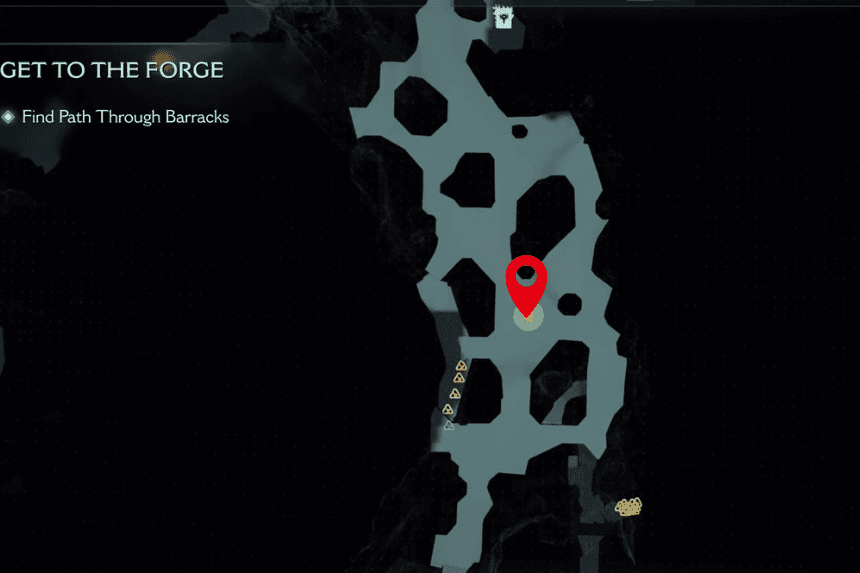
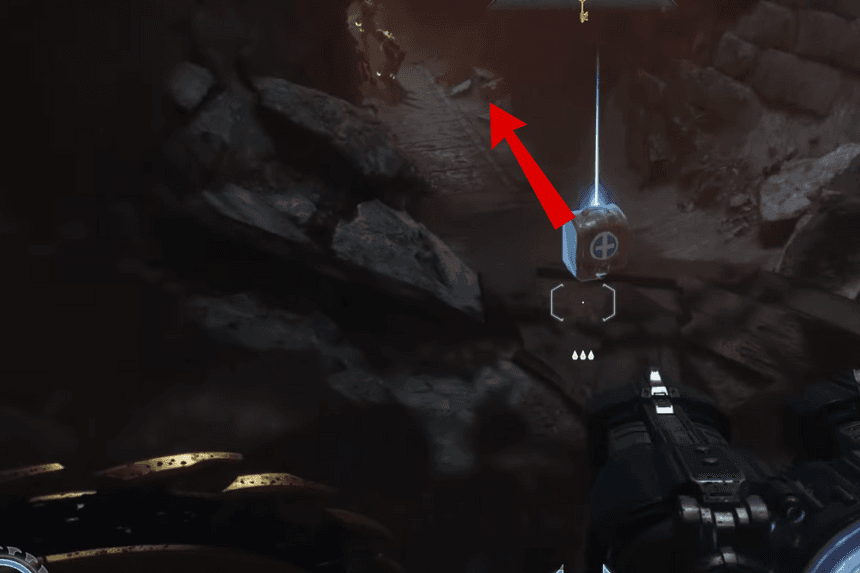
5. Secret Area – Collectible Toy (Witch)
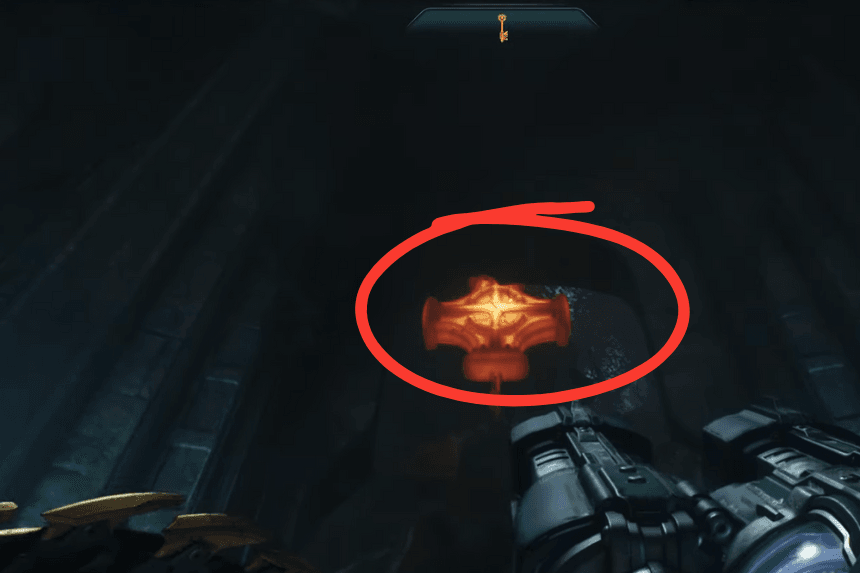
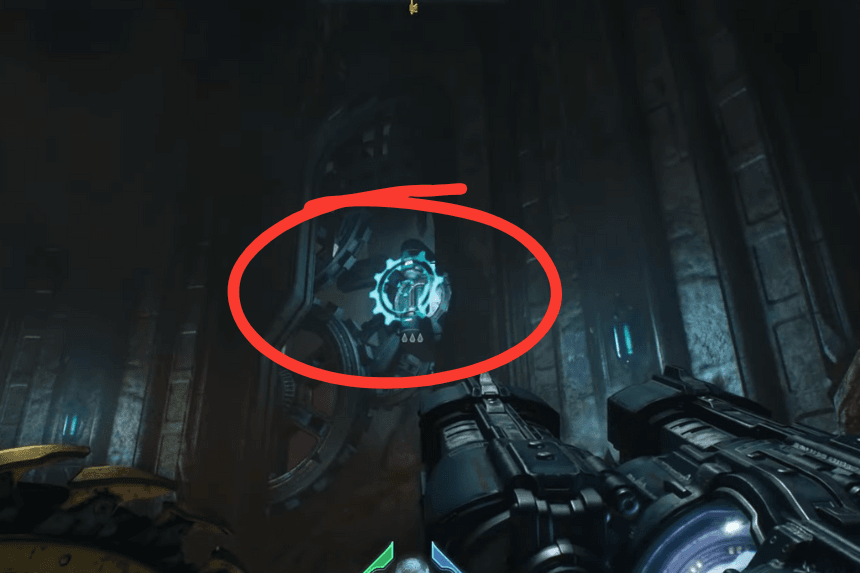
Head back towards where you entered the area. You must first throw your shield at an orange chain that passes through a hole in the wall behind the cage, and then you must hurl your shield at the blue gear that is now accessible on the wall in order to raise the cage. You can continue the path that you can drop onto after the fight encounter to locate all the gold and the toy in a cage.
6. Secret Area – Life Sigil
You can hop onto a container that will be close by. With a Life Sigil, use your shield toss to go to the secret after climbing it and jumping across the platforms.
7. Secret Area – Collectible Area
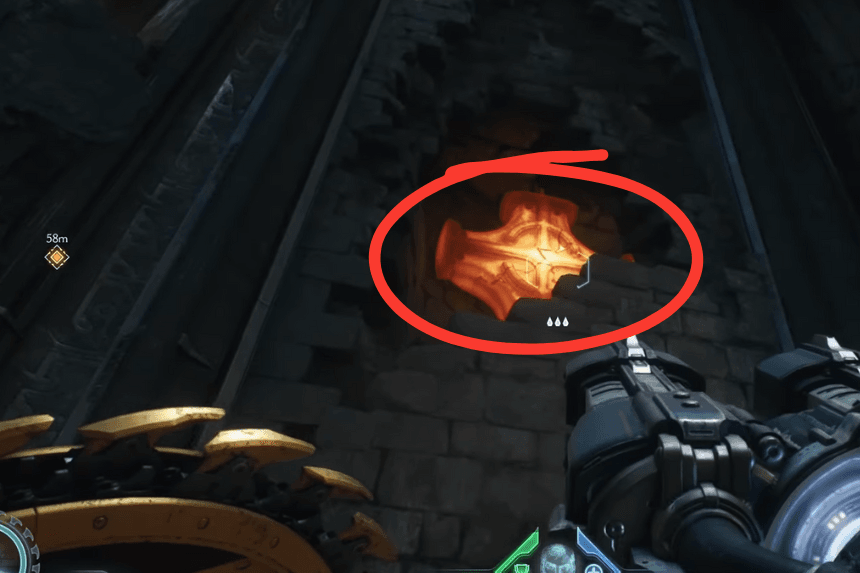
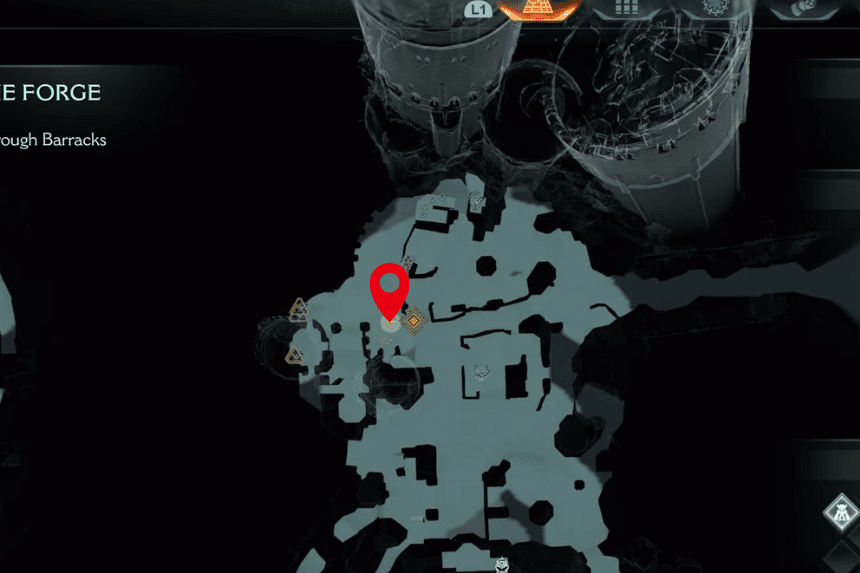
A statue is held in the center of the space by a red, breakable chain. It dumps the statue and creates a hole in the ground once you throw your shield to break the chain. Enter and proceed along the path to locate a 50 Gold container.
8. Secret Area – Ruby

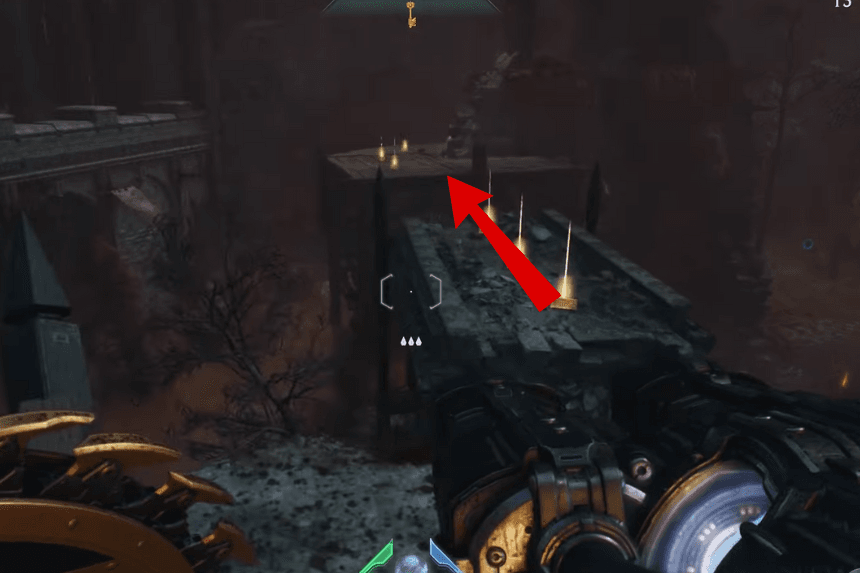
In order to obtain seven gold and a ruby at the end, you will need to pass some broken bridges.
9. Secret Area – Collectible Area
You can drop down the side of the building if you go to the side of it. You can access the gates and obtain the gold by breaking through a crack in the wall and destroying the glowing chain.
10. Secret Area – Collectible Area
Make your way past the wall you demolished and to the point of no return. To locate the 16 Gold behind you, turn around.
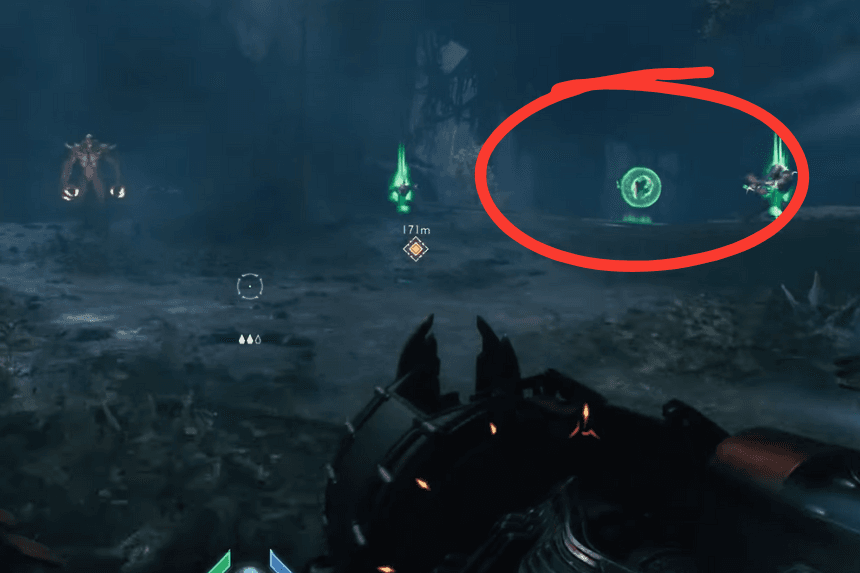
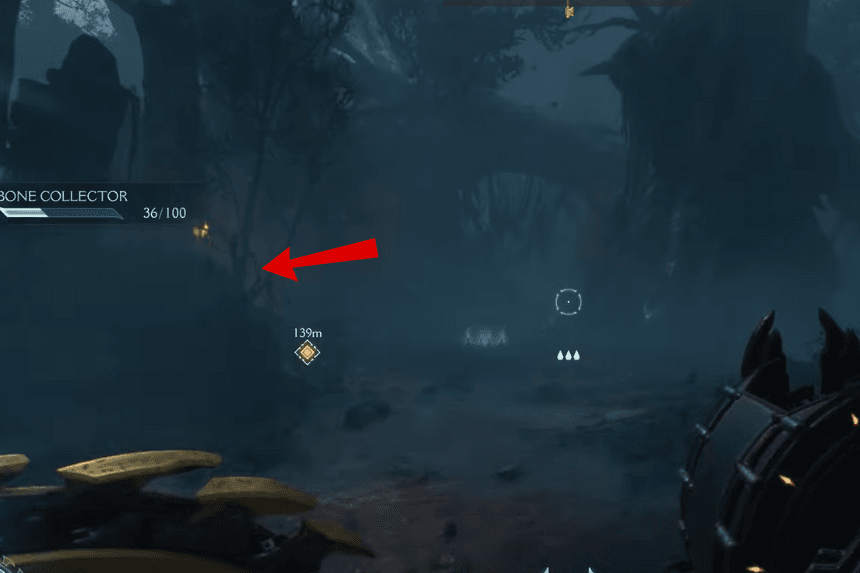
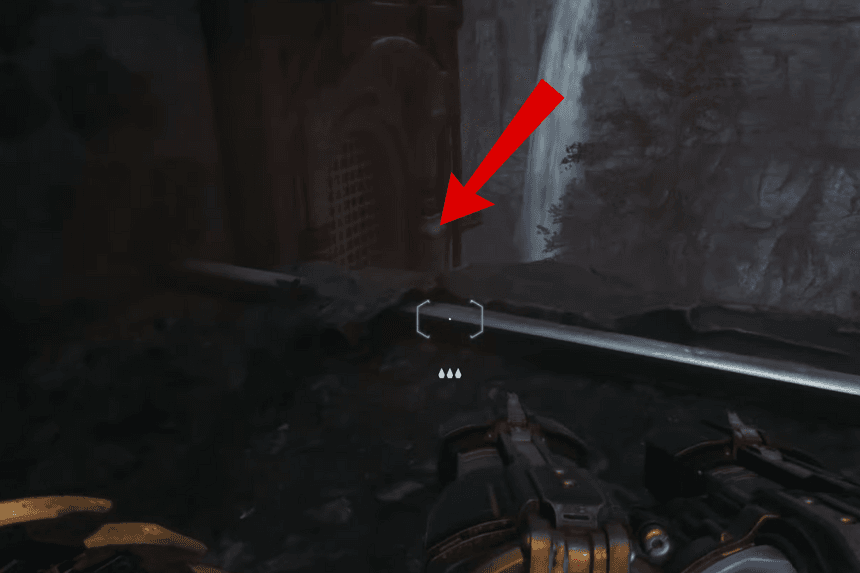
11. Secret Area – Collectible Area


You can toss your shield at a green corpse high up on the left wall if you go a little further down the trail. To locate a chest with 50 Gold, go inside and leap over the opening.