
In Five Nights at Freddy’s: Secret of the Mimic, one of your main tasks is to rebuild Captain Springlock’s suit by finding all five missing parts hidden around the workshop. These parts are scattered across different rooms and levels, and you’ll need to carefully explore, solve a few puzzles, and avoid dangers along the way. This guide will walk you through each suit part’s location step by step, so you don’t miss a thing.
All 5 Locations Captain Springlock Suit Pieces
To complete Captain Springlock’s suit in FNAF: Secret of the Mimic, you’ll need to explore the workshop and gather all five missing parts: the right arm, right leg, head, left leg, and left arm. Here’s how you can find each one.
Captain Springlock’s Right Arm

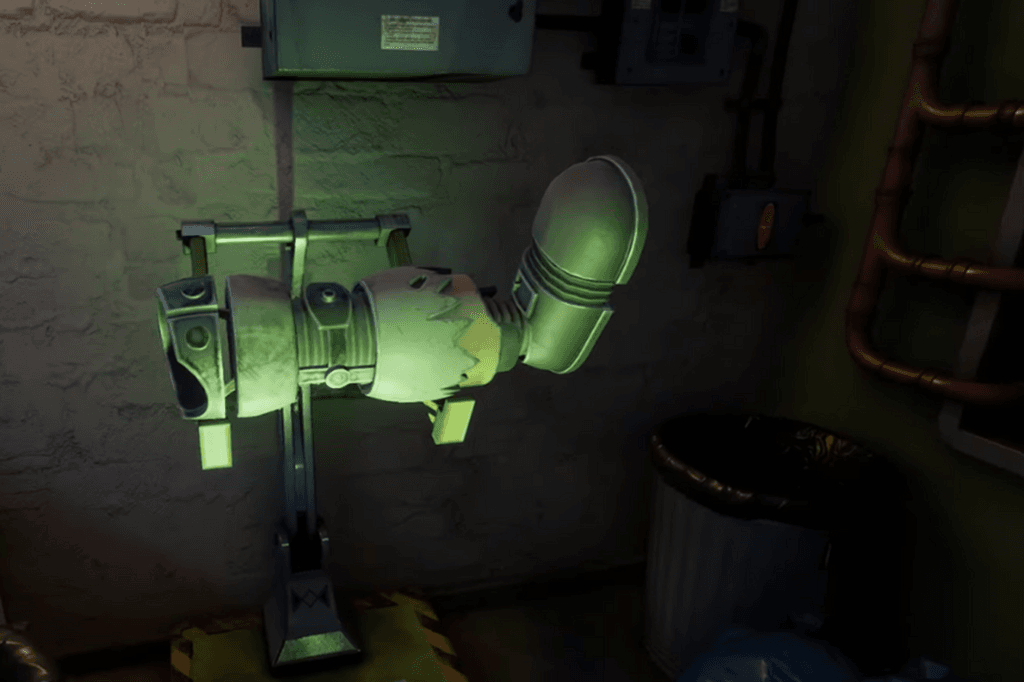
After finishing up in the assembly area, head out and turn left into the spare parts room. Keep your eyes on the wall, you’ll see Captain Springlock’s right arm hanging there, held up by a bunch of chains. Once you grab it, Arnold won’t be able to run anymore, so take it slow and carefully walk back to the assembly area to attach it to the suit.
Captain Springlock’s Right Leg

Next, you’ll want to grab the right leg. Go back into the spare parts room and take a right this time. Walk toward the staircase, and just before reaching it, look to your left you should see the leg sitting there. Pick it up and head straight back to the assembly room to attach it.
Captain Springlock’s Head

Go back into the spare parts room and take the stairs on your left to reach the upper level. You’ll spot the head hanging from the ceiling by a chain. Walk over to the lever across the upper platform and crank it to lower the head. Be careful here this action might trigger an animatronic to start chasing you. If that happens, either hide in a nearby locker or use a wind-up mouse toy to distract it. Once it’s safe, go back down and pick up the head from below where you lowered it. Bring it back to the suit and attach it.
Captain Springlock’s Left Leg
With the head in place, you’ve got two more parts to go. From the upper level where you found the head, turn right and follow the catwalk. Take the next left and go down into a room with a closed shutter. Use the lever next to it to open it. Before grabbing the left leg, be sure to unlock the caged door in front of you using the second lever beside it. With both doors open, grab the leg and head back to the assembly room to attach it.
Captain Springlock’s Left Arm

Finally, for the left arm, return to that same room with the caged door where you just picked up the leg. The left arm is waiting there. Once you’ve got it, carefully make your way back to the assembly area and attach the last piece to complete Captain Springlock’s suit.
That’s it you’ve now fully rebuilt the suit and are ready for whatever comes next. Once you’ve attached all five parts to Captain Springlock’s suit, you’re ready for the final step. From the assembly area, head into the control room just to your left. Inside, you’ll find a terminal interact with it and select the option that says “Energize Springlock.” This will activate the suit, bringing it fully to life.