
Ajarakan, a vicious new Fanged Beast of Monster Hunter Wilds, offers a challenging battle with its mix of brute force and blazing assault. This molten metal-husked monster uses its large limbs to dish out crushing attacks and set ablaze the battlefields. To defeat this creature, hunters will need to learn where it lives, take advantage of its weaknesses, and develop tactical combat tactics. This walkthrough will arm you with what you need to confront Ajarakan on your own, from identifying its weak points to using the terrain to your advantage.
Ajarakan in Monster Hunter Wilds
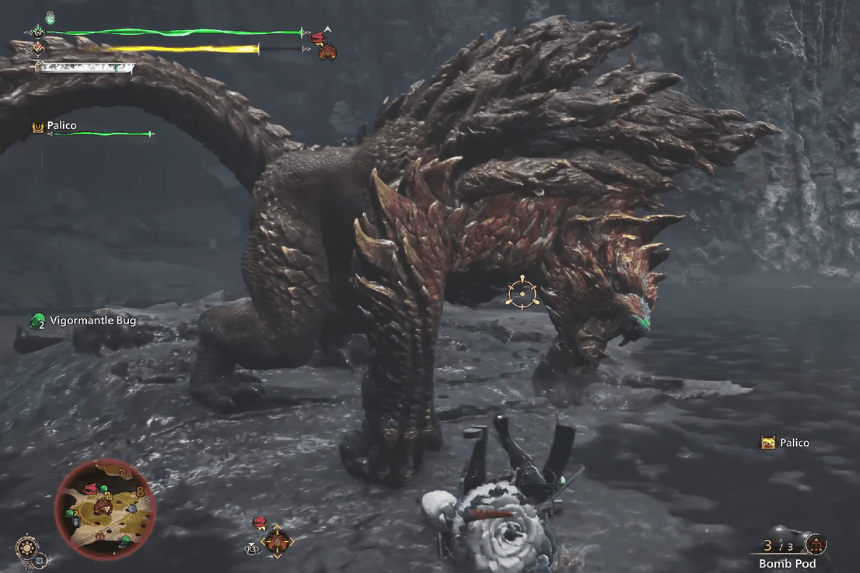
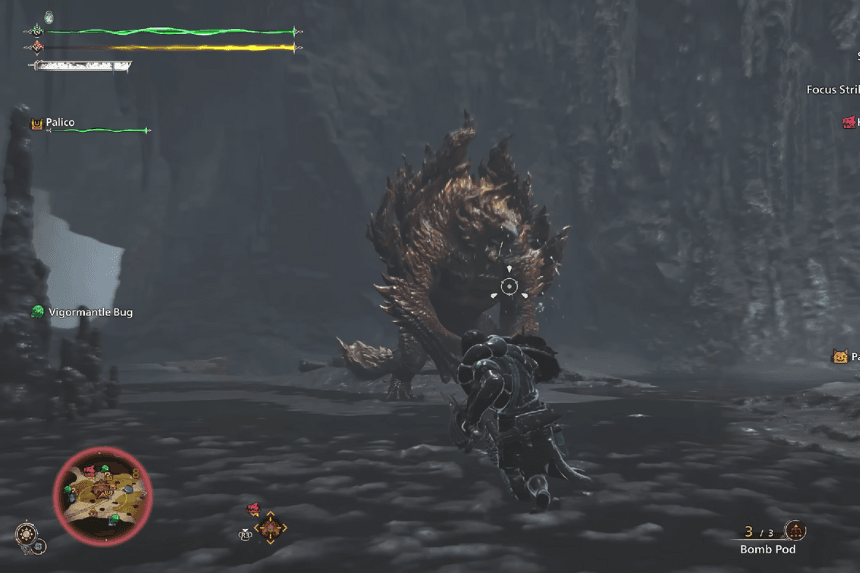
Ajarakan is a new Fanged Beast introduced in Monster Hunter Wilds, known for its raw physical strength and aggressive fighting style. It uses its powerful arms to strike both hunters and other monsters, relying heavily on brute force. While most of Ajarakan’s attacks are physical, it also has a few Fire-based moves. What makes it unique is its highly developed carapace Ajarakan wraps itself in molten metal and rubs the plates together, generating intense heat and causing fiery explosions. The friction from the metal can get so hot that it melts the ground and even deflects bullets.
Adding to its mobility, Ajarakan can also use its strong limbs to grip onto ceilings and move around freely, keeping hunters on their toes. This combination of strength, heat, and agility makes Ajarakan a fierce opponent so stay alert and be ready for both heavy hits and fiery surprises!
Ajarakan Location in Monster Hunter Wilds
You can find Ajarakan in two regions: Oilwell Basin and Wyveria. Your first encounter with this monster happens in Oilwell Basin during the “Long Forgotten Flame” main story quest in Chapter Two. During this quest, you’ll use scoutflies to track Ajarakan as it moves between areas, and if you need backup, Olivia will be there to help.
After defeating Ajarakan in this quest, you’ll have to wait for it to reappear before you can hunt it again. To unlock Wyveria the second location where Ajarakan can show up you must first complete “The Faithful Keepers” main story quest at the start of Chapter Three. When you’re in either Oilwell Basin or Wyveria, a notification will pop up on the right side of your screen saying, “Ajarakan has entered the locale,” letting you know it’s time to hunt!
Ajarakan Weakness in Monster Hunter Wilds
To deal the most damage to Ajarakan, you’ll want to focus on its weaknesses by choosing the right element, status effect, damage type, and body parts to target.
Here’s a quick breakdown to help you build an effective strategy:
- Element Weakness: Water
- Status Effect: Vulnerable to all
- Damage Type: Cut and Blunt
- Weak Points: Head, left foreleg, right foreleg, tail, and tail tip
For maximum damage, use weapons that deal Cut or Blunt damage. Good options include:
- Cut: Daggers, Switch Axe
- Blunt: Hammer, Hunting Horn
When you’re in battle, aim for Ajarakan’s head, forelegs, tail, and tail tip to hit its weakest spots and bring it down faster.
Ajarakan Attacks in Monster Hunter Wilds
Ajarakan has various formidable attacks, and knowledge of what and how to counterattack can be the difference between winning and losing. Here’s its move breakdown and what to do about it:
- Ground Slam: Ajarakan will raise one of its fists and slam it into the ground, sending rubble flying. When you see it lift its arm, get ready to dodge. Attacking from a distance is safer, but if you’re close, this move gives you a chance to hit its forearms just stay alert.
- Dragging Punch: Watch out when Ajarakan plants its fist in the ground and drags it toward you, flicking it up at the end. Once it starts charging, it struggles to change direction, so sidestep to dodge. This attack also exposes its weak forearms, so use the opening to land some hits.
- Tail Attacks: Ajarakan’s tail can be deadly it may slam it down from above or swipe it from side to side. Getting caught will hurt, so keep an eye on its tail movements and dodge accordingly. The good news is the tail is severable. Cutting it off will stop these attacks entirely.
- Boulder Toss: Ajarakan will claw boulders from the ground and hurl them at you. These do a lot of damage if they hit, so when you see it dig into the ground, start moving and stay clear of the flying rocks. Ajarakan doesn’t move much during this attack, giving you a great opportunity to land some hits.
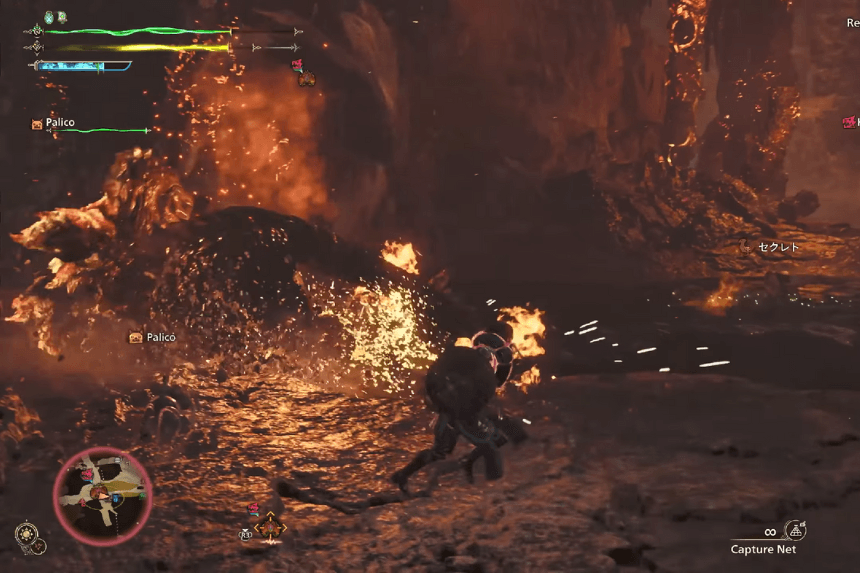
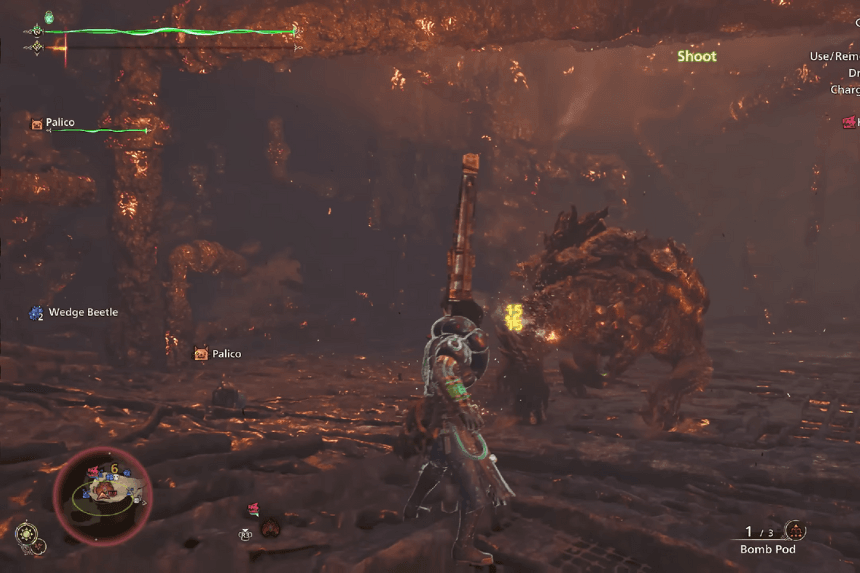
- Fire Mode: Things get even more intense when Ajarakan sets itself on fire. It can drop to all fours and unleash a stream of fire or lava. The safest move here is to create distance, but you can use your Slinger to shoot Watermoss at it this helps cool it down a little. If you’re feeling bold, the tail remains a relatively safe target during this phase.
- Fiery Fist Attacks: While ablaze, Ajarakan’s regular fist attacks now cause fire and lava to burst from the ground, making it even riskier for close-range fighters. If you’re using a ranged weapon like a Bow, this won’t be as much of a problem, but melee fighters will need to be extra cautious.
Knowing these patterns will help you dodge effectively and find the best moments to strike. Stay quick on your feet, and you’ll have the upper hand!
Ajarakan Strategy to Beat in Monster Hunter Wilds
Ajarakan is dangerous not just because of its strength, but also because it can inflict Blastblight and Fireblight both of which can drain your health fast if you’re not careful.
To counter these blights, make sure to bring Nulberries on your hunt. They can’t be crafted, but the good news is they’re easy to find in every biome, so gather a few before heading into battle. Ajarakan also has a Weak Roar attack that temporarily stuns you. To avoid getting caught off guard, consider equipping the Earplugs Talisman it’ll help you stay mobile and ready to dodge or counter.
Since Ajarakan typically shows up in the Oilwell Basin, don’t forget to pack a Cool Drink. It’ll protect you from the extreme heat and stop the passive damage caused by the high temperatures. With the right items and a bit of preparation, you’ll be in a much better spot to handle Ajarakan’s fiery attacks! Using the environment to your advantage is key when fighting Ajarakan, and the forge in the Oilwell Basin can deal some serious damage if you use it right.
During the fight, Ajarakan often moves near the forge a round, arena-like structure. If you aim your Slinger at the top and fire at the right moment, you can trigger a trap that knocks Ajarakan down and inflicts heavy damage. Keep in mind, though, the forge has a long cooldown, so you can only use this trick a few times. To make the most of it, try placing a Shock Trap to hold Ajarakan in place before activating the forge.
Mounting Ajarakan is also a smart strategy. The area’s layout makes it easy to pull off jumping attacks, allowing you to mount the monster and target its back which is not only breakable but also transforms when Ajarakan becomes enraged. Breaking its back should be a priority. Once you’re mounted, keep attacking until you can perform a draw finisher. Ranged hunters will find this a bit easier, but melee fighters can still get the job done with the right timing.
Don’t forget about Watermoss shooting Ajarakan with it can actually shorten its enraged state. If you spot Watermoss during the fight, grab it, but hold off using it until Ajarakan heats up. As for its attacks, the fight itself isn’t overly complicated, but there’s one move you really need to watch out for. Ajarakan has a devastating combo where it slams the ground with its shoulder and then lurches forward, causing an explosion. Even if you dodge the initial slam, the Blastblight trail it leaves behind can still hurt you. The best approach is dodging the slam, then quickly move back in to land your hits once the danger zone clears.
Overall, Ajarakan’s movements are pretty readable, so once you get the hang of its patterns, pulling off offset attacks and power clashes becomes much easier. Stay sharp, use the forge wisely, and keep those Watermoss shots ready and you’ll have the upper hand in this battle!
Ajarakan Drop-Off materials
After surviving the intense battle against Ajarakan and finally taking it down in Monster Hunter Wilds, you’ll be handsomely rewarded with some awesome loot. Here’s the full list of what you can get:
- Ajarakan Certificate S
- Ajarakan Scale+
- Ajarakan Carapace
- Ajarakan Jewel+
- Ajarakan Ridge+
- Ajarakan Tail
- Ajarakan Marrow
- Ajarakan Medulla
- Great Stoutbone
- Advanced Armor Sphere
- Glowing Orb – Sword
- Glowing Orb – Armor
- Carbalite Ore
- Quality Bone
Most of these materials are used to craft Ajarakan’s armor and weapons, while the Glowing Orbs can be turned into decorations for your equipment slots.