
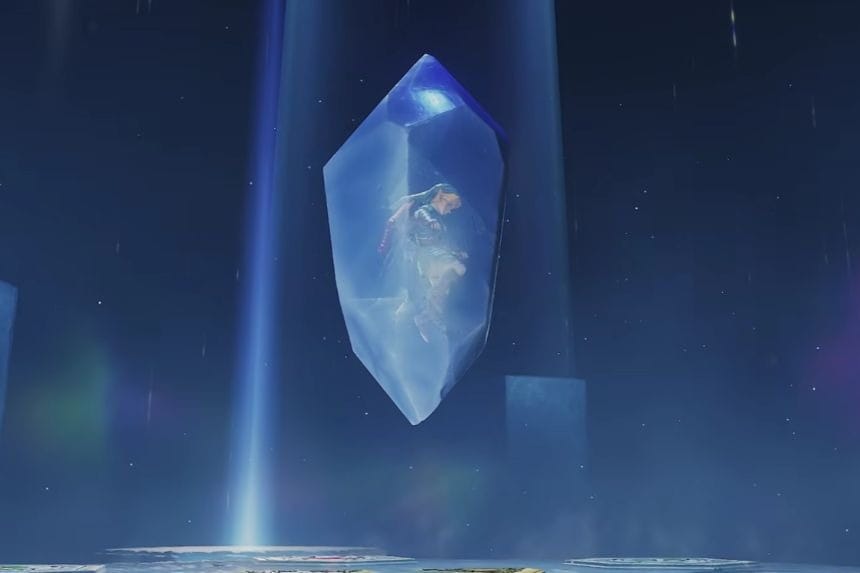
The Spirit Temple is one of the last dungeons of Zelda: Ocarina of Time Remake. Here you will have to go through twice, first as Child Link and second as Adult Link, to get all items and solve all the puzzles there. In the process, you will collect Small Keys, Gold Skulltulas, Silver Gauntlets, and the Mirror Shield. There will also be many difficult enemies before the ultimate boss fight against Twinrova. This guide covers all collectables and puzzles in the Spirit Temple to help you complete the dungeon.
All Collectables & Walkthrough in Spirit Temple
Turn Into Kid Link
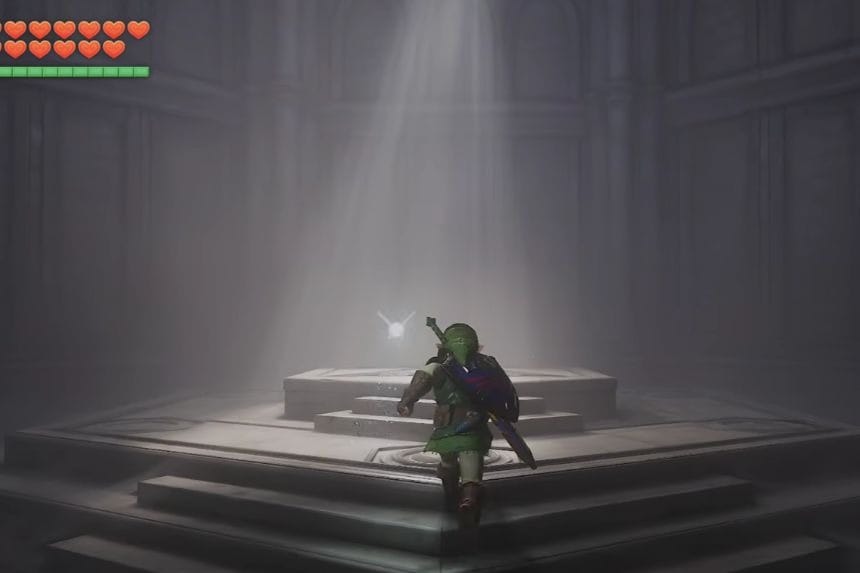
In order to enter the Spirit Temple, you have to transform into Child Link. Go to the Temple of Time and put the Master Sword back on its pedestal. You will transform into yourself when you were younger. You can now enter areas inside the Spirit Temple where only Child Link can go.
Return To The Spirit Temple
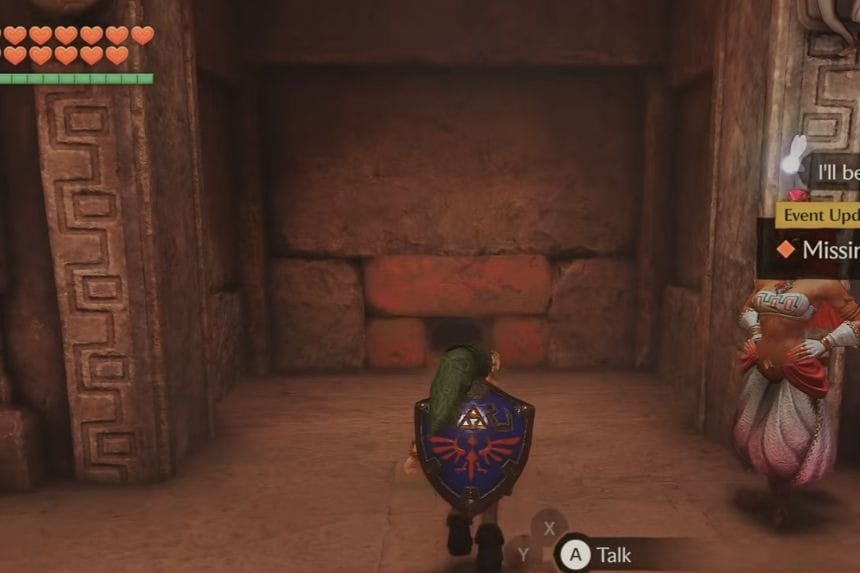
Use your Ocarina to play the Requiem of Spirit in order to teleport to the Evil Desert Colossus. In the location where you will be teleported, you will notice that you are outside the Spirit Temple; hence, you should move inwards. Once you enter, you will meet a Gerudo thief named Nabooru who refuses to serve Ganondorf. This character will require you to crawl through an opening in the wall and fetch her Silver Gauntlets. Agree to help her, as you will need these gauntlets to progress through the dungeon.
Small Key #1

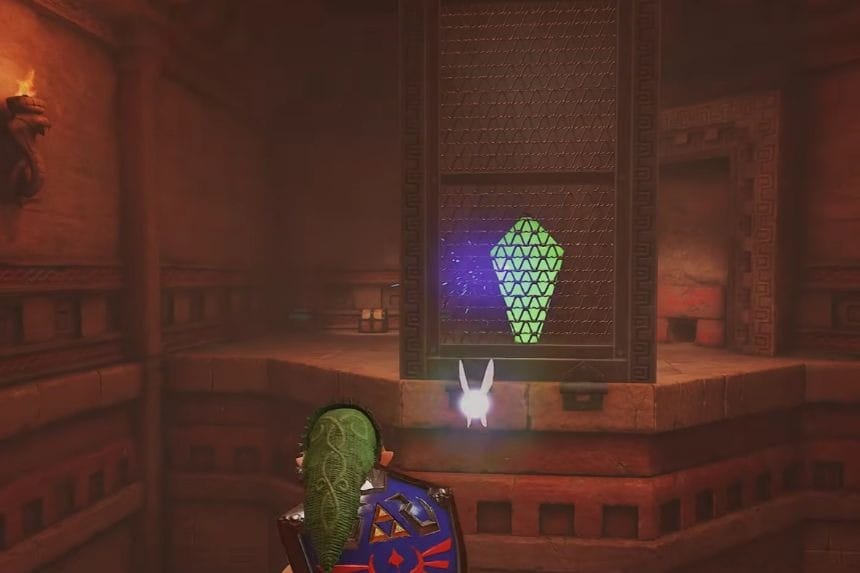
Walk down the corridor into the circular room where there are purple curtains. Kill the armoured Stalfos present in the adjoining rooms and move further till you come to the room where there is a green rupee kept on a platform. Gather all the green rupees and also search for some in the chests.

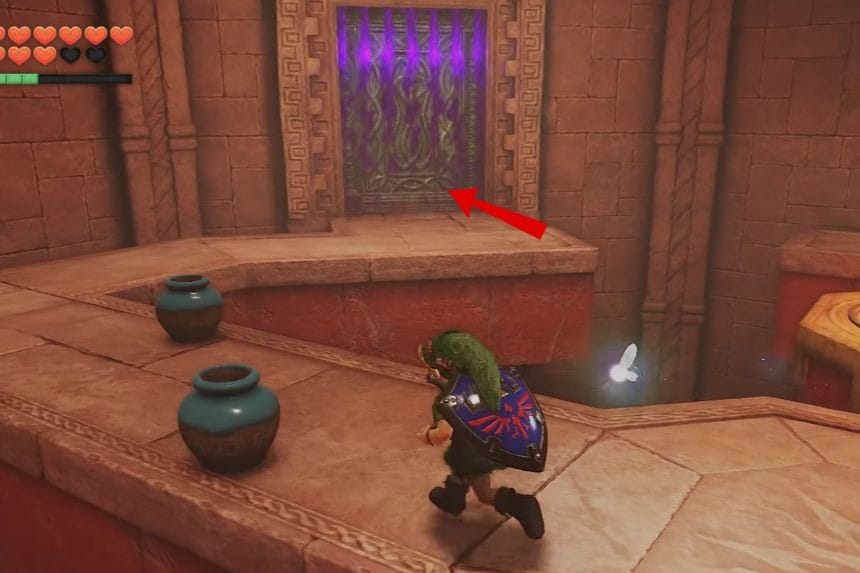
Walk into the room which is an octagon in shape and use Din’s Fire to light up the totem fire and destroy the purple barrier which is blocking the doorway. Continue walking in the torch-lit corridor. Your Deku shield will be burnt at some point, and you will have to replace it with the Hylian shield available in the Equipment menu. Move further till you reach the room with two braziers. Unlock the chest situated between them and take your first Small Key. Use it to unlock the heavy door nearby and climb the mesh corridor to reach the second floor.
Gold Skulltula #1
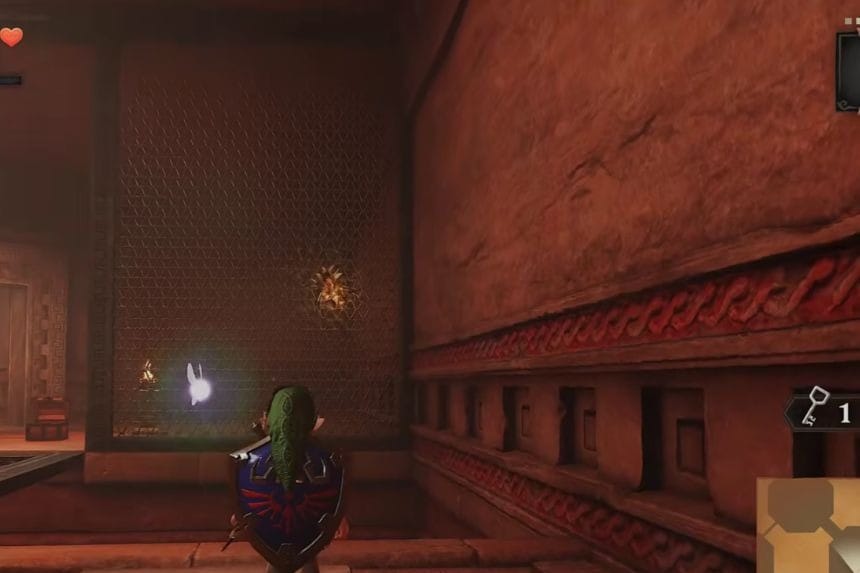
Before picking up the Small Key, search for a Gold Skulltula hanging in the mesh room on the first floor. Kill this Gold Skulltula using your Boomerang to get a Gold Skulltula.
Sun Room Puzzle
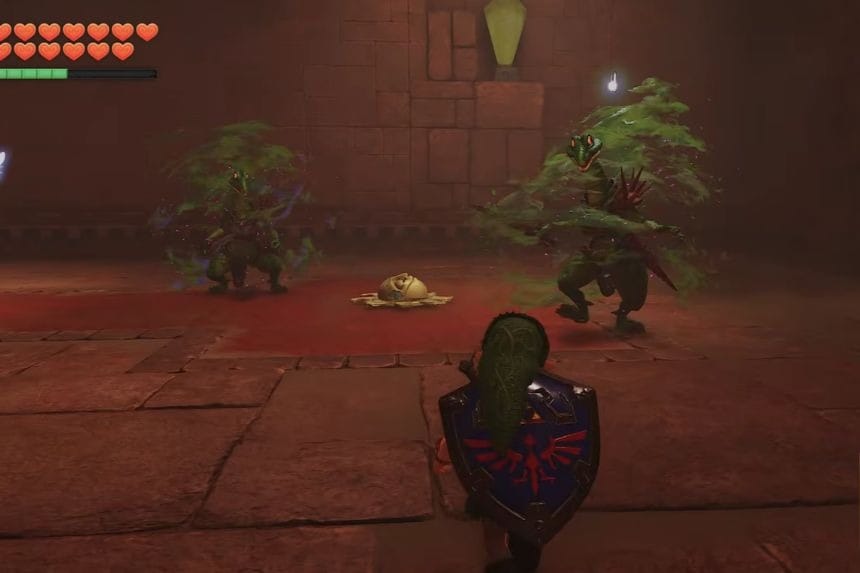
After going through the mesh corridor, you will see a green Lizalfos on the second floor. Kill it by using your Hylian Shield and Sword. Use your Fairy Slingshot to shoot the targets present on the walls. Keep moving forward until you enter a fountain hall where there is a shining pool of water between the torches.

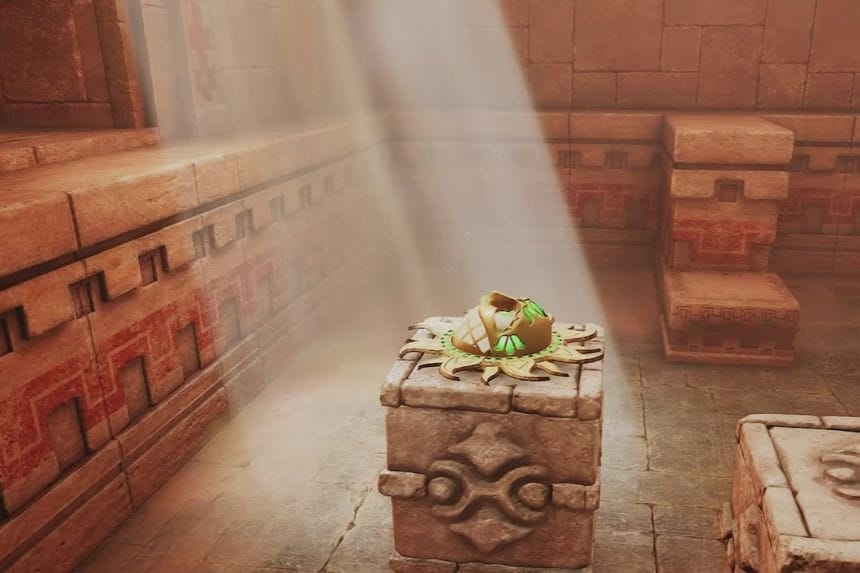
You will later find yourself facing a huge stone boulder rolling down the stone corridor. Let it pass and then move further. You will reach the next floor from there, where there is a room with sunlight entering from above. There are some stone blocks inside the room, and one of them has the sun sign on it. Push that stone block under the light beam to move forward.
Dungeon Map

After the fight with the Lizalfos, and after you have entered the rooms with target walls, search for a wooden chest in the fountain room. Open it to get your hands on the map of Spirit Temple. This will assist you in navigating the dungeon.
Gold Skulltula #2

Once you have passed through the massive rolling stone, you will reach a dark corridor whose walls consist of stone carvings. Find a Gold Skulltula in the corner and use your sword to kill it.
Small Key #2
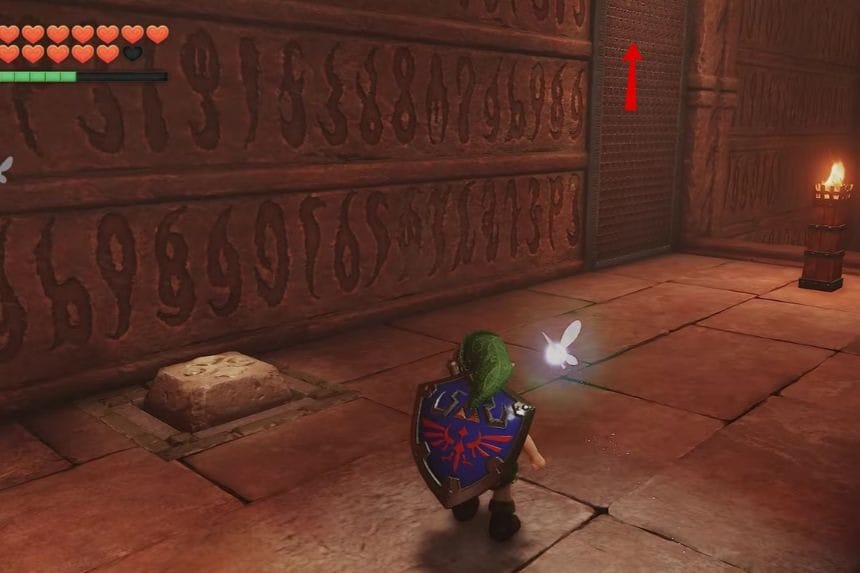
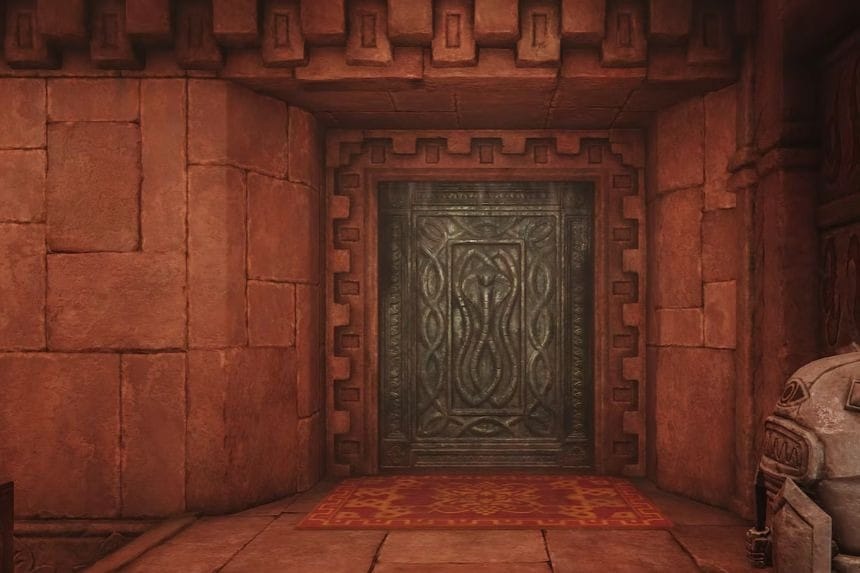
After completing the Sun Room puzzle, use the newly accessible path. This will take you to a room that has a chest behind some bars. Retrieve your second Small Key from this chest as Child Link.
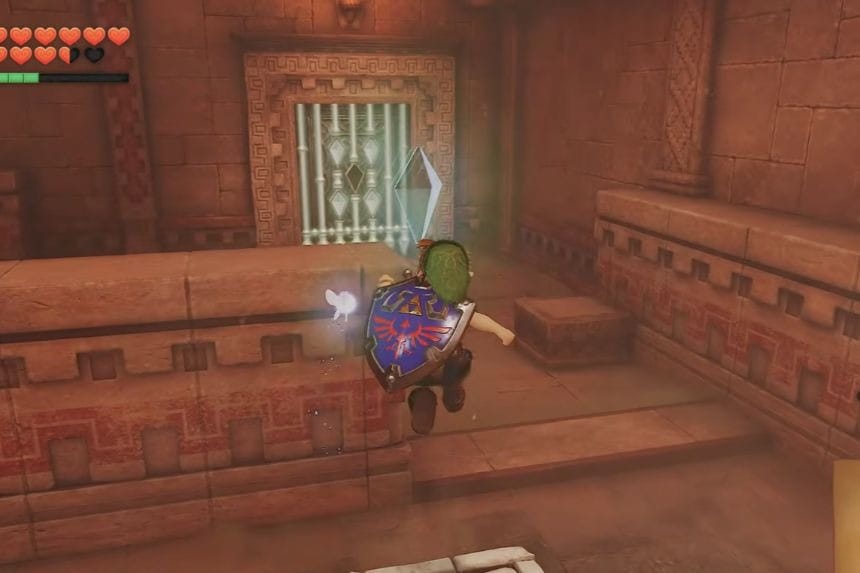
The Small Key that you have retrieved will be used to unlock a large ornate door. But before moving out of this place, look up at the ceiling in the stone passage that has red carpeted steps. There is a Gold Skulltula hanging from there, which you can knock down using your Boomerang.
Gold Skulltula #3
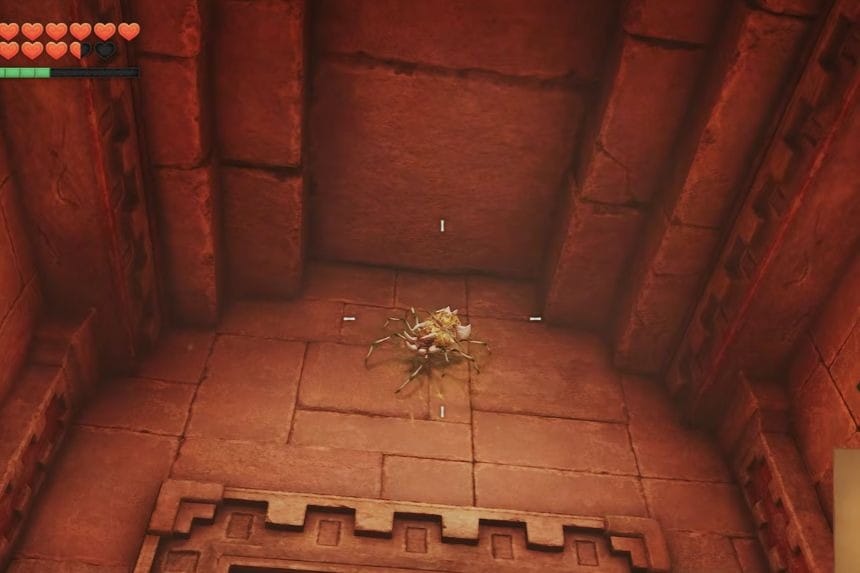
Once you have picked up the second small key, go to the ceiling in the hallway where the red carpet staircase is located. Use the boomerang on the Gold Skulltula so that it drops down to the ground. Pick up the token and then proceed ahead using the second small key on the ornate door to meet the Iron Knuckle.
Silver Gauntlets
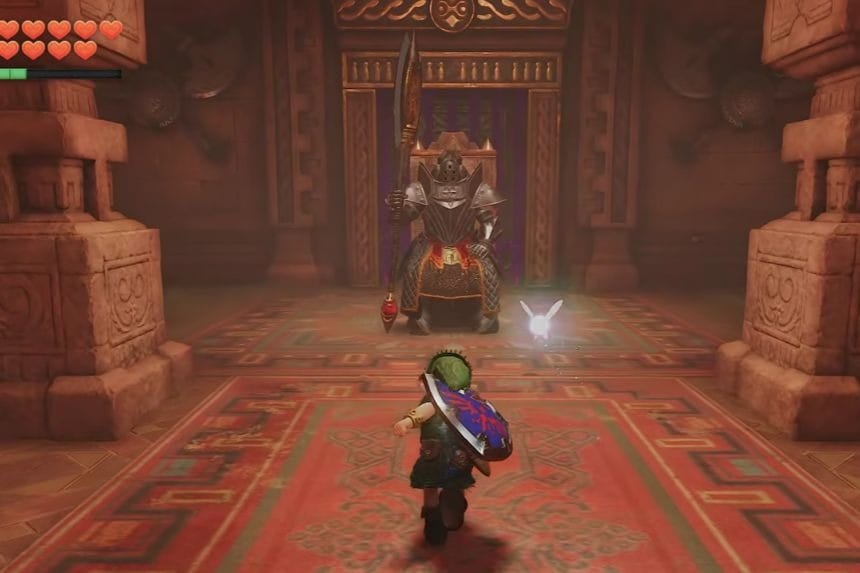
In the next room, you will come across the Iron Knuckle wielding a huge axe. Make sure to keep your distance from it and use the Hylian Shield to guard yourself against its attacks. Alternatively, you may use bombs by letting them explode first before throwing them at the foe. After defeating the Iron Knuckle, you will notice that the purple barrier at the far end of the room vanishes. Go to the door and step outside to discover a chest placed on the sandstone shelf.
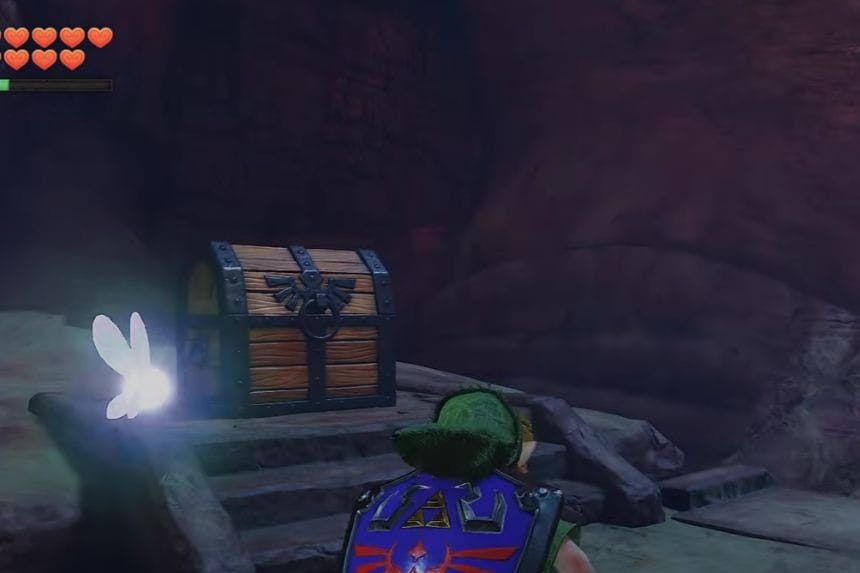
Open the chest to get the Silver Gauntlets. They are not compatible with Child Link since they are quite big, although you will be able to use them during your adventure with Adult Link. Nabooru will praise you after going outside, but Kotake and Koume will suddenly show up to take her captive using their magic abilities. There is nothing else for you to do now as Child Link, so go back to the Temple of Time.
Return as Adult Link
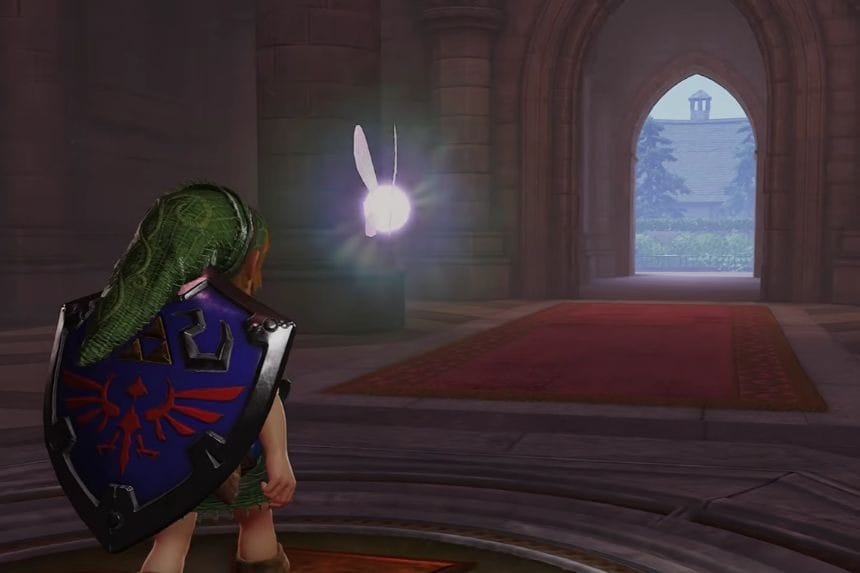
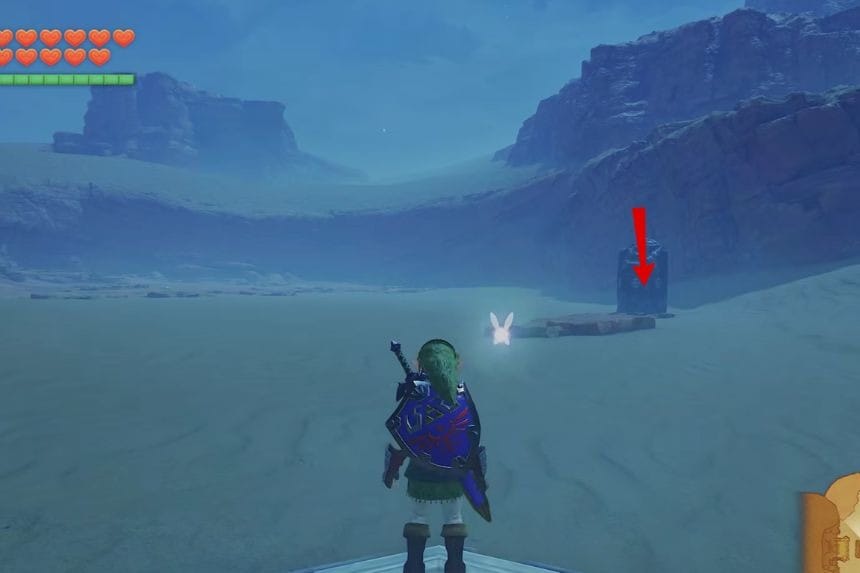
After reaching the Temple of Time, you have to go to the podium where you can take the Master Sword, which will transform you into an adult. After that, you have to play the Requiem of Spirit in order to get back to the Evil Desert Colossus. Now, you have to enter the Spirit Temple once again and move towards the stairs, after passing through which you will find a door which is locked on your left side and a circular room with a mosaic floor on your right side. Defeat the enemies inside using your sword and Fairy Bow before continuing through the next door.
Compass
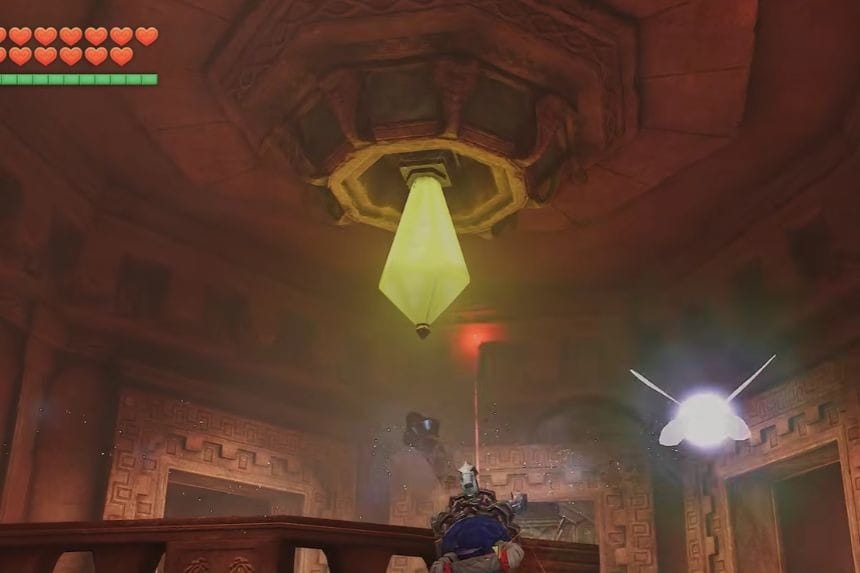
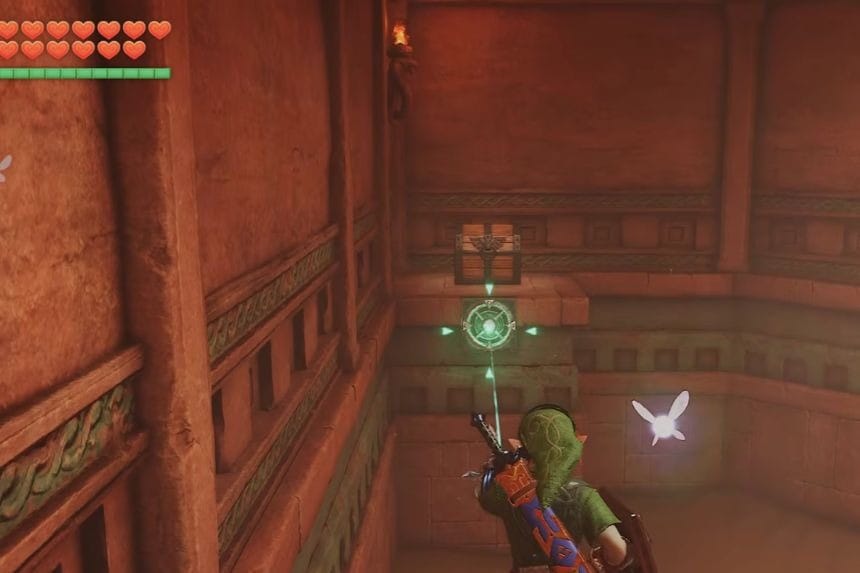
When you are in the room with a round mosaic design, find the red carpet that is marked with a Triforce pattern. Once you stand on the red carpet, play Zelda’s Lullaby to initiate the trigger system and proceed further to take the compass from the chest.
Gold Skulltula #4

Make your way through the passageways until you find the hallways that have boulders rolling around them. Take caution while traversing, because the gigantic boulders can crush you to death if you fall into their range. Find a Time Block marked in blue on the walls and play the Song of Time to make it vanish. Proceed ahead to locate another Time Block, and use the Song of Time to open the pathway. You will come across an alcove which has a Gold Skulltula inside it.
Small Key #3

Past the rooms containing boulders, you will find a spiked plant enemy guarding a carpeted room. Kill the enemy by using the Biggoron Sword and grab your third Small Key from the chest found there. Use the key to unlock the door, and then proceed to the room with a purple barrier and a mesh corridor to the second floor.
Mirror Puzzle #1
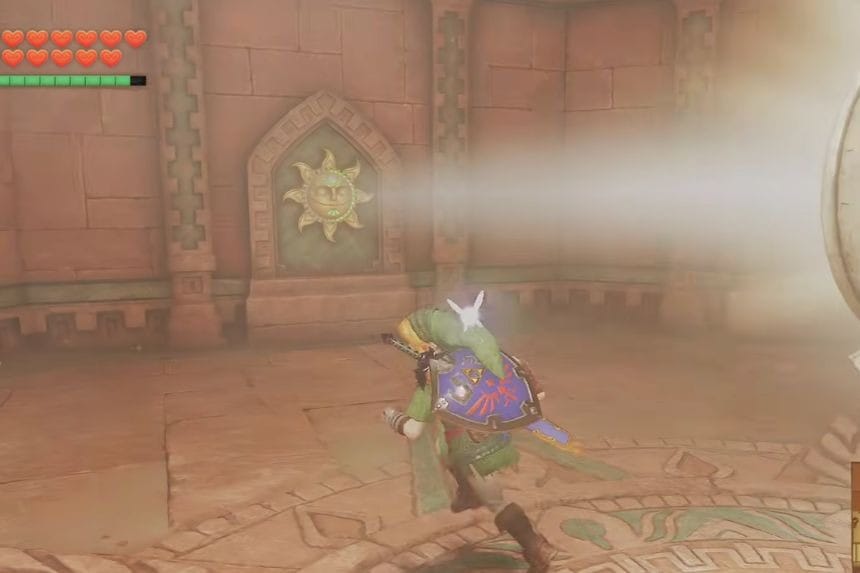
In the round room on the second floor, you will find a lamp that directs beams of light toward a sun symbol on the wall. First, kill all the enemies within the purple barriers. Second, take the lamp and move it until the beam reaches the Sun symbol on the wall. You will see a chest with five Bombs in it; grab all of them and pass through the iron door.
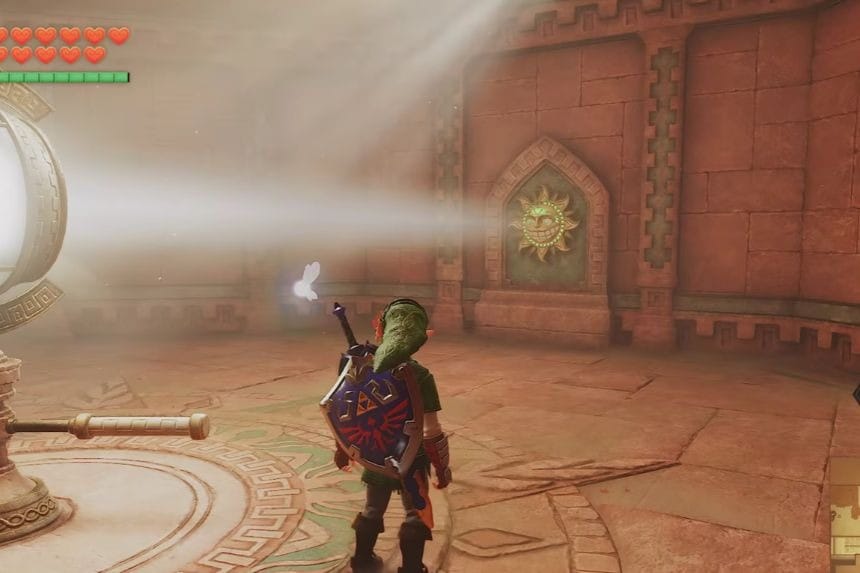
Defeat the armoured enemy near the lamp and climb the staircase. At the top, you will find a giant stone hand. Stand in front of it and play Zelda’s Lullaby to activate the mechanism. Open the nearby chest to collect another Small Key.
Small Key #4
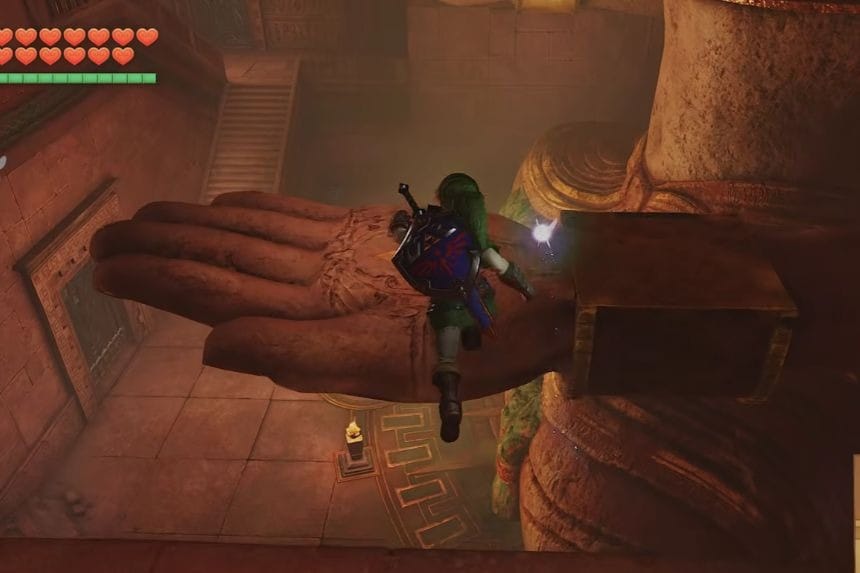
After triggering the huge stone hand using Zelda’s Lullaby, you should then search for the chest. Open the chest to obtain another Small Key. Before exiting, you should go near the torch located at the top of the stairs and play the Scarecrow Song that you made before. A scarecrow will show up on a small ledge. Get to the ledge using your Longshot and get Gold Skulltula from the hole there.
Gold Skulltula #5
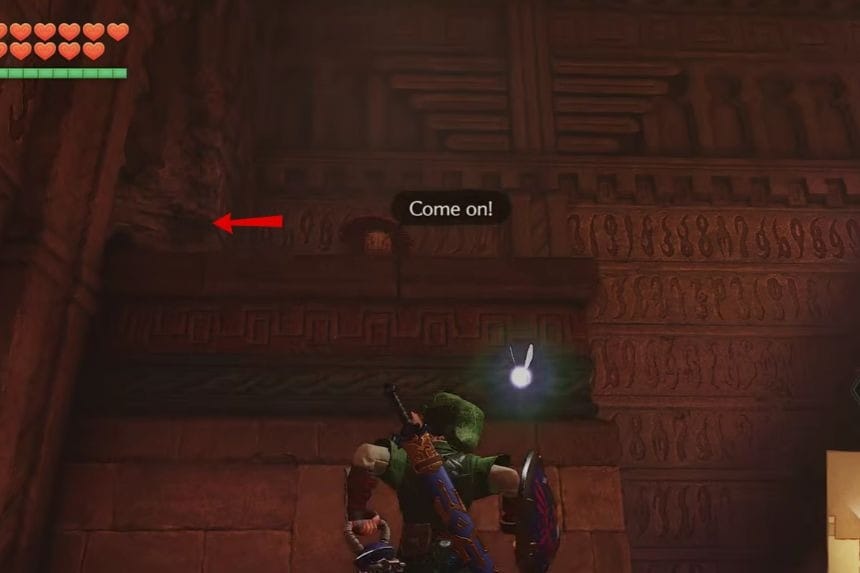
After playing the Scarecrow Song near the torch, get to the scarecrow’s spot on the third floor with your Longshot. Check the little niche in the wall to see a Gold Skulltula hanging there. Smash it and get Gold Skulltula number.
Unlock Shortcut
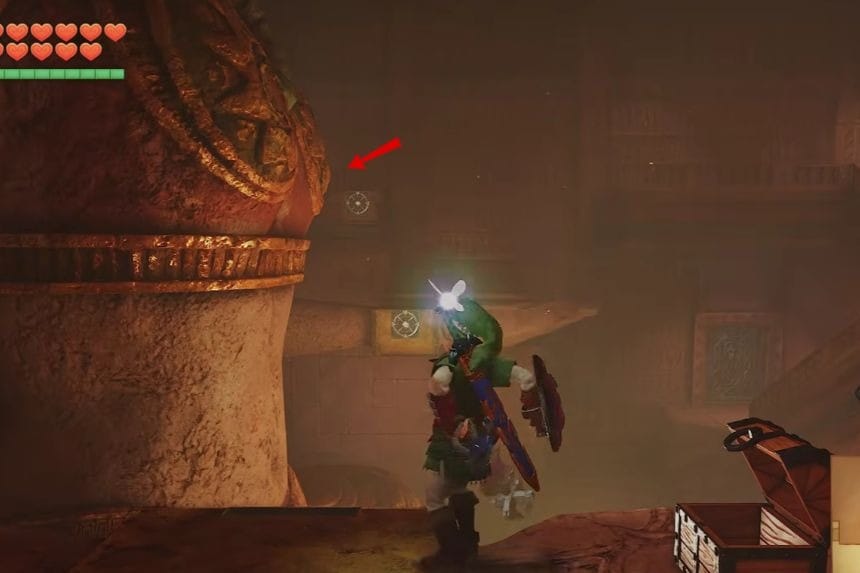
Proceed to the next chamber where you will see light beam lamps and sun signs. Configure the lamps to point them toward the purple wall for access further inside the cave. There is also a staircase that takes you to the third floor. Climb up and proceed to the honeycomb chamber where there are platforms, torches, and enemies.
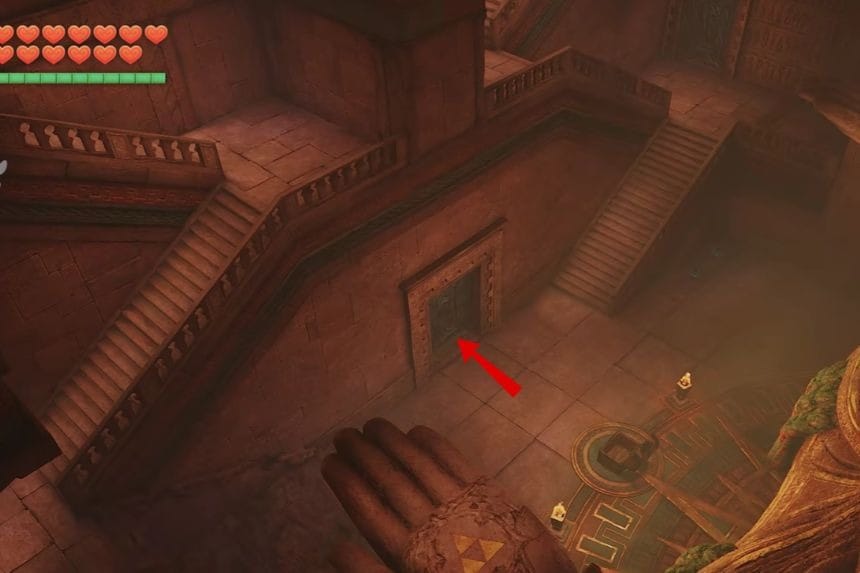
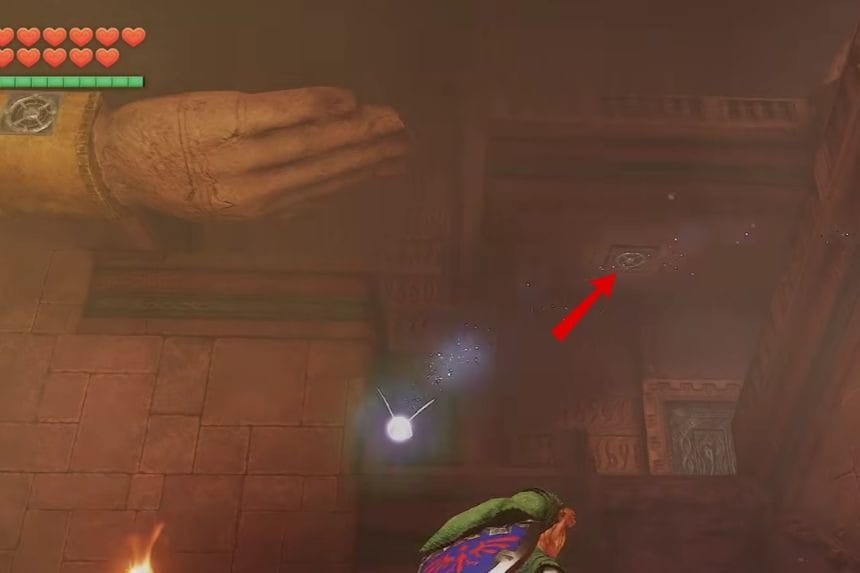
Carefully jump from one platform to another while blocking the attacks from enemies using the shield. Fire Arrows are useful for lighting the unlit torches on your way. Eventually, you will come across a red statue and a square block. Pull out the Megaton Hammer and hit both objects to unlock the next door. You will find yourself in a green carpet hallway where you will have to fight the Iron Knuckle and leave through the final door that leads to the outdoors.
Mirror Shield
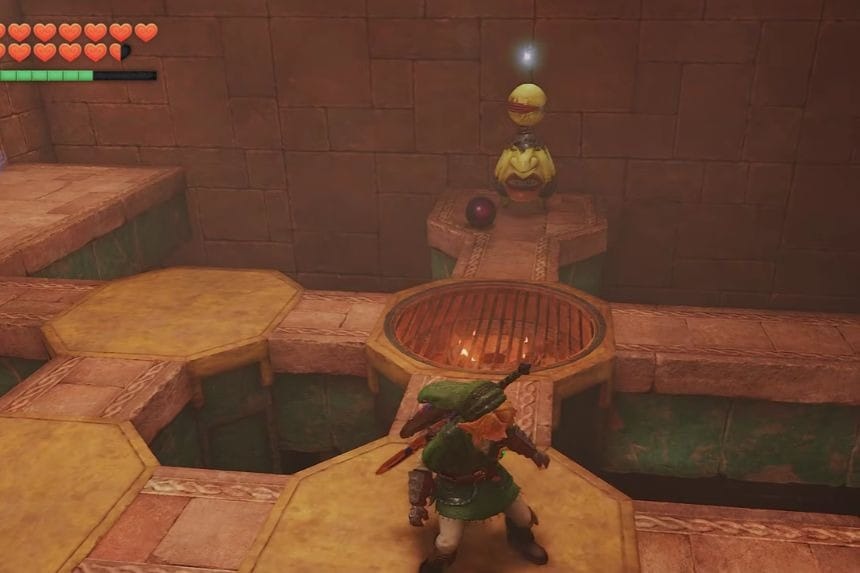
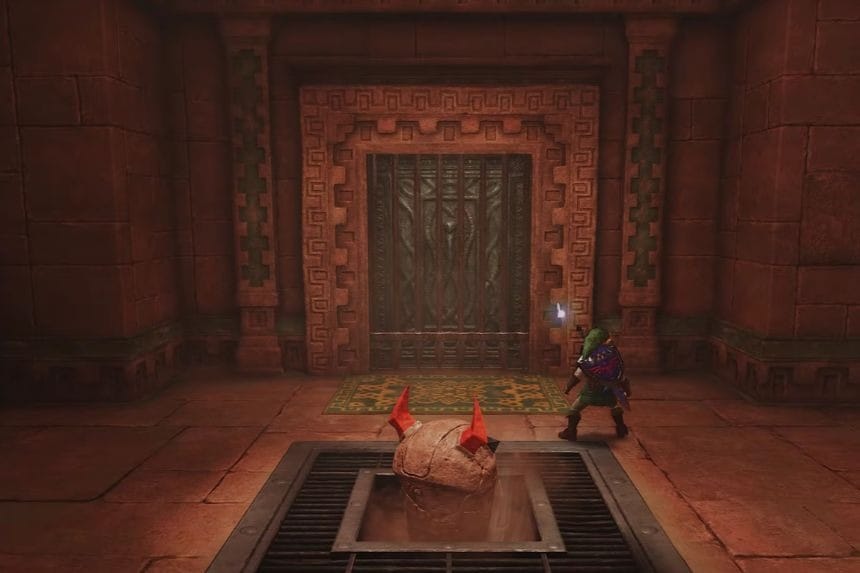
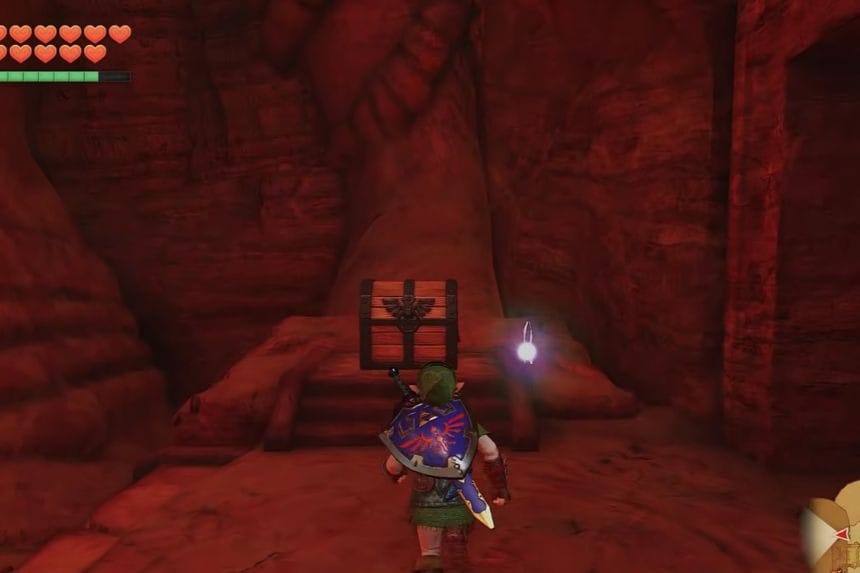
Once outside, look for a chest at the top of the short staircase beside a barrel and wooden box. Open it to collect the Mirror Shield. Equip it immediately, as you will need it to solve the remaining light puzzles inside the Spirit Temple. The Mirror Shield can reflect and redirect beams of light toward different targets.
Small Key #5

Re-enter the temple from the same entrance and proceed back to the third level. Go through the purple colored barrier room and pick up the red rupee that is worth 20 rupees. Keep moving until you find a room with a beam of light shining on it. Reflect the light using the Mirror Shield onto the right target, and you will be able to see an elevated platform with a chest that holds the Small Key. Collect the key and use it to unlock the chained door nearby.
Boss Door Key
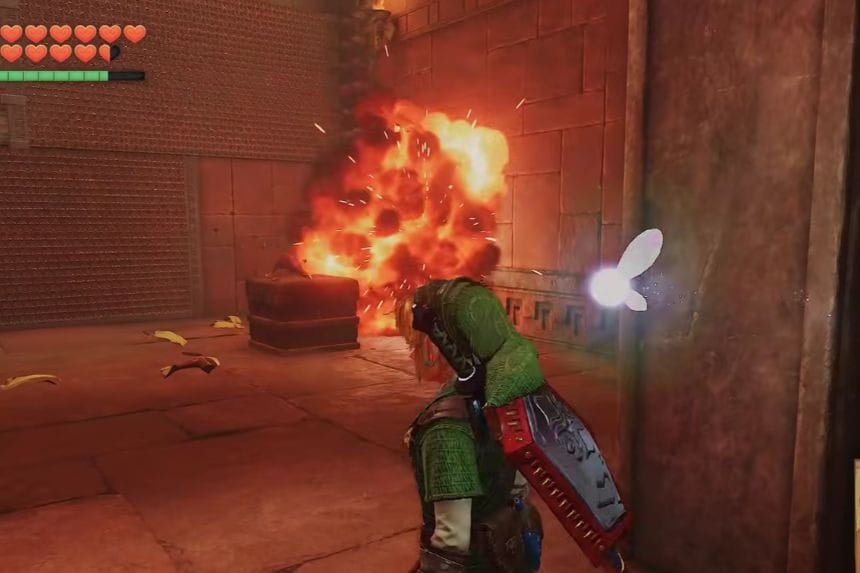
Open the chained door and move on through the rooms of golden figures and grating floors. Use your Megaton Hammer to hit the targets and make progress toward your goal. Defeat all the enemies in the room enclosed by the purple barrier, and proceed down the green carpeted corridor. Go through the decorated door to enter the fourth floor.
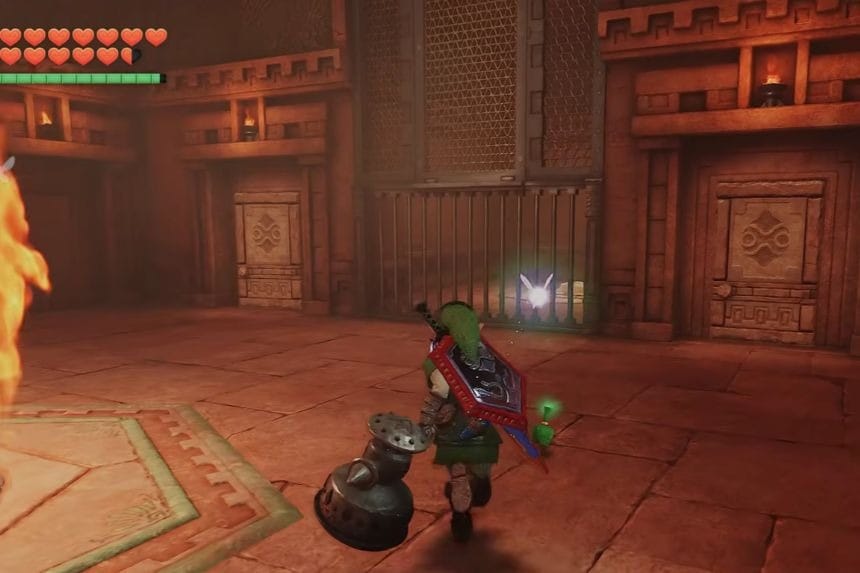
The fourth floor has another sand room and another light-beam lamp. You need to kill all the enemies before rotating the lamp so that the beam falls on the purple barrier. In the next area, you have to use your Mirror Shield to reflect the light to the sun chest room and get five Bombs.
Keep walking down the hexagonal hall with hanging platforms. Get to a big stone face with the sun insignia on it. Position yourself in front of it, and use your Mirror Shield to shine the light onto its face. When it starts glowing green, its mouth will open.
Go into the passageway and get to the room with the Triforce carpet. Stand on it and play Zelda’s Lullaby in order to open the stone gate. Walk through the room with fires and use your Mirror Shield to shine light there. Walk through the room with the purple barriers, kill all the enemies there and shoot the eye switch above the door using your Fairy Bow. You will get access to the room with several chests in it. Find an ornamental chest with the red cushion in it, and get the Boss Key from there. Follow the chain passageway to get to the golden boss door.
Mirror Puzzle #2

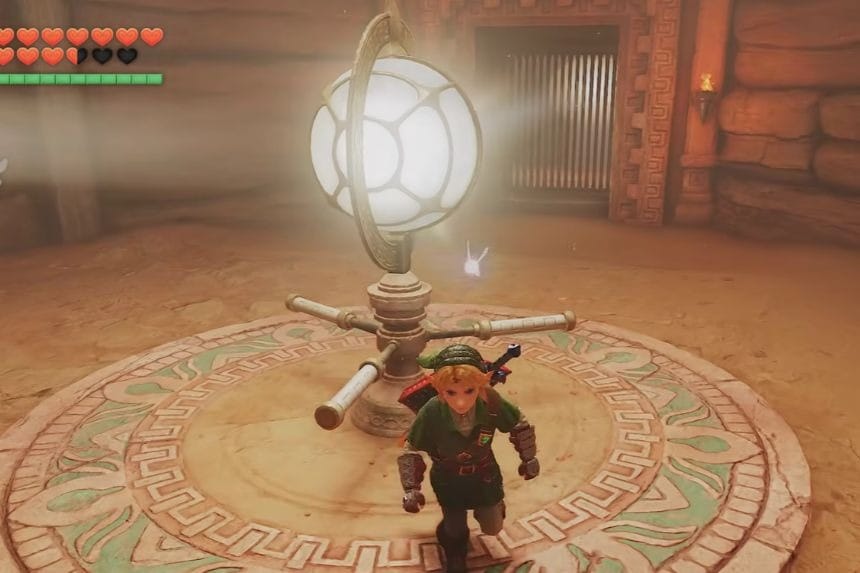
In order to get the Boss Key, you have to solve a series of light puzzles on the fourth floor. To start with, turn the lamp so that the light shines on the purple barrier. Now you can use your Mirror Shield to send the light to the room with a sun emblem. Then proceed to the chain platforms and shine the light on the giant face of the sun until it starts shining green and opening its mouth.
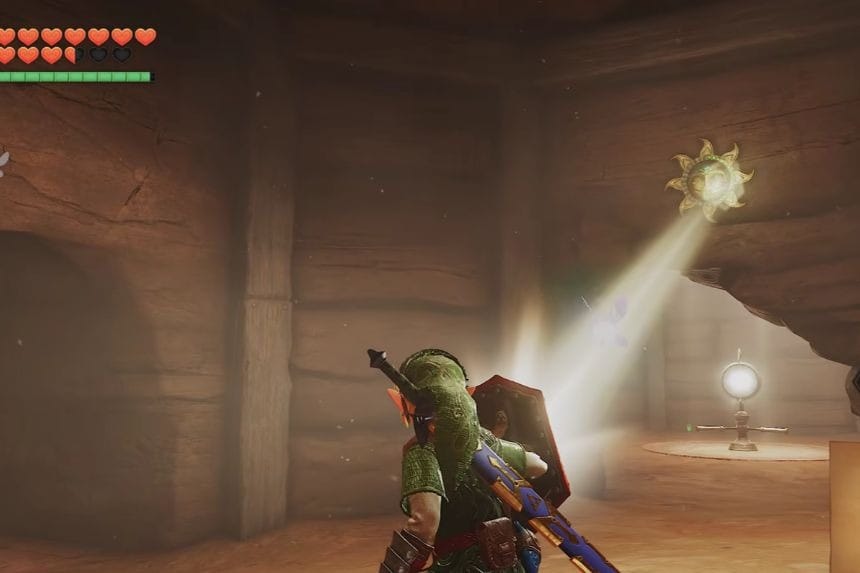
Proceeding further, play Zelda’s Lullaby on the Triforce carpet to open the next gate. After that, go into the fire room, get ready and use the Mirror Shield again. Lastly, defeat the enemies in the purple barrier room and shoot the eye switch on the door with the Fairy Bow. This opens the passage leading to the Boss Key chest.
Boss Fight

With the use of the Boss Key, you will be able to open the golden door and move on to the next room, where Kotake and Koume await you. They will call for their armoured attendant, who happens to be Nabooru under their command. Your mission is to fight the Iron Knuckle so that she can be rescued. Make sure to have the Biggoron Sword with you; continue moving and try to avoid being hit by the huge axes used by the Iron Knuckle. Once he swings his arms and creates a gap, hit him. After enough damage, the helmet will fall off, revealing Nabooru. However, Kotake and Koume capture her again and take you to the final boss arena.
Twinrova – First Phase
You will be confronted by both Kotake and Koume. While one sister will use fire for attacking, the other will use ice for attacking. Use the Mirror Shield to block their attacks. Move such that each of their attacks is reflected at the other one. Continue with this till they merge into Twinrova.
Twinrova – Second Phase
Once you combine Twinrova, you will realise that she has become much stronger and is now attacking you with even more powerful attacks that involve both fire and ice. Using your Mirror Shield, take three attacks in a row of the same type. Once your shield has collected enough energy, release the energy back at Twinrova to damage her. As she lands on the platform, move closer to her and attack her.
Collect the Heart Container
After killing Twinrova, a heart container will appear at the location where the boss was defeated. Grab it in order to boost your health. At last, you can use the blue warp point in order to exit the boss room. In the blue crystal room, Nabooru thanks you for rescuing her.
