
WayneTech Caches are special containers scattered all across Gotham that contain WayneTech Chips. These chips are extremely important because they are used as the main currency for unlocking character upgrades and improving your abilities.
Cache 1: Carmine Falcone’s mission


After you come out of the vent, look to your left and head into the Security Room. You will find the first cache sitting inside there, so make sure to grab it before moving on.
Cache 2: Carmine Falcone’s mission
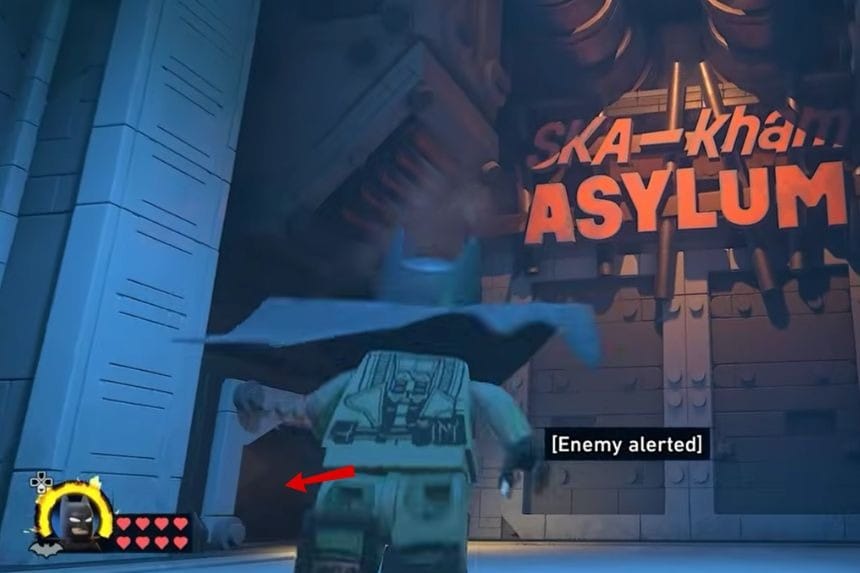
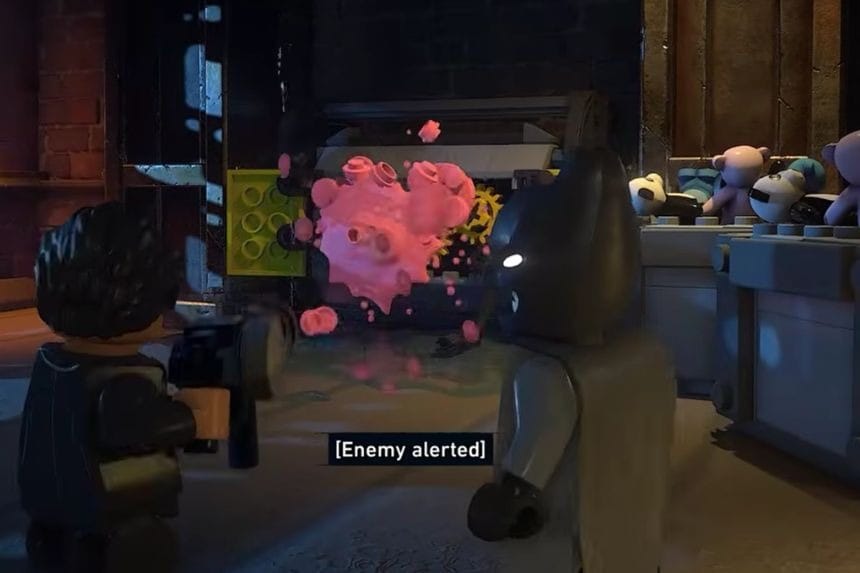
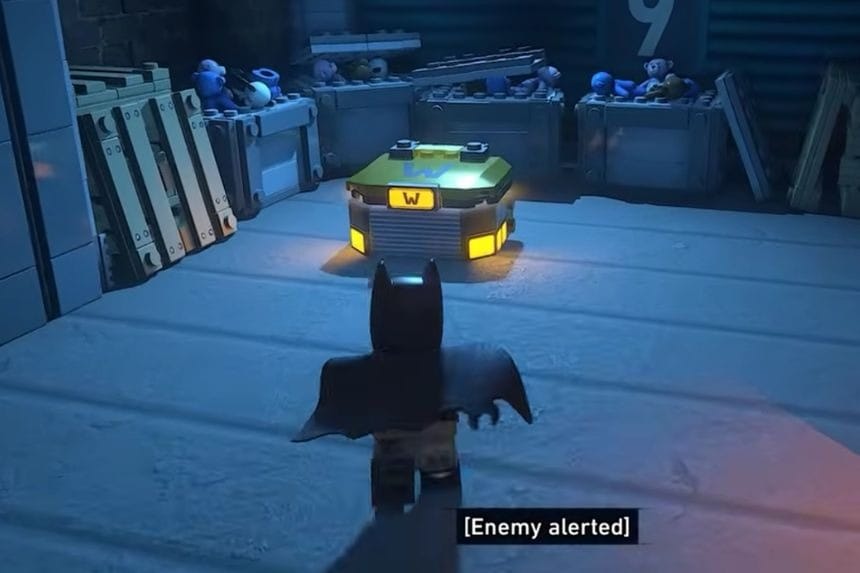
When you reach the Sha-Kham Island door, check the vent on the left side and crawl through it. Use Jim Gordon’s Foam Gun on the gear mechanism inside. A plug will appear once the foam is in place. Pick it up and place it into the socket next to the door. After that, destroy the foam so the mechanism starts moving again, and the door will open, letting you collect the cache.
Cache 3: Carmine Falcone’s mission
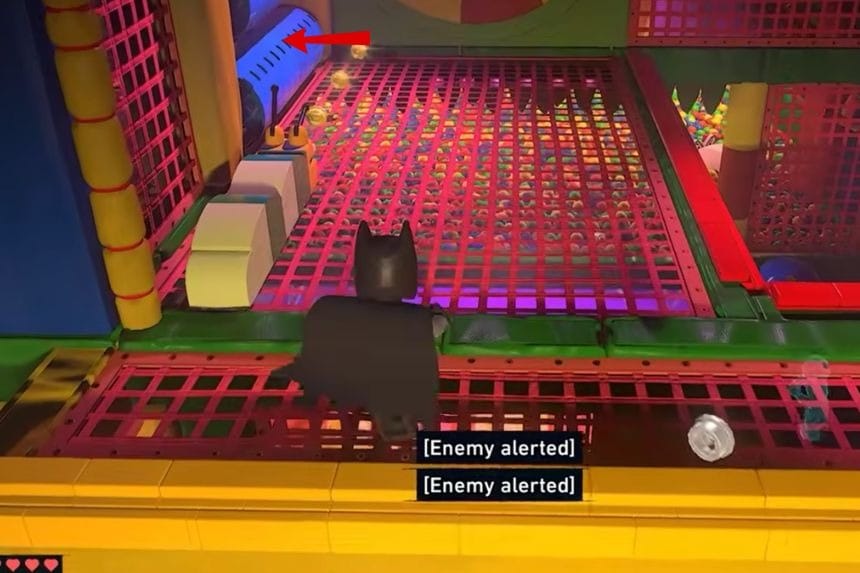
After getting through the first ball pit area, grapple up to the higher platform. From there, head to the right side and move through the blue foam rollers. The cache is waiting on the other side.
Cache 4: Carmine Falcone’s mission
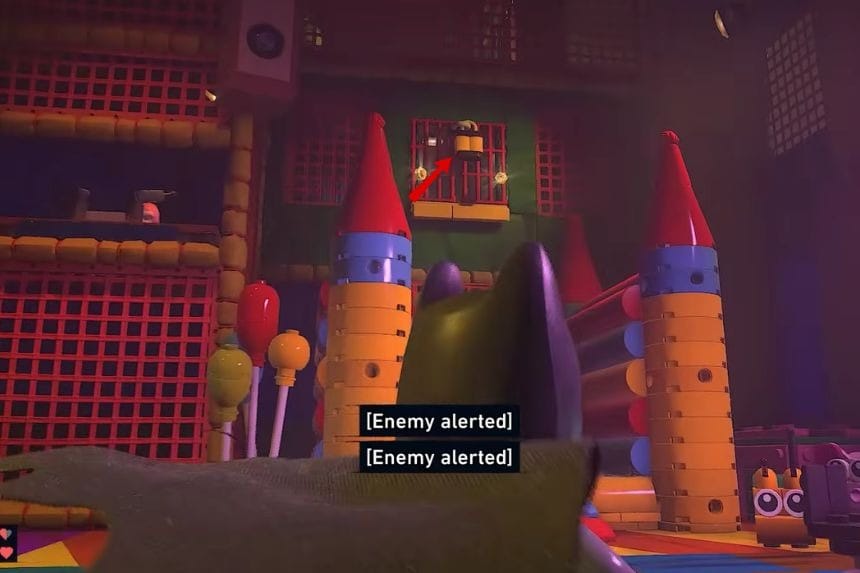
In the second ball pit room, use your pulse scan to locate a hidden floor vent. Open it up and crawl through the passage to find the next cache tucked away inside.
Cache 5: Carmine Falcone’s mission
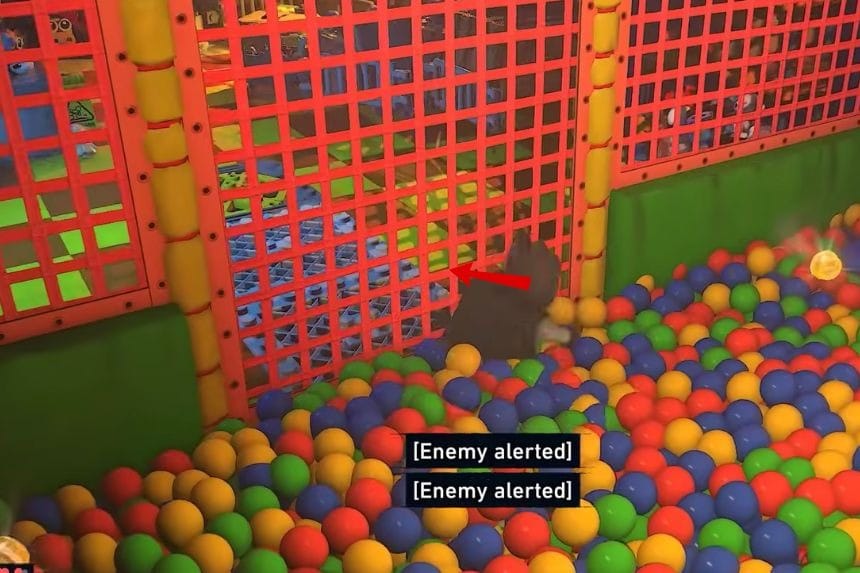
In the last ball pit area, look above the bouncy castle and shoot the padlock hanging there. This will open a nearby door. Use the bouncy castle to launch yourself high enough to reach the opening, then head inside to collect the final cache.
Cache 6: The Red Hood Gang’s mission
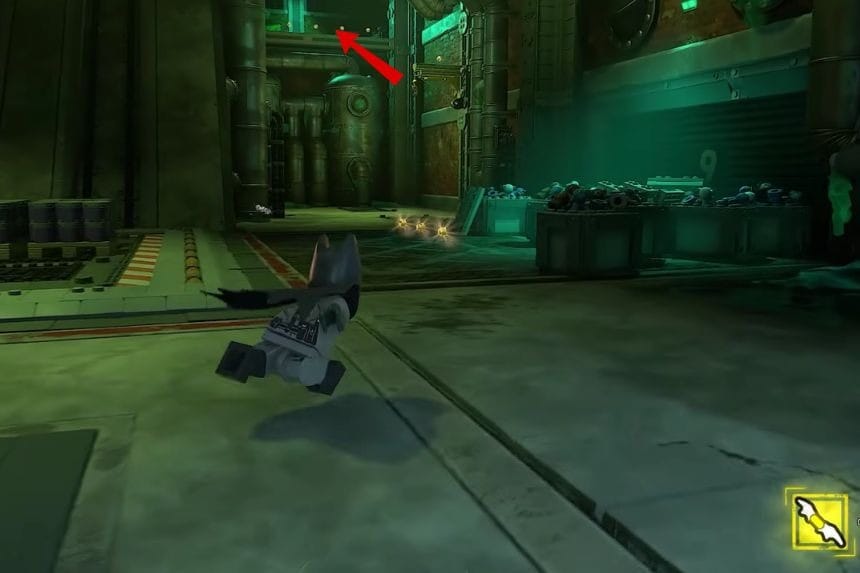

After lowering yourself into the factory area, turn to the right and grapple up onto the nearby platform. From there, glide across the gap to the other side, where you will find the first cache waiting for you.
Cache 7: The Red Hood Gang’s mission
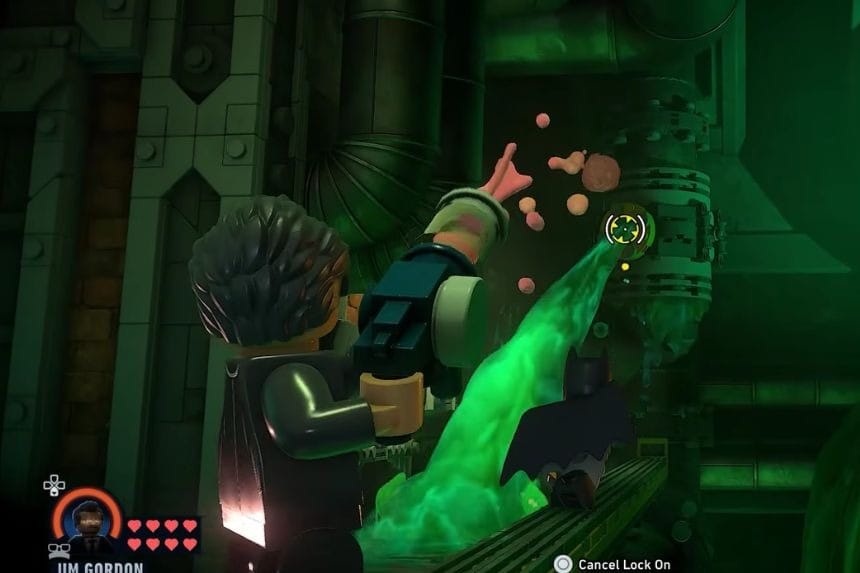
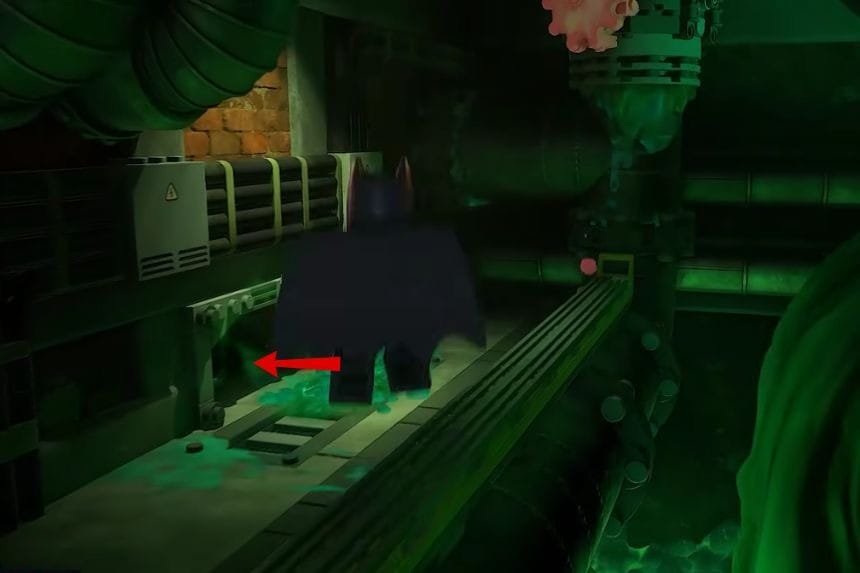
Once you get past the large vat, follow the pipes on the right side. Ask Jim Gordon to use his Foam Gun on the pipe to the left. This creates a small passage that lets you squeeze into the next room where the cache is hidden.
Cache 8: The Red Hood Gang’s mission
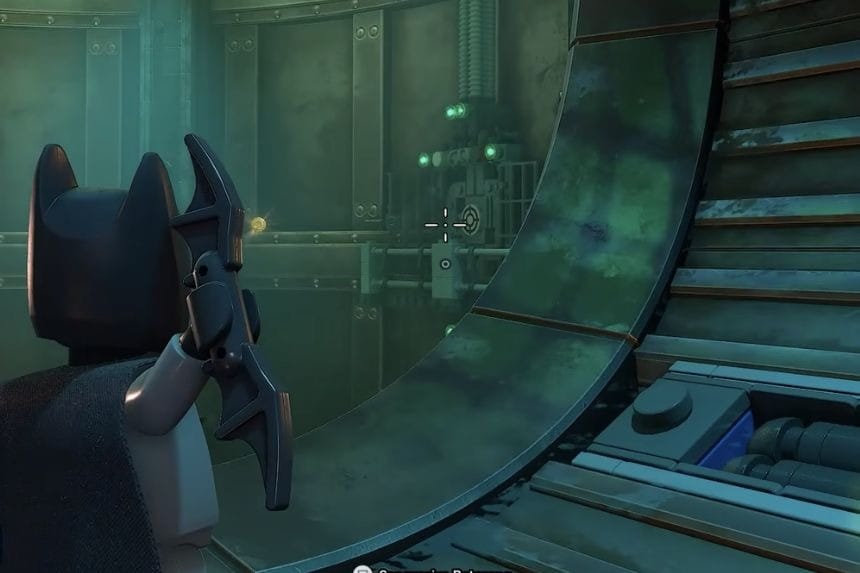
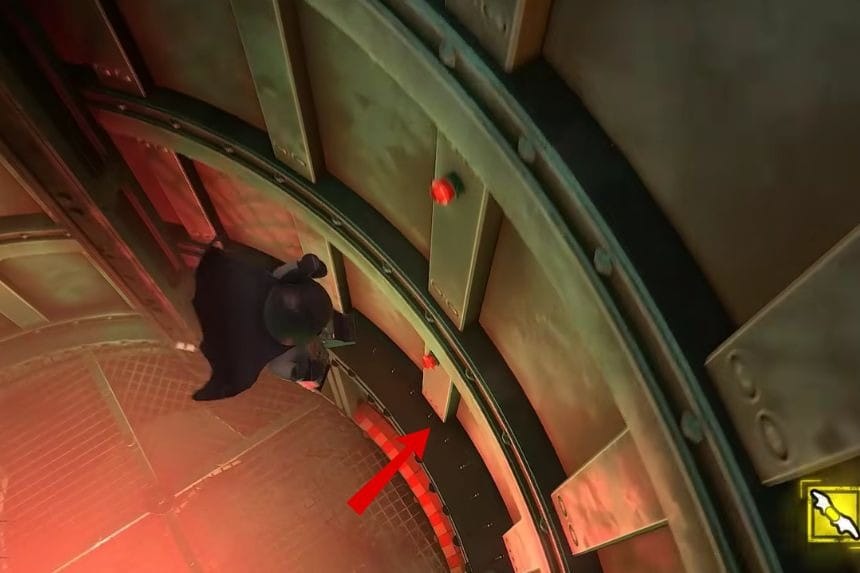
In the room with the giant fan, glide upward and land in the space above the fan area. Look for a button and shoot it to switch the fan off. After the fan stops, drop down to the floor below to collect the cache.
Cache 9: The Red Hood Gang’s mission
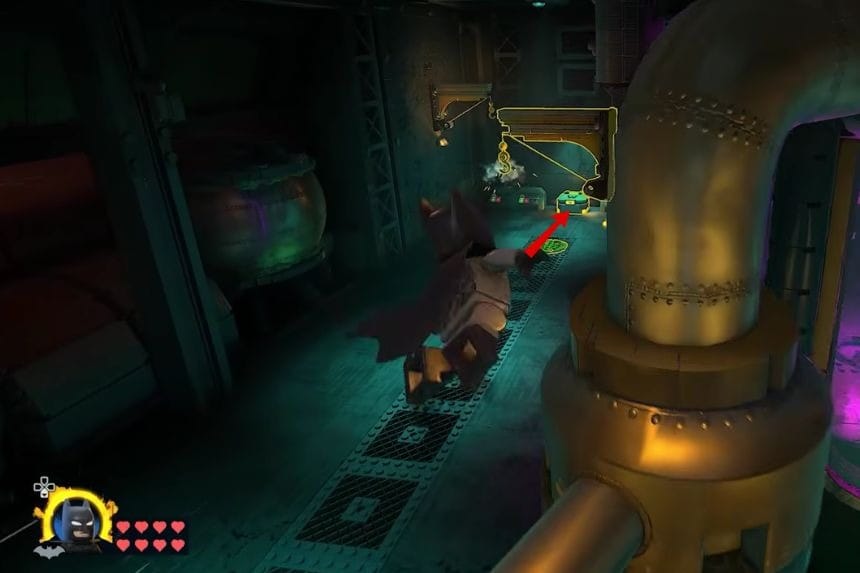
After making your way through the giant fan using the narrow passage, head toward the left section of the area. The cache can be found waiting at the very end.
Cache 10: The Red Hood Gang’s mission
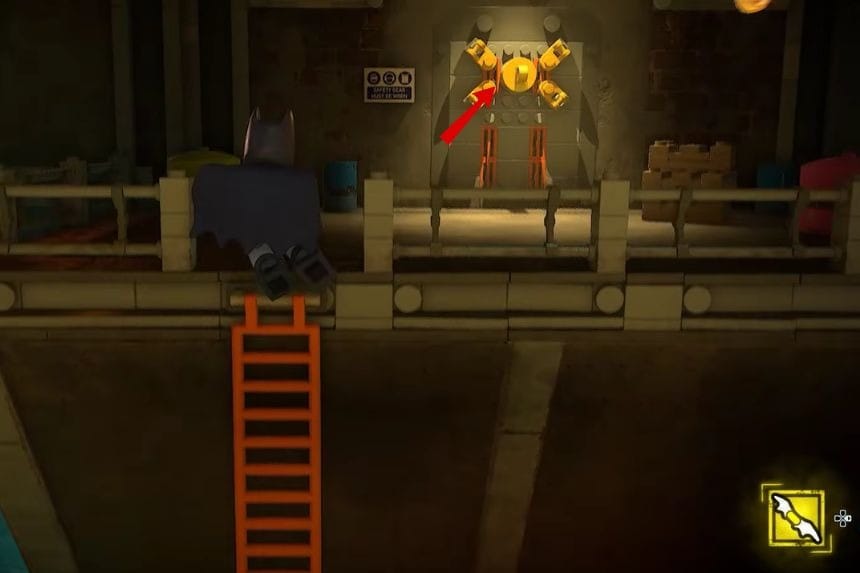
While chasing The Red Hood across the broken bridge sections, turn left and climb the nearby ladder. At the top, pull away the weak wall to uncover a hidden spot with the final cache behind it.
Cache 11: Mime’s mission
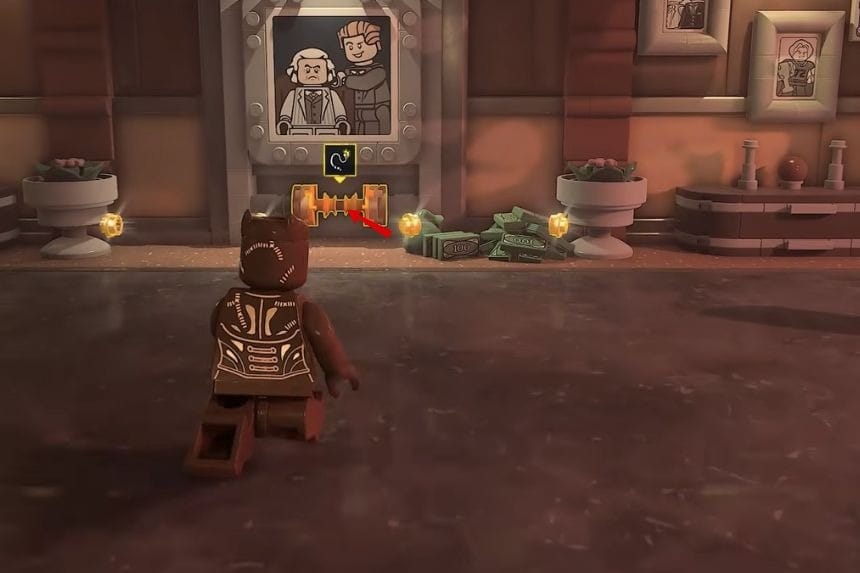
In the first office with the round table, look for a painting on the wall. Use Catwoman’s whip on it to reveal a hidden safe behind the painting. Open it up to grab the cache inside.
Cache 12: Mime’s mission
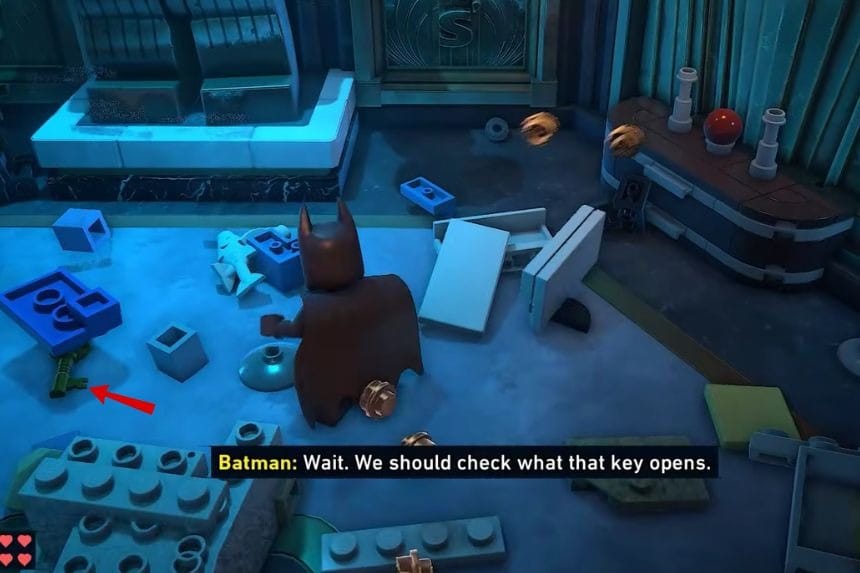
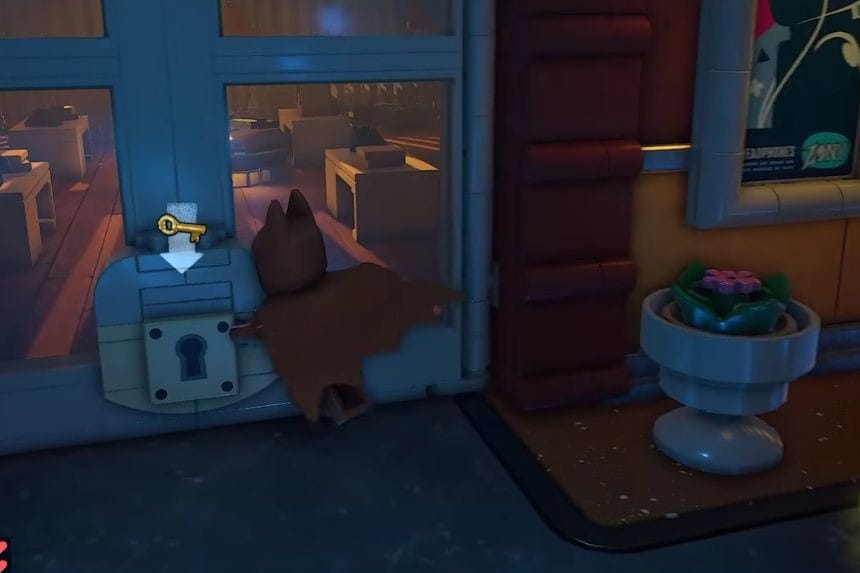
In the next room, destroy everything you can to build a new passage. After that, look to the left side to find a key. Take the key back to the previous room and use it to unlock the door containing the cache.
Cache 13: Mime’s mission
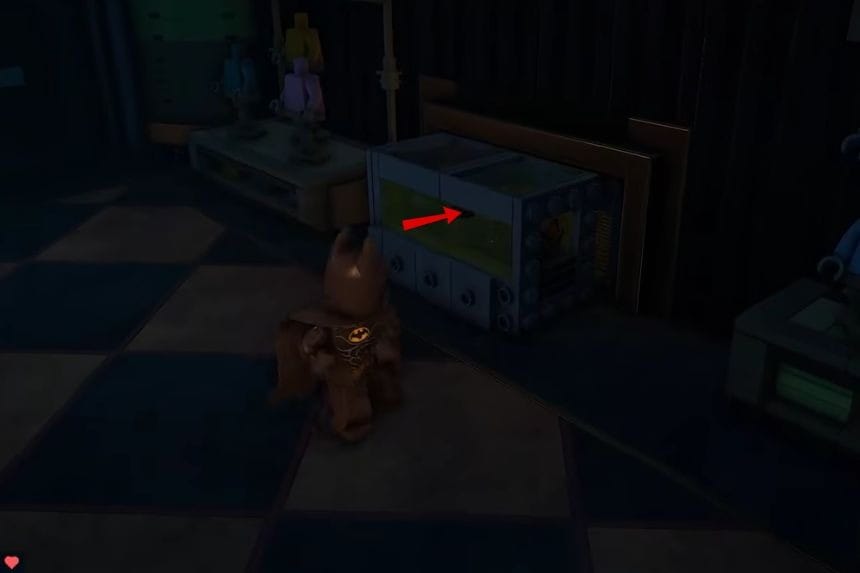
Break the shelves on the right side to uncover a small crawl space. Send Catwoman’s Kitty through the tiny doorway to press the button inside. Once that is done, push the nearby boxes toward the higher platform so you can climb up and collect the cache.
Cache 14: Mime’s mission
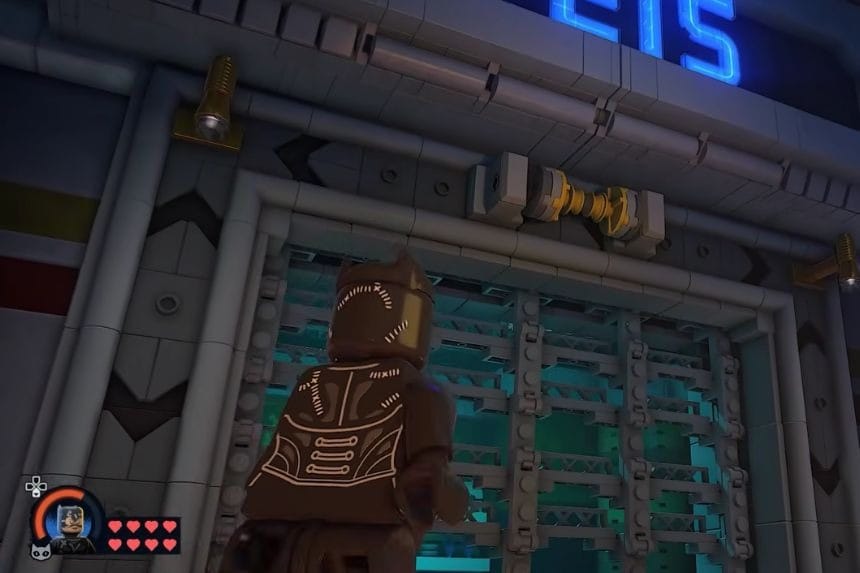
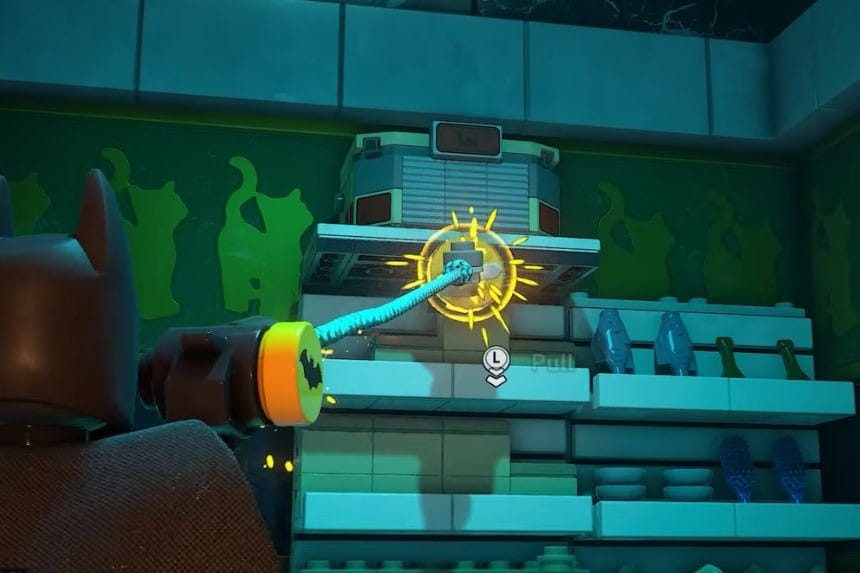
In the Pet Store area, use Catwoman’s whip on the roller mechanism to open the gate. After the gate is open, have Batman pull the shelving unit away from the wall. The hidden cache will be revealed behind it.
Cache 15: Mime’s mission
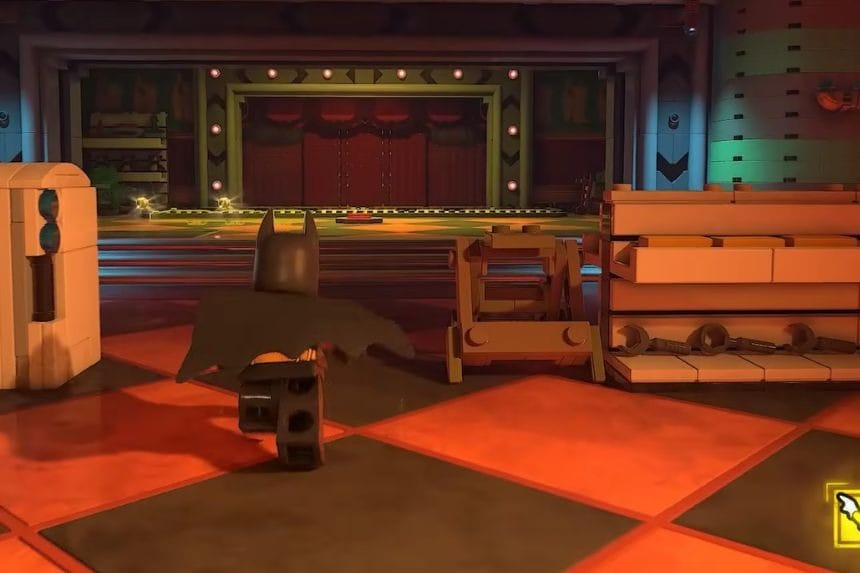
After defeating the large mime in the Toy Store section, press the red button to start the music puzzle. You need to repeat the tune exactly as it plays. Using the left key as number 1 and the right key as number 8, the correct sequence is: 3 → 4 → 5 → 8 → 7.
Cache 16: The Joker mission
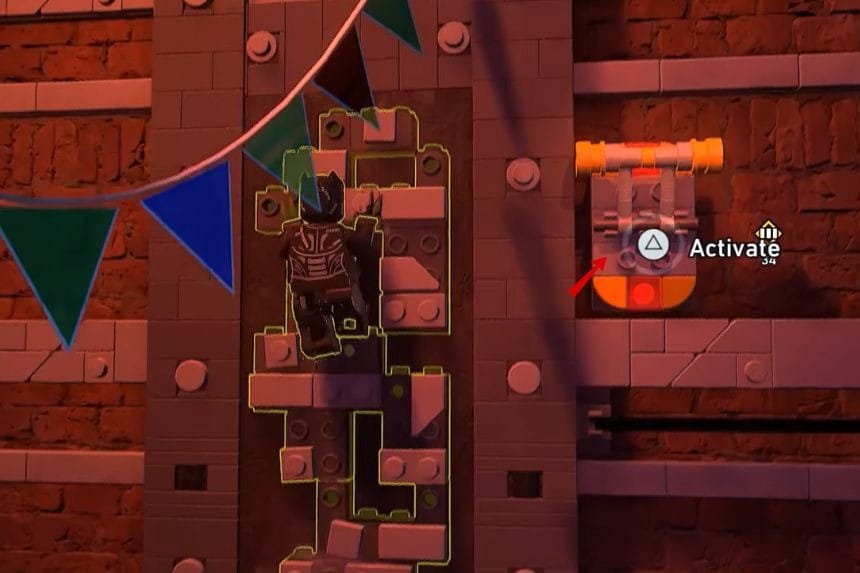
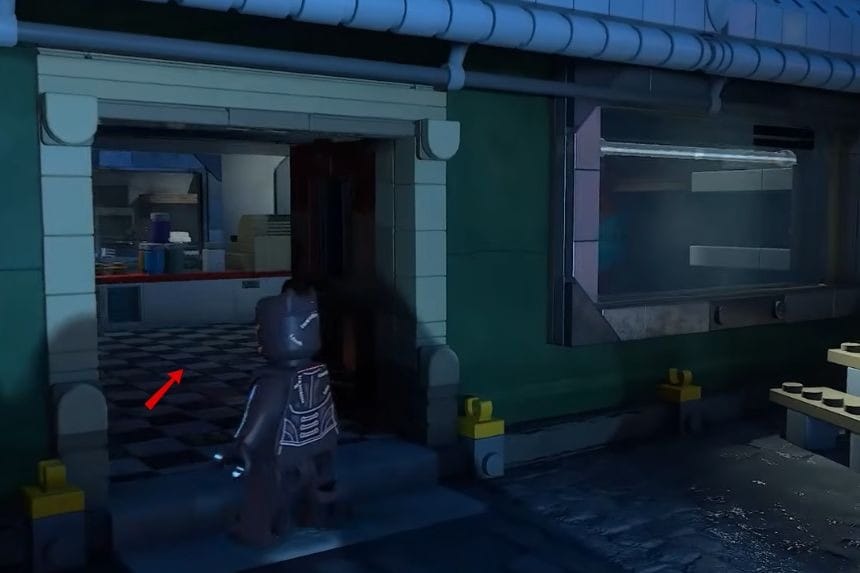
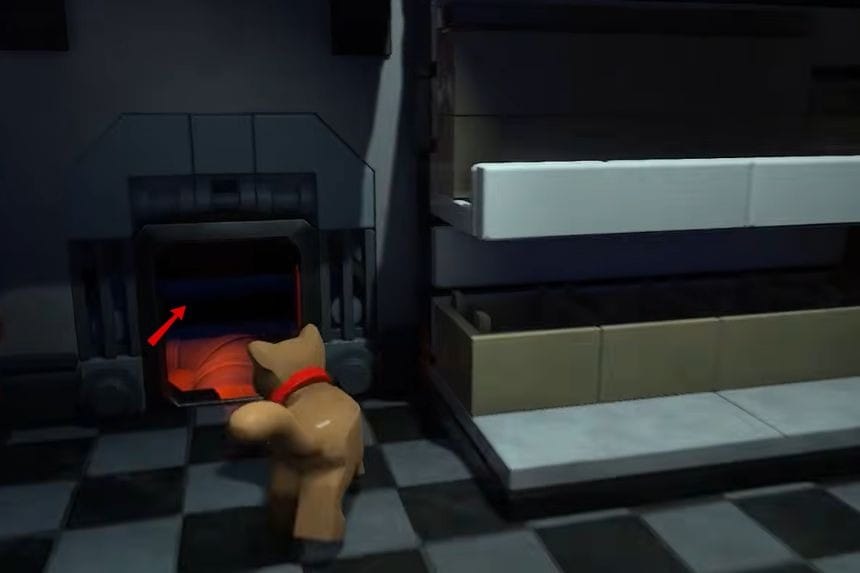
To the left of the first float, use Catwoman to climb up the alley wall and pull the nearby lever. Go inside the shop that opens and smash everything inside until you uncover a hatch. Send Kitty through the hatch to pull another lever on the other side, then head in and collect the cache.
Cache 17: The Joker mission
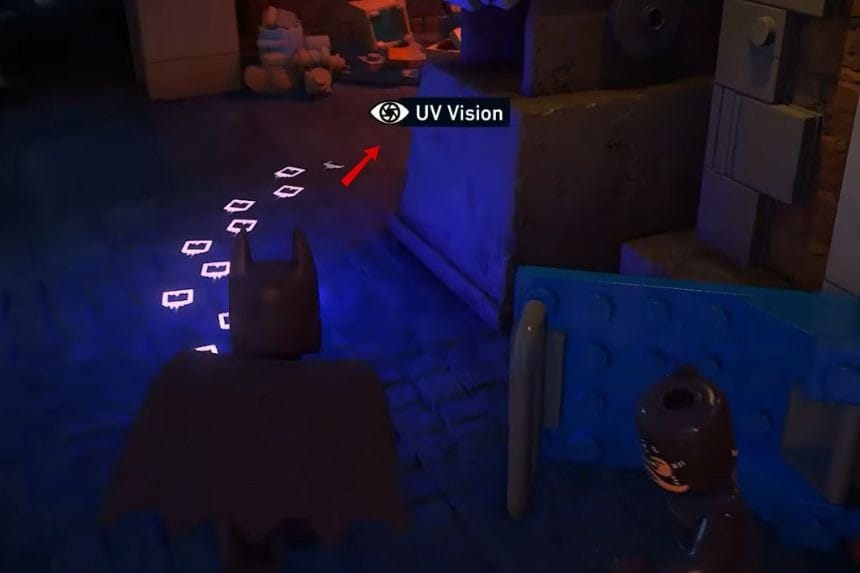
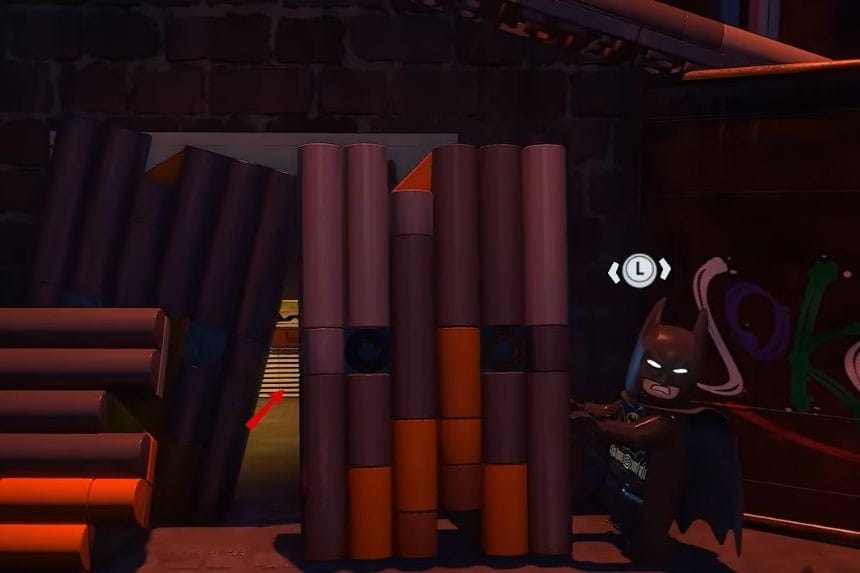
On the left side of the second float, look for the WayneTech delivery worker. Activate UV vision and follow the footprints that lead away from the area. The trail ends at a small shed. Pull the metal sheet aside to reveal the hidden cache inside.
Cache 18: The Joker mission
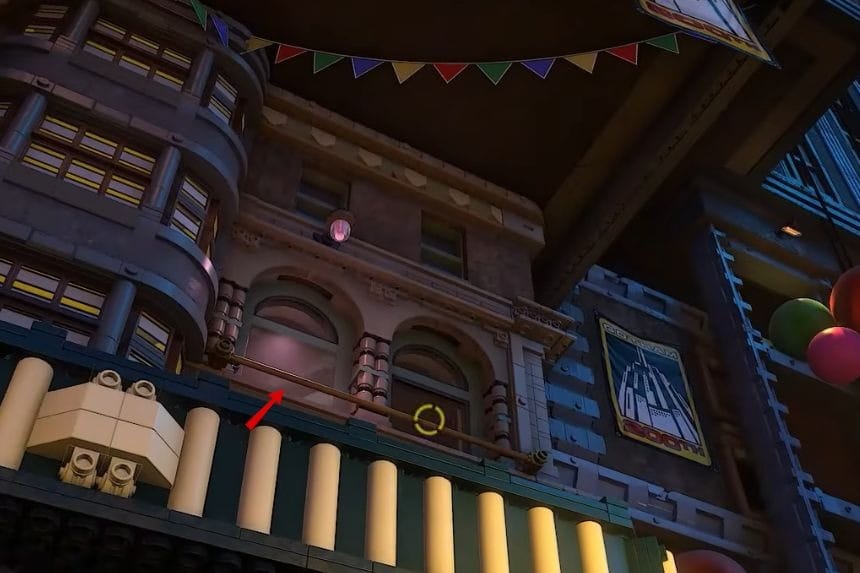


Still near the second float, grapple up to the apartment building. Use pulse scan if you cannot spot the climbable bar right away. Once you are up there, switch to Catwoman and cut through the window on the left side to reach the cache.
Cache 19: The Joker mission
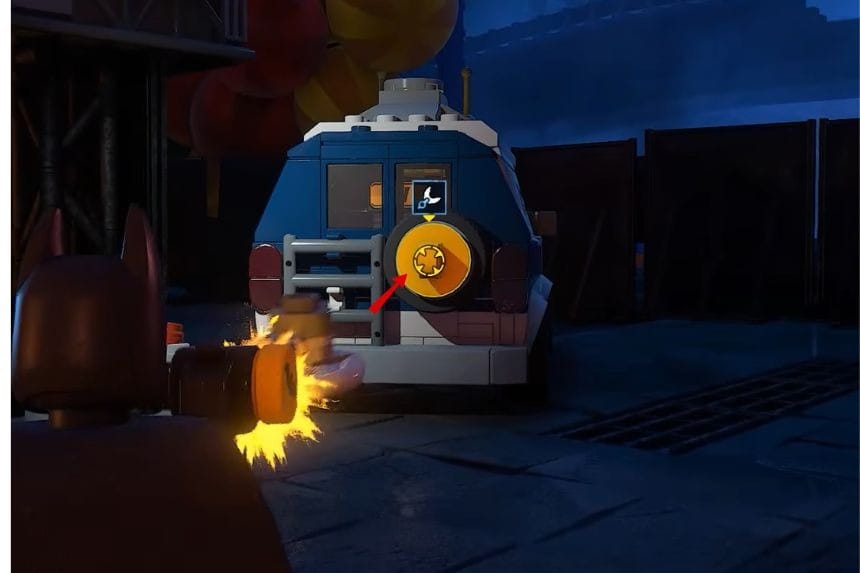
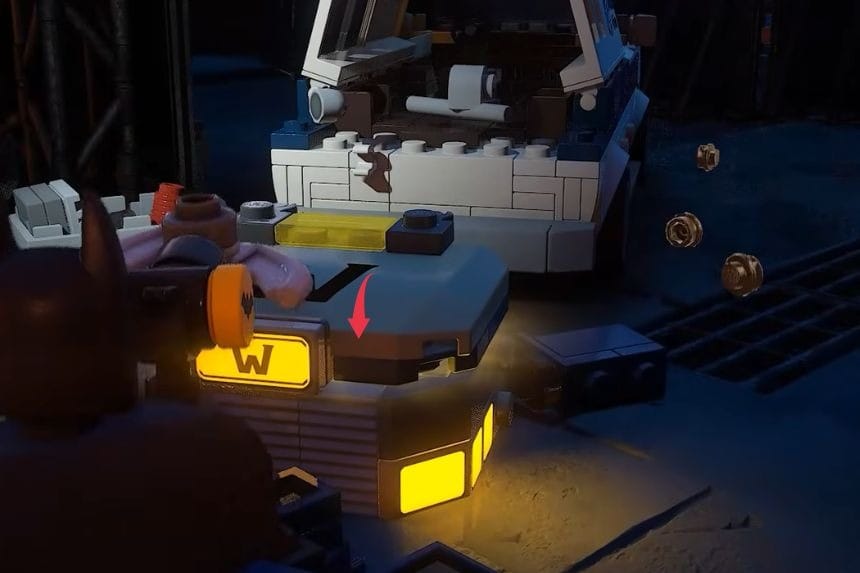
At the third float, look to the right side for a Gotham Globe truck. Use the Batclaw to rip the back door off the truck, and you will find the cache hidden inside.
Cache 20: The Joker mission
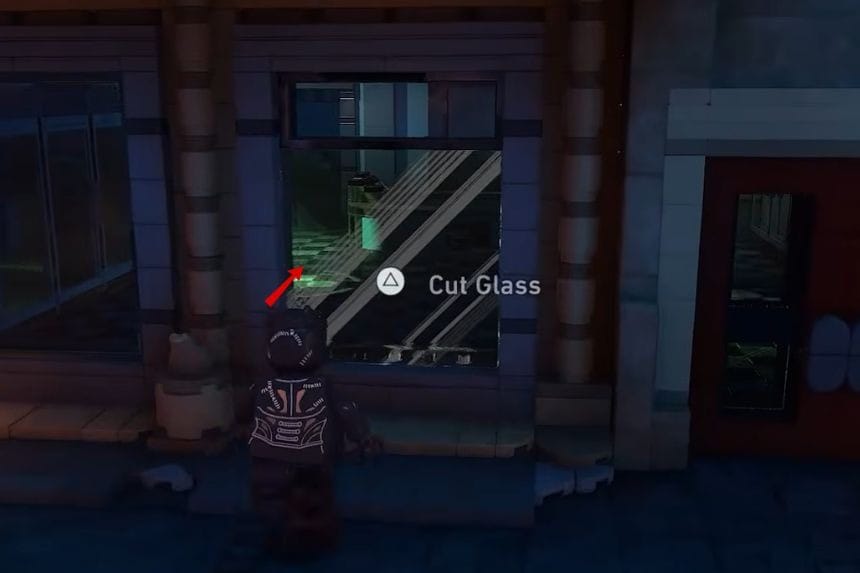
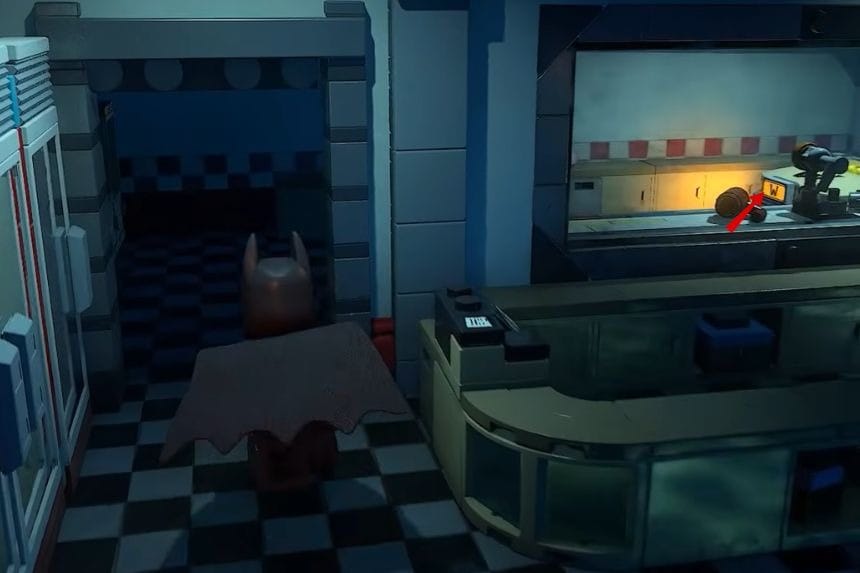
To the left of the third float, enter Cafe Beans by using Catwoman to cut through the glass entrance. Inside, use her whip to disable all three security cameras. Once the cameras are taken care of, head to the back of the cafe to collect the final cache.
Cache 21: Poison Ivy mission
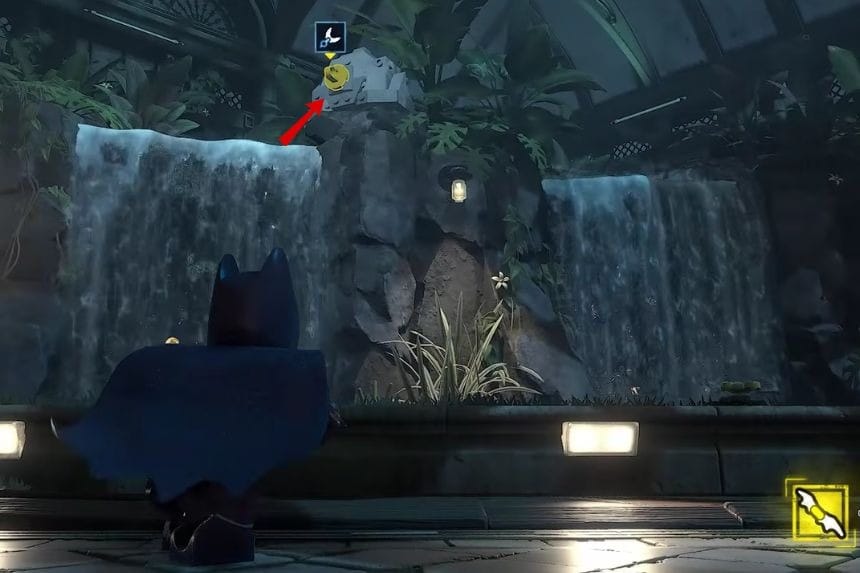
Look to the left side of the area for a waterfall. Use the Batclaw to pull down the rock sitting above it. This opens a path behind the waterfall. Follow the path around to find the hidden cache.
Cache 22: Poison Ivy mission
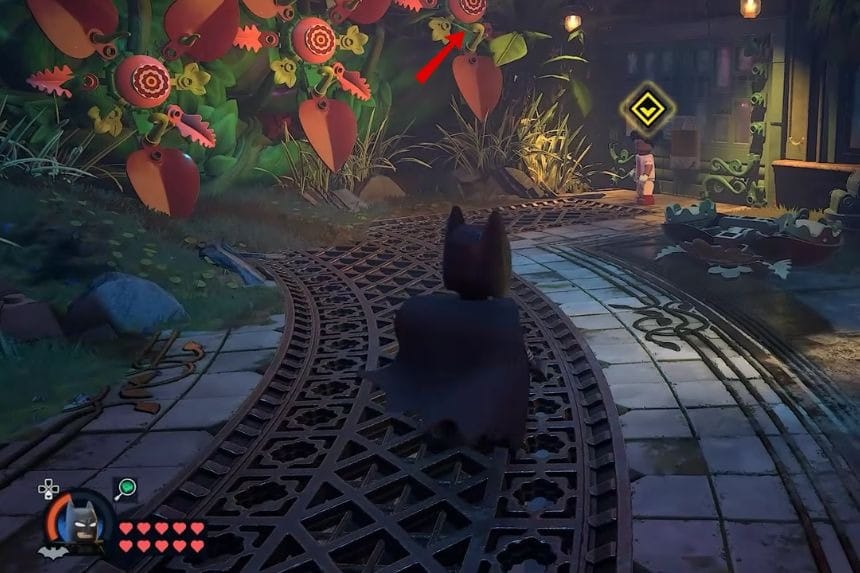
Near the frightened scientist, you will see three flower targets. Use Robin’s Birdarangs to hit all three at the same time. Once you do, the flower petals will unfold into steps leading up to the cache.
Cache 23: Poison Ivy mission
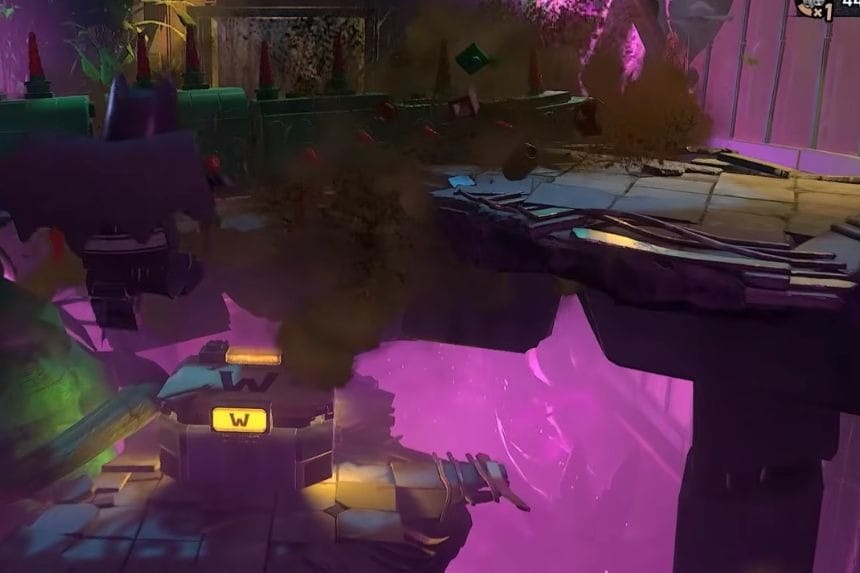
In the Carnivorous Plants of the Tropics room, walk forward a little and then turn around. You will spot a dangerous plant near the cache. Throw a Batarang at the plant to safely blow it up before moving in to grab the cache.
Cache 24: Poison Ivy mission
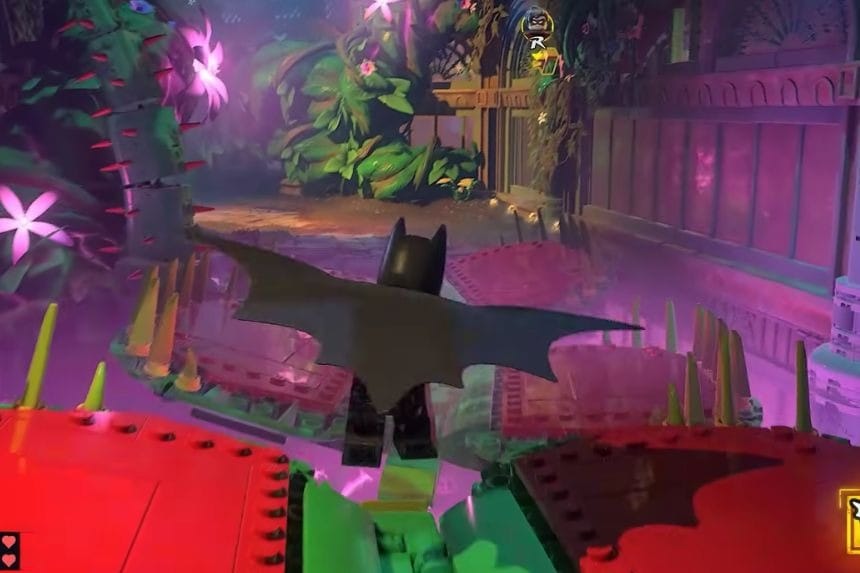
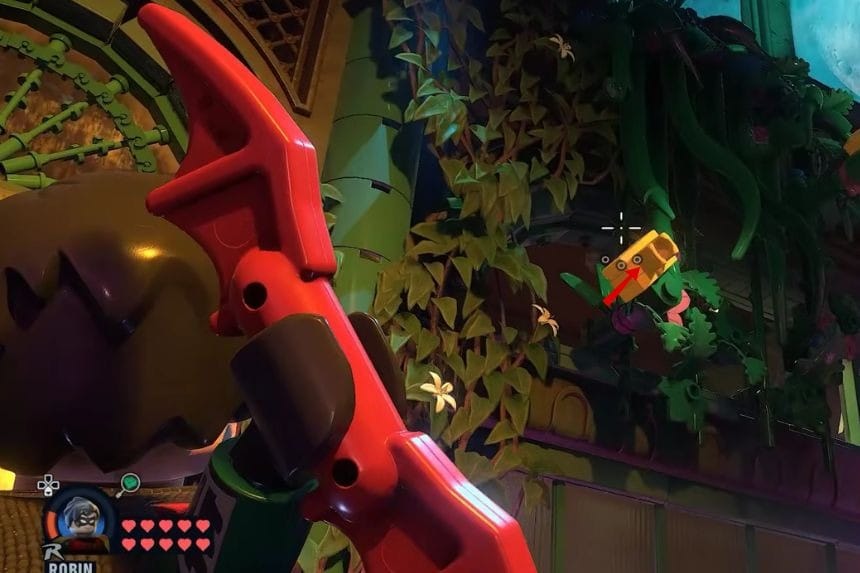
In the room filled with swinging vines, the cache is hidden beneath the first large spiked vine. Watch the timing carefully and jump underneath it before the vine slams back down.
Cache 25: Poison Ivy mission
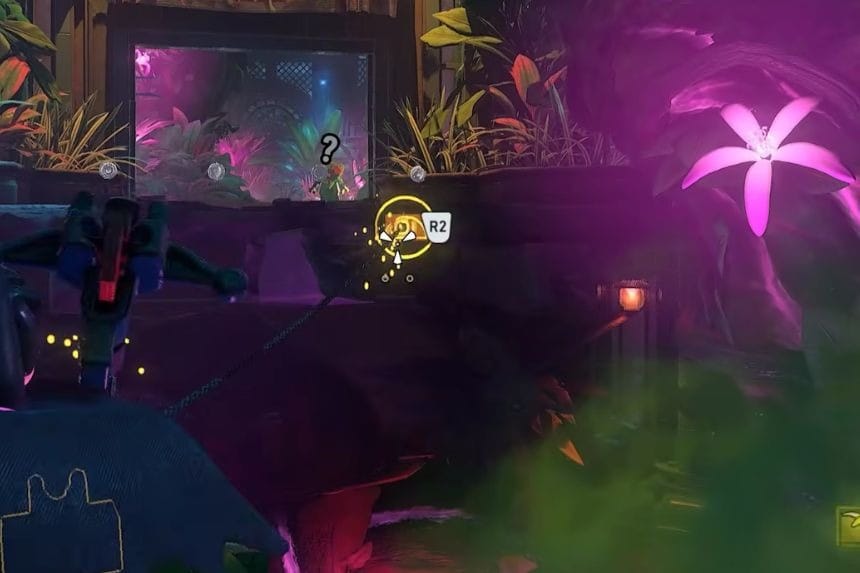
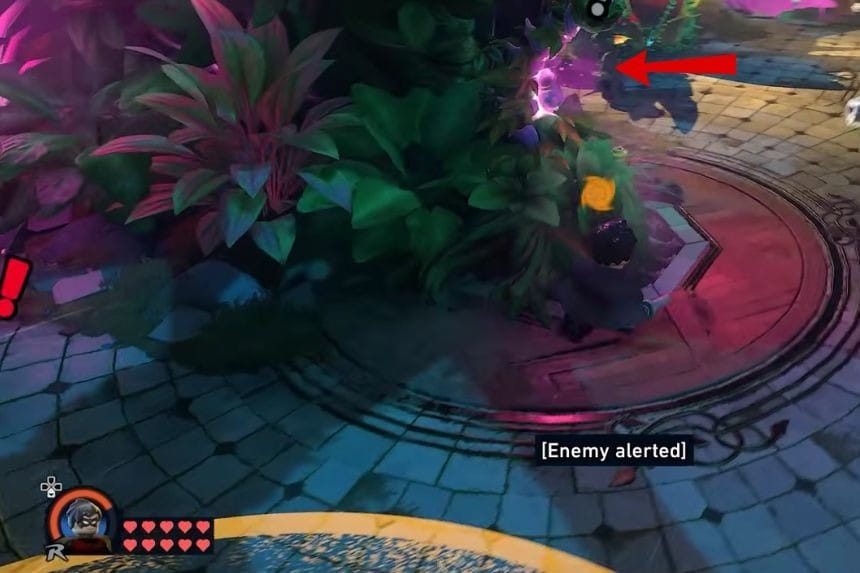
After crossing the venus fly trap section, look up and to the right to spot two hook points. Use Robin’s cable tether to connect them and pull the vines upward. This reveals a hidden opening. Zip through the gap and collect the final cache.
Cache 26: Firefly mission
On the left side of the first floor in the underwater exhibit, you will spot a cache surrounded by flames. Look above it for a pipe and use the Batclaw to pull it down. The water will put out the fire, letting you safely grab the cache.
Cache 27: Firefly mission
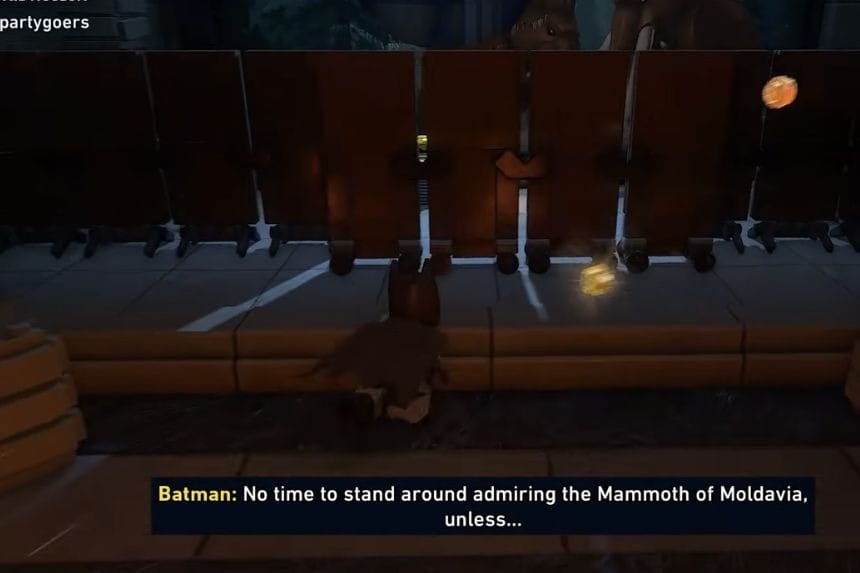
In the Mammoth Exhibit on the right side of the first floor, the cache is hidden behind a set of panels. Check the middle panel and interact with it to slide it out of the way and reveal the cache behind it.
Cache 28: Firefly mission
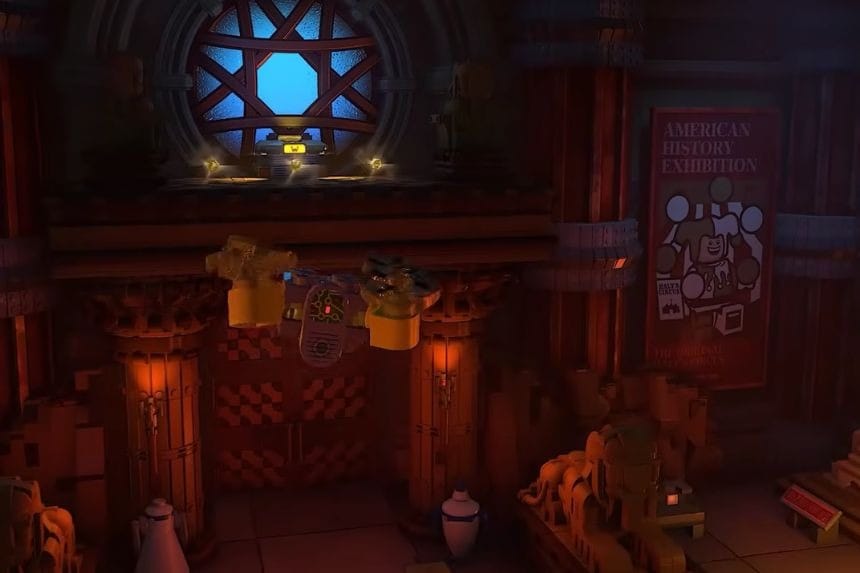
On the second floor, look above a doorway to spot the cache sitting high up. Use Batgirl’s Drone to create a grapple point in the air above the door. Grapple up to it and glide across to reach the cache.
Cache 29: Firefly mission
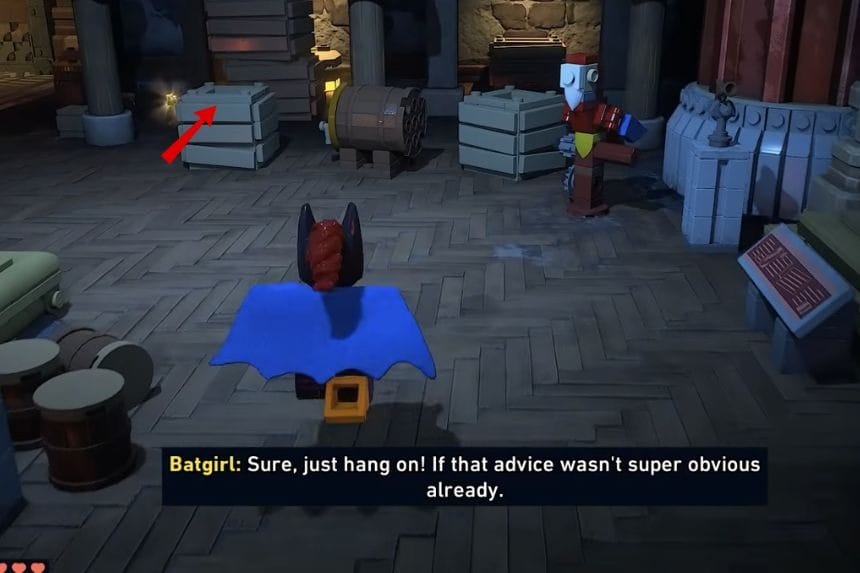
In the room where citizens are hanging from the light near the large ship, head to the archway on the right side. The cache is hidden behind a stack of boxes, so smash them to uncover it.
Cache 30: Firefly mission
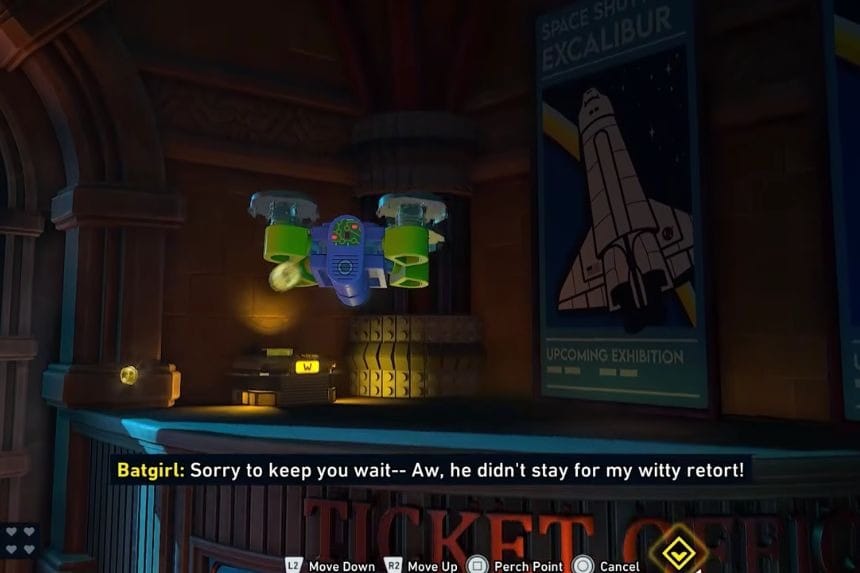
Just before entering the Space section, look on top of the Ticket Booth to find the final cache. Use Batgirl’s Drone to create a grapple point, then swing up to collect it.
Cache 31: The League of Shadows Returns mission
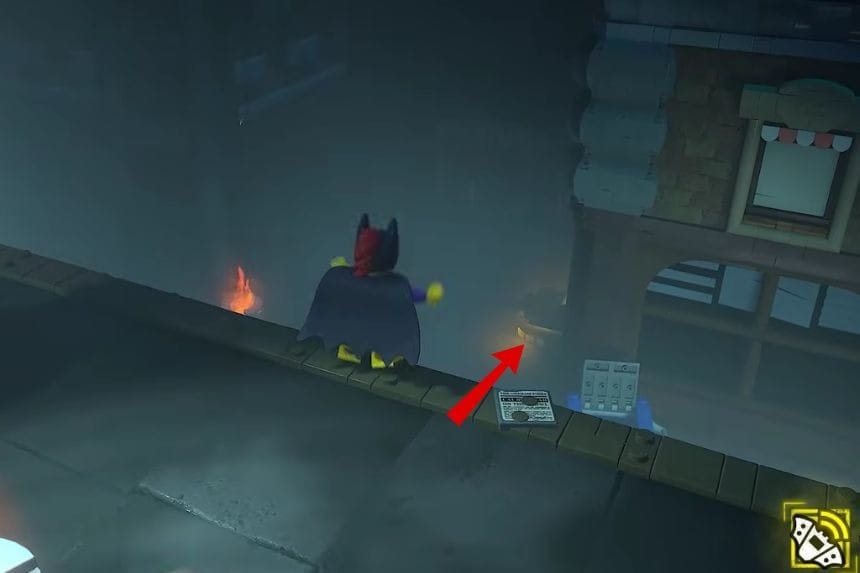
In the first outdoor section, head down to the lower area and check the nearby alley. The cache is hidden there, so it is easy to miss if you stay on the main path.
Cache 32: The League of Shadows Returns mission
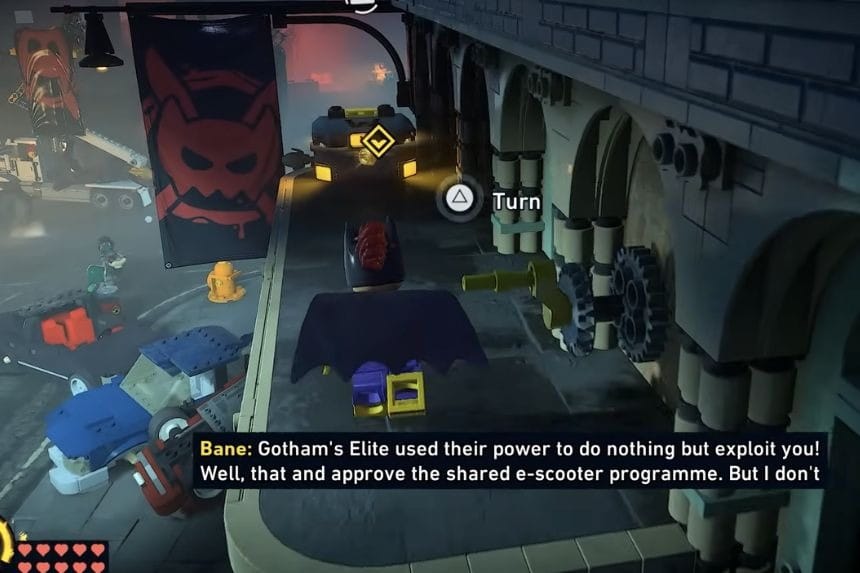
When you reach the street area, look across from Cafe Beans for a nearby shop. The cache is sitting above it and collects it.
Cache 33: The League of Shadows Returns mission
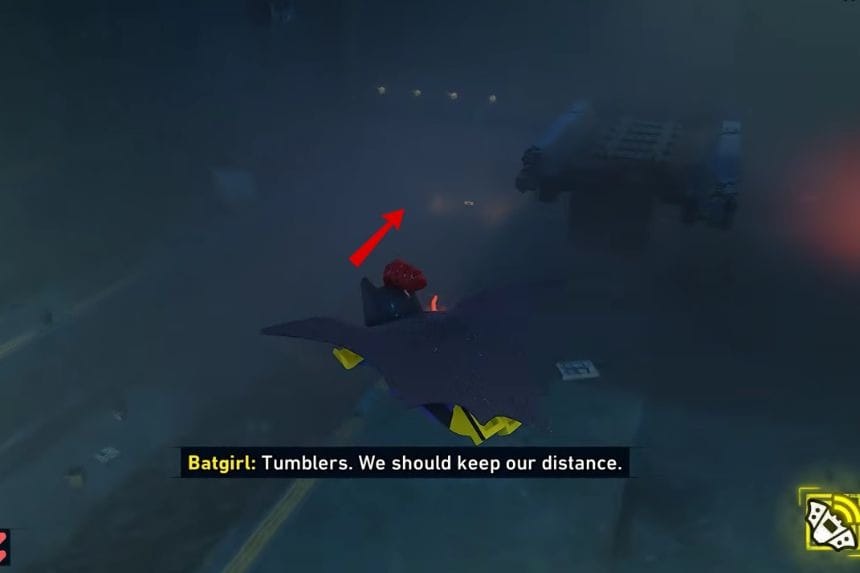
After going down the stone stairs, head to the right along the train tracks. Keep following them until the very end, where you will find the cache sitting in the water.
Cache 34: The League of Shadows Returns mission
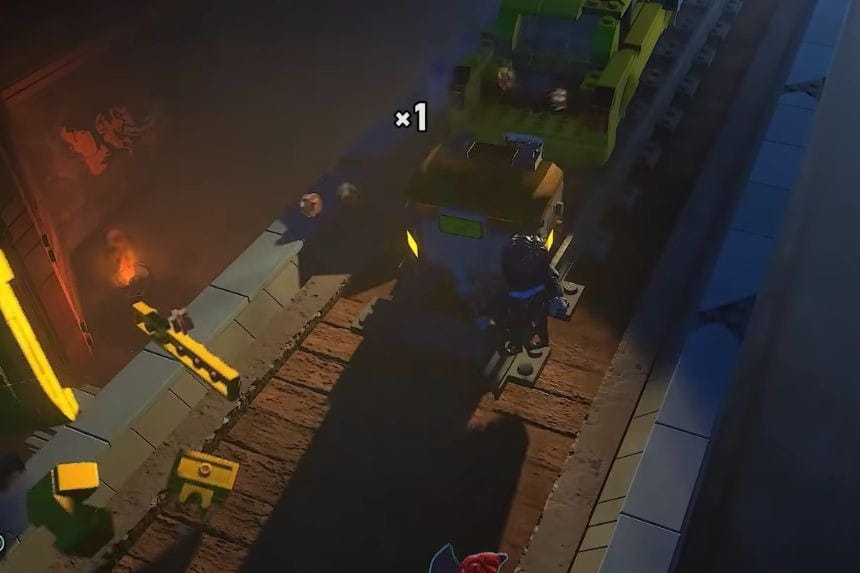
Before opening the door on the left side of the area, look for a car sitting on the train tracks. Use Nightwing’s ability to open the vehicle, and the cache will pop out for you to collect.
Cache 35: The League of Shadows Returns mission
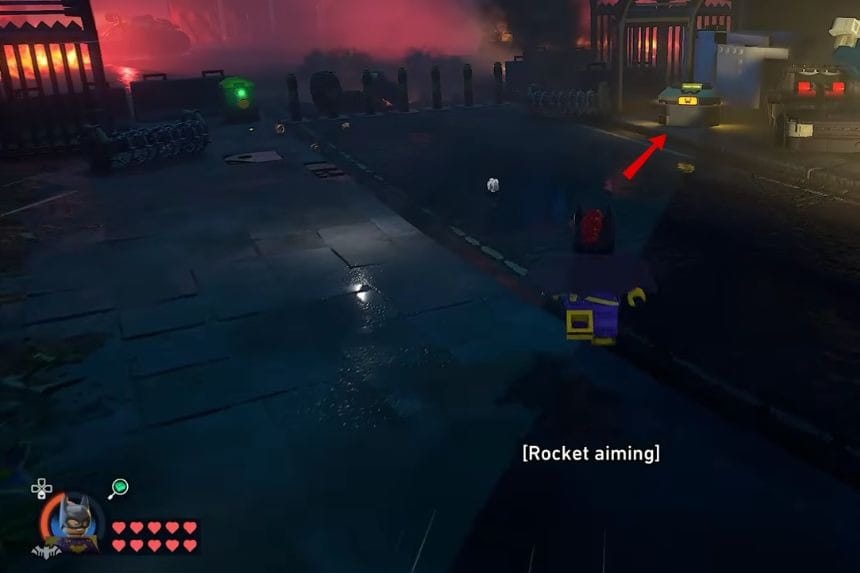
After crossing Nightwing’s tightrope zipline, go around the corner to find a Tumbler blocking the way. Look to the left for a switch and hack it to disable the vehicle safely. Once the Tumbler is disarmed, check the right side nearby to find the final cache.
Puzzle Cache 1: Tricorner district puzzle caches

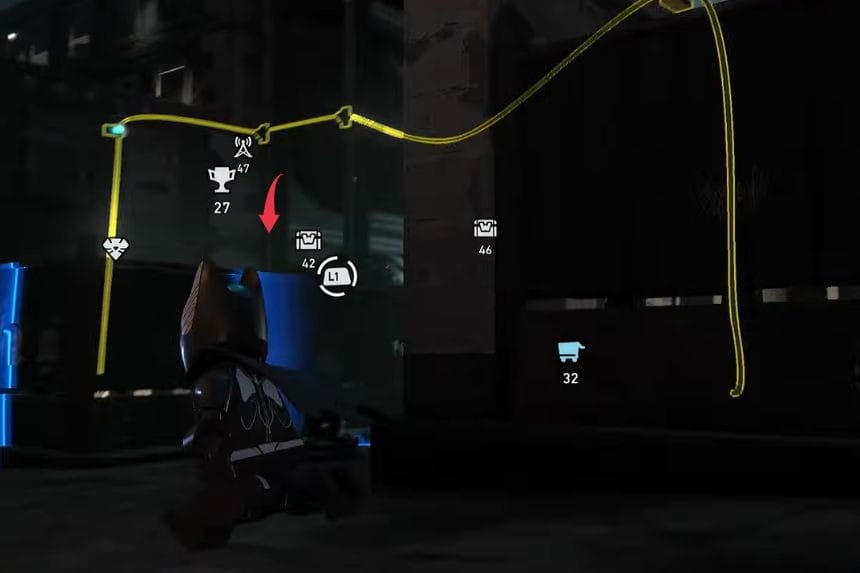
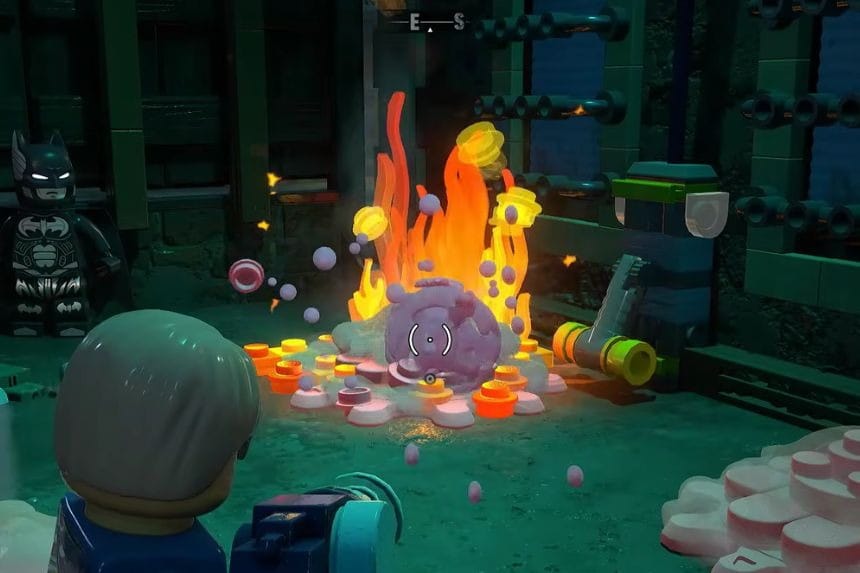
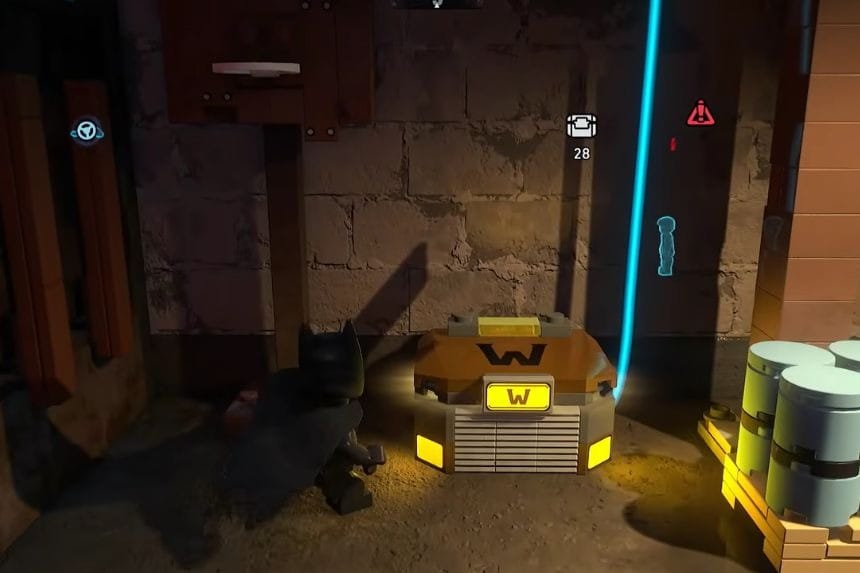
Near the house across from the diner, use detective sense to follow the cable running behind the nearby building. Switch to Jim Gordon and use his Foam Gun to block the pipe and put out the fires. Once the flames are gone, pull the switch to unlock the cache.
Puzzle Cache 2: Tricorner district puzzle caches
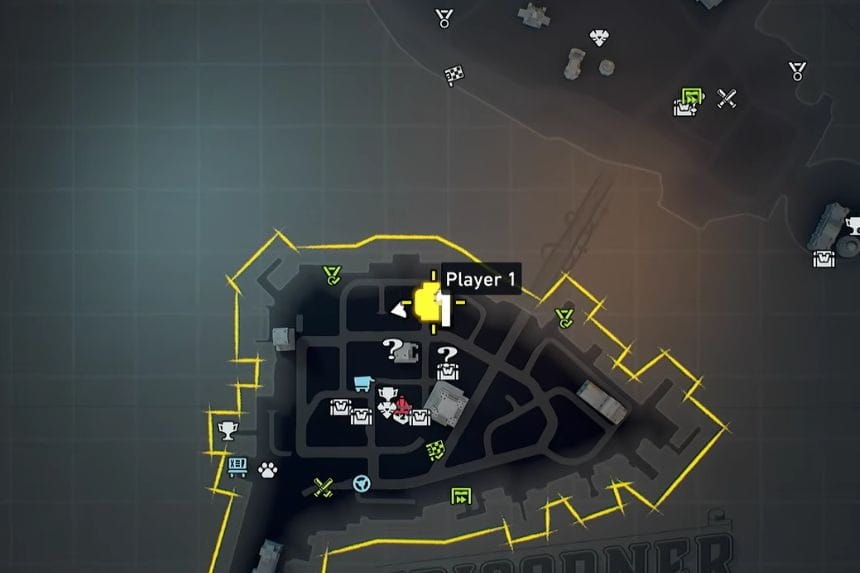
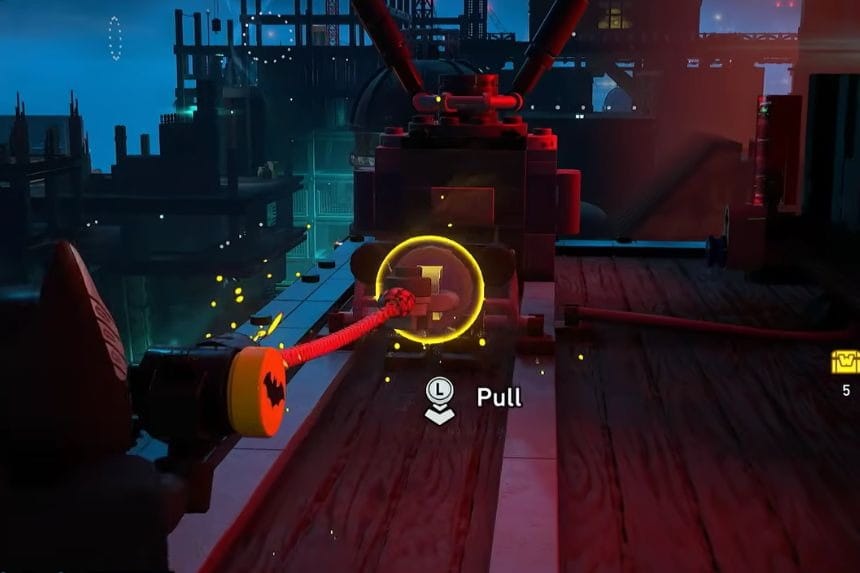
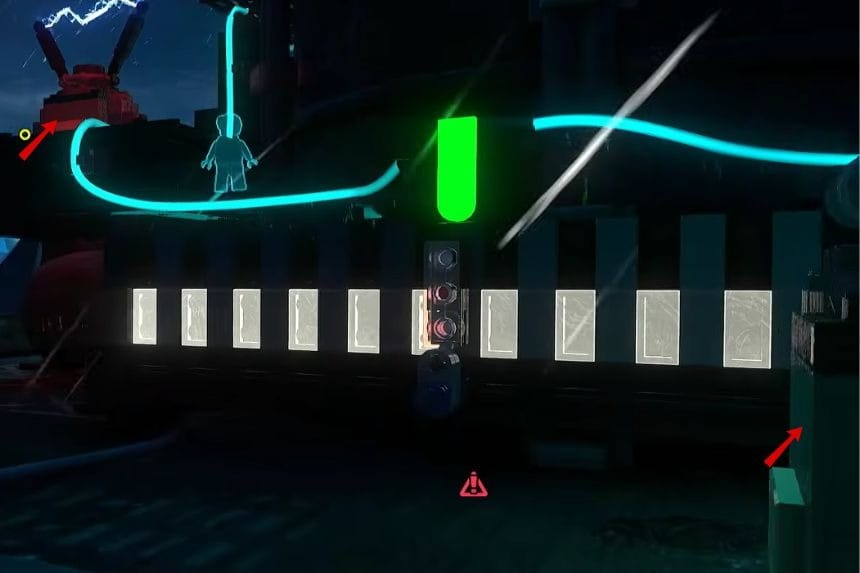
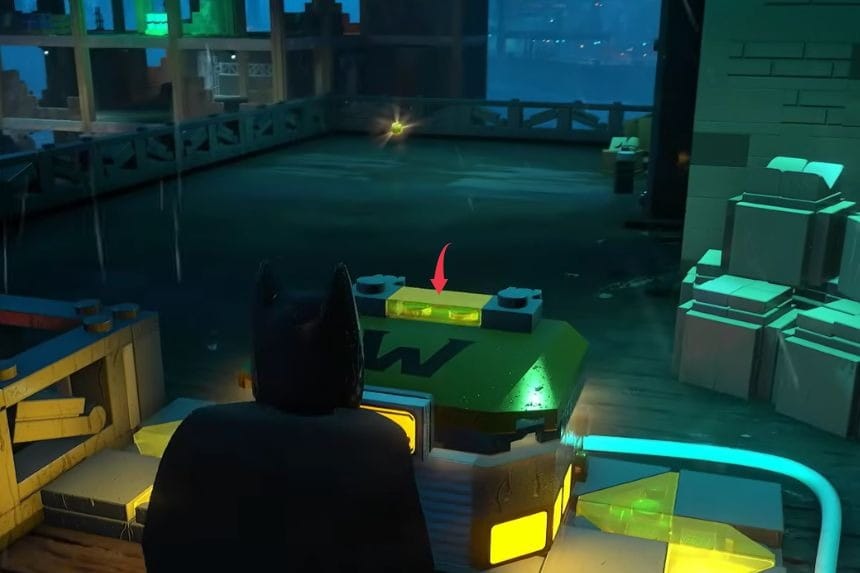
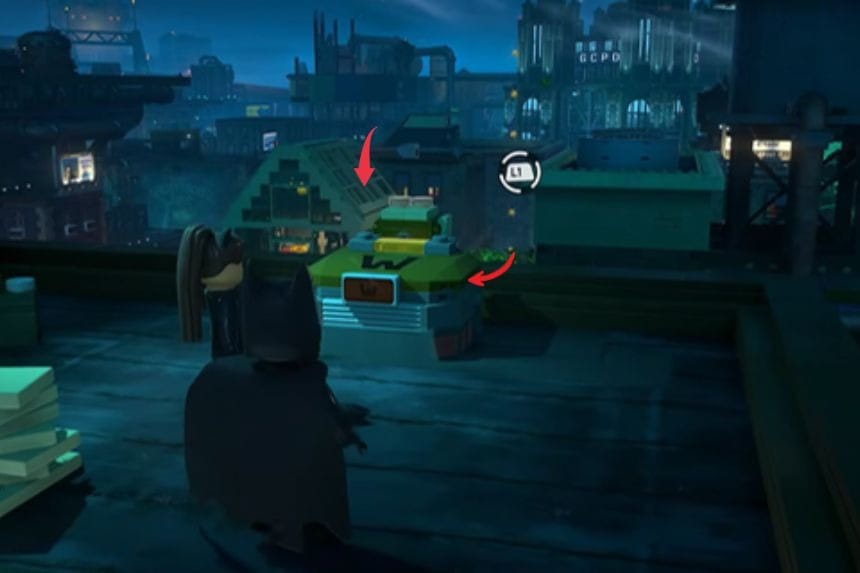
On the rooftop across from Q Corp, you will find two movable objects on different platform levels. Push them back and forth until the transparent brick lines up perfectly with the green light. When everything is aligned correctly, the cache unlocks.
Puzzle Cache 3: Tricorner district puzzle caches
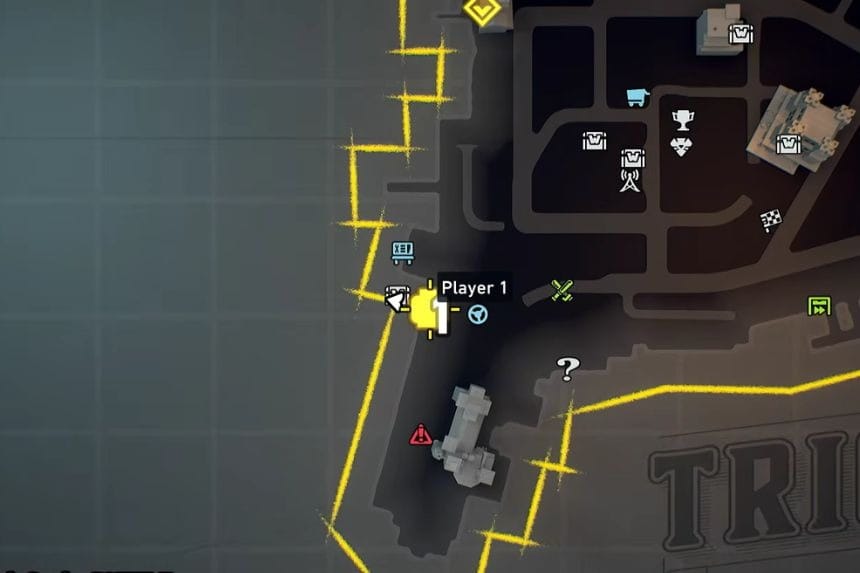
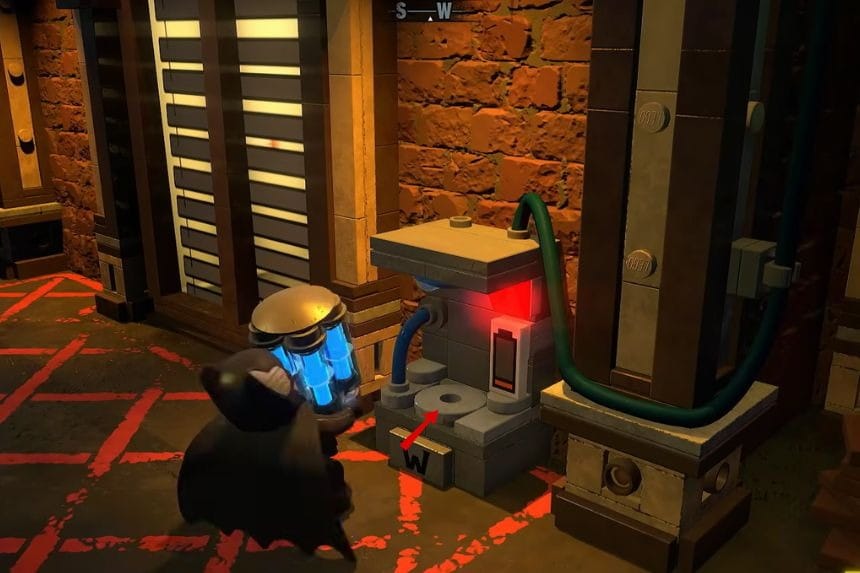
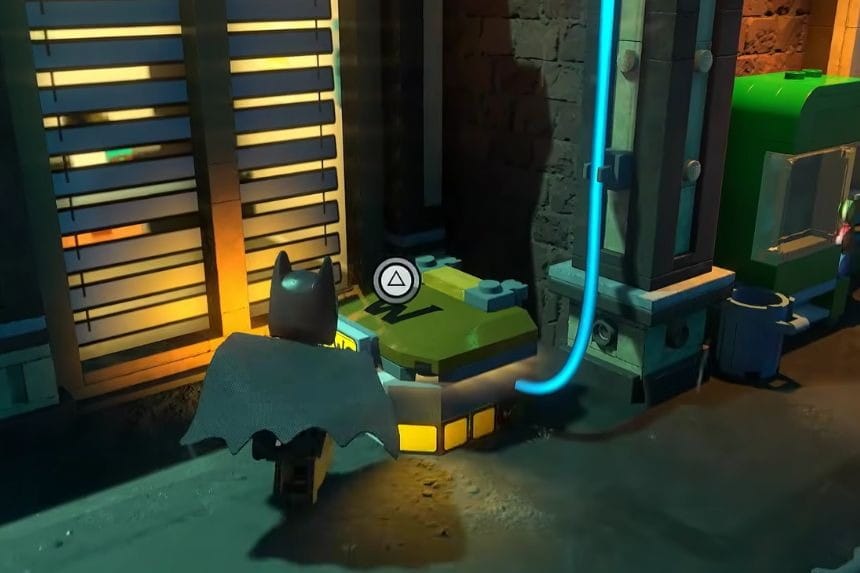
Facing the cache, look to the building on your left to find a battery. Pick it up and carry it to the empty slot on the opposite side of the building. After placing it in, hit the cable targets in the correct order to direct the electricity to the cache.
Puzzle Cache 4: Tricorner district puzzle caches
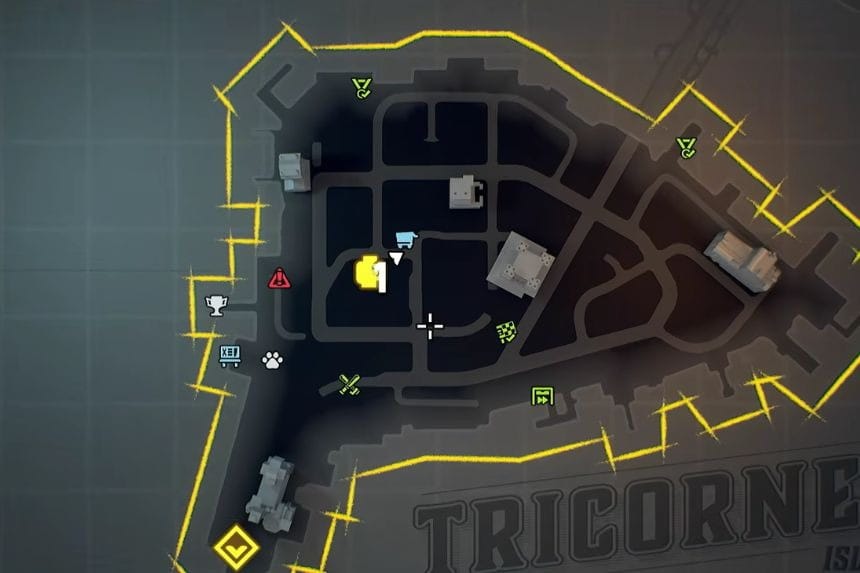
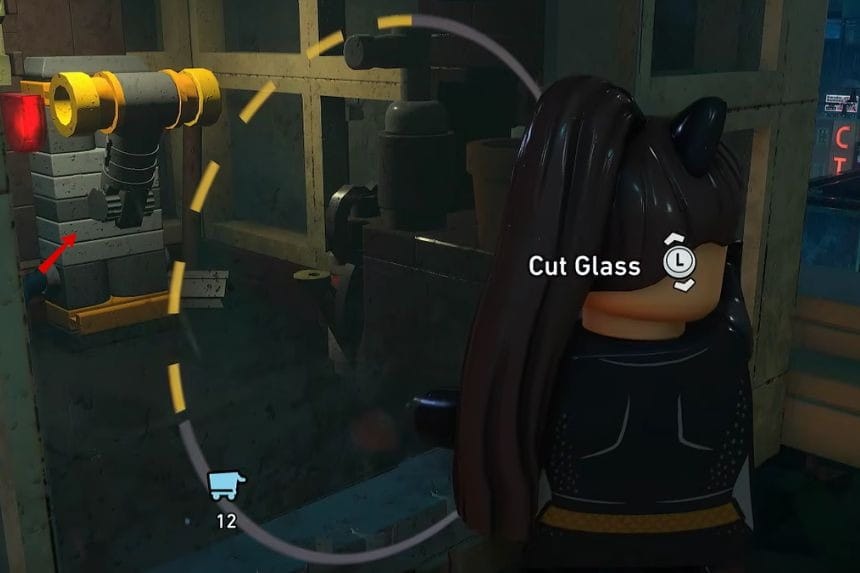
Use Catwoman to cut through the glass and enter the greenhouse. Inside, pull the first lever. After that, climb the wall to the right of the cache and pull the second lever to unlock it.
Puzzle Cache 5: Tricorner district puzzle caches

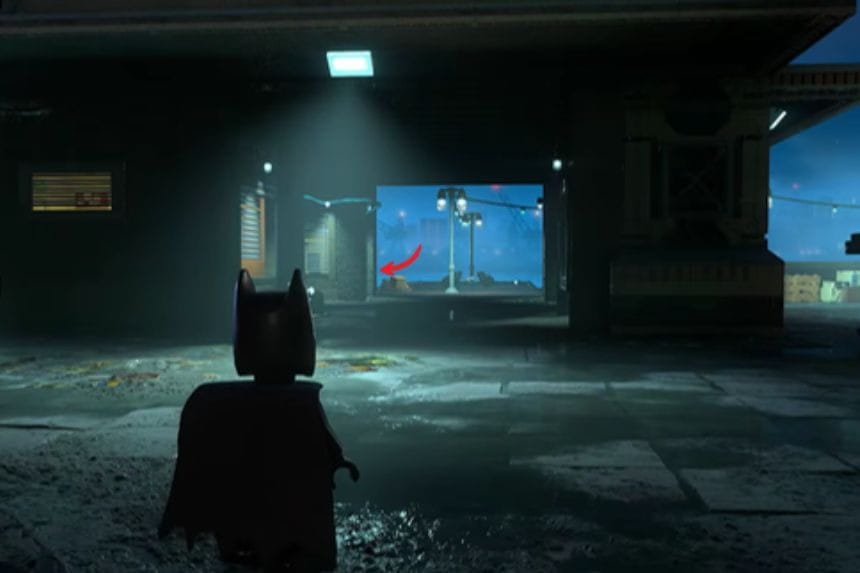
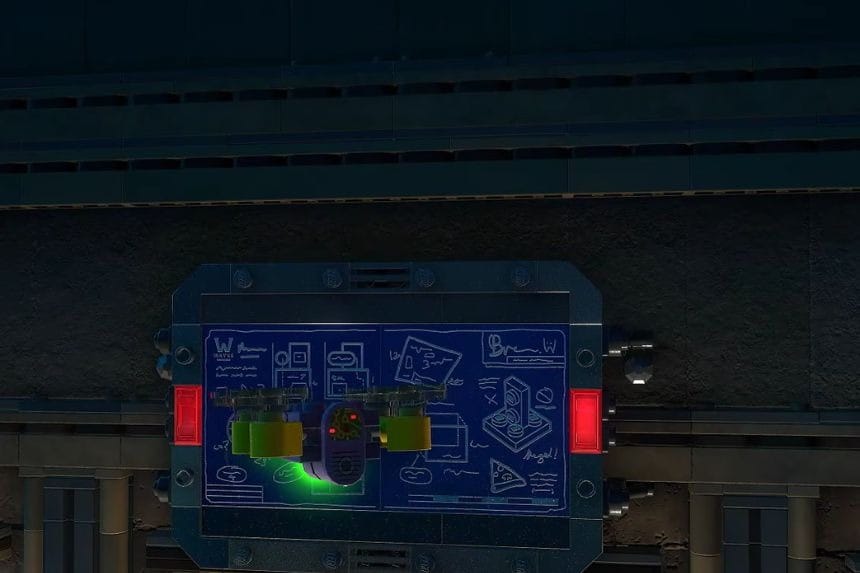
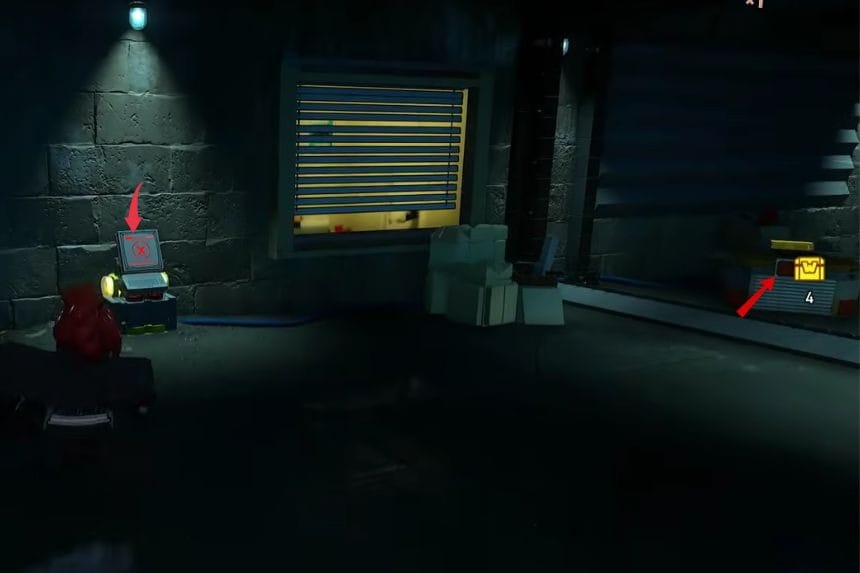
This cache is guarded by an armored security camera. Follow the cable from the camera to the back of the building and use Batgirl to hack the panel, shutting the camera down.
Next, use Batgirl’s Drone to scan the blue panel above and reveal the access code. Enter the code at the nearby terminal to open the cache.
Puzzle Cache 6: Tricorner district puzzle caches
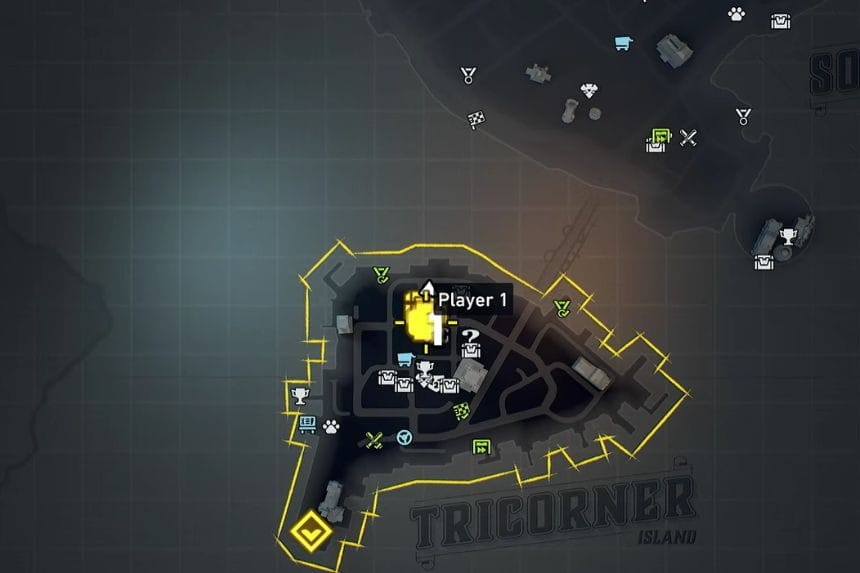
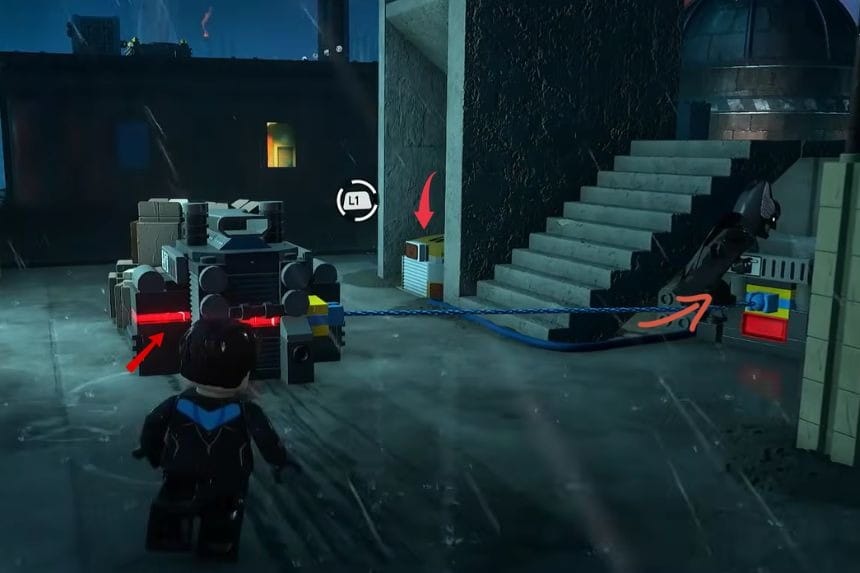
On top of the graffiti-covered building, charge the machine on the right side first. Pull the movable machine toward it and connect the two together. Then connect the movable machine to the machine located under the stairs to unlock the cache.
Puzzle Cache 7: Tricorner district puzzle caches
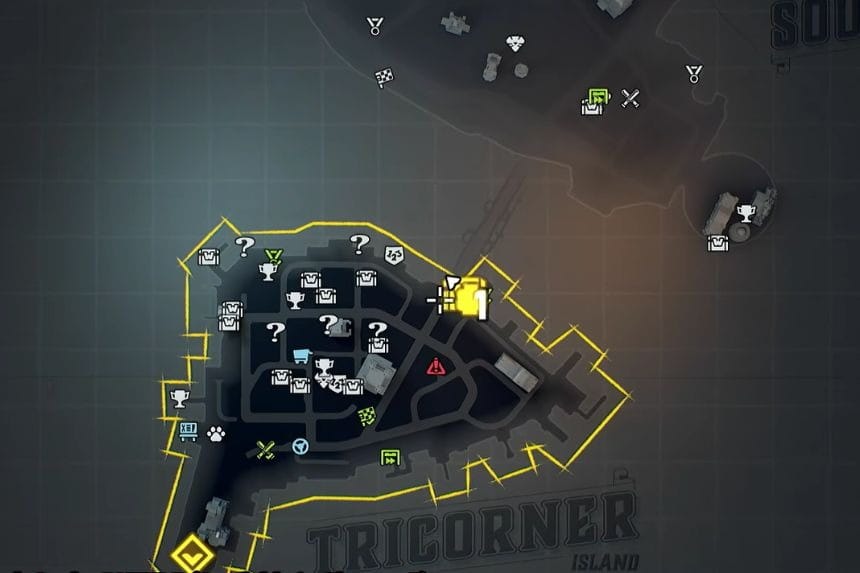
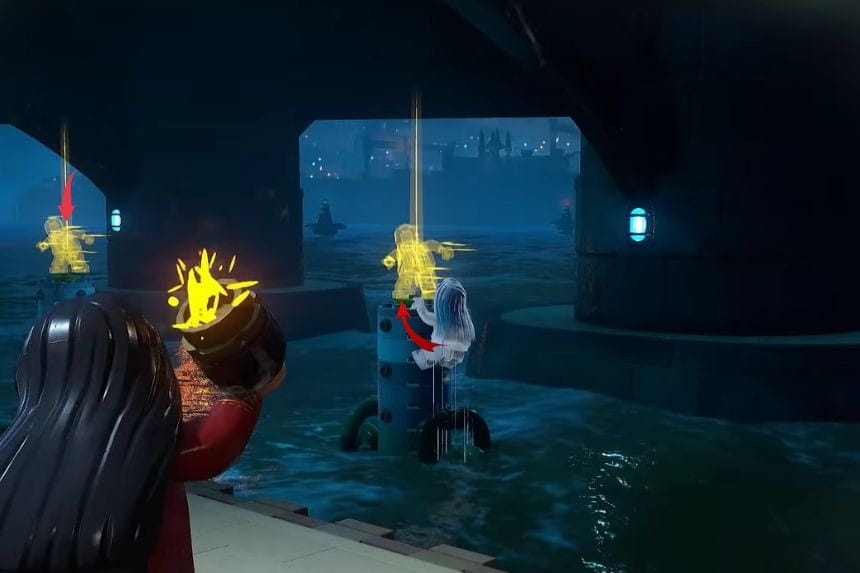
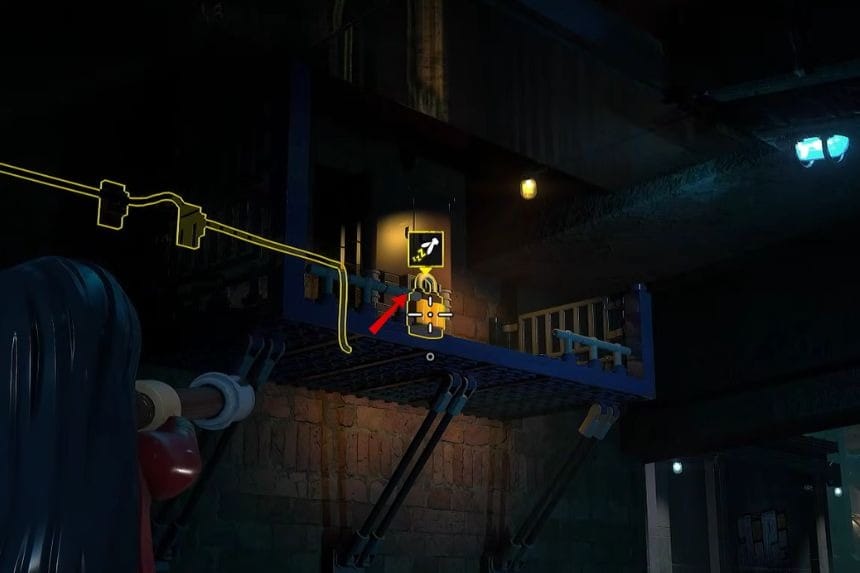
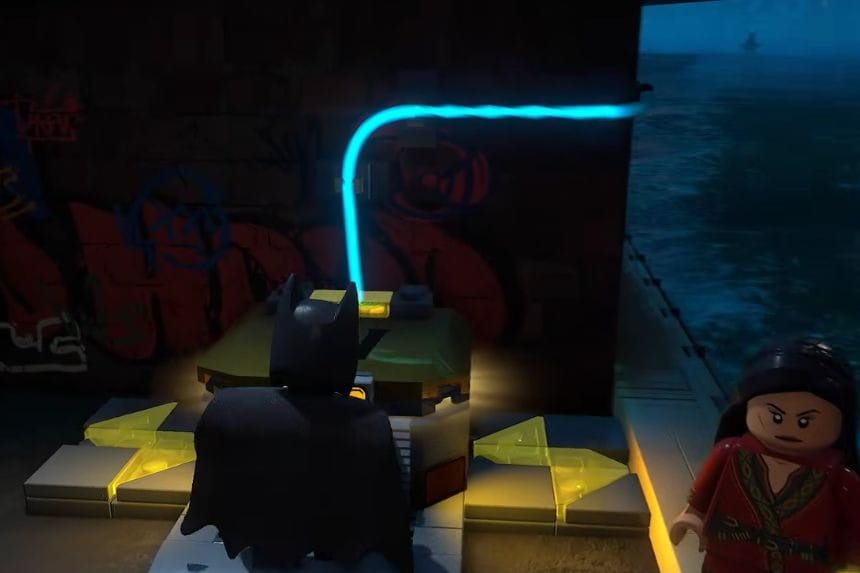
Under the bridge, use Talia’s Ninja Dash ability to move quickly across the pillars and reach the platform on the other side. Once there, pull the lever to unlock the cache.
Puzzle Cache 8: Tricorner district puzzle caches
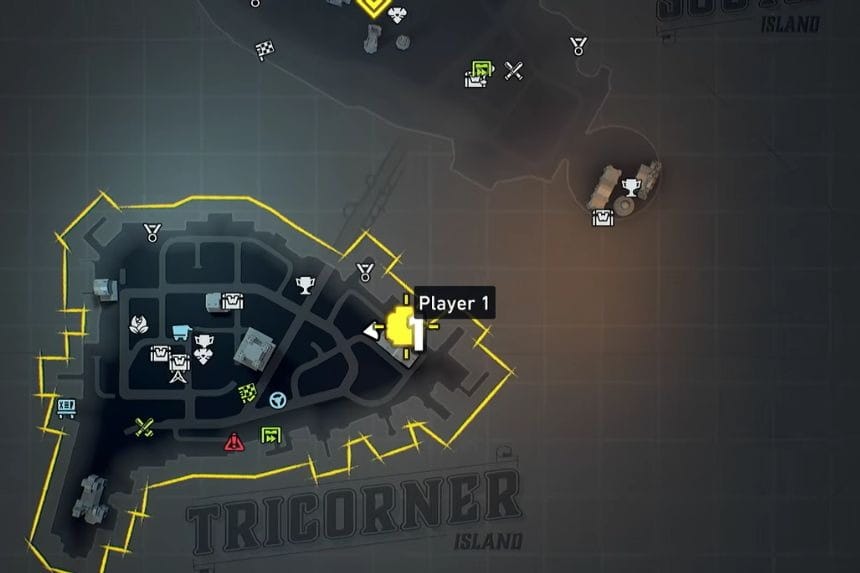
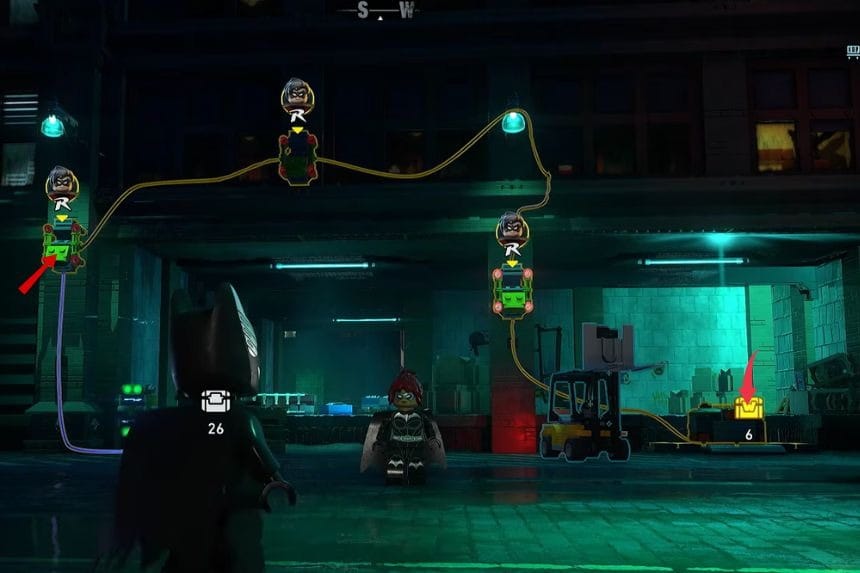
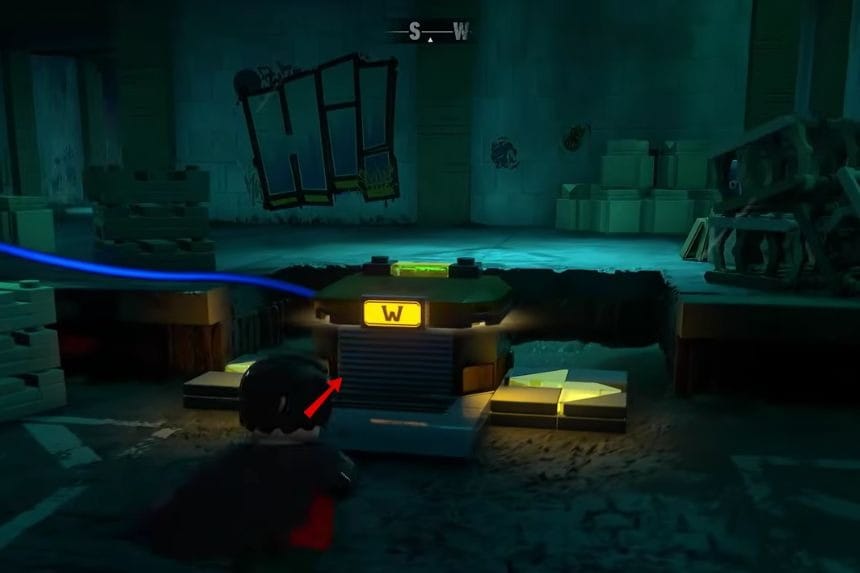
Near the underpass behind the Iceberg Lounge, use Nightwing’s gadget to power the switc
Puzzle Cache 9: Old Gotham South puzzle caches
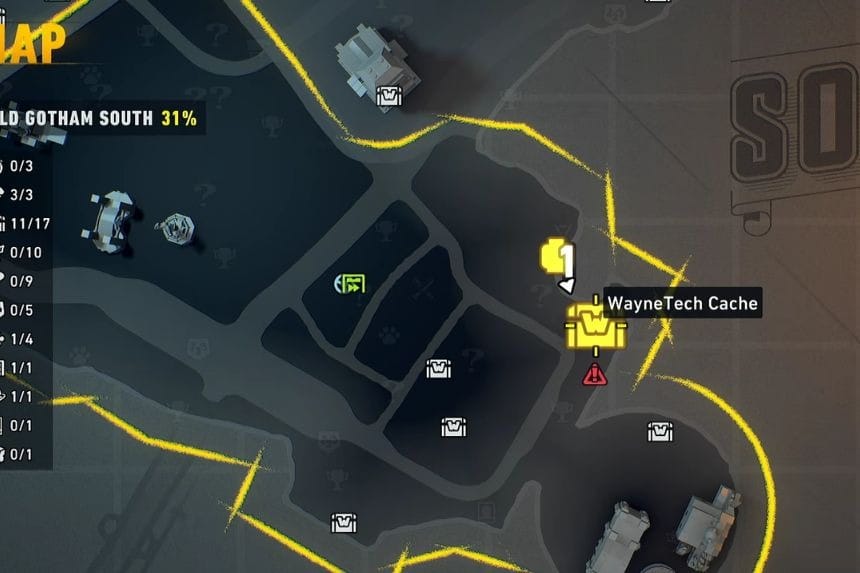
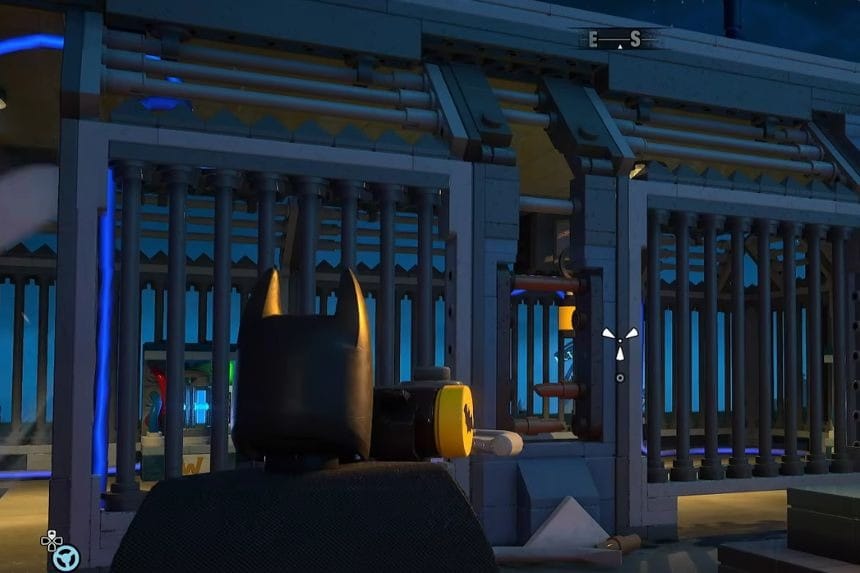
Head to the roof of the Cozy Corner where you will find a large fan blocking the cache. First, have Batman throw a Batarang to hit the lock inside the cage. This reveals a target that you can hit to slow the fan down.
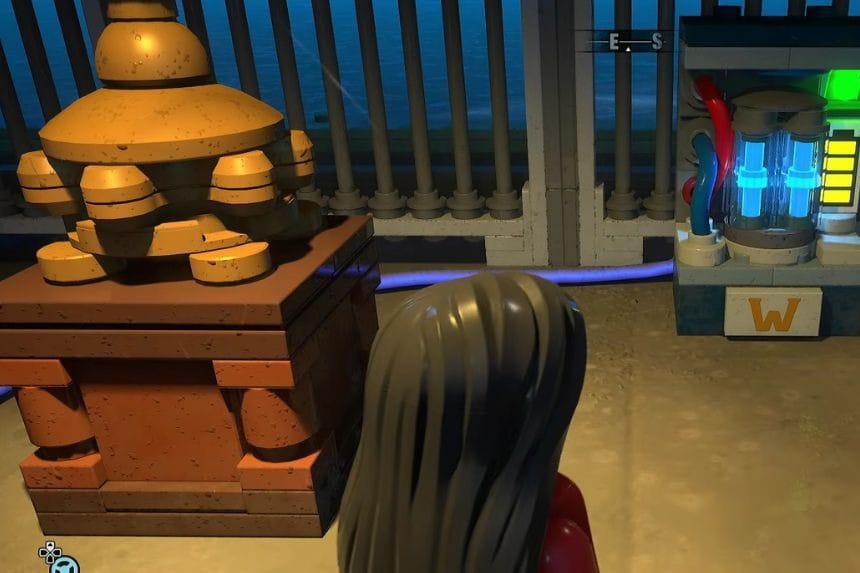
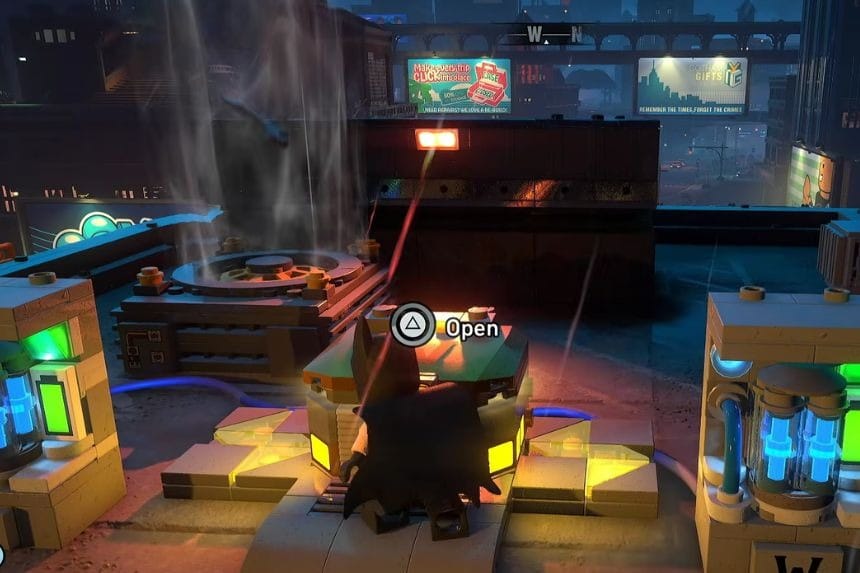
Once the fan is moving slowly, use Talia’s Ninja Dash to get inside the cage safely. Remove the battery from the fan to shut it off completely, then place both batteries into the slots near the cache to unlock it.
Puzzle Cache 10: Old Gotham South puzzle caches
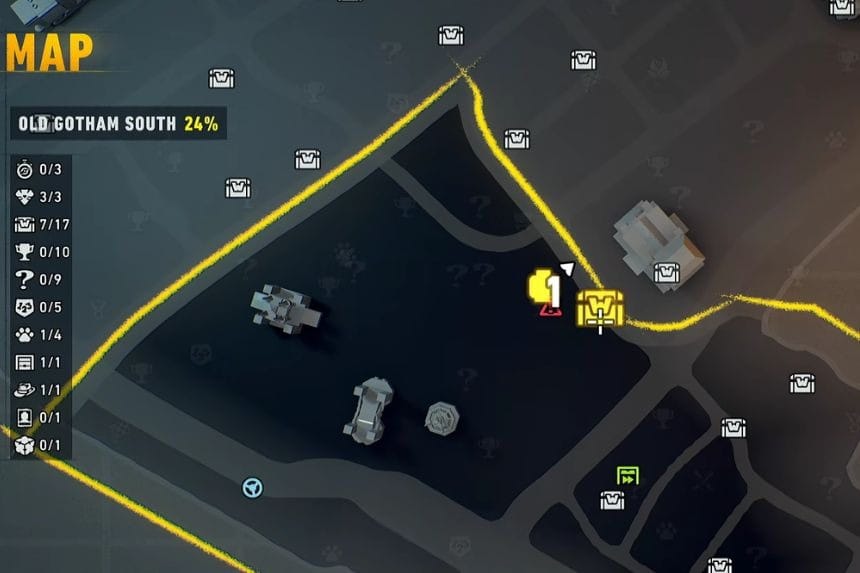
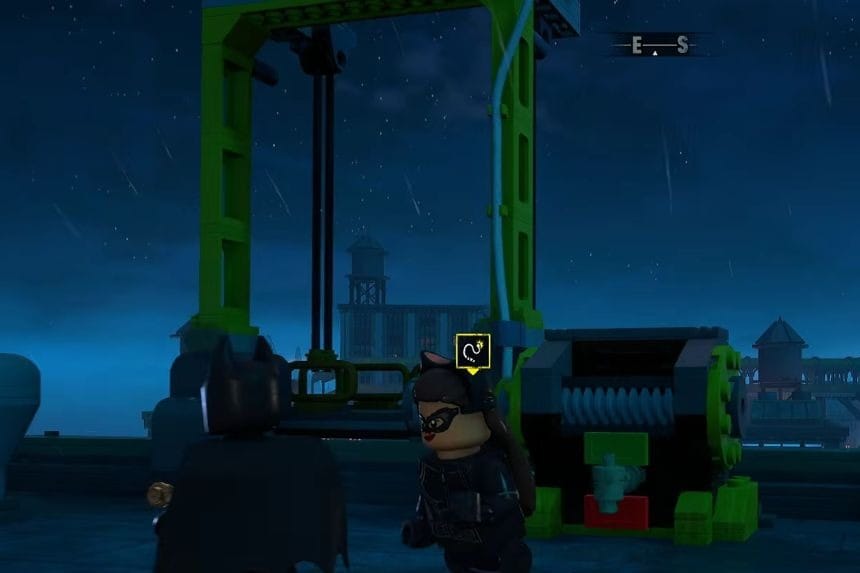
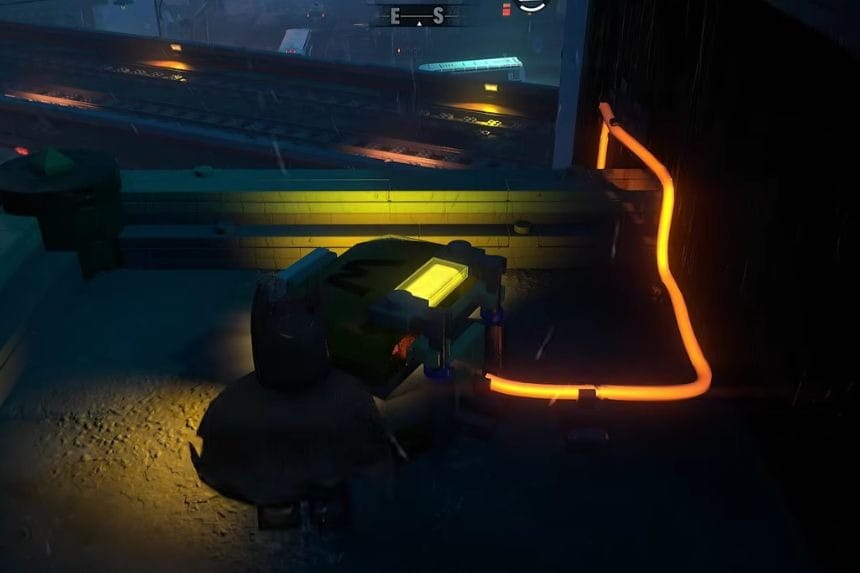
At the apartment building, use Catwoman’s whip to unscrew the bolts holding the panel in place. After removing them, pull the nearby lever to unlock the cache.
Puzzle Cache 11: Old Gotham South puzzle caches
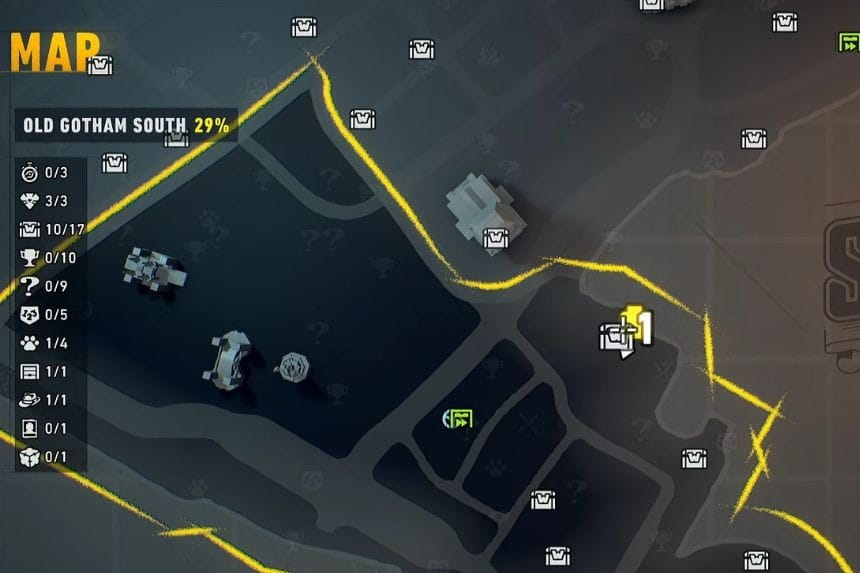
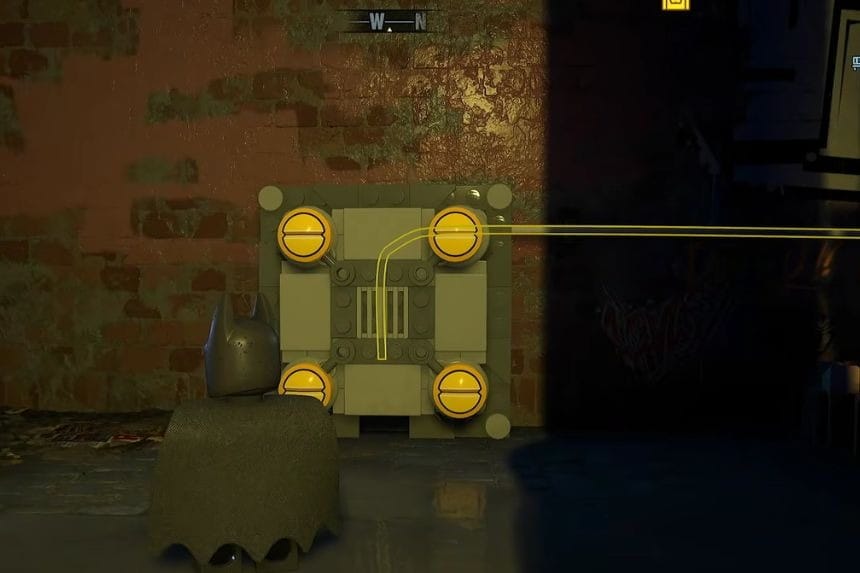
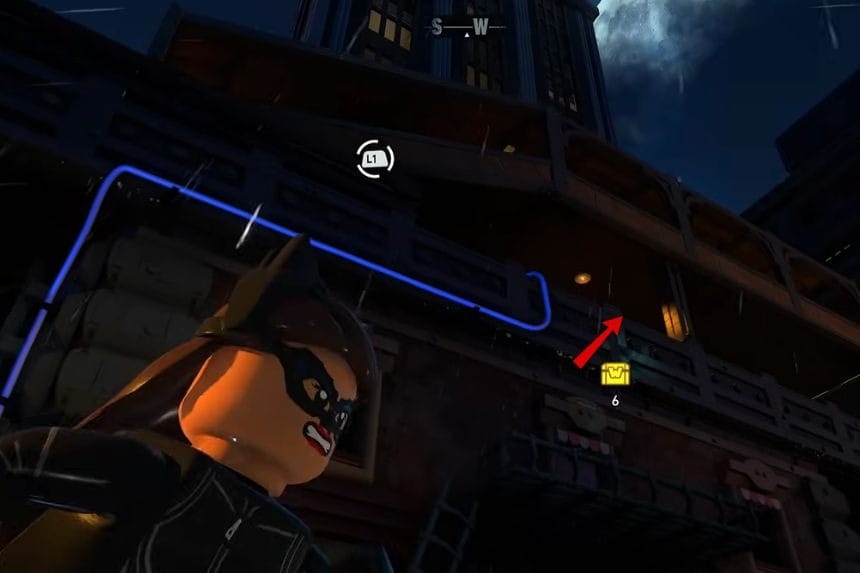
Go to the rooftop directly above the cache location. Break the object near the swing stage scaffold, then use Catwoman’s whip to power the stage. After that, drop down to the lever below and pull it to unlock the cache.
Puzzle Cache 12: Old Gotham West puzzle caches
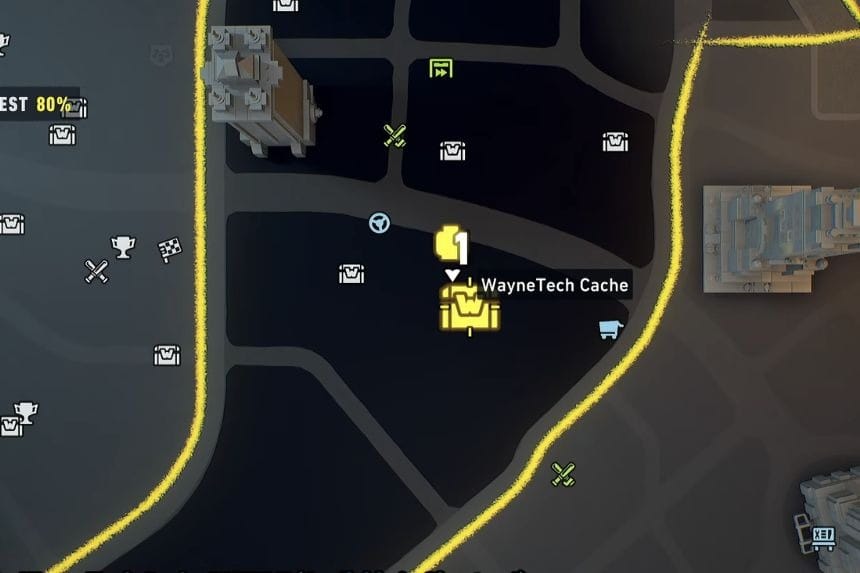
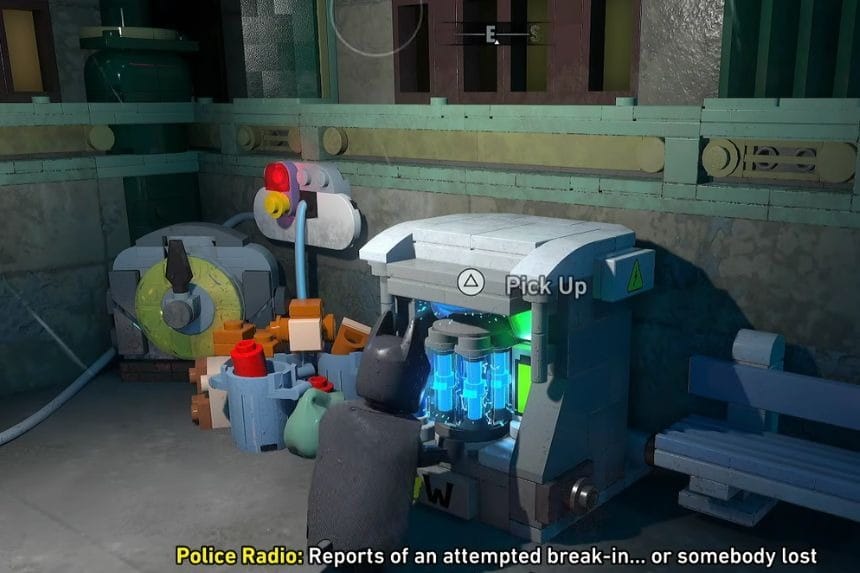
Head to the rooftop near Lacouronne, where you will find empty battery slots beside the cache. Place two fully charged batteries into the spaces first.
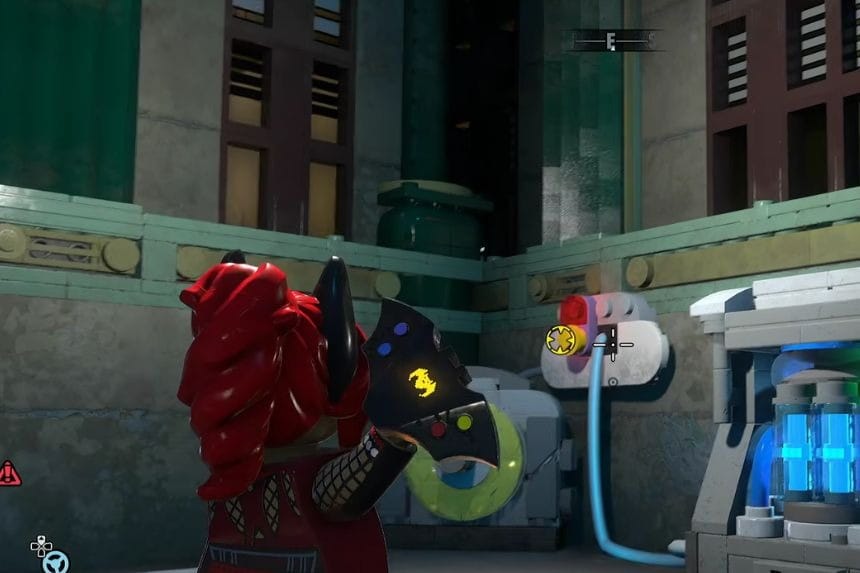
After that, stand on the red button as Batgirl and throw one of her gadgets at the button further ahead. This powers up the mechanism and unlocks the cache.
Puzzle Cache 13: Old Gotham West puzzle caches
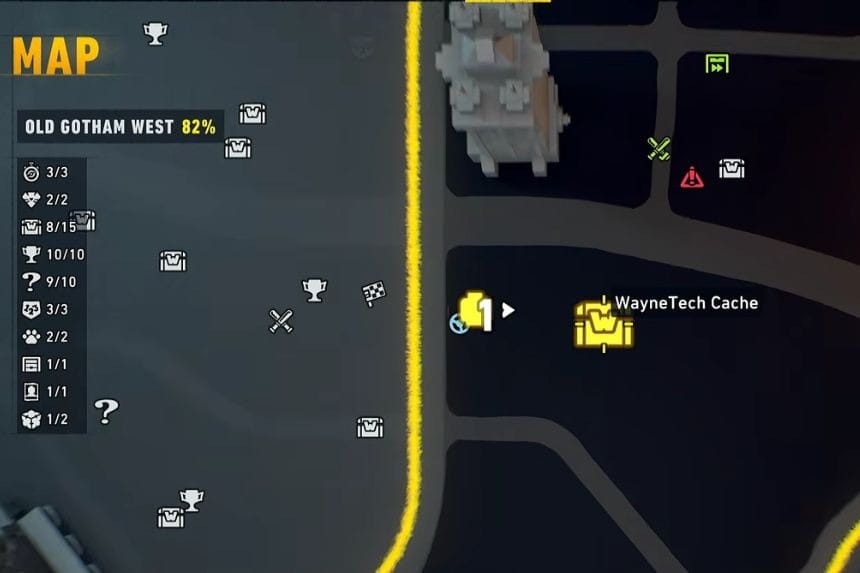
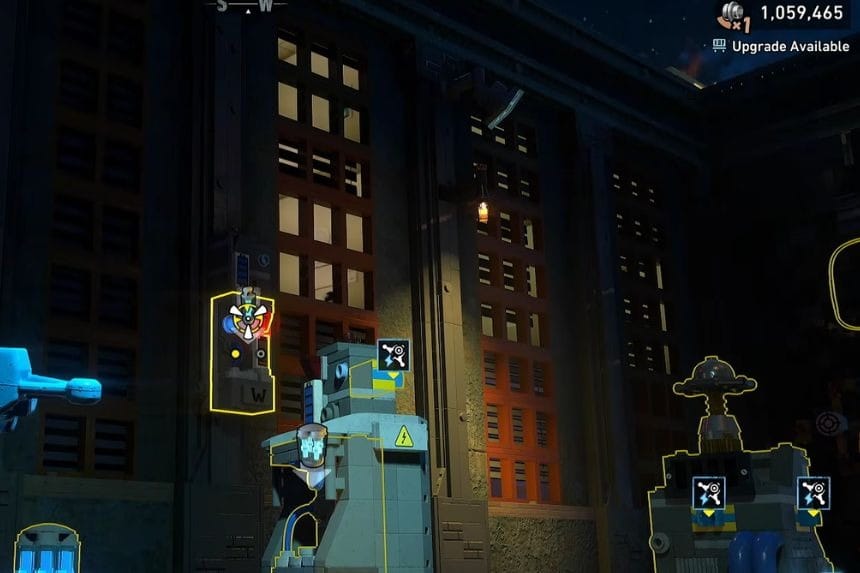
Fly up to the rooftop of the building to start this puzzle. Near the wall, you will see a small battery. Use Nightwing’s gadget to launch it into the slot on the higher power bank.
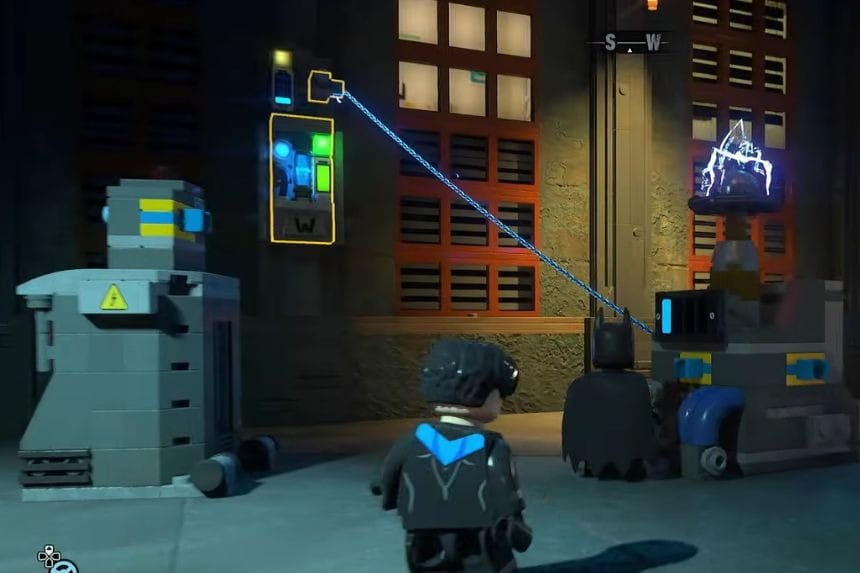
Next, place a fully charged 3-charge battery into the large power bank on the left side. Remove the battery from the rightmost bank afterwards.
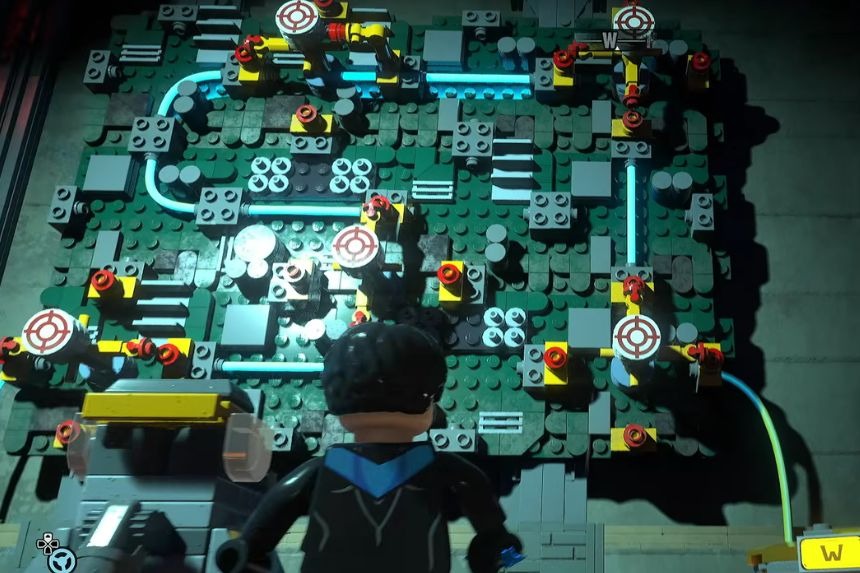
Now connect the centre console to both powered banks. The combined power total should equal 4 charges. Once everything is connected correctly, a wall filled with targets will light up. Shoot the targets until all the cables line up properly, then pull the nearby lever to unlock the cache.
Puzzle Cache 14: Old Gotham North puzzle caches
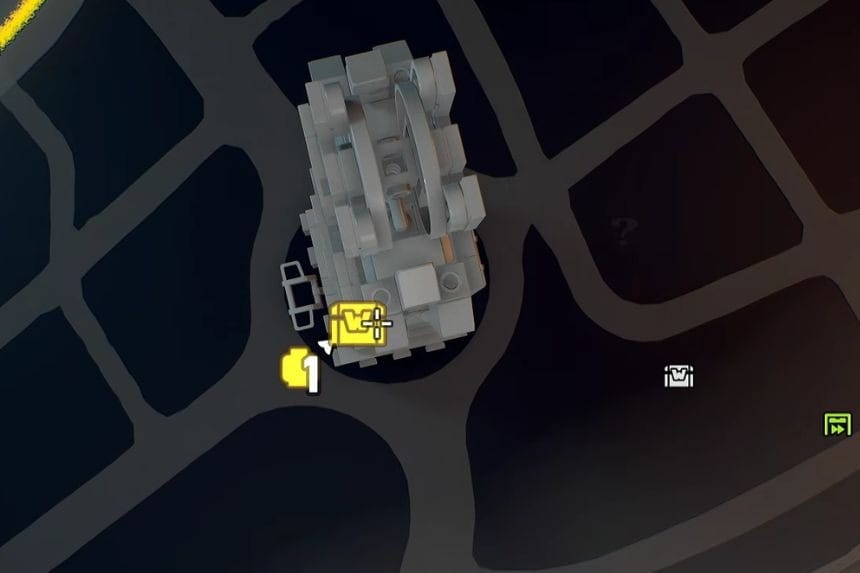
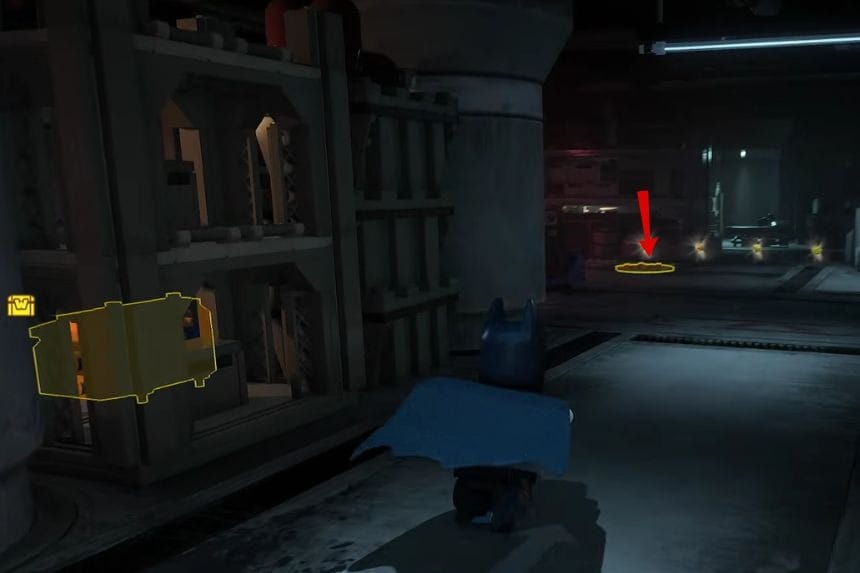
You can find this cache during the “A Family Friend” mission while talking to the gadget expert inside Wayne Tower. Look around the floor for a vent and climb through it to reach the hidden cache area.
Puzzle Cache 15: Old Gotham North puzzle caches
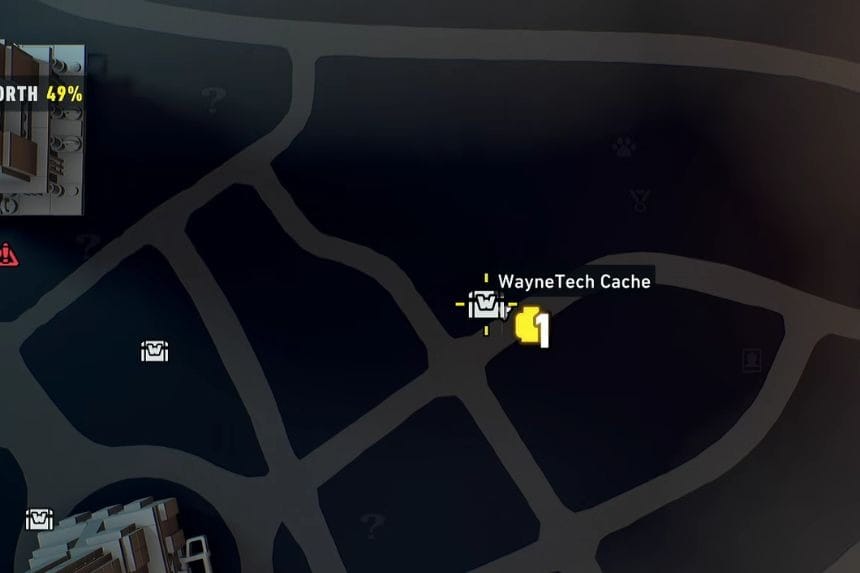
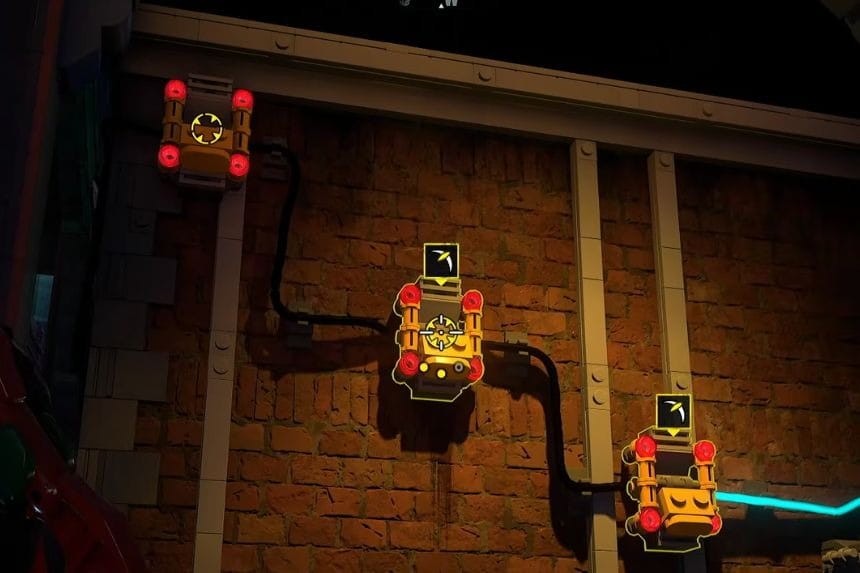
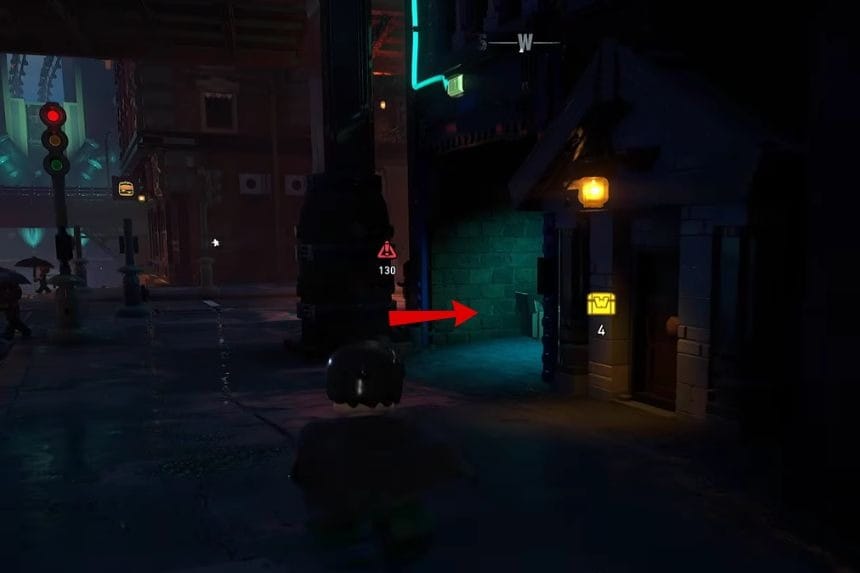
In the garage underneath the building near the Train Station, use Nightwing’s gadget to connect the switches properly. Make sure the power flows through the correct path to unlock the cache.
Puzzle Cache 16: Old Gotham North puzzle caches
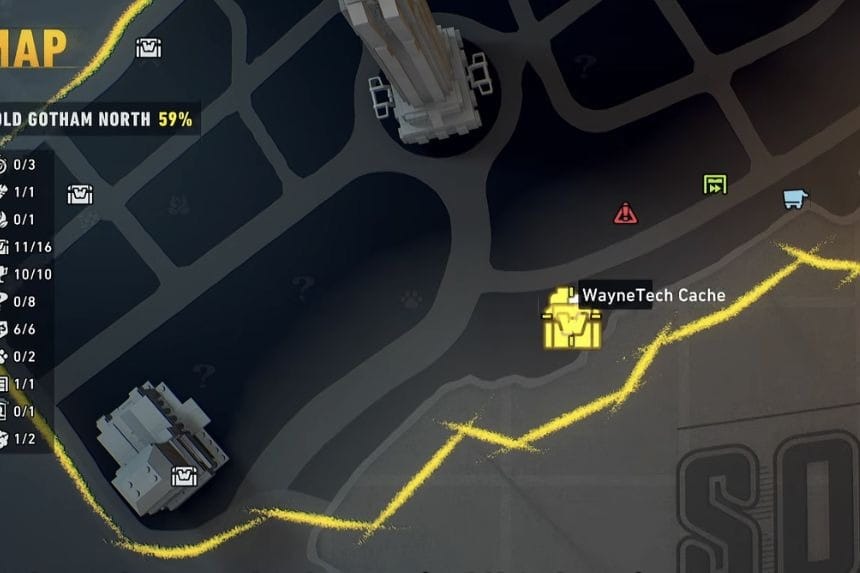
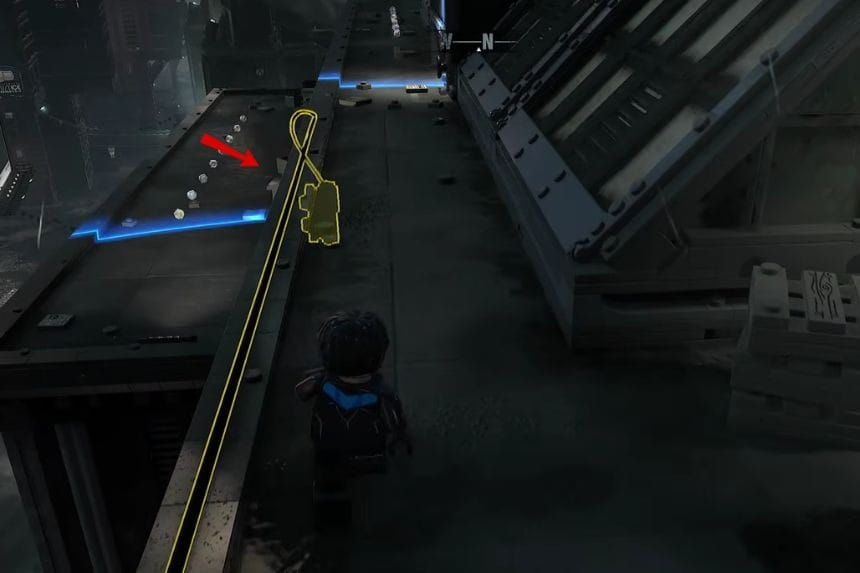
Head to the rooftop near Wayne Tower where you will find an empty battery charger. Place the empty battery into the charger and use Nightwing’s gadget to power it up.
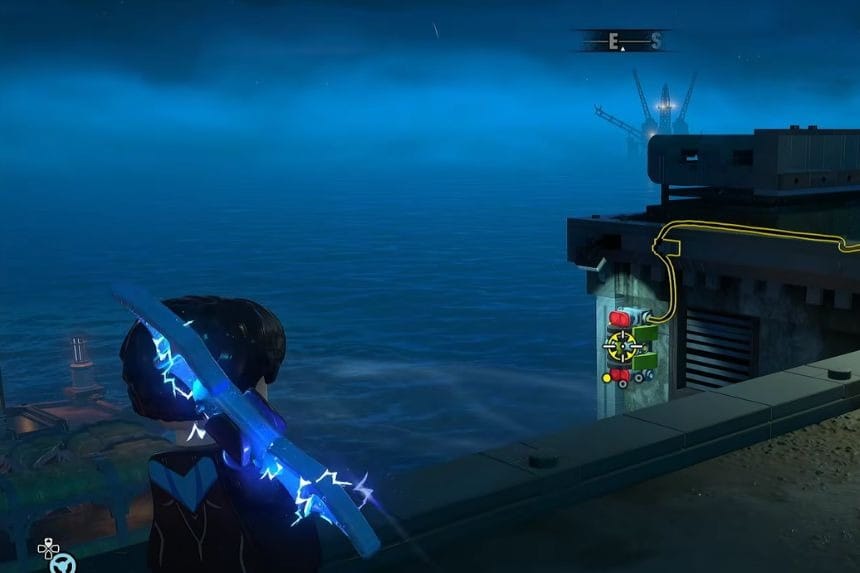

After charging the battery, drop down to the lower platform and use the gadget to activate the switch there. Then move to the switch on the opposite side and activate that one as well to unlock the cache.
