
The Blood of Dawnwalker offers many options that could change your adventure in many ways. Dialogue options would merely change the dialogue, but some options might influence the quest, rewards, time, relationships, and even the ending. Given Coen has little time to rescue his family, understanding the importance of certain options could prevent bad results. In this guide, we’ll cover the important dialogue choices, what each option does, and the consequences you can expect.
All Dialogue Choices and Consequences
Blood of Dawnwalker is an enormous RPG where your choices will influence the course of the narrative. With only a short time to save Coen’s family, all your choices matter. Dialogue choices might have some impact on the plot, available time, or even the outcome. As such, below is a complete list of all dialogue choices and decisions that you may encounter in the game.
All Good Things – Lunka
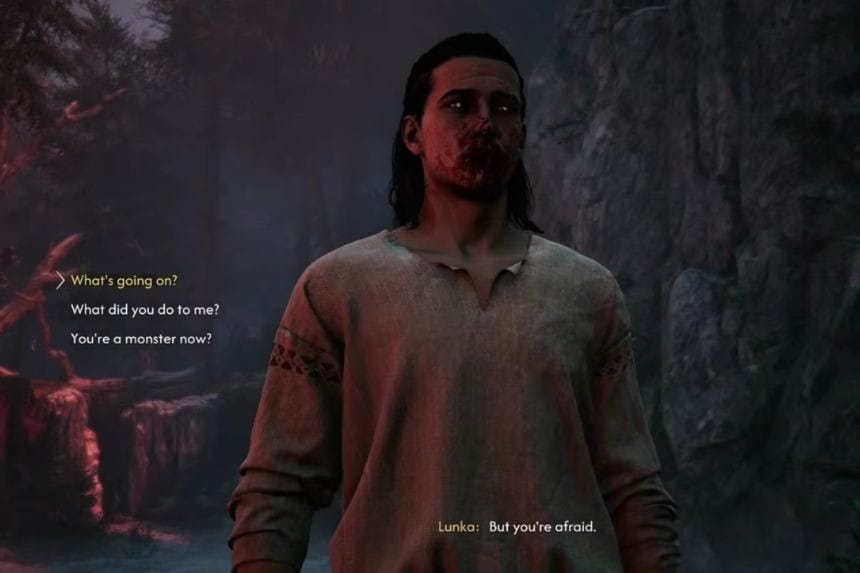
When you talk to Lunka during All Good Things, she asks, “But you’re afraid?” You can choose any of the following responses:
- “What’s going on?” – This is the choice you need to pick to advance the quest.
- “What did you do to me?” – Has no effect and simply takes you back to the same dialogue.
- “You’re a monster now?” – Also has no effect and loops you back to the previous prompt.
If you want to progress the quest, choose “What’s going on?”.
All Good Things – Pieter
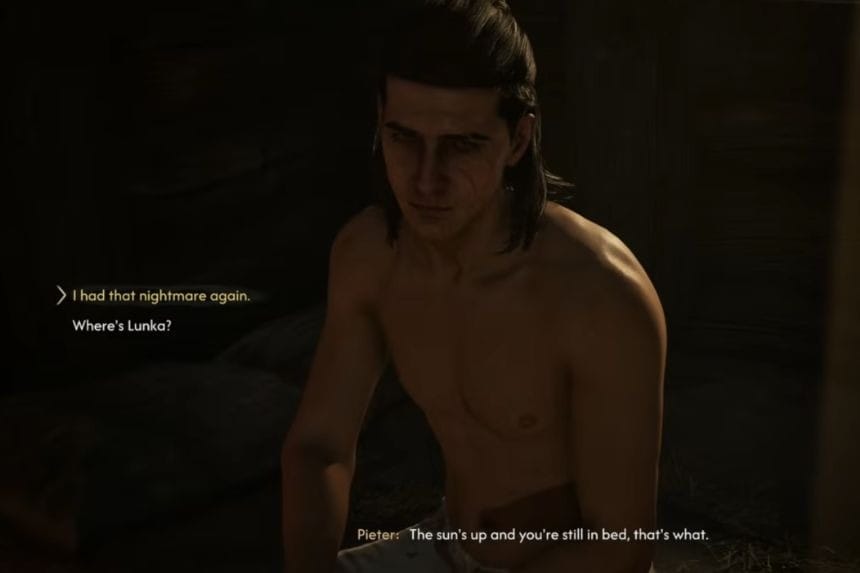
When you speak to Pieter, he comments, “The sun’s up, and you’re still in bed, that’s what.” You have two dialogue options:
- “I had that nightmare again.” – Choose this to advance the quest.
- “Where’s Lunka?” – This has no effect and simply takes you back to the same dialogue prompt.
If you want to continue All Good Things, choose “I had that nightmare again.”
Withering Away – Mirto
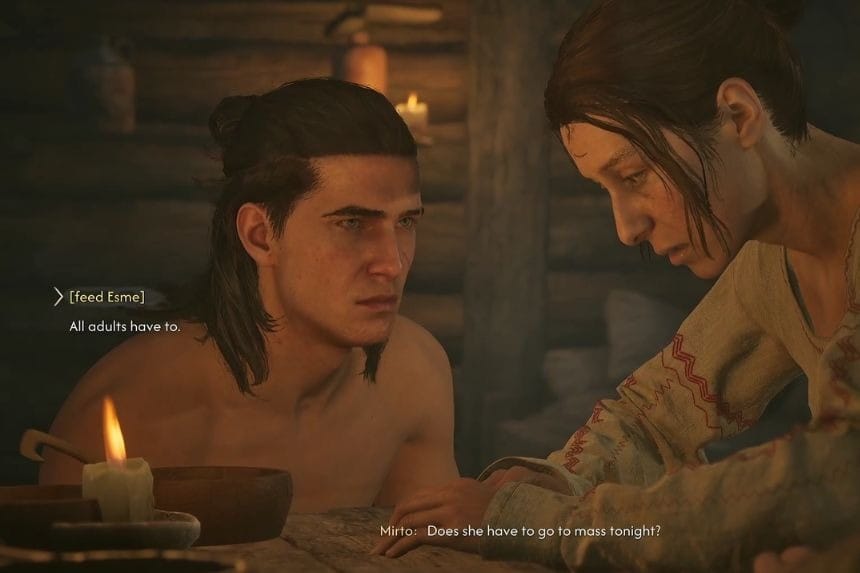
When you talk to Mirto, she asks, “Does she have to go mass tonight?” You’ll get two dialogue options:
- “[Feed Esme]” – Choose this option to advance the quest.
- “All adults have to go.” – This has no effect and simply takes you back to the same dialogue prompt.
To continue the Withering Away quest, choose “[Feed Esme]”.
Withering Away – Pieter – I
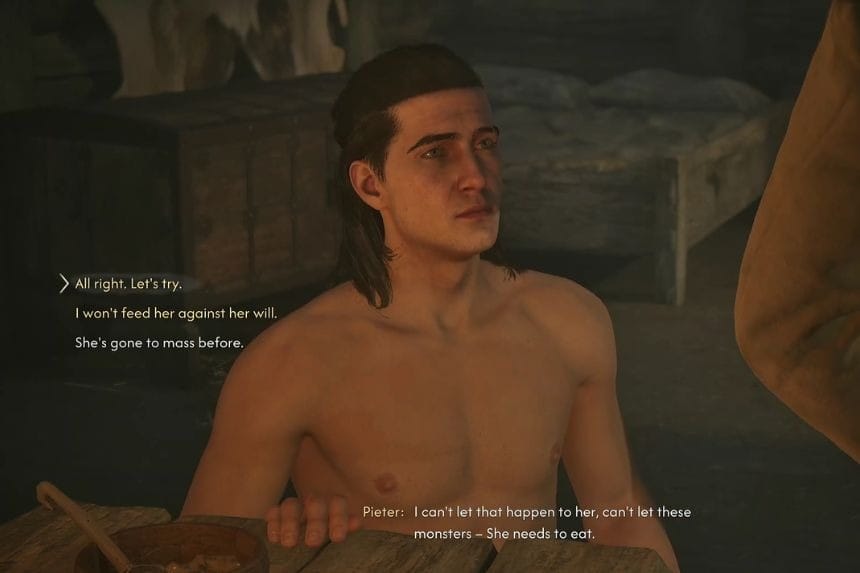
When you speak to Pieter, he suggests helping Esme by saying, “Let’s do it. I’ll hold her, you take the spoon.” This leads to the “Should You Feed Esme or Not?” choice, where you have three options:
- “All right. Let’s try.” – Coen will try to feed Esme, but she refuses. The quest then continues.
- “I won’t feed her against her will.” – This also advances the quest.
- “She’s gone to mass before.” – This has no effect and simply takes you back to the same dialogue prompt.
You can choose either of the first two options to move forward with the Withering Away quest.
Withering Away – Pieter – II
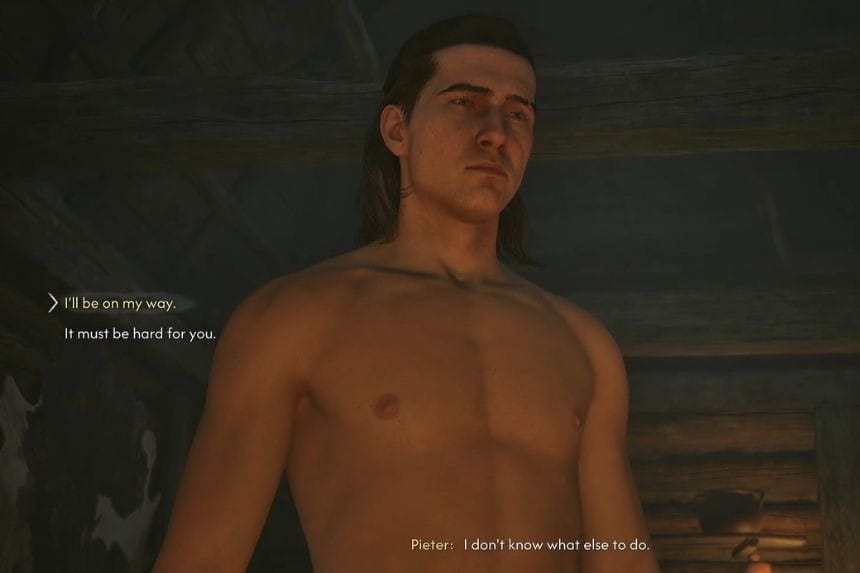
Pieter then tells you, “I don’t know what else to do.” You’ll have two dialogue options:
- “I’ll be on my way.” – Choose this to advance the quest.
- “It must be hard for you.” – This has no effect and simply takes you back to the same dialogue prompt.
To continue the Withering Away quest, choose “I’ll be on my way.”
Withering Away – Pieter – III
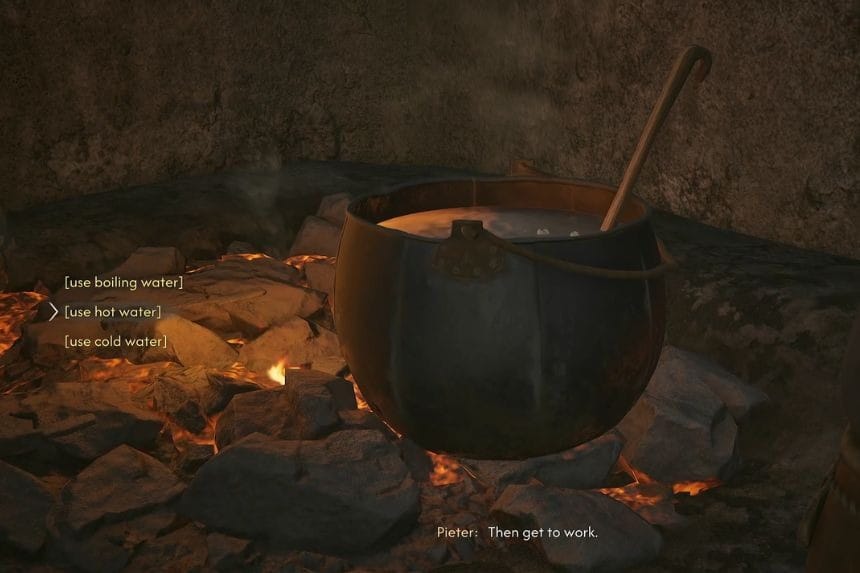
After getting the herbs, Pieter tells Coen, “Then get to work.” This leads to an important choice where you need to prepare Anca’s herb recipe correctly. You’ll have three options:
- “[Use boiling water]” – This is the wrong choice and will cause Esme to die later.
- “[Use hot water]” – This is the correct choice and completes the first part of Anca’s instructions.
- “[Use cold water]” – This is also incorrect and will cause Esme to die later.
Make sure you choose “[Use hot water]” if you want to prepare the recipe correctly and avoid Esme’s death later in the quest.
Withering Away – Pieter – IV
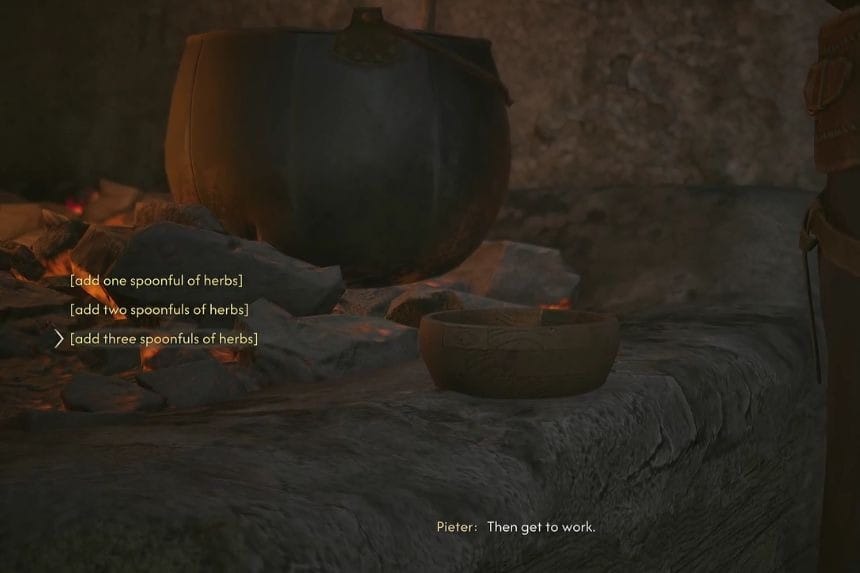
After preparing the water for the medicine, Pieter will ask you to add the herbs. You’ll need to choose how many spoonfuls to use:
- “[Add one spoonful of herbs]” – Wrong choice. This causes Esme to die later.
- “[Add two spoonfuls of herbs]” – Correct choice. This prepares the medicine properly for Esme.
- “[Add three spoonfuls of herbs]” – Wrong choice and will cause Esme to die later.
Choose “[Add two spoonfuls of herbs]” to make the correct medicine for Esme.
Withering Away – Pieter – V
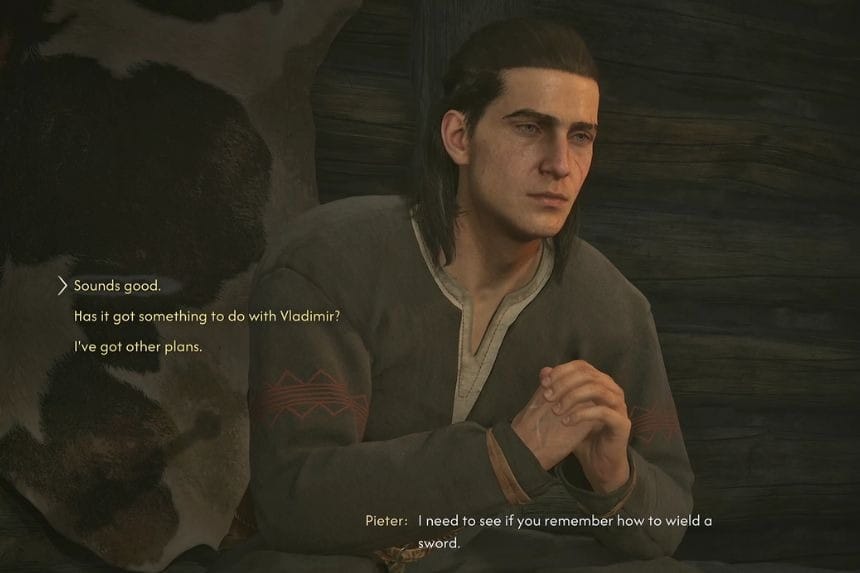
Pieter then tells Coen, “I need to see if you remember how to wield a sword.” You’ll have three dialogue options:
- “Sounds good.” – Advances the quest.
- “Has it got something to do with Vladimir?” – Also advances the quest.
- “I’ve got other plans.” – This also advances the quest.
All three choices lead to the same outcome, so you can simply pick whichever response you prefer.
Withering Away – Pieter – VI
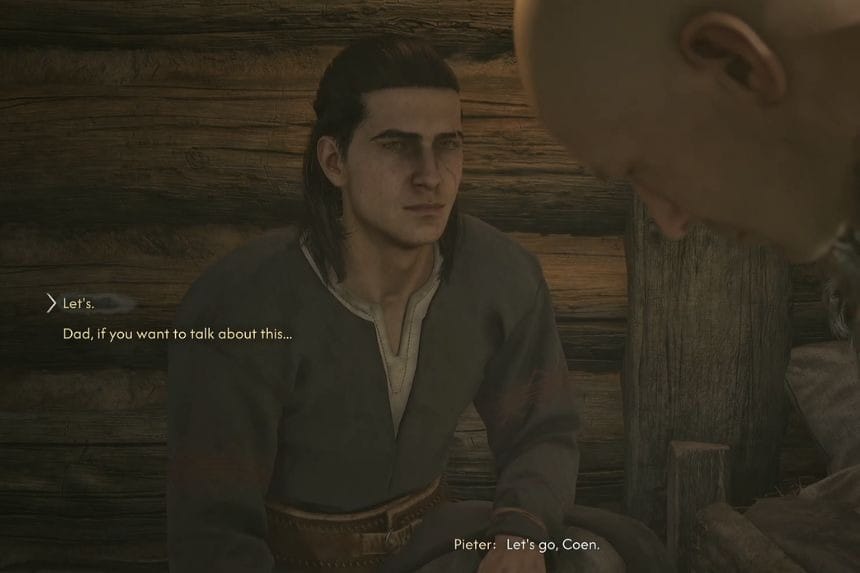
At the end of the quest, Pieter tells Coen, “Let’s go, Coen.” You can choose between two responses:
- “Let’s.” – Completes the quest.
- “Dad, if you want to talk about this…” – Also completes the quest.
Both choices lead to the same outcome, so you can pick whichever response feels right to you.
Withering Away – Anca – I
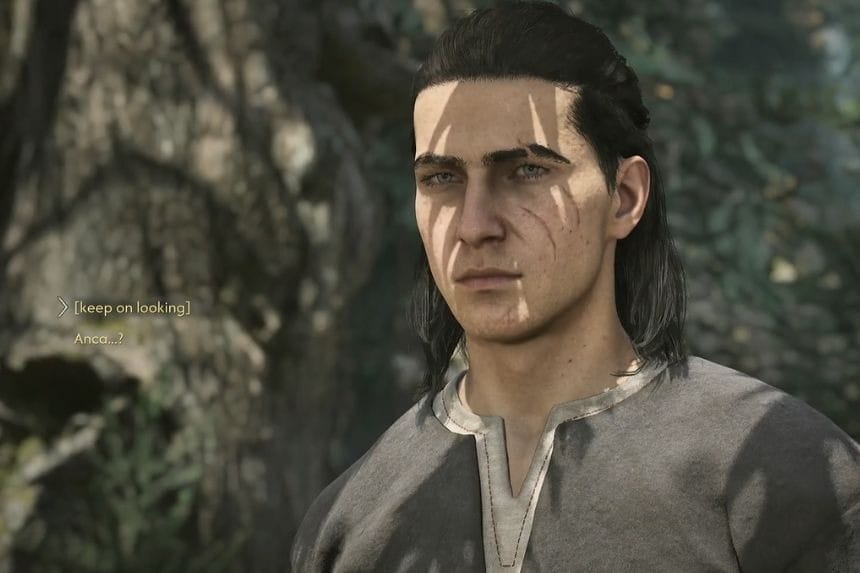
You’ll find Anca by the stream during the quest. When you spot her, you have two dialogue options:
- “[Keep on looking]” – If you choose this, you’ll notice the markings on Anca’s wrist before she notices you. The quest then continues.
- “Anca…?” – Calling out to Anca also advances the quest.
Both choices eventually move the Withering Away quest forward, so you can pick either one.
Withering Away – Anca – II
When you speak to Anca, she tells Coen, “Oh, Coen. You must be worried sick.” You’ll get three dialogue options:
- “Let’s just get the herbs.” – Advances the quest.
- “I’m all right.” – Also advances the quest.
- “All of this – it feels hopeless.” – Advances the quest as well.
All three choices lead to the same outcome, so you can pick whichever response you prefer.
Withering Away – Anca – III
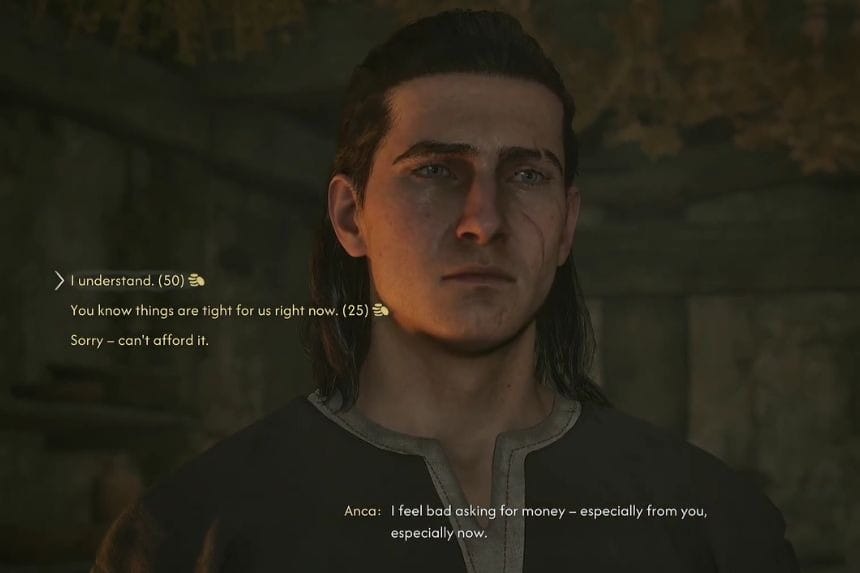
Anca then tells Coen, “I feel bad asking for money – especially from you, especially now.” This leads to a choice about how much you want to pay for the herbs. You can choose from three options:
- “I understand.” – Coen pays 50 Denarii for the herbs.
- “You know things are tight for us right now.” – Coen pays 25 Denarii. Anca reluctantly accepts the lower amount.
- “Sorry – can’t afford it.” – Anca gives Coen the herbs for free and asks him to pay her back later.
This is only a minor choice, so it doesn’t have a major effect on the story.
Withering Away – Anca – IV
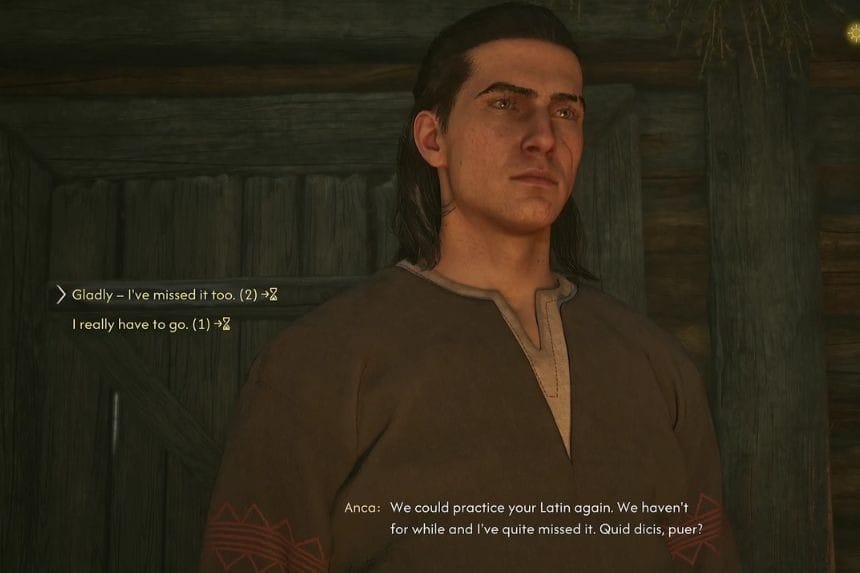
Anca then suggests practising Latin with Coen, saying that they haven’t done it in a while and that she has missed it. You’ll have two choices:
- “Gladly – I’ve missed it too.” – This starts the optional Page-Turner quest, which costs 2 Time Segments. After completing it, Withering Away continues as normal.
- “I really have to go.” – This skips Page-Turner and lets you continue Withering Away. However, it costs only 1 Time Segment.
If you have enough time and want to experience the optional quest, choose “Gladly – I’ve missed it too.”
Like Father, Like Son – Pieter – I
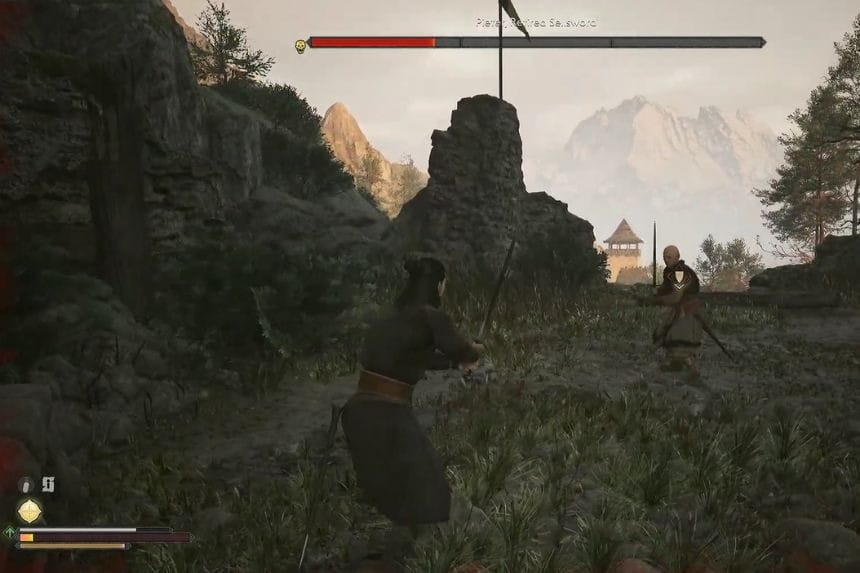
During Like Father, Like Son, Pieter starts a duel with Coen. You can either win the fight or let Pieter win.
- “(Win against Pieter)” – Coen wins the duel, and the quest continues.
- “(Lose against Pieter)” – Coen gives in to Pieter, and the quest also continues.
There’s no major difference between the two choices, as both outcomes advance the quest.
Like Father, Like Son – Pieter – II
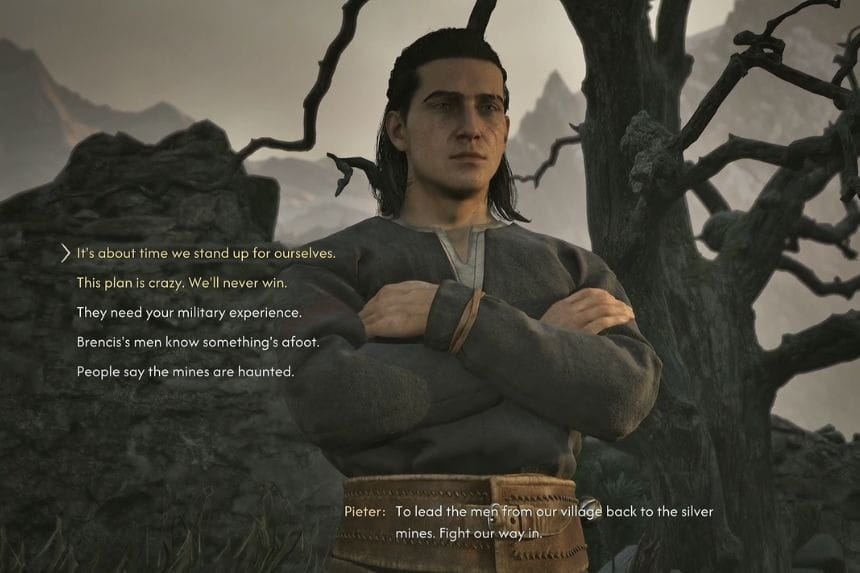
Pieter explains his plan to lead the men from their village back to the silver mines and fight their way inside. You’ll have two dialogue options:
- “It’s about time we stand up for ourselves.” – Advances the quest.
- “This plan is crazy. We’ll never win.” – Also advances the quest.
Both choices have the same outcome, so you can choose whichever response you prefer.
Like Father, Like Son – Pieter – III
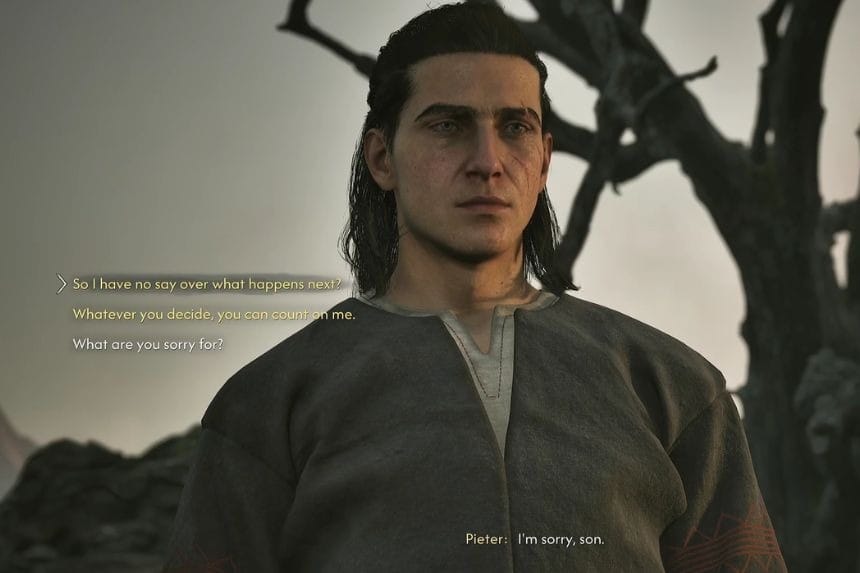
Pieter apologises to Coen, saying, “I’m sorry, son.” You’ll have two choices:
- “So I have no say over what happens next?” – Advances the quest.
- “Whatever you decide, you can count on me.” – Also advances the quest.
Both choices lead to the same outcome, so you can pick whichever response you prefer.
Like Father, Like Son – Pieter – IV
Pieter tells Coen, “Go make yourself useful. But get home before dusk.” You’ll have two choices:
- “See you then.” – Uses 1 Time Segment and ends the quest. You’ll still have time to complete side quests before the next main quest begins automatically.
- “I’ll wait with you.” – Uses 5 Time Segments and takes you directly to the next main quest, leaving you with much less free time.
If you want to save time and complete some side quests, choose “See you then.”
Live Bait – Yanna – I
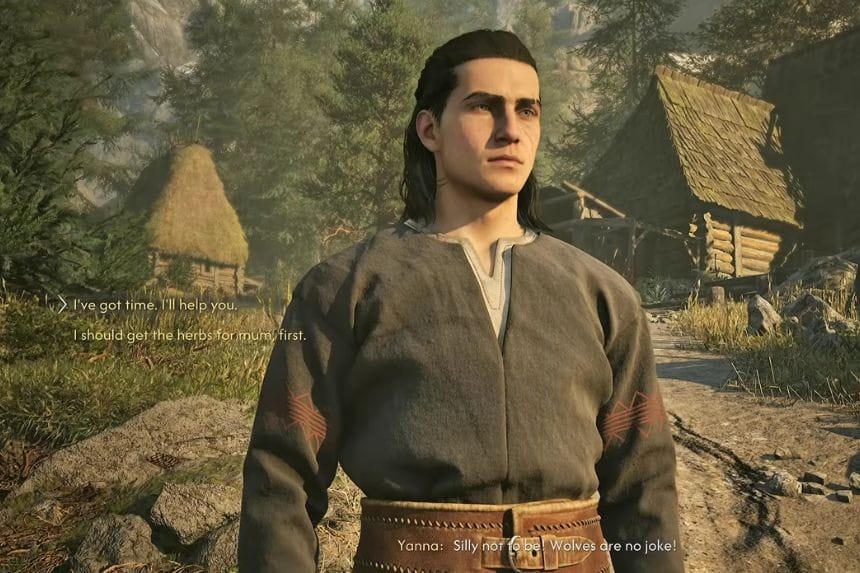
When you talk to Yanna, she says, “Silly not to be! Wolves are no joke!” You’ll get two responses here, and both will start the Live Bait side quest.
- “I’ve got time. I’ll help you.” – Starts the Live Bait side quest and adds the “Walk your siblings to the river” objective. Choose this if you want to complete the optional objective.
- “I should get the herbs for mum, first.” – Also starts the Live Bait side quest, but skips the optional “Walk your siblings to the river” objective if you leave your siblings behind.
Pick “I’ve got time. I’ll help you.” if you want to experience the optional objective. Otherwise, either choice works.
Live Bait – Yanna – II
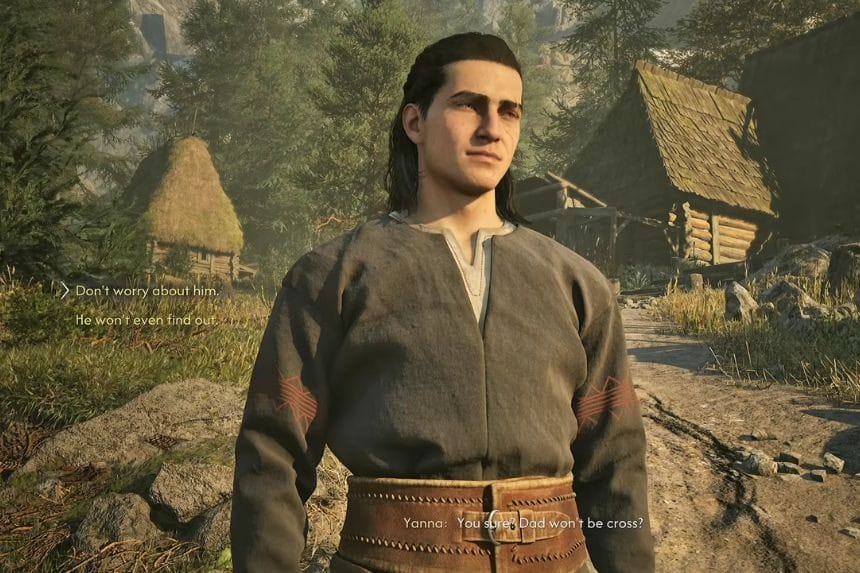
Yanna then asks, “You sure? Dad won’t be cross?” You can respond in two ways:
- “Don’t worry about him.” – Advances the quest.
- “He won’t even find out.” – Also advances the quest.
Both choices have the same outcome, so you can pick whichever response you prefer.
Live Bait – Yanna – III
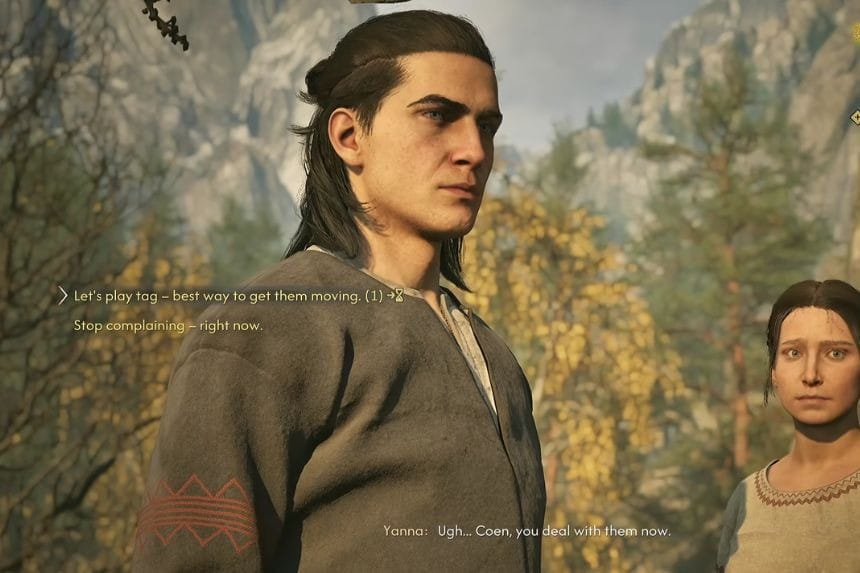
Yanna then says, “Ugh… Coen, you deal with them now.” This is a minor choice, so neither option has a major impact on the story.
- “Let’s play tag – best way to get them moving.” – Advances the quest and unlocks the optional objectives to catch Mirko and Lunka. However, this option costs 1 Time Segment.
- “Stop complaining – right now.” – Simply advances the quest without costing any Time Segments.
Pick “Stop complaining – right now.” if you want to save time. Choose the first option if you want to complete the optional objectives.
Live Bait – Yanna – IV
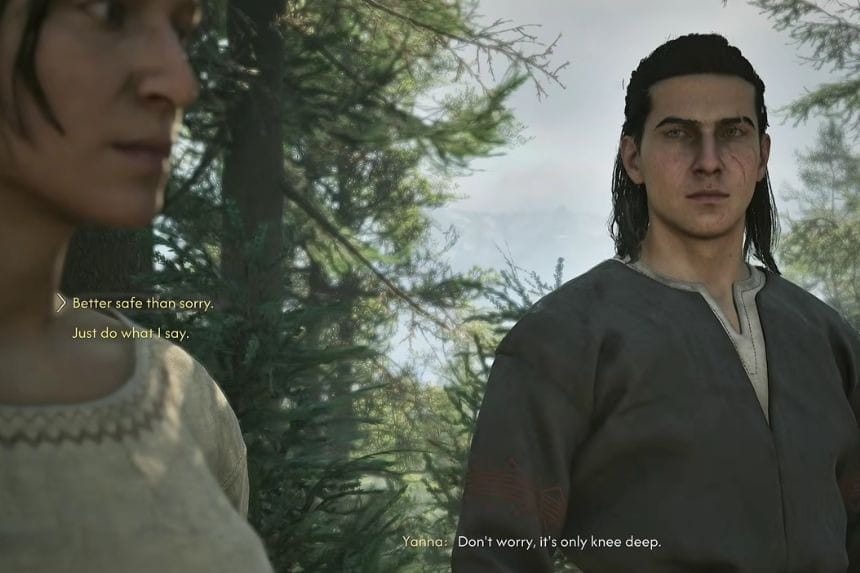
Yanna then says, “Don’t worry, it’s only knee-deep.” You can choose either of the following responses:
- “Better safe than sorry.” – Advances the quest.
- “Just do what I say.” – Also advances the quest.
Both choices have the same outcome, so either one is fine.
Live Bait – Lunka – I
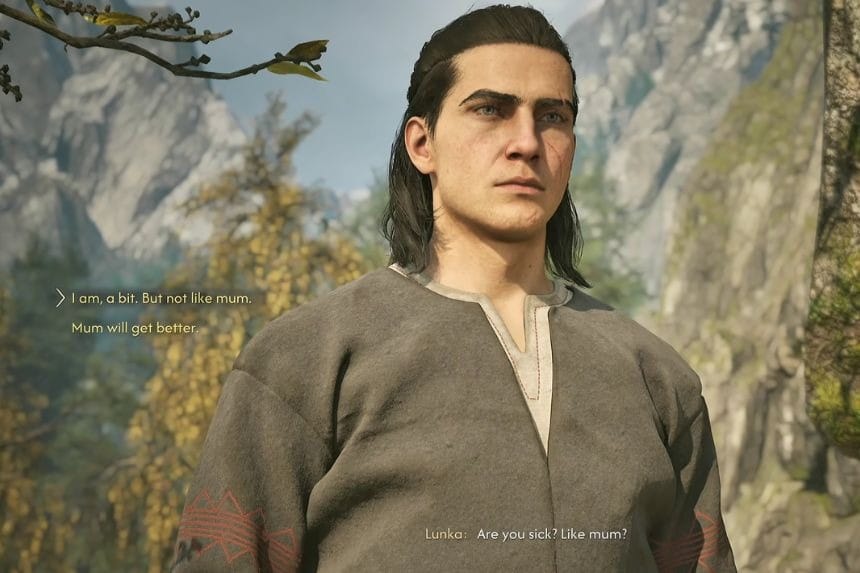
Lunka then asks Coen, “Are you sick? Like mum?” You have two responses to choose from:
- “I am a bit. But not like mum.” – Advances the quest.
- “Mum will get better.” – Also advances the quest.
Both choices lead to the same outcome, so you can pick either one.
Live Bait – Lunka – II
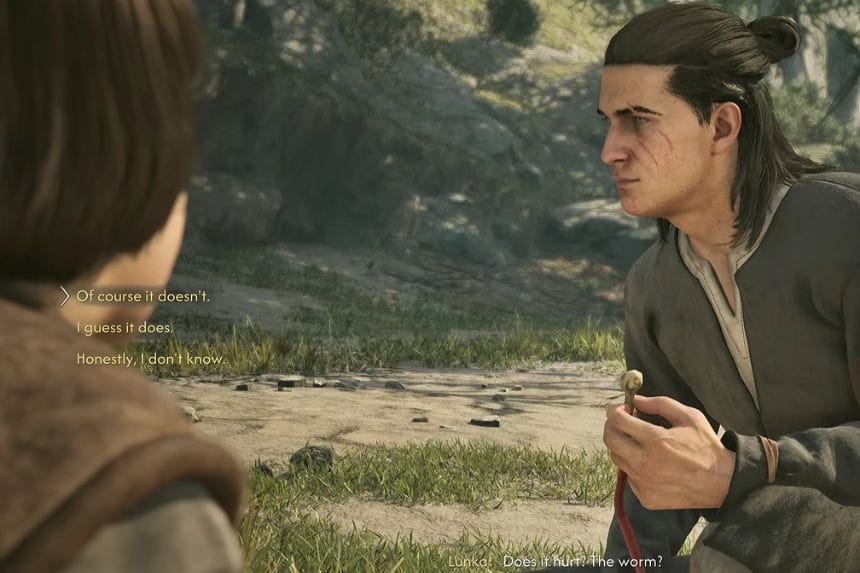
Lunka then asks, “Does it hurt? The worm?” You can choose from three responses:
- “Of course it doesn’t.” – Advances the quest.
- “I guess it does.” – Also advances the quest.
- “Honestly, I don’t know.” – Also advances the quest.
All three choices have the same outcome, so you can pick whichever response you prefer.
Live Bait – Lunka – III
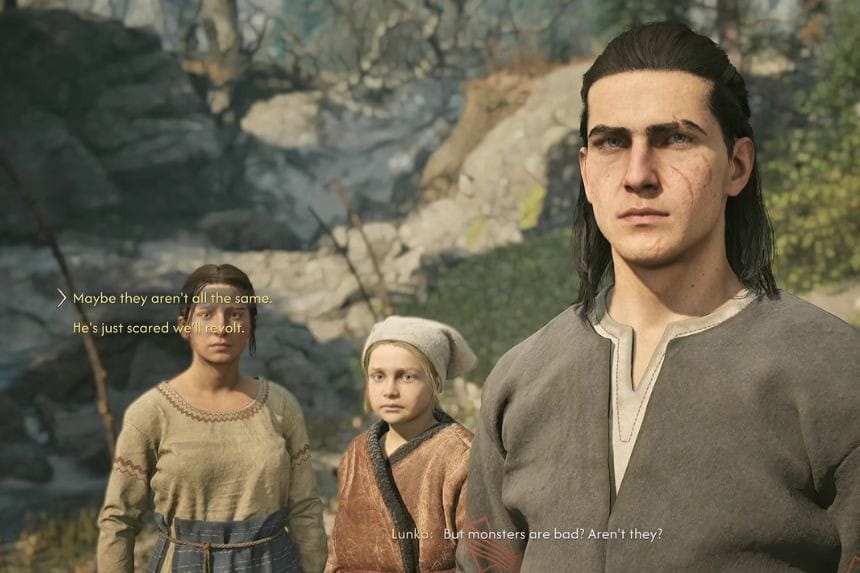
Lunka then asks, “But monsters are bad? Aren’t they?” You can choose either response:
- “Maybe they aren’t all the same.” – Advances the quest.
- “He’s just scared we’ll revolt.” – Also advances the quest.
Both choices lead to the same outcome, so there is no wrong answer here.
Live Bait – Mirto
Mirto then says, “Go ahead. He doesn’t care.” You can respond in two different ways:
- “Mirto, you need to behave.” – Advances the quest.
- “You’re angry. I get it.” – Also advances the quest.
Both choices have the same result, so pick whichever response feels more natural to you.
Live Bait – Brencis’ Officer – I
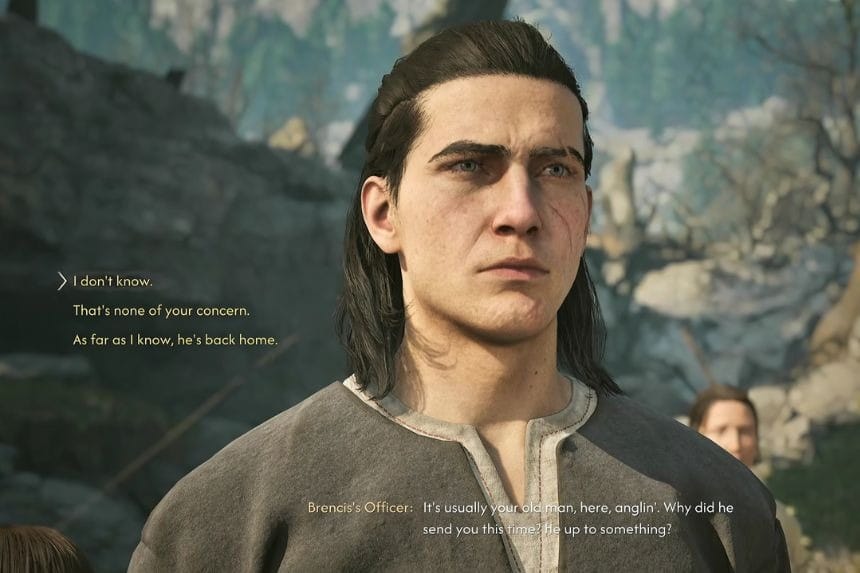
Brencis’ Officer then asks, “It’s usually your old man, here, anglin’. Why did he send you this time? He up to something?” You can respond in three ways:
- “I don’t know.” – Advances the quest.
- “That’s none of your concern.” – Also advances the quest.
- “As far as I know, he’s back home.” – Also advances the quest.
All three choices lead to the same outcome, so there is no wrong answer here.
Live Bait – Brencis’ Officer – II
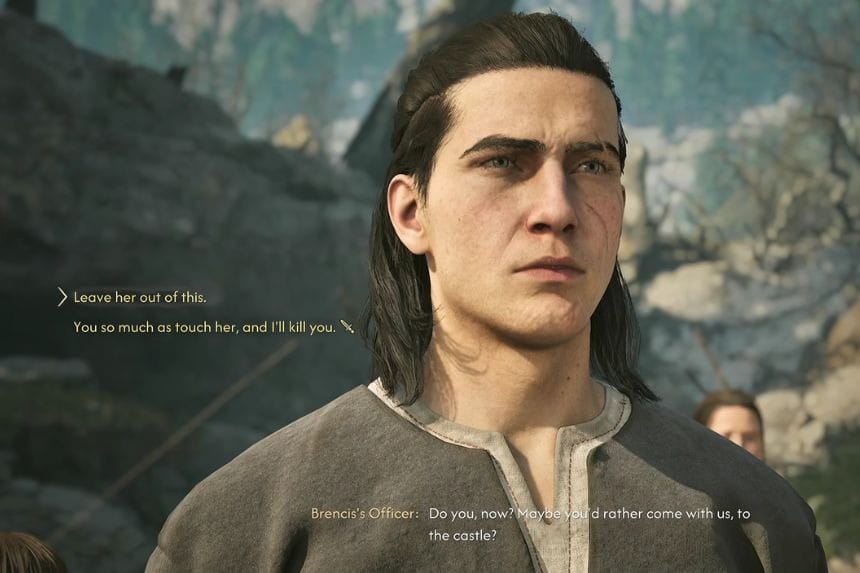
Brencis’ Officer then says, “Do you, now? Maybe you’d rather come with us, to the castle?” This is a minor choice, and both options move the quest forward.
- “Leave her out of this.” – Advances the quest without starting a fight.
- “You so much as touch her, and I’ll kill you.” – Advances the quest, but immediately starts a fight with the officer.
Pick “Leave her out of this.” if you want to avoid an unnecessary fight. If you’re ready to fight, choose the second option.
Live Bait – Uriash
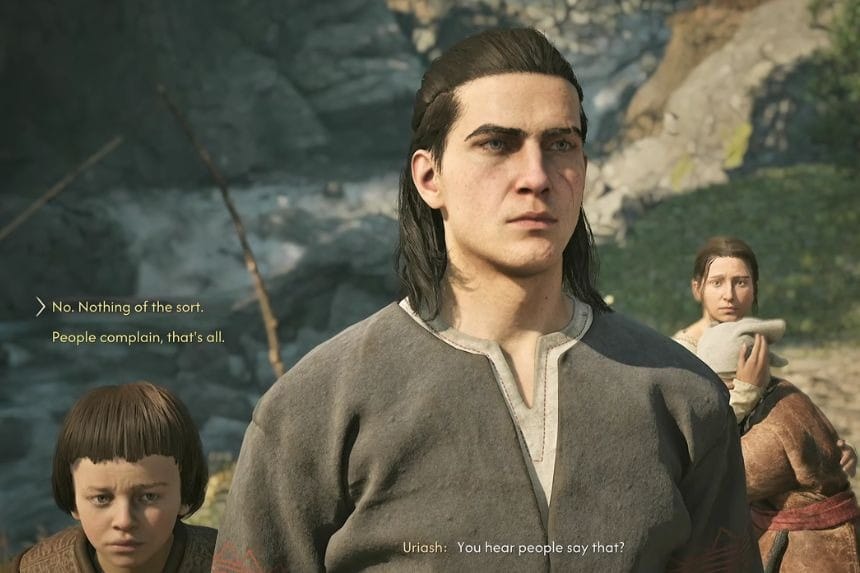
Uriash then asks, “You hear people say that?” You can respond in two ways:
- “No. Nothing of the sort.” – Advances the quest.
- “People complain, that’s all.” – Also advances the quest.
Both choices have the same outcome, so you can choose either one.
Blasphemy – Gremla – I
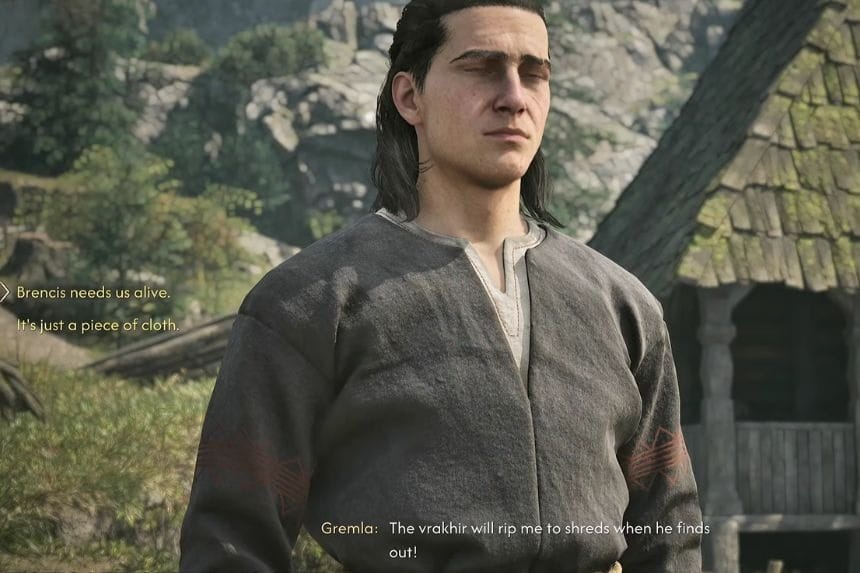
Gremla then says, “The vrakhir will rip me to shreds when he finds out!” You have two responses to choose from:
- “Brencis needs us alive.” – Advances the quest.
- “It’s just a piece of cloth.” – Also advances the quest.
Both choices have the same outcome, so you can pick whichever response you prefer.
Blasphemy – Gremla – II
Gremla then asks, “Any luck, Coen? You find out who did it?” You have two choices:
- “Premysl has it.” – Gremla goes to retrieve the banner, and she rewards you with 25 Denarii.
- “No. I’m sorry.” – The quest ends immediately, and you only receive Experience as a reward.
Choose “Premysl has it.” if you want the extra 25 Denarii.
Blasphemy – Alois
Alois says, “Hard not to! The old hag is shrieking so loud you’d think the vrakhir was flaying her already.” You can respond in two ways:
- “You don’t seem too bothered by her misfortune.” – Advances the quest.
- “So you know nothing about it?” – Also advances the quest.
Both choices have the same outcome, so you can pick either one.
Blasphemy – Otokar
Otokar then asks, “That why you come to me? Think I’ve got something to do with it?” You can respond in three ways:
- “Depends. You walk with a cane?” – Advances the quest.
- “Whoever stole the banner hurt their hand. Like you did.” – Also advances the quest.
- “Just trying to help.” – Also advances the quest.
All three choices lead to the same outcome, so there is no wrong answer here.
Blasphemy – Premysl – I
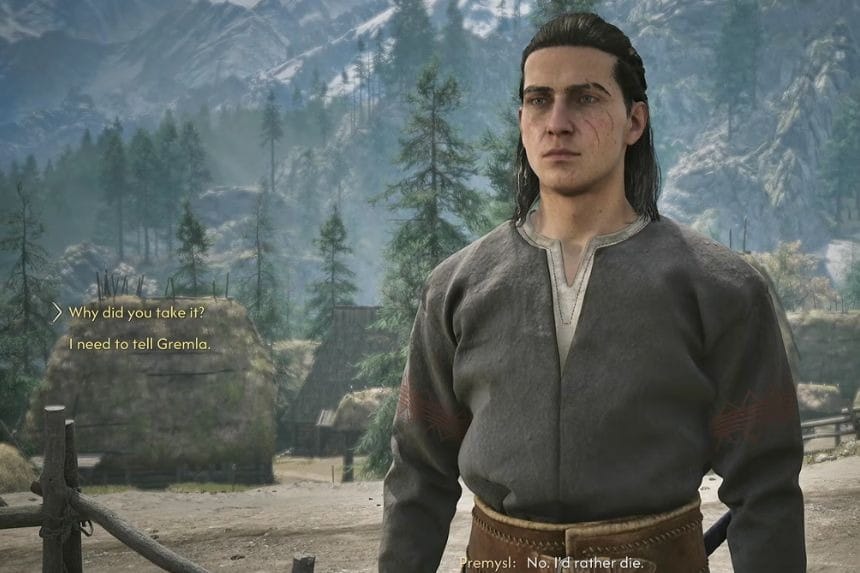
Premysl then says, “No. I’d rather die.” You have two responses to choose from:
- “Why did you take it?” – Advances the quest.
- “I need to tell Gremla.” – Also advances the quest.
Both choices have the same outcome, so you can pick either one.
Blasphemy – Premysl – II
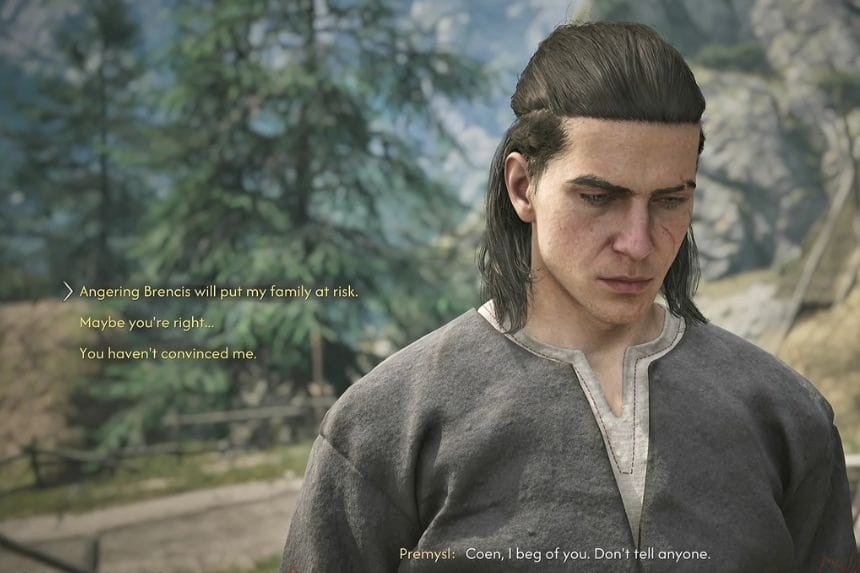
Premysl then pleads with Coen, “Coen, I beg of you. Don’t tell anyone.” This is a minor choice, and your response can lead to slightly different outcomes.
- “Angering Brencis will put my family at risk.” – Advances the quest and unlocks another dialogue choice.
- “Maybe you’re right…” – Advances the quest, and Premysl gives you a Daylight Amulet.
- “You haven’t convinced me.” – Advances the quest and unlocks another dialogue choice.
Pick “Maybe you’re right…” if you want to get the Daylight Amulet. The other two options simply open up another choice.
Blasphemy – Premysl – III
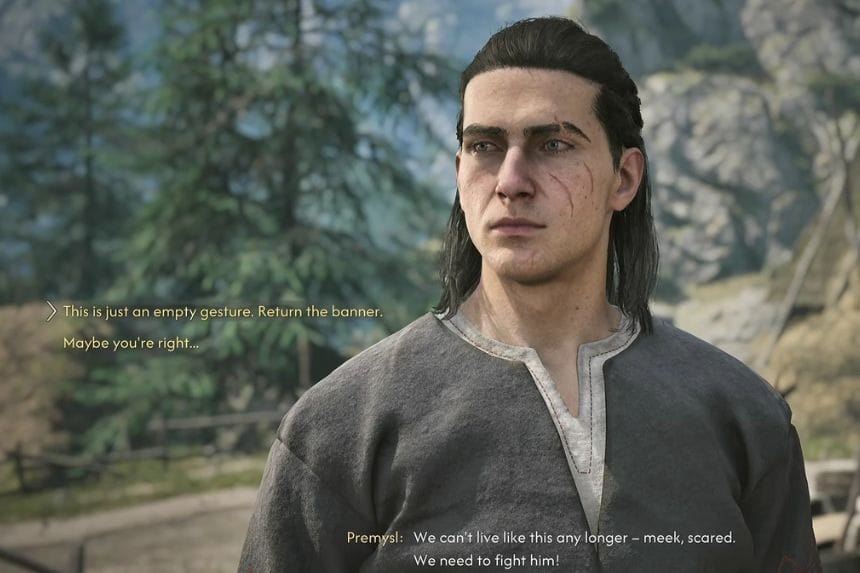
Premysl says, “We can’t live like this any longer – meek, scared. We need to fight him!” You have two choices here:
- “This is just an empty gesture. Return the banner.” – Advances the quest.
- “Maybe you’re right…” – Advances the quest, and Premysl gives you a Daylight Amulet.
Recommended Choice: Pick “Maybe you’re right…” if you want to get the Daylight Amulet. Otherwise, both choices move the quest forward.
On the Run – Kuno
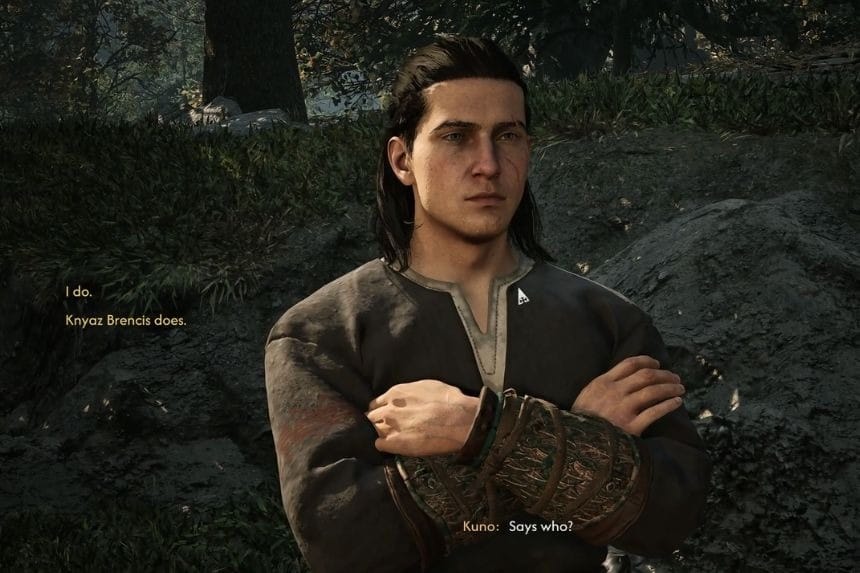
Kuno then asks, “Says who?” You have two choices here, and each one leads to a different outcome:
- “I do.” – Starts a fight with Kuno, which scares the pig away.
- “Knyaz Brencis does.” – Kuno slashes the pig, scaring it away.
Both choices result in the pig running away, but the first option makes you fight Kuno.
On the Run – Iorgu – I
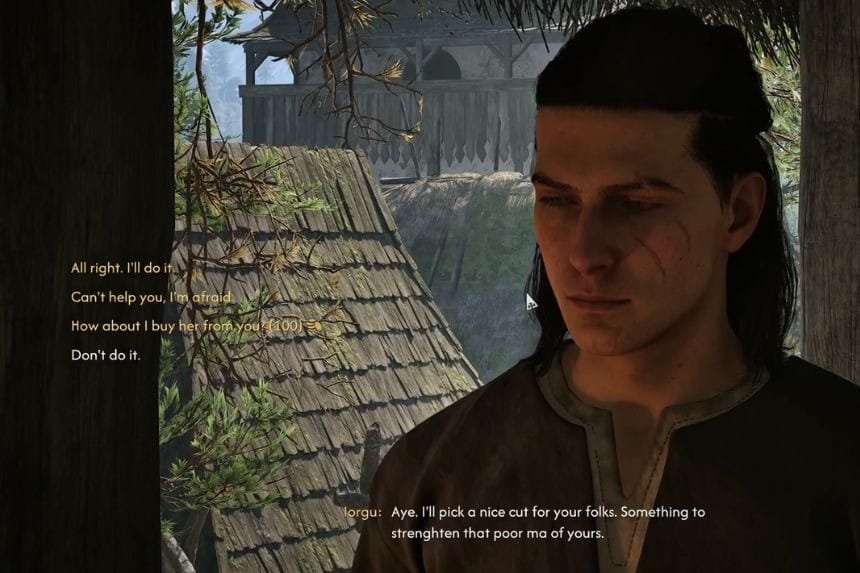
Iorgu then says, “Aye. I’ll pick a nice cut for your folks. Something to strengthen that poor ma of yours.” You have three choices here, and they lead to different outcomes:
- “All right. I’ll do it.” – Advances the quest and unlocks additional dialogue.
- “Can’t help you I’m afraid.” – Takes you to the end of the quest and locks you out of the additional rewards.
- “How about I buy her from you?” – Costs 100 Denarii, but you get the pig. Iorgu says he’ll bring it to your house later.
Pick “All right. I’ll do it.” if you want to continue the quest and keep access to the additional rewards.
On the Run – Iorgu – II
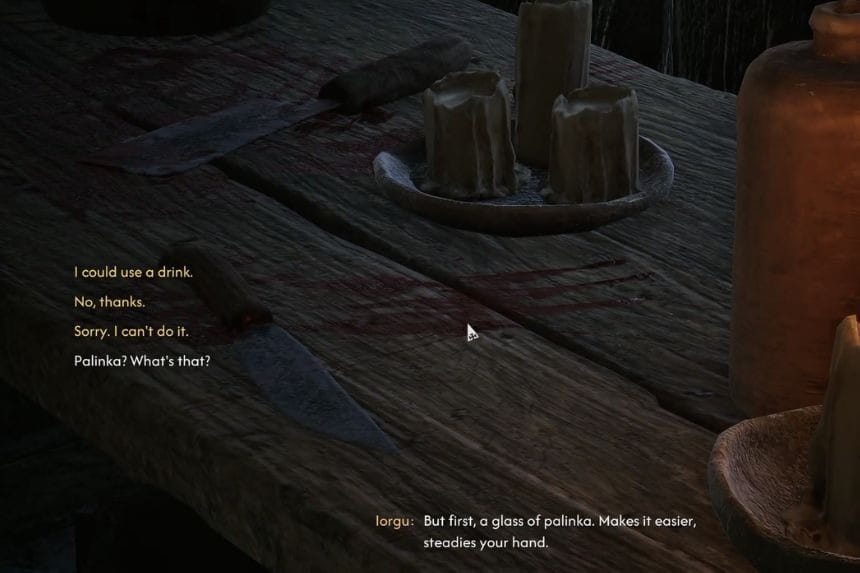
Iorgu then says, “But first, a glass of palinka. Makes it easier, steadies your hand.” You have three choices:
- “I could use a drink.” – Advances the quest and unlocks more dialogue.
- “No, thanks.” – Also advances the quest and unlocks more dialogue.
- “Sorry. I can’t do it.” – Ends the quest and locks you out of the additional rewards.
Pick either “I could use a drink.” or “No, thanks.” if you want to continue and keep access to the extra rewards.
On the Run – Iorgu – III
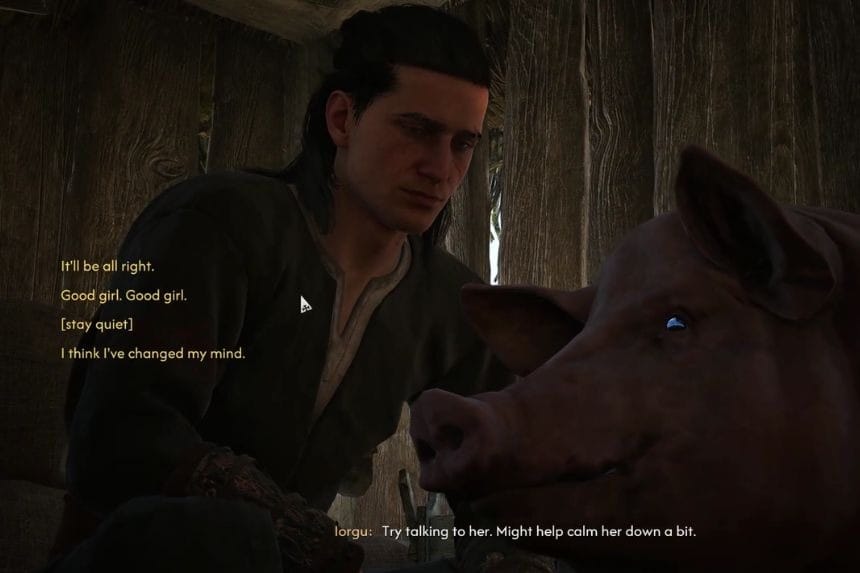
Iorgu then says, “Try talking to her. Might help her calm down a bit.” You have four choices:
- “It’ll be alright.” – Advances the quest and unlocks more dialogue.
- “Good girl. Good girl.” – Also advances the quest and unlocks more dialogue.
- “[Stay quiet]” – Advances the quest and unlocks more dialogue.
- “I think I’ve changed my mind.” – Ends the quest and locks you out of the additional rewards.
Pick any of the first three options if you want to continue the quest and get the additional rewards. Avoid “I think I’ve changed my mind.” unless you want to end the quest early.
On the Run – Iorgu – IV
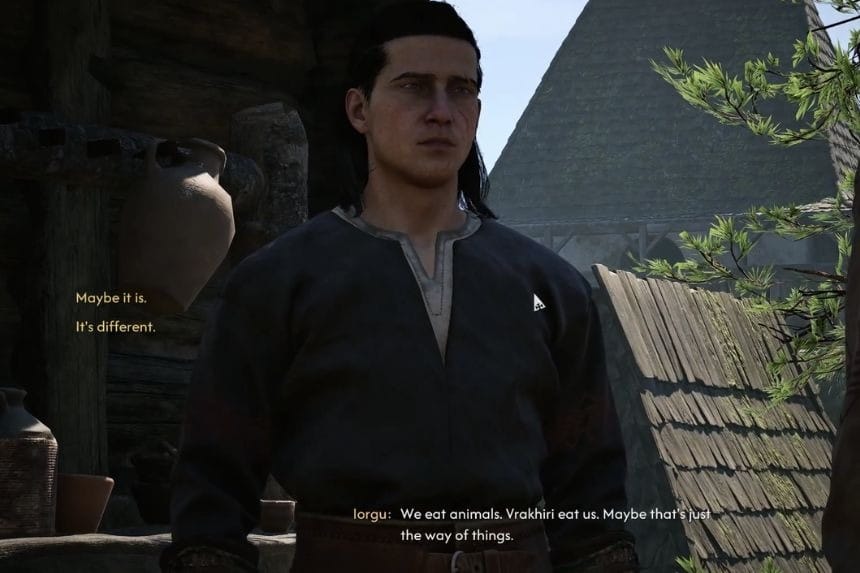
Iorgu says, “We eat animals. Vrakhiri eat us. Maybe that’s just the way of things.” You can respond in two ways:
- “Maybe it is.” – No special effect, but the quest continues.
- “It’s different.” – Also has no special effect and advances the quest.
Both options lead to the same outcome, so you can pick whichever response fits your Coen.
On the Run – Iorgu – V
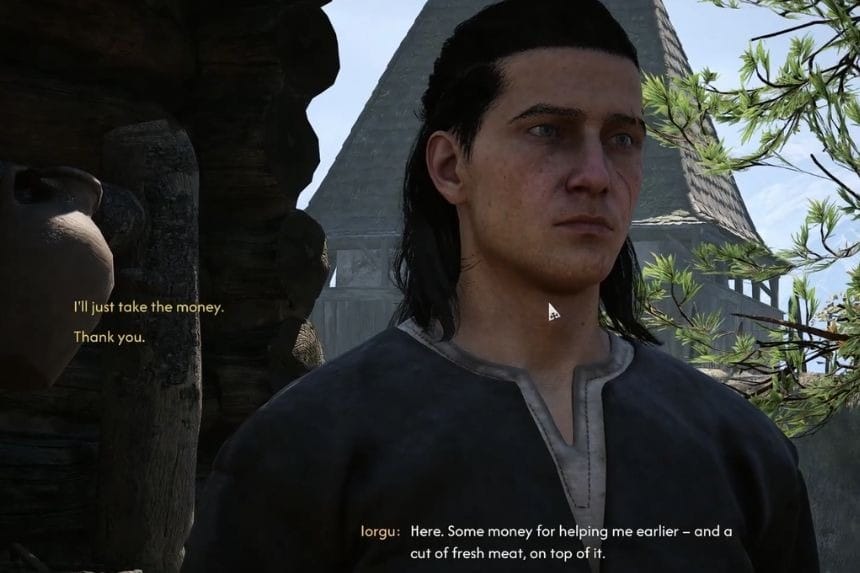
After helping Iorgu earlier, he gives you a reward and says, “Here. Some money for helping me earlier and a cut of fresh meat, on top of it.” You now have two choices:
- “I’ll just take the money.” – The quest ends, and you receive the base Denarii reward.
- “Thank you.” – The quest also ends, but you receive the base Denarii reward plus some additional meat.
Pick “Thank you” if you want the extra meat along with your Denarii.
If a Tree Falls in a Forest… – Zdislav
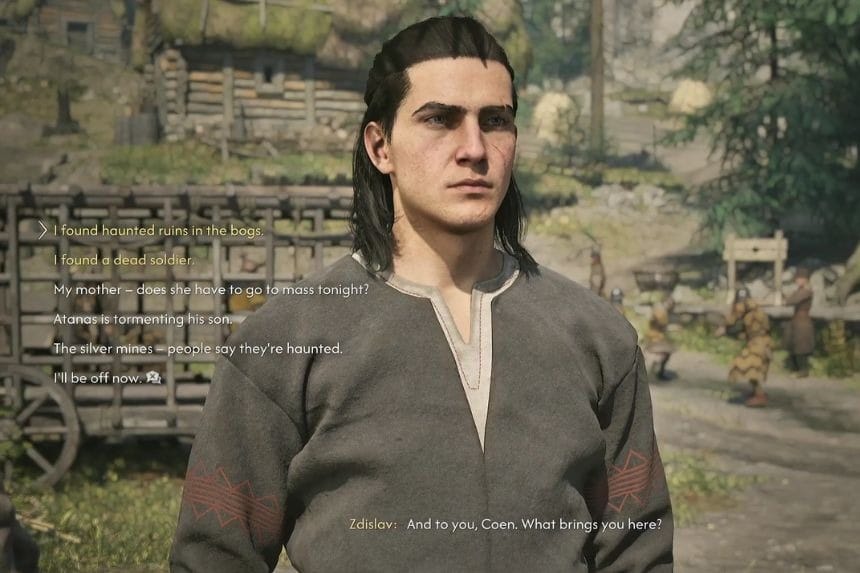
When you speak to Zdislav, he asks, “And to you, Coen. What brings you here?” You have three responses to choose from:
- “I found a dead soldier.” – Advances the quest.
- “My mother – does she have to go to mass tonight?” – Has no effect and simply takes you back to the same dialogue prompt.
- “The silver mines – people say they’re haunted.” – Also has no effect and loops back to the prompt.
Pick “I found a dead soldier.” if you want to move the quest forward.
Sacred Covenant – Florin
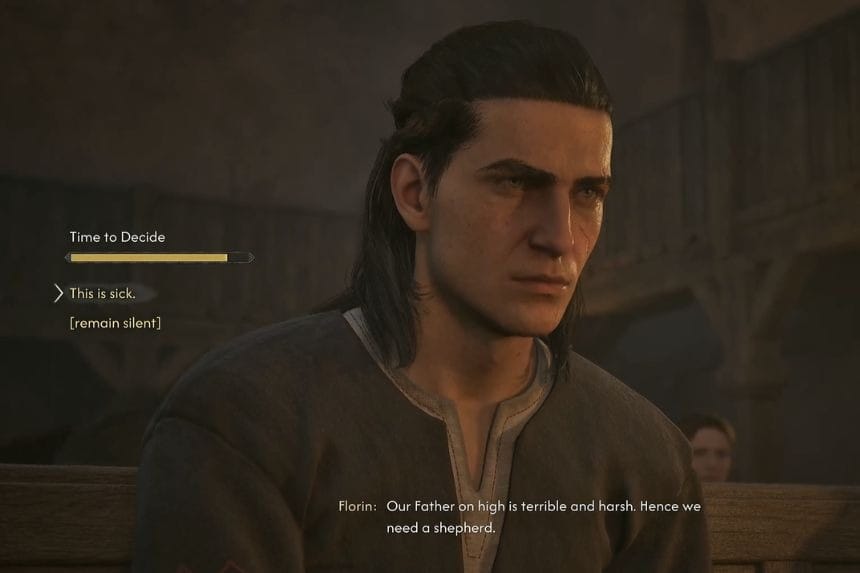
Florin says, “We err, such is our nature. Hence, we need a shepherd.”
This leads to the choice “This Is Sick, or Should You Remain Silent?” You have three options:
- “This is sick.” – Pieter tells Coen not to draw attention to himself.
- “[Remain silent]” – Nothing happens, and the conversation continues.
- Let the timer run out. – Nothing happens.
This is only a minor dialogue choice, so pick whichever response you prefer. If you want to see the dialogue play out, “This is sick” gives you a reaction from Pieter.
Sacred Covenant – Villagers
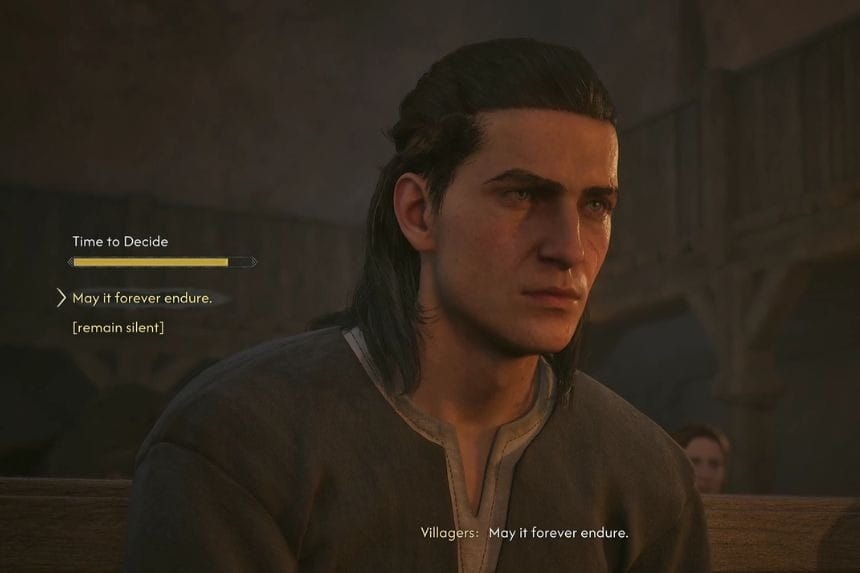
The villagers say, “May it forever endure.” You can respond in three ways:
- “May it forever endure.” – Coen responds, and the quest advances.
- “[Remain silent]” – Coen says nothing, but the quest still moves forward.
- Let the timer run out. – Coen remains silent, and the quest advances as well.
All three options have the same outcome, so you can choose whichever response you prefer.
Sacred Covenant – Vladimir – I
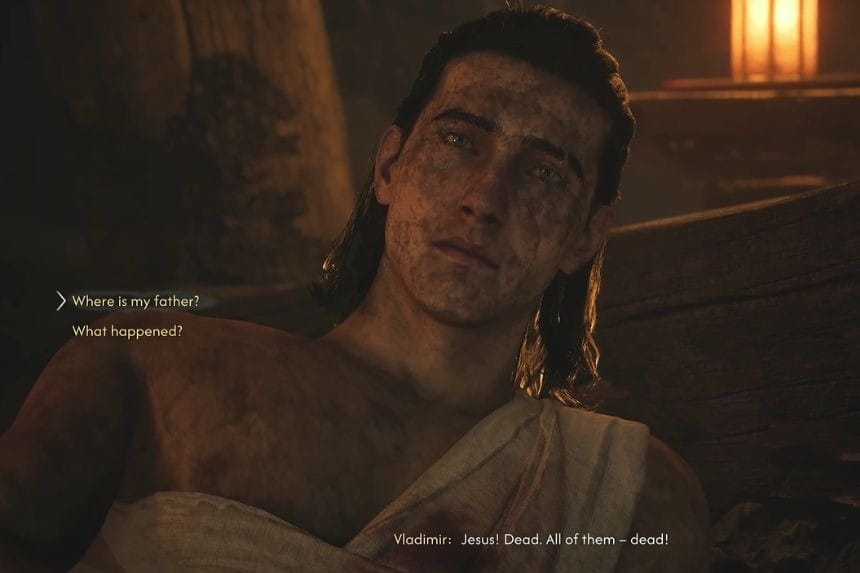
When Vladimir sees what happened, he says, “Jesus! Dead. All of them – dead!” You can respond in two ways:
- “Where is my father?” – This gives you another set of dialogue options. However, these extra choices do not affect the outcome of the quest.
- “What happened?” – Advances the quest without any additional dialogue.
Pick “Where is my father?” if you want to see the extra dialogue. Otherwise, “What happened?” is the quicker option.
Sacred Covenant – Vladimir – II
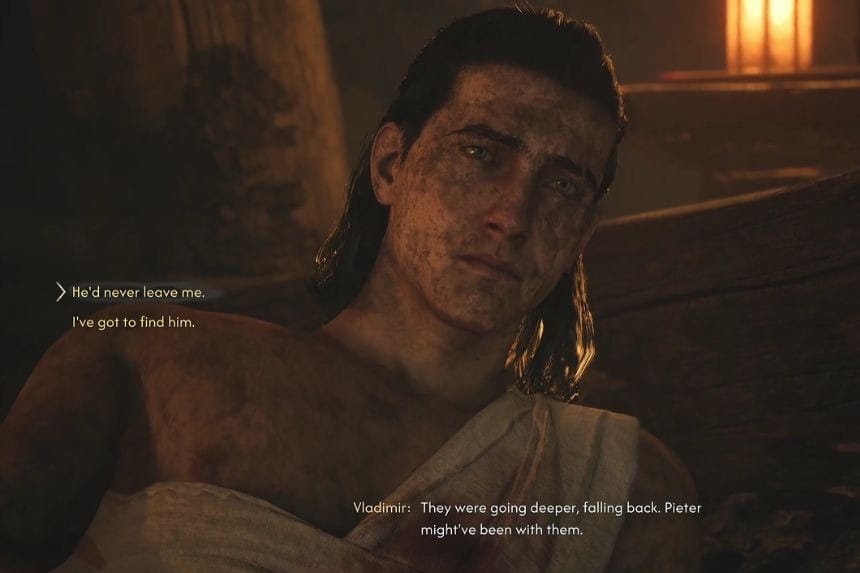
Vladimir explains, “They were going deeper, falling back. Pieter might’ve been with them.” You can choose between two responses:
- “He’d never leave me.” – Advances the quest with no additional effect.
- “I’ve got to find him.” – Also advances the quest with no additional effect.
Both options lead to the same outcome, so choose whichever response feels right for Coen.
Bad Blood – Vladimir – I
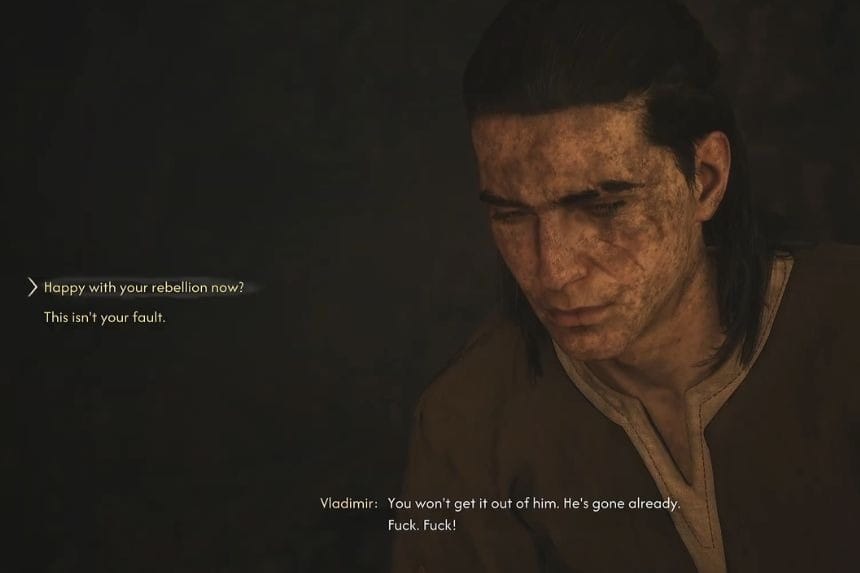
Vladimir says, “You won’t get it out of him. He’s gone already. Fuck. Fuck!” You have two choices:
- “Happy with your rebellion now?” – Advances the quest. This option is only available if you have completed the Help Ludwig optional objective.
- “This isn’t your fault.” – Also advances the quest and requires you to have completed the Help Ludwig optional objective.
Both options lead to the same outcome, so choose whichever response you prefer.
Bad Blood – Vladimir – II
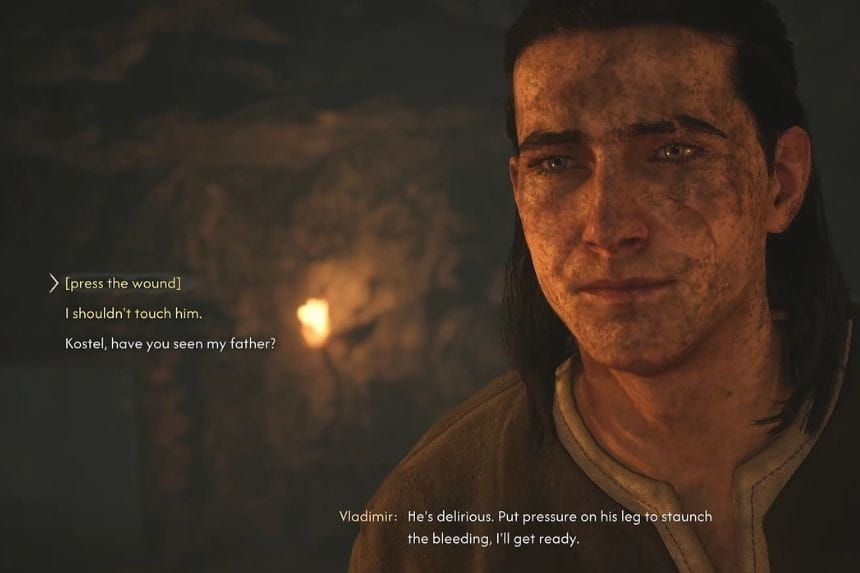
Vladimir says, “He’s delirious. Put pressure on his leg to staunch the bleeding, I’ll get ready.” You have three options:
- “[Press the wound]” – Coen helps stop the bleeding, and the quest advances.
- “I shouldn’t touch him.” – The quest still advances with no major effect.
- “Kostel, have you seen my father?” – This takes you back to the other dialogue choices.
Pick either of the first two options to continue the quest. The third option simply loops back to the previous choices.
Bad Blood – Vladimir – III
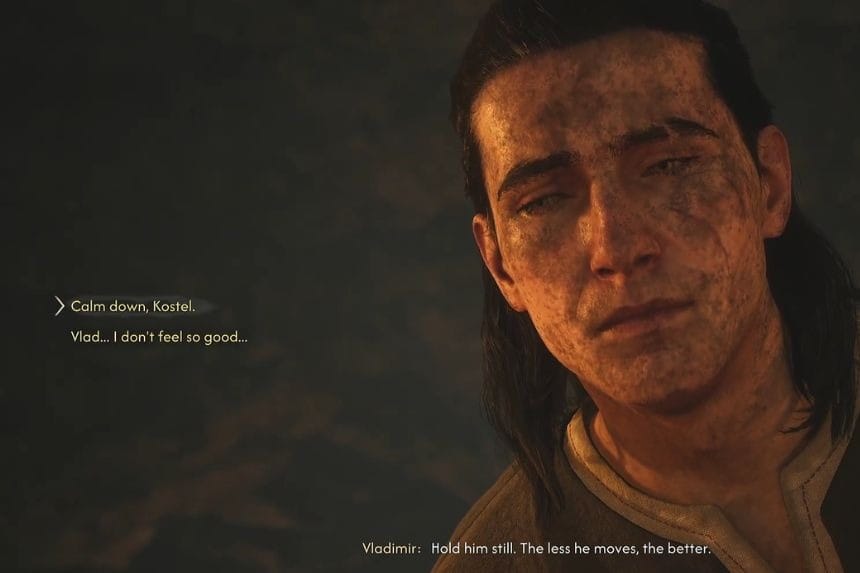
Vladimir tells you, “Hold him still. The less he moves, the better.” You have two choices:
- “Calm down, Kostel.” – Advances the quest with no additional effect.
- “Vlad… I don’t feel so good…” – Also advances the quest with no additional effect.
Recommended Choice: Both options lead to the same outcome, so you can choose whichever response you prefer.
Bad Blood – Vladimir – IV
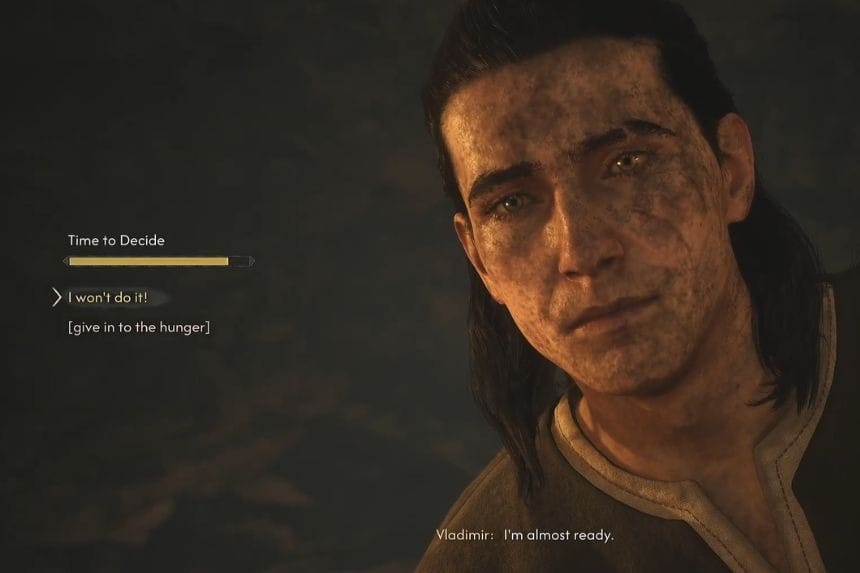
Vladimir says, “I’m almost ready.” You have two choices:
- “I won’t do it!” – Advances the quest. However, if you take too long to choose, this option will be replaced by “[Give into the hunger]”.
- “[Give into the hunger]” – Advances the quest. This option appears as the second choice, but if you wait too long, it will replace the first option entirely.
Pick “I won’t do it!” if you don’t want to give in to the hunger. Make sure to choose it before the timer runs out.
Bad Blood – Vladimir – V
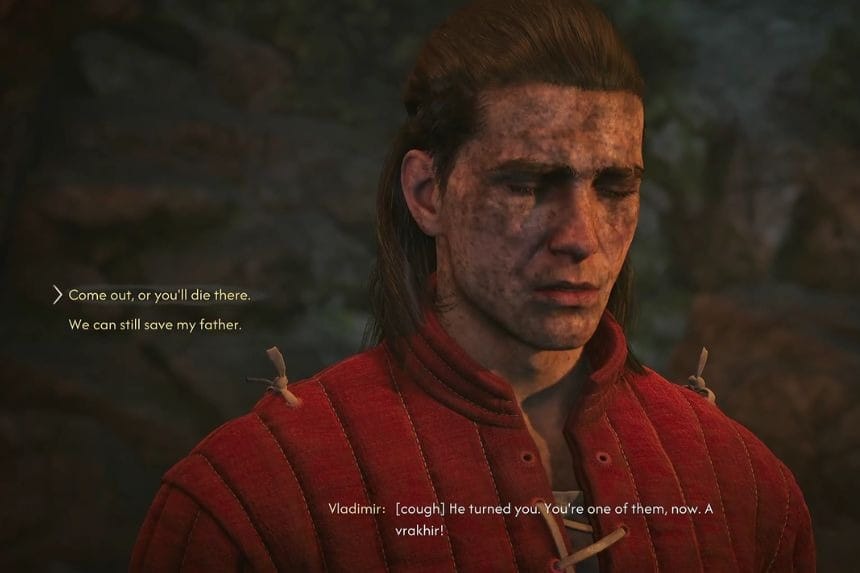
Vladimir coughs and says, “He turned you. You’re one of them, now. A vrakhir!” You have two choices:
- “Come out, or you’ll die in there!” – Advances the Find Vladimir optional objective.
- “We can still save my father.” – Also advances the Find Vladimir optional objective.
Both choices lead to the same outcome. To find Vladimir, check the body near the two soldiers and then follow the trail to the burning house. Defeat the enemies nearby, and you’ll be able to speak to Vladimir.
Bad Blood – Vladimir – VI
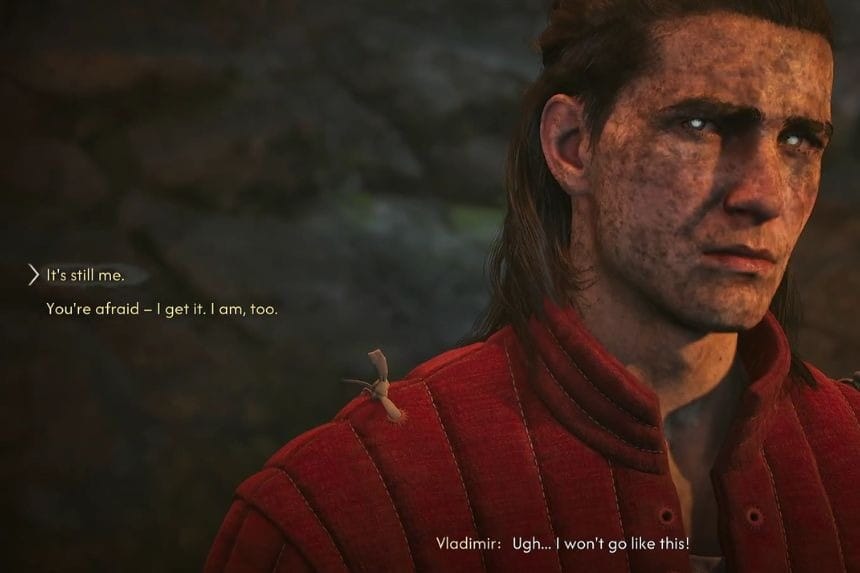
Vladimir says, “Ugh… I won’t go like this!” You have two choices:
- “It’s still me.” – Advances the Find Vladimir optional objective.
- “You’re afraid – I get it. I am too.” – Also advances the Find Vladimir optional objective.
Both options have the same outcome, so you can choose whichever response you prefer.
Bad Blood – Vladimir – VII
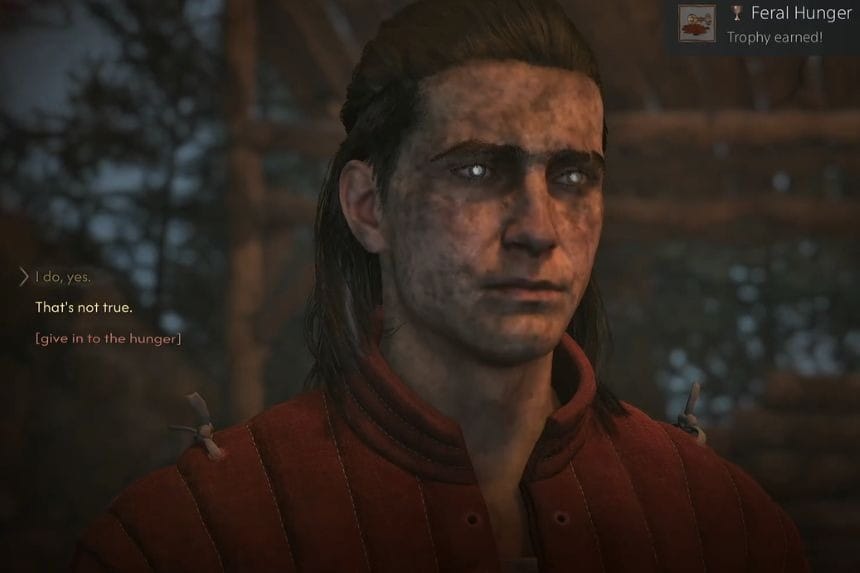
Vladimir says, “Even now you want to drink from me! [cough] I can see it. I can feel it!” You have three choices:
- “I do, yes.” – Advances the quest. Vladimir leads Coen to a crag above Laslea, reducing the time needed for “Return to Laslea and save your family” to just 1 Time Segment. This also unlocks additional dialogue choices with Vladimir.
- “That’s not true.” – Has the same outcome. Vladimir leads you to the crag above Laslea, reduces the required time to 1 Time Segment, and unlocks more dialogue choices.
- “[Give into the hunger]” – Advances the quest but kills Vladimir. This option replaces the other choices if Coen is in the Crave Blood state.
Pick either “I do, yes.” or “That’s not true.” if you want to keep Vladimir alive and unlock the extra dialogue. Avoid “[Give into the hunger]” unless you’re intentionally choosing to kill him.
Bad Blood – Vladimir – VIII
Vladimir warns Coen, “There’s no way. You’ll die.” You can respond in two ways:
- “I’m dead already.” – Advances the quest with no additional effect.
- “Then at least I’ll die with my family.” – Also advances the quest with no additional effect.
Both options lead to the same outcome, so choose whichever response you prefer.
Bad Blood – Vladimir – IX
Vladimir admits, “I… People warned me this might be a trap, told me to call it off.” You have three choices:
- “Makes no difference now.” – Advances the quest and unlocks more dialogue from Vladimir about the rebellion, but you won’t get any additional choices.
- “You piece of shit.” – Advances the quest and unlocks more dialogue choices with Vladimir.
- “I’m not wasting another second on your bullshit.” – Advances the quest, but ends the conversation with Vladimir. You won’t be able to learn more about the rebellion.
Pick “You piece of shit.” if you want to see the most additional dialogue and choices. Avoid the third option if you want to learn more about the rebellion.
Bad Blood – Vladimir – X
Vladimir tries to justify what happened, saying, “It would have happened anyway! They’d bleed us all dry in the end!” You have three choices:
- “No point in arguing now.” – Advances the quest and gives you more information about the rebellion.
- “I won’t forgive you.” – Also advances the quest and reveals more about the rebellion.
- “[Give into the hunger]” – Advances the quest, but kills Vladimir and prevents you from learning more about the rebellion.
Pick either “No point in arguing now.” or “I won’t forgive you.” if you want to keep Vladimir alive and learn more about the rebellion. Avoid “[Give into the hunger]” unless you intentionally want to kill him.
Bad Blood – Kostel
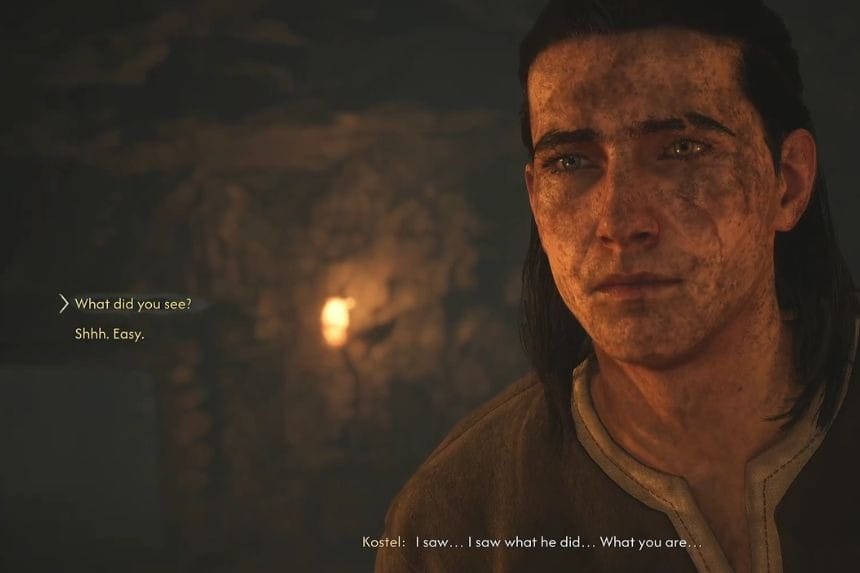
Kostel says, “I saw… I saw what he did… What you are…” You have three possible responses:
- “What did you see?” – Advances the quest. However, if you take too long to choose, this option will be replaced by “[Give into the hunger]”.
- “Shhh. Easy.” – Also advances the quest. If you wait too long, this choice will be replaced by “[Give into the hunger]”.
- “[Give into the hunger]” – Advances the quest, but this option only appears if you take too long to decide between the first two choices.
Pick “What did you see?” or “Shhh. Easy.” if you want to avoid giving in to the hunger. Make your choice before the timer runs out.
Bad Blood – Brencis’ Soldier
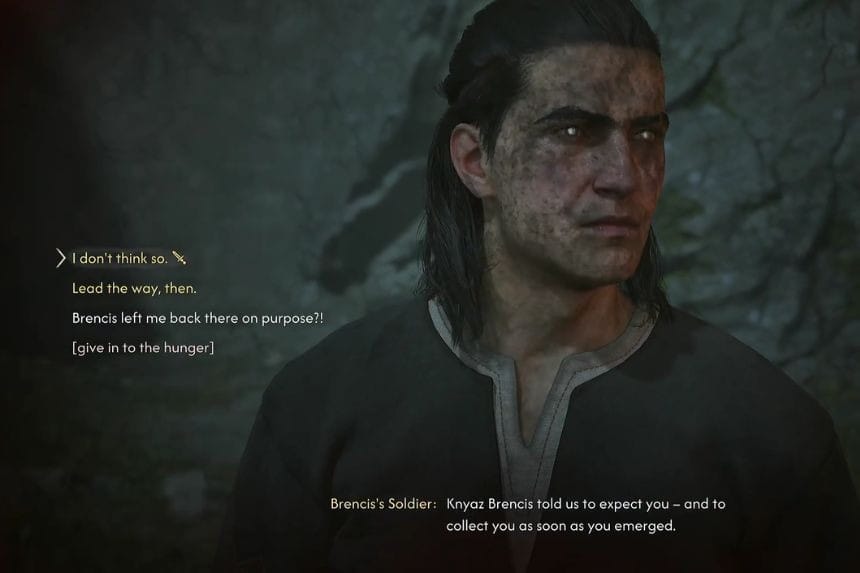
When you come out, Brencis’ Soldier tells you, “Kynaz Brencis told us to expect you – and to collect you as soon as you emerged.” You now have four choices:
- “I don’t think so.” – Advances the quest and starts a fight with the soldiers. After the fight, you can continue normally.
- “Lead the way then.” – Takes you straight to Brencis and skips ahead in the quest. However, this means you won’t be able to save Vladimir.
- “Brencis left me back there on purpose?!” – Has no effect and simply takes you back to the other choices.
- “[Give into the hunger]” – Advances the quest and starts a fight with the soldiers. If you are Craving Blood, this option is selected by default. After the fight, you can continue normally.
Pick “I don’t think so.” if you want to fight the soldiers and continue normally while still having a chance to save Vladimir. Avoid “Lead the way then” if you don’t want to skip ahead and lose that opportunity.
Bad Blood – Anca – I
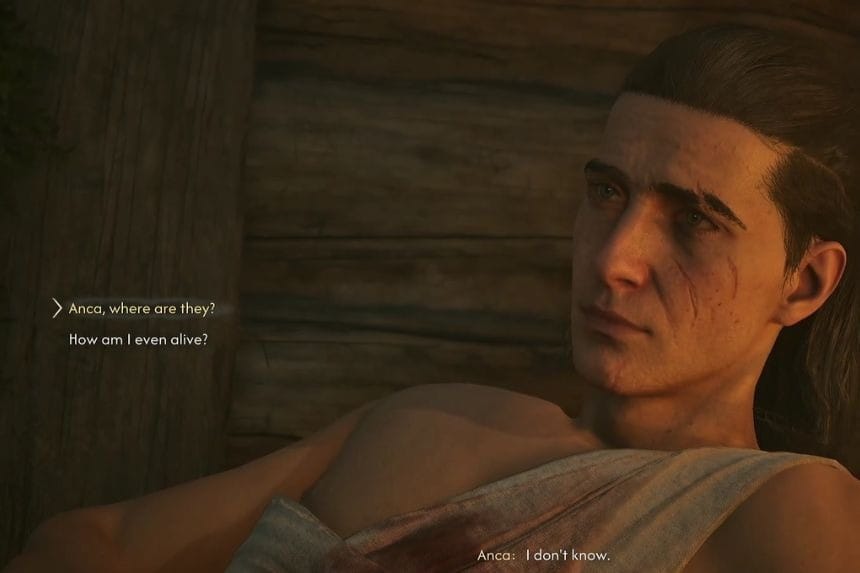
Anca says, “I don’t know.” You have two choices:
- “Anca, where are they?” – Advances the quest with no additional effect.
- “How am I even alive?” – Also advances the quest with no additional effect.
Both options lead to the same outcome, so you can choose whichever response you prefer.
Bad Blood – Anca – II
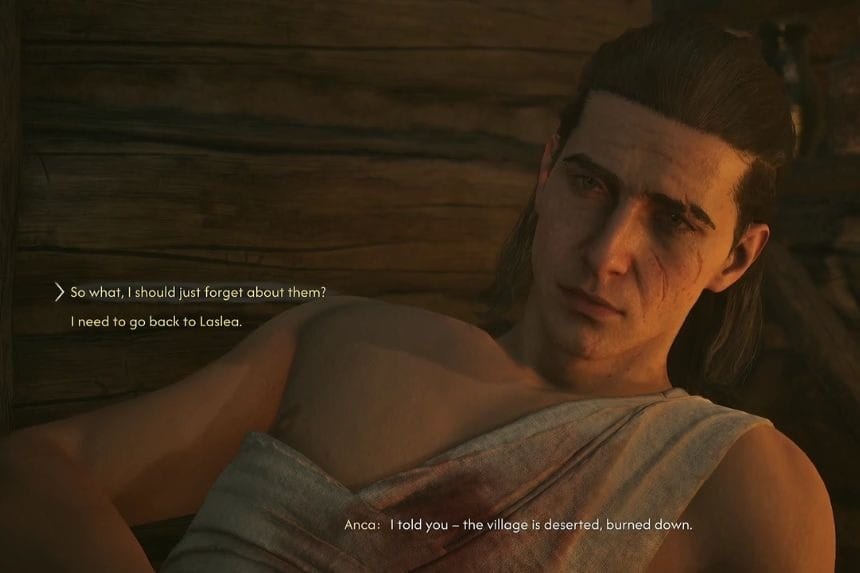
Anca reminds Coen, “I told you – the village is deserted, burned down.” You have two choices:
- “So what, I should just forget about them?” – Advances the quest with no additional effect.
- “I need to go back to Laslea.” – Also advances the quest with no additional effect.
Both options have the same outcome, so choose whichever response you prefer.
Smoke and Ashes – Anca I
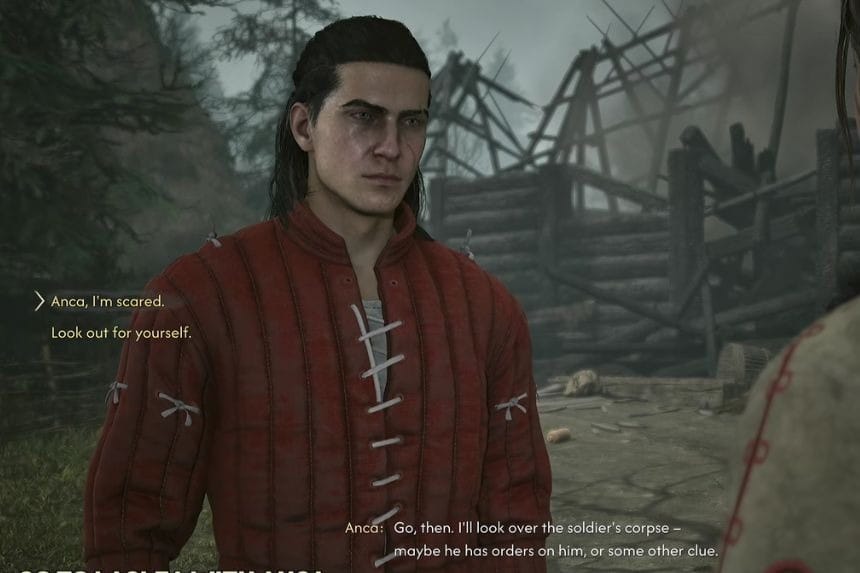
During Smoke and Ashes, Anca tells Coen that she will search the soldier’s corpse for orders or other clues. This gives you a minor dialogue choice with two options:
- “Anca, I’m scared.” – This advances the quest.
- “Look out for yourself.” – This also advances the quest.
Both options have the same outcome, so you can choose either one to continue.
Smoke and Ashes – Anca II
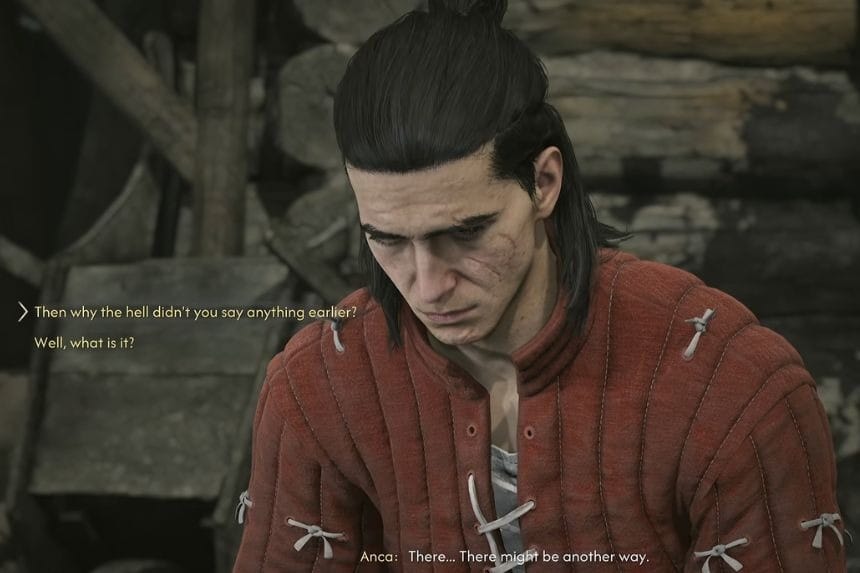
During Smoke and Ashes, Anca suggests that there may be another way forward. This gives you another dialogue choice with two options:
- “Then why the hell didn’t you say anything earlier?” – This advances the quest.
- “Well, what is it?” – This also advances the quest.
Both options lead to the same outcome, so you can choose either one to continue.
Smoke and Ashes – Anca III
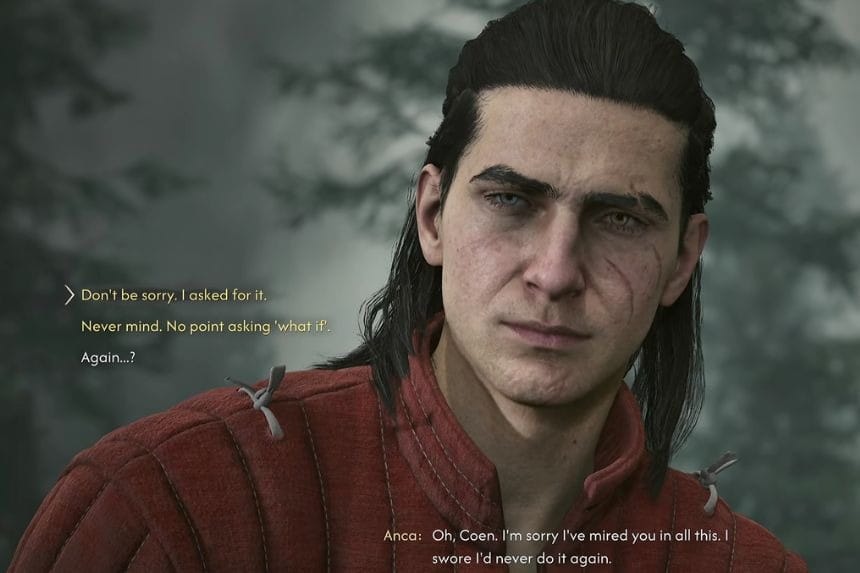
During Smoke and Ashes, Anca apologises to Coen for getting him involved and admits that she had promised herself she would never do it again. This gives you two dialogue options:
- “Don’t be sorry. I asked for it.” – This advances the quest.
- “Never mind. No point asking ‘what if’.” – This also advances the quest.
Both options have the same outcome, so either one will let you continue the quest.
Smoke and Ashes – Anca IV
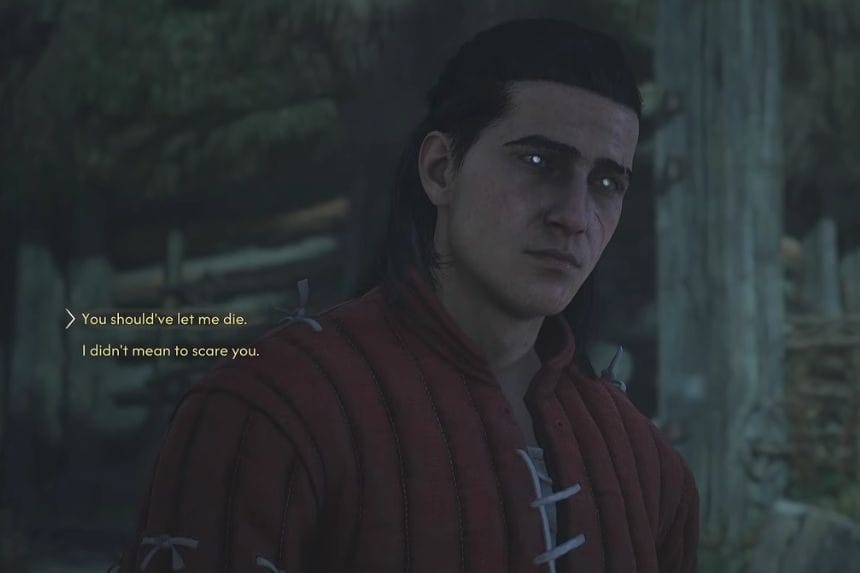
During Smoke and Ashes, Anca agrees with Coen and says she feels the same way. This gives you two dialogue options:
- “You should’ve let me die.” – This advances the quest.
- “I didn’t mean to scare you.” – This also advances the quest.
Both options lead to the same outcome, so you can choose either one to continue the quest.
Smoke and Ashes – Anca V
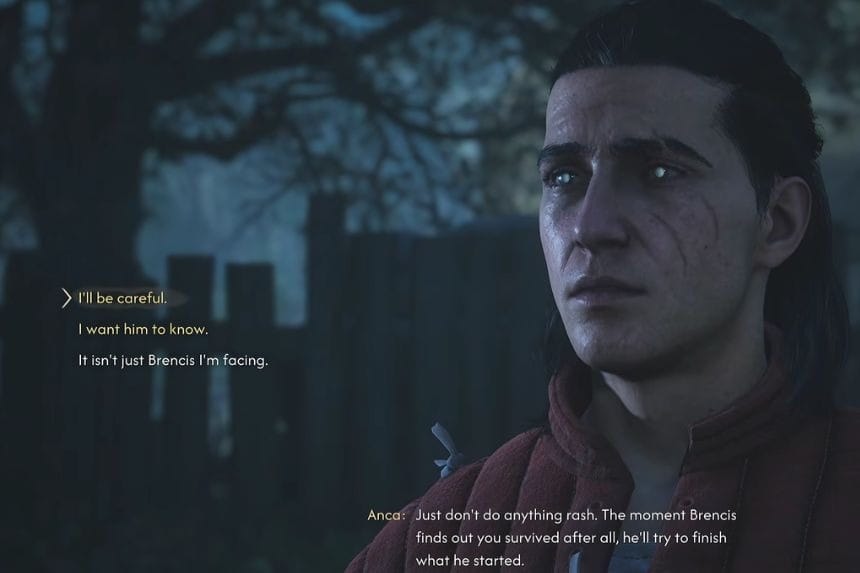
During Smoke and Ashes, Anca warns Coen not to act recklessly, as Brencis will come after him if he discovers that Coen survived. This gives you two dialogue options:
- “I’ll be careful.” – This advances the quest.
- “I want him to know.” – This also advances the quest.
Both options have the same outcome, so you can choose either one to continue the quest.
Echoes of Silenced Bells – Anca
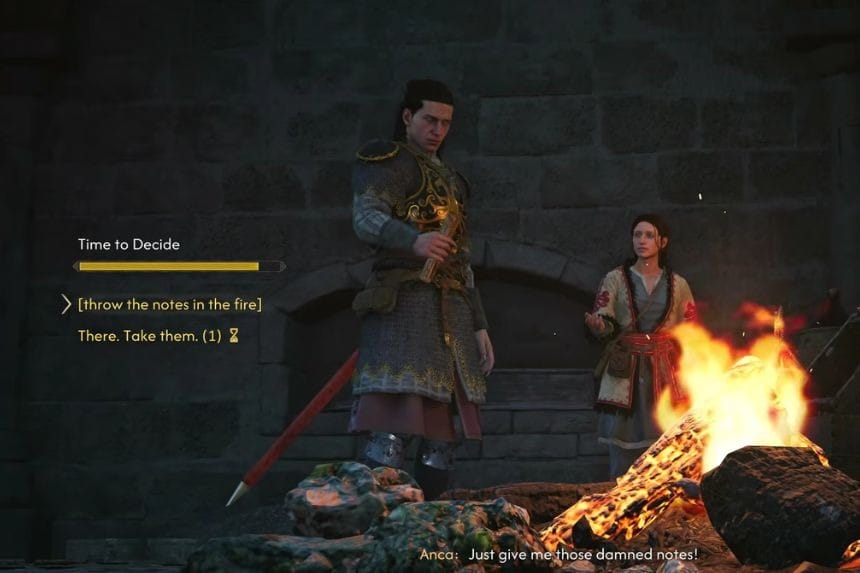
During Echoes of Silenced Bells, Anca asks Coen to hand over the notes. This leads to the “Should You Give the Notes to Anca?” minor choice with two options:
- “[throw the notes in the fire]” – This advances the quest.
- “There. Take them.” – This advances the quest and causes the undead nuns to disappear from St. Tyna’s Grove. However, it costs 1 Time Segment.
You can choose either option to progress, but “There. Take them.” removes the undead nuns from St. Tyna’s Grove at the cost of 1 Time Segment.
Stronger Than Achilles – Anca
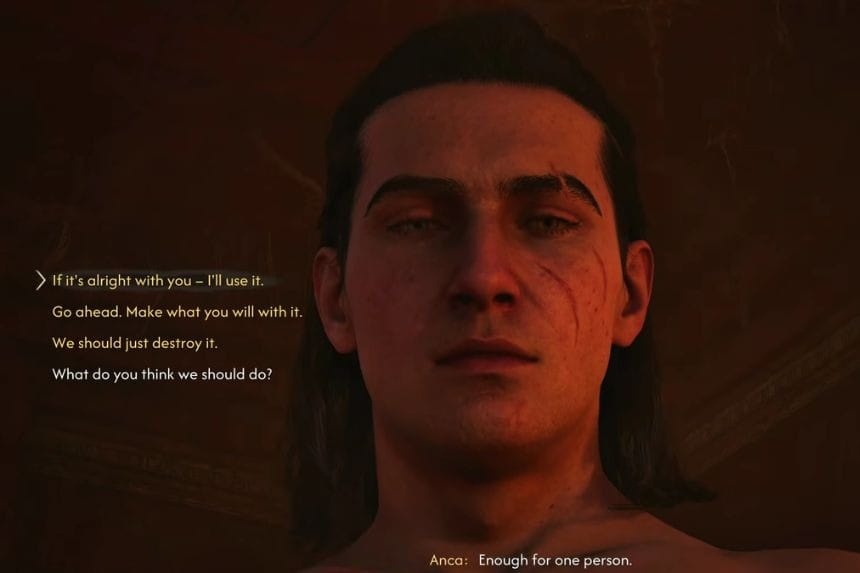
During Stronger Than Achilles, Anca says there is only enough of the Font of Life for one person. This leads to the “Should You Use, Give, or Destroy the Font of Life?” major choice with four options:
- “If it’s alright with you – I’ll use it.” – This advances the quest, unlocks the Font of Life Witchcraft Perk, and affects Anca’s Romance Route.
- “Go ahead. Make what you will with it.” – This advances the quest and progresses Anca’s Romance Route, but you will not unlock the Font of Life Witchcraft Perk.
- “We should just destroy it.” – This advances the quest and rewards you with a Legendary Armour piece. You will not unlock the Font of Life Witchcraft Perk, and this choice also affects Anca’s Romance Route.
- “What do you think we should do?” – This has no effect and simply loops back to the choice.
Choose “If it’s alright with you – I’ll use it.” if you want the Font of Life Witchcraft Perk, or “We should just destroy it.” if you want the Legendary Armour reward.
A Monk and a Saint – Albertus I
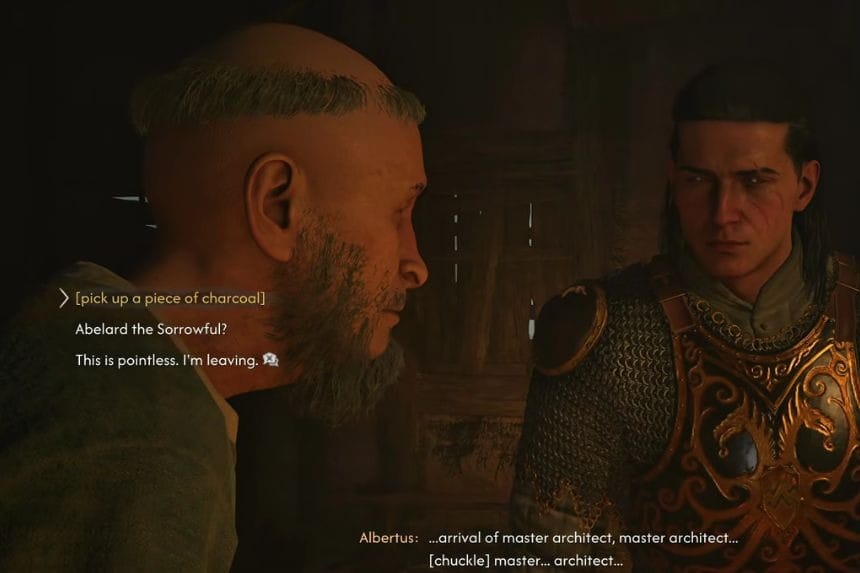
During A Monk and a Saint, Albertus mutters a series of jumbled words about his master, the year 795, and redemption. This leads to the “What to Write with Charcoal” choice with two options:
- “[pickup a piece of charcoal]” – This advances the quest.
- “Other dialogue choices” – These have no effect and simply loop back to the prompt.
Choose “[pickup a piece of charcoal]” to progress the quest.
A Monk and a Saint – Albertus II
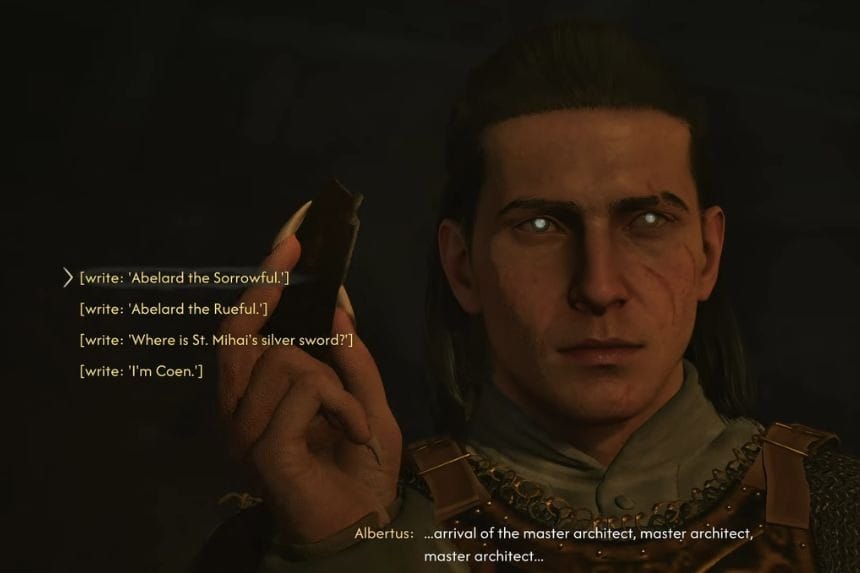
During A Monk and a Saint, Albertus repeatedly mentions the arrival of the master architect. This gives you the “What to Write with Charcoal” choice with two options:
- “[write: ‘Abelard the Sorrowful.’]” – This advances the quest.
- “Other dialogue choices” – These have no effect and simply loop back to the prompt.
Choose “[write: ‘Abelard the Sorrowful.’]” to progress the quest.
A Monk and a Saint – Albertus III
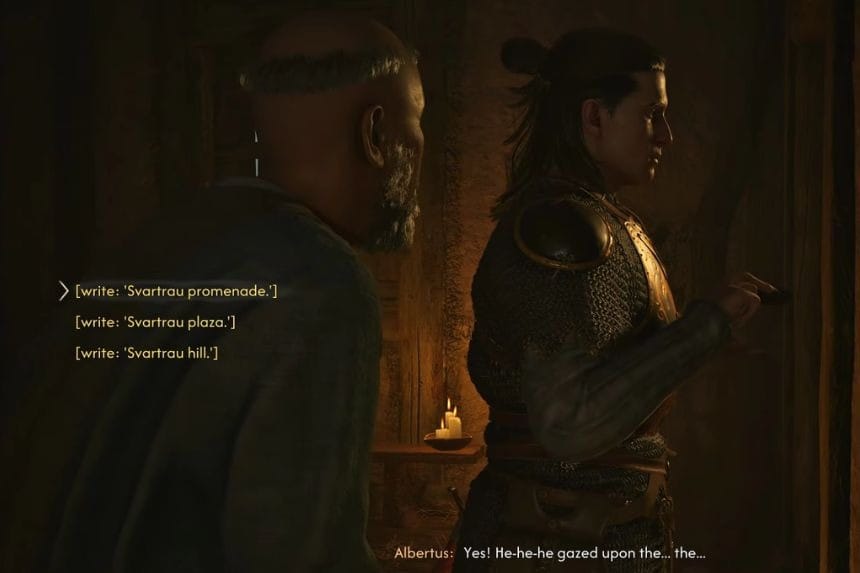
During A Monk and a Saint, Albertus continues his fragmented thoughts, mentioning what the master architect once gazed upon. This leads to another “What to Write with Charcoal” choice with two options:
- “[write: ‘Svartrau plaza.’]” – This advances the quest.
- “Other dialogue choices” – These have no effect and simply loop back to the prompt.
Choose “[write: ‘Svartrau plaza.’]” to continue the quest.
A Monk and a Saint – Albertus IV
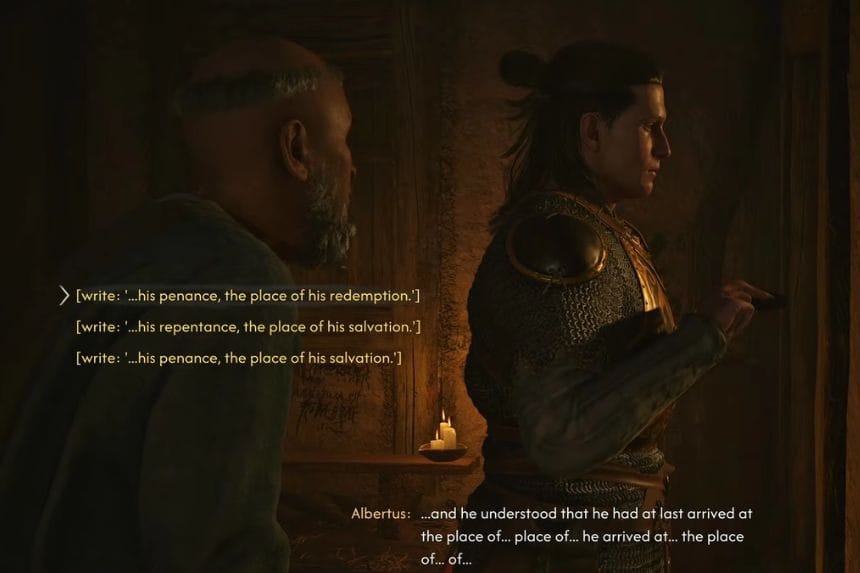
During A Monk and a Saint, Albertus struggles to remember the place where the master architect finally arrived. This gives you another “What to Write with Charcoal” choice with two options:
- “[write: ‘…his penance, the place of his redemption.’]” – This advances the quest.
- “Other dialogue choices” – These have no effect and simply loop back to the prompt.
Choose “[write: ‘…his penance, the place of his redemption.’]” to continue the quest.
A Monk and a Saint – Albertus V
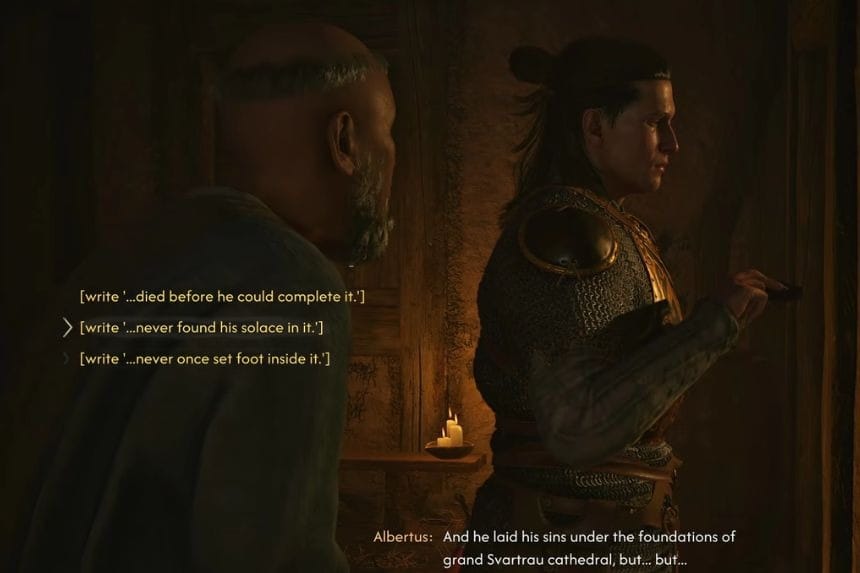
During A Monk and a Saint, Albertus explains that the master architect placed his sins beneath the foundations of the grand Svartrau cathedral but trails off before finishing his thought. This leads to another “What to Write with Charcoal” choice with two options:
- “[write: ‘…never once set foot inside it.’]” – This advances the quest.
- “Other dialogue choices” – These have no effect and simply loop back to the prompt.
Choose “[write: ‘…never once set foot inside it.’]” to continue the quest.
A Monk and a Saint – Albertus VI
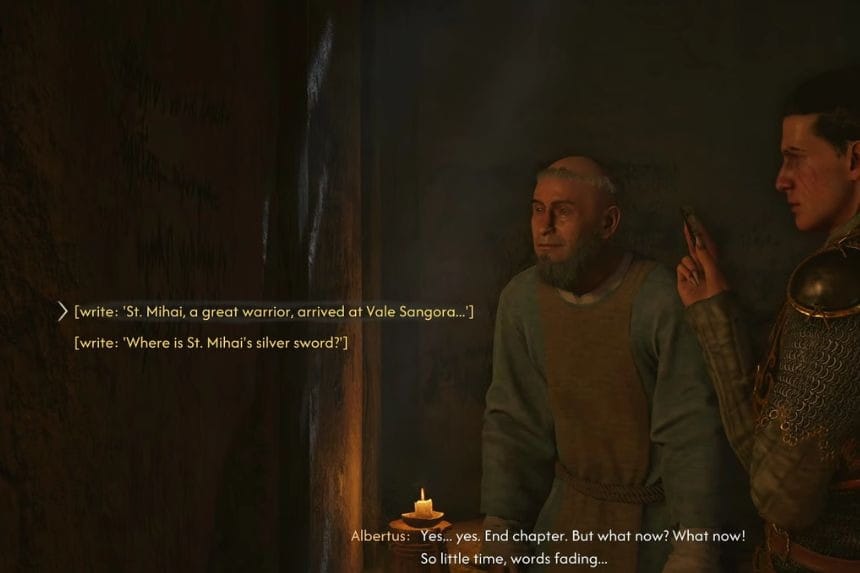
During A Monk and a Saint, Albertus reaches the end of his story but worries that there is little time left and his memories are fading. This leads to another “What to Write with Charcoal” choice with two options:
- “[write: ‘St Mihai, a great warrior, arrived at Vale Sangora…’]” – This advances the quest.
- “[write: ‘Where is St. Mihai’s silver sword?’]” – This has no effect and simply loops back to the prompt.
Choose “[write: ‘St Mihai, a great warrior, arrived at Vale Sangora…’]” to continue the quest.
The Gilded Gauntlet – Coen l
During The Gilded Gauntlet, after completing the Investigate the Scene objective, Coen has to decide how to approach the duel with Ambrus. This leads to the “Should You Poison Ambrus?” major choice with two options:
- “Show up for the duel with Ambrus” – You fight Ambrus without poisoning him.
- “Meet Iulian Codrin at his hunting lodge” – This triggers The Bittersweet Toast side quest, which gives you the opportunity to poison Ambrus and weaken him before the boss fight.
Choose “Meet Iulian Codrin at his hunting lodge” if you want to poison Ambrus and make the boss fight easier.
The Gilded Gauntlet – Coen Il
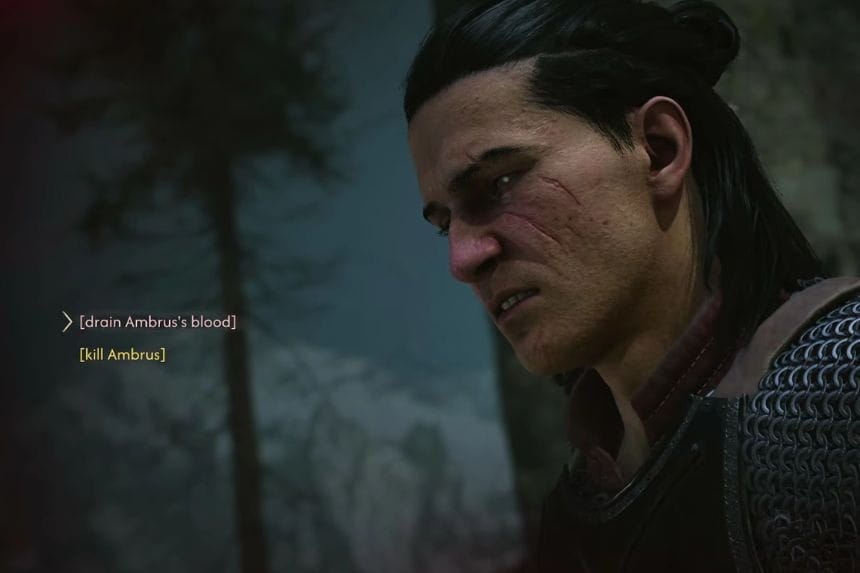
After defeating Ambrus in The Gilded Gauntlet, Coen has to make an important decision about what to do with him. This leads to the “Should You Drain or Kill Ambrus?” major choice with two options:
- “[drain Ambrus’s blood]” – Draining Ambrus unlocks the Scarlet Shield Vampiric Ability and gives you the option to invite him in. This option is only available at night during the castle raid.
- “[kill Ambrus]” – Killing Ambrus ends the encounter, but you miss out on the Scarlet Shield Vampiric Ability.
Choose “[drain Ambrus’s blood]” if you want to unlock Scarlet Shield and have the option to invite Ambrus in.
The Gilded Gauntlet – Ambrus
After Ambrus begs Coen to save him, you have to decide whether to invite him into your soul. This leads to the “Should You Invite Ambrus In or Refuse?” major choice with two options:
- “I’ll Invite you in.” – Ambrus joins Coen and provides banter throughout the journey. He will also aid Coen against Brencis.
- “I don’t care. I owe you nothing.” – This advances the quest without inviting Ambrus in.
Choose “I’ll Invite you in.” if you want Ambrus to accompany you and help during the fight against Brencis.
The Bittersweet Toast – Coen
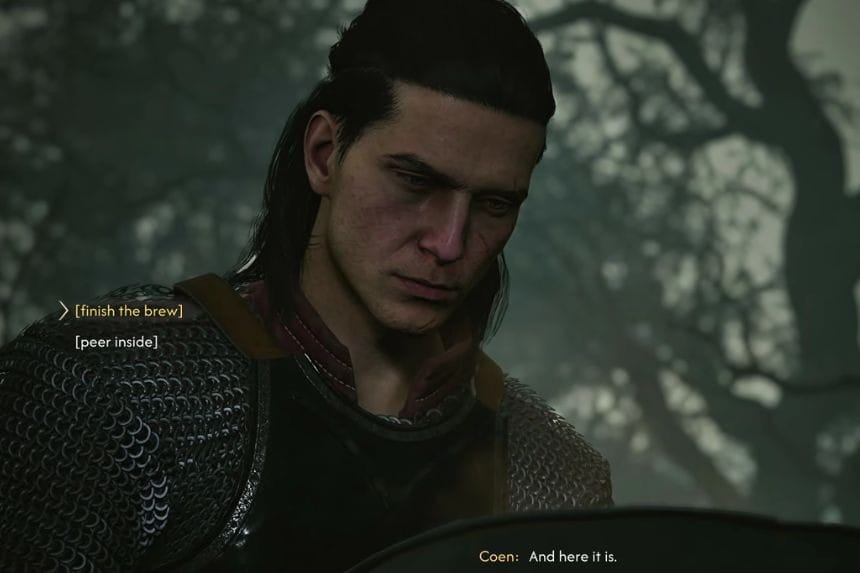
During The Bittersweet Toast, Coen finishes preparing the brew and says, “And here it is.” This gives you the “Should You Add the Lizard Gland or Finish the Brew?” choice with three options:
- “[finish the brew]” – This advances the quest.
- “[add the lizard gland]” – Coen adds the lizard gland to the brew, then the quest advances.
- “[peer inside]” – This has no effect and simply loops back to the choice.
You can choose either “[finish the brew]” or “[add the lizard gland]” to progress the quest.
The Firebrand – Mert l
During The Firebrand, Mert asks Coen for help after realizing he doesn’t have the Prison Key. This leads to the “How to Free Mert” choice, with three options:
- “I’ll return for you later.” – Mert tells you where to find the Prison Key but remains imprisoned. This also unlocks Under Watchful Eyes.
- “I’ll try to get you out now.” – Mert reveals the Prison Key’s location, but he stays imprisoned. This unlocks Under Watchful Eyes.
- “There’s too many of them.” – Mert still reveals where the Prison Key is, but remains trapped. This also unlocks Under Watchful Eyes.
All three choices have the same outcome, so you can pick whichever response you prefer.
The Firebrand – Mert ll
During The Firebrand, if you already have the Prison Key when Mert asks for help, you can free him immediately. This gives you one option:
- “You Free Mert immediately.” – You use the Prison Key to release Mert, allowing both of you to leave the Prison Camp. This also completes Under Watchful Eyes.
Free Mert if you want to help him escape the Prison Camp and complete Under Watchful Eyes.
The Firebrand – Renna l
During The Firebrand, Renna tells Coen that she will accompany him to make sure the job gets done. This leads to the “Should You Kill the Soldiers at the Mill?” choice, with three options:
- “You’re confusing me with someone else.” – This advances the quest.
- “All right… Let’s do it.” – This triggers a cutscene where Coen helps Renna repair the cart.
- “Is Vlad here?” – This has no effect and simply takes you back to the previous choice.
Choose either of the first two options to continue the quest.
The Firebrand – Renna ll
During The Firebrand, Renna orders Coen to fix the cart, warning him that there will be trouble if he does not. This leads to the “Should You Kill the Soldiers at the Mill?” choice, with two options:
- “Cut the crap already!” – This starts a fight with the soldiers.
- “Fine, I’ll fix the cart.” – This triggers a cutscene where Coen helps Renna repair the cart.
Choose “Cut the crap already!” if you want to fight the soldiers, or “Fine, I’ll fix the cart.” to continue with the cart repair.
The Firebrand – Brencis’ Soldier l
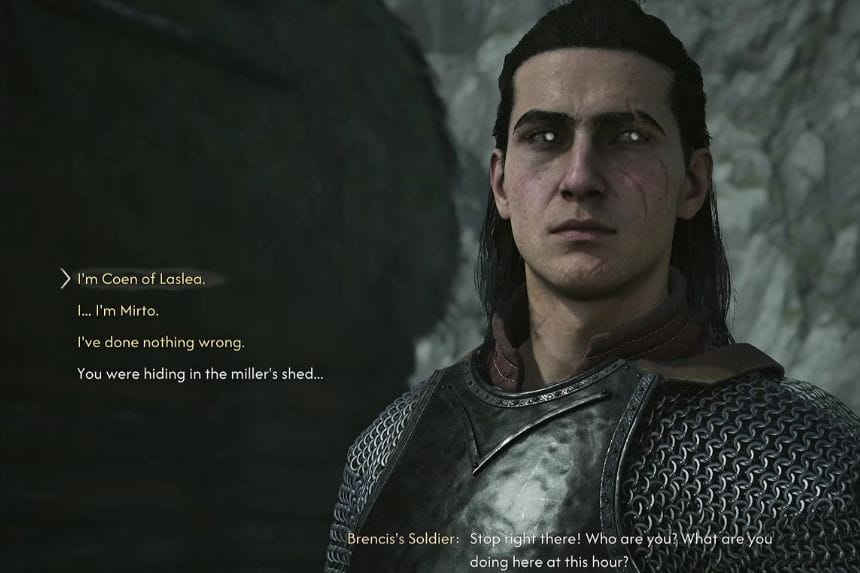
During The Firebrand, a Brencis’ Soldier stops Coen and asks who he is and why he is at the mill so late. This leads to the “Should You Kill the Soldiers at the Mill?” choice, where you have four options:
- “I’m Coen of Laslea.” – If your Infamy is low, this advances the quest. If your Infamy is high, the guards attack and a fight begins.
- “I…I’m Mirto.” – The guards let Coen go, and the objective changes to Return to the mill during the day.
- “I’ve done nothing wrong.” – This advances the quest and unlocks additional dialogue choices.
- “You were hiding in the miller’s shed.” – This has no effect and simply loops back to the previous prompt.
Choose “I’m Coen of Laslea.” if your Infamy is low, or “I’ve done nothing wrong.” to continue without immediately triggering a fight.
The Firebrand – Brencis’ Soldier ll
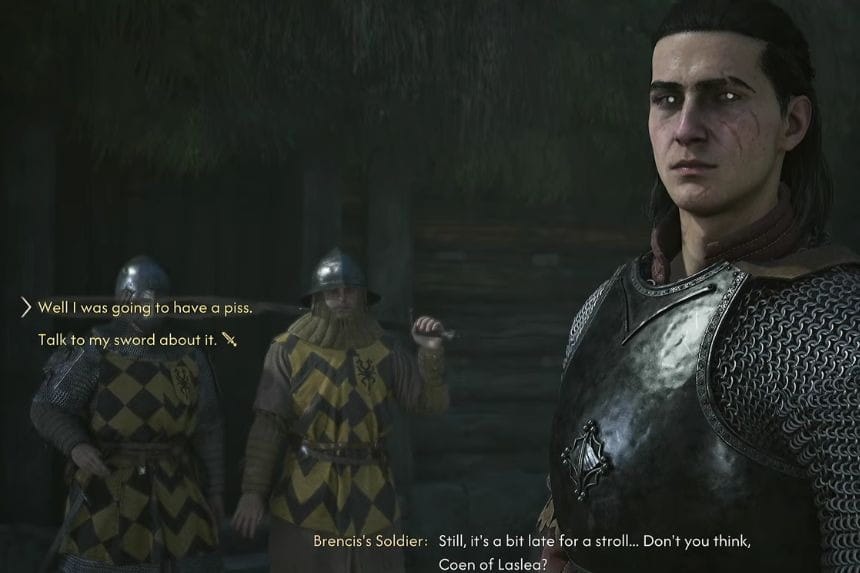
During The Firebrand, a Brencis’ Soldier questions Coen about being at the mill so late. This gives you another “Should You Kill the Soldiers at the Mill?” choice with two options:
- “Well I was going to have a piss.” – The guards let Coen go, and the objective updates to Return to the mill during the day.
- “Talk to my sword about it.” – This starts a fight with the guards.
Choose “Well I was going to have a piss.” if you want to avoid the fight and continue the objective during the day.
The Firebrand – Brencis’ Soldier lll
During The Firebrand, a Brencis’ Soldier demands that Coen state his name and warns him not to cause trouble. This leads to another “Should You Kill the Soldiers at the Mill?” choice with three options:
- “I’m Coen of Laslea.” – If your Infamy is low, this advances the quest. If your Infamy is high, the guards attack and a fight begins.
- “I…I’m Mirto.” – The guards let Coen go, and the objective updates to Return to the mill during the day.
- “I’m not someone you can push around…” – This starts a fight with the guards.
Choose “I’m Coen of Laslea.” if your Infamy is low, or “I…I’m Mirto.” if you want to avoid a fight.
The Firebrand – Trader Yenno l
During The Firebrand, Trader Yenno refuses to provide any evidence and dismisses Coen’s accusation. This leads to a minor choice with two options:
- “Just tell me who’s supplying you with the merchandise.” – Yenno calls the guards, starting a fight.
- “Maybe I will ask the commander about it all…” – Yenno immediately admits that Friedo and Cerbus are supplying him with the merchandise.
Choose “Maybe I will ask the commander about it all…” to get Yenno to reveal his suppliers without starting a fight.
The Firebrand – Trader Yenno ll
After choosing “Just tell me who’s supplying you with the merchandise.” Trader Yenno threatens to call the guards if Coen does not leave. This leads to another minor choice with two options:
- “I won’t go without a fight.” – Yenno calls the guards, and a fight begins.
- “As you wish – I’m taking this to the commander.” – Yenno immediately confesses that Overseer Friedo and Cerbus supply him with stolen goods.
Choose “As you wish – I’m taking this to the commander.” to learn who is supplying Yenno with the stolen goods without starting a fight. Remember, these options only become available after choosing “Just tell me who’s supplying you with the merchandise.” previously.
The Firebrand – Post Commander
During The Firebrand, the Post Commander complains that his patience is running out while the renegade remains at large. This leads to a minor choice with two options:
- “Your subordinates are stealing from prisoners.” – This exposes Friedo and Cerbus, and the Post Commander gives Coen permission to visit one prisoner.
- “I’ve came to see one of the prisoners.” – The Post Commander denies Coen’s request.
Choose “Your subordinates are stealing from prisoners.” if you want to expose Friedo and Cerbus and gain permission to visit a prisoner.
A Study in Crimson – Vicho l
During A Study in Crimson, Vicho greets Coen and asks how he can help. This starts a conversation with no major choices, but there are a few dialogue options:
- “Vicho, we need to talk.” – This moves the quest forward.
- Other dialogue choices. – These have no effect and either return you to the same dialogue prompt or end the conversation.
Continue with “Vicho, we need to talk.” to progress the quest and keep moving toward the steps needed to save Vicho.
A Study in Crimson – Vicho ll
During A Study in Crimson, Vicho asks Coen if he knows what happened. You’ll get two dialogue options:
- “You don’t remember?” – This advances the quest.
- “Bandits, I think.” – This has no effect and simply ends the conversation.
Choose “You don’t remember?” to continue progressing through the quest.
A Study in Crimson – Vicho lll
During A Study in Crimson, Vicho asks Coen what he is talking about. You’ll then have two dialogue options:
- “I’m sorry – but I think you’re the killer, Vicho.” – This advances the quest.
- “I was able to find new evidence.” – This has no effect and simply takes you back to the same dialogue prompt.
Choose “I’m sorry – but I think you’re the killer, Vicho.” to continue the conversation and progress the quest.
A Study in Crimson – Vicho lV
During A Study in Crimson, Vicho describes the disturbing memories he has of his thirst, frightened loved ones, and bloodshed. You’ll then have three dialogue options:
- “What happened to you – it’s terrible.” – This advances the quest.
- “You’re a monster.” – This also advances the quest.
- “Why did it happen?” – This has no effect and simply takes you back to the same dialogue prompt.
Choose either of the first two options to continue the quest.
A Study in Crimson – Vicho V
During A Study in Crimson, Vicho tells Coen that he plans to take his own life, believing it is the only way to atone for what happened. This leads to a choice with two options:
- “Don’t do it, Vicho.” – Coen stops Vicho from taking his own life, allowing the quest to continue.
- “If that is your choice.” – Coen accepts Vicho’s decision, leading to Vicho’s death.
Choose “Don’t do it, Vicho.” if you want to keep Vicho alive and continue the quest.
A Study in Crimson – Vicho Vl
During A Study in Crimson, Vicho admits that he has struggled to control his condition for years and no longer believes he can keep it in check. This gives you two dialogue options:
- “Your condition – it’s a gift.” – This advances the quest.
- “You can change.” – This leads to Vicho’s death.
Choose “Your condition – it’s a gift.” if you want to keep Vicho alive and continue the quest.
A Study in Crimson – Vicho Vll
During A Study in Crimson, Vicho asks Coen what he should do with his condition. You’ll have two options:
- “Whatever you want to.” – This leads to Vicho’s death.
- “Help others.” – This advances the quest and keeps Vicho alive.
Choose “Help others.” if you want Vicho to survive and continue the quest.
A Study in Crimson – Vicho Vlll
During A Study in Crimson, Vicho admits that he tried to control his condition but believes he will eventually lose control and kill again. You’ll have two options:
- “But you have me now.” – This advances the quest.
- “You give up too easily.” – This leads to Vicho’s death.
Choose “But you have me now.” if you want to keep Vicho alive and continue the quest.
A Study in Crimson – Vicho lX
During A Study in Crimson, Vicho asks Coen how he plans to help him control his condition. You’ll have two options:
- “I’ll provide you with blood.” – This advances the quest.
- “I can keep you in check.” – This leads to Vicho’s death.
Choose “I’ll provide you with blood.” if you want to keep Vicho alive and continue the quest.
A Study in Crimson – Vicho X
During A Study in Crimson, Vicho asks Coen where he plans to get the blood he needs. You’ll have two options:
- “From Brencis’s soldiers.” – This leads to Vicho’s death.
- “From blood transports.” – This advances the quest and keeps Vicho alive.
Choose “From blood transports.” if you want Vicho to survive and continue the quest.
A Study in Crimson – Vicho Xl
During A Study in Crimson, Vicho questions Coen’s decision to help him, asking why he would help someone he considers a monster. You’ll have two options:
- “I don’t think you’re a monster.” – This advances the quest.
- “Because I need your help.” – This leads to Vicho’s death.
Choose “I don’t think you’re a monster.” if you want to keep Vicho alive and continue the quest.
A Study in Crimson – Vicho Xll
During A Study in Crimson, Vicho asks Coen to promise that he will stop him if he ever loses control and hurts someone again. You’ll have two options:
- “Of course.” – This advances the quest, and Vicho survives.
- “It won’t come to that.” – This also advances the quest, and Vicho survives.
You can choose either option, as both lead to the same outcome and keep Vicho alive.
The Night of Horrors – Lacra
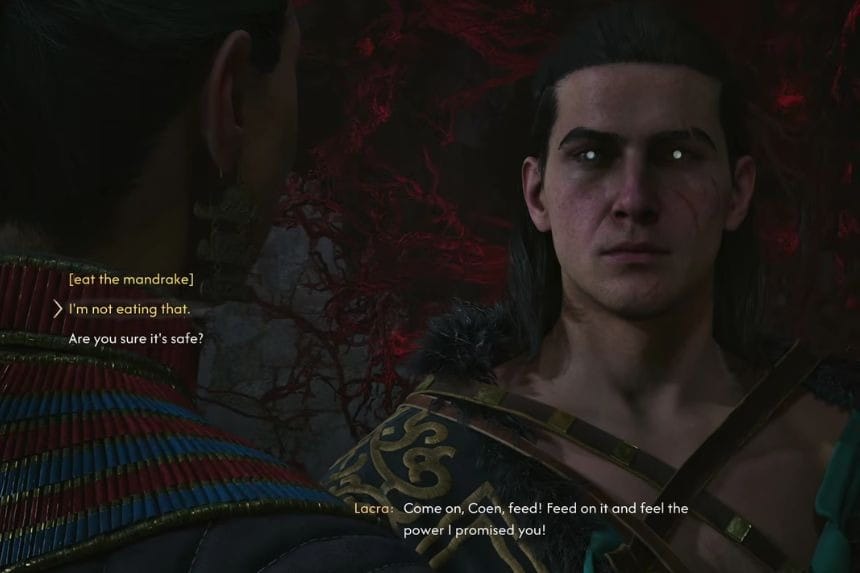
During The Night of Horrors, Lacra encourages Coen to eat the mandrake and gain the power she promised. This leads to the “Should You Eat the Mandrake?” choice, with three options:
- “[eat the mandrake]” – You eat the mandrake, progress the quest, and unlock the Mandrake Ward Vampiric Perk. This also allows you to continue Lacra’s Romance Route.
- “I’m not eating that.” – You refuse to eat the mandrake, which closes off Lacra’s Romance Route and prevents you from unlocking the Mandrake Ward Vampiric Perk.
- “Are you sure it’s safe?” – This has no effect and simply takes you back to the same dialogue prompt.
Choose “[eat the mandrake]” if you want to unlock the perk and keep Lacra’s Romance Route available.
The Lunar Game – Bakir l
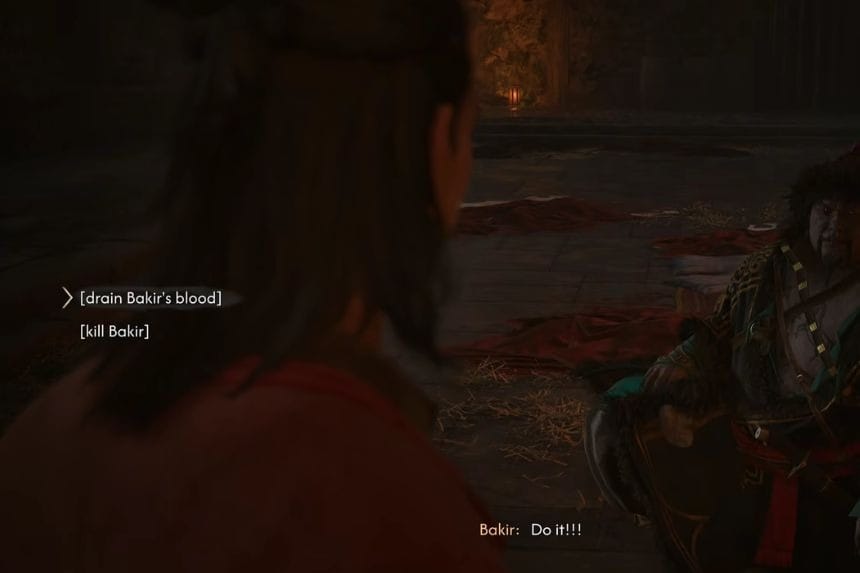
During The Lunar Game, Bakir gives you a final choice that determines whether you can obtain his Vampiric Ability. This leads to the “Should You Drain or Kill Bakir?” choice, with two options:
- “[drain Bakir’s blood]” – You drain Bakir’s blood, killing him and unlocking the Shadowstorm Vampiric Ability. You can also loot Bakir’s Armour from his body. This option is only available when you raid the castle at night.
- “[kill Bakir]” – You kill Bakir without draining his blood, so you miss out on the Shadowstorm Vampiric Ability. You can still loot Bakir’s Armour afterward.
Choose “[drain Bakir’s blood]” if you want to unlock the Shadowstorm Vampiric Ability.
The Lunar Game – Bakir ll
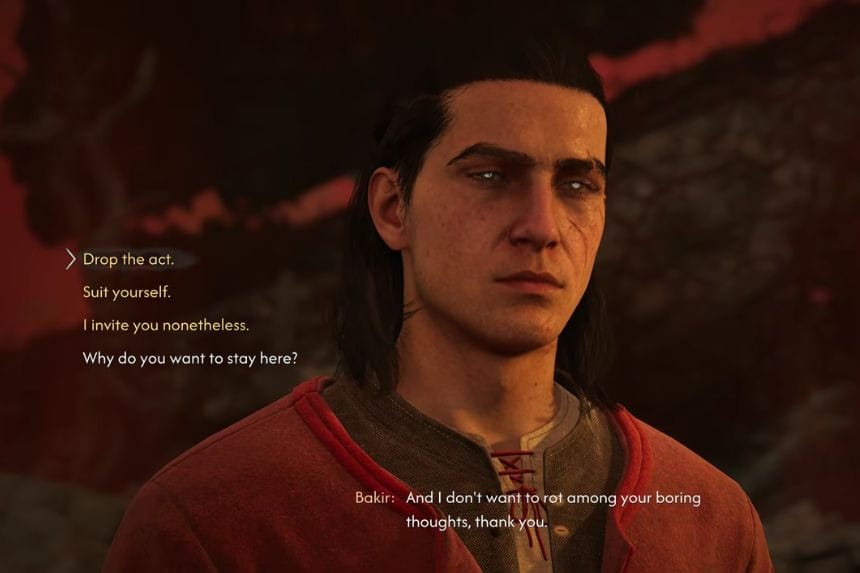
During The Lunar Game, you’ll get another major choice about what to do with Bakir’s soul. This leads to the “Should You Invite Bakir In or Refuse?” choice, with two options:
- “I’ll invite you nonetheless.” – You allow Bakir’s soul to live on inside Coen. He occasionally comments on your actions and even helps during the final battle against Brencis before Brencis eventually absorbs his soul.
- “Suit yourself.” – You refuse to invite Bakir in, leaving his soul behind in the Anachora.
Choose “I’ll invite you nonetheless.” if you want Bakir to remain with Coen and assist during the final battle.
The Heart Wants What It Wants – Andrei
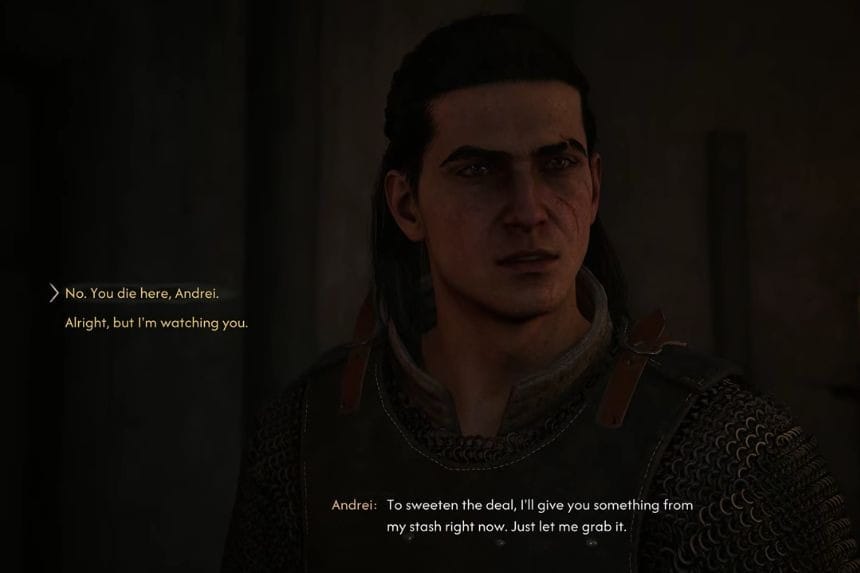
During The Heart Wants What It Wants, Andrei offers Coen something from his stash to sweeten the deal. This leads to the “Should You Kill Andrei or Not?” choice, with two options:
- “No. You die here, Andrei.” – You immediately turn against Andrei, starting a fight that ends with his death.
- “All right, but I’m watching you.” – You let Andrei proceed, but he eventually attacks Coen, leading to another fight that ends with his death.
Either choice ultimately results in Andrei’s death.
The Heart Wants What It Wants – Coen
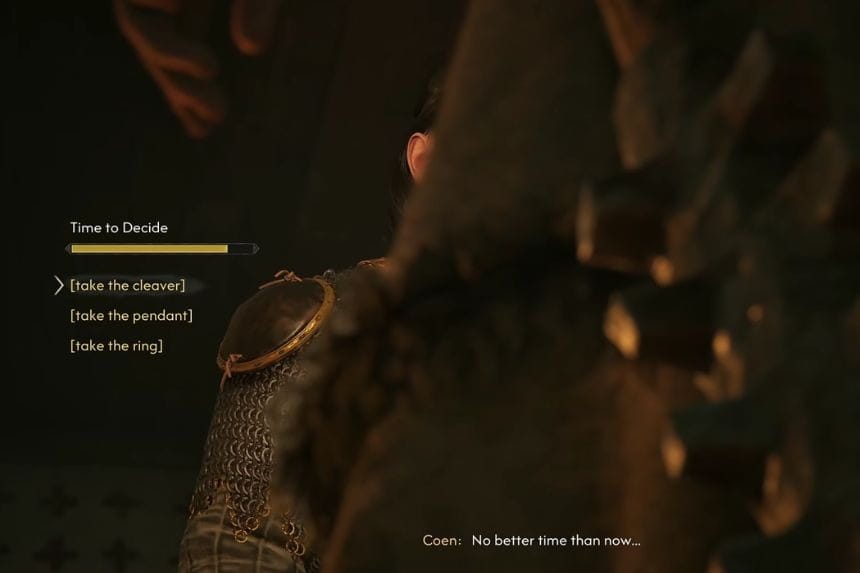
During The Heart Wants What It Wants, Coen gets a limited amount of time to choose a memento from Andrei’s belongings. This leads to the “Should You Kill Andrei or Not?” choice, with four options:
- “[take the cleaver]” – This is the wrong choice and does not give you the memento required for Ocha’s spell.
- “[take the pendant]” – This is also incorrect and does not provide the required memento.
- “[take the ring]” – This is the correct choice. You can give the ring to Ocha for her spell.
- Fail to choose a memento before the timer runs out – The quest continues, but you miss the correct memento needed for Ocha’s spell.
Choose “[take the ring]” if you want to get the correct memento for Ocha.
The Heart Wants What It Wants – Nora
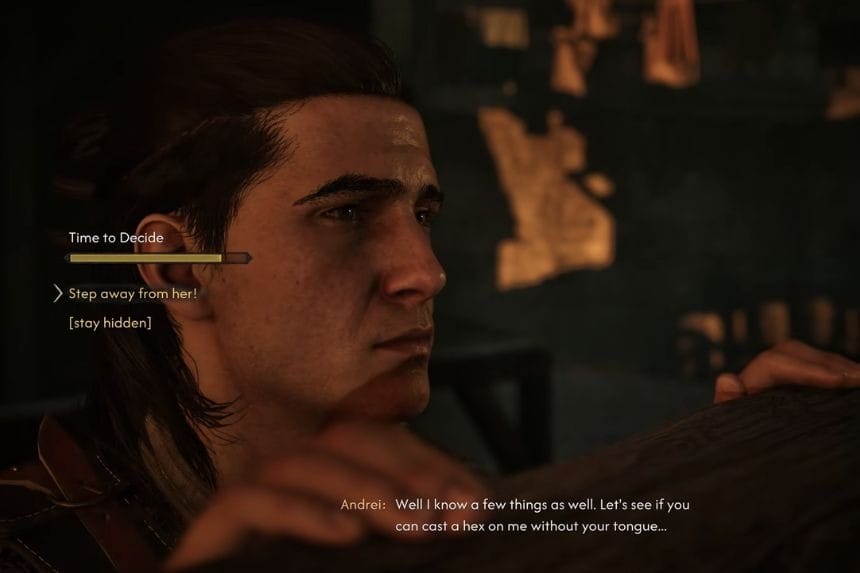
During The Heart Wants What It Wants, Andrei challenges Ocha and tries to provoke her. This leads to the “Should You Kill Andrei or Not?” choice, with two options:
- “[Stay away from her!]” – Coen steps in, triggering a cutscene where he fights Andrei and his men and saves Nora.
- “[stay silent]” – Coen does not intervene, and Nora dies. This triggers a cutscene where Ocha joins Coen in fighting Andrei and his men.
Choose “[Stay away from her!]” if you want to save Nora.
Cursed Chasm – Coen
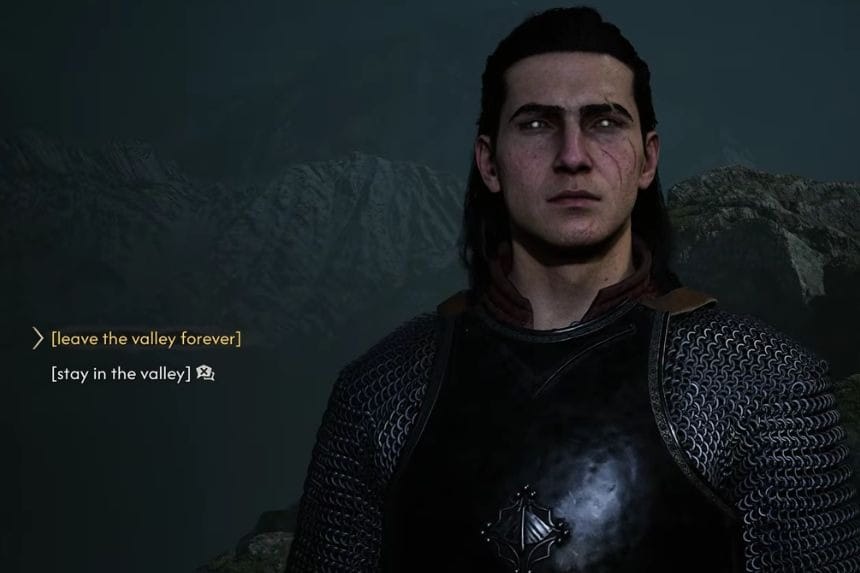
During Cursed Chasm, Coen reaches a major decision about whether to leave Vale Sangora or stay and continue his mission. This leads to the “Should You Leave the Valley Forever or Stay?” choice, with two options:
- “[leave the valley forever]” – Coen leaves Vale Sangora without rescuing his family, triggering an early ending and unlocking the A Hero They Deserve and The Blood of Dawnwalker achievements.
- “[stay in the valley]” – Coen remains in Vale Sangora, keeping the main story going and allowing him to continue trying to save his family.
Choose “[stay in the valley]” if you want to continue the main story and pursue the remaining objectives.
Most Precious Thing – Brencis’ Officer
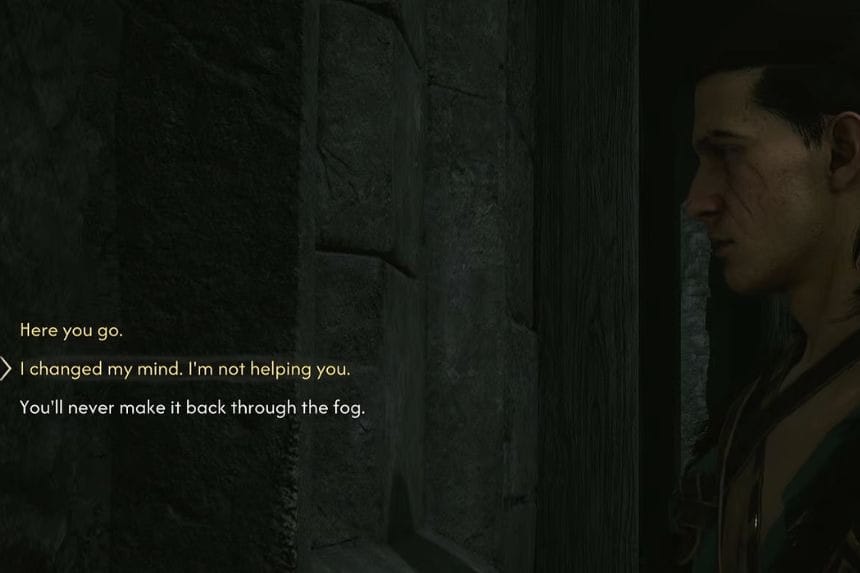
During Most Precious Thing, Brencis’ officer offers you safe passage to the library in exchange for St. Tyna’s Relic. This leads to the “Should You Give St. Tyna’s Relic to the Soldiers?” choice, with three options:
- “Here you go.” – You hand over the Relic of St. Tyna and gain safe passage to the library.
- “I changed my mind. I’m not helping you.” – You keep the relic but must fight Brencis’ soldiers to reach the library.
- “You’ll never make it back through the fog.” – You keep the relic and fight the soldiers for safe passage to the library.
Choose the first option if you want to avoid a fight, or either of the other two if you want to keep St. Tyna’s Relic.
The Ring – Farkas
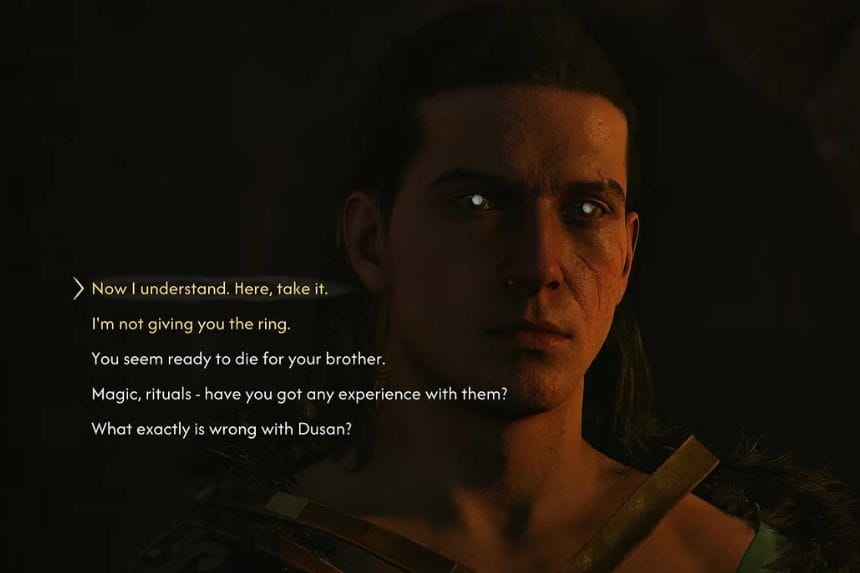
During The Ring, Farkas explains that he is unsure whether his brother would even accept his help, as he believes there is little left in him besides fear and pain. This leads to the “Who Should Receive Farkas’ Ring?” choice, where you have two options:
- “Now I understand. Here, take it.” – You give the ring to Farkas. He uses it in an attempt to help his brother, but things go wrong and he accidentally kills him. This completes the quest.
- “I’m not giving you the ring.” – You refuse to hand over the ring and continue the quest, giving you the opportunity to find someone else who can provide more information about it.
Choose the first option if you want to give Farkas the ring and complete the quest, or choose the second if you want to look for another person who knows more about the ring.
A Friend Like This – Lacra
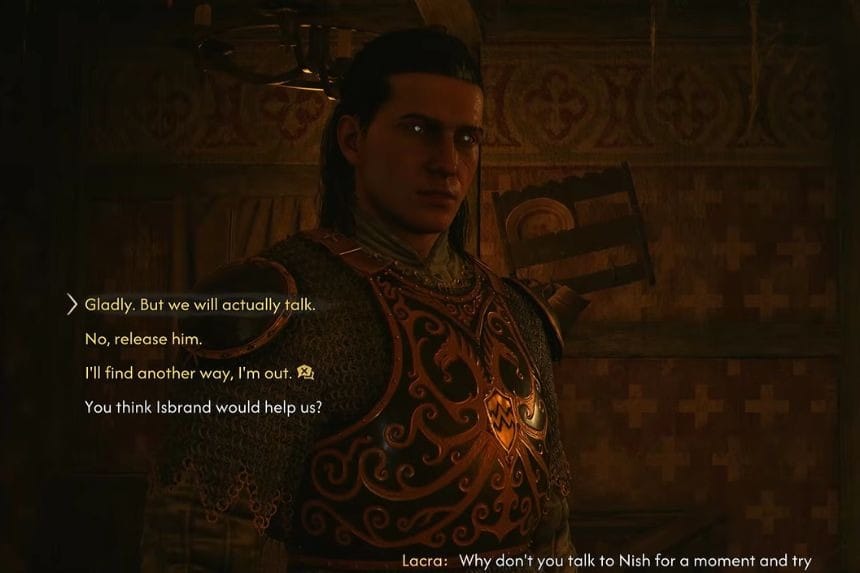
During A Friend Like This, Lacra asks Coen to speak with Nish and try to learn where his village is located. This gives you three options, and your choice determines whether you can obtain the Uriash village’s location:
- “Gladly. But we will actually talk.” – Coen agrees to speak with Nish, allowing him to learn the location of the Uriash village. This also progresses Lacra’s questline.
- “No, release him.” – Coen frees Nish without getting the village’s location, so you’ll have to find another way to obtain the information.
- “I’ll find another way, I’m out.” – Coen leaves without learning the location of the Uriash village.
Choose the first option if you want to get the Uriash village location and continue Lacra’s questline.
In the Name of the Father – Florin
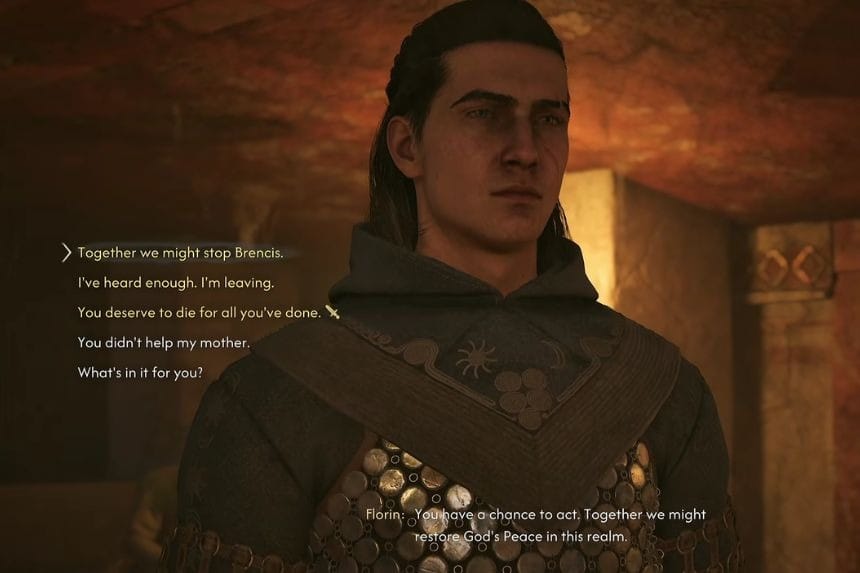
At the end of In the Name of the Father, Father Florin asks Coen to decide what to do next. You can agree to work with him, walk away, or kill him. Your decision determines whether you can eventually use his shortcut to Greifberg Castle.
- “Together we might stop Brencis.” – Coen agrees to join forces with Father Florin. Once you complete A Hero’s End, Florin rewards you by giving you access to a shortcut leading to Greifberg Castle.
- “I’ve heard enough. I’m leaving.” – Coen walks away from the alliance. However, this does not permanently close the option. You can return to Florin later and agree to help him. After completing A Hero’s End, you can still receive the shortcut to Greifberg Castle.
- “You deserve to die for all you’ve done.” – Coen kills Father Florin. As a result, you lose the chance to use Florin’s shortcut to Greifberg Castle.
If you want to keep the shortcut available, choose either of the first two options and avoid killing Father Florin.
Our Rotten Roots – Florin
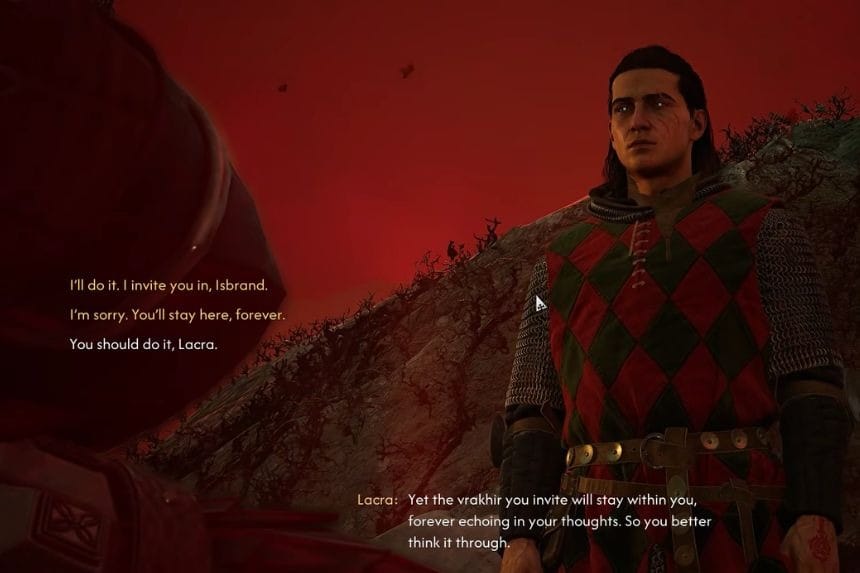
At the end of Our Rotten Roots, Lacra warns Coen that inviting Isbrand in will cause the vrakhir to remain inside him permanently, affecting his thoughts. This leads to the “Should You Invite Isbrand In?” choice, where you have three options:
- “I’ll do it. I invite you in, Isbrand.” – Coen allows Isbrand to enter his soul, freeing him from the endless suffering he has endured inside the Anachora.
- “I’m sorry. You’ll stay here, forever.” – Coen refuses to invite Isbrand in, leaving him trapped inside the Anachora and continuing to suffer as he begs to be freed.
- “You should do it. Lacra.” – This does not affect the outcome and simply takes you back to the same dialogue prompt.
Choose the first option if you want to free Isbrand from the Anachora by allowing him to enter Coen’s soul.
Final Fight Against Brencis – Brencis l
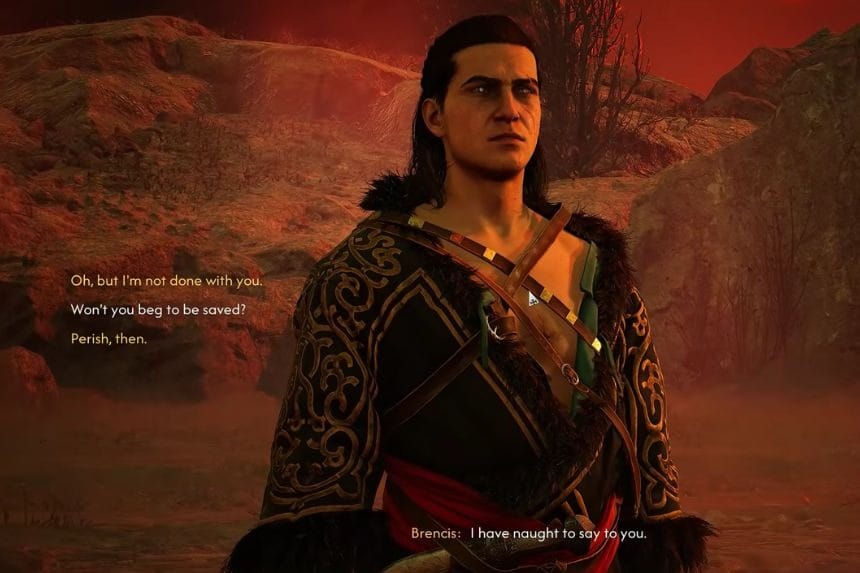
During the Final Fight Against Brencis, you’ll go through several dialogue choices. Most of them do not have any major effect, but a few choices can change what happens to Brencis. When Brencis says, “I have naught to say to you,” you’ll have three options:
- “Oh, but I’m not done with you.” – Choose this to advance the quest.
- “Won’t you beg to be saved?” – This has no effect and takes you back to the same dialogue prompt.
- “Perish, then.” – Choosing this leaves Brencis to his fate.
Final Fight Against Brencis – Brencis ll
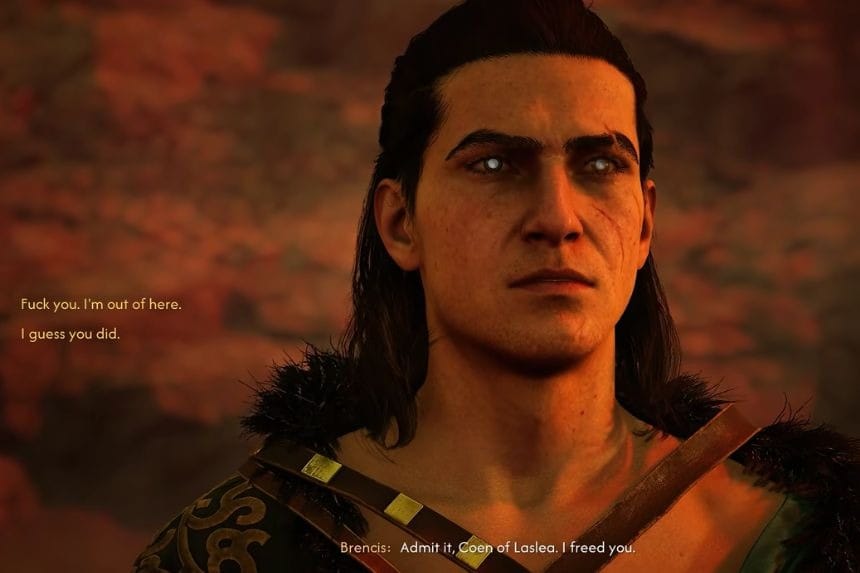
Later, when Brencis says, “Admit it, Coen of Laslea. I freed you,” you’ll have two choices:
- “Fuck you. I’m out of here.” – Coen leaves Brencis to his fate.
- “I guess you did.” – Coen acknowledges what Brencis did and continues the quest.
Final Fight Against Brencis – Brencis lll
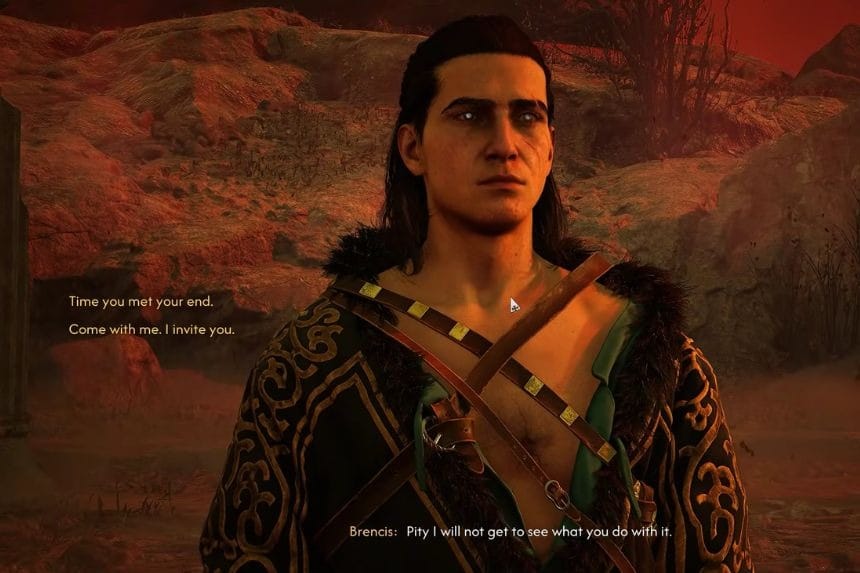
When Brencis says, “Pity I will not get to see what you do with it,” you’ll have another important choice:
- “Time you met your end.” – Coen leaves Brencis to his fate.
- “Come with me. I invite you.” – Coen invites Brencis in, allowing the quest to continue.
The remaining dialogue choices during this encounter have no major effect and simply advance the conversation.
A Deal with the Devil – Brencis
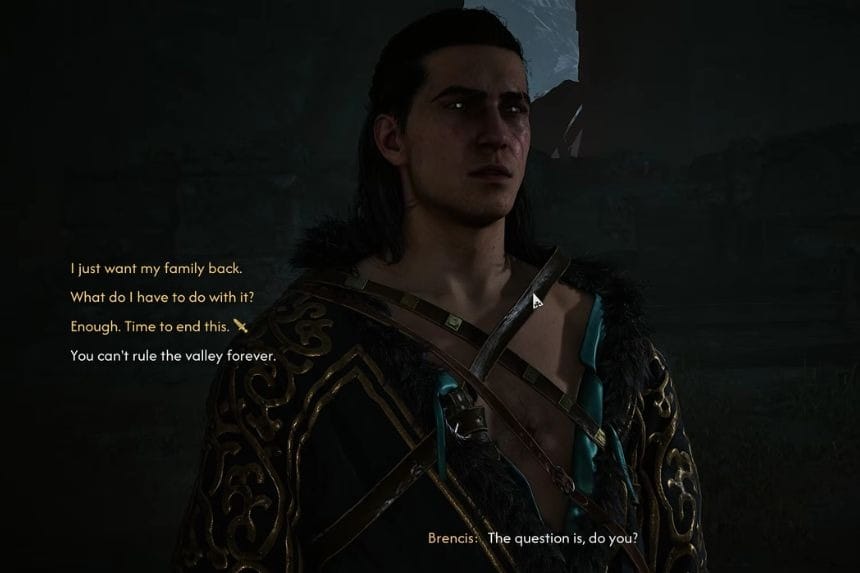
After speaking with Brencis during A Deal with the Devil, you’ll have an important choice where you can either accept his offer or refuse it. You’ll have two options:
- “I just want my family back.” – You accept Brencis’s offer and betray your allies, leading to the Turncoat Ending.
- “Enough. Time to end this.” – You refuse Brencis’s offer and fight him instead.
Choose “I just want my family back.” if you want to accept the deal and betray your allies, or “Enough. Time to end this.” if you want to refuse the deal and fight Brencis.
Midnight Reckoning – Brencis
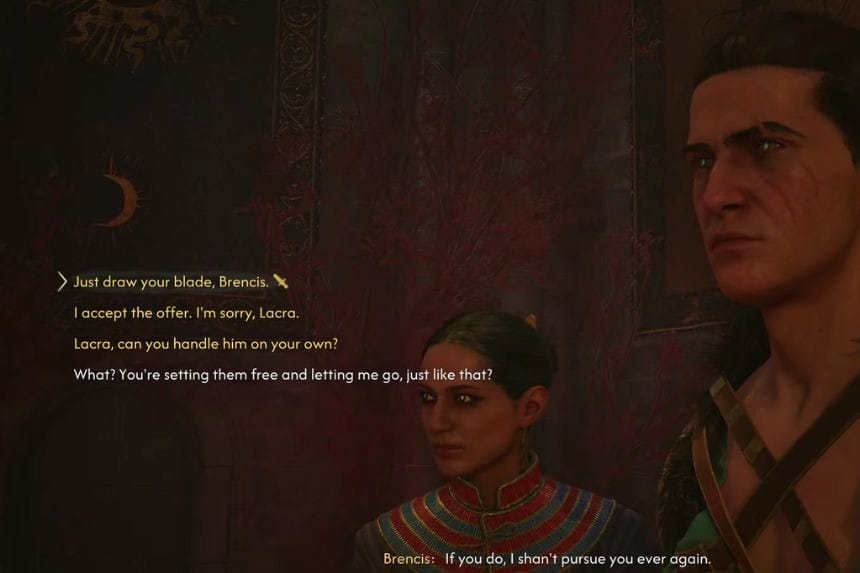
During Midnight Reckoning, you’ll face another important choice where you can either betray Lacra to save your family or refuse Brencis’s offer and fight him. You’ll have two options:
- “I accept the offer. I’m sorry, Lacra.” – You agree to Brencis’s offer and betray Lacra, leading to the Turncoat Ending.
- “Just draw your blade, Brencis.” – You refuse the deal and fight Brencis, leading to The Patricide Ending.
Choose “I accept the offer. I’m sorry, Lacra.” if you want to betray Lacra and save your family, or “Just draw your blade, Brencis.” if you want to refuse the deal and fight Brencis.
Practice Your Latin with Anca
During the Withering Away quest, Anca asks Coen if he wants to brush up on his Latin after obtaining the herbs. Your response determines whether you can start the Page-Turner side quest.
- “Gladly – I’ve missed it too.” – Unlocks Page-Turner and costs 2 Time Segments.
- “I really have to go.” – Locks you out of Page-Turner and costs 1 Time Segment.
Choose “Gladly – I’ve missed it too.” if you want to unlock the Page-Turner side quest.
Betray Your Allies or Refuse the Deal
As you approach the end of The Blood of Dawnwalker, Brencis puts your loyalty to the test. This decision determines whether you are locked into the Turncoat Ending or can keep pursuing the other ending paths.
- “Betray Your Allies” – Leads to the Turncoat Ending.
- “Do Not Betray Your Allies” – Keeps you on course for the Folk Hero, Patricide, or Knyazmaker Ending, depending on the route you’ve followed.
Choose “Do Not Betray Your Allies” if you want to keep the other ending paths available.
Fall Before Dusk
During Fall Before Dusk, Brencis confronts Coen and welcomes him home before turning his attention to Catalin. A Major Choice appears, giving you only a short time to decide whether to intervene.
- “No! Stop!” – Coen steps in and saves Catalin.
- “[stay silent]” – Coen does nothing, allowing Brencis to kill Catalin.
If you fail to choose before the timer runs out, the “[stay silent]” outcome occurs and Brencis kills Catalin.
A Lone Wolf’s Hunt
During A Lone Wolf’s Hunt, you’ll come across several choices involving the betrayal of Lacra or the rebels. While they may seem similar, each one affects the betrayal route differently.
- “I killed Lacra.” – Immediately triggers the stronger Lacra betrayal state.
- “I can lead you to your sworn enemy – Lacra.” – Starts the Lacra betrayal route, which can become a stronger betrayal later if the required conditions are met.
- “The rebels failed because of me.” – Immediately triggers the stronger Marat / rebel betrayal state.
- “I know where the rebels are hiding.” – Starts the rebel betrayal route, which can escalate later if the required conditions are met.
