
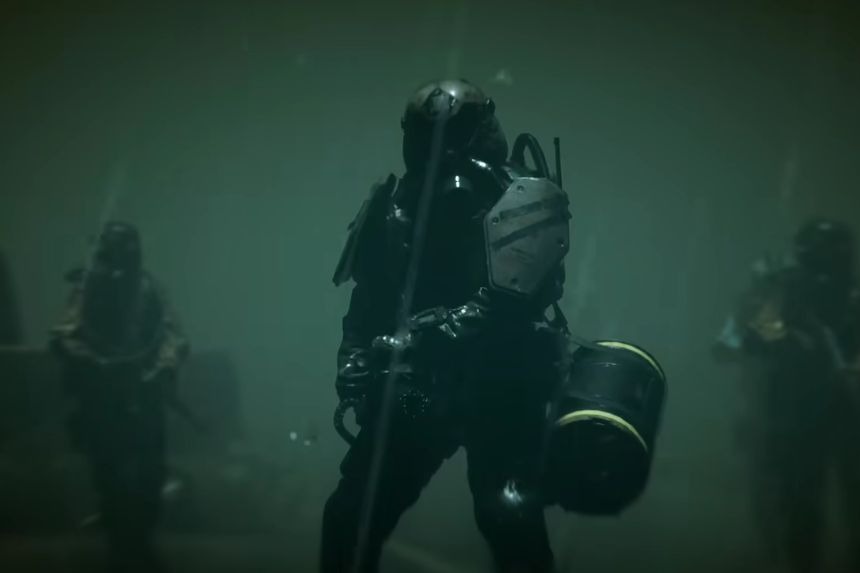
In Call of Duty: Modern Warfare 4 DMZ, Operation Fallen Ember will see you venture into a highly irradiated nuclear power plant and recover the contaminated fuel rods, retrieve the warhead, and make your way out safely. It is important that you stock up on sufficient Gas Masks before beginning the mission. In this guide, we will explain where to find Gas Masks and how to complete each step of Operation Fallen Ember, including the reactor puzzle and the fight against the Colossus.
Where to Find Gas Masks
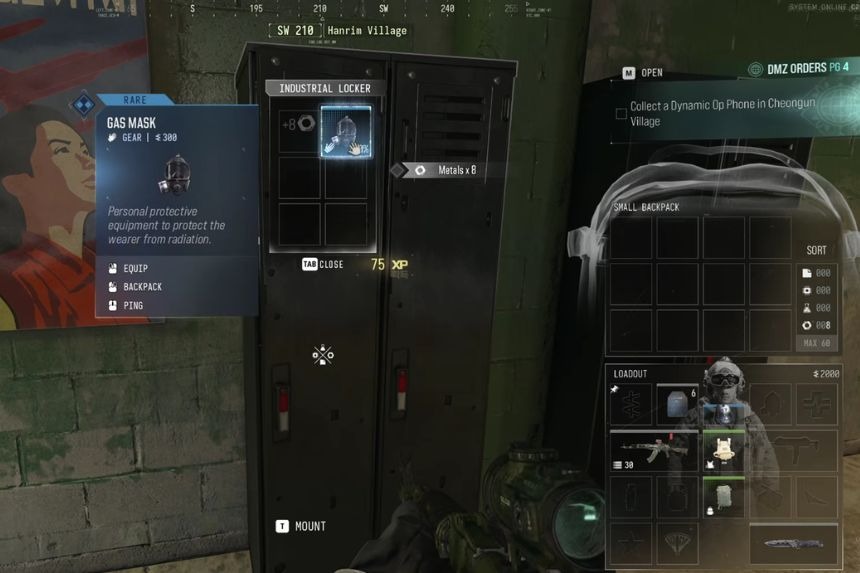
However, before embarking on the Fallen Ember mission in Call of Duty: Modern Warfare 4 DMZ, you have to ensure that you have enough Gas Masks. This mission takes place in an irradiated nuclear reactor, where the durability of your masks will be exhausted relatively fast.
As such, you might need several Gas Masks to finish the mission, hence the need to prepare in advance. The best way to obtain these Gas Masks is to search for Fire Stations since you can easily get three or four masks per station, most of which are blue, but you can sometimes get purple Gas Masks.
It is also possible to craft these masks as long as you have the materials to do so. To craft the standard Gas Masks, you need to be Level 26 since it is the level where the recipe is unlocked. Purple Gas Masks can also be crafted, but you must first find their recipe in the world.
Once you unlock it, you will need 30 Chemicals, one High-Tenacity Fiber, and five Biomaterials. However, crafting masks is not necessary if you can collect enough of them from Fire Stations.
Operation Fallen Ember
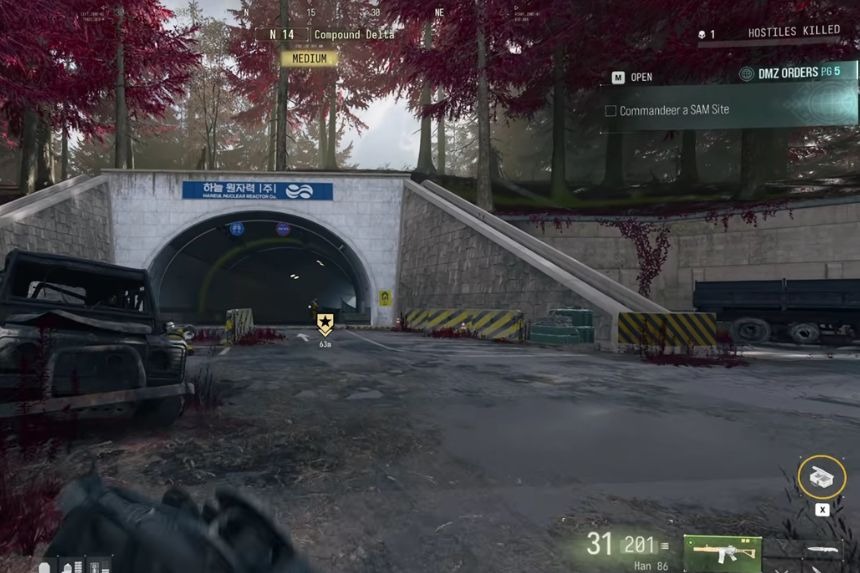
When you and your squad have gathered sufficient Gas Masks, the mission is ready to be undertaken. After being spawned, you will spawn on the road above the compound. The clearing of this entire compound is unnecessary, so conserve your ammunition and move towards the tunnel. You will face a few enemy forces on the way, but you will face harder ones after starting to complete the objectives of the reactors. Follow the quest markers through the tunnel and reach the reactor compound.
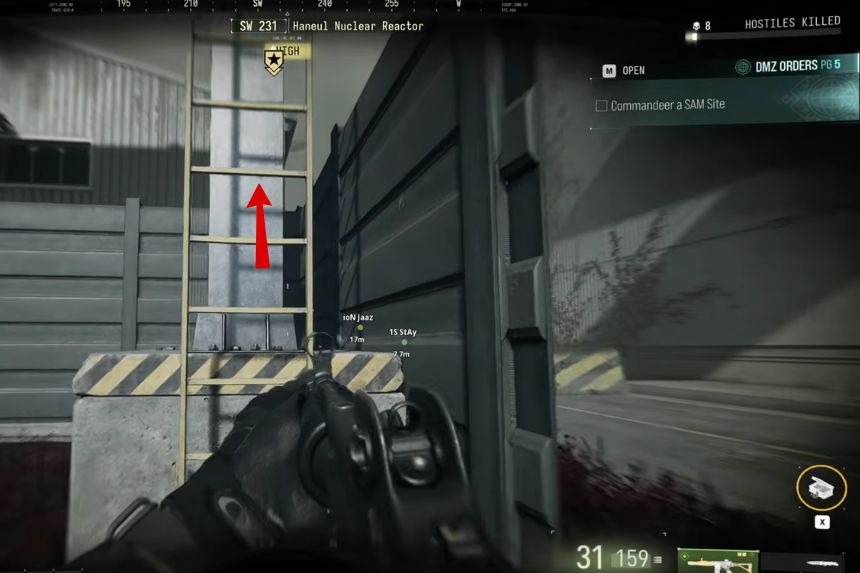
Later, you will spot a ladder. Go up and climb using the rope to move upwards. You will now have to cross several yellow metal bridges. Be careful when jumping, and make sure that you land on the bridge instead of falling down into the lower region. After crossing the beams, head up the stairs to the second floor. From there, drop down onto the safety lock for Reactor 1 and interact with it. You should receive a message confirming that the lockdown has been disengaged.
Initializing the Fuel Rods (Swimming Puzzle)
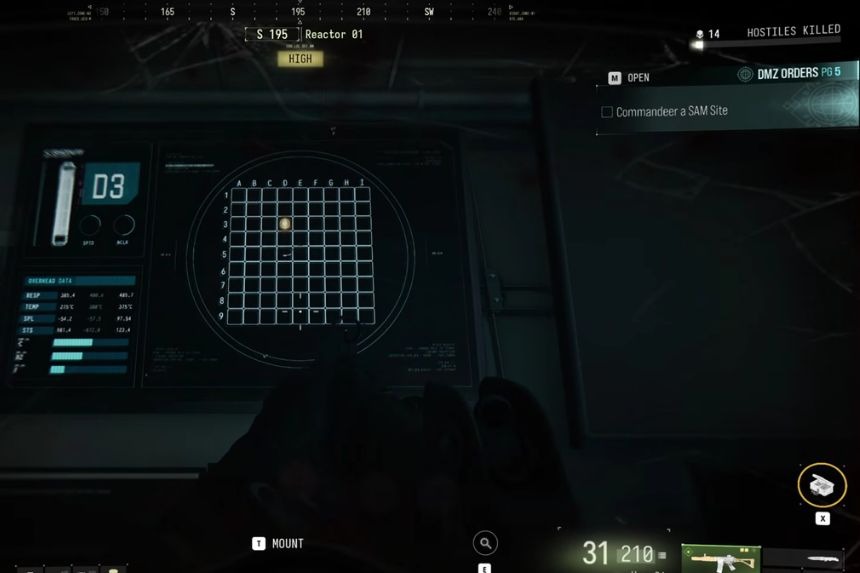
Once you have Reactor 1 up and running, you should return upstairs and proceed across the catwalk to the main reactor area. The computer that initiates the following objective will be on the top level. Use the computer, and you’ll see that the grid appears on the screen. The letters will move across the top, while the numbers will be on the side of the screen. The blinking light will indicate where the fuel rod is located. In addition, there is an indication of the reactor’s location in the top left corner, which makes it easier to understand the exact location.
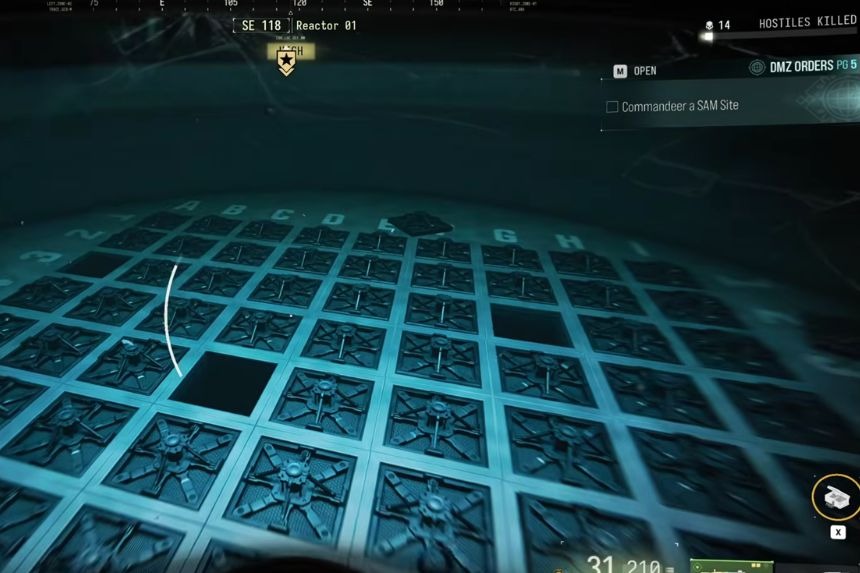
All you have to do is simply follow the coordinates, go to the right panel in the water, get your fuel rod, and go back up again. You will have to get a total of three fuel rods, so just keep repeating the process until you have them all. Although you could probably do this alone, it will definitely be more difficult to handle everything that comes along. If you don’t have any companions, then you could use squad to make things easier.
Decontaminate the Fuel Rods
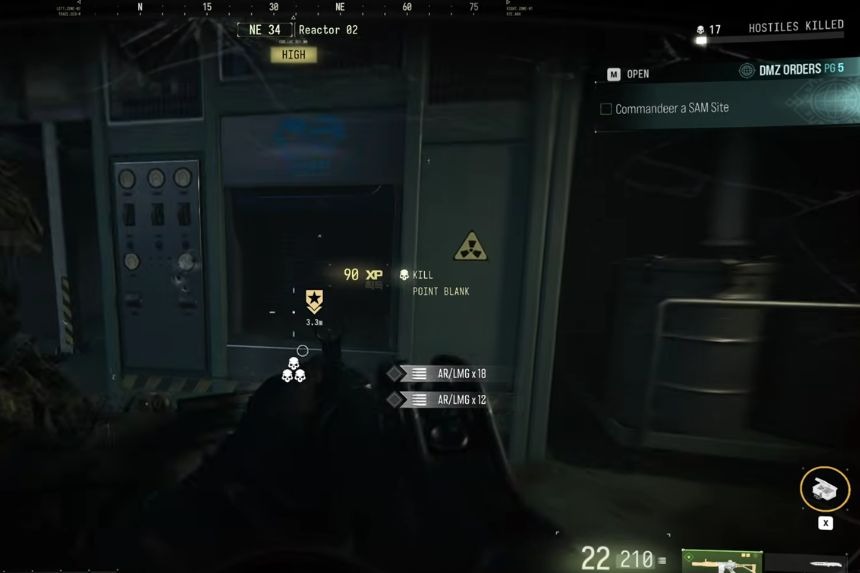
Once you have retrieved all three fuel rods, the new goal will be to clean up the rods. Walk your way back to the decontamination room by following the same route as you walked while retrieving the rods. The decontamination machine is there, and you need to put each of the fuel rods there to decontaminate them.
Interact with the machine to start decontamination. It will take 30 seconds to clean up a fuel rod, so you need to wait for the process to complete before putting another rod into the machine. Repeat this for all three fuel rods. After completing the decontamination of all three fuel rods, you will be able to proceed with the next part of the mission.
Secure the Warhead
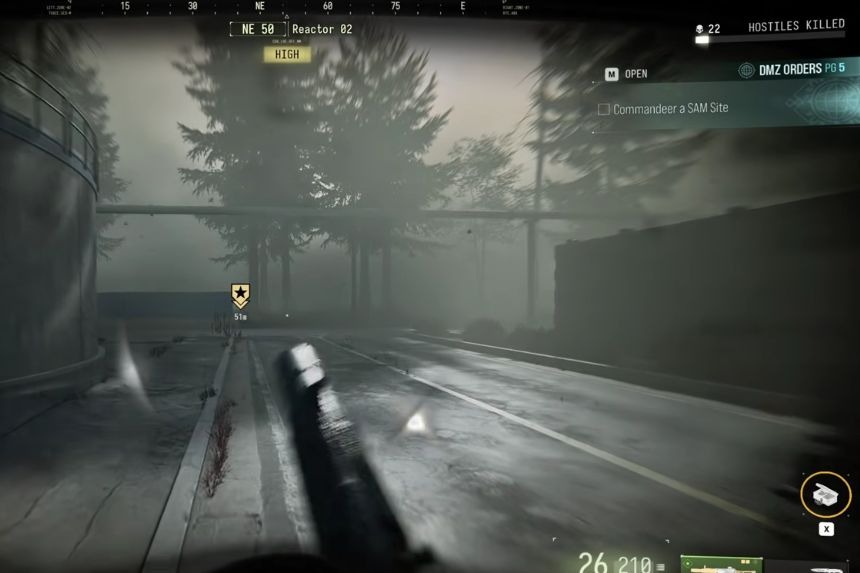
After the decontamination of the fuel rods, move back towards the place where you first went past the yellow metal bars. You will be able to open a gate that goes towards the boathouse. Be ready for a battle because when you open the gate, there will be some reinforcements coming from the enemy side.
The radiation levels will decrease from the red zone to the yellow zone, and thus, your gas masks will survive longer compared to when they were in the reactor. Your next objective is to kill all these enemies. Many of them wear heavy armor, so make sure you have enough ammunition and work with your squad to take them down.
Defeat the Colossus
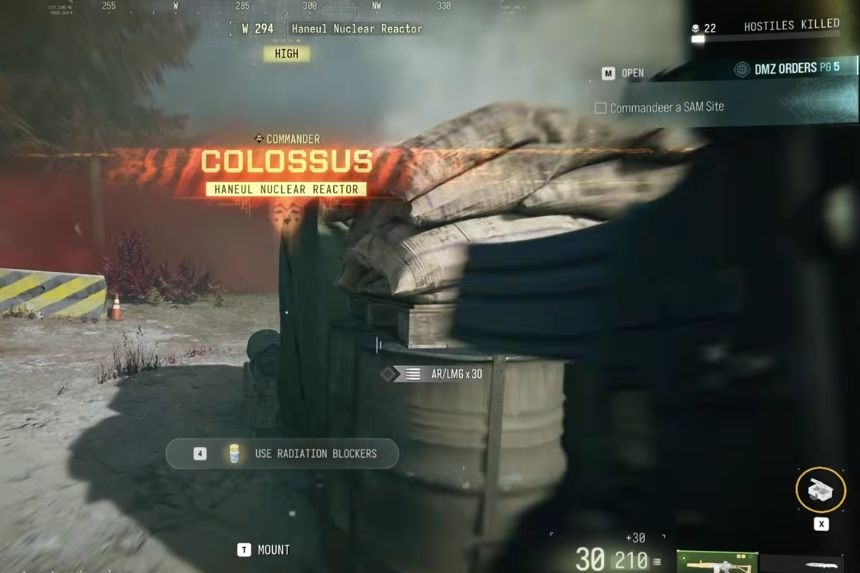
Once you are done with the reinforcements, you will go up against the Colossus. He is a heavily armored commander who wears Juggernaut armor and wields a minigun. He is a hard opponent to beat since he can absorb lots of bullets. This enemy focuses his attacks on single players, so if the Colossus targets you, then your main goal will be to stay alive and not damage him.
Take cover and, if needed, heal yourself during this time. If you are playing co-op and the Colossus changes his target, leave your cover and start shooting. Rotate those team members who will draw his fire, and do not allow all of them to suffer damage at once. Be sure to have enough ammo and healing items before attacking the Colossus. Defeat the enemy and loot his body for the Boathouse Key. You will need this key in order to move forward in this mission.
Entering the Boathouse
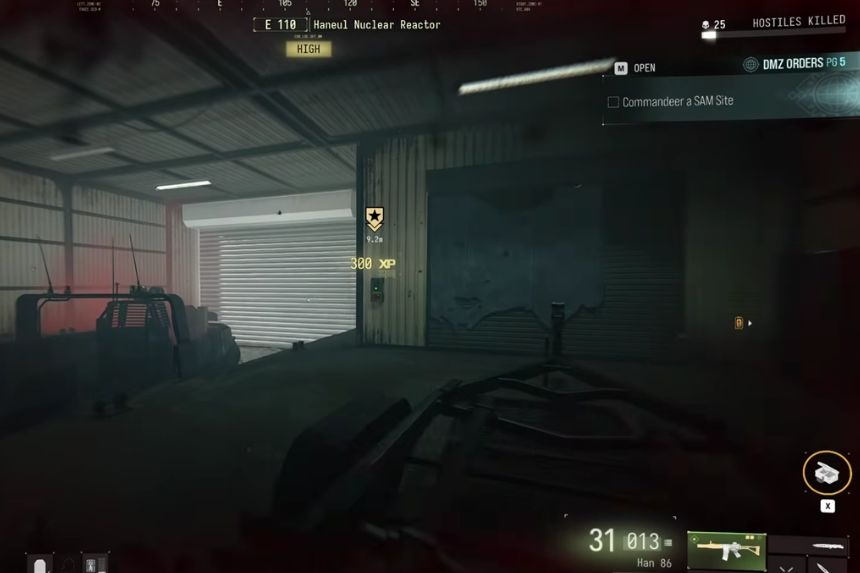
Pick up the Boathouse Key and enter the boathouse. Make your way to the garage door to get to the boat. When you are done, make sure that teammates occupy two turrets in the boat – one in front and the other at the back. This way, they can assist you in protecting yourself from any threat when you move towards the extraction helicopter. Your mission is to meet the helicopter; therefore, follow the markers and move forward.
Attaching the Warhead
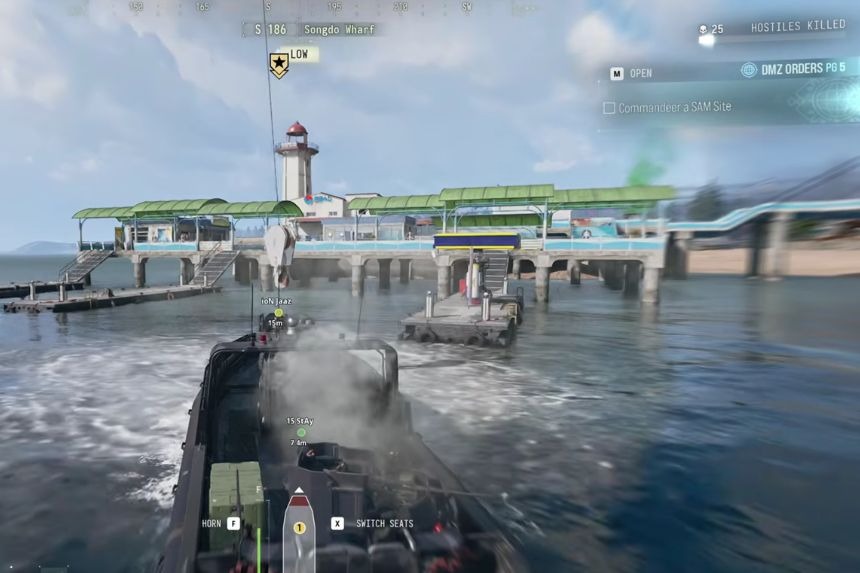
Along the way, you will encounter a helicopter carrying a huge hook beneath it. There is no specific interaction required for the warhead attachment process. All that you need to do is approach the helicopter in your boat, and the warhead will attach itself to the hook.
Now that the attachment process is done, the new objective for the game will be to ensure the safety of the helicopter. Proceed with the mission markers and follow the path indicated. At some point, the helicopter will advance quite far away from the boat, so there will be nothing else to do during this stage.
In the end, it will blow up after a certain distance away, and the mission completion message will pop up. After completing the mission, you can head to the extraction point and leave the match, thus completing the Operation Fallen Ember in DMZ.
