
In Metro 2033 Redux, unlocking all the safes is a key part of earning the coveted “Thief” trophy achievement. From the tunnels to the ruins, each safe is hidden in a unique spot. This guide will walk you through all the safe locations so you won’t miss a single one on your journey through the world of Metro.
All Safe Locations Guide – Thief – Trophy Achievement
The “Thief” trophy achievement in Metro 2033 Redux requires players to find and open all safes throughout the game. Make sure to grab all the keys, as some safes are hidden in the most unexpected places!
Rega station
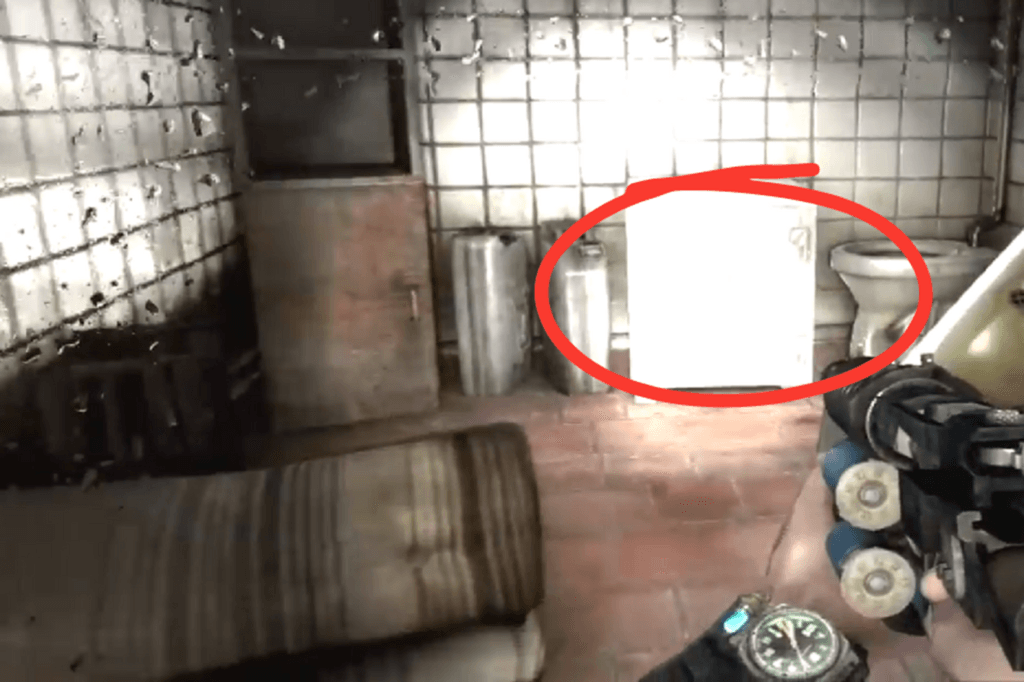
After you give the kid a single bullet to help you track down Bourbon, he’ll lead you down a trench. When he turns left, look for three porta-potties. Inside the one on the far right, you’ll find some military-grade ammo, the key is hanging on one of the small metal supports. Right next to the porta-potty on the far left, you’ll see the safe.
Lost Tunnels
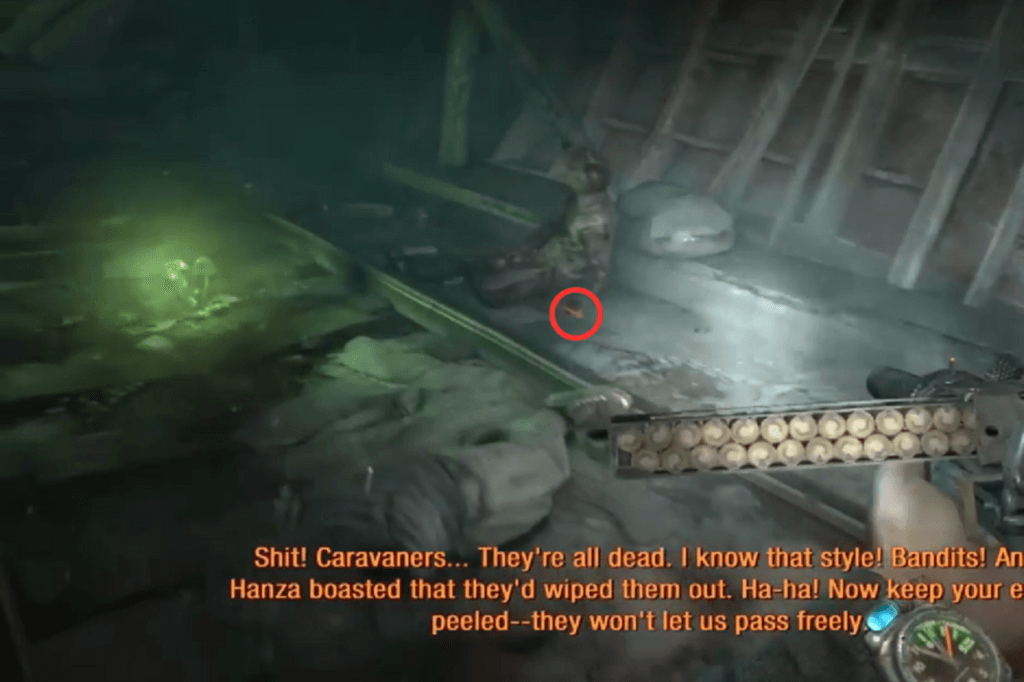

“Damn caravaners… they’re all dead. I know that style.”
Bourbon says this just before the two of you head into a side tunnel to ambush the bandits. When you hear him say that line, you’ll know you’re in the right place. Search the bodies in front of you until you find the key. After you’ve cleared out all the bandits gathered around the fire, Bourbon will open a door. Directly across the room, look for a safe painted with black and yellow caution stripes, it’s right next to some green glowing mushrooms.
Lost Tunnels Part 2
Near the end of the level, after the hallucination at the gate, keep an eye out for a side passage. You’ll find the key on a corpse in that area, but getting to it will take a bit of platforming. Be careful: some of the platforms won’t hold your weight for long and will collapse if you’re too slow. In some cases, the ones behind you will fall away completely, forcing a checkpoint reload. The platform the corpse is on is stable and won’t collapse, no matter how long you stand on it.
Lost Tunnels Part 3
There are two ways to reach the safe.
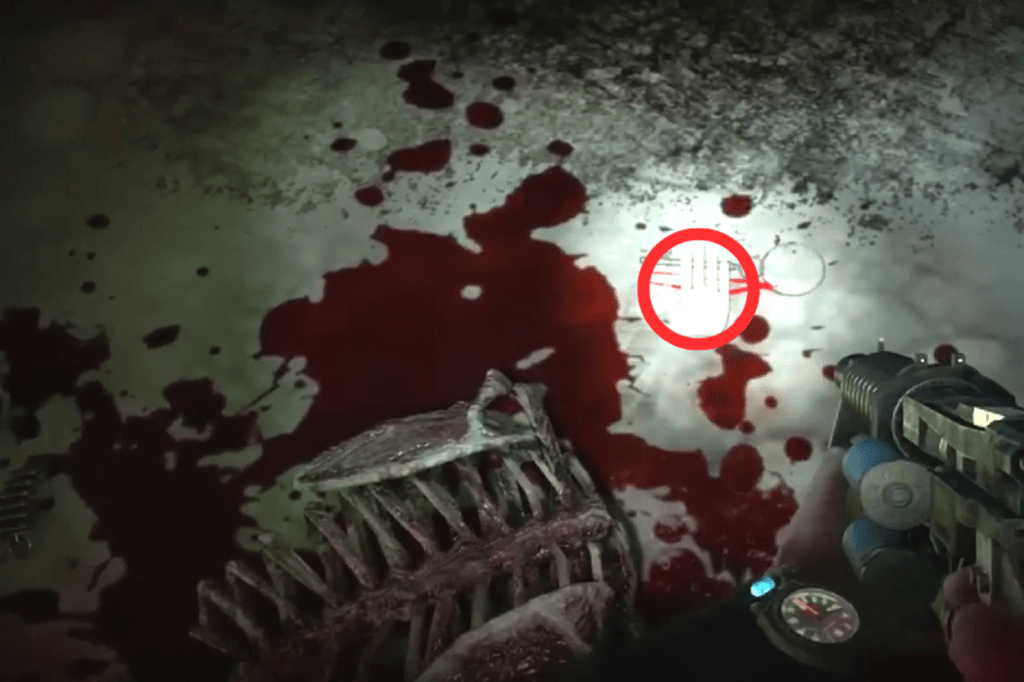
The first route is to jump down a hole. Once you’re down there, climb out through one of the smaller side holes, you’ll find a corpse nearby, so make sure to loot it. Once you’re on the ground, look to your left. You’ll spot some military-grade ammo sitting in a pool of blood. Carefully wade through the mildly radioactive puddles to reach the stairs. At the top, look to your right to find a shotgun and some ammo near another corpse, and to your left, you’ll see a door.
The second way is to stick with Bourbon until you reach the gates of Market Station. Before heading to the big gate with him, look to your left for a ladder. Climb down and follow the path to find the same stairs. Don’t follow Bourbon to the main gate just yet, it’ll trigger a fight. You might hear some distant roars, but don’t worry, nothing will attack you until you reunite with Bourbon.
Lost Tunnels Part 4
After you’ve opened the gate, loot the items on the table in front of you. There’s also some military-grade ammo on the bookshelf to your right, don’t miss it. Once you’ve grabbed everything, look around the same room for a shut-off valve. Turn it off, then head down the hallway and open the safe.
Mareket Sation
After Bourbon tells you to grab some more filters, immediately turn right. You’ll see one man using a radio and two others standing nearby. The key is behind the man on the radio. Once you’ve got it, head back to where Bourbon asked you to get the filters. This time, turn left and go inside the subway car, the safe will be sitting on a shelf to your left.
The Dead City Part 1

When the level begins, look to your right, you’ll see a ticket booth. Head inside, and you’ll find the key hanging on the wall. You’ll also notice an arrow pointing upward, which means the safe is located in the room directly above you.
Just to the left of where you started, there’s a door leading to a stairway that goes up to the second floor. Be careful there’s a booby trap right at the entrance. Once you reach the second floor, watch out for a Watcher (a mutant) at the top of the stairs on the right. Don’t worry, it won’t attack you and will run off when it sees you.
Right where you saw the Watcher, look to your right and you’ll find a Stalker cache feel free to loot it.
From there, just follow the path to the light blue door. The safe is in the room on the other side. Keep an eye out for more traps along the way.
The Dead City Part 2

After you and Bourbon get separated, head into the building directly across from the one you just came out of. The key is inside that room, but to get in, you’ll need to jump up onto the ATM machine. Be quick though, the radiation levels in there are extremely high. As long as you move fast, you’ll be fine.
Once you’ve grabbed the key, head down the hallway to your right, take another right, then continue straight until you reach some metal gates. Just past them, the safe will be in a room on your left.
The Dead City Part 3
Near the end of the level, after you’ve reunited with Bourbon and followed him for a while, he’ll begin heading up a set of stairs. As soon as he does, turn around and go the opposite direction until you see the area. Head down the stairs, there’s a corpse at the bottom with the key on it. Oddly enough, this key has an orange ribbon instead of the usual red one.
The safe is just a short walk from there, inside a building marked with a painted ranger helmet on the outside. Once you’re inside, head to the far left, the safe is located in the bathroom.
Ghosts
Around the halfway point of the level, Khan will lead you into a side tunnel. Pay attention to the first door on your left it’ll be closed at first. To unlock it, you’ll need to trigger a Nosalis attack. Be careful one of them is hiding right behind the door and will try to ambush you when your back is turned.
Once you’ve dealt with all the Nosalises, head into the room and grab the key. The safe is directly across from the doorway. There’s also some military-grade ammo in the room, so be sure to grab that too.
Front Line Part 1
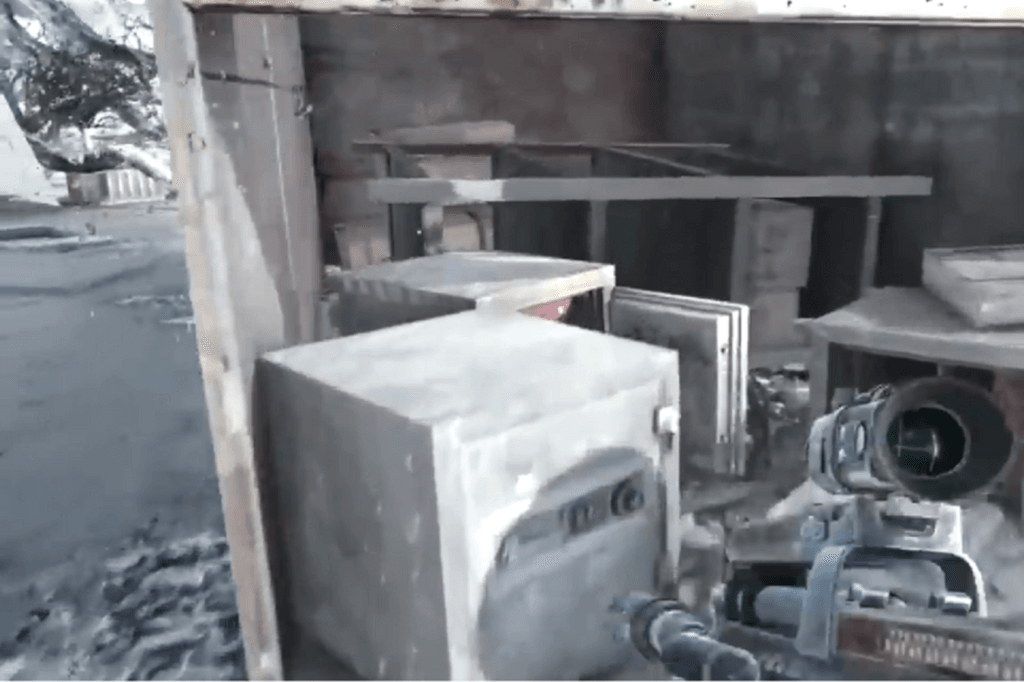
A few minutes into the level, after you’ve crossed over to the Red Line, head toward the rear of the tunnel. You’ll find the key just outside a staircase leading downward.
Go down the stairs, open the door, and follow the corridor to the end you’ll find the safe there. Next to it is a Bastard gun equipped with a night vision sight, heat sink, Kalash stock, and a laser sight. You’ll also find a pair of night vision goggles nearby, so don’t forget to grab those too.
Front Line Part 2
Near the end of the level, after you’ve crossed into Nazi territory, you’ll reach an area packed with Reich soldiers. Look inside the cab of the subway car that’s where you’ll find the key.
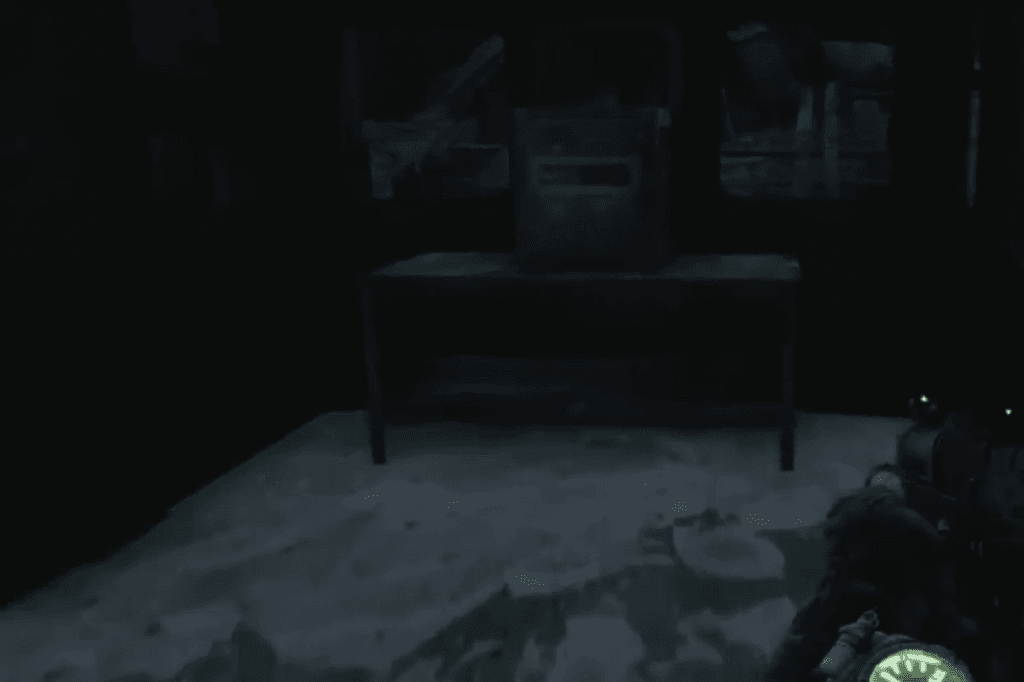
Once you’ve got it, head down the length of the train until you reach the rear. The safe will be sitting on a table in plain sight.
Trolley Combat
At the end of the level, after you dismount the machine gun and enter the side tunnel, you’ll reach a point where Pavle heads to the right. Instead, look to your left there’s a door there. Open it, and inside you’ll find both the key and the safe sitting together on a table.
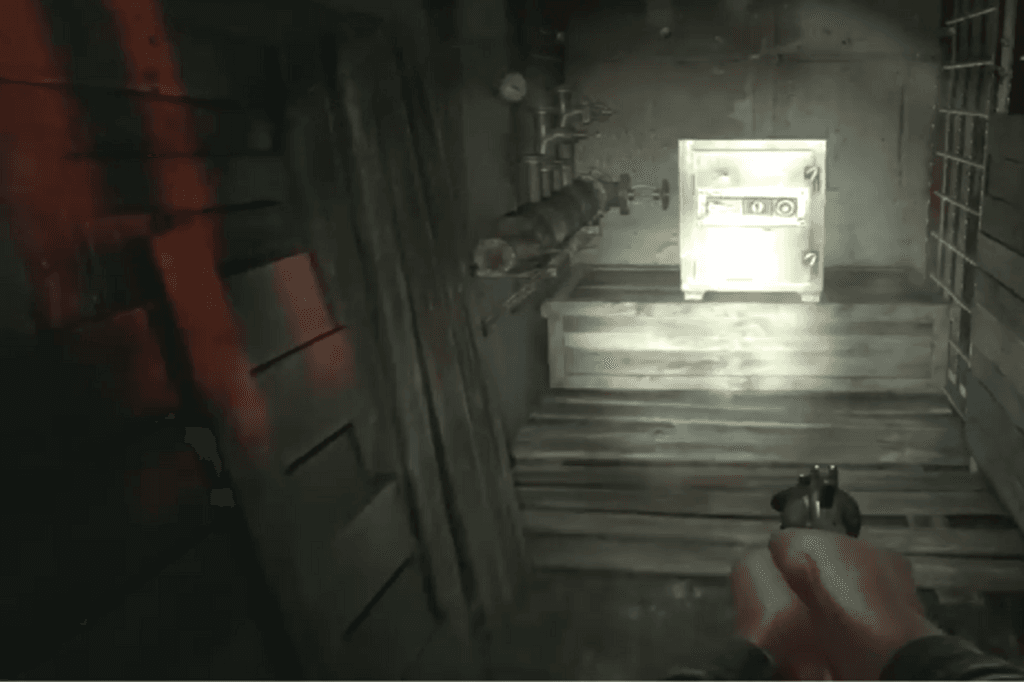
Defense Part 1
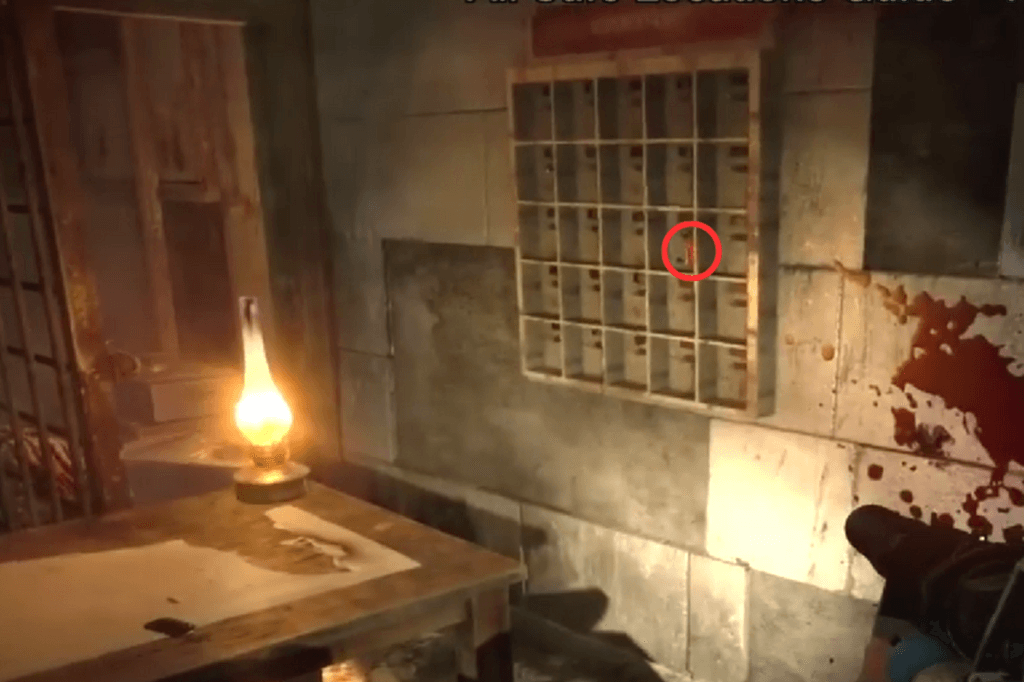
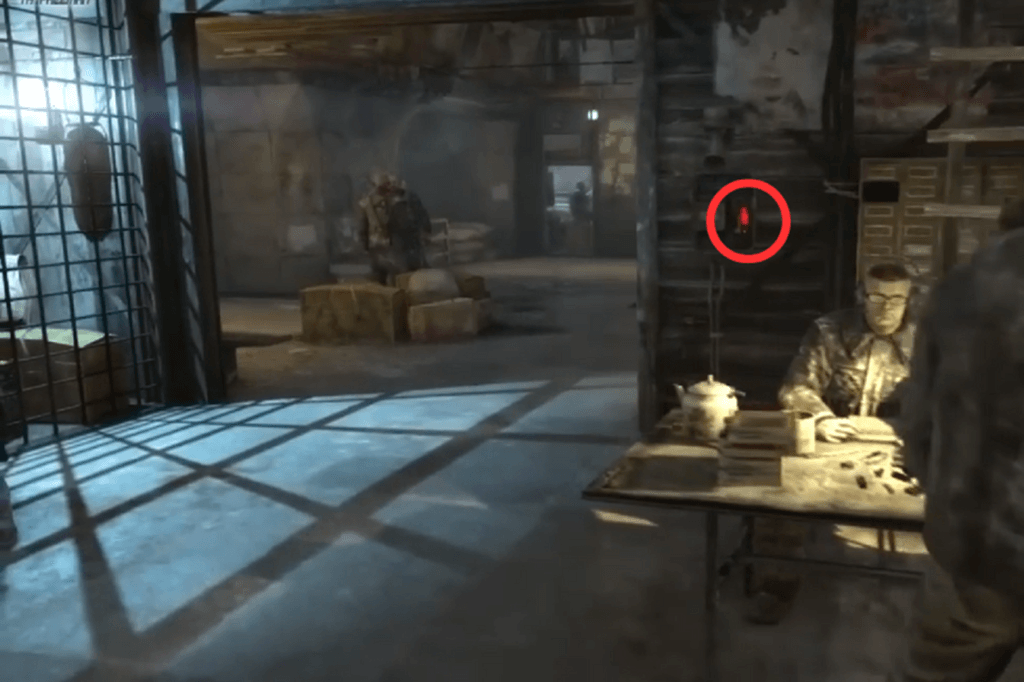
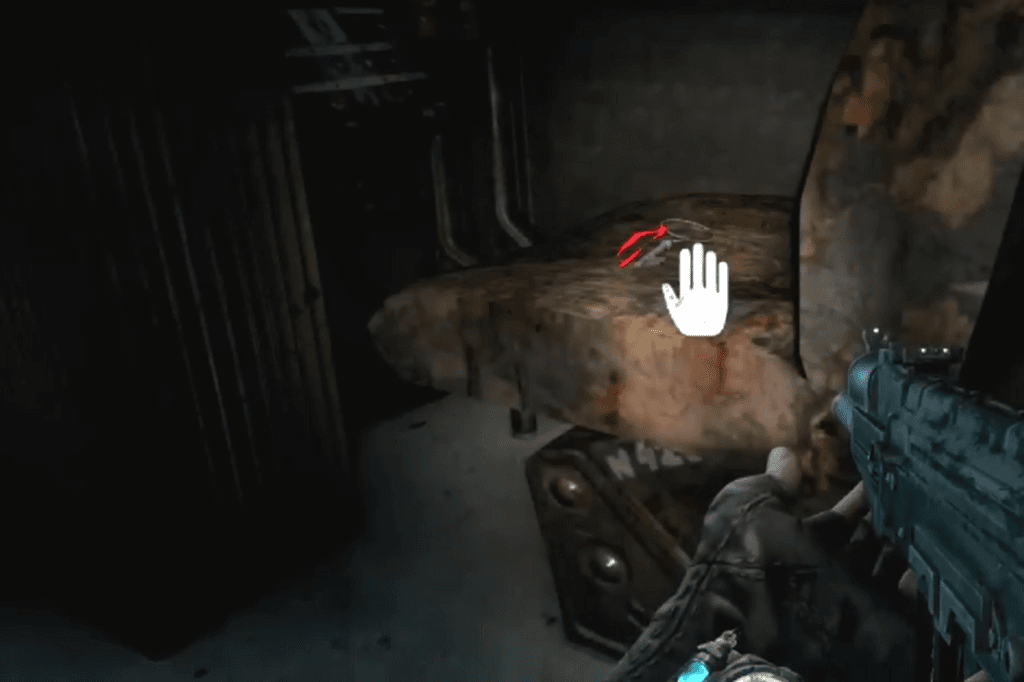
About halfway through the station, you’ll reach a section where you need to put on a gas mask. Just before that point, look for a rebar door with a body and a lantern next to it. This door leads into a small office, and the key is hanging on the left wall.
Inside the office, you’ll notice three safes, but none of them require a key they’re already open. Leave the room and take the door to your right. Immediately turn left, head up the stairs, then take another left across a makeshift bridge. That’s where you’ll find the safe that needs the key, it’s marked with yellow and black caution paint.
If you look to your left from there, you’ll see the room where you originally found the key.
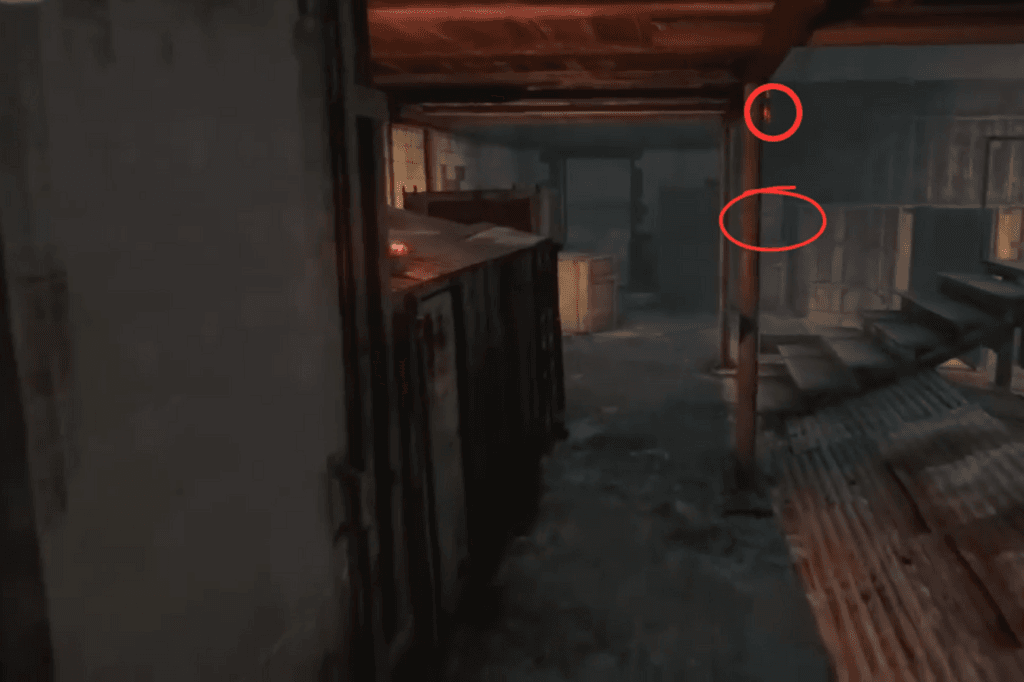
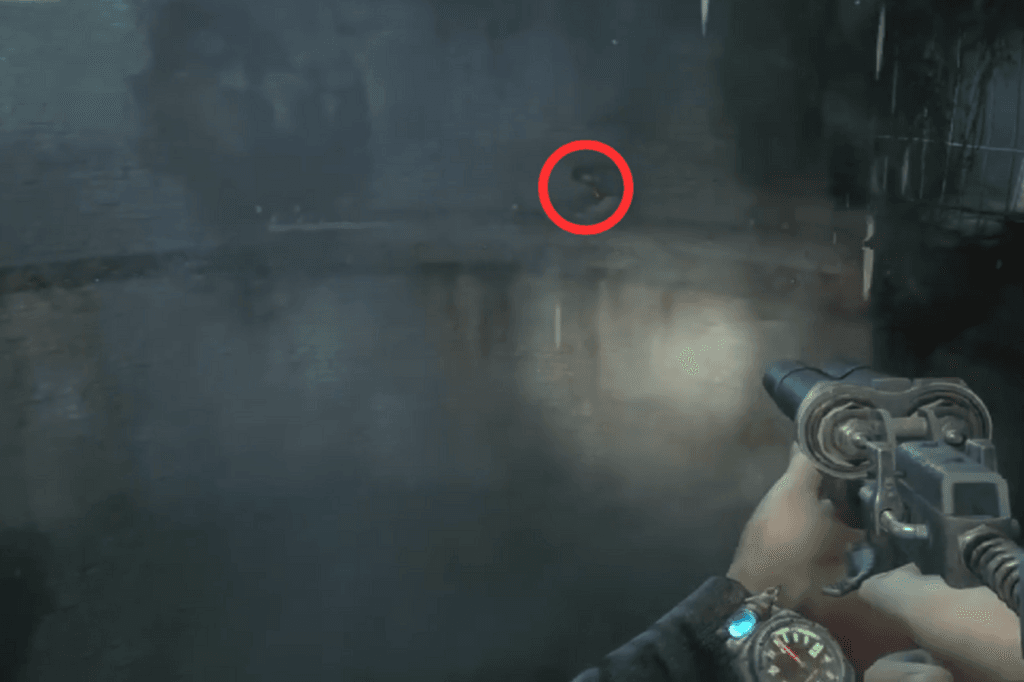
Defense Part 2
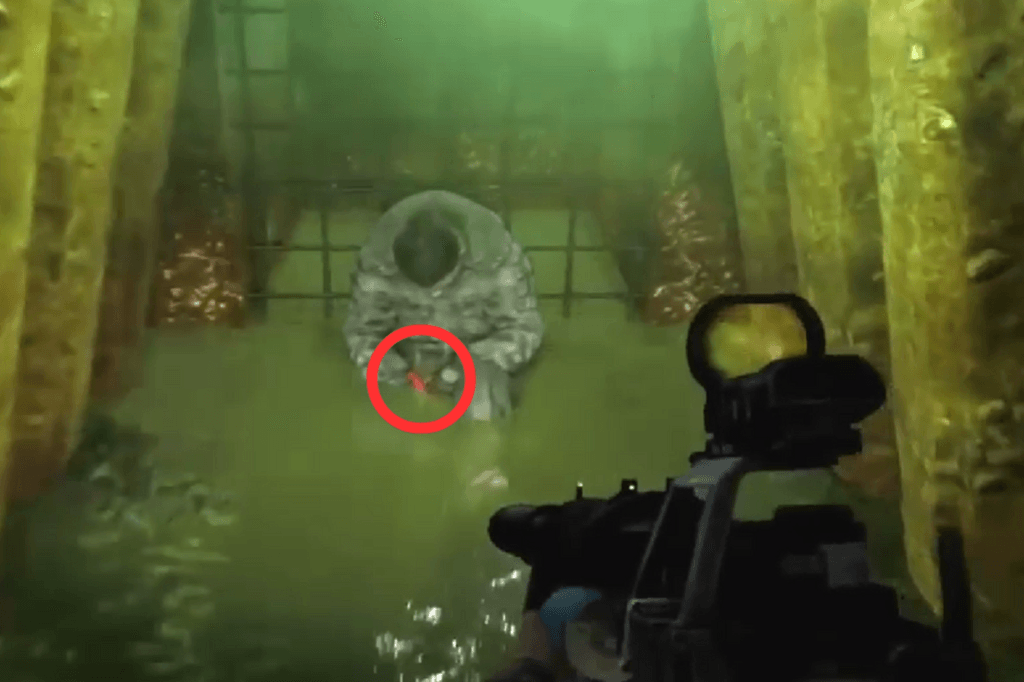
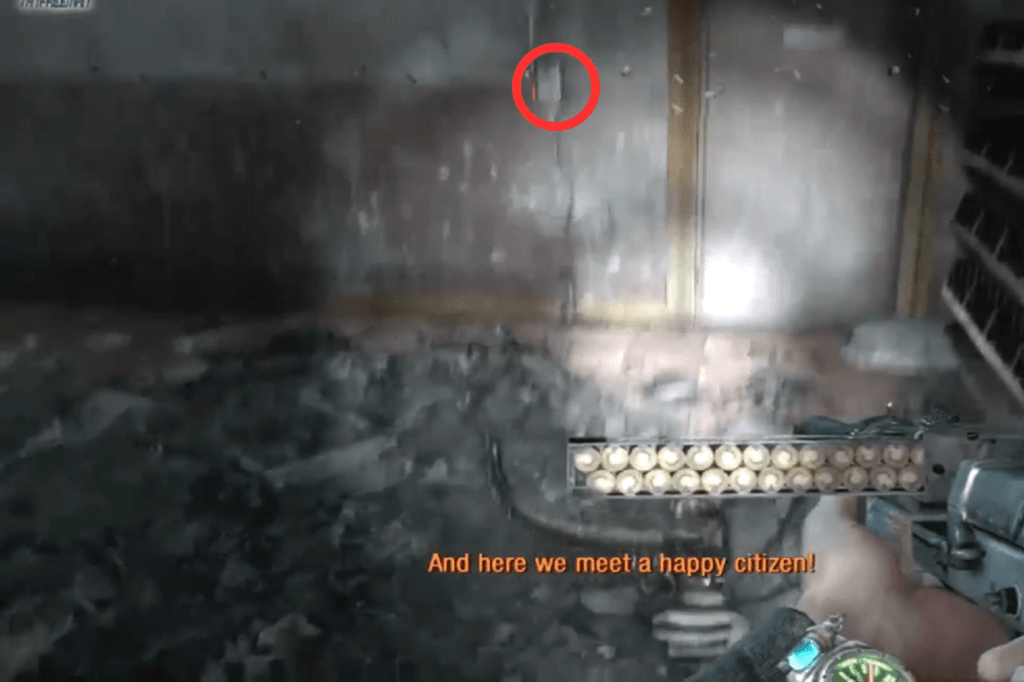
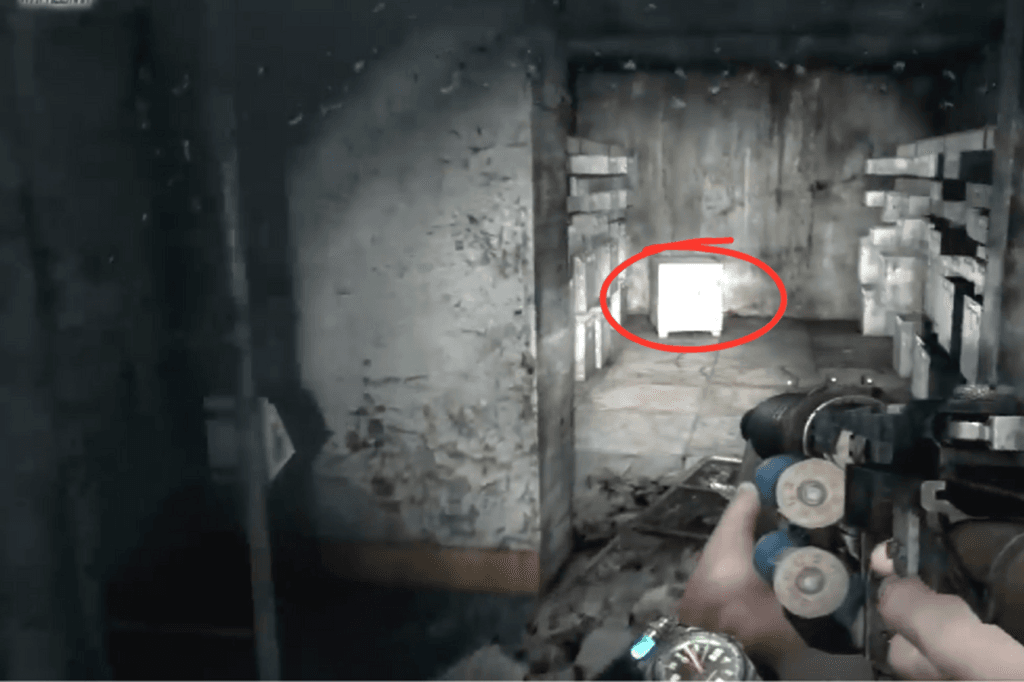
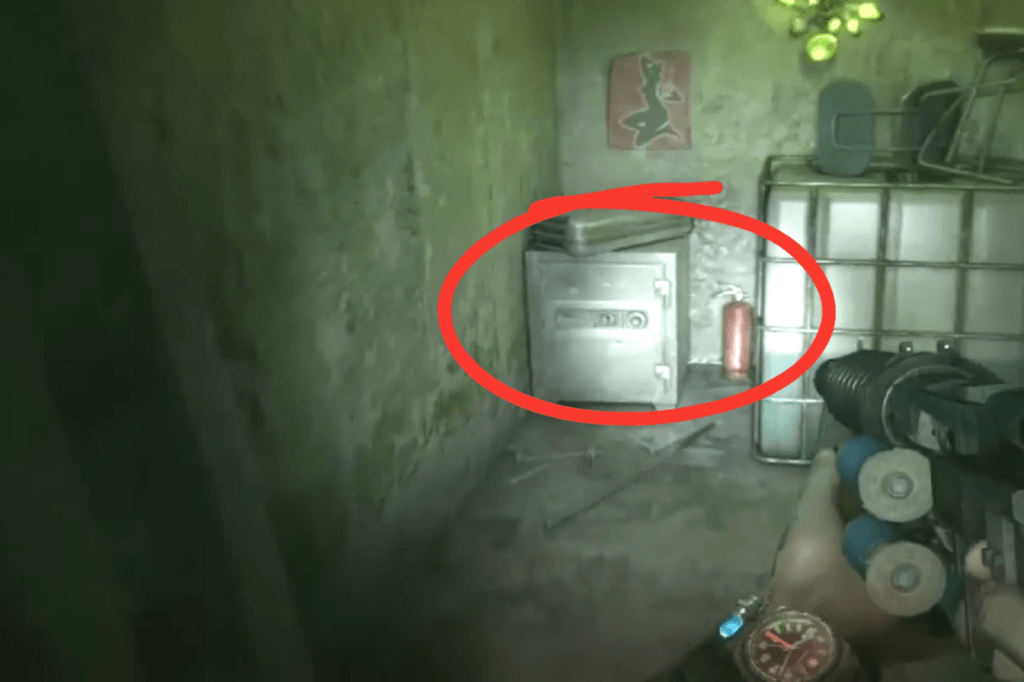
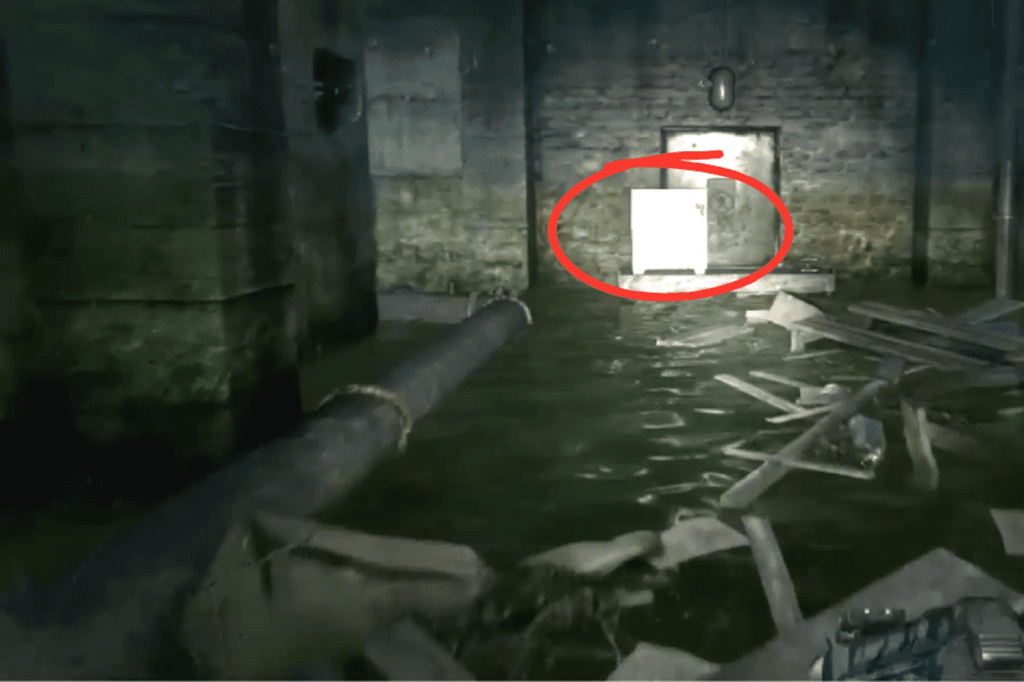
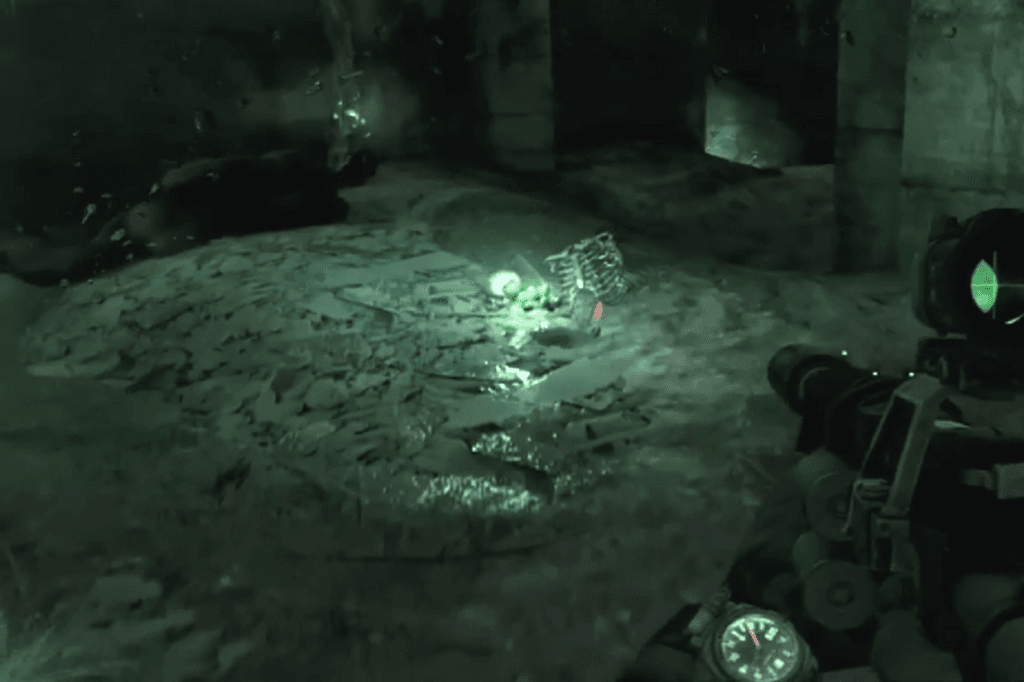
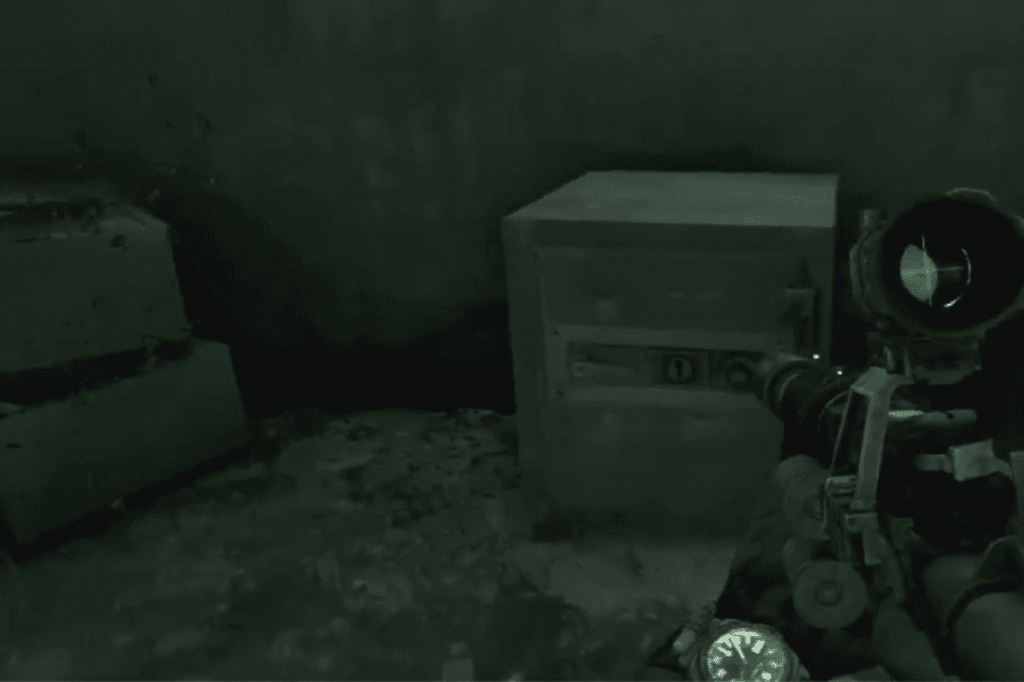
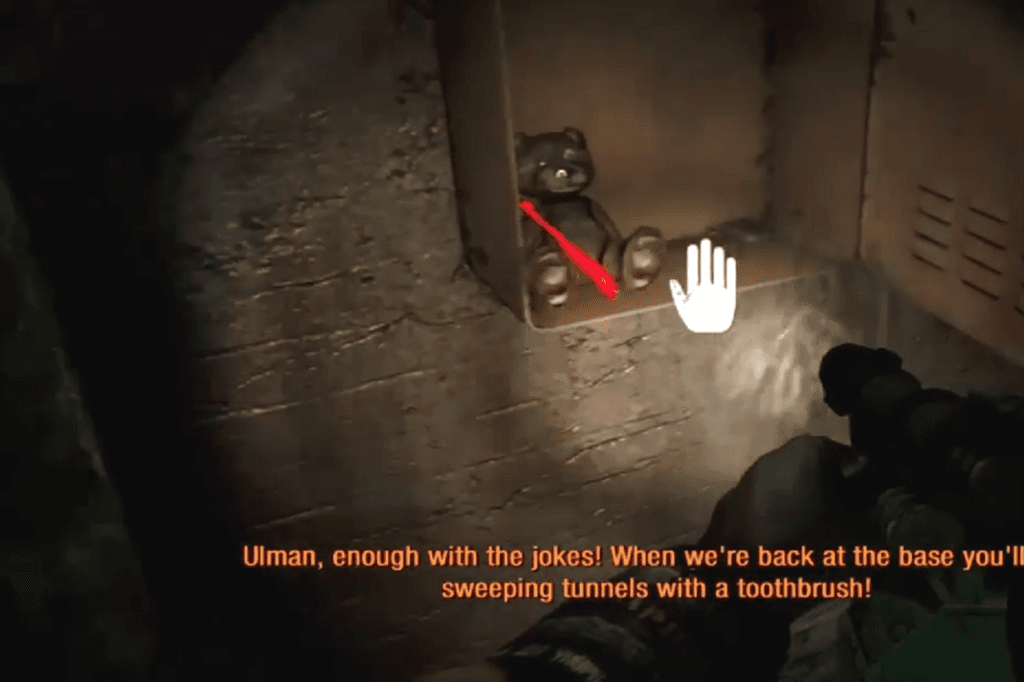
After the room where the kid warns you not to throw grenades, you’ll come across a small camp. The safe is located against a wall next to the fire.
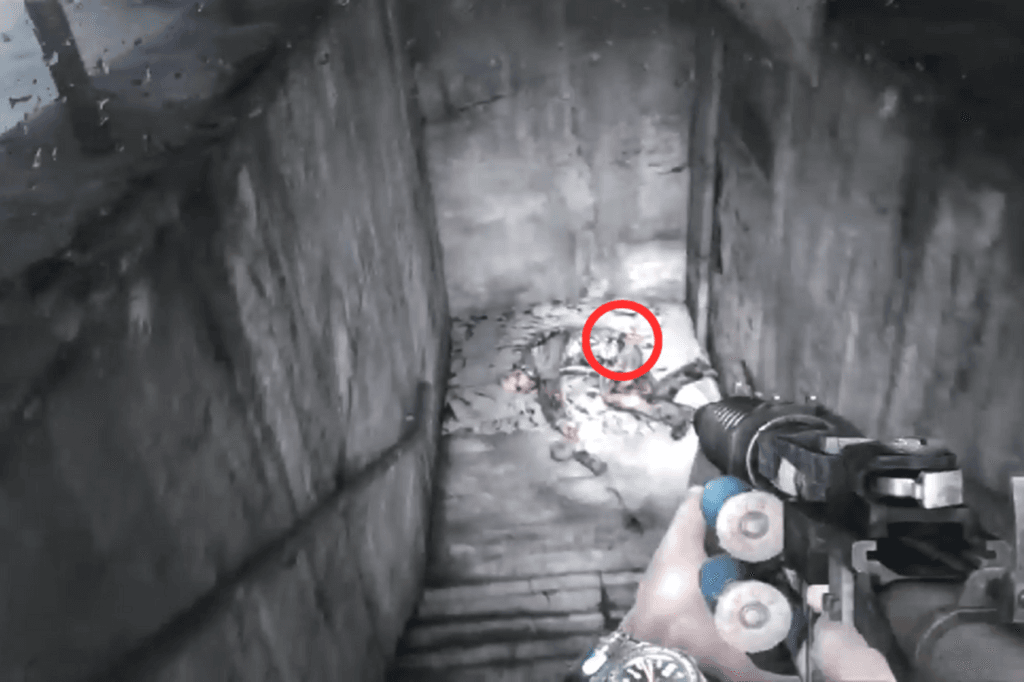
To find the key, turn left and head toward the edge of the green river. Then, turn right, you’ll see a body lying there with the key in its hand.
Outpost

Use the ladder on the side of the outpost to climb up to the roof. If you grabbed the cassette tape from the commander in the previous level, you can play it using the nearby transmitter.
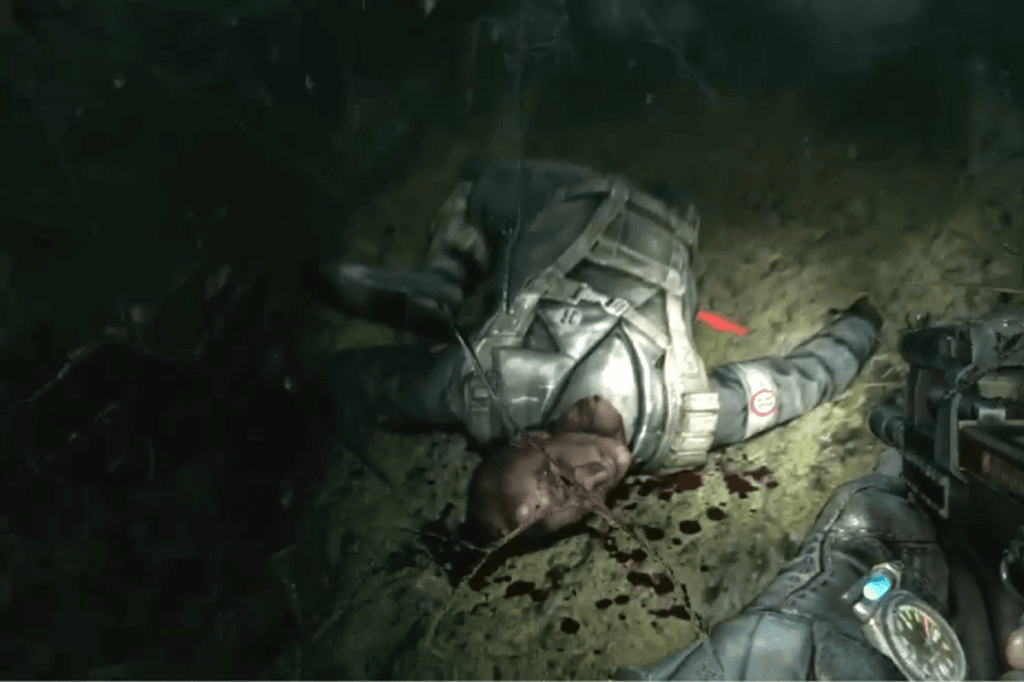
The key is on a body being eaten by a demon. Don’t worry it won’t destroy the key or attack you. Just walk up to it, and the demon will fly off. The safe is located on the first floor, in the first room on the left.
There might be a glitch where, if you stand in just the right spot, you can grab the contents of the safe without actually opening it, but keep in mind, this won’t count toward the achievement.
Black Sation
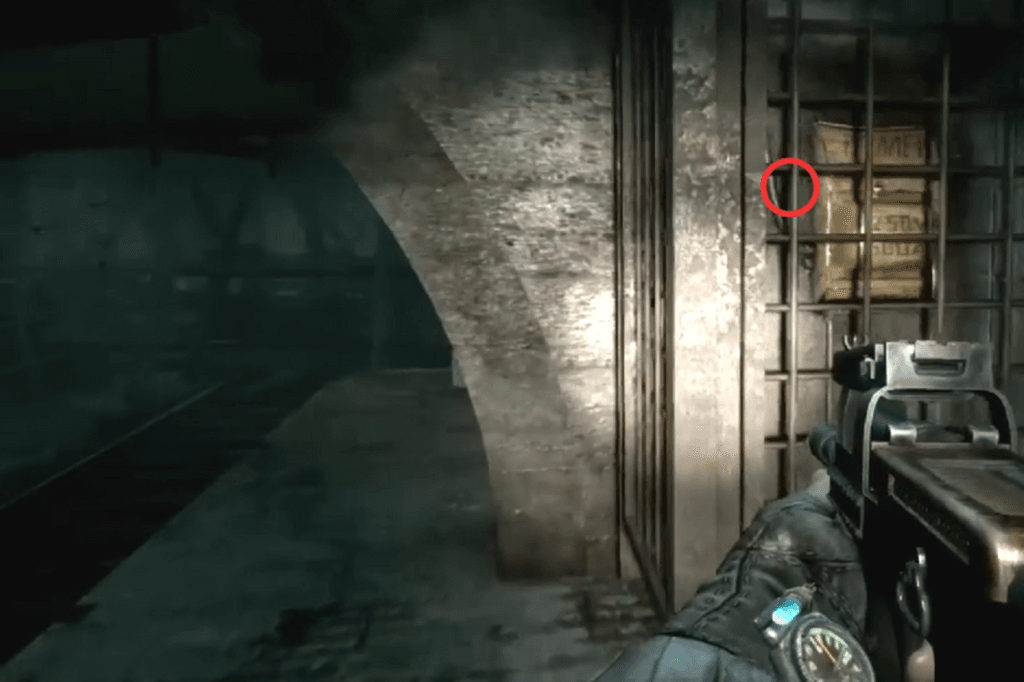
You’ll reach a section where you see some escalators. Climb down onto the tracks to the left, then head right. On the station platform, you’ll spot a cage made out of rebar, the key is inside.
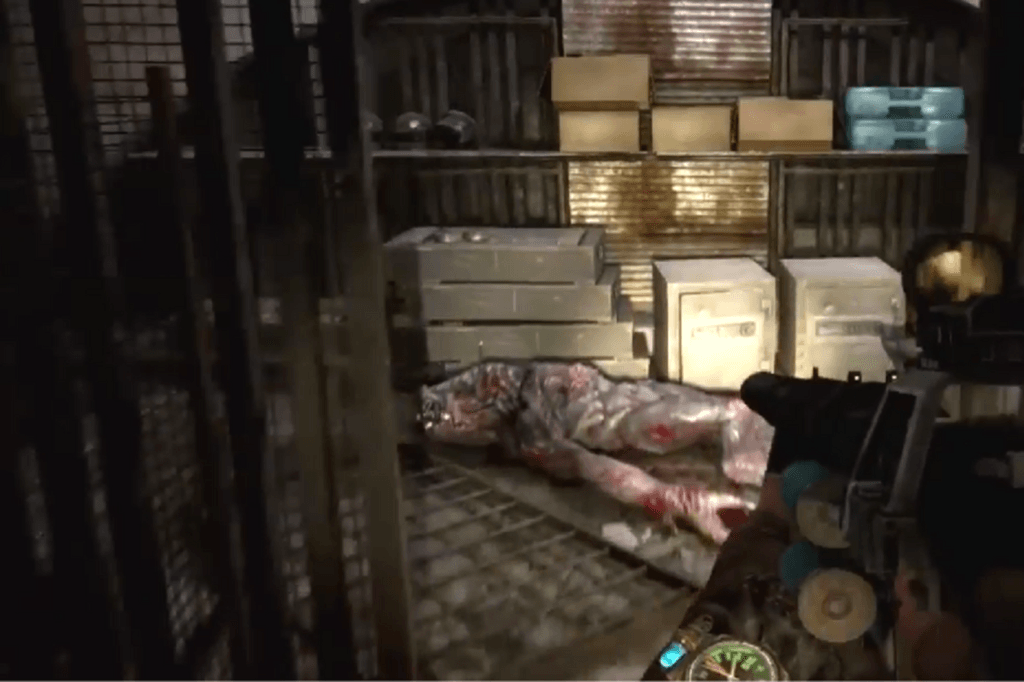
After grabbing the key, go through the door to your left, then through another door. In the next room, lit by a lantern, you’ll find the safe along with five others.
Next, head down the tunnel to the right, take a left, and continue until you come across the corpse of a Reich soldier. The second key is on the body. Once you’ve got it, just head back to the room with the safes and that’s it.
Alley

In front of the station gates, there’s a trench. Later on, when you reach the entrance to the library where you’re supposed to wait for your fellow Rangers you’ll find an overturned truck next to a statue. Three safes have fallen out of the back of it.
Once you’re inside the library, the locked safe is at the bottom of the stairs to the right. Go up the stairs, take a right, then another right. On your left, next to some strange vine-like trees tangled in webs, you’ll find the key. After grabbing it, turn around, hop over the railing, and there you go, you’re right back at the safe.
Archives
Near the end of the level, watch for an area with a sleeping Librarian. Next to it is a pile of bones, and hidden in that pile is the key to the safe.
Do not shoot the Librarian. Just grab the key quietly and get out of there.
Once you’ve got the key, head up the staircase to your right. The safe is inside the open door on the right at the top.
Dungeon
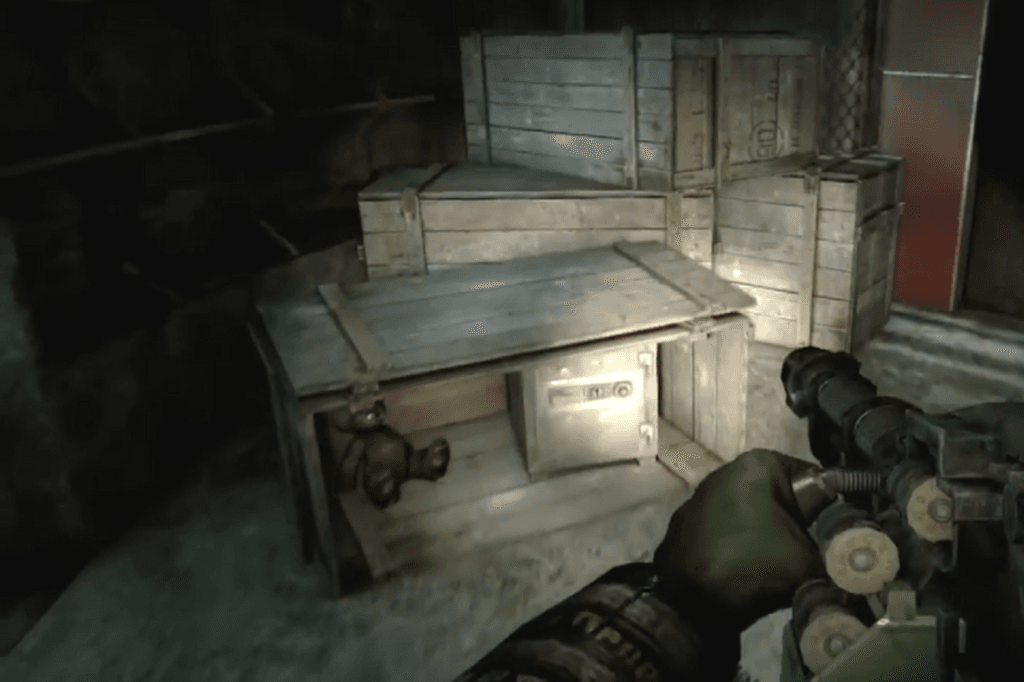
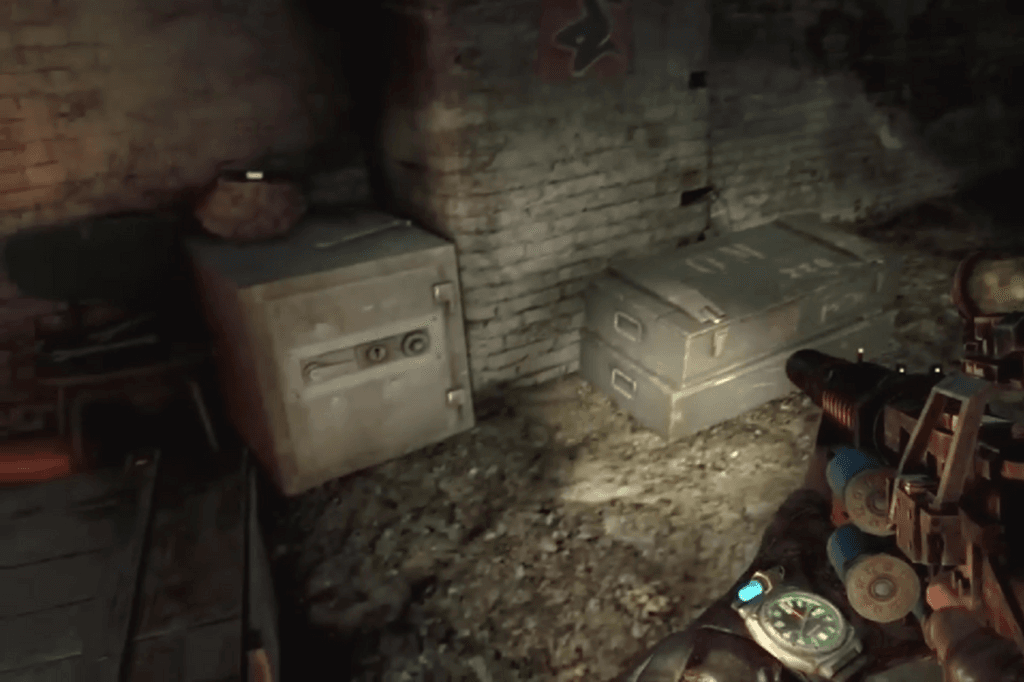
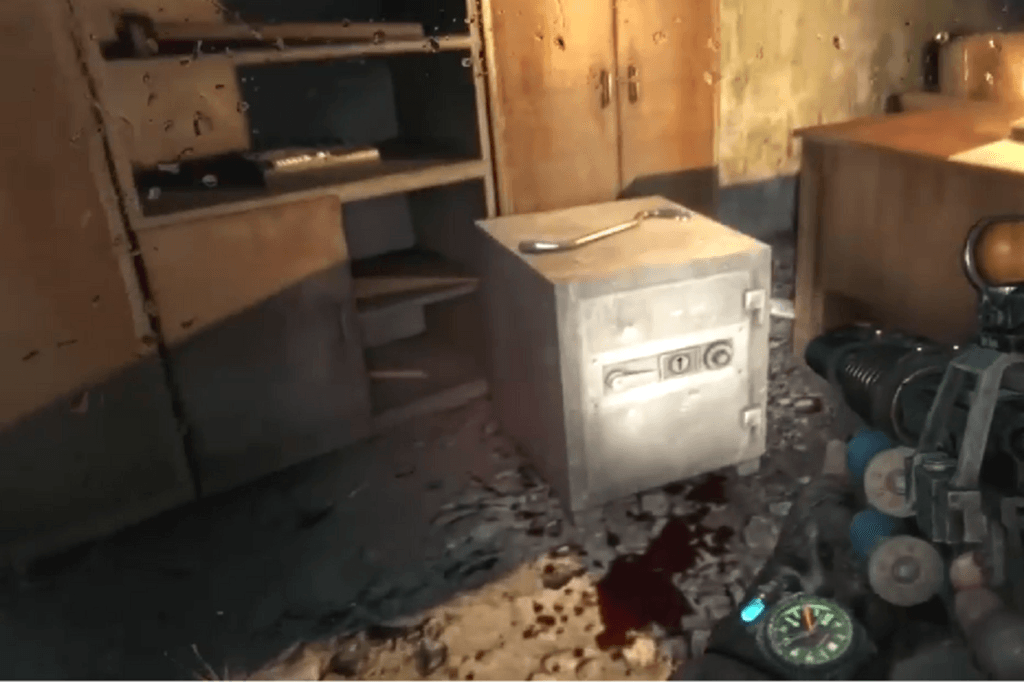
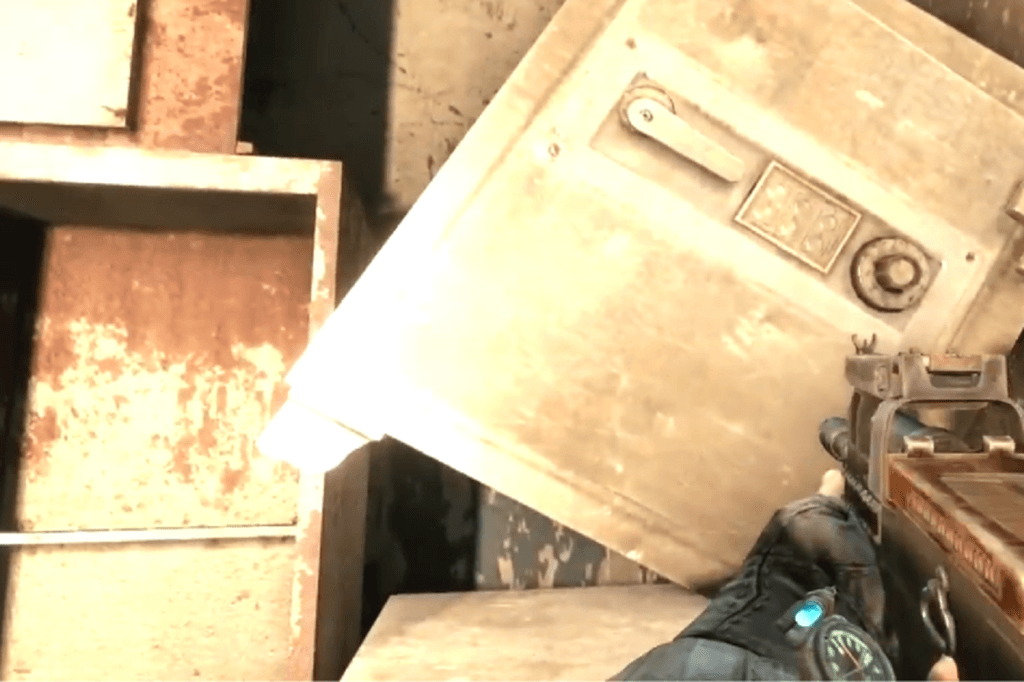
At the start of the level, while Colonel Miller is briefing the squad, turn left. You’ll find the safe inside an overturned crate near an elevator but once again, we don’t have the key just yet.
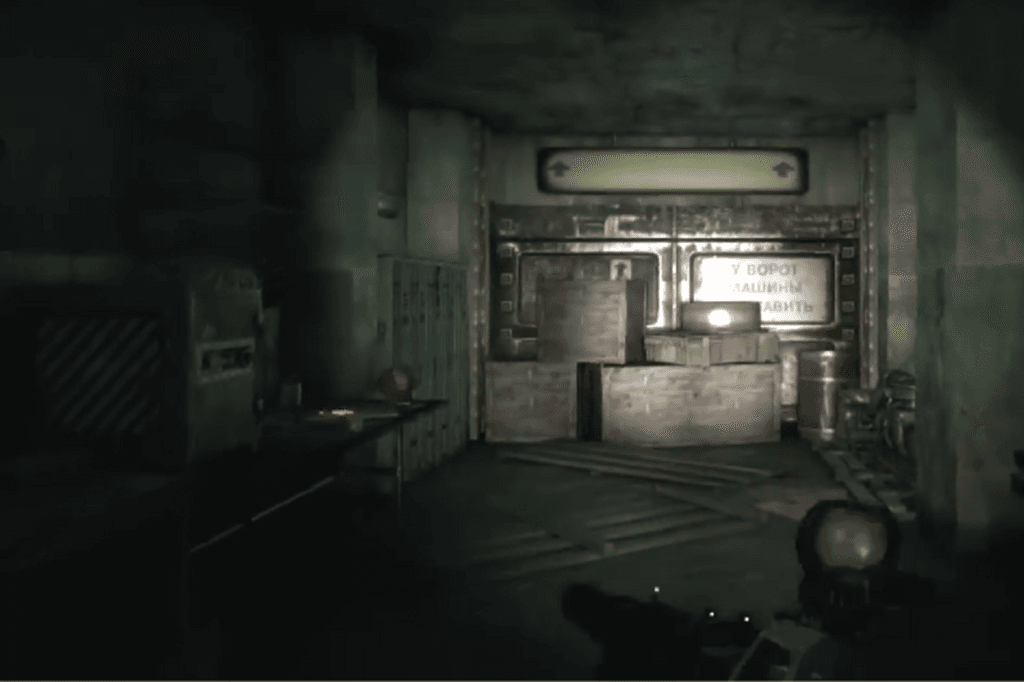
A bit later, when you reach the section where you need to open the airlock gate, look across from it for a door. Open that door, then turn left. The key will be inside one of the small red lockers. (Pro tip: this part of the level is easy to get lost in, so take your time and try to keep track of where you’re going it’s like a mini maze.)
After you’re separated from your squad, head into the first room, then take a left followed by a right. Go into the bathroom on your left. The key is inside the urinal closest to the wall.
Once you’ve grabbed it, leave the bathroom, turn right, and go straight into the room lit by an orange light.
D6
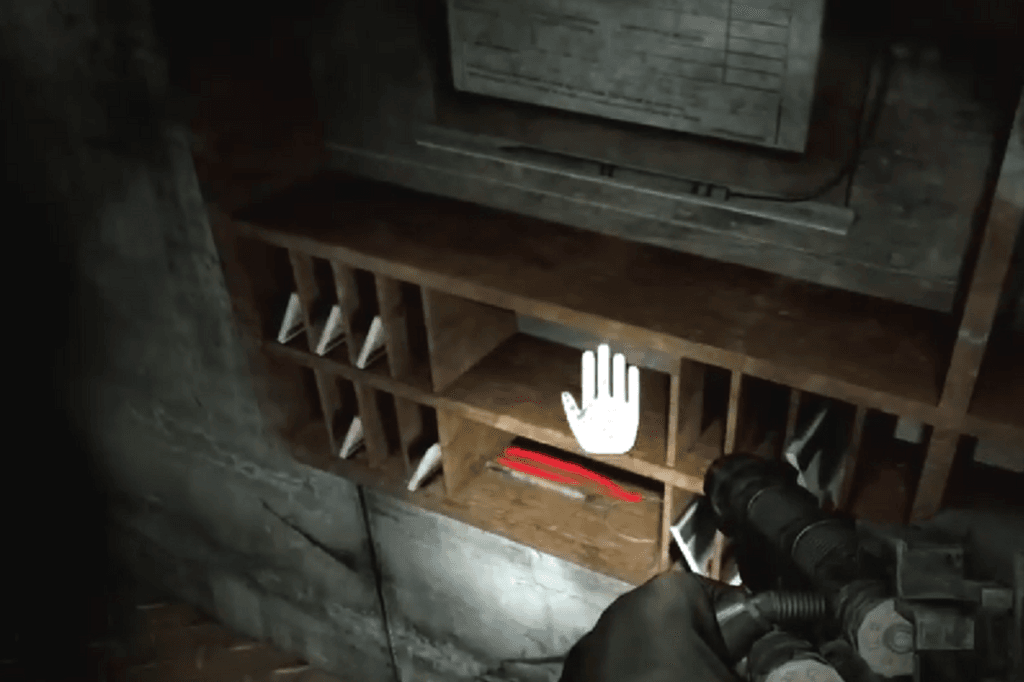
Right before you, Miller, Ulman, and Vladimir enter the room with all the computers, turn left and head into the small control room. The key is sitting on a shelf against the back wall.
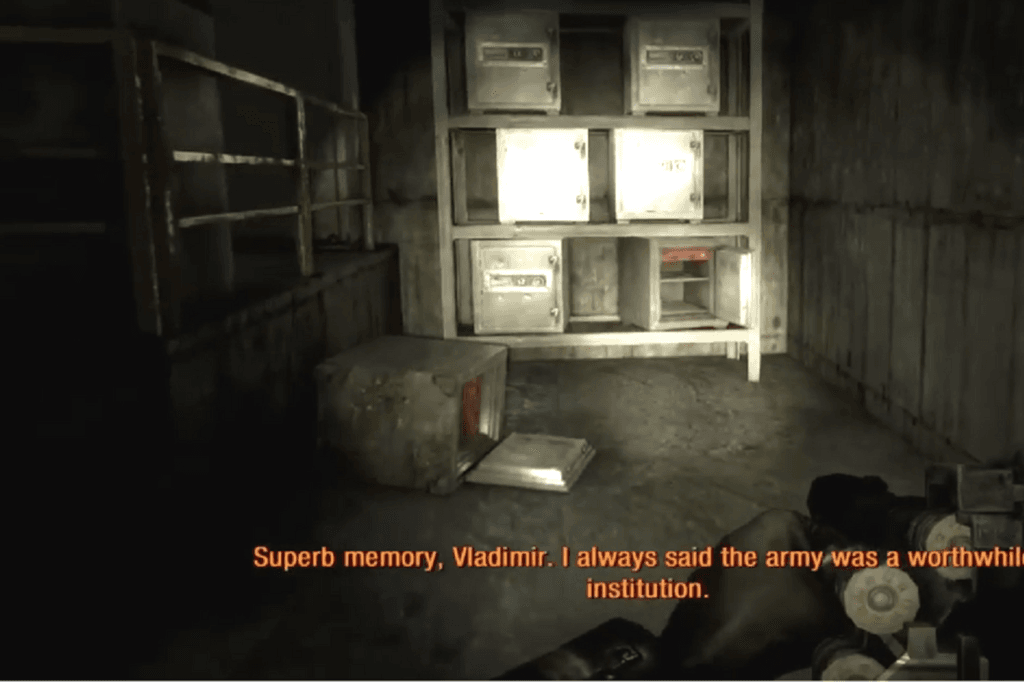
Once you’re in the computer room, head to the far left corner. You’ll see a group of safes. The one that needs the key is in the middle, to the left. The other safes don’t require keys and cannot be opened.
Be sure to grab the key before moving into the next room, as the door will shut behind you. Don’t worry though after a few minutes, it will reopen.
Tower
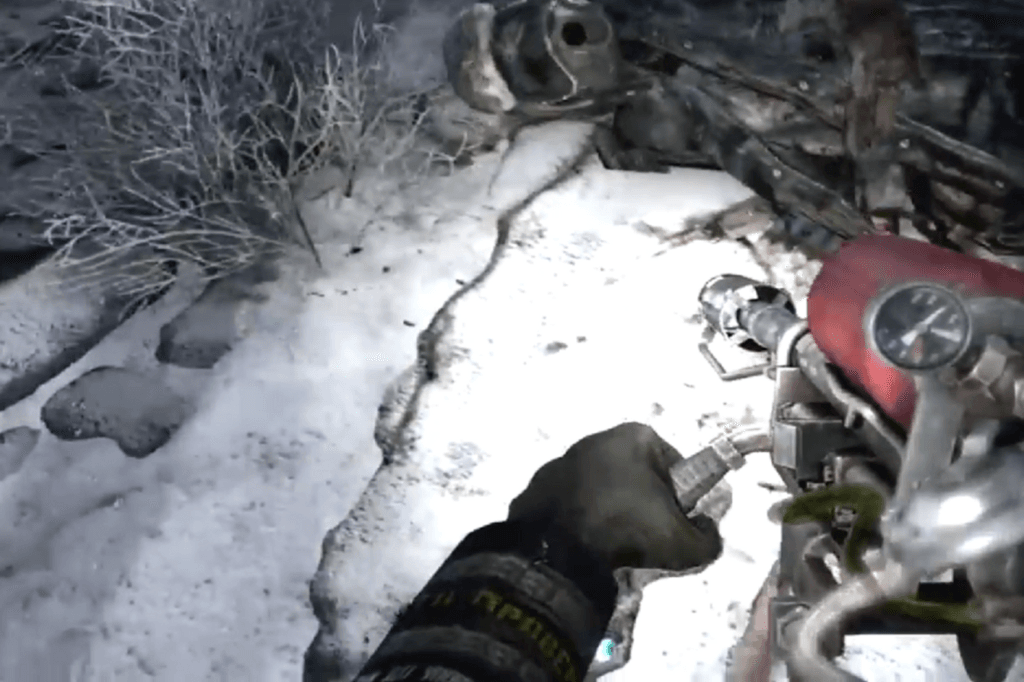
After Miller saves you from the demon, you’ll fight your way to the base of the tower. On the far right, look for an old bus the key is on a body lying next to it.
Now, for the final one:
Right before you and Miller get onto the elevator, turn left and keep going until you reach a door. Go inside, turn left, and that’s it. The safe will be sitting on the floor.