
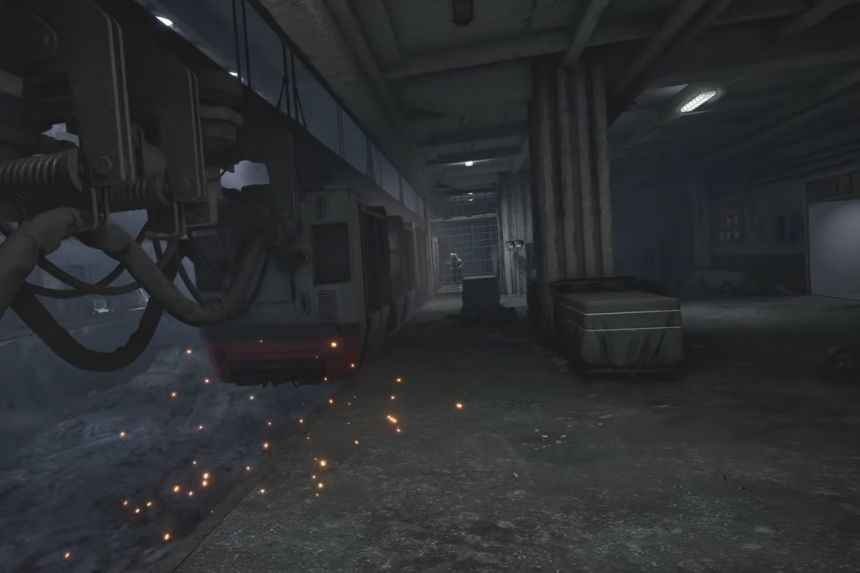
The Dangerous Way mission in the S.T.A.L.K.E.R. 2: Cost of Hope DLC sends you into an abandoned underground facility where trip wires, enemy forces, electric anomalies, and mercury can be found. The first objective will be finding the Water Drop Artifact that allows you to move around the mercury and access the C-4 Charge for the imprisoned Freedom faction members. In this guide, we’ll show you how to find the Artifact, get the C-4, activate the monorail, and escape the underground complex.
Dangerous Way Mission
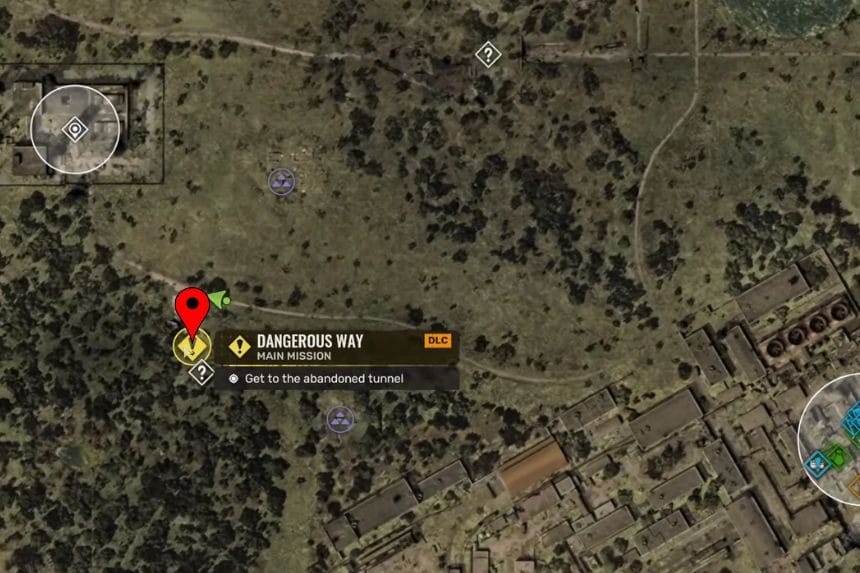
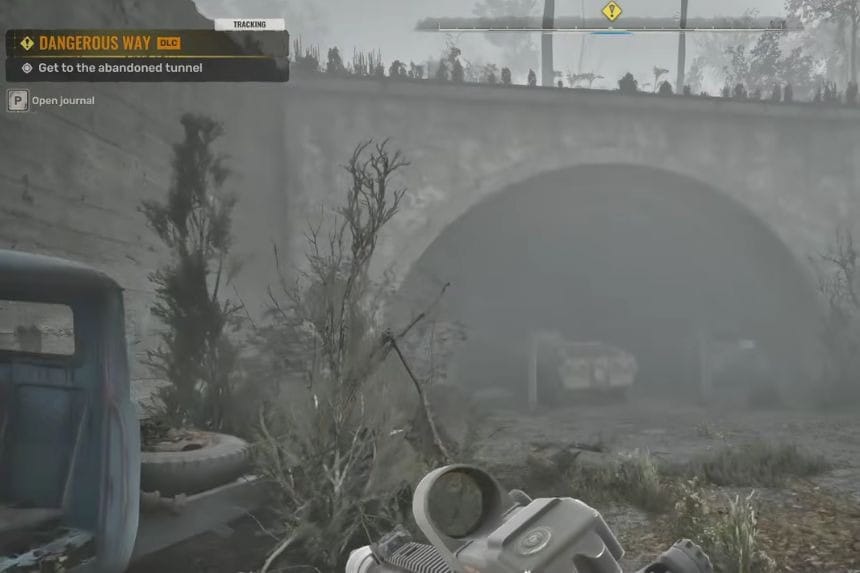
After completing the Status Quo mission, where you leave Rostok, you will be contacted by Mavka. This marks the start of the mission, and you should go to the Abandoned Tunnel located near the Underpass Exit and get inside. The first thing that you will find is a locked door with a code panel attached to it. You should use the panel and input the following code: 7975.
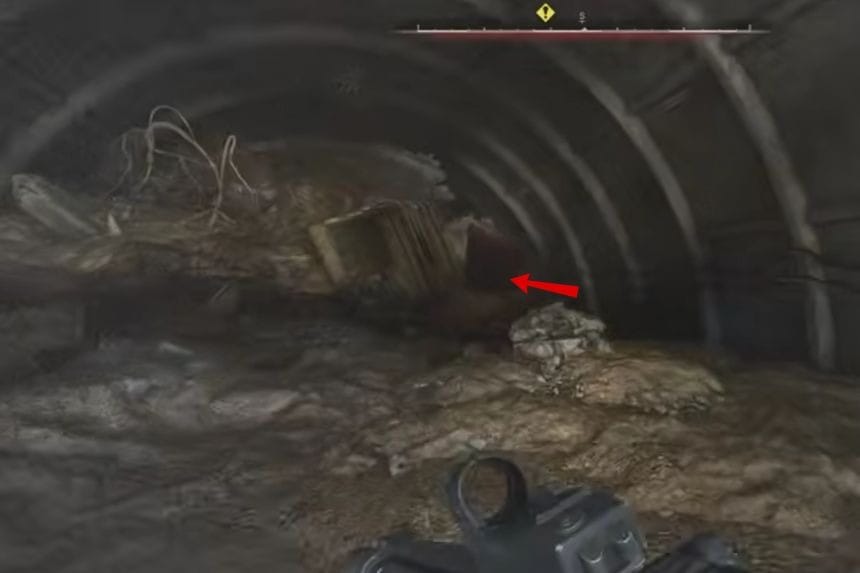
Go further and take the left side to find an elevator. Use the nearby panel to lift up the railing and get inside the elevator. Activate the panel inside to go down. You will arrive at the bottom floor, and you have to leave the elevator and follow the tunnel until you find yourself in a dead end.
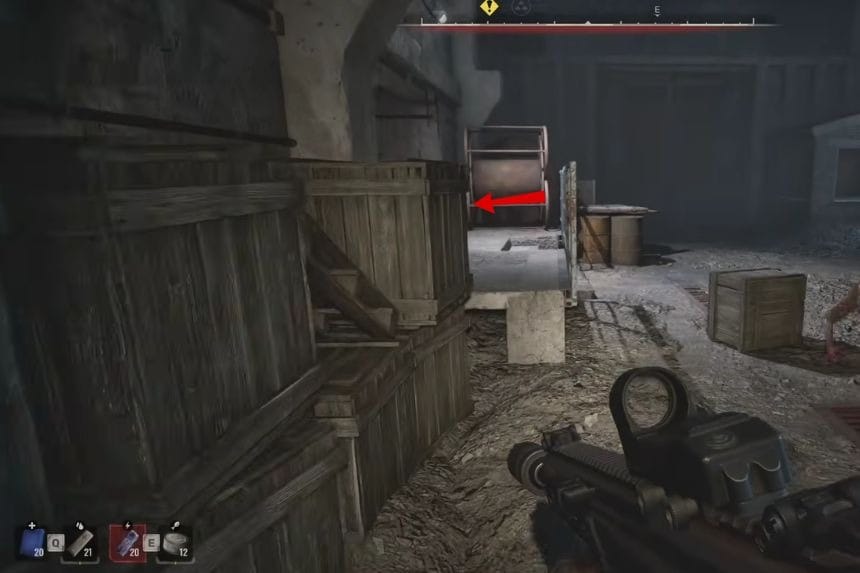
To continue, turn to the left and pass through a small hole in the wall. Move to the north and find an opening to the utility room. Enter and activate the vent to move further. Disarm the tripwire that can be found inside.
Navigate Through The Tripwires
Once you leave the vent, you will be in the sector that is covered in fuel tanks and tripwires. Make sure to neutralise the latter and take care of the swarm of rodents. After everything is done, climb on the wooden pallet and the crate next to the blocked door. Watch out for the other tripwire that lies behind the crate.
Climb further across the pallets and destroy two wooden planks lying horizontally in front of you shooting at them. Then, disarm the other set of tripwires. Now, climb through the window and continue your movement.
Move ahead along the corridor, taking care to disarm the tripwires lying all around. You will see some crates stacked in front of a closed door ahead. Shoot at the crates in order to open the door and continue further along the path until you find an area filled with electricity.
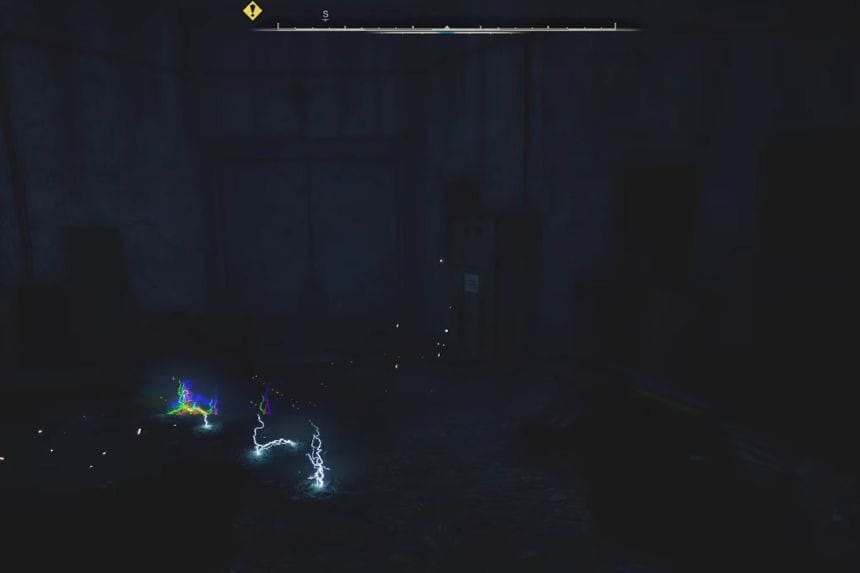
The EMP effect of the area will turn off your flashlight and NVGs, thus making you go through the whole area in total darkness. Equip your Bolt and throw it at the electric currents to clear a path. Keep moving through the area until you reach a well-lit section.
Save The Freedom Member And Missing Group
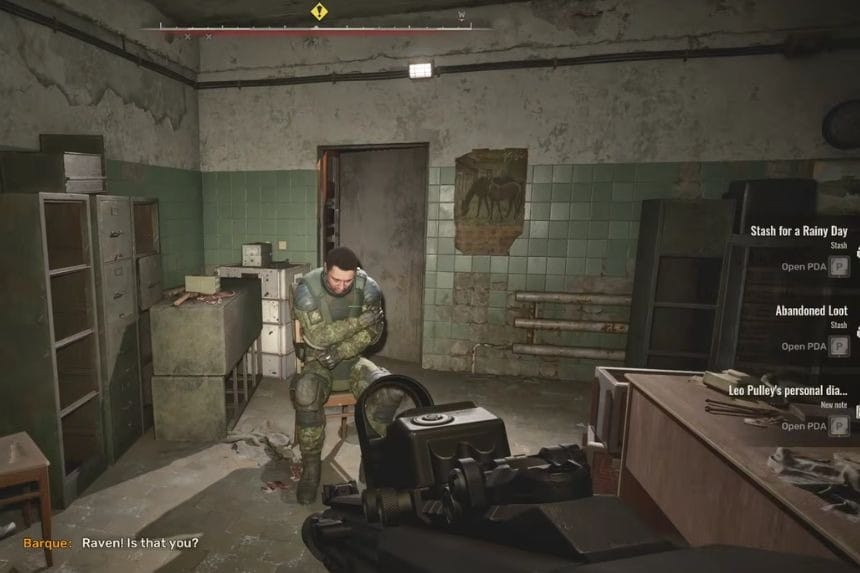
Go down the hallway and listen to the sounds coming from the front. Open the brown door and enter the next room. Destroy the enemy standing there, then search one of their corpses to collect a key card. Open the lock using the key card in the console located near the locked door.
Enter the room to release Barque, who is being captured by the Freedom members. Afterwards, Barque will tell you that he requires you to find the key to the monorail for him because his missing group doesn’t have it.
Exit the room with Barque and go south, passing through the bulkhead door. There will be an area full of Mercury, which pulls you closer if you come near it. Shoot it and proceed to pass through. Move towards the southwestern part of the area.
There will be someone shouting for help in this area. Search the cracked wall to find the missing group, and talk to them. They will require you to find explosives so they can escape.
How To Find The Artifact To Pass Through Mercury
However, you are now in an area full of Mercury; thus, you need an Artifact that allows you to move safely through the Mercury. The team gives you a key for a storeroom in which you can get this Artifact. Move down the stairs, and then look for a barred door in the shooting range.
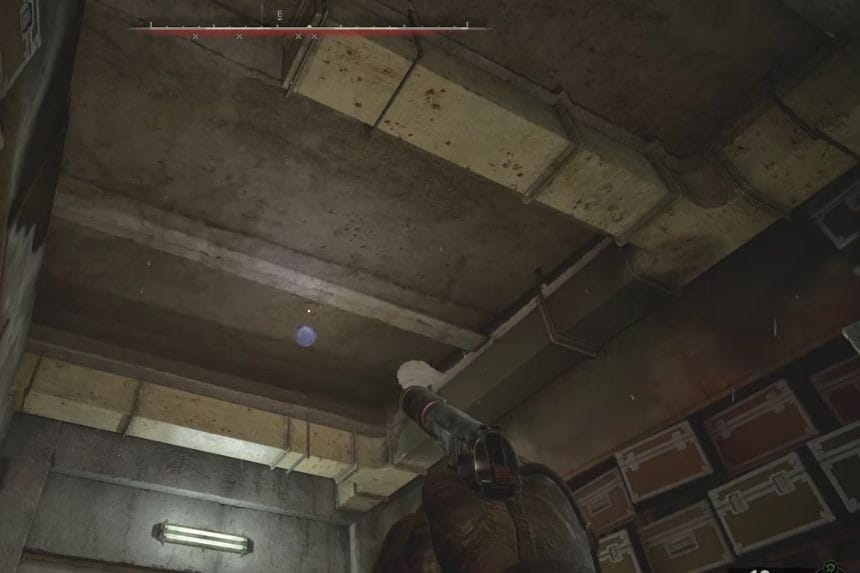
Using the key provided to you, open this door and enter the storeroom. In this storeroom, climb up the ladder and search for some crates. Cross these crates and proceed to the rusty pipes. Then, jump to the left platform. You will be able to see the Water Drop Artifact floating in the air above the ceiling of the room.
Shoot it so that it bounces all around the room by bouncing between vents. Shoot at it again and again until it approaches close to the stack of equipment cases. Then climb on those cases, and jump to grab this Artifact. After getting it, equip yourself with the Water Drop Artifact.
Find The Warehouse
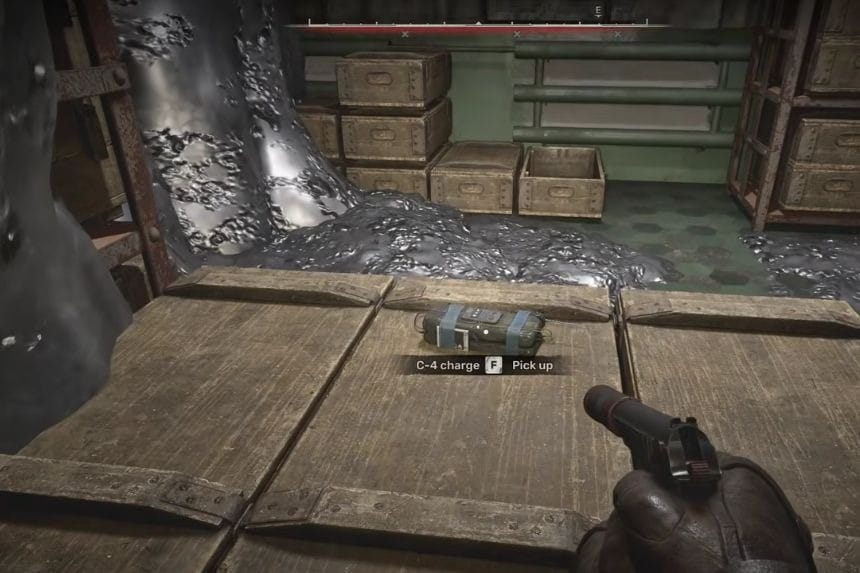
In the same area, look for the Mercury and pass through it to reach a hidden room. Get into the pile of equipment and into the vent from there to get to the warehouse. Move around in the warehouse using the Water Drop Artifact to move through the Mercury. Soon enough, you will come across a C-4 Charge next to a PSZ-12V Bulat armour. Grab the charge and head back to the stranded team.
From here, move out of the warehouse and back to the broken wall at which the team is trapped. Place the C-4 Charge on the wall, and then fire at it to blow it up and make a path. Head into the newly opened pathway and talk to Keel. He is able to repair your equipment too.
Activate The Monorail
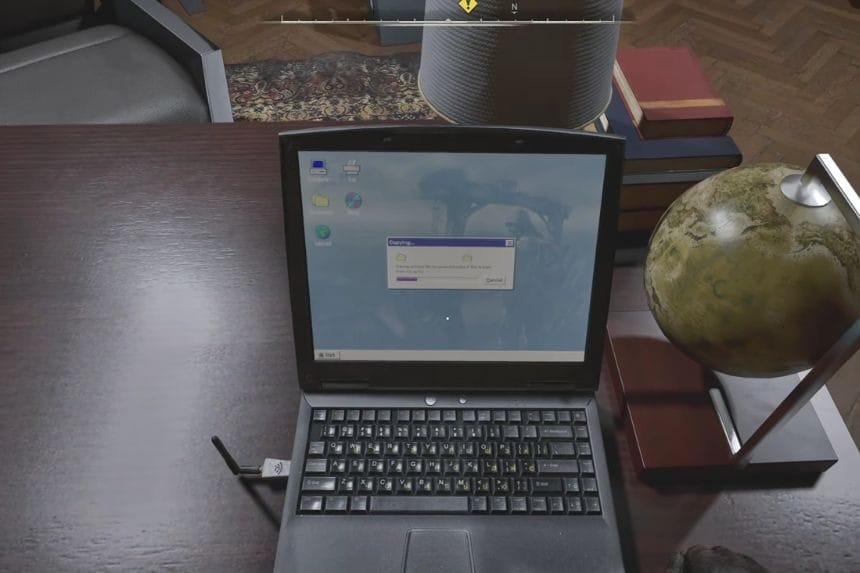
To get the monorail activation code, you will be presented with an option. Either you can fight Keel and Vanko or tell them that you are all going to escape together. The latter one is better, as by doing this they will be on your side to help you in upcoming fights. Move towards Myklukha’s Office. Enter the Mercury area near the truck and go to the next area.
In this area, you will face many enemies, so kill all of them first and then move towards the stairs. Go inside the door at the top to find Hundo. While talking to Hundo, Barque attacks Hundo and goes against you. Kill Barque.
Once again, you will be provided with an option about Keel and Vanko. This time too, choose the latter option. They will assist you in the upcoming firefight, which will make the following section much easier for you. Now head towards the nearby table and use the laptop to activate the monorail.
Escape In The Monorail
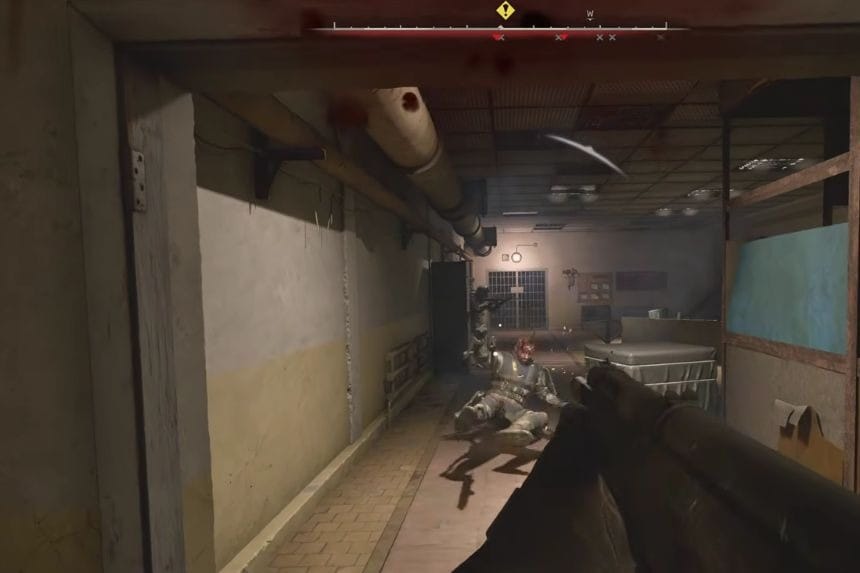
Exit the room from the south side and make your way to the monorail through the indicated path. You’ll face some Mercury blockades along with your opponents. You just need to continue your journey till you find the Monorail area where Mavka will already be waiting for you. Make your way to the driver’s cab and interact with the door to finish the mission.
