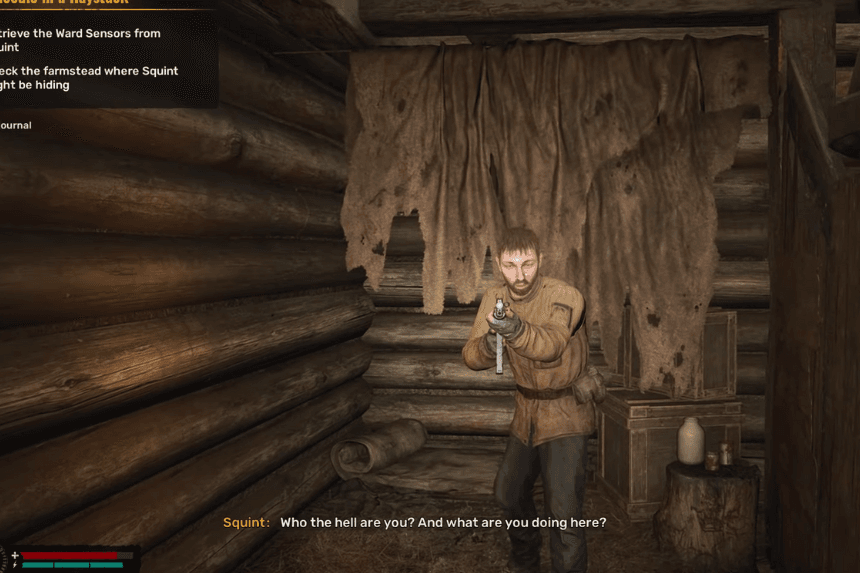
In the STALKER 2 mission, A Needle in a Haystack, you are presented with a crucial decision that will steer your course and obligations. After taking care of the incident with Squint, you will receive the Ward Sensors, and you must take them to either Richter or Captain Zotov. This selection immediately pins your allegiance with the Stalkers or the Wardens, reflecting your short-term tasks, bonuses, and quests.
Although the general outline is essentially the same, your choice affects how you explore the game world, challenges, and relationships with important factions. Giving those sensors to Richter or Captain Zotov affects the game.
Give the Ward Sensor to Richter or Captain Zotov in A Needle in a Haystack Mission

After you decide whether to help or kill Squint in STALKER 2, you’ll end up with the Ward Sensors. Your choice of who to give them to, Captain Zotov or Richter, will influence certain aspects of the game, although the overall direction won’t change dramatically.
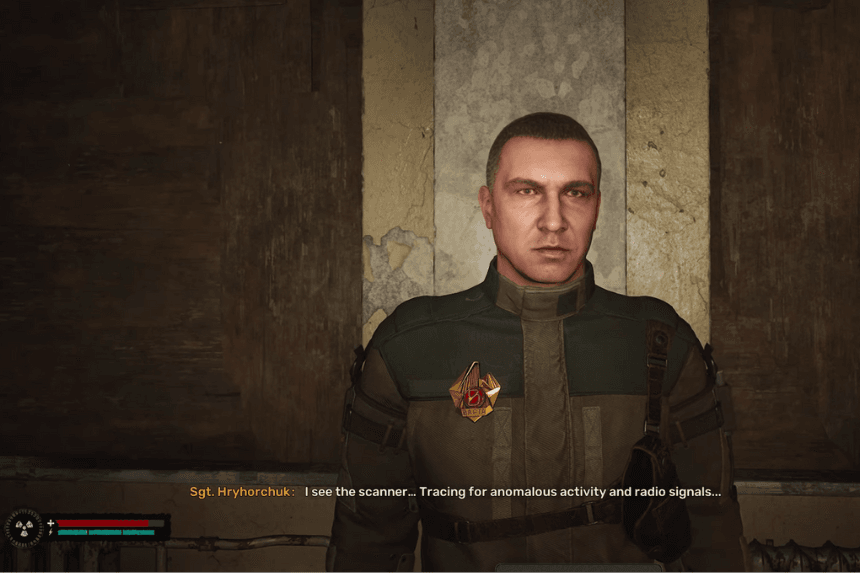
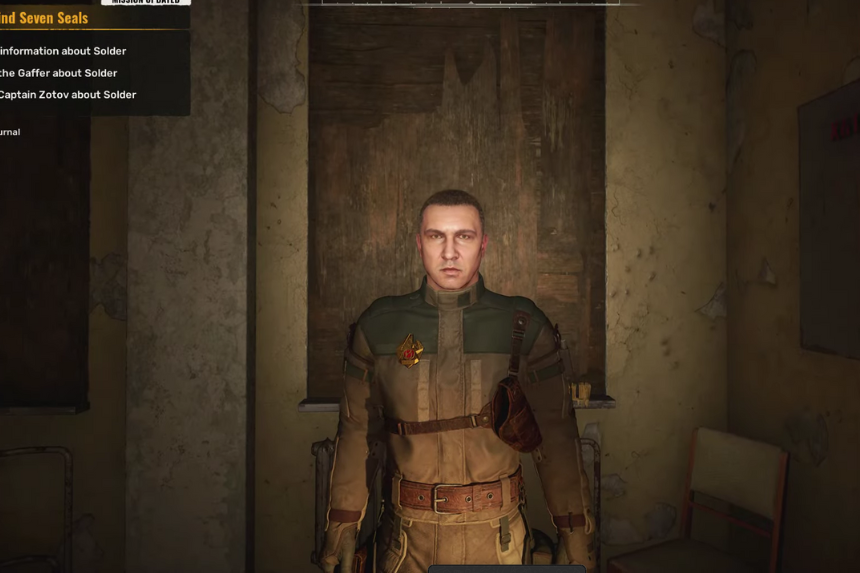
Your decision to give the Ward Sensors to Captain Zotov or Richter will temporarily align you with that faction. Both Richter and Captain Zotov are important figures in Zalissya. Richter is a fellow Stalker, while Captain Zotov is a soldier from the military group called the Ward.
While it won’t drastically alter the game’s overall story, it will influence your immediate objectives and lead you down different paths within the main missions. These paths will involve infiltrating specific bases and exploring new regions of the game world.
Give the Ward Sensor to Richter

You can give the Ward Sensors to Richter, which will prevent the Wardens from cracking down on the stalkers in Zalissya. Alternatively, exit through the Northern Checkpoint to start missions in the Garbage region.
If you give the Ward Sensors to Richter, the next main mission, “Answers Come at a Price,” will involve more combat and action-oriented objectives. If you want to remain neutral and avoid fully committing to the Ward or Spark factions, give the Ward Sensors to Richter.
This choice will prevent the Wardens from targeting the Stalkers of Zalissya and allow you to maintain a connection with both groups. Richter will provide you with information that could help you infiltrate the Sphere by exposing Sukhin’s illegal activities.
He will provide you with a code to unlock a keypad-locked door at the end of a tunnel filled with acidic pools. This tunnel will lead you into the Sphere. You will also meet up with Star, the leader of the Spark faction, and sneak into the nearby lab together during the “Answers Come at a Price” mission.
As a reward for your help, you’ll receive 1500 Coupons. During the quest “Back To The Slag Heap,” Colonel Korshunov will be more suspicious of you, while Scar, the leader of the Spark faction, will trust you more.
You’ll get a little more reward, but the next challenge will be tougher. You’ll start your journey through the Sphere by entering through the Ribs. Richter will tell you to get the key from Gaffer so you can leave the Lesser Zone through the Northern Checkpoint and go to Garbage. The ‘Answers Come At A Price’ quest involves meeting Star and sneaking into the nearby lab. Richter’s path will lead you to an early fight with Scar, the leader of Spark.
Give the Ward Sensor to Captain Zotov

You can give the Ward Sensors to Captain Zotov, which will align you with the Ward faction. And you can exit through the Western Checkpoint to start missions in the Garbage region. If you give the sensors to Zotov, your next missions will involve helping the Ward faction, making the upcoming quest significantly easier. However, this decision will commit you to the Ward faction, limiting your future options.
You will increase your relationship with the Ward factions and determine the main missions you’ll do next. The Captain will also help you infiltrate the Sphere. He’ll provide you with a contact inside the Sphere, allowing you to enter discreetly.
Additionally, he’ll reward you with 1000 Coupons. You will also meet with Colonel Korshunov, the leader of the Ward faction, and eliminate Chornozem’s thugs during the “Answers Come at a Price ” mission. During the quest “Back To The Slag Heap,” Colonel Korshunov will trust you more, while Scar, the leader of the Spark faction, will be more suspicious of your intentions.
You’ll get a smaller reward, but the next challenge will be easier. You’ll start your journey through the Sphere by entering through the IPSF outpost. Zotov will tell you to leave the Lesser Zone through the Western Checkpoint and go to the Chemical Plant. The ‘Answers Come At A Price’ quest involves meeting Colonel Korshunov and attacking Chornozem’s gang at the Depot. Zotov’s path will lead you to an early encounter with Colonel Korshunov, the leader of the Ward.
Conclusion
Ultimately, the choice of who to give the Ward Sensors to – Richter or Captain Zotov – is yours. Both choices mean you will follow different paths within the main STALKER 2 missions, but ending up with Richter provides a more combat-focused way of playing and connects you to the Spark faction while ending with Zotov does indeed give you an easier run with the Wardens but takes away future options. Consider your playstyle and desired allegiances when making this decision.
| Choices | Give to Richter | Give to Captain Zotov |
| Rewards | 1. Prevent the Wardens from cracking down on the stalkers in Zalissya 2. Exit through the Northern Checkpoint 3. Neutral to both Ward and Spark 4. 1500 Coupons 5. Enter Sphere through a tunnel 6. Back To The Slag Heap,” Colonel Korshunov will be more suspicious of you, while Scar, the leader of the Spark faction, will trust you | 1. Increase in relationship with Ward 2. Exit through Western Checkpoint 3. 1000 Coupons 4. Enter Sphere with an inside person 5. “Back To The Slag Heap,” Colonel Korshunov will trust you more, while Scar, the leader of the Spark faction, will be more suspicious |
FAQ
Q. I prefer action and combat, which choice should I make?
A. If you love combat and action, it is better to give Ward Sensors to Richter since his path is full of more combat-related objectives such as infiltrating challenging areas and exposing illegal activities.
Q. Who should i give the ward sensors to?
A. Choosing Richter offers more long-term flexibility as it allows you to stay neutral between the Ward and Spark factions.
Q. Can I switch sides or change my allegiance after making this decision?
A. While certainly not impossible to switch later in the game, it is probably better to make a very informed decision before proceeding.

