
In Revenge of the Savage Plane, one of your biggest objectives during the Interstellar Enigma mission is to uncover the five hidden shrines scattered across the galaxy. This guide breaks down the location, requirements, and strategies for every shrine so you can gather all five Pentaforce pieces and unlock the Slappi’s Den of Fun.
All Shrine and Pentaforce Locations
During the Interstellar Enigma mission, your main goal is to find and complete five different shrines, each one holding a piece of the Pentaforce that you’ll need to collect before facing off against Slappi in the final showdown. The final shrine is locked behind story progress, so you’ll have to play a bit further before you can reach it. But the other four can be completed as soon as you’ve unlocked the abilities needed to access them.
Once you’ve collected all five pieces of the Pentaforce, head back to the Habitat to research it. Completing that research will unlock the final planet in your journey: Slappi’s Den of Fun.
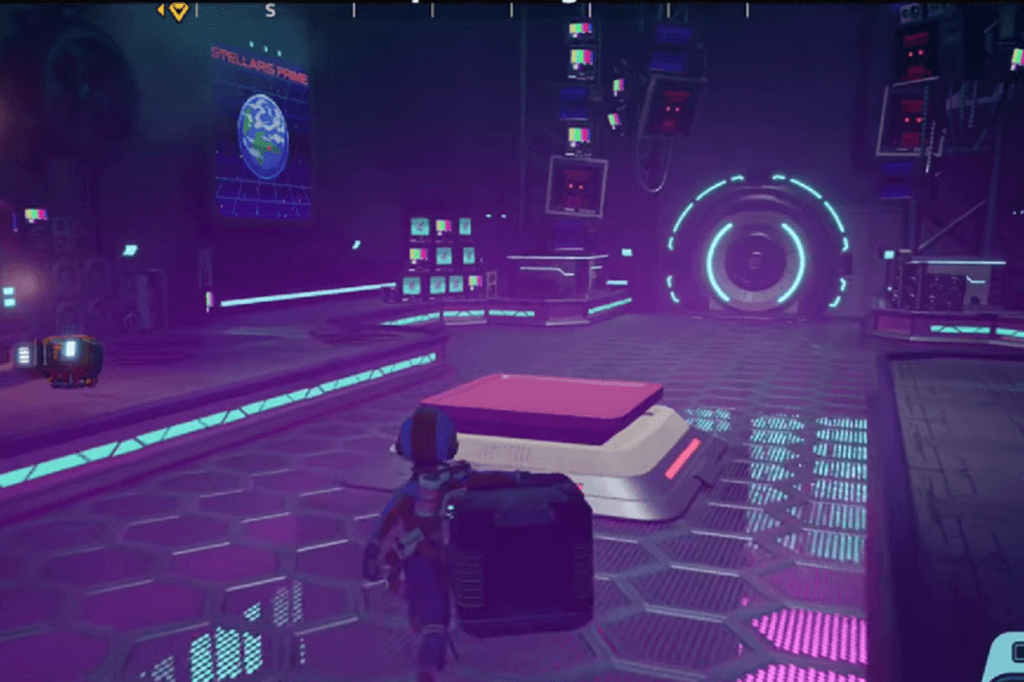
Shrine of Time – Stellaris Prime


Click on the images to enlarge
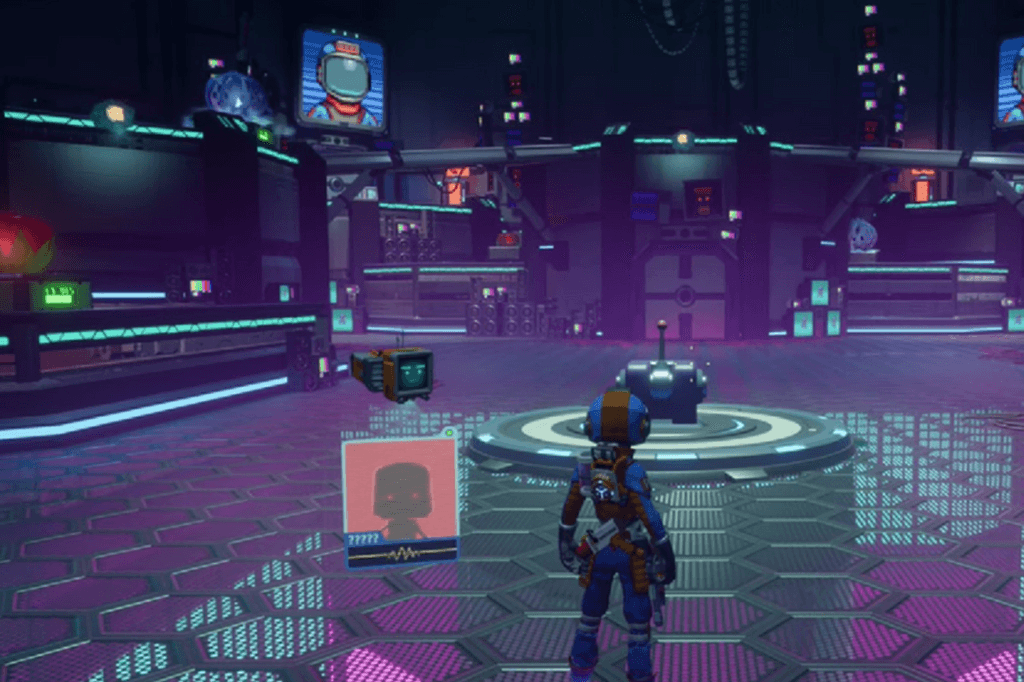
Keep going until you come across a cracked section of ground. You won’t be able to break through it right away you’ll need to unlock the Stomp ability first, stomp through the ground, and you’ll find Scrappi’s Teleporter.
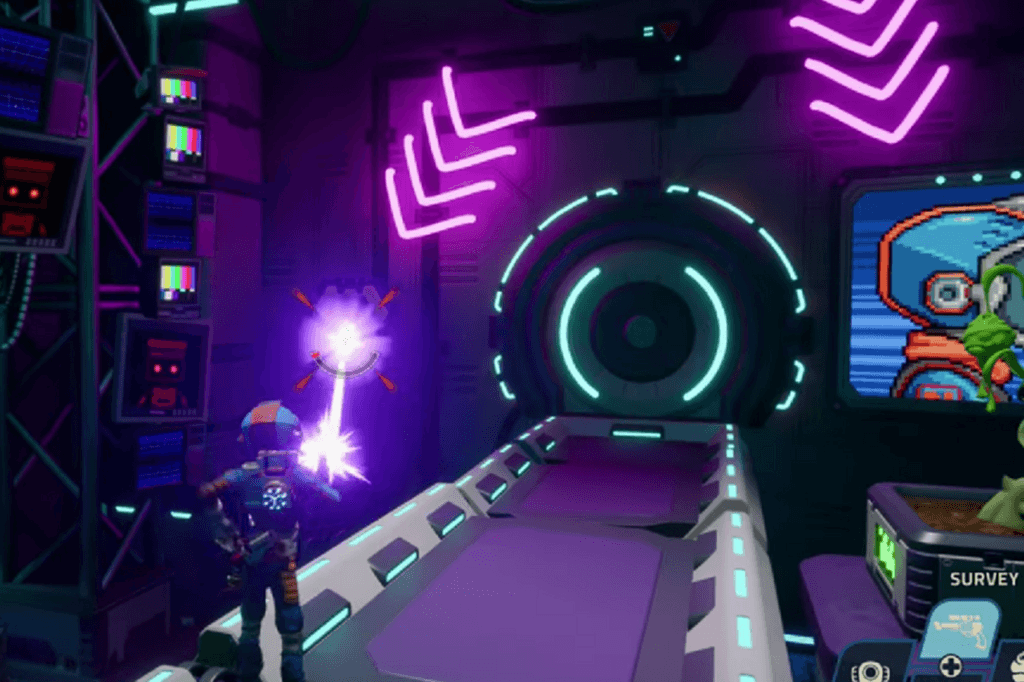
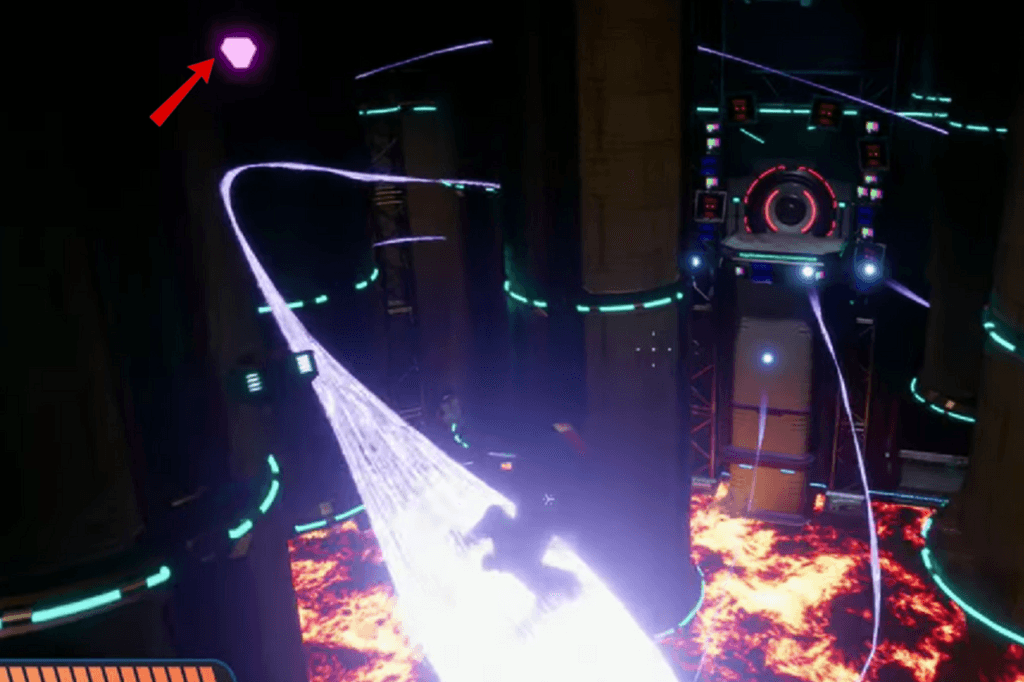
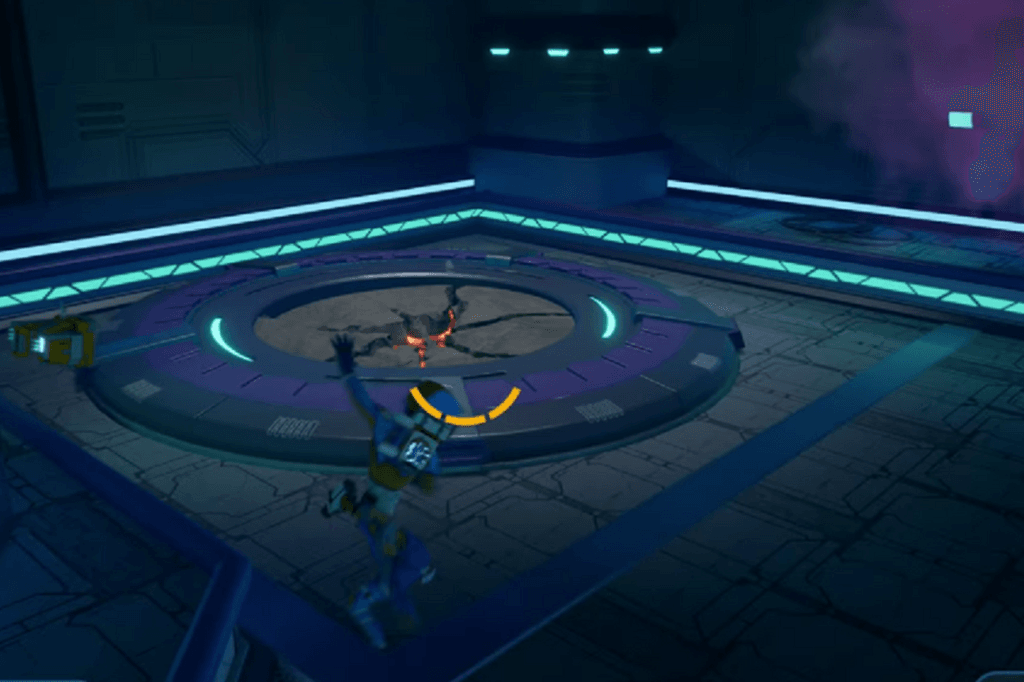
This challenge is all about timing and finding the right order to shoot glowing purple targets. Each one powers down when hit, but then slowly lights back up and every target takes a different amount of time to recharge. To open each door, you’ll need to shoot them all so they’re off at the same time.
Room 1:
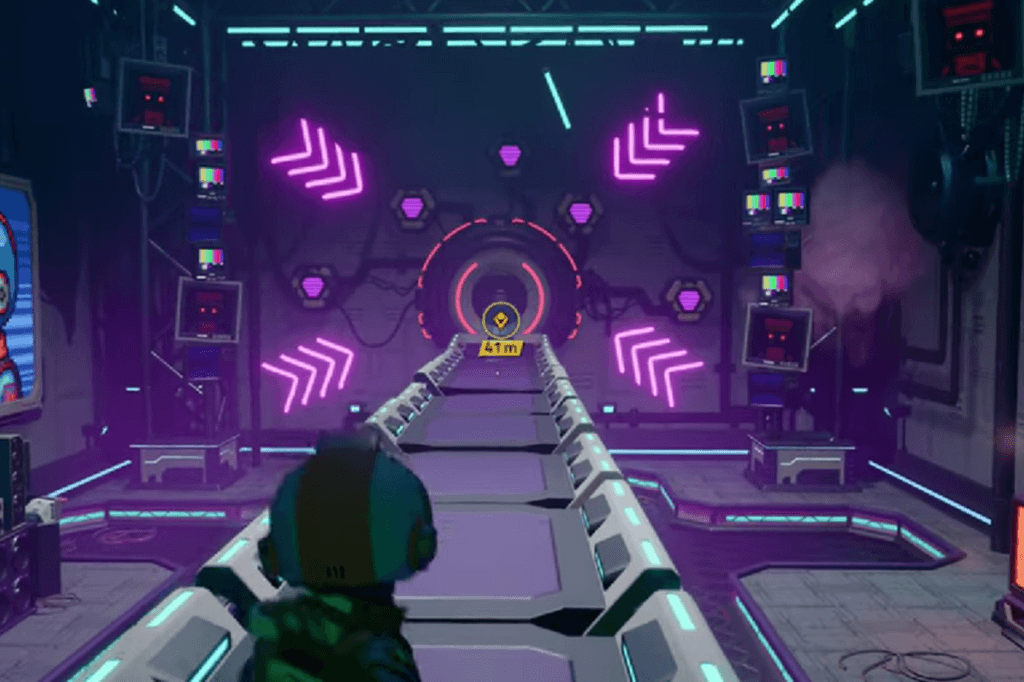
Start by hitting the top and bottom buttons. Then, look up to your right, swing across to the nearby beam, and hit the third button there. Next, use the grapple points on the ceiling to climb up to the area with the top button. From there, go through the door that just opened.
Room 2:
Follow them to the right, then turn around and look to the left side of the tube, there’s your first target. After you shoot it, turn back around and use your hook-shot to reach the ledge above. Face forward again and you’ll spot the second target. Now look up and to your left to find two grapple points. Swing across them to get above the tube. You’ll find the third and final target there. Shoot it, then turn around and jump into the tube. Once you’re inside, use your stomp booster to break the ground and move forward. .
Room 3:

You’ve got three targets one in the middle, and two on the sides behind see-through barriers. So just move quickly from one side to the other, hitting all three targets in rapid succession. Once that’s done, the door will open and you’ll be able to grab the first piece of the Pentaforce to gain the Achievement: Fungeon One.
Shrine of Challenge – Quasadron IX

You won’t be able to access this shrine until you have all of EKO’s drone upgrades. You’ll also need to complete the “Fine, I’ll Do It” quest first. It’s a pretty simple task: just head to three marked spots on the Quasadron IX map and use EKO to activate three lasers. Once that’s done, the red forcefield blocking the fifth and final Scrappi teleporter will drop, and you’ll finally be able to go inside the shrine.
Room 1:
Pick up a Blight Bomb from the nearby plant and throw it at the switch. That’ll clear it so you can shoot the switch and open the door.
Room 2:
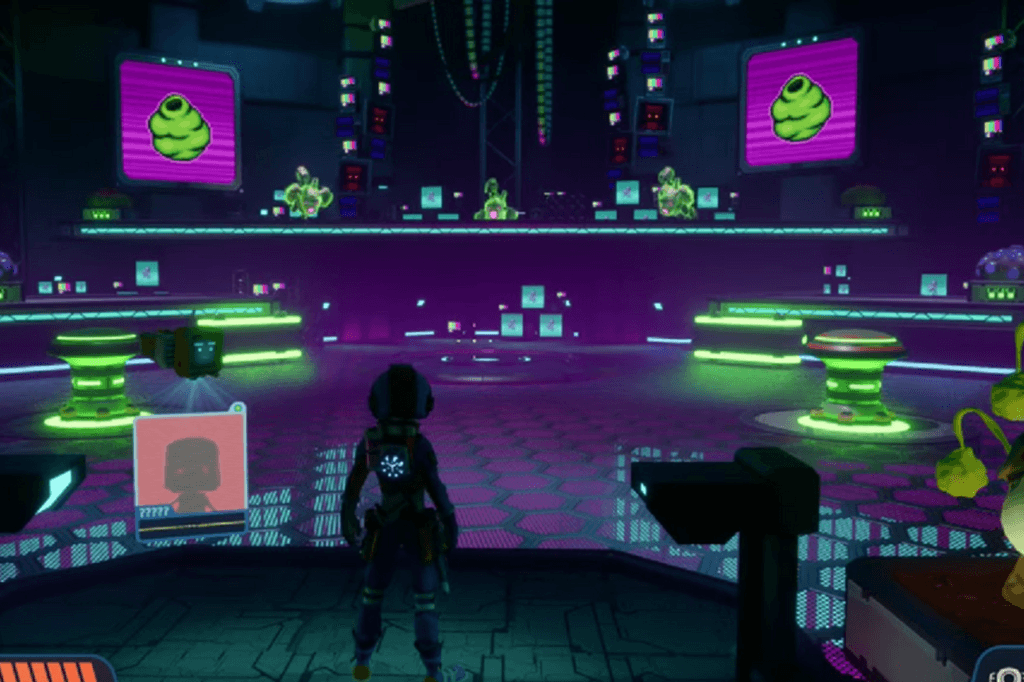
Scrappi sends in a wave of cyber enemies, many of them protected by the green goo. Use Blight Bombs to remove their shields, then take them out.
Room 3:
You will be up against the Cyber Wardrill, a mutated version of a Wardrill. First, throw a Blight Bomb to break its green shield. That will reveal a red shield, which you’ll need to break using Bombegranate seeds. You’ll need to repeat this cycle a few times.
Always move on the battlefield as the drone will continuously follow you and deal damage until you manage to destroy it. Also, every time you break through both shields, a bunch of Cyber Tatushkeys will rush in and try to blow up near you.
Focus on using Bombegranate, and keep using your hook-shot and jumps to stay mobile. If you’ve unlocked the Drone Tether upgrade for EKO, it’ll help a lot by letting you swing around the room more easily. Taking down the boss will earn you the achievement: “Cyber Corruption.” Once that’s done, head into the next room and pick up the Pentacore piece to unlock another achievement: “Slap Happy.”
Shrine of Combat – Zenithian Rift


Click on the images to enlarge
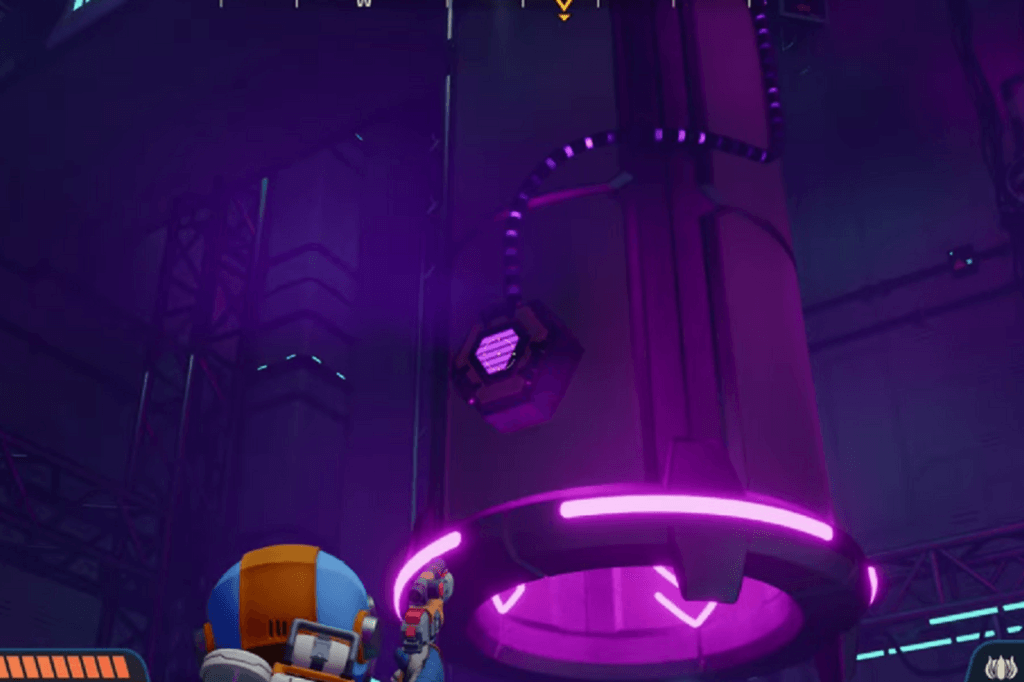
You’ll find this teleporter in the Peaks area of the Zenithian Rift. First, you won’t be able to access this shrine at all until you’ve unlocked the EKO Drone upgrade that lets you swim underwater. Look for a lake surrounded by Simian Puffers, with a Ferro Goo dispenser in the middle and two electrified mushrooms nearby. Your first step is to use the Ferro Goo to connect these mushrooms to the nodes next to them that’ll activate the tendrils.
Next, swim down the lake, following the glowing arrows through the water. Keep going until you reach a hidden cave area. There, you’ll find one more electrified mushroom and node on a small ledge. Connect them with the Goo, and the teleporter will activate. You’ll face off against waves of Scrappi’s cybernetic monsters across three combat rooms, and you have to defeat every enemy in all three rooms. Once you’ve cleared out all the enemies, head into the next area to claim your reward. Picking up the second Pentacore piece will also unlock the achievement: “Two Potato.”
Shrine of Grind – Xephyr

Click on the images to enlarge
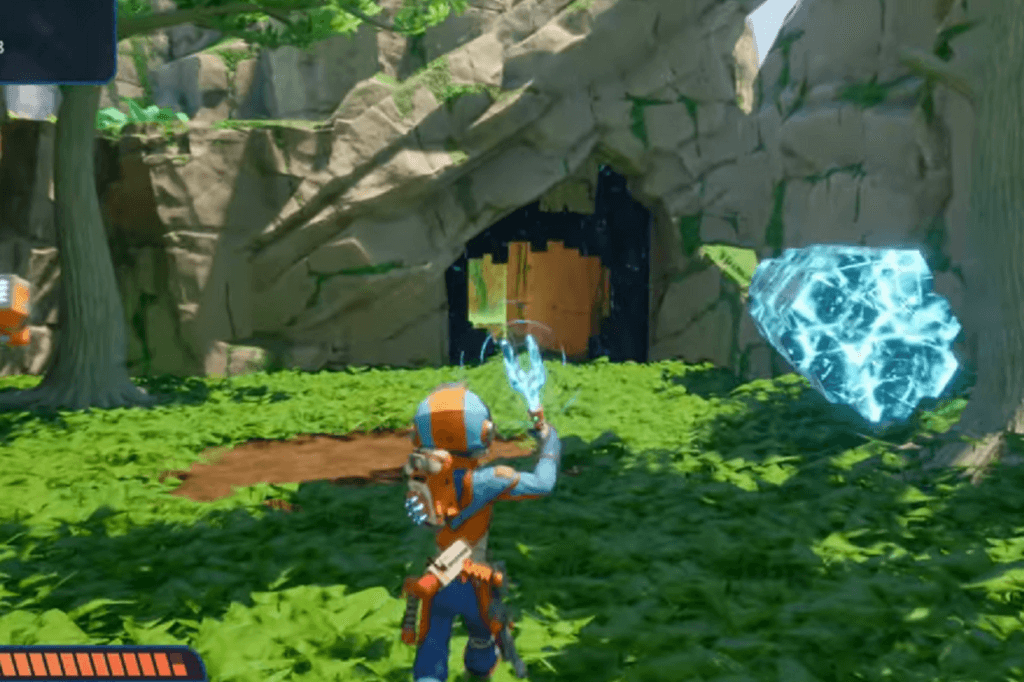
When you get there, you’ll see a cave entrance blocked by a bunch of magnetic metal. To break through, use the Magnet Fork along with the chunk of metal nearby to smash the barrier. Once it’s clear, head inside and step into the teleporter.
While grinding along Proton Rails, you will need to shoot the purple targets in all the rooms. There’s no timer, so take your time to look around and figure out where each one is. Once you’ve got them all mapped out, just hop on the rails and shoot the targets as you grind past them. After that, make your way into the next room and grab the next Pentacore piece. Doing so will unlock the achievement: “Three Piece Suit.”
Shrine of Pressure – Stellaris Prime

Make your way back to Stellaris Prime and head up to the Cliffs of Abaddon. At the top, you’ll find a blocked entrance. Use the Magnetic Fork to break it open and reveal a hidden teleporter. There’s a forcefield in your way, but you can clear it by using EKO.
Here’s how to solve the final puzzle challenge and grab the last piece of the Pentacore:
Room 1:
Walk past the pressure pad and go right, up the ramp. You’ll see some glowing blue bulbs blocking the way; destroy them. Then pick up the cube and drop it on the pressure pad in the middle of the room to open the door and move on.
Room 2:
As soon as you enter, you’ll see a grenade pod right in front of you. Use it to blow up the spider webs on the left wall. Grab another grenade and use it to destroy the cracked floor on the far side of this area. Once the floor is cleared, grab the cube and head down the nearby passage. Drop it onto the pressure pad there. Make sure to fill your Goo Extractor with lava you’ll find a lava source along the same hallway.
Next, look to the right and use the lava to burn away the spider webs blocking your path. Keep going and burn the webs inside as well. Pick up the second cube and place it on the same pressure pad as the first one to unlock the door.
Room 3:
Destroy the blue bulbs blocking the door to the west, then stand on the pressure pad. Now, switch to your Remote Drone and fly it straight ahead through the circular door marked with glowing arrows. Follow the path and plug the drone into the machine at the end. Once that’s done, exit EKO, grab the nearby cube, and drop it onto the same pressure pad you were just standing on.
This opens up a shortcut back to the previous puzzle room. Head back, grab one of the two cubes from the earlier pressure pad, and bring it into the final room. Now, drop both cubes on the new pressure pad to fully unlock the exit. Head through, grab the final piece of the Pentacore, and return to base to research the Pentacore.