
Highlights
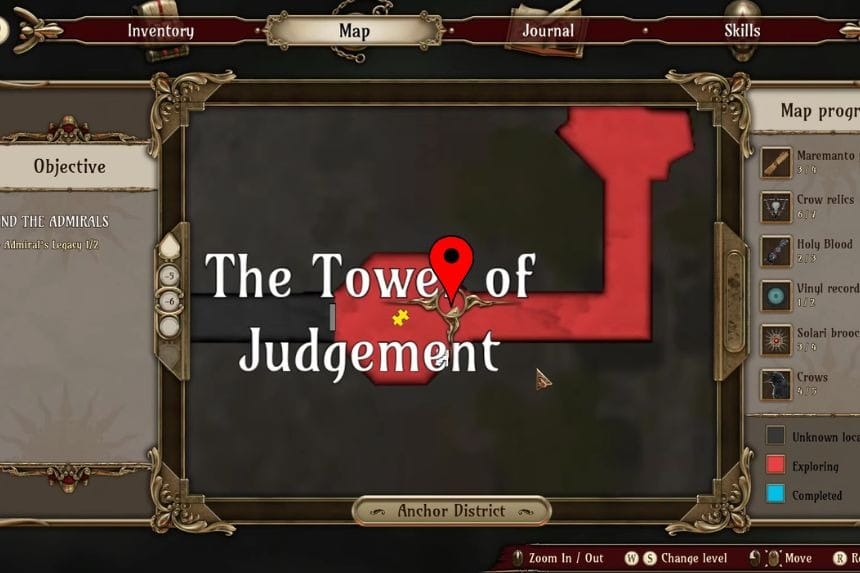
- The Sea Mechanism Puzzles are located inside the Tower of Judgement in the Anchor District.
- To solve the puzzles, you need to balance the sea creatures’ plates so that both counters show the same numbers.
- Once the correct balance is shown in the puzzle, the statue rises, unlocking the next part in the tower.
In Crisol: Theater of Idols, you will find the Sea Mechanism Puzzle inside the Tower of Judgement in the Anchor District. These puzzles can be confusing. To solve them, you need to balance the sea creatures’ plates across the pedestal till both counters show the same number. As you move forward in the story, the stacks get bigger, and the puzzle gets difficult to solve. In this guide, we will show you how to solve all Sea Mechanism puzzles in Crisol: Theater of Idols.
All Sea Mechanism Puzzle Solutions
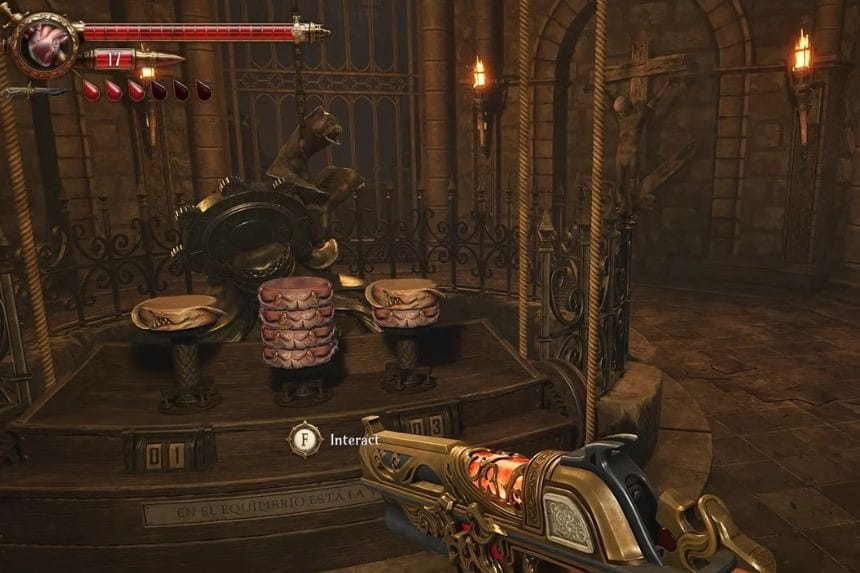
Inside the Tower of Judgement in Anchor District, you will find the Sea Mechanism puzzles. To solve the puzzle, move the sea creature’s plates on a difficult pedestal until both the counters show the same number. Once you do it correctly, the mechanism activates and lets you move forward.
Sea Mechanism Puzzle #1
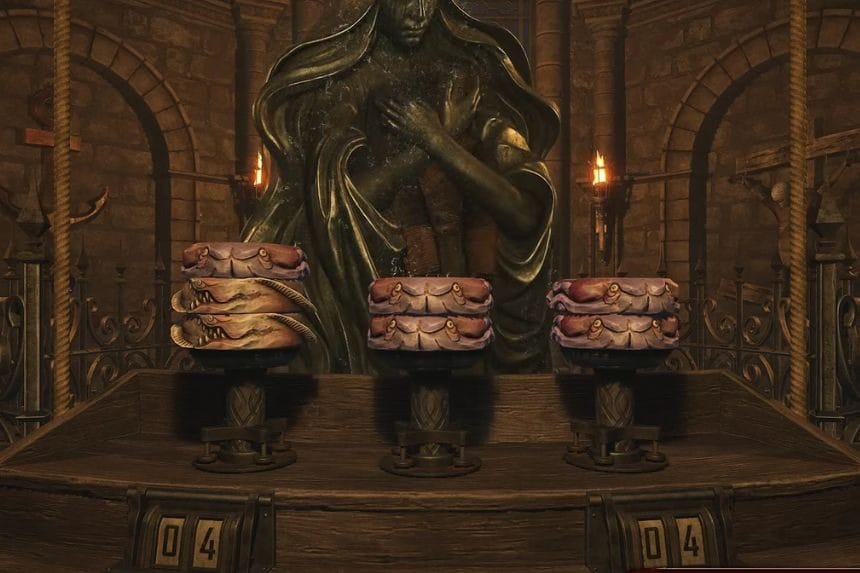
There are three pedestals, each holding a stack of plates. You need to make both the counters show 04 – 04.
- Take the white plate from the left pedestal and place it onto the middle stack.
- Move the entire stack from the right pedestal over to the left pedestal.
- Then move one plate from the middle pedestal to the right pedestal.
Once everything is balanced properly, the statue will rise up and the mechanism will activate.
Sea Mechanism Puzzle #2
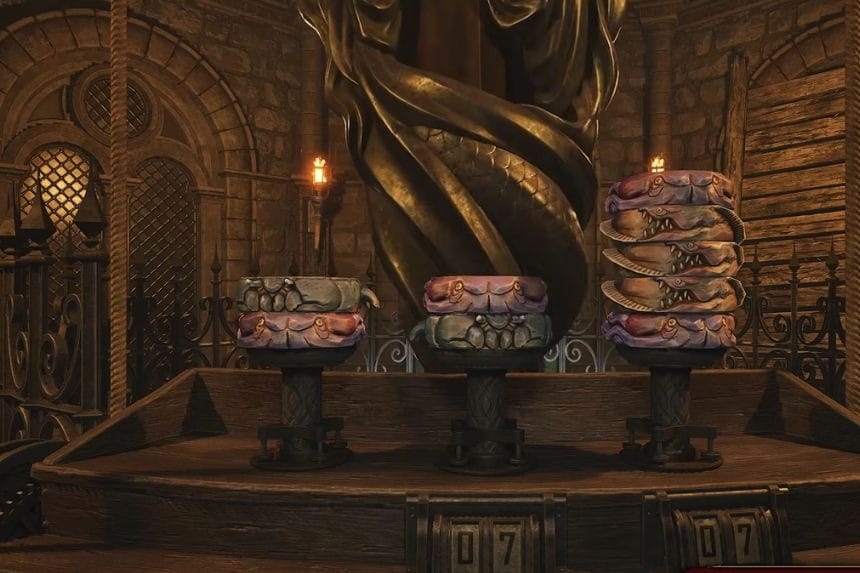
The second puzzle is the same but there are big stacks and more plates that you need to solve.
- Move the top plate from the left stack onto the middle pedestal.
- Take the full stack from the right pedestal and move it to the left pedestal.
- Then move two plates from the middle pedestal over to the right pedestal.
After that, keep shifting the plates till both the counters show 07 – 07. When the mechanism activates, it will unlock the next part of the tower.
Sea Mechanism Puzzle #3
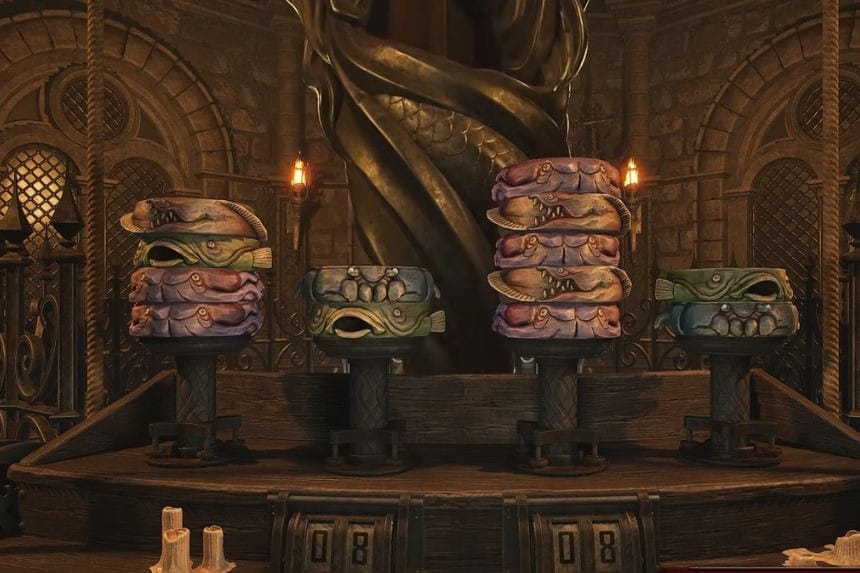
In this puzzle, there are four pedestals, so solve it carefully.
- First, you need to move one plate from the first pedestal to the second pedestal.
- Then transfer the two plates from the fourth pedestal to the third pedestal.
- Move one plate from the second pedestal to the fourth pedestal.
From there, keep changing the plate between the pedestal till the counter shows 08 – 08. Once balanced correctly, the final puzzle will be completed, and you will be able to move forward in the story.
FAQs
- What happens after solving each puzzle?
- Once the counters match correctly, the mechanism activates, and the statue rises to unlock the path.
- Is there any time limit to solve these puzzles?
- No, there is no time limit. You can take your time and move the plates carefully till the counter matches.
- What happens if you make a wrong move?
- Nothing will happen, and you can rearrange the plates till you reach the correct balance.