
After you get the Graviton Spike Exotic Hand Cannon by finishing the “Graviton Through the Ages” quest, you can still upgrade it more. There are some hidden parts called Intrinsic Upgrades and Catalysts that help you change how the weapon works, like how it shoots or what perks it has. In this guide, we will show you where to find all these upgrades and how to unlock them step by step.
All Graviton Spike Intrinsic Locations
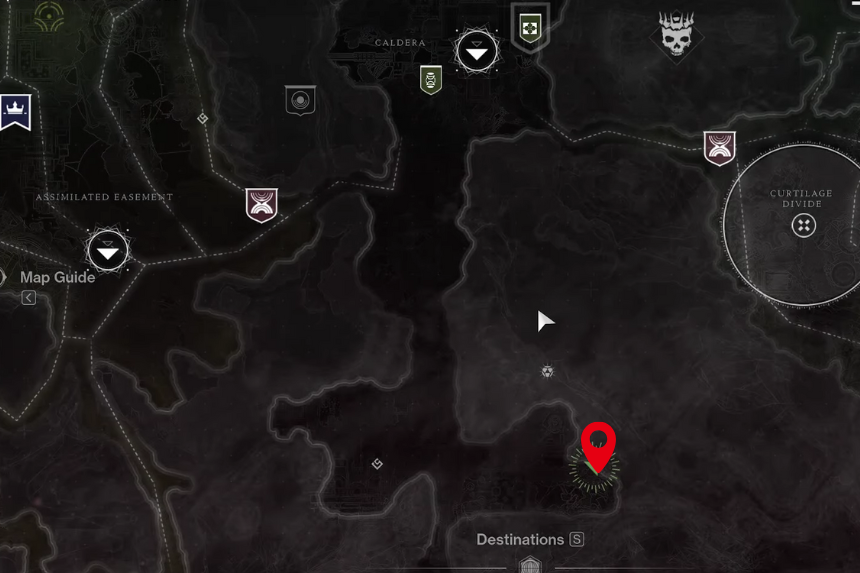
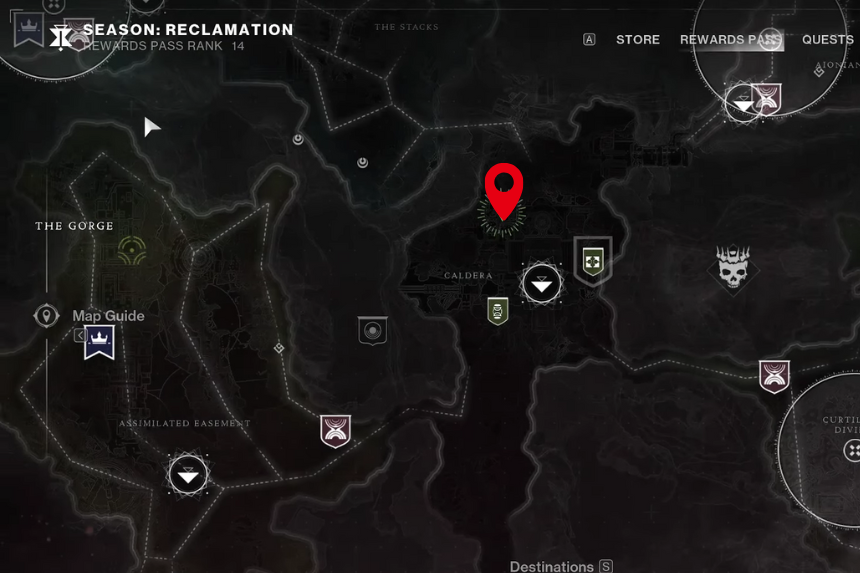
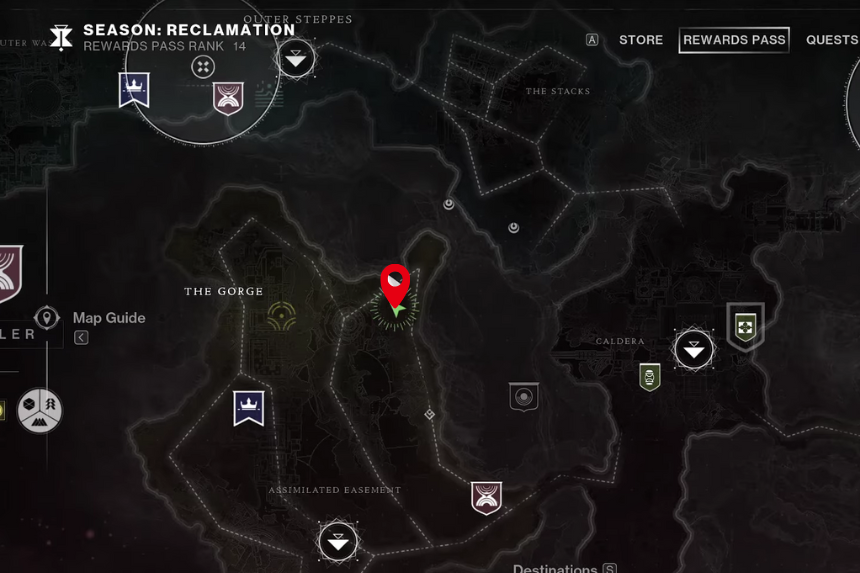
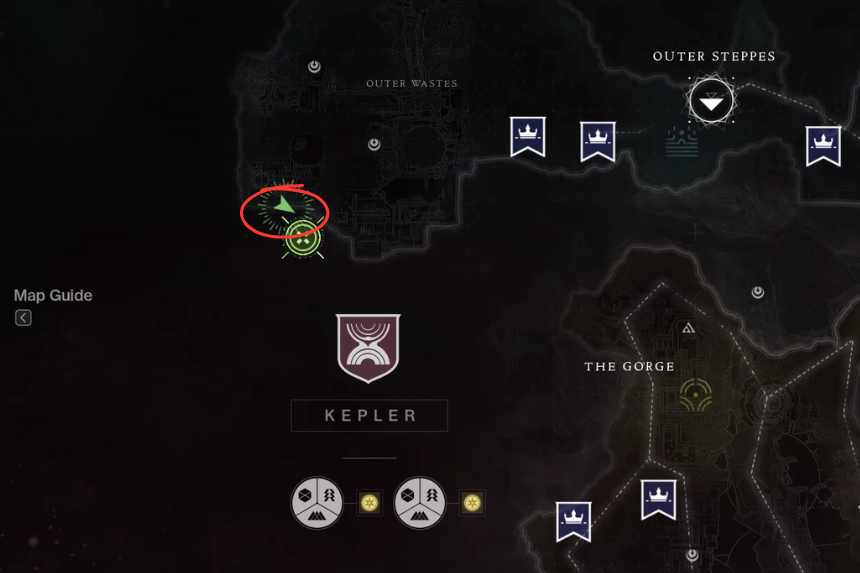
If you want to fully unlock the power of the Graviton Spike Exotic hand cannon, you will need to collect a few hidden Intrinsic Upgrades. These special upgrades let you customise parts of the weapon, like its barrel, magazine, and stock. There are three Intrinsic Upgrade locations you need to visit: Caldera, Stellar Sink, and Curtilage Divide.
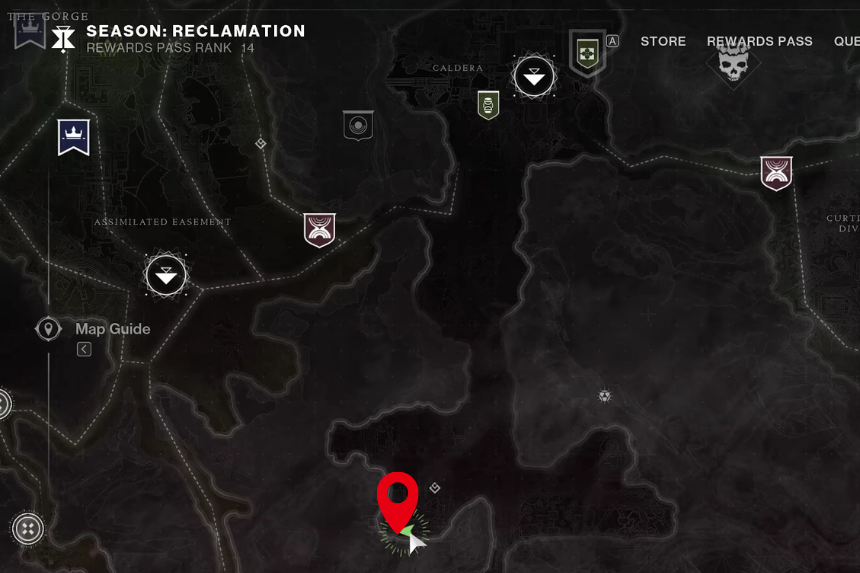
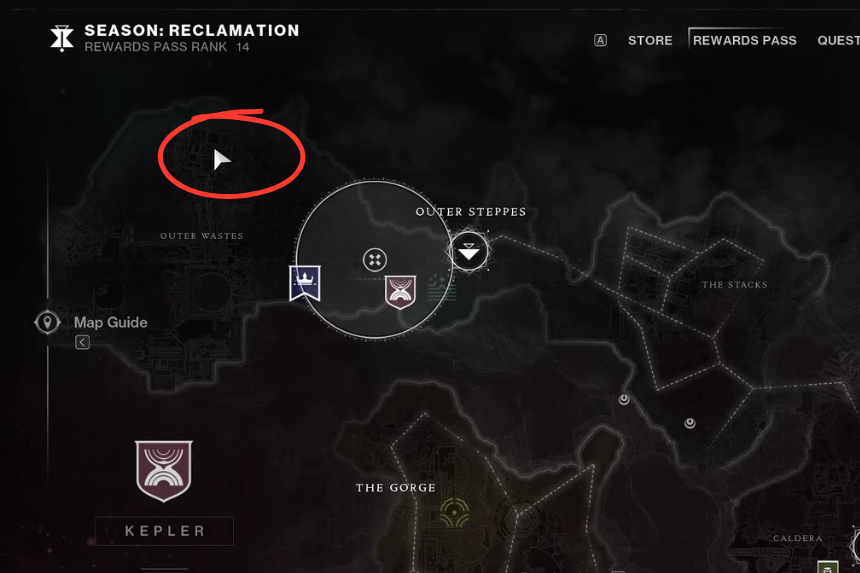
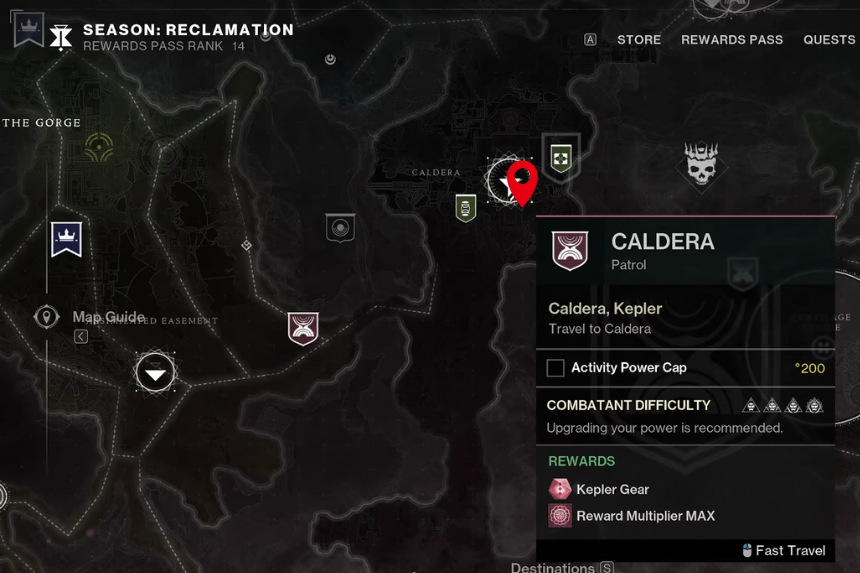
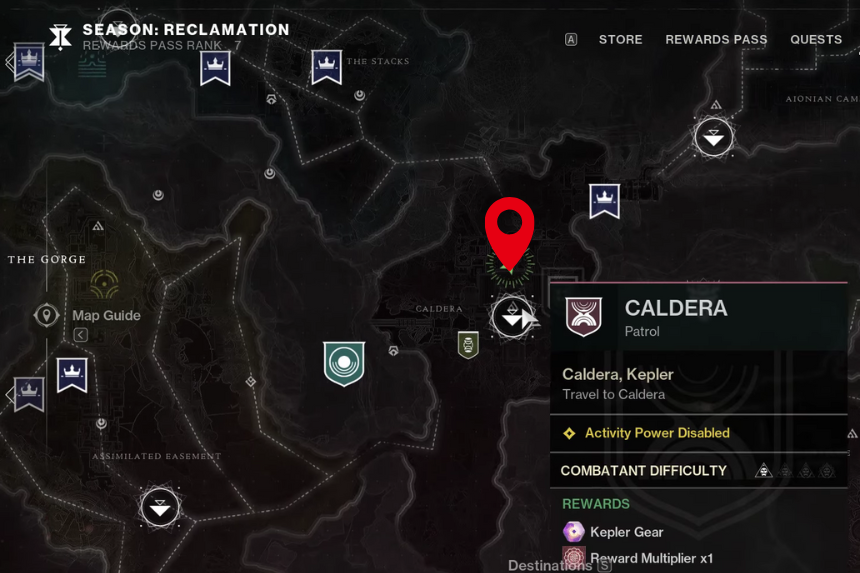
Caldera

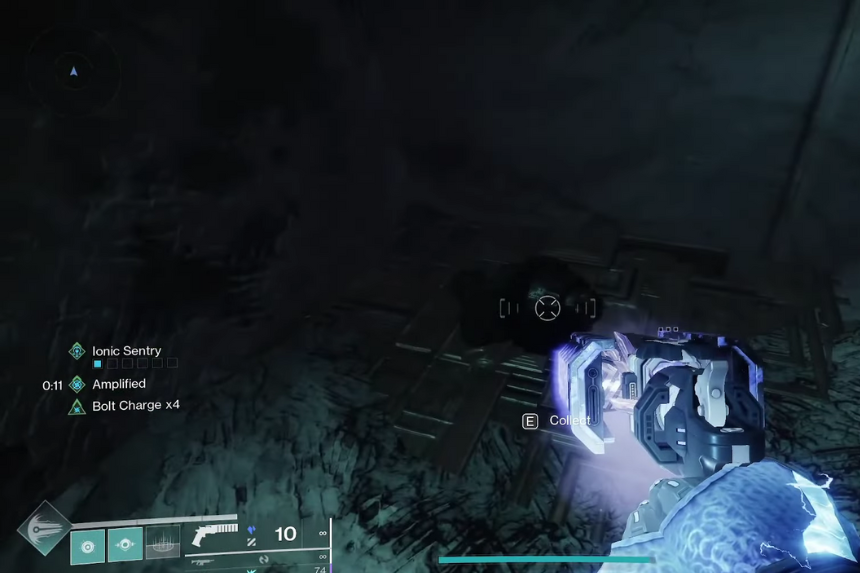
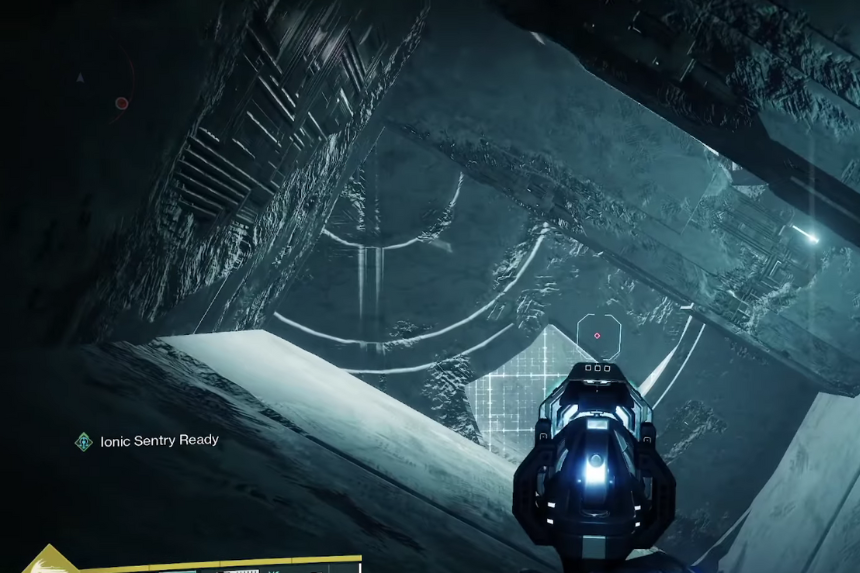
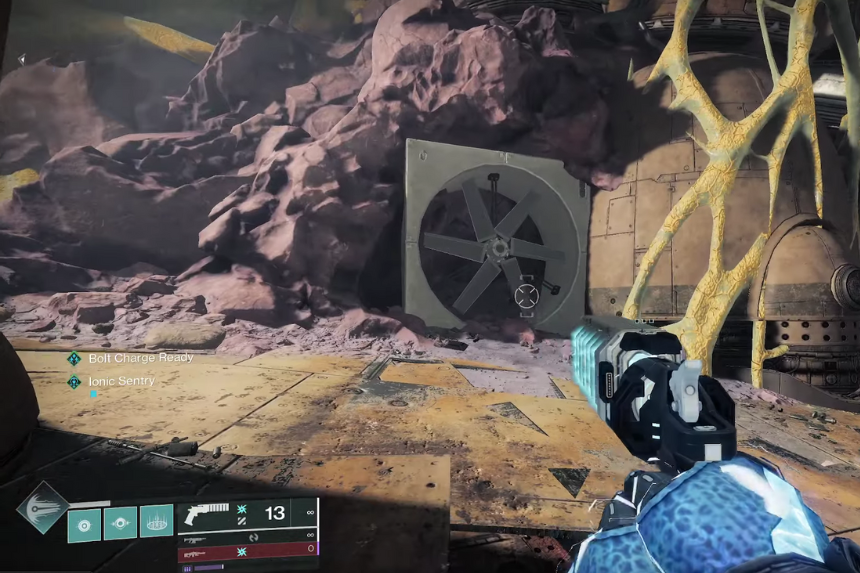
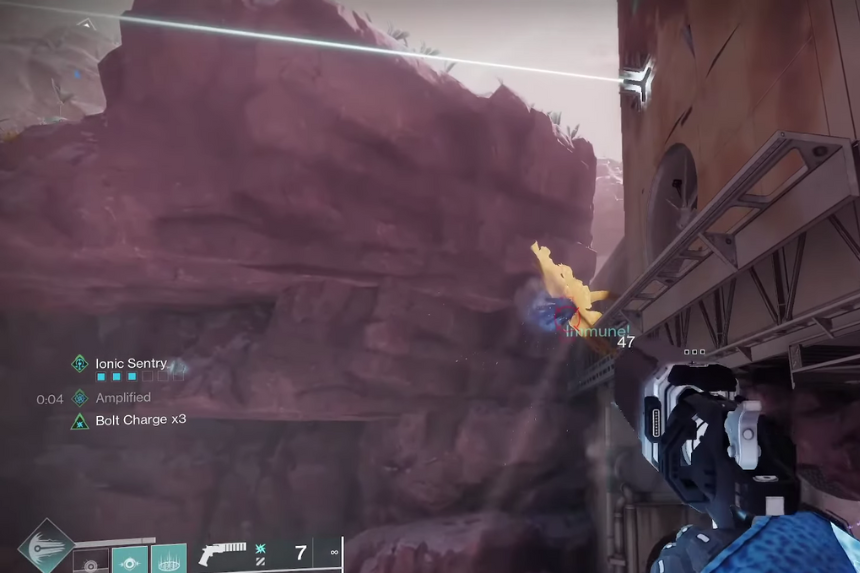
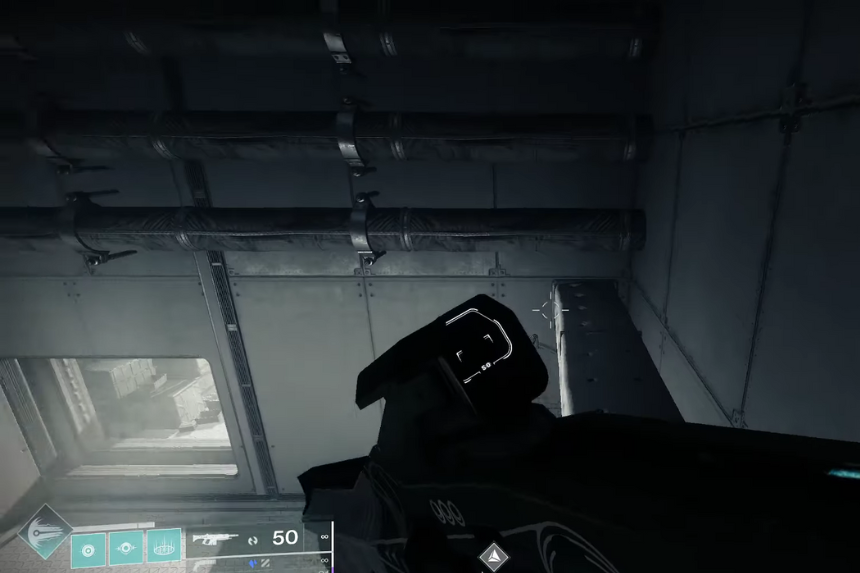
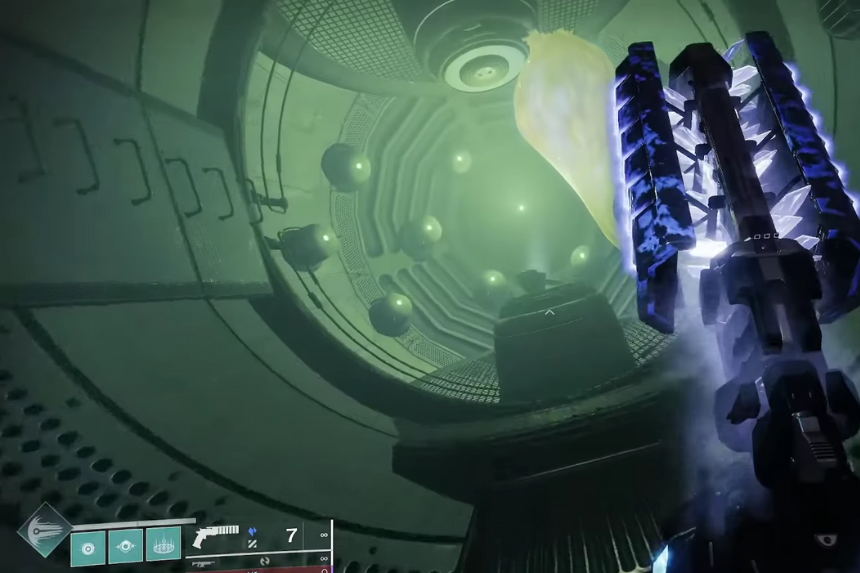
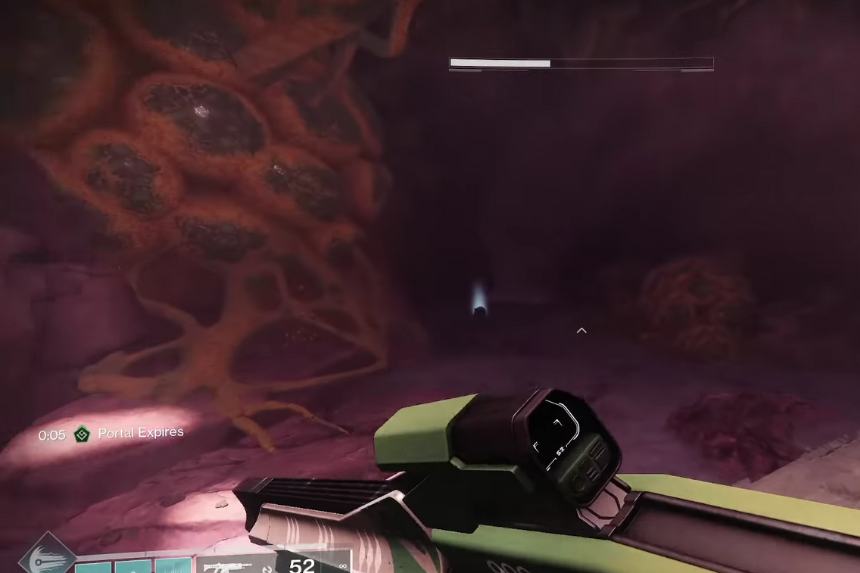
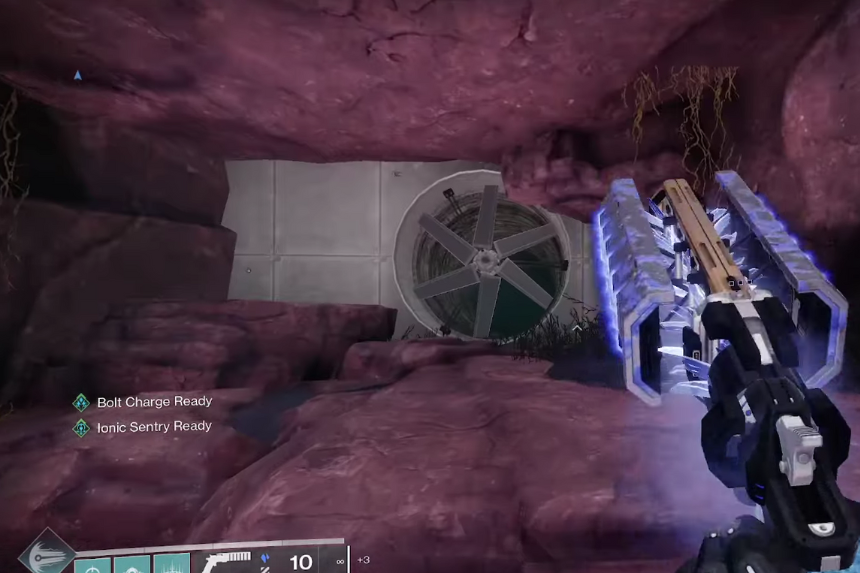
In Caldera, start by landing in the main zone and heading down the stairs. Head left and look for a glowing plant. Now shoot it using the Arc mode of the Graviton Spike. Then, switch to the Stasis mode and shoot it again until it breaks. A Matterspark entrance will appear to your right, go inside in ball form, shoot another plant, and a fan will stop spinning behind you. Walk past it to collect your first Intrinsic Upgrade.
Stellar Sink
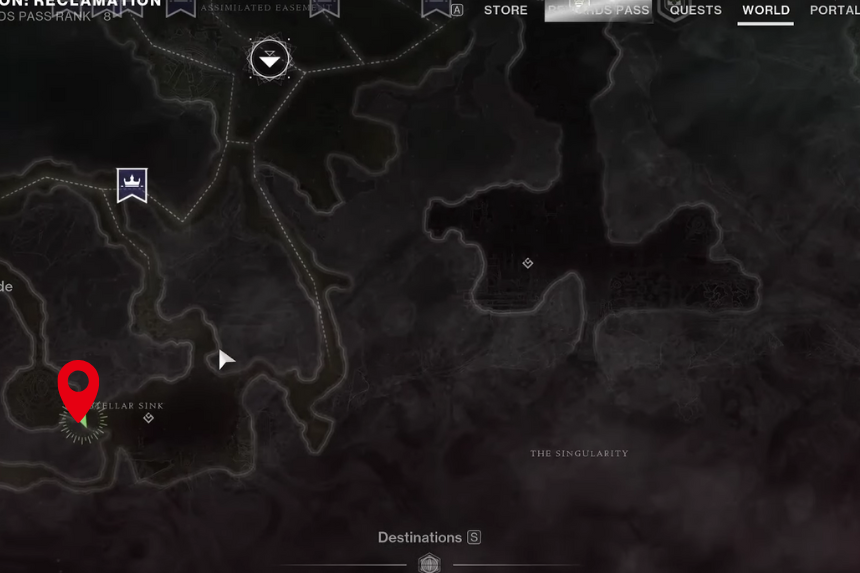
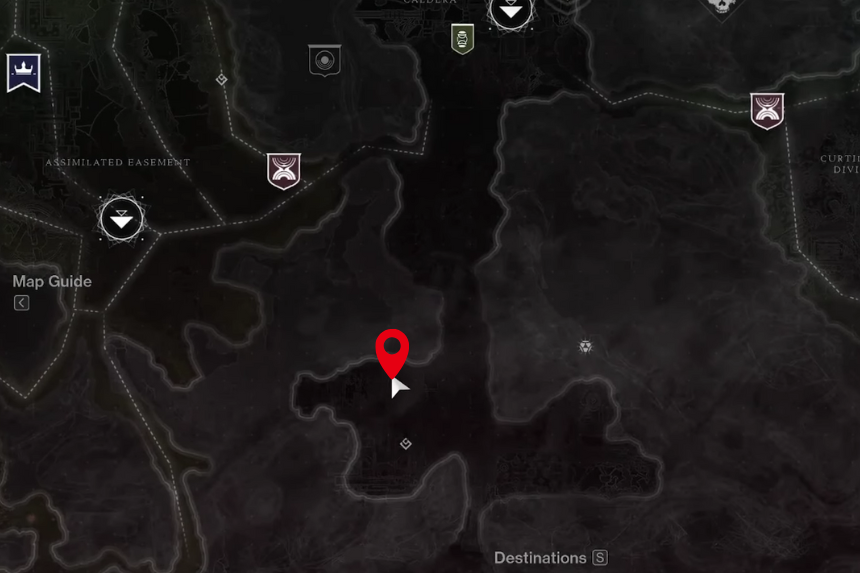
Next, in the Stellar Sink, fast travel to Assimilated Easement and follow the middle path down. Use Mattermorph to open the way, then take the Matterspark shortcut on the left side. Inside, look for a round door near a tall, overgrown pillar. You will find another strange plant on the ceiling. Use your Graviton Spike to shoot it like before, then quickly use the Matterspark shortcut again to grab the upgrade hiding behind it.
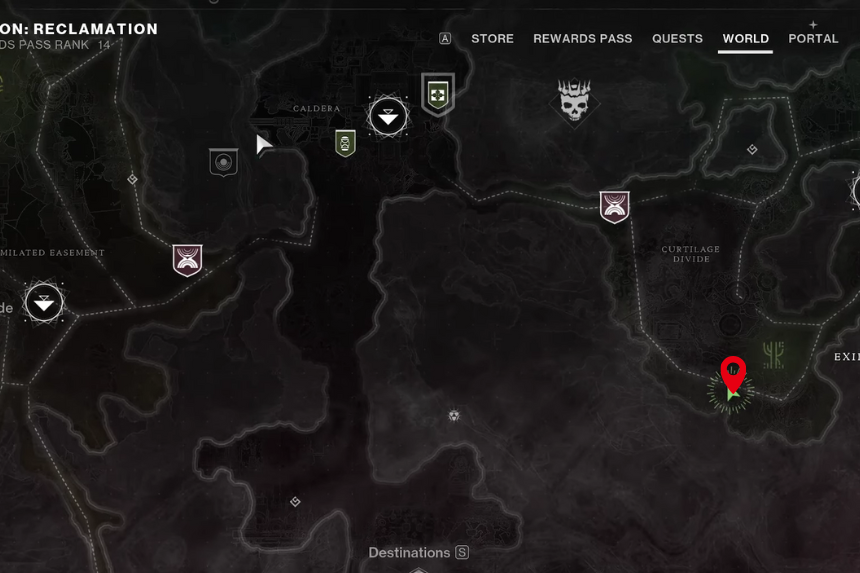
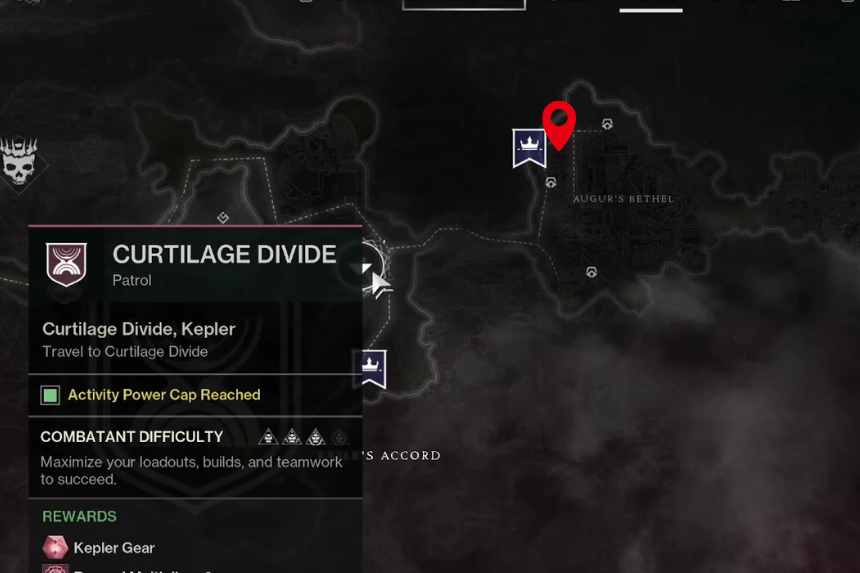
Curtilage Divide
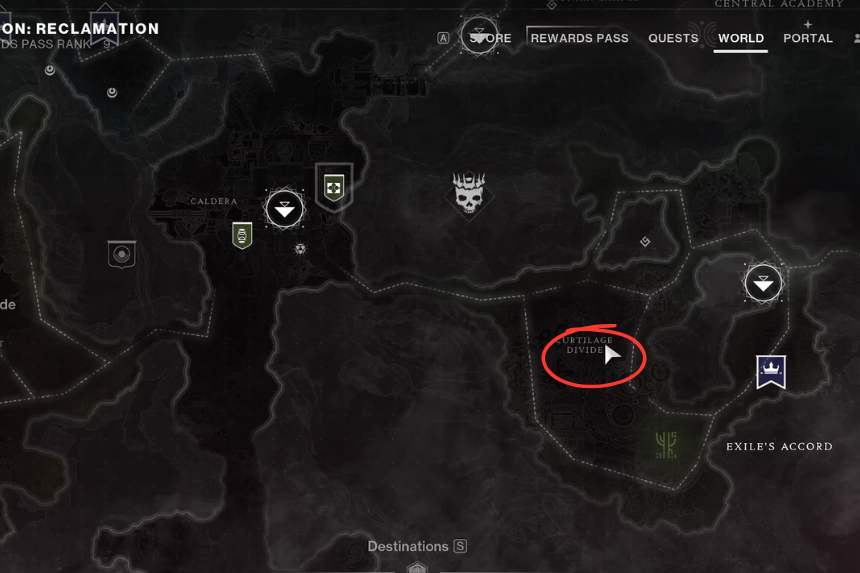
Finally, head to Curtilage Divide and enter the Matterspark shortcut in the building right ahead of you. Take two quick lefts and follow the corridor with the green lamp. This brings you to a Fallen-filled industrial area. Climb the round platform, then look down at a shack below. There’s a plant and a few objects you can move using your new telekinetic power. Grab a Mattermorph from a ledge nearby and move the panels out of your way. While Mattermorph is still active, shoot the plant to freeze the fan below and go in to collect your final Intrinsic Upgrade.
All Graviton Spike Catalyst Locations
You need to be on Fabled difficulty to get the first two catalysts (Subsistence and Rapid Hit), and on Mythic difficulty for the last two (Temporal Alignment and Transcendent Zen). You can collect every catalyst while playing on Fabled, except the ones for Temporal Alignment and Transcendent Zen, which specifically require Mythic.
Subsistence Catalysts
When you defeat an enemy, part of your magazine automatically refills from your reserves, giving you extra ammo back.
1. First Subsistence Catalyst
You can grab the first Subsistence perk just outside the area marked Intrinsic 4. Head to the outer strip of this zone and look for a rocket pad. The rocket you need is tucked near a cliff, right behind a small hill. Ride it up, and you will find the pickup waiting there.
2. Second Subsistence Catalyst
The second one is in the Outer Wastes. Look for the section with a small covered platform, there is usually a Brig hanging around on top of it. Use the rockets to reach the area with the Vex walls. Once you’re inside, use your Matterspark to shut down the Vex “Monument.” After that, look near the top of the main building. You will spot a vent with a glowing bulb. Shoot the bulb to stop the fan, then climb inside the vent to reach your perk.
3. Third Subsistence Catalyst
The last one is in the final area of the map, where you normally fight the Crazed Mind. After the boss fight, follow the usual path along the wall. But before you take your first corner, stop and look up. you will see a small opening you can climb into. Inside, there’s a spinning wall. Check just behind you and you will spot the bulb you need.
Transcendent Zen Catalyst
Getting a final blow gives your weapon bonus stats depending on its element. If it’s a Light element, you get better stability and handling. If it’s a Dark element, you get extra range and aim assist. And when you’re Transcendent, you get both sets of bonuses at the same time.
1. First Transcendent Zen Catalyst
Head to the circular area and look for a vent tucked into the side of a cliff with a glowing bulb next to it. Go inside and you will find three doors. You only need to open two of them.
- In the left‑hand room (when facing the catalyst), destroy the small device.
- In the room behind you, a high‑level melee Fallen will spawn. Stand on the nearby box and carefully chip away at his health from a distance.
Once he’s down, interact with the terminal and the door will open so you can grab the catalyst part.
2. Second Transcendent Zen Catalyst
The catalyst is hidden in the flooded boss arena of the Academy. When you get there, you will see a vent, but it’s blocked by a green barrier. To get through:
- Head back to the previous room and activate a different bulb. This slows down a vent and gives you the green buff.
- With the buff active, return to the boss arena.
- Shoot the main bulb near the vent, and you will be able to enter and pick up the catalyst part.
3. Third Transcendent Zen Catalyst
In the final area of the map, you will reach a point where you can go left or right.
- Go left and use the green buff to build a floor across the ceiling tunnel.
- Enter the first main room, the one with a big central pillar and a two‑floor “house” on the right side.
- Climb to the top floor of that house, but don’t follow the slope that leads further in. Instead, turn around and look for a pipe you can use your Matterspark on.
The moment you drop in, a boss with a power level of 270 will spawn. If he wipes your team, you will have to reset the whole area because he won’t respawn. He also summons turrets that can quickly shred through your health and barricades. You need to spawn the boss, then climb two platforms up in the main tunnel and slowly chip away at his health with a Polaris Lance.
Temporal Alignment Catalyst
If you overcharge both Arc and Stasis modes, your weapon will deal extra damage for a short time.
1. First Temporal Alignment Catalyst
This one is very simple. Head to the marked area where you’d normally see a vent blocked by a glowing plasma wall. On Mythic difficulty, that wall isn’t there. Just walk up, use the bulb to open the vent, and grab your catalyst part inside.
2. Second Temporal Alignment Catalyst
The second part is in the final area of the campaign. Follow the same route as the third Transcendent Zen location, but instead of entering the pipe, go down the slope. Here’s what to do step by step:
- Go down the slope and look for a bulb high up on the left side.
- Keep moving through the room as normal, but instead of going to the boss Shank arena, climb on top of the housing structure and walk all the way to the far side with the green lights.
- Look below for a small platform. Jump down onto it, then jump again to another platform behind a floating wall.
- Behind that wall, you will find a console. Interact with it to unlock the path.
- Return to the bulb you saw earlier. Now, when you shoot it, a room will open.
- Enter that newly opened room and collect your catalyst part.
3. Third Temporal Alignment Catalyst
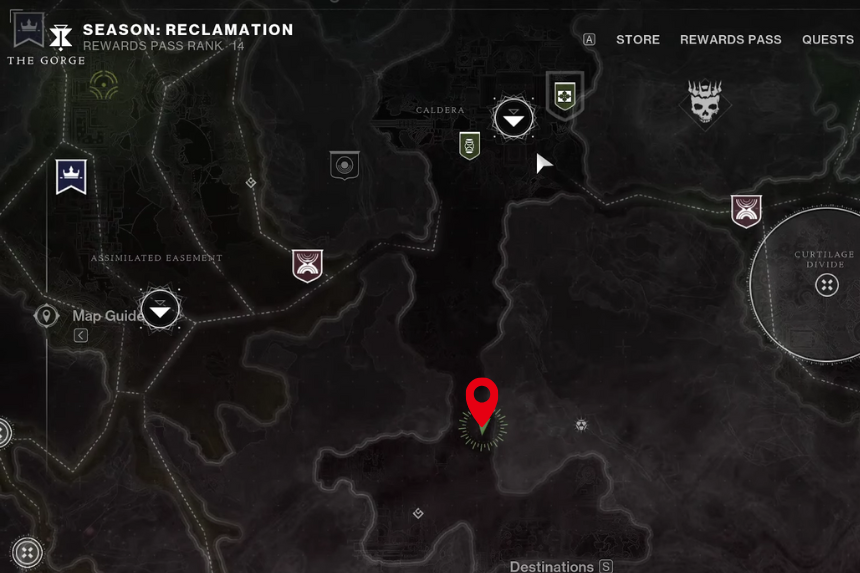
The last one is tucked away in the Gorge. It’s high up, so you will need to use a rocket launcher from a hanging rock near the ceiling, aiming toward the end of the room. Once you have reached that spot:
- Find the bulb and shoot through a small gap in the wall to activate a teleport.
- After the teleport activates, shoot the bulb again.
- Drop down one floor below you. A new path will appear leading to the catalyst room.
- Follow that path to the far end and pick up your catalyst part.
Rapid Hit Catalyst
Landing quick, back‑to‑back precision hits will temporarily make your weapon more stable and reload faster.
1. First Rapid Hit Catalyst
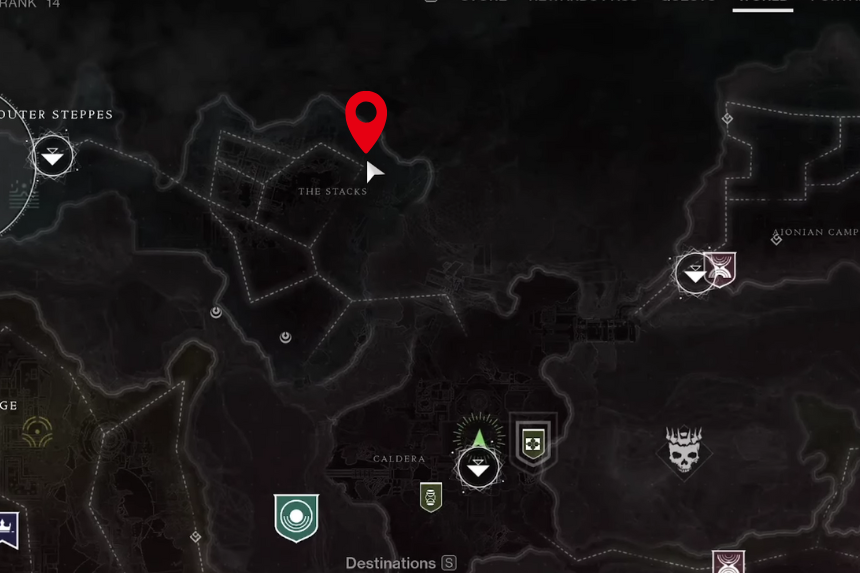
The first part is in The Stacks. Head to the very edge of the cliff and carefully jump around the side. you will see two small devices marked in red. Destroy both of them. After that, you can grab the catalyst part.
2. Second Rapid Hit Catalyst
The second part is in the final area of the campaign, inside the room you enter after opening the wall with the green buff. Look near the top end of the room to spot a bulb. Shoot it, then head all the way down to the bottom of the room. There’s a narrow slit you can crawl through, and inside you will find the second catalyst part.
3. Third Rapid Hit Catalyst
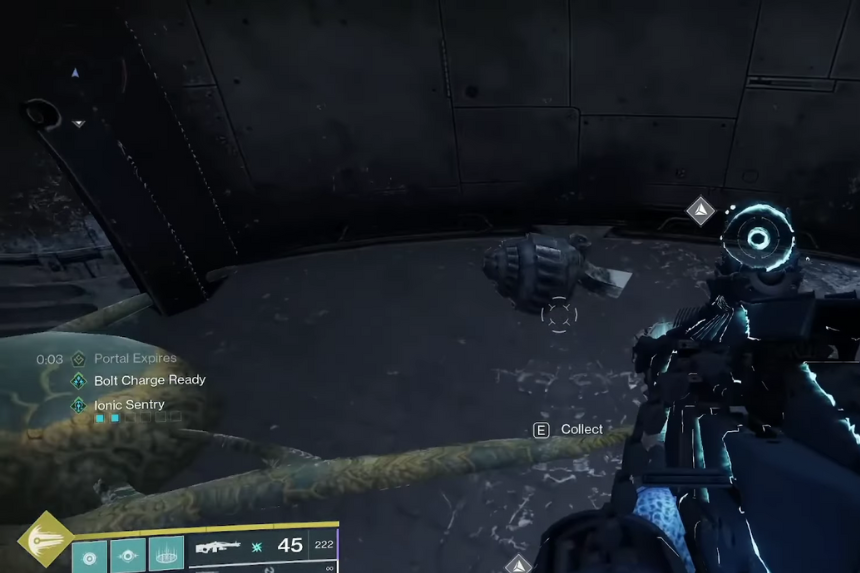
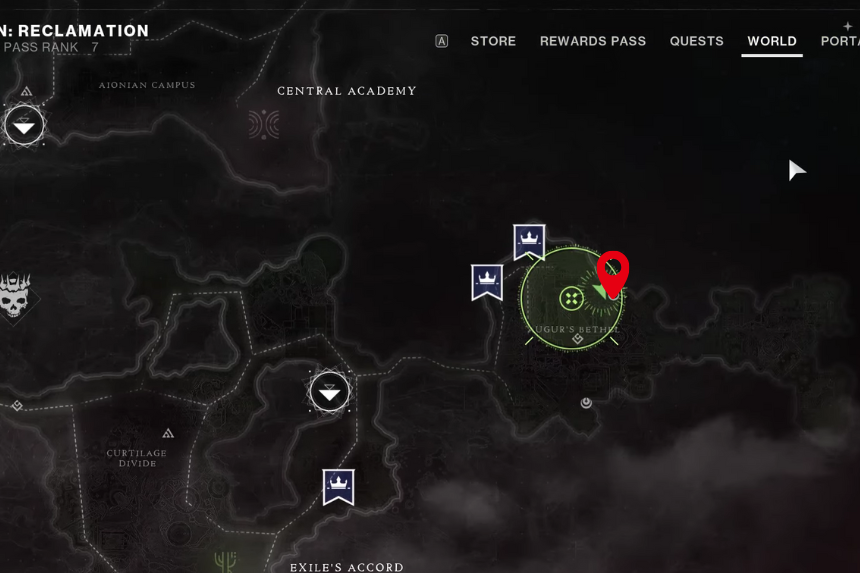
The last part is trickier. It’s behind a fan locked by a Mattermorph in the Caldera, right above the bulb for the second Intrensic. To get the Mattermorph, go into a small cave across a chasm, directly opposite the direction the fan is pointing. This cave is located at Augur’s Bethal. Once you’ve got the Mattermorph, return to the fan and access the final catalyst part.
How to get Graviton Spike
To get the Graviton Spike Exotic Hand Cannon, you will need to complete “Graviton Through the Ages.” But first, you must finish the Edge of Fate campaign. Once that’s done, go to the Altar of Relativity vendor in Kepler. Here is a step-by-step Breakdown:
How to Start the Quest

Head to Caldera on Kepler and speak with an NPC named Lodi. He starts the quest.

After Lodi, talk to the Emeritus nearby. He will give you your first objective.
Find the Weapon Piece (Department of External Observations)

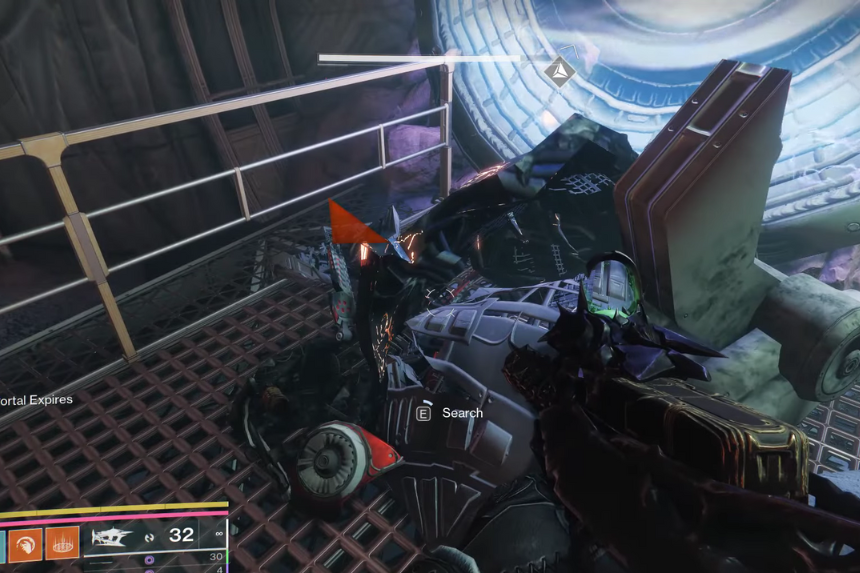
Go to the marked zone and use your Matterspark to charge three special nodes. Once all are charged, you will be led to a room to pick up a weapon part.
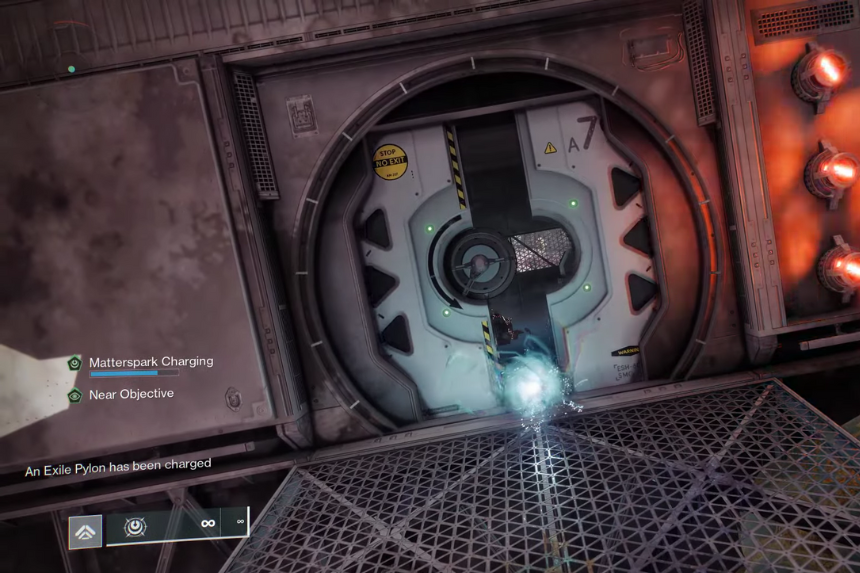
Collect the weapon piece after activating all three nodes. Then bring the weapon part back to The Emeritus for the next instruction.
Now you need to head to the Gorge. Fast travel to Assimilated Easement and follow the waypoint into the Gorge. Defeat a Rosetta Vex Sentry Minotaur guarding the area.
Get Another Weapon Piece

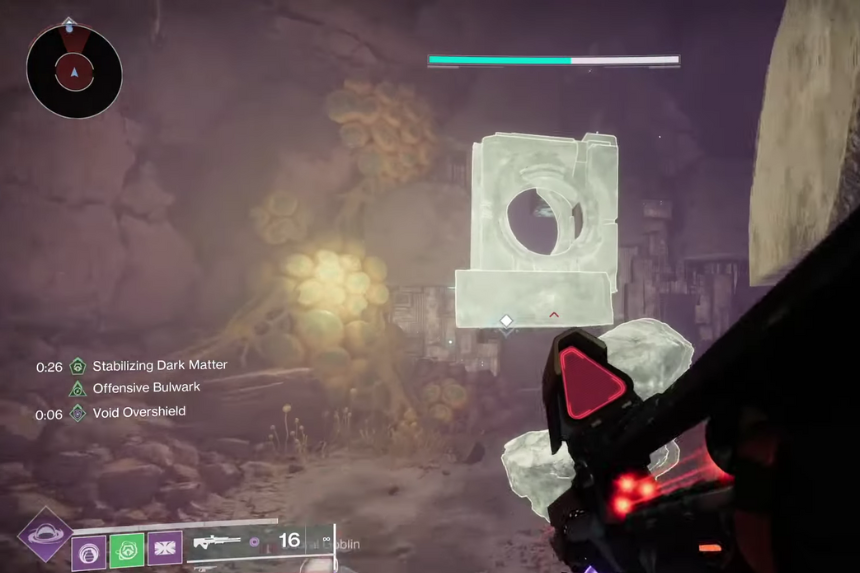
Behind a Vex structure, activate the Command Module. Then, again, use your Matterspark to find and charge three nodes, which unlocks the next weapon part in a small debris pile. Then take the new weapon piece to The Emeritus. He’ll point you toward a new area.

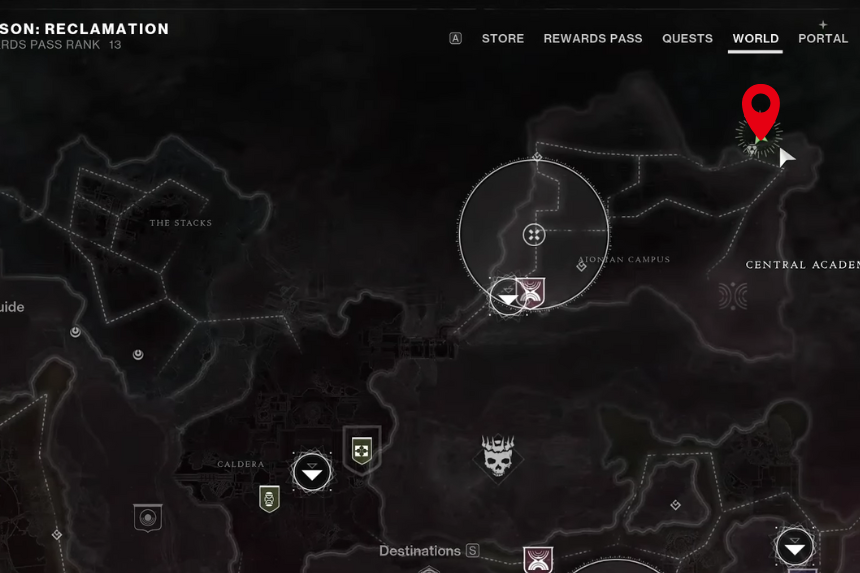
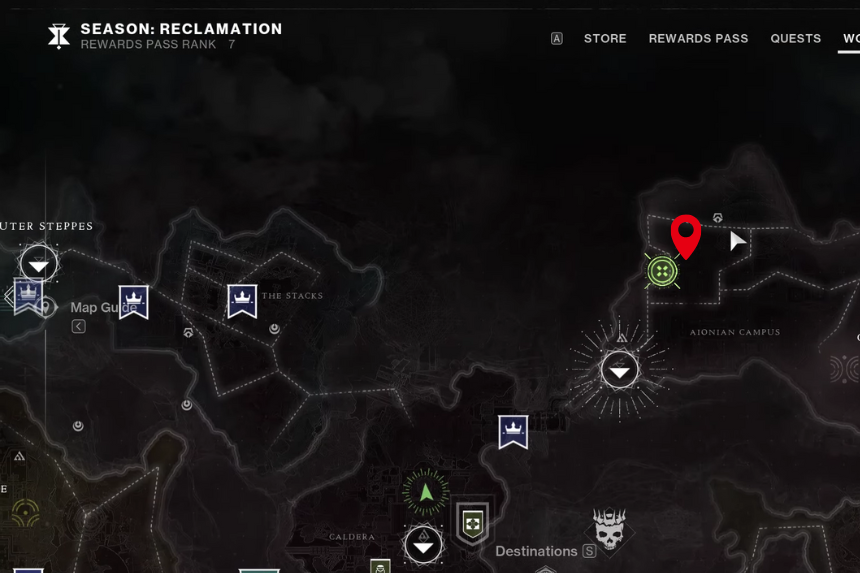
Now, fast travel to Curtilage Divide, find a Matterspark portal near the train, and make your way through enemies to another Vex Sentry Minotaur. Defeat it and activate the Aionian Command Module.
Grab the Third Weapon Piece
Go back to the train area, this time pass through the tunnel. At the end, you will find a debris pile with the next weapon part. After that, return to The Emeritus for further guidance.
Collect 100 Vex Data Fragments (Caldera)
Stick around Caldera and farm Vex. Elite yellow-bar Vex give more data compared to Regular ones. Triggering Vex events and defeating the bosses is a great way to speed this up.
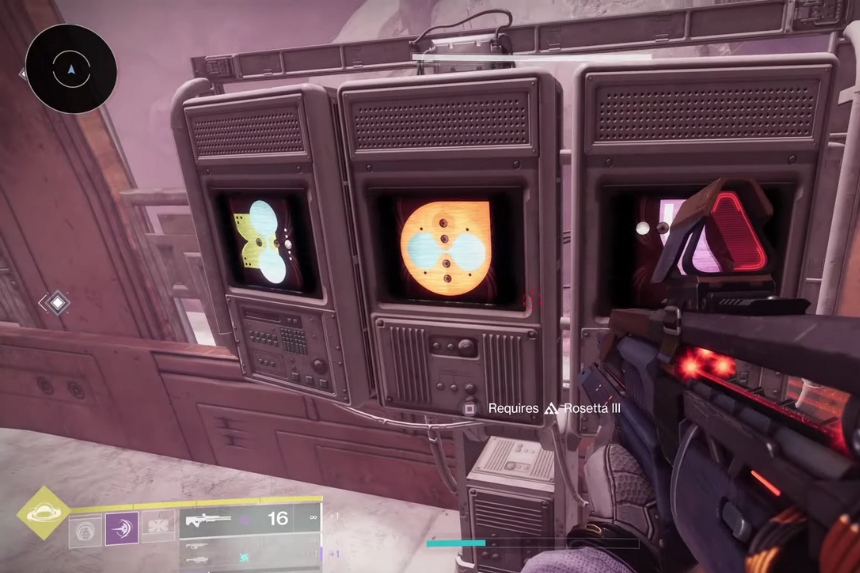
Final Weapon Piece (Puzzle & Relocator Cannon)
Fast travel to Aionian Campus, defeat more Vex, activate another Command Module, then solve a light puzzle using Mattermorph. You will get a Relocator Cannon, use it to open a small door and shoot a node through the gap. This activates a teleporter. Step through it, and you will find the final weapon part.
Now, return to Lodi once more so he can prep you for the last step. After that, you now need to complete a matchmade activity called “The Sieve.” It only appears at certain times on the Kepler map, so keep checking in Caldera for when it’s available. Once you see it, start the activity from the flag. Finish it to get the Graviton Spike Exotic Hand Cannon.