
If you want to collect every Tarstone in Mortal Shell 2, this guide covers all 75 Tarstones and where to find them. Tarstones have different uses; some can provide bonuses to your character, change some of your attacks, or even give effects to your gear. They can be obtained from chests or by completing trials, exploring secret locations or progressing through certain stages of the game.
All 75 Tarstones Locations
Mortal Shell 2 has a total of 75 Tarstones to collect, and finding them all is required to unlock the Stoned trophy and achievement. Tarstones are special items that can be infused into your equipment to give you different passive bonuses or change how certain attacks and actions work.
Depending on the Tarstone, you can increase your damage, change your attacks, improve your Critical Chance, or gain other effects related to the Resolve system. You can obtain Tarstones by progressing through the story, exploring different areas, completing trials, and opening hidden chests. Keep in mind that each Tarstone can only be equipped to compatible equipment.
Auspicious Stone
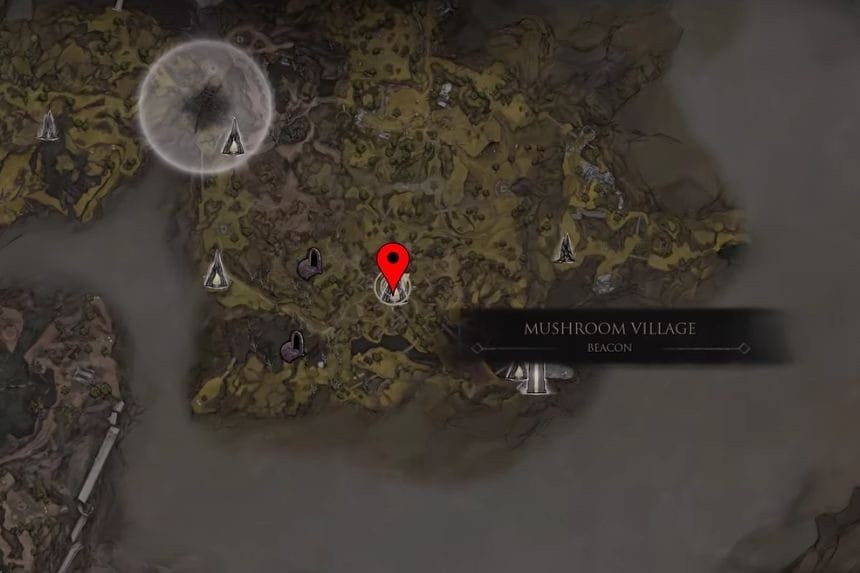
You can find the Auspicious Stone inside a bone chest near the entrance of Mushroom Village, at Widow’s Overlook. However, the chest is locked until you light three offerings around the village.
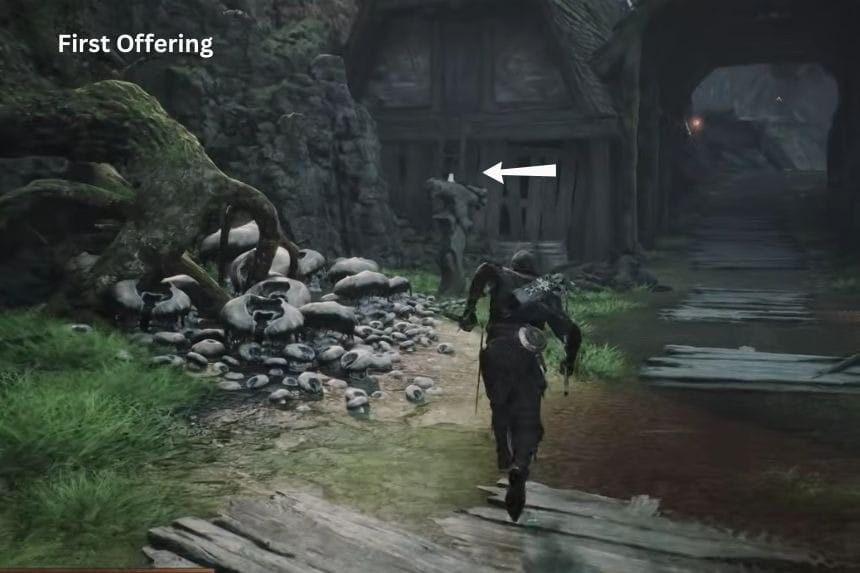
- The first offering is on the platform directly behind the bone chest.
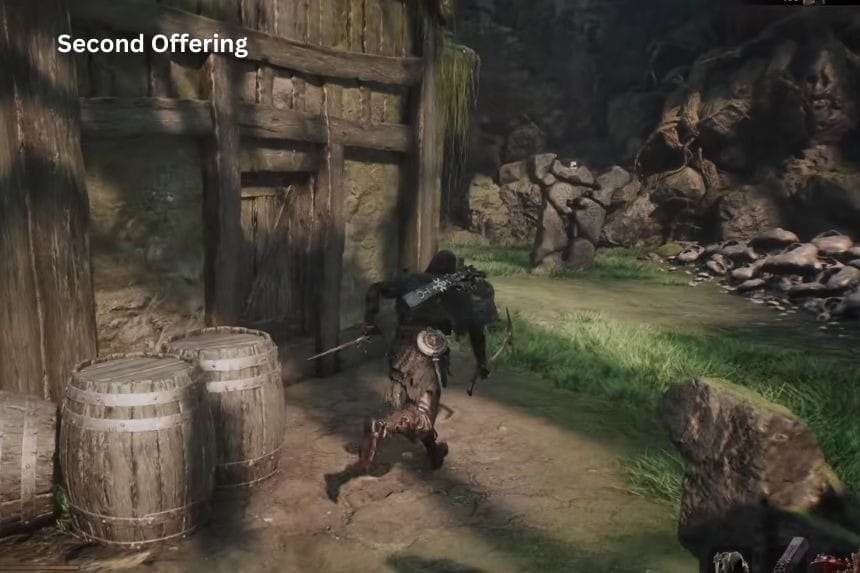
- For the second offering, head to the upper-left side of the village and look in the backyard of one of the houses.
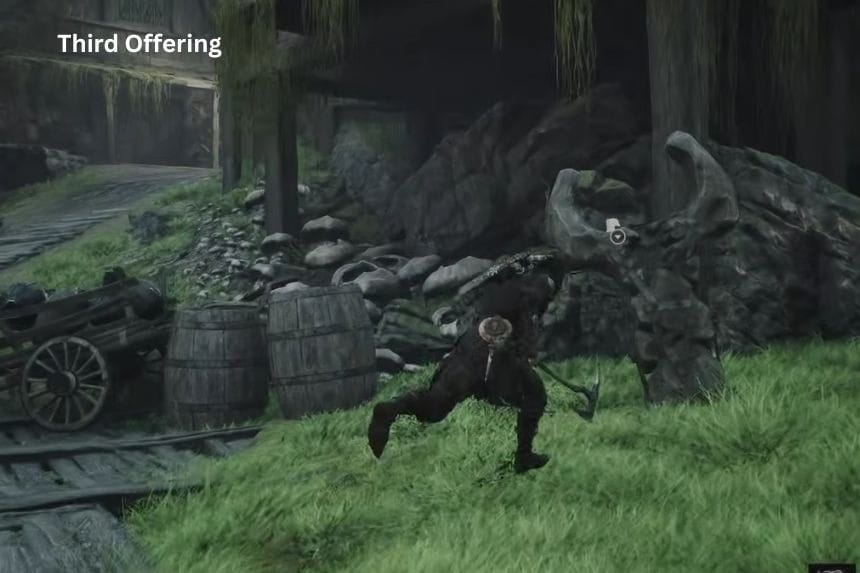
- For the third offering, make your way to the top of the village and look to your right. You should be able to spot it before you leave through the archway.
Once all three offerings are lit, return to the bone chest and open it to collect the Auspicious Stone.
Headsman’s Stone
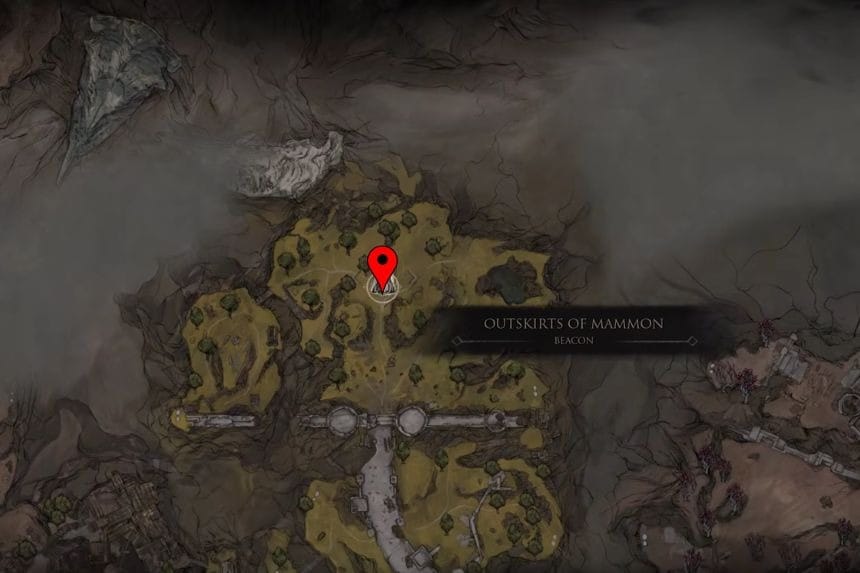
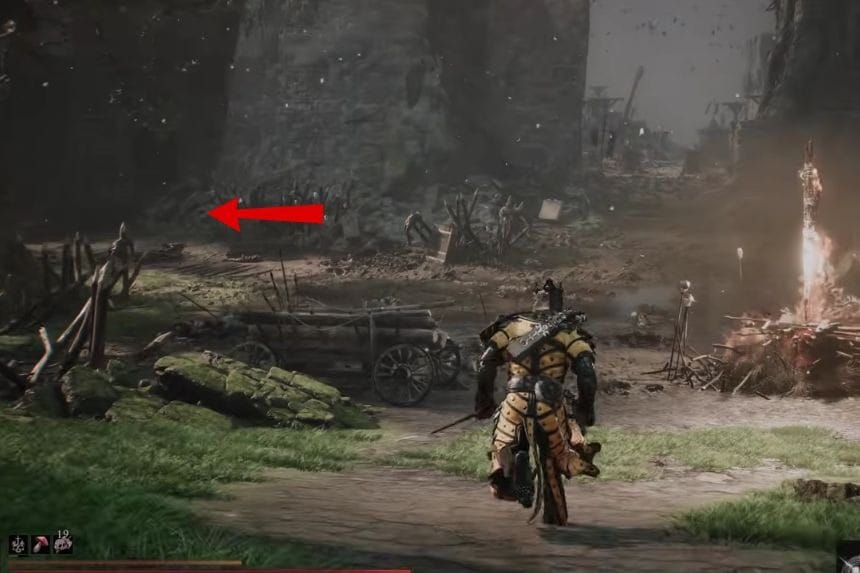
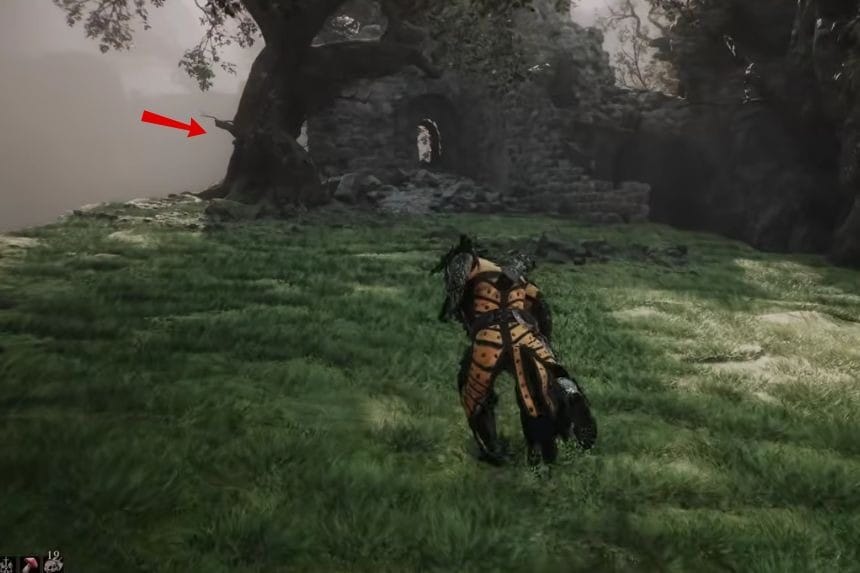
The Headsman’s Stone is located in Ruins of Mammon. After crossing the Road of Absolution bridge and reaching the main path below, go towards the path that leads to the Revenant Graves. The Headsman’s Stone will be located on the hill to your left before you enter.
Devout Stone
The Devout Stone is located in a chest that is situated near the Sester’s Gate Beacon, to its north. Climb up the stairs until you get to the location where there are two ranged enemies. There will be a switch at the wall, next to which there is a door. Switch it on and enter the door; then get the Devout Stone from the chest.
Shattering Stone
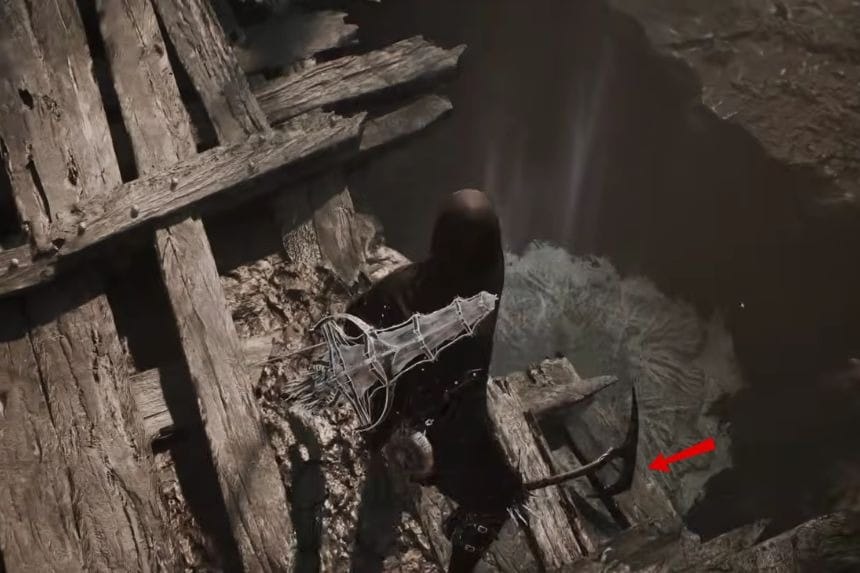
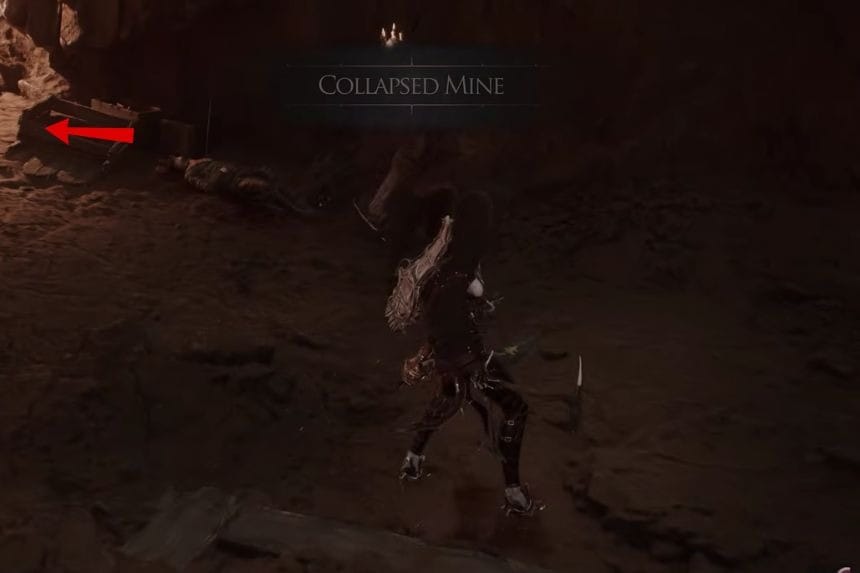
The Shattering Stone can be located in a chest that is near the burial site of Tiel the Acolyte in the village outside of Mushroom Village. If you start from the burial site of Tiel, go to the nearest house to the right. Walk around to the side of the house to find the chest containing the Shattering Stone.
Berserker’s Stone
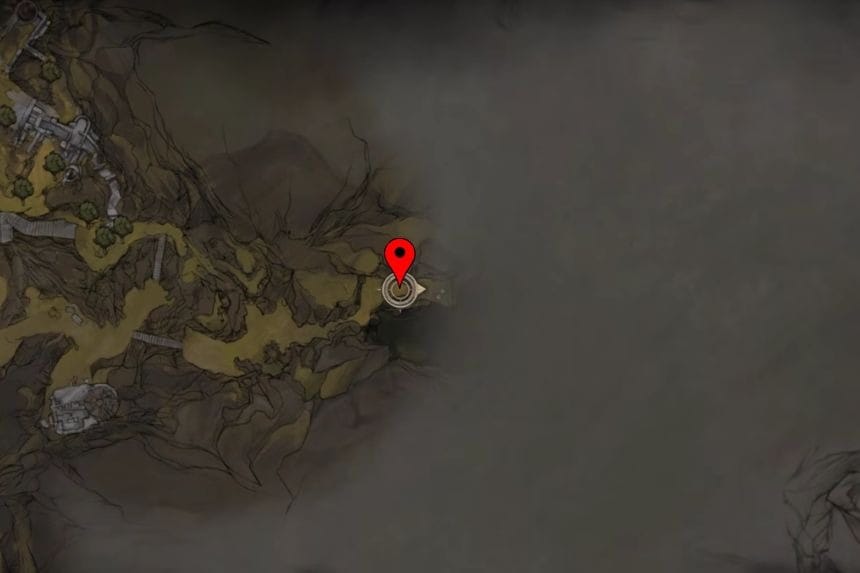
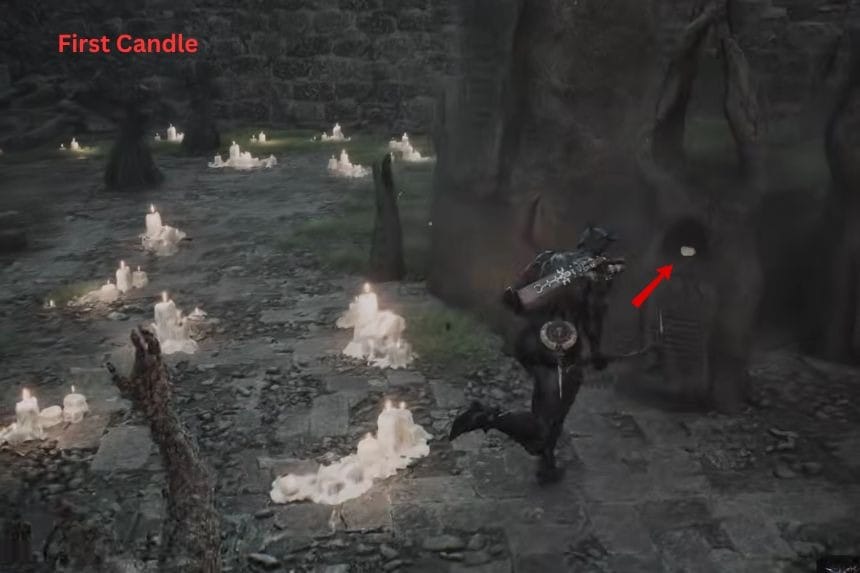
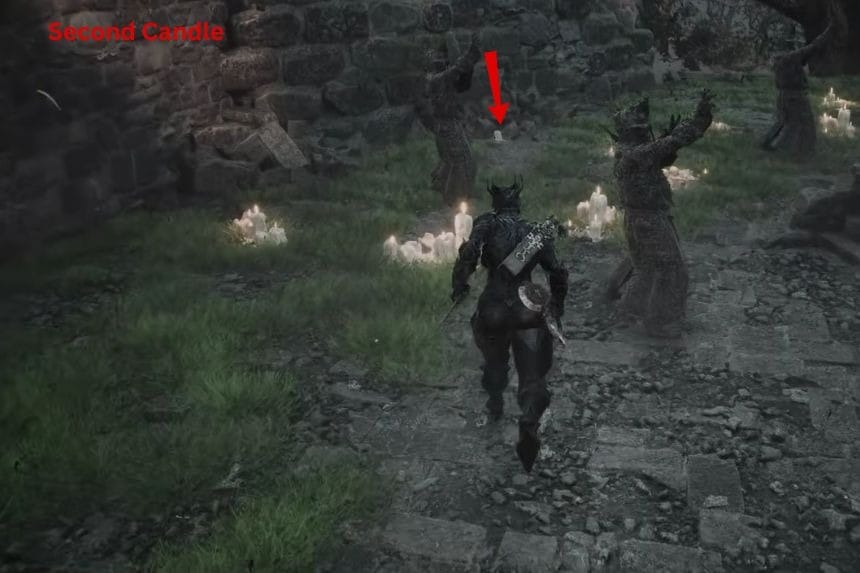
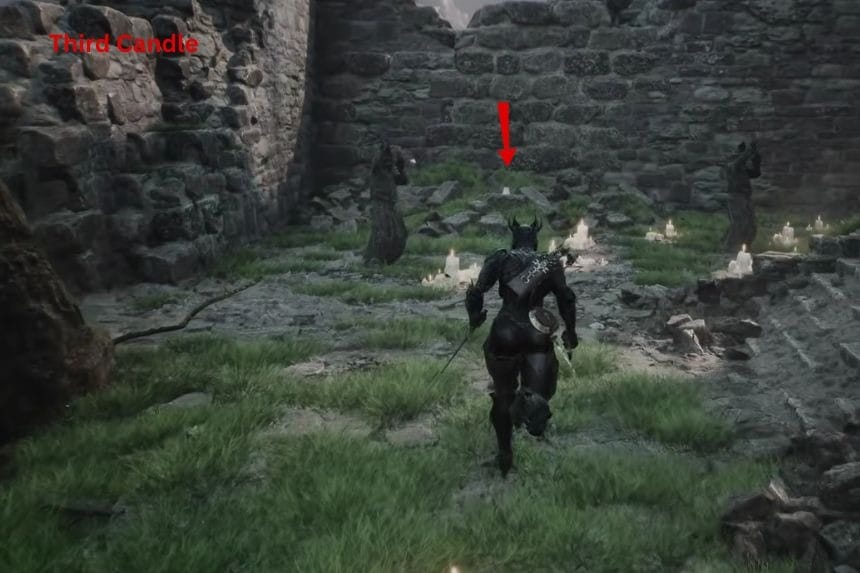
From the One Legged Wolf Beacon, travel towards the east direction and go through the Bone Gate till you come to the Temple of Vatra. Once you are at the temple, take the stairs and go to the left, where you will find an area that has an offering chest. In order to open this chest, you have to light three candles. Light the two candles that are to the left of the statue and the other one to the right of the statue. After lighting all three candles, the chest will open, allowing you to collect the Tarstone.
Important: This Tarstone is currently missable because of a bug. Make sure you collect it before obtaining the Heart of Vatra and leaving the area. Otherwise, you may be locked out of the area, even in NG+.
Marksman’s Stone
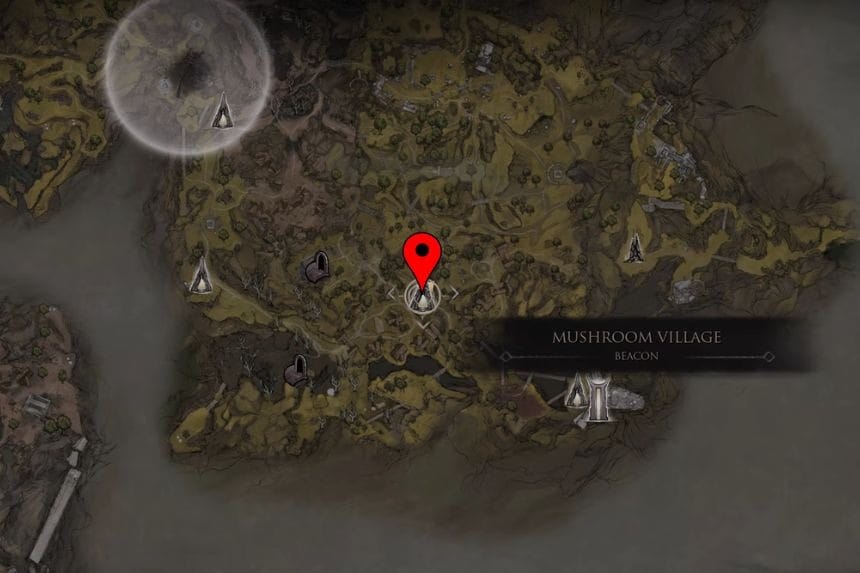
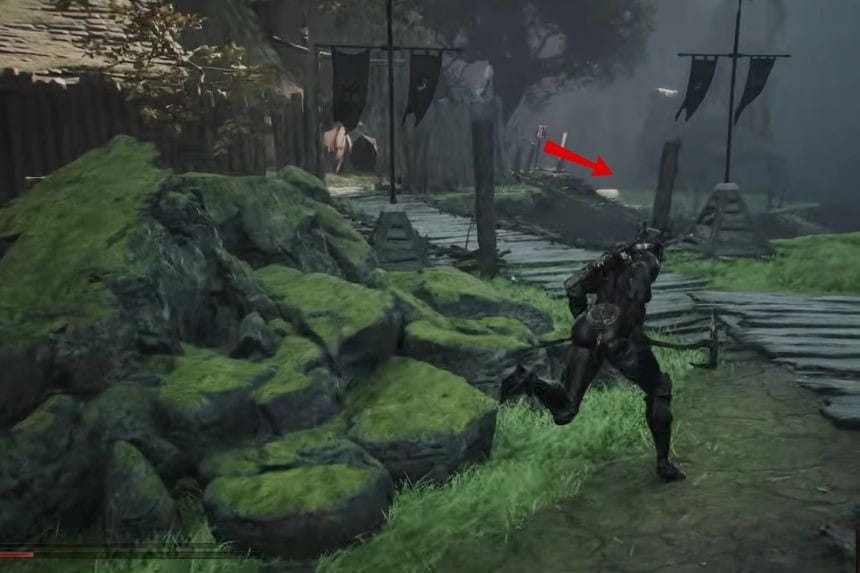
The Marksman’s Stone is located inside a chest that lies near the trial area just outside the Mushroom Village gate, located to the east of Mushroom Village. The first thing you need to do is face the Mushroom Village Beacon, and from there, go towards the right side. Proceed further until you reach the place where the hanging bodies are suspended from the wooden poles.
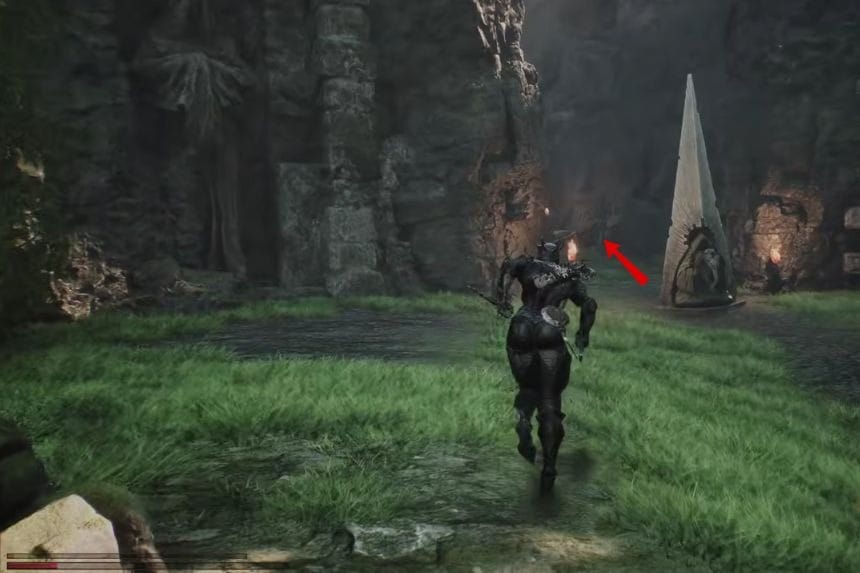
Continue your way to reach the place where you can see many dead bodies. Move ahead by crossing the rotting tree and its adjacent bridge to arrive at the trial site. Clear the trial and proceed to unlock the path through the dark roots. Follow this new path to get to the bone chest, where you can find the Marksman’s Stone.
Deadeye Stone
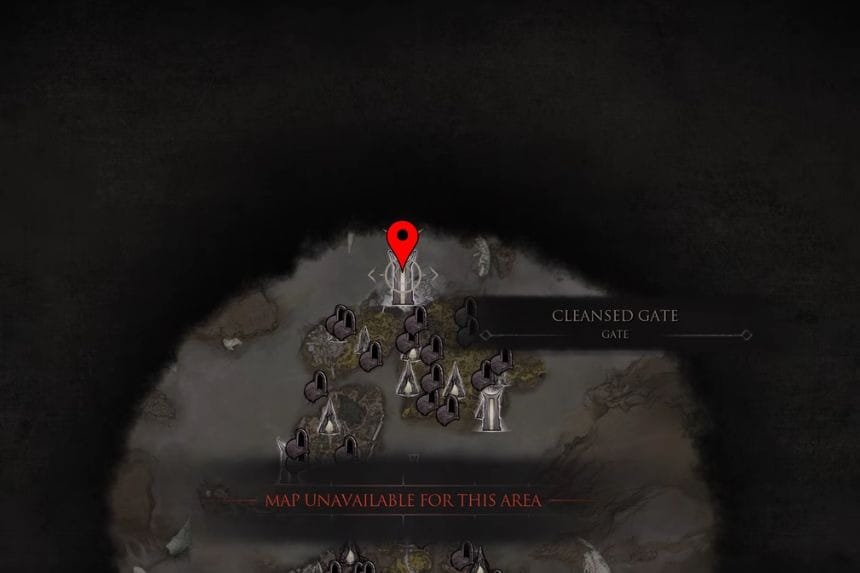
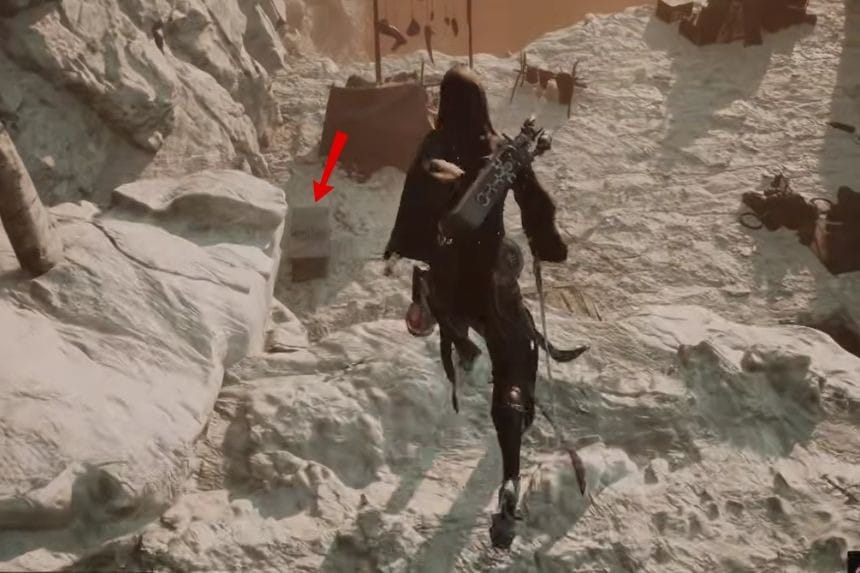
The location of the Deadeye Stone is within the bone chest found in the campsite north of the Sanguine Caves. When you get to the Sanguine Caves, proceed ahead to the open space. From there, you will have to move downward to the right and then follow the path that is to the left. Continue along the path to reach the campsite, where you’ll find the bone chest containing the Deadeye Stone.
Siegebreaker’s Stone
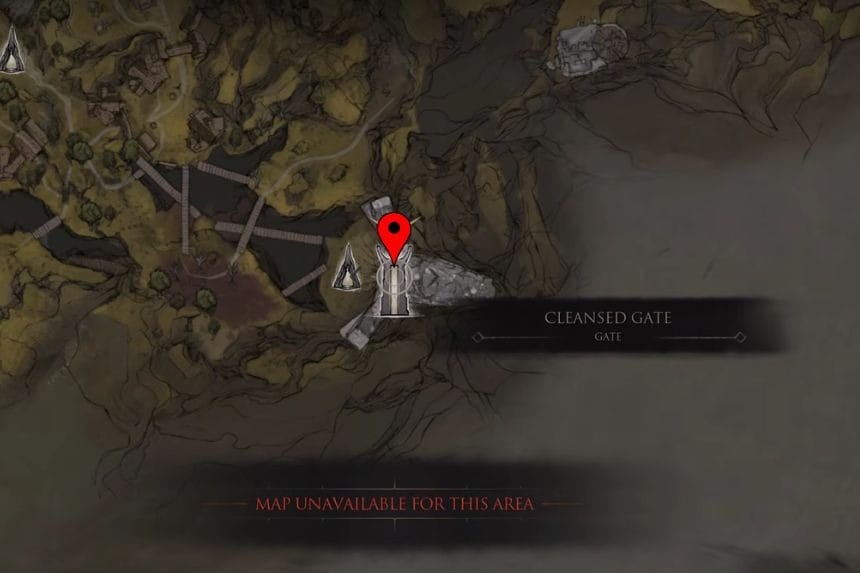
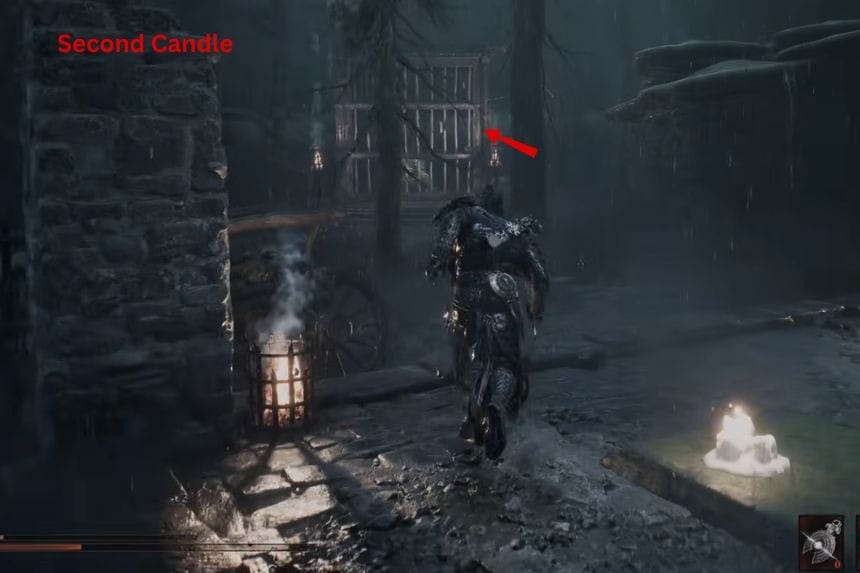
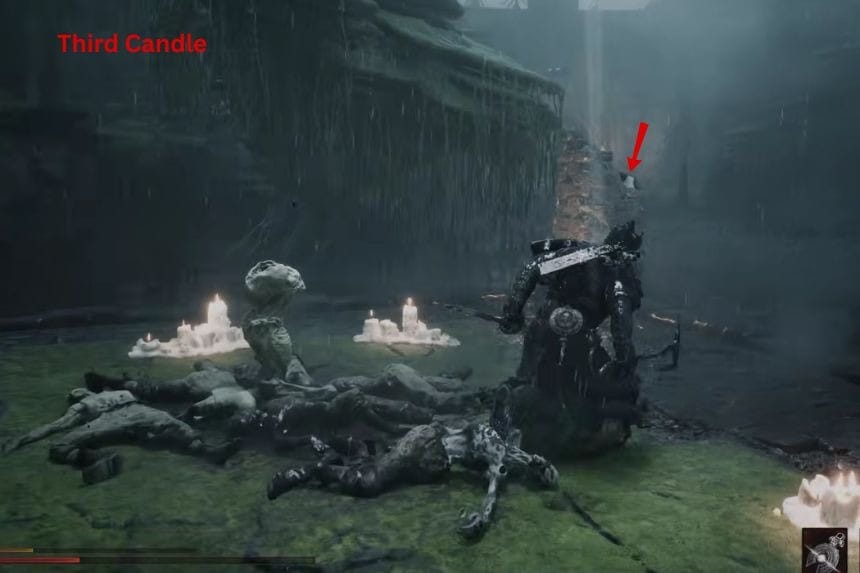
The Siegebreaker’s Stone is inside a bone chest in Sunken Village. You need to light three candles around the area before you can open it.
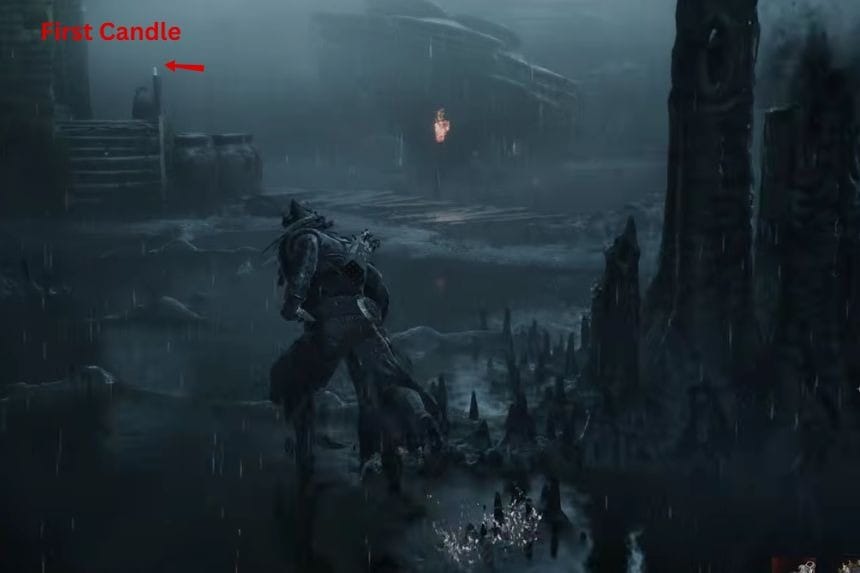
- The first candle is on the front porch of the house near the bone chest.
- For the second candle, head to the cage on the left side of the area and break its lock to find it inside.
- For the third candle, stand in front of the cage and head toward the nearby platform. Look for a broken pillar to find the candle.
Once you’ve lit all three candles, return to the bone chest and open it to collect the Siegebreaker’s Stone.
Spite Stone
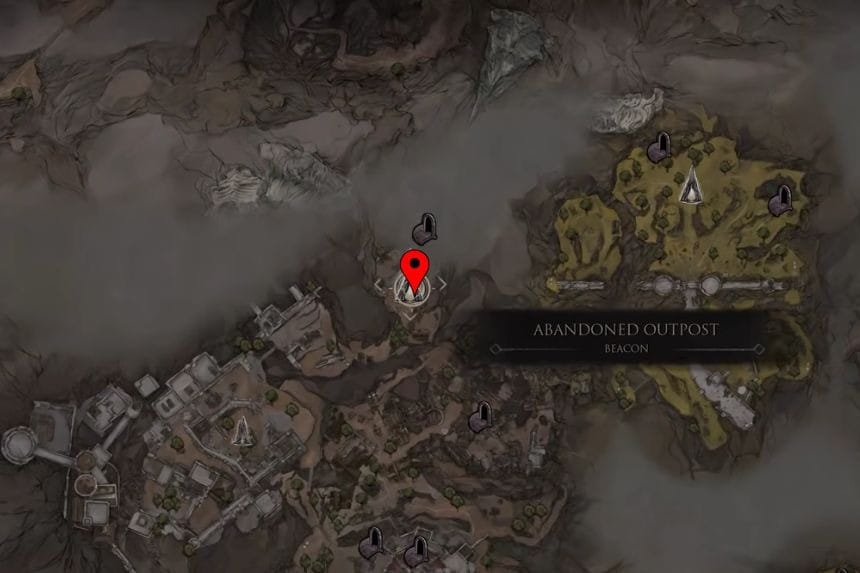
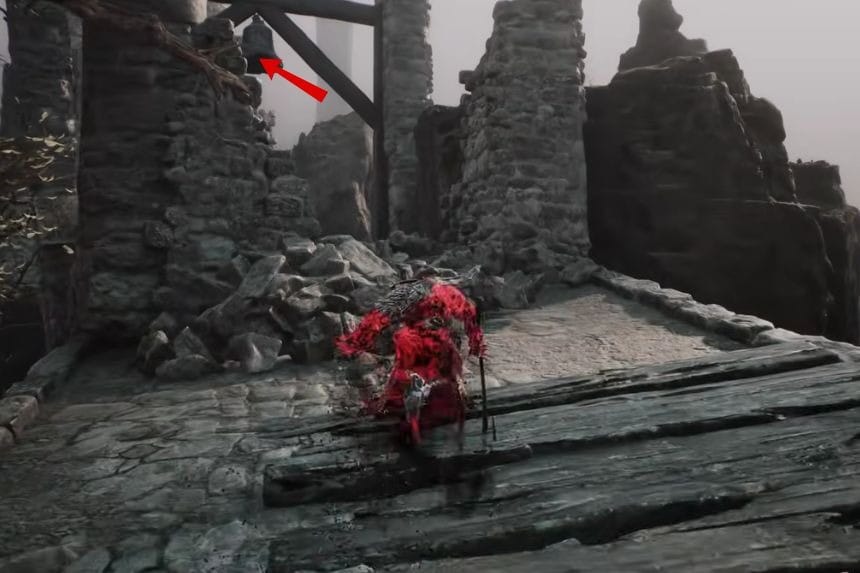
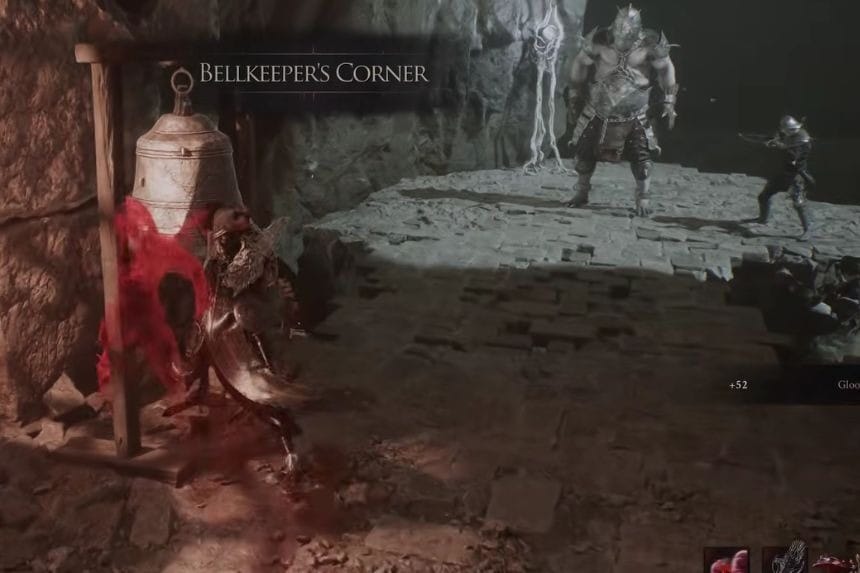
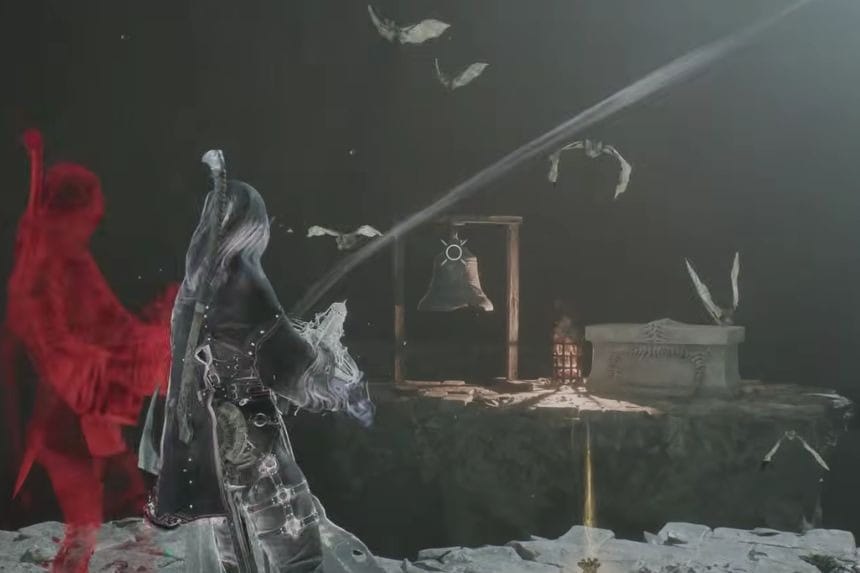
Spite Stone is located in Bellkeeper’s Corner Dungeon, right above the Abandoned Outpost Beacon. Starting from the beacon, move to the north and sound the bell to open the path on the bridge, which will lead you to the entrance of the dungeon. Then enter Bellkeeper’s Corner and pass through the dungeon until you get to a small platform close to a bell. Search for the chest located on the platform to obtain the Spite Stone. You need to ring all the bells to get the Spite Stone.
Bulwark Stone
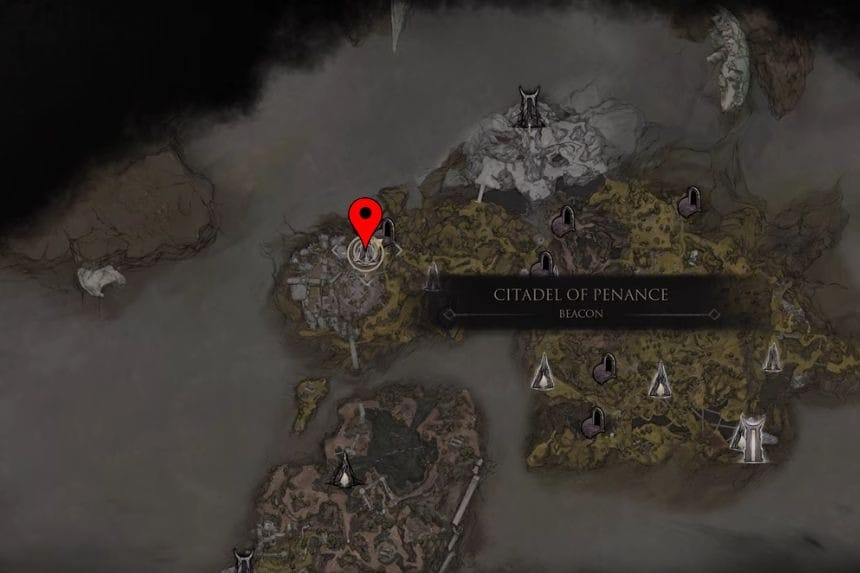
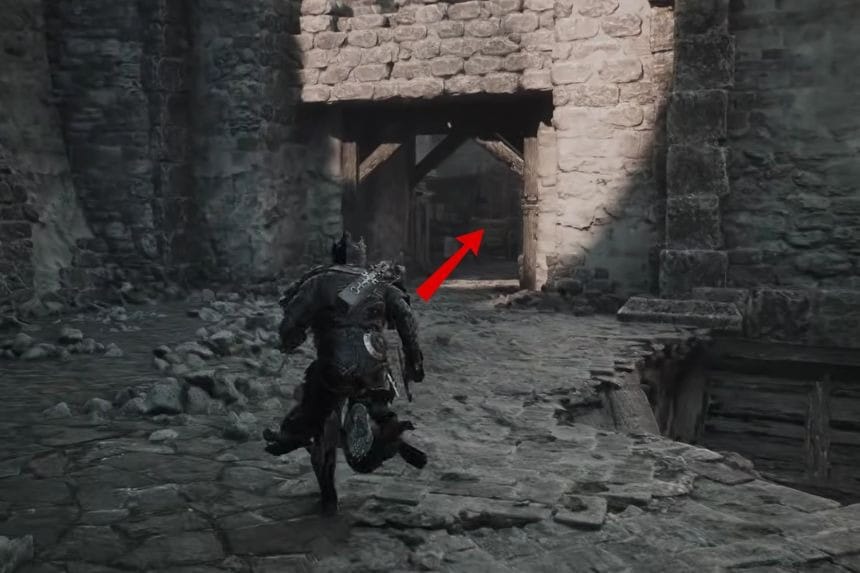
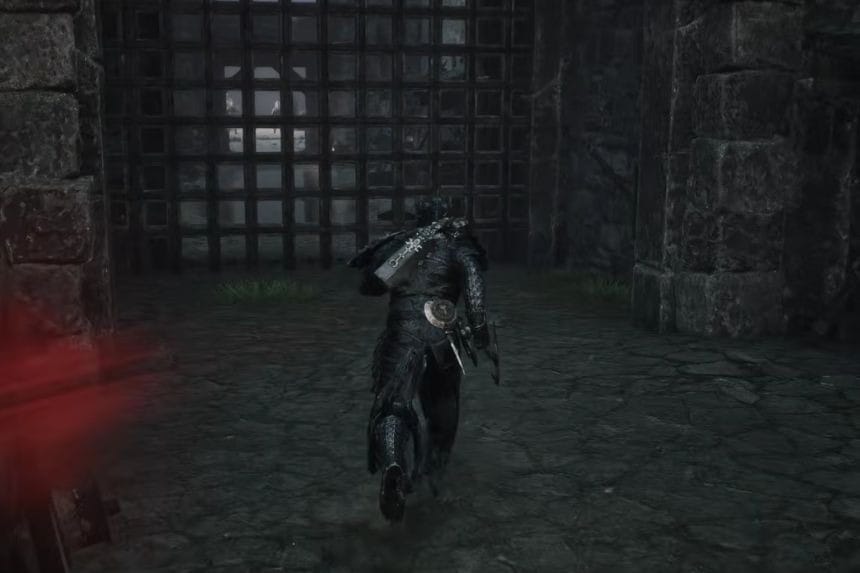
Bulwark Stone is located inside a chest near the Citadel of Penance Beacon. Starting from the beacon, move towards the southwestern part of the wall. Find a gate that has a lever next to it and activate the lever to unlock the gate. Move forward and destroy all four enemies that are present there. Go to the end of the path, and there will be a chest located at the end of a broken bridge. Open it to collect the Bulwark Stone.
Retribution Stone
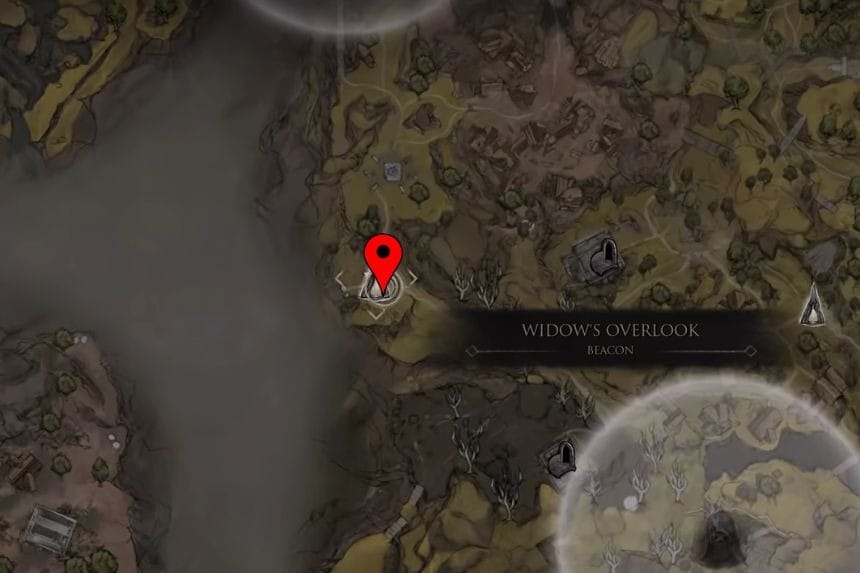
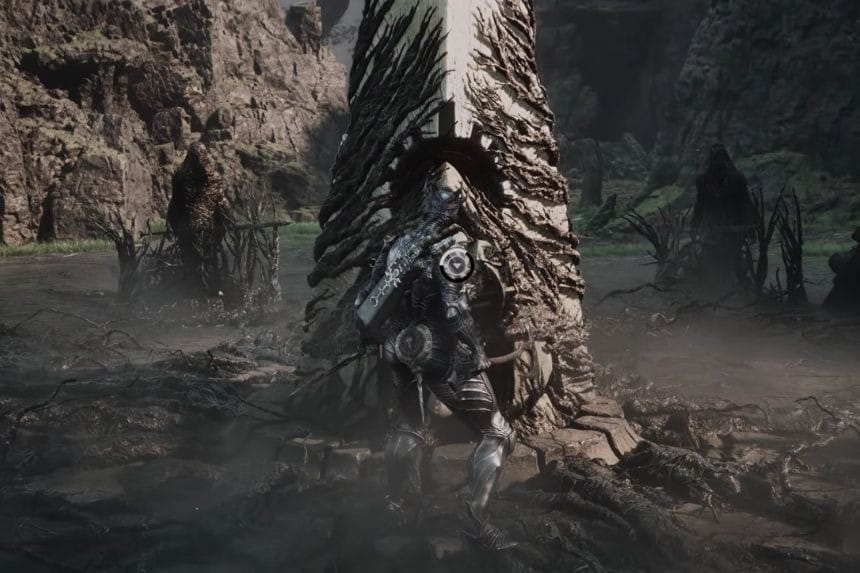
The Retribution Stone is a reward for winning the challenge inside Widow’s Overlook. Go into the challenge area and destroy all the enemies that spawn there. After you complete the challenge, go behind the pillar to obtain the Retribution Stone.
Gloombound Stone
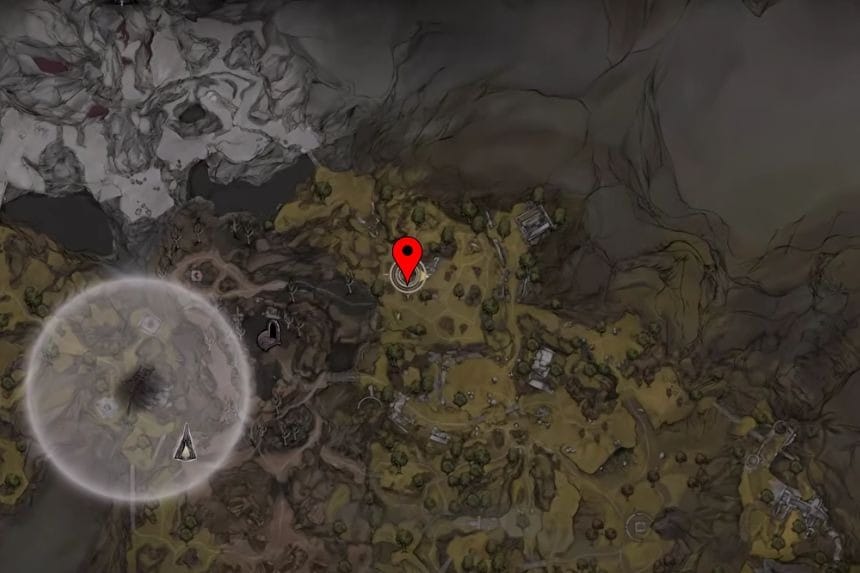
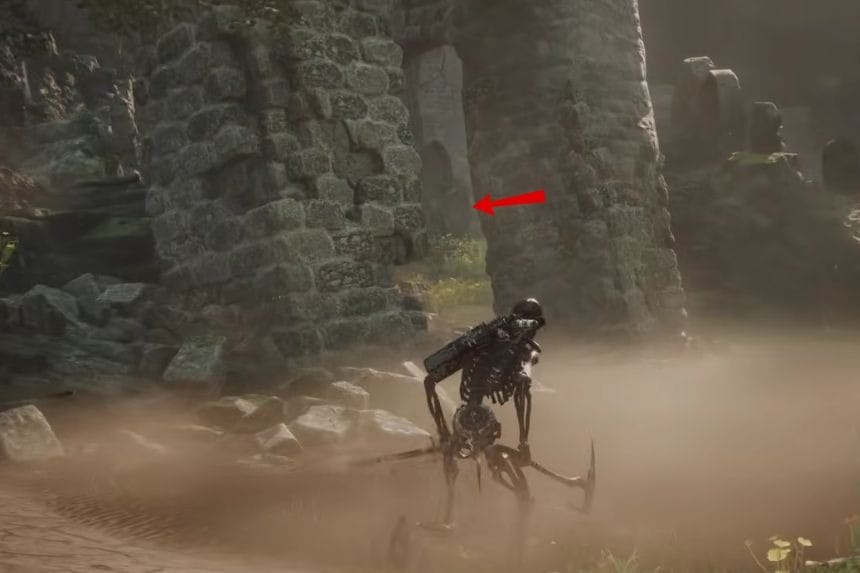
The Gloombound Stone is located inside a bone chest within the Stones of Remembrance area, which is located southeast of the Stonebled Gate. From the Stonebled Gate, head down toward the water and defeat the three enemies along the way. Once they’re dealt with, turn left and enter the ruins near the water. Look around the ruins to find the bone chest containing the Gloombound Stone.
Justicar’s Stone
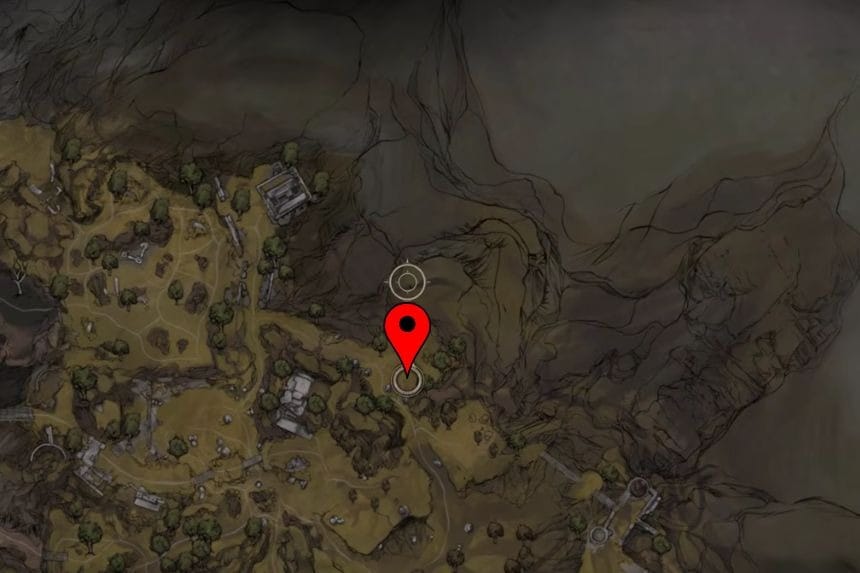
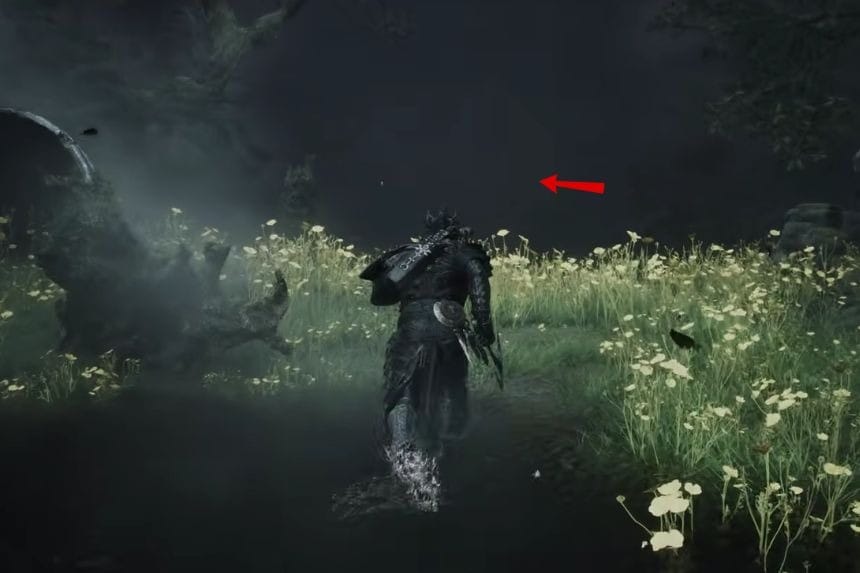
In order to find the Justiciar’s Stone, you must go to the Stones of Remembrance region. Look for the open field where you fight the Broodshell Swarm. From there, find the nearby cave and head inside. You’ll find the Justiciar’s Stone lying on a pile of corpses next to a gravestone.
Wounding Stone
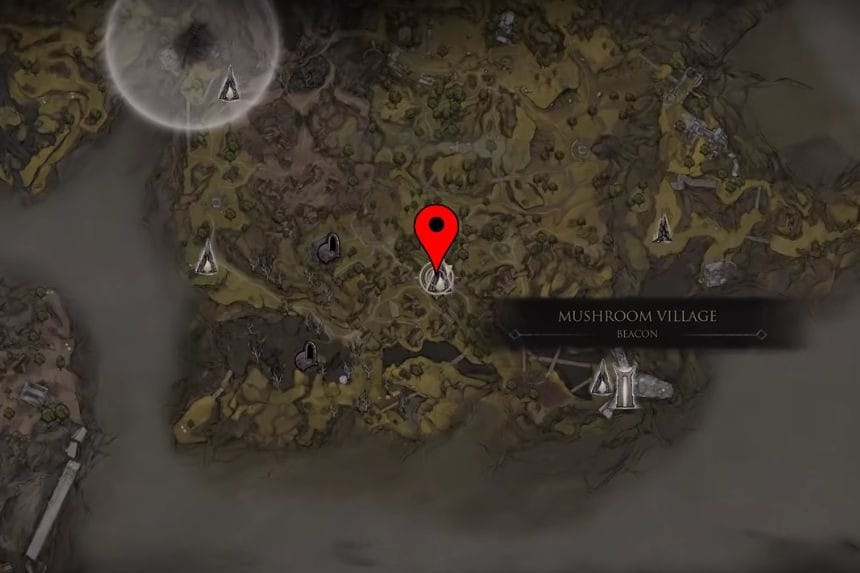
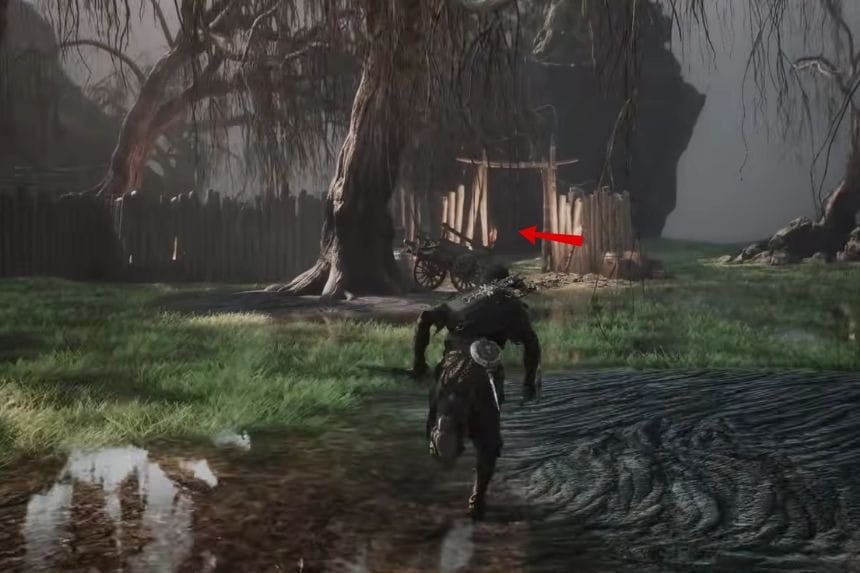
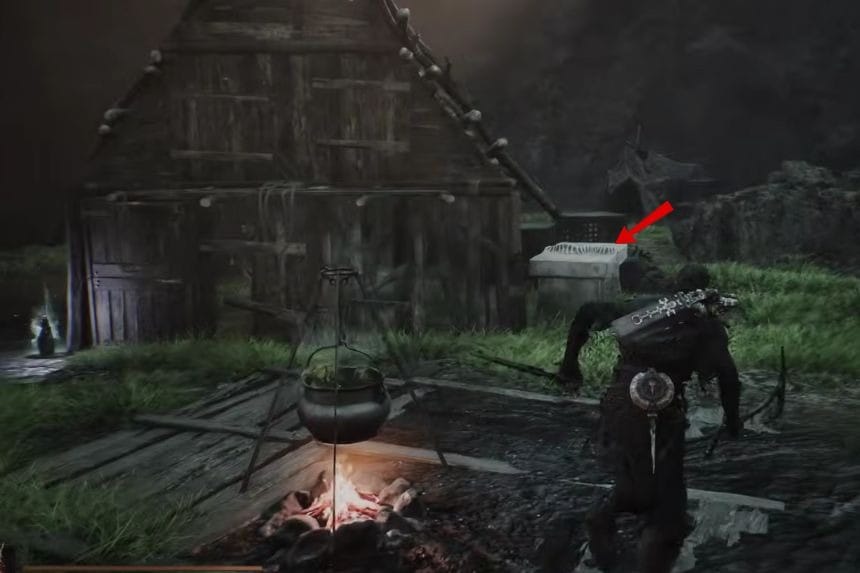
The Wounding Stone can be found inside a bone chest near the gravestone of Tiel the Acolyte, outside Mushroom Village at Widow’s Overlook. Head to Tiel’s gravestone and look around the nearby area to find the chest containing the Wounding Stone.
Grudge Stone
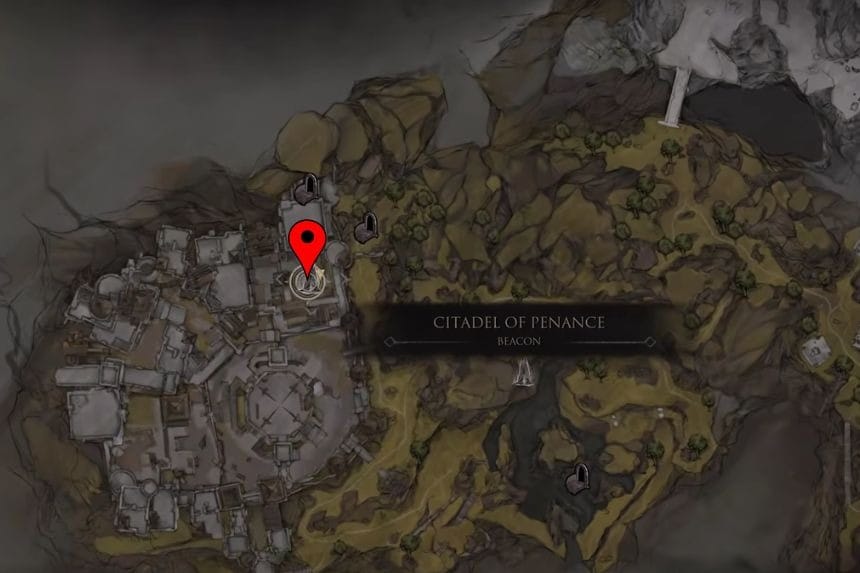
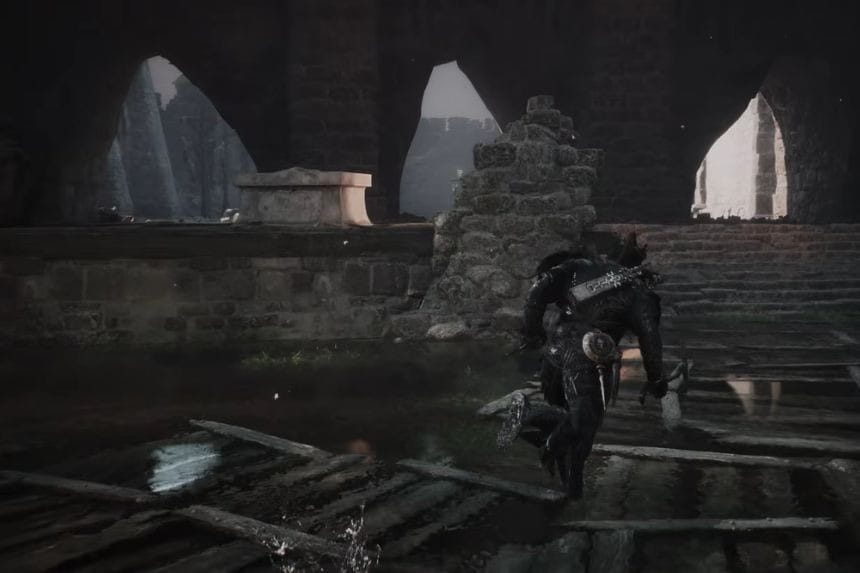
The Grudge Stone can be found inside a bone chest in the Citadel of Penance in Fainweald. Starting from The Warden’s boss area, launch yourself back up into the courtyard. Stay to the right and continue past the bridge. You’ll find the bone chest near a large tree. Open it to collect the Grudge Stone.
Duality Stone
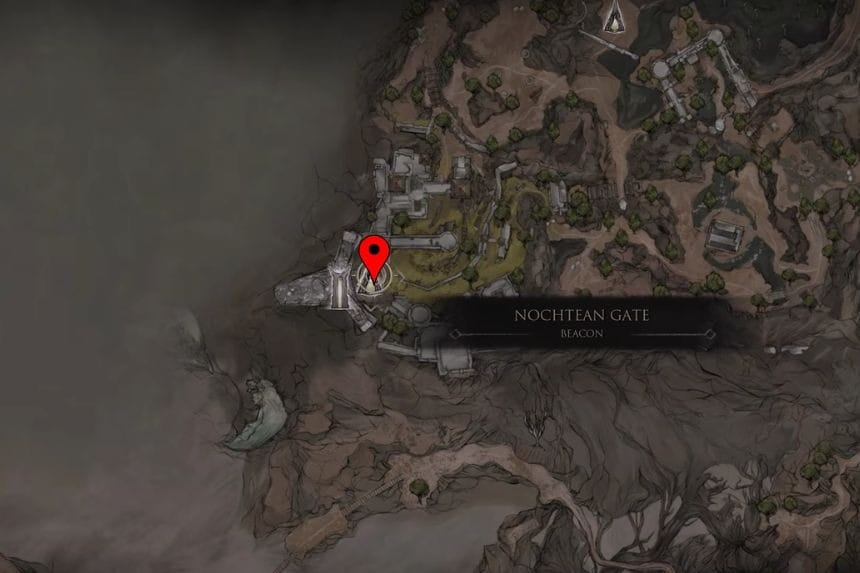
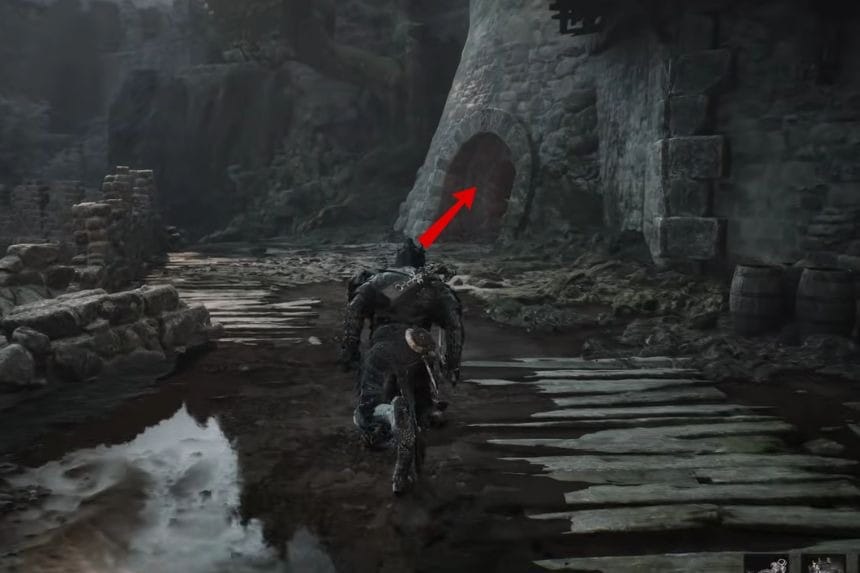
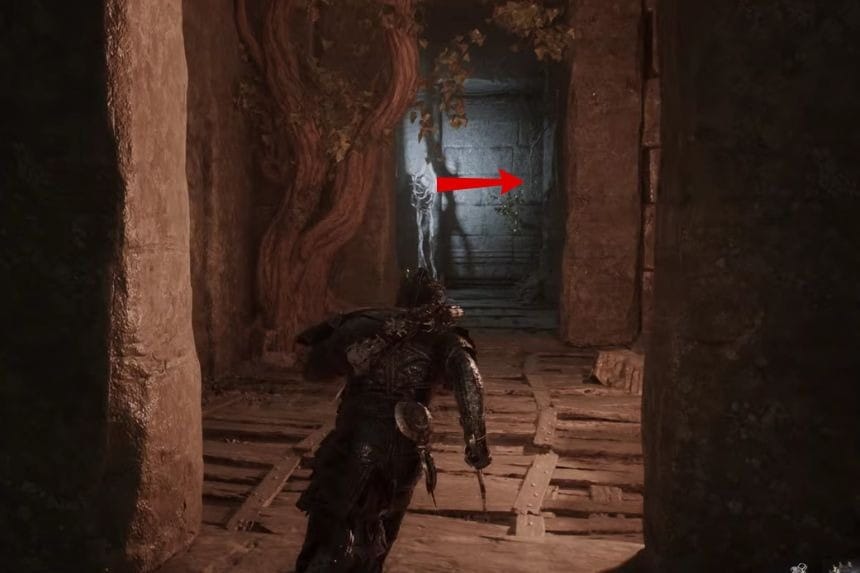
The Duality Stone can be found inside the Ravaged Tomb dungeon. Start at the Nocthean Gate Beacon and head southeast. Take the elevator down, and you’ll find the entrance to the Ravaged Tomb in the room at the bottom. Enter the dungeon and follow the path until you reach an area with a large hanging body. Look underneath it to find a chest containing the Duality Stone.
Unyielding Stone
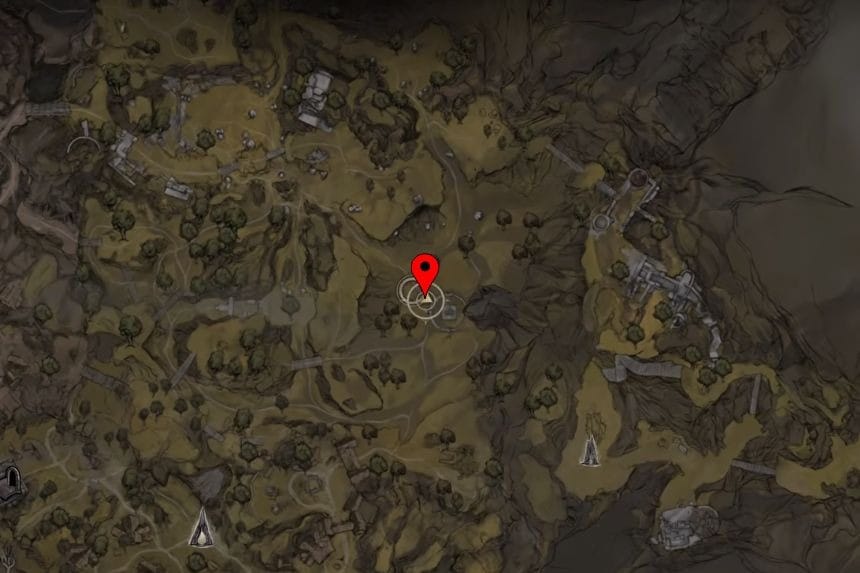
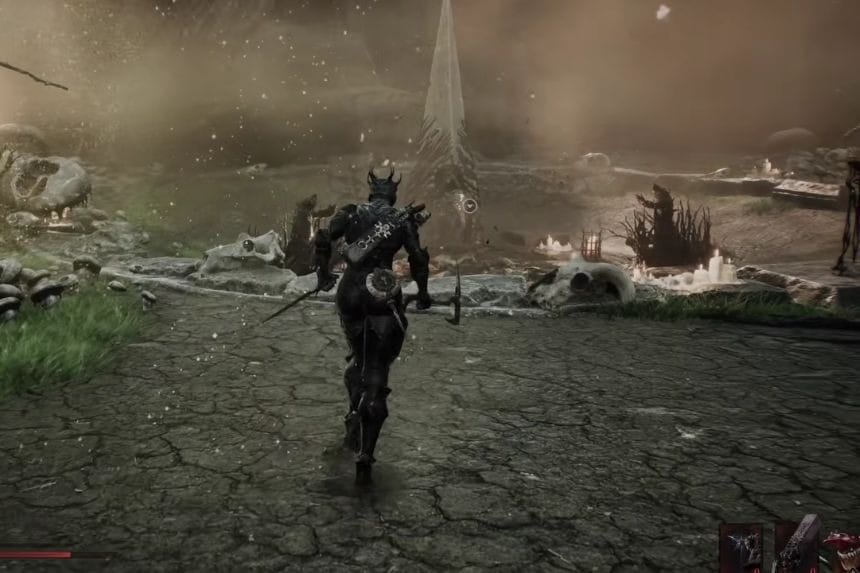
The Unyielding Stone can be found at a Trial Statue north of the Deserted Mine dungeon. Interact with the statue to start the trial and defeat all the enemies it summons. Once you clear the trial, interact with the pillar again to collect the Unyielding Stone.
Parasitic Stone
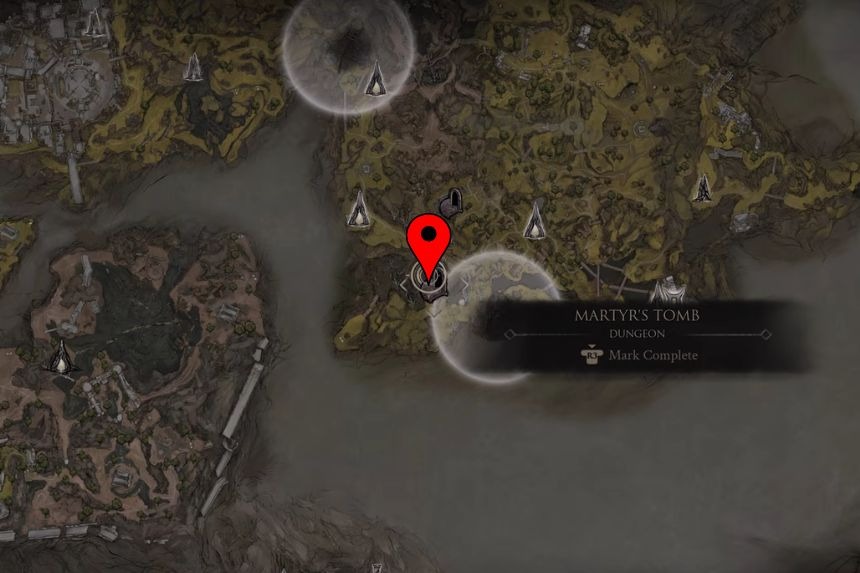
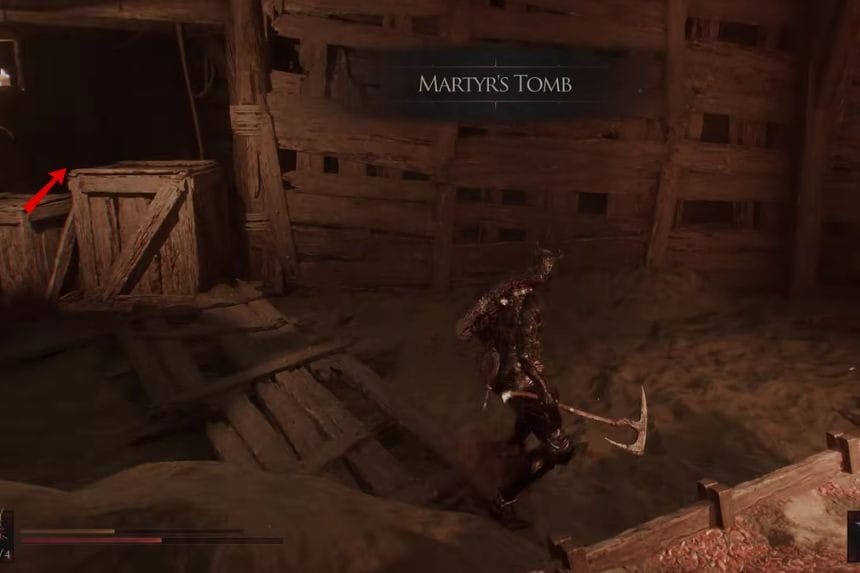
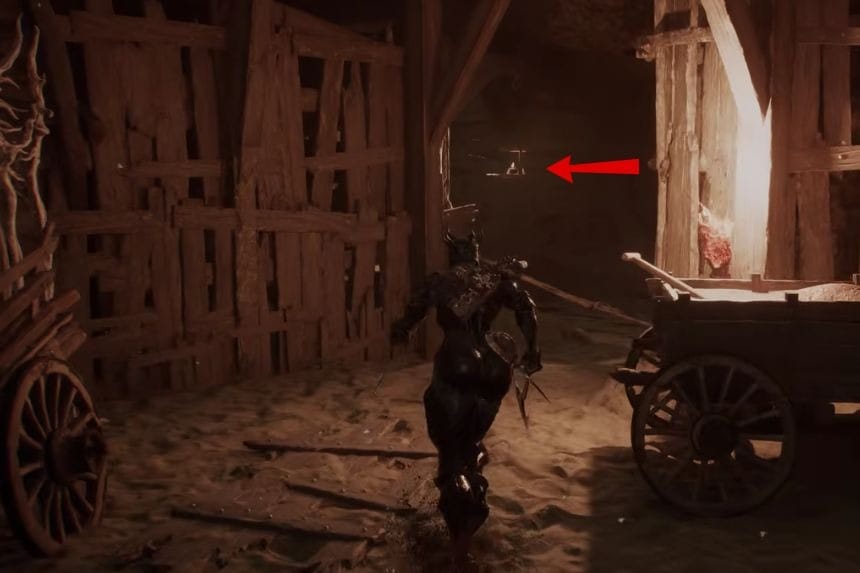
The Parasitic Stone can be found inside a bone chest in the Martyr’s Tomb dungeon at Widow’s Overlook. The chest is inside a locked room, so you’ll need to find the switch that opens the gate first. The switch is located inside Martyr’s Tomb behind the crates. Once you open the gate, enter the room and loot the bone chest to get the Parasitic Stone.
Thief’s Stone
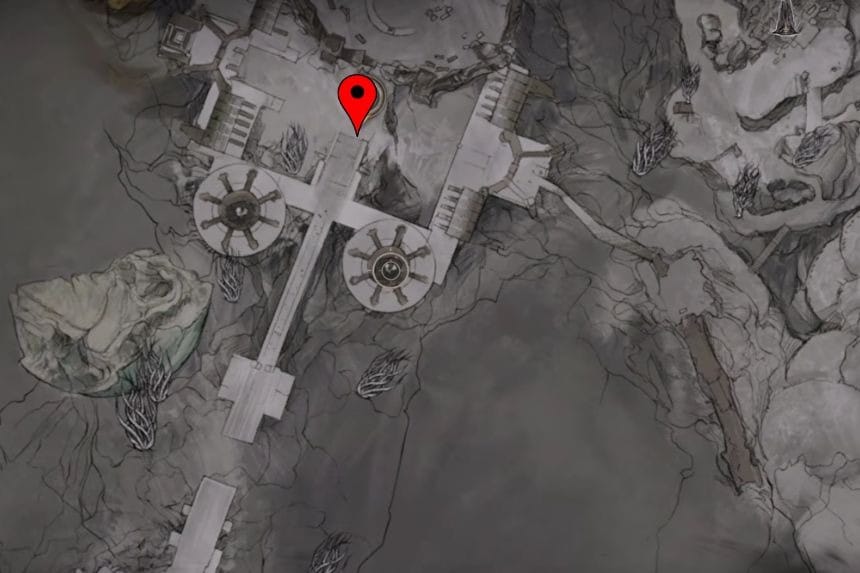
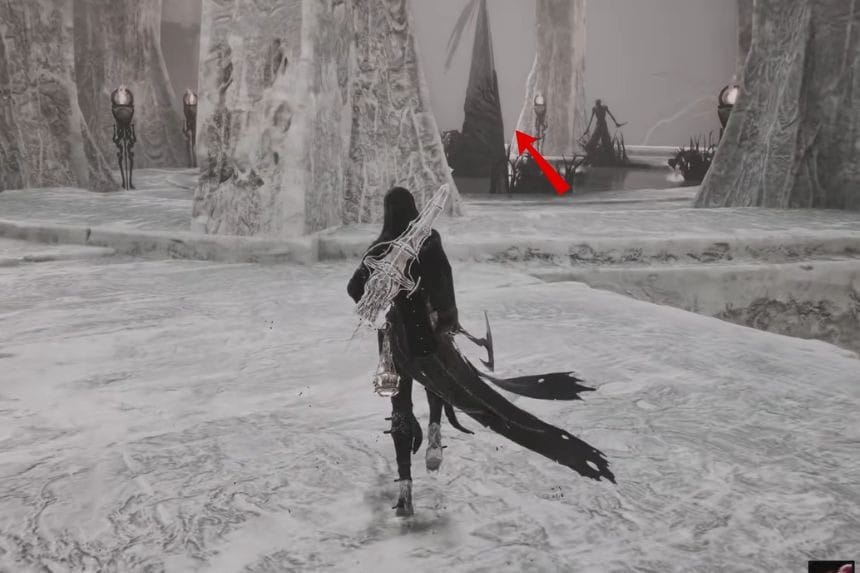
The Thief’s Stone can be found northeast of the Gate of Infinity Beacon. Head to the circular platform opposite the statue where Ruk was standing with the Map Fragment. Interact with the Trial Statue to start the trial. Defeat all the enemies that appear and complete the trial to receive the Thief’s Stone as your reward.
Stillblade’s Stone
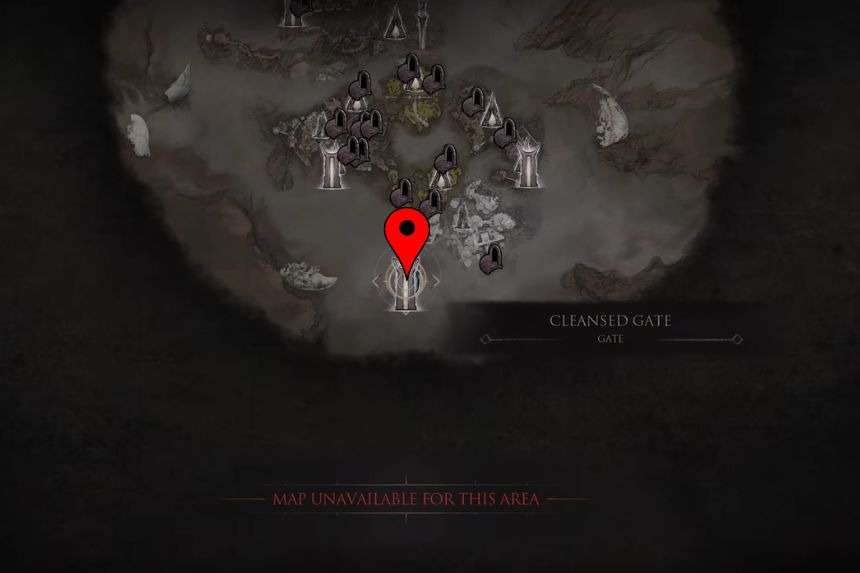
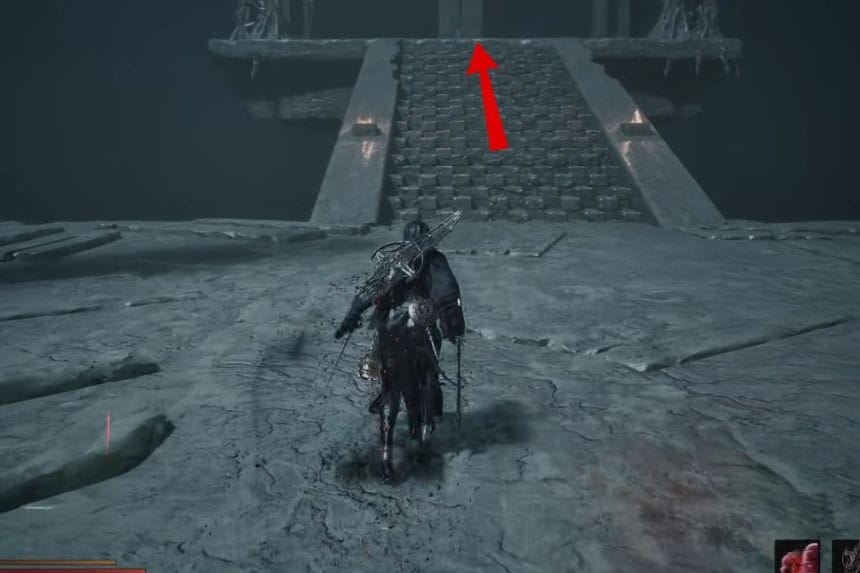
The Stillblade’s Stone can be found in the Faded Citadel, inside the Citadel Annex Beacon area. Make your way through the area until you reach a section where you ride the spider-like creature across a gap. After reaching the other side, defeat the enemy in front of you. Once it’s defeated, you’ll be able to access the nearby chest containing the Stillblade’s Stone.
Zealot’s Stone
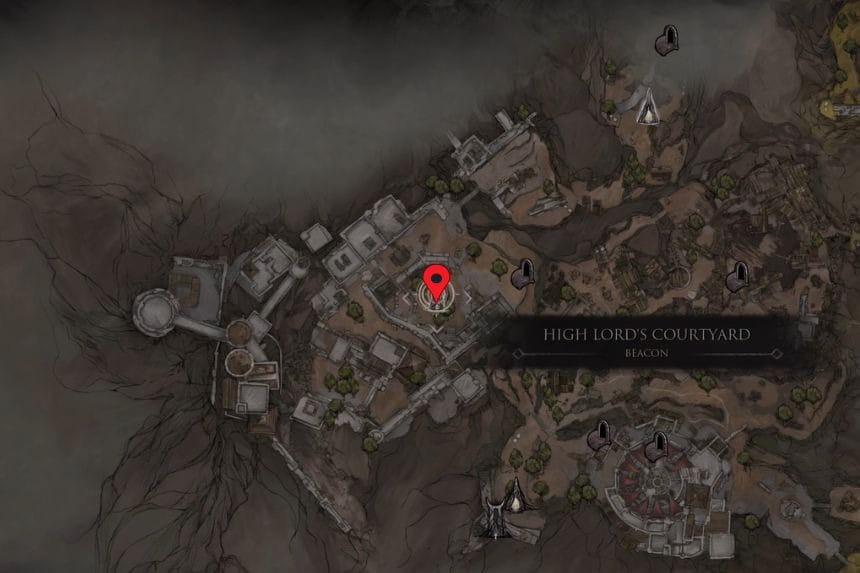
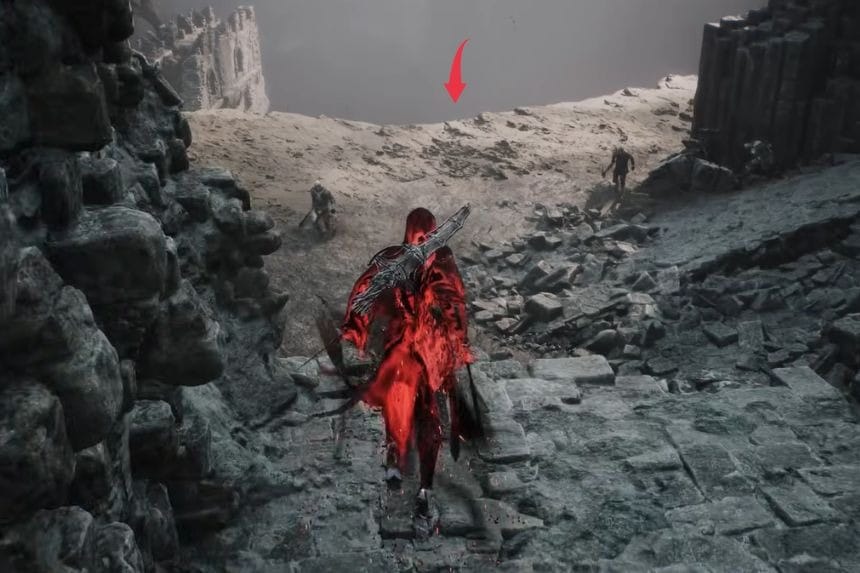
The Zealot’s Stone can be found inside the Besieged Ruins dungeon, east of the High Lords Courtyard Beacon. From the beacon, drop down two levels until you reach the lowest area, where you’ll find several enemies near a jump pad. Look along the nearby wall for the entrance to the Besieged Ruins.
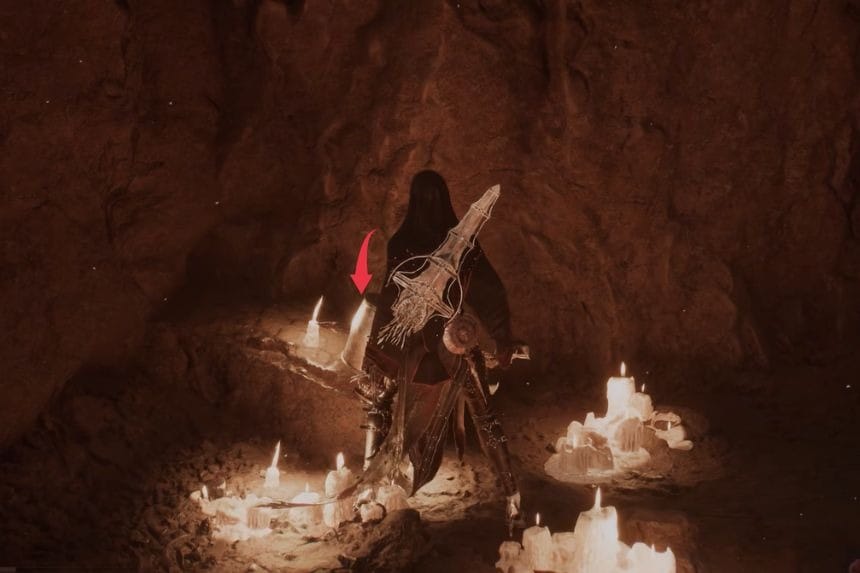
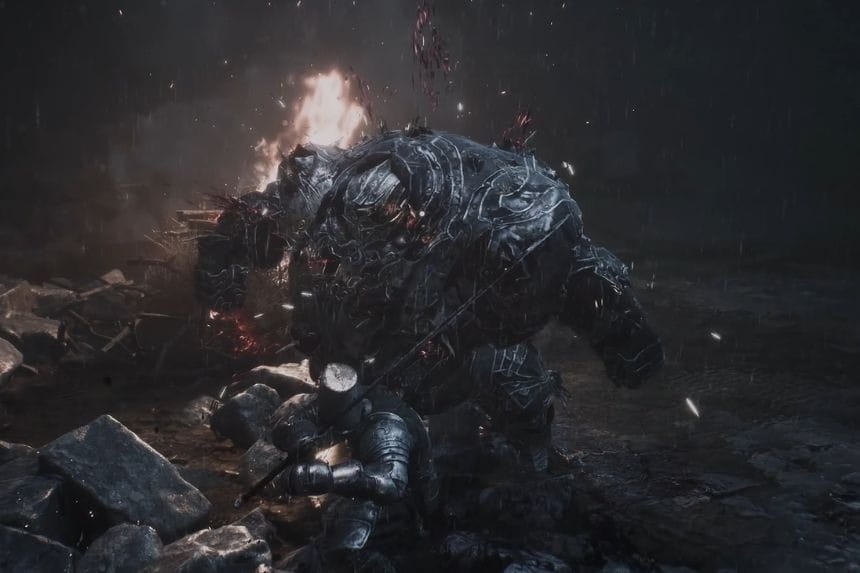
Once inside the dungeon, make your way to the back and interact with the helmet marked with an arrow. This will transport you to a flashback where you play as a knight. Progress through the flashback, defeating the enemies along the way. Reach the end of the area to obtain the Zealot’s Stone.
Clerik’s Stone
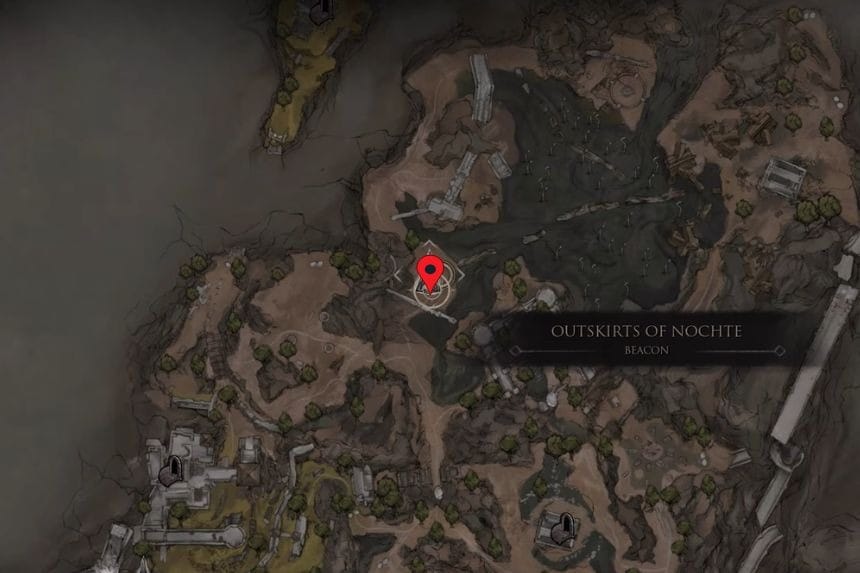
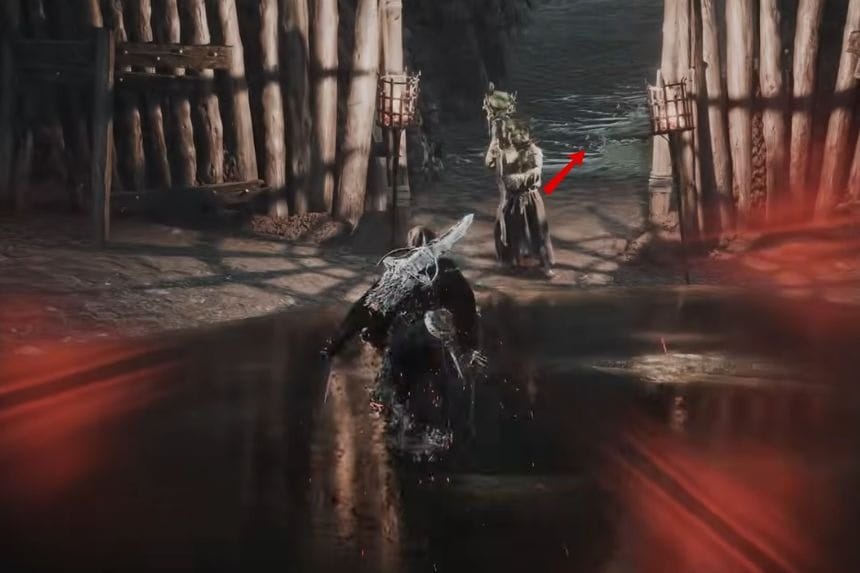
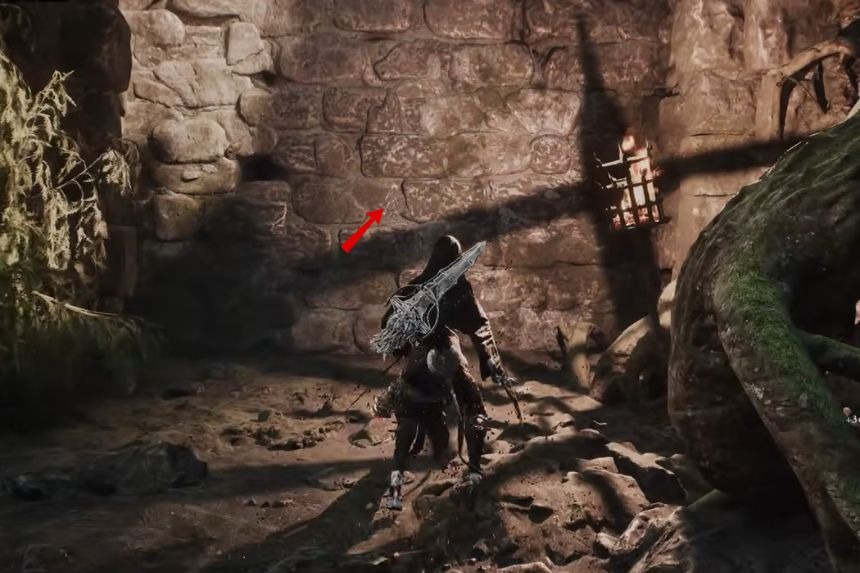
The Clerik’s Stone can be found southwest of the Disciple’s Stash dungeon. Follow the path uphill until you reach the castle area. Once there, head to the northern corner and attack the wall to make it disappear. This will reveal a path leading to a cliff. Look for the chest on the cliff and open it to collect the Clerik’s Stone.
Tyrant’s Stone
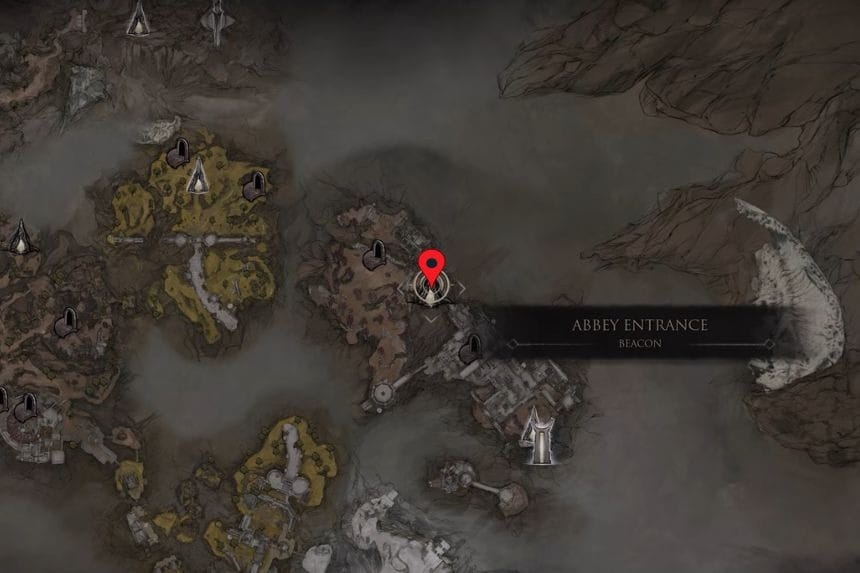
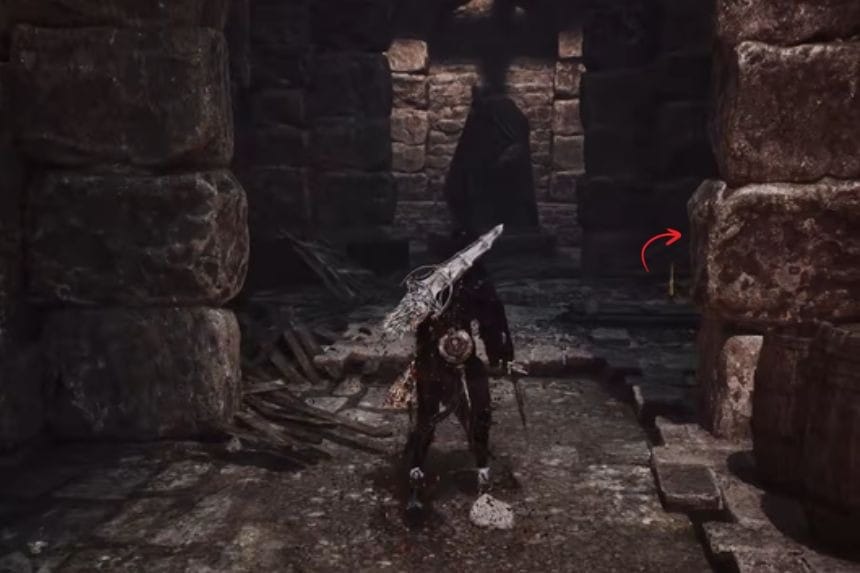
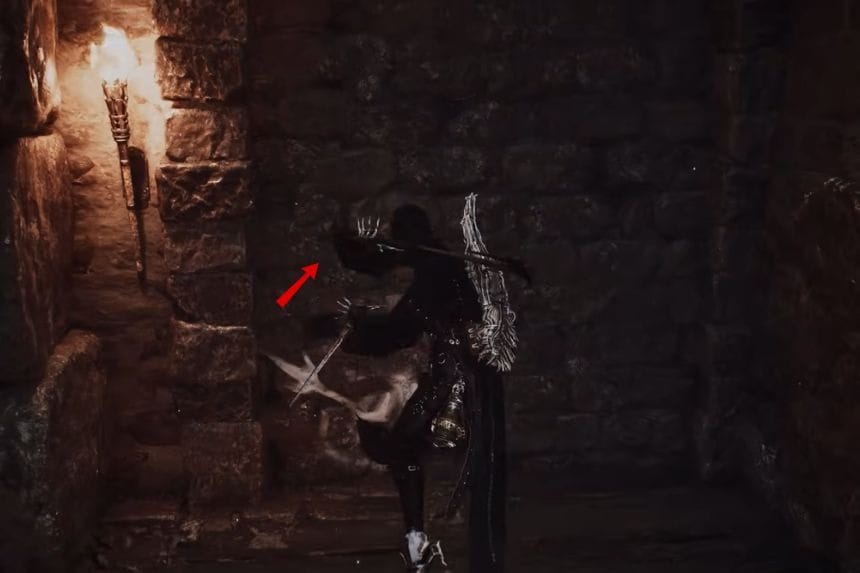
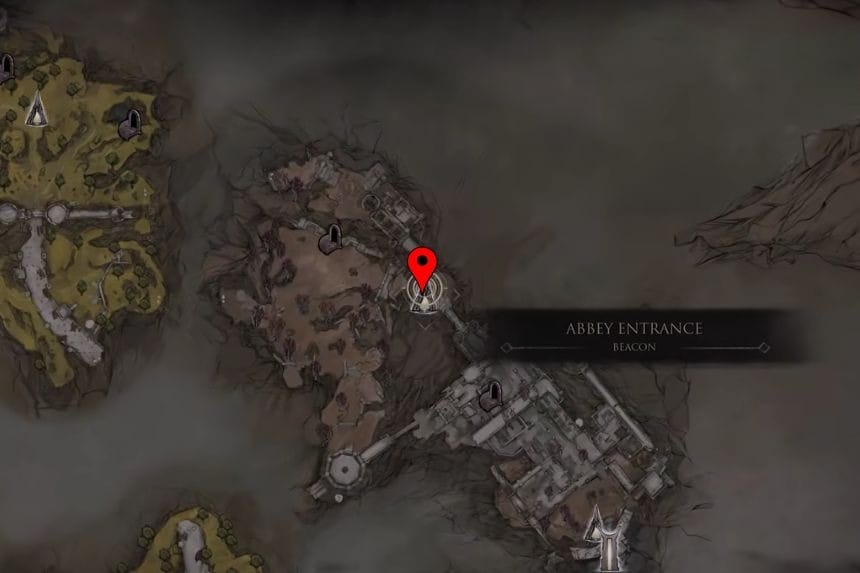
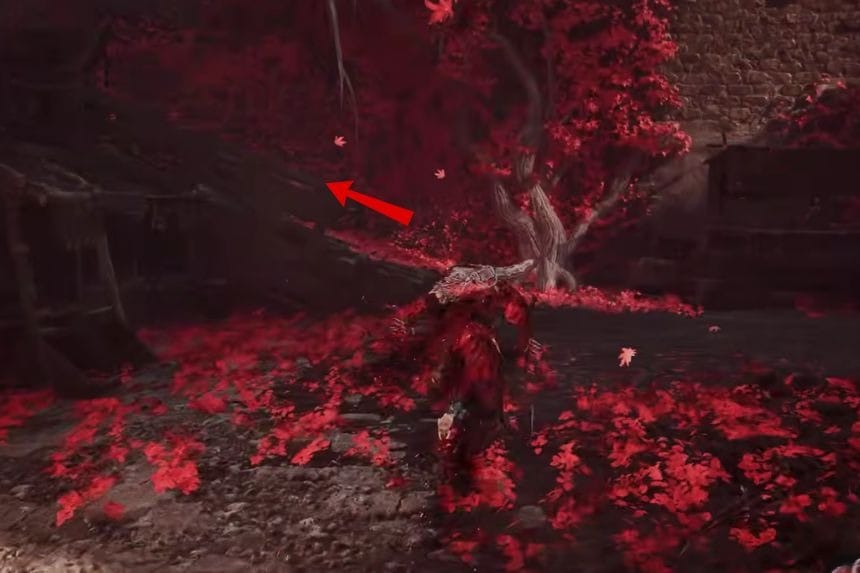
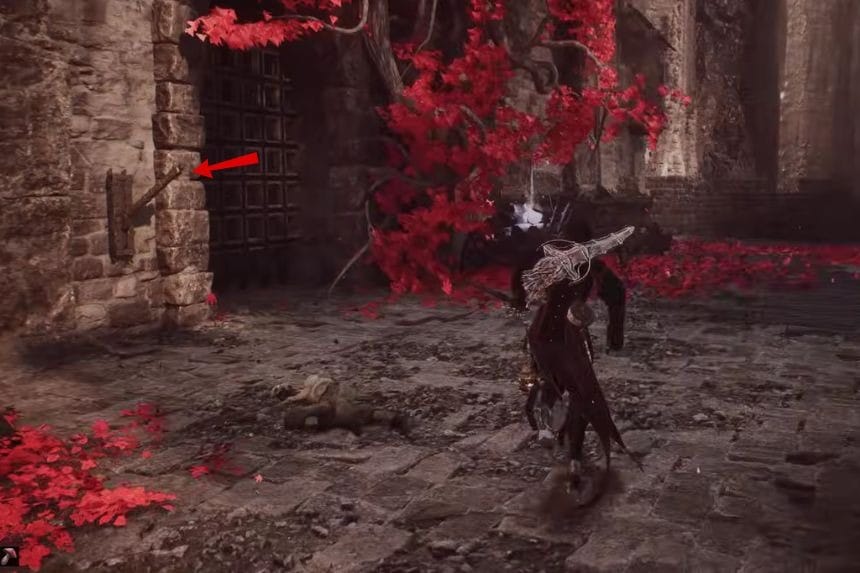
The Tyrant’s Stone can be found near the Abbey Entrance Beacon. From the beacon, use the Bone Gate to jump back across and make your way through the upper part of the castle. Look for a wall on your right with a white mark on it. Hit the marked wall to make it disappear and reveal a hidden chest. Open the chest to collect the Tyrant’s Stone.
Enfeebling Stone
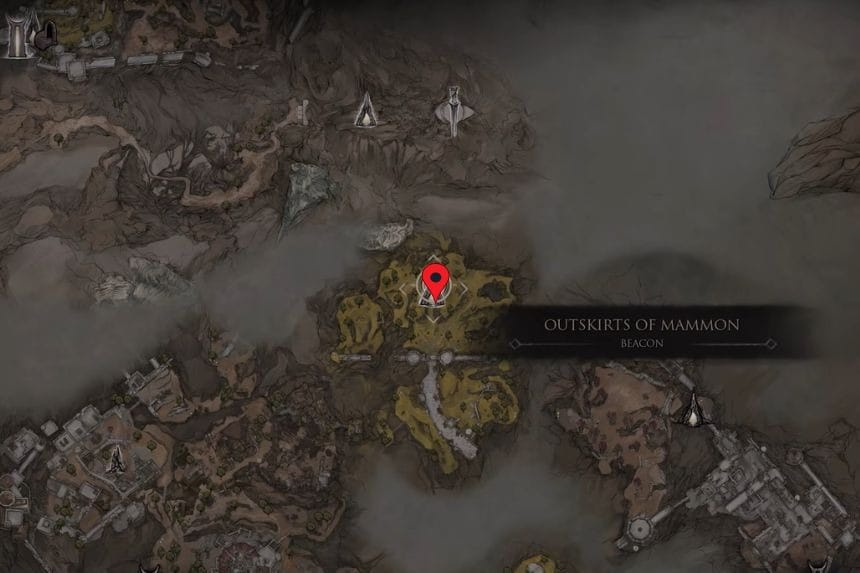
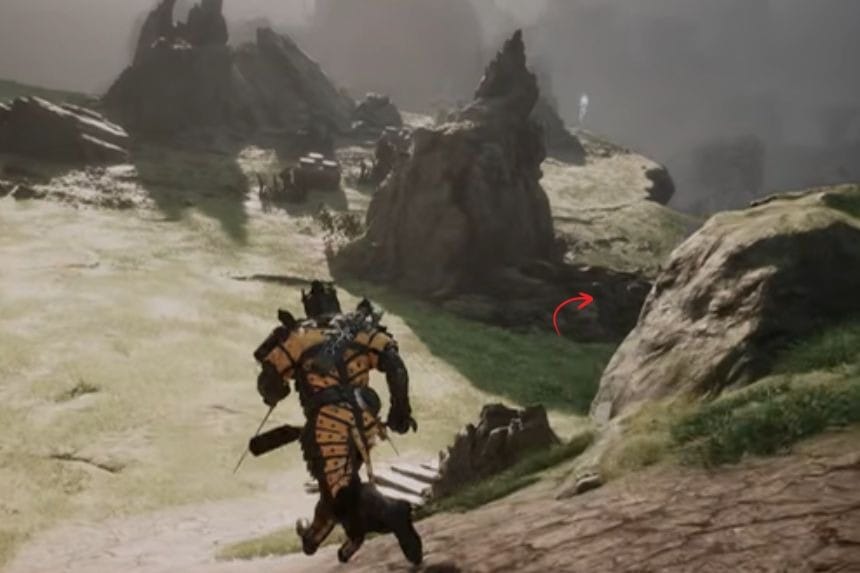
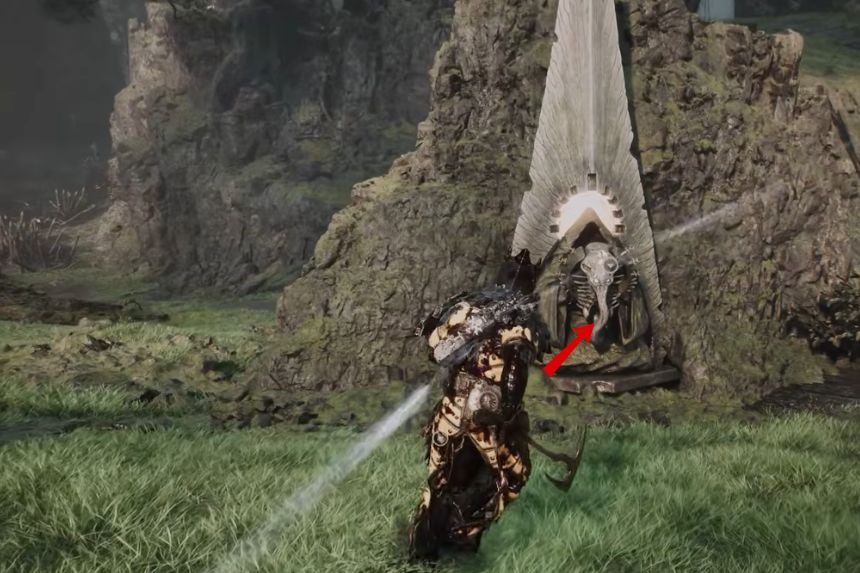
The Enfeebling Stone can be found east of the Outskirts of Mammon Beacon. Head to the nearby Trial Statue and interact with it to start the trial. Defeat all the enemies that appear and complete the trial to receive the Enfeebling Stone as your reward.
Shuddering Stone
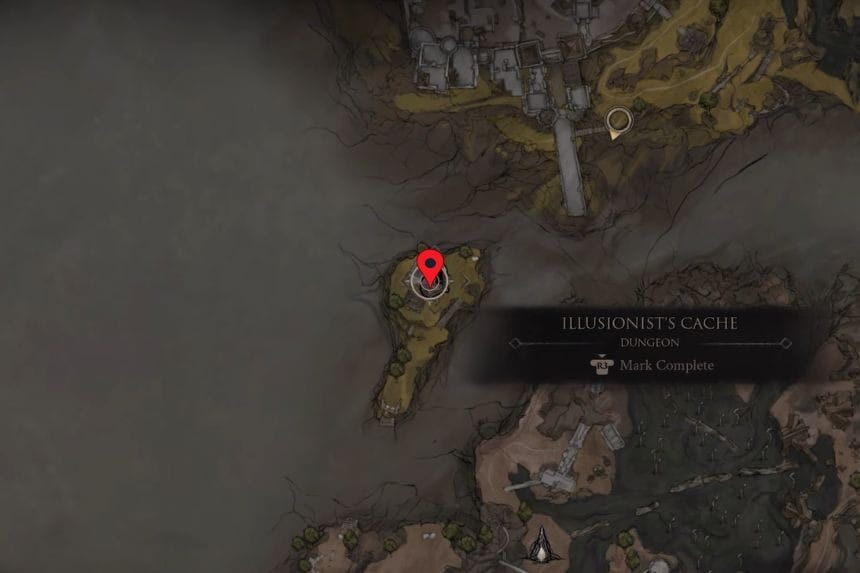
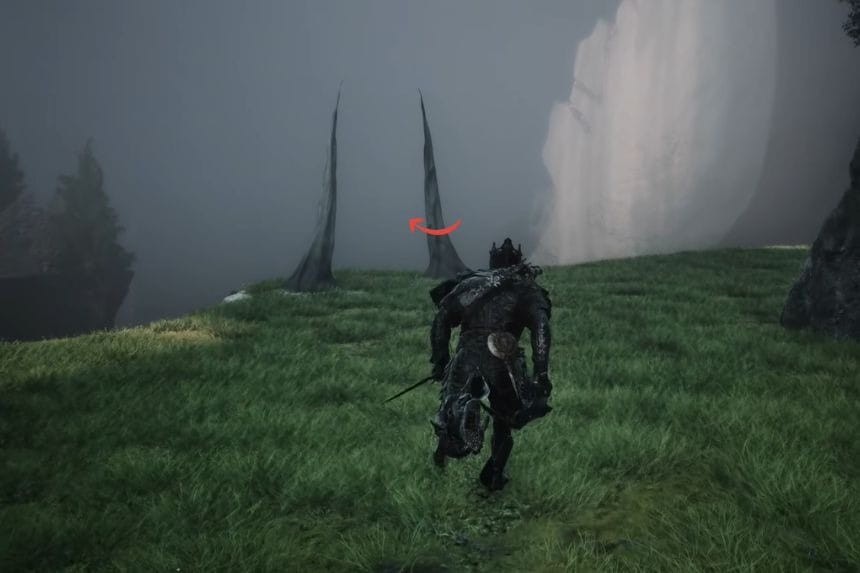
The Shuddering Stone can be found inside the Illusionist’s Cache dungeon, southwest of the Gloomshade Grove Beacon. From the beacon, follow the path along the cliff until you reach the Bone Gate leading to Desolate Peak. Enter the building in this area to find the entrance to the Illusionist’s Cache.
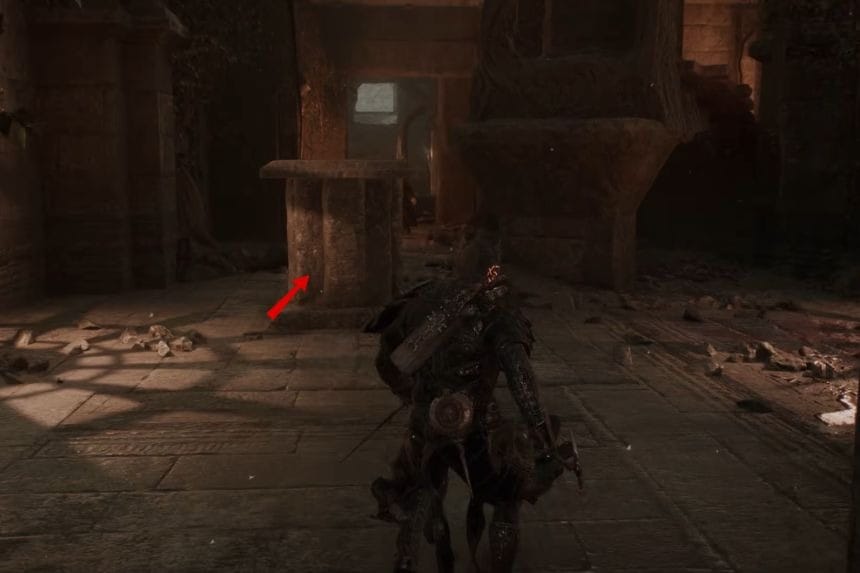
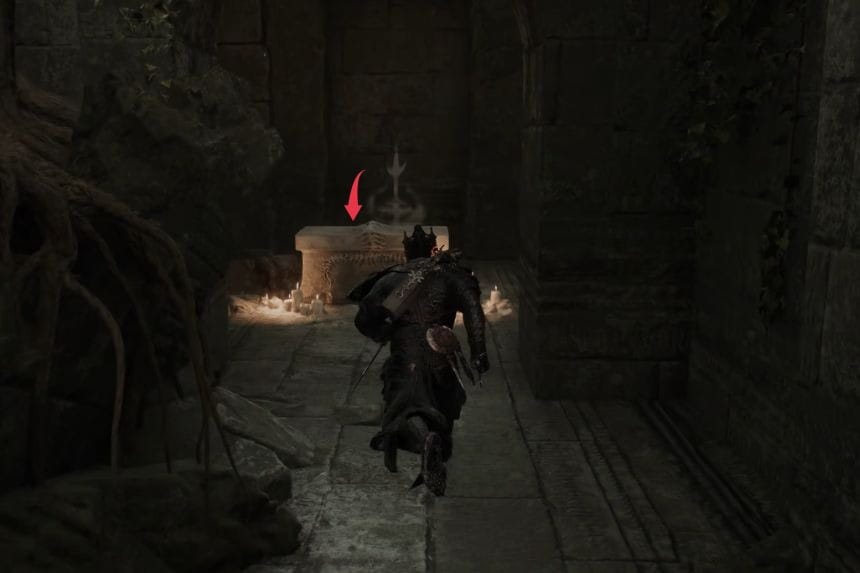
Inside the dungeon, use the arches to change what you can see and look for false walls marked with white symbols. Keep progressing through the area until you place the block on the pressure plate. This will open a nearby wall and reveal a chest containing the Shuddering Stone.
Pulse Stone
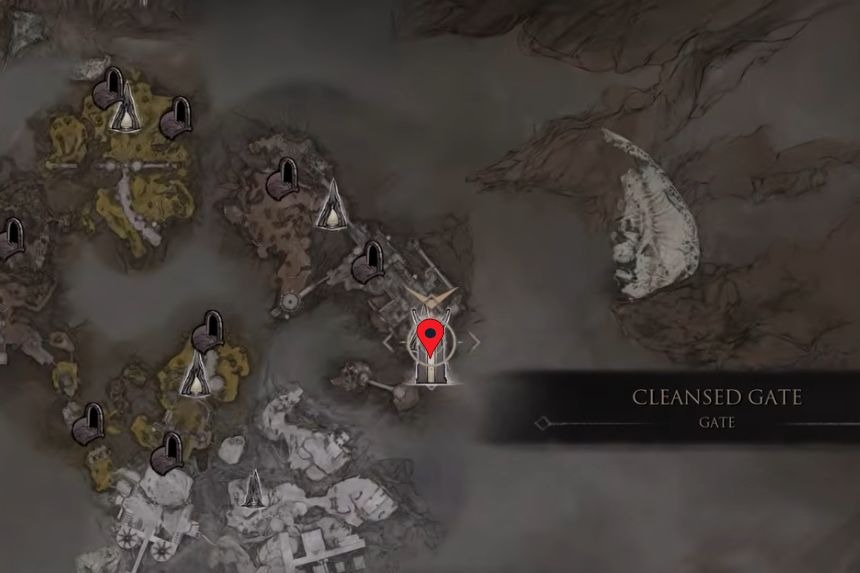
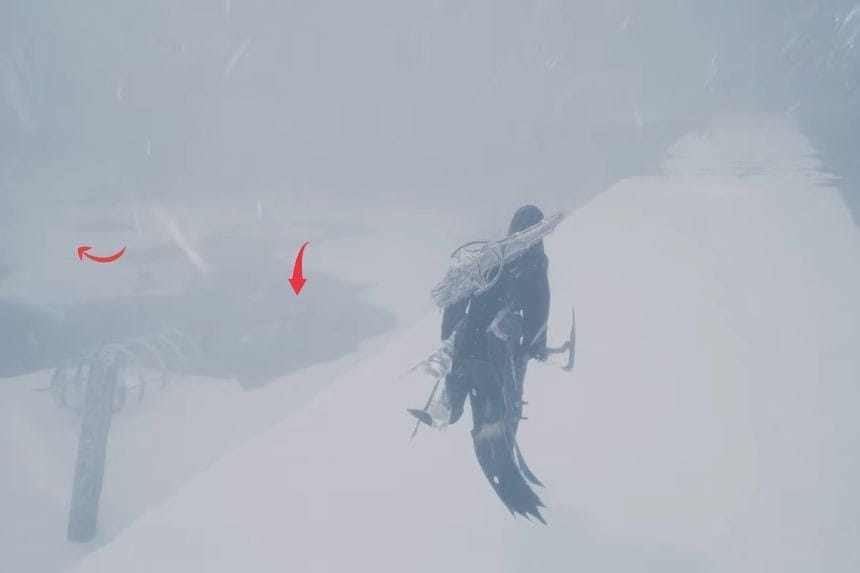
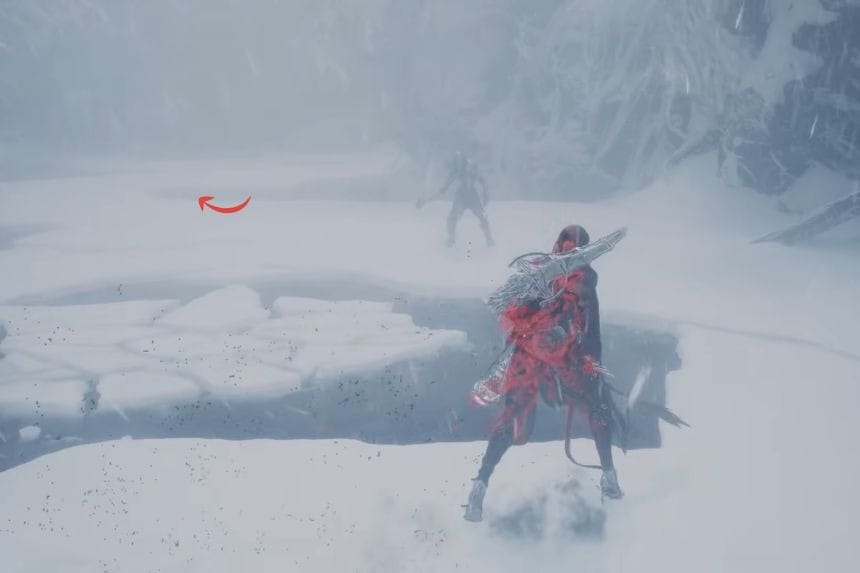
The Pulse Stone can be found in the Conquered Temple area, past the Winterglass Lake Beacon. Follow the path through the area until you reach a cave and a group of Grisha Hunters. Once you reach the hunters, look to your left for a large group of stone hands. Approach them to reveal a hidden chest containing the Pulse Stone.
Ironpiercer’s Stone
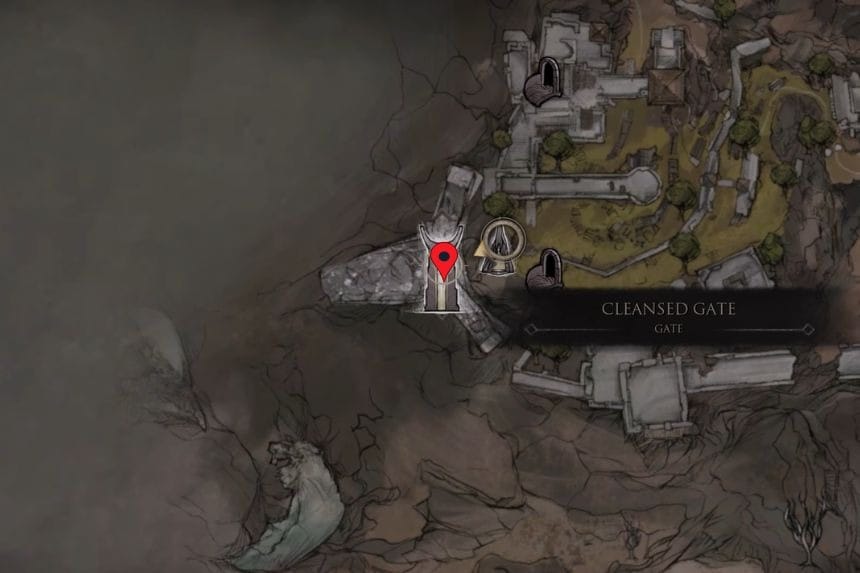
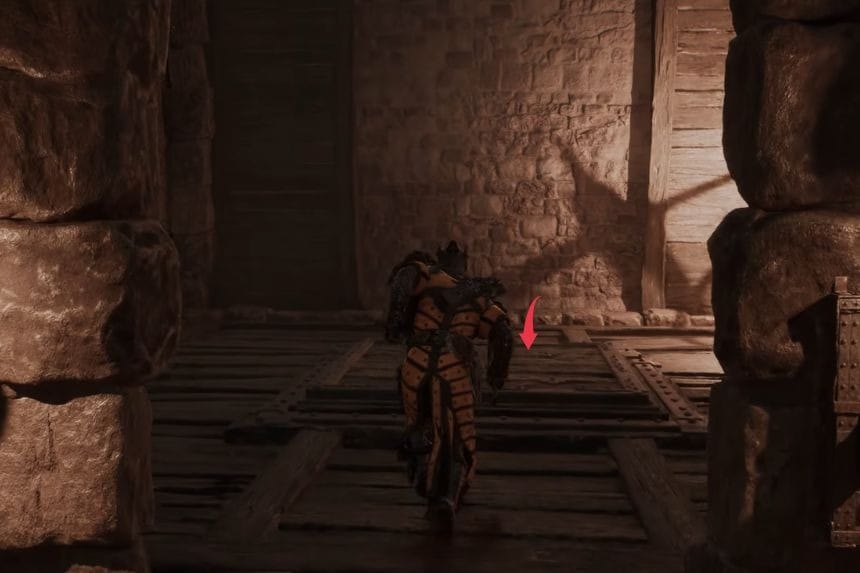
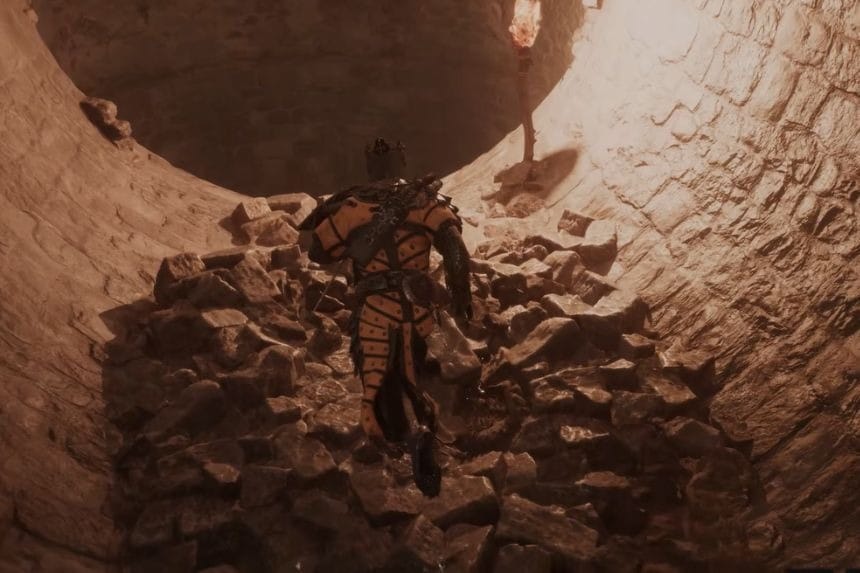
The Ironpiercer’s Stone can be found inside a bone chest in the Central Sewers area of Prisoner’s Domain. When you enter the dungeon, head toward the centre of the room. The floor will break beneath you, dropping you into a large circular tunnel. Follow the tunnel and drop down to the lower area, then continue forward and drop down again until you reach an area with several burning piles.
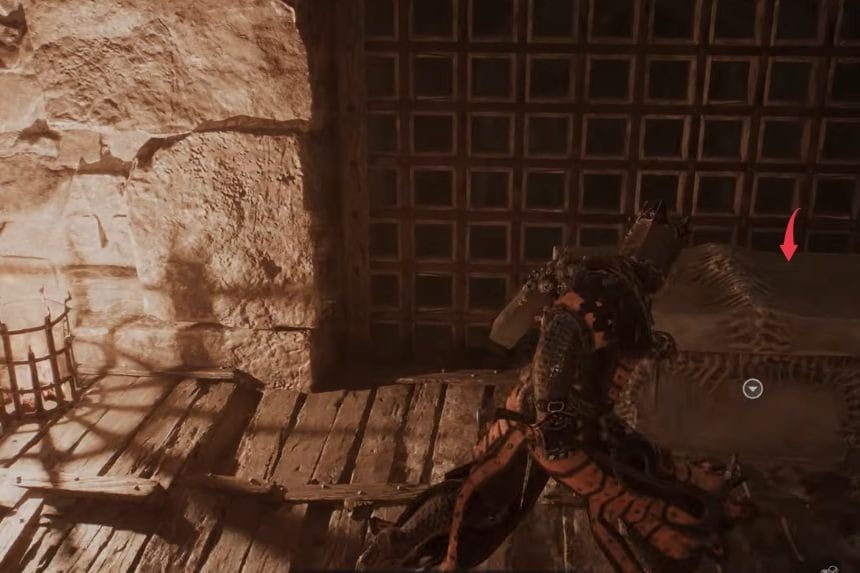
From there, launch yourself onto the wooden platforms and make your way upwards. Go through the hole in the wall and follow the tunnel until you reach a point where you can grapple across to a bridge. Cross the bridge, and you’ll find the bone chest at the end containing the Ironpiercer’s Stone.
Myriad Stone
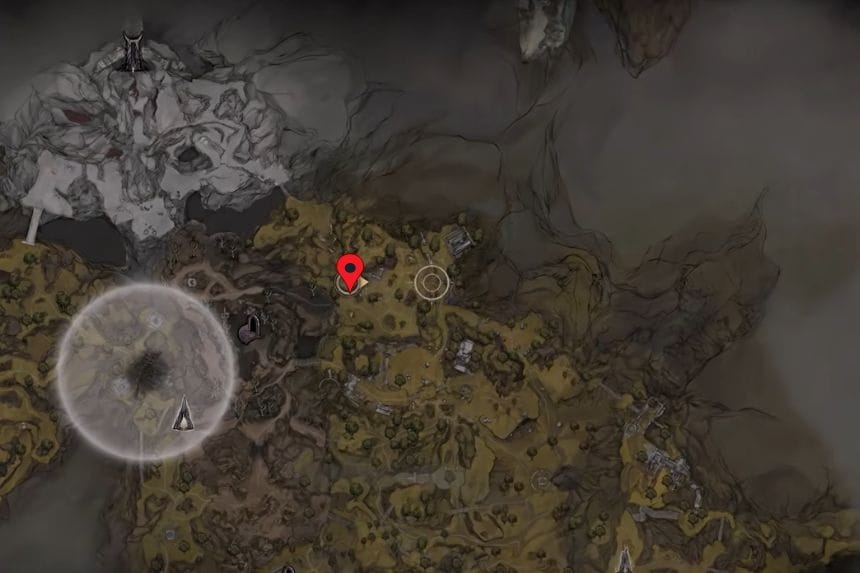
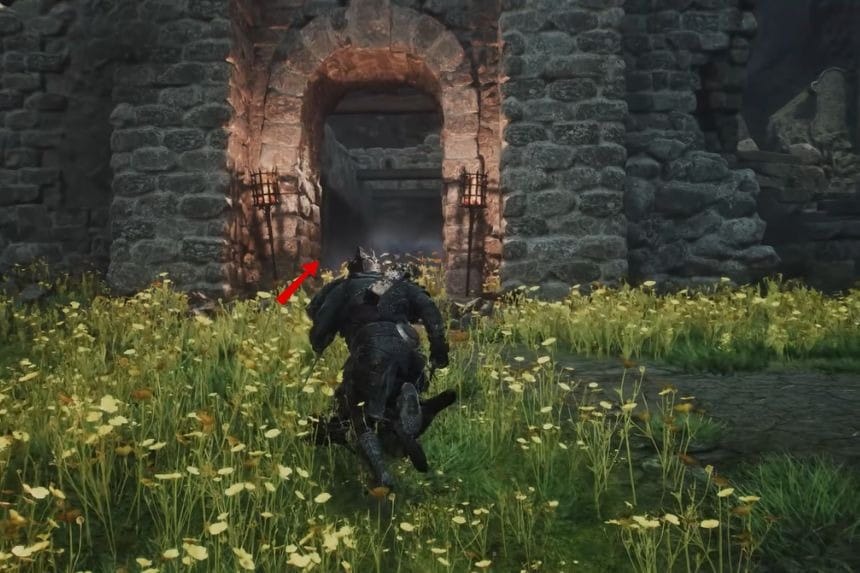
The Myriad Stone can be found inside the Feeding Grounds dungeon, far south of the Stones of Remembrance.
Enter the dungeon and follow the path until you reach a wooden floor. Drop through it to enter a large area and defeat the enemies there. Then, head through the wooden archway and break the boxes on your left to find a button. Press it to raise the gate on the main floor.
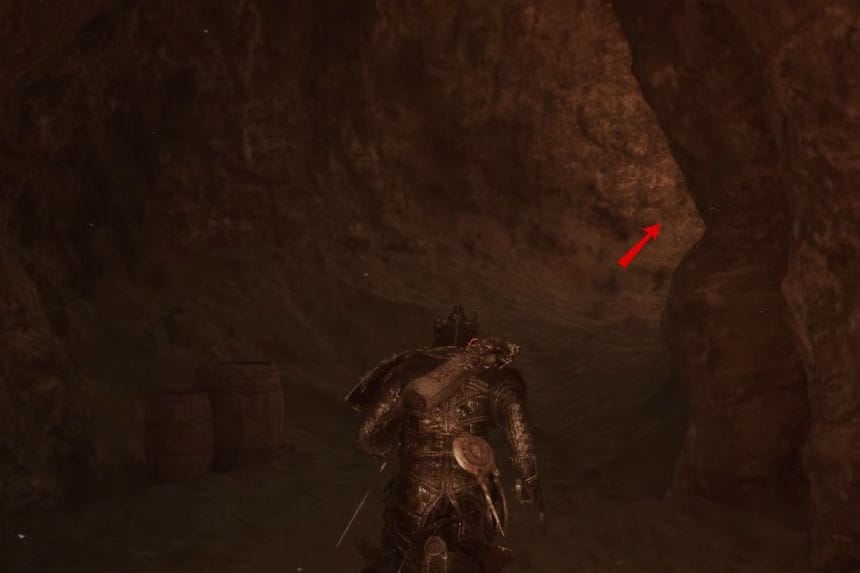
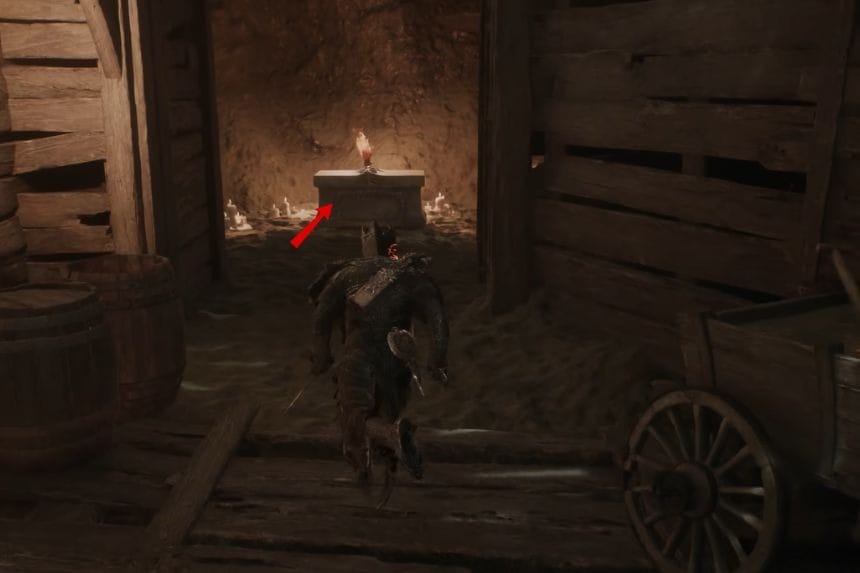
Continue upward and break through the wooden wall to return to the main floor. Once you’re back, turn right and look for an alcove with a chest. Open it to collect the Myriad Stone.
Splitting Stone
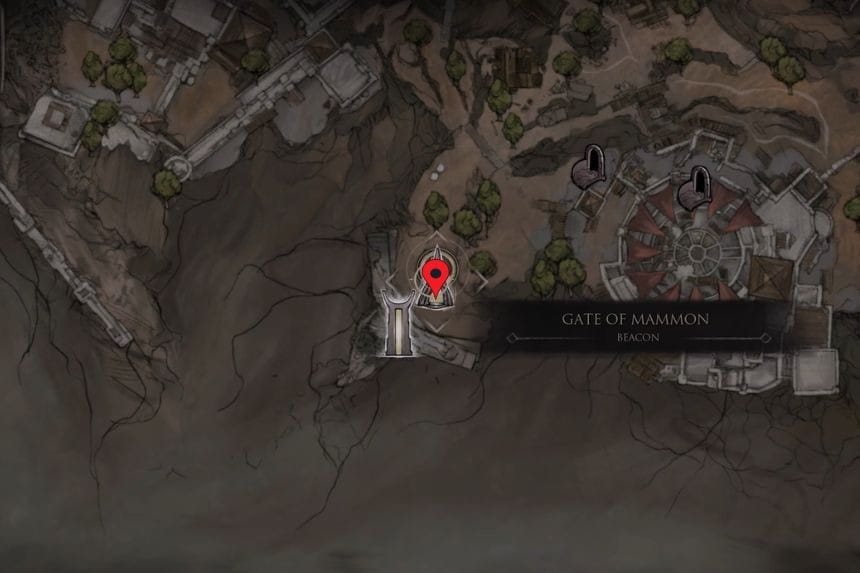
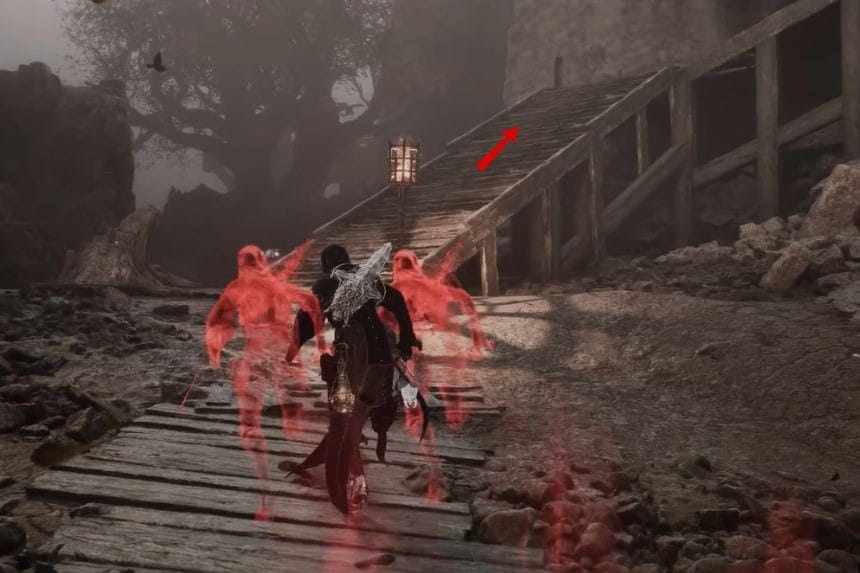
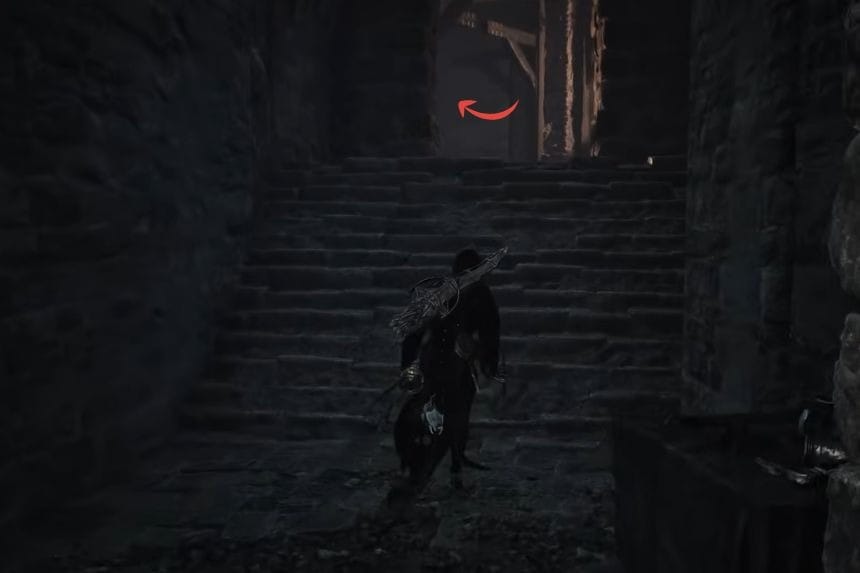
Start at the Sentry’s Grave dungeon entrance and go around the castle area clockwise. Keep heading north until you reach a balcony with a chest. Open the chest to collect the Splitting Stone.
Rupturing Stone
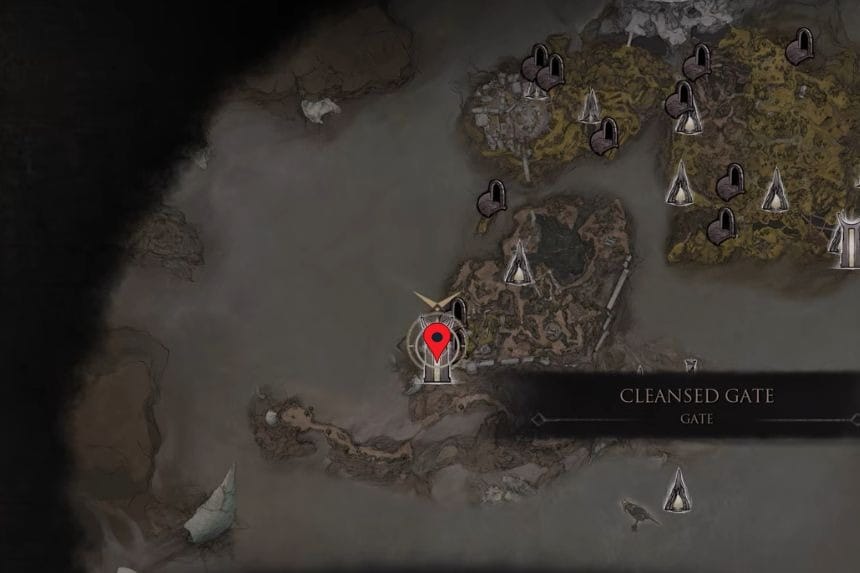
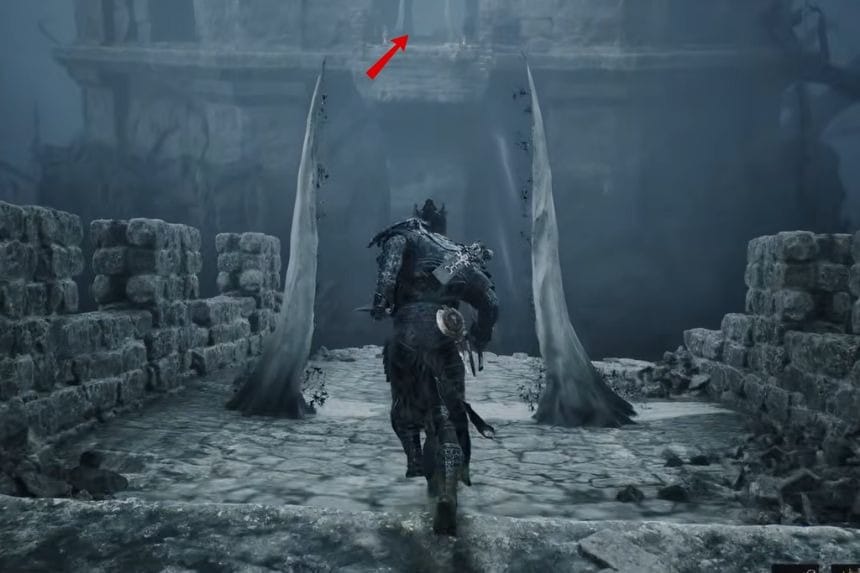
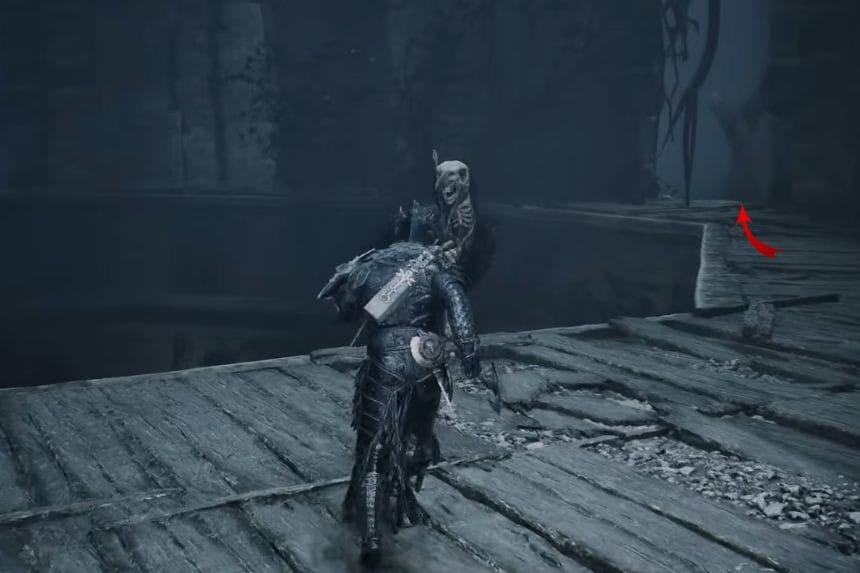
The Rupturing Stone can be found inside a chest on the platform above the Prisoner’s Domain boss arena. After reaching the boss area, look for a way to get onto the platform above it. The chest is waiting there with the Rupturing Stone inside.
Black Blood Stone
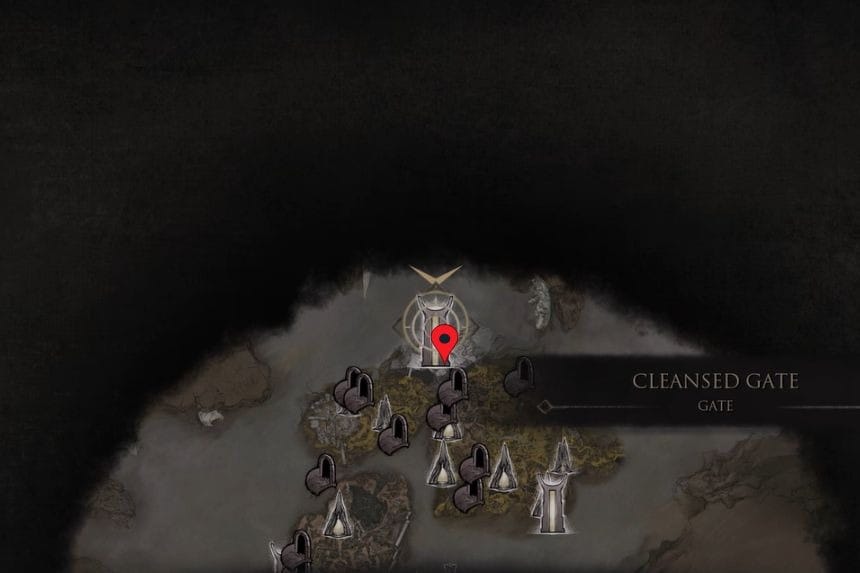
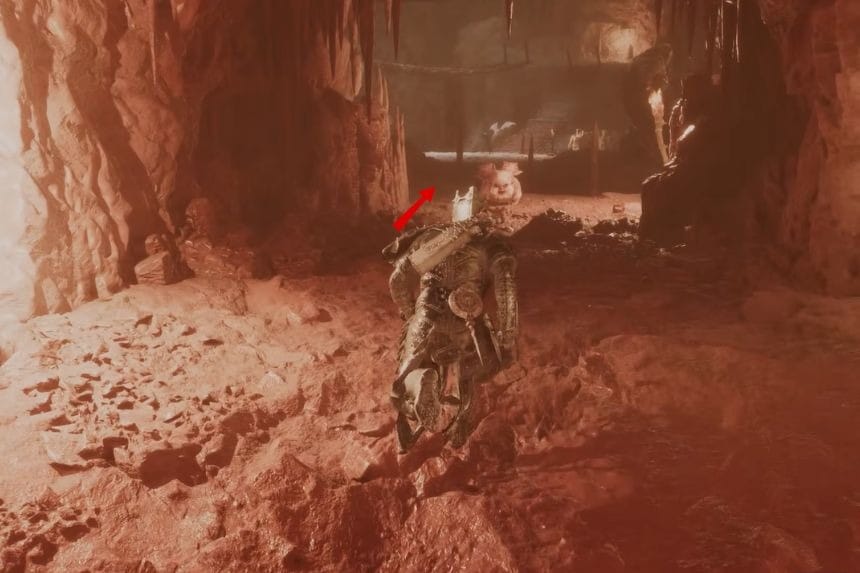
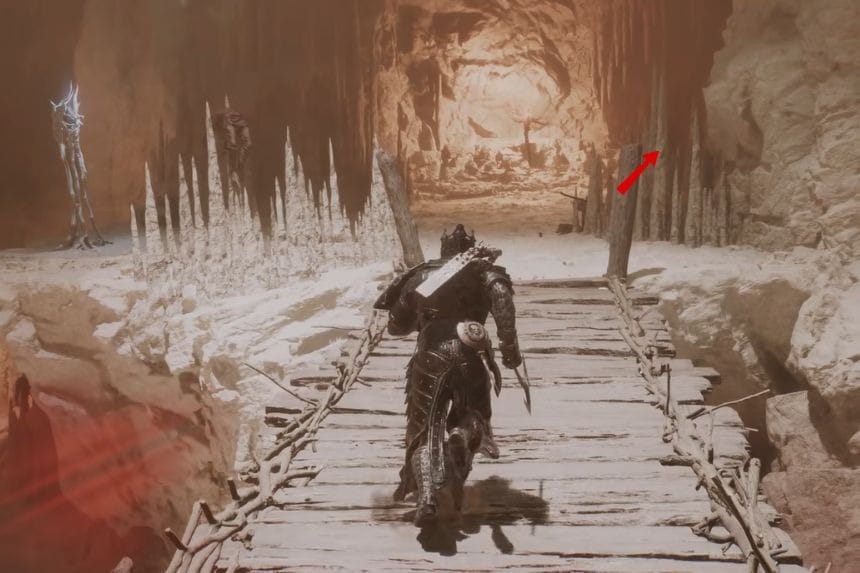
The Black Blood Stone can be found inside a bone chest in the Mawbreak Cavern, within the Sanguine Caves. After entering the Mawbreak Cavern, make your way across both bridges and continue through the tunnel. When you come out on the other side, check the alcove on your left to find the bone chest containing the Blackblood Stone.
Corroded Stone
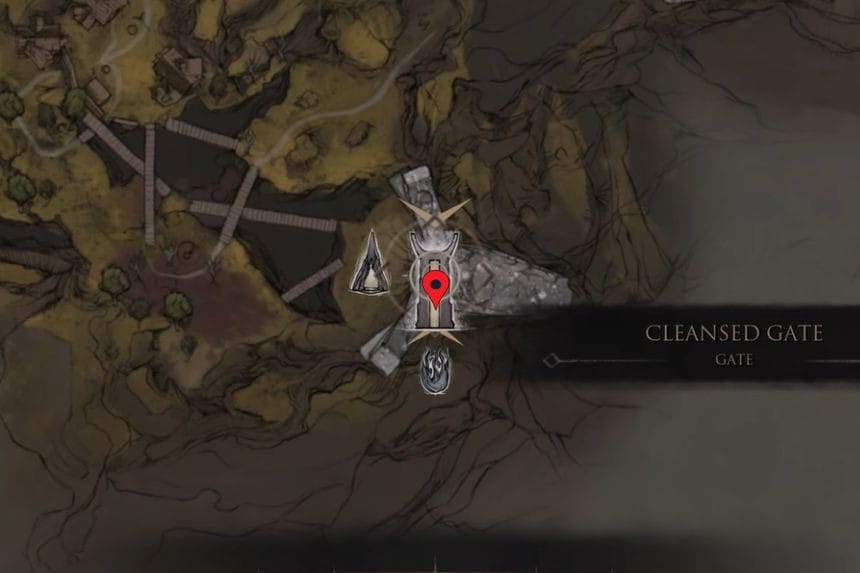
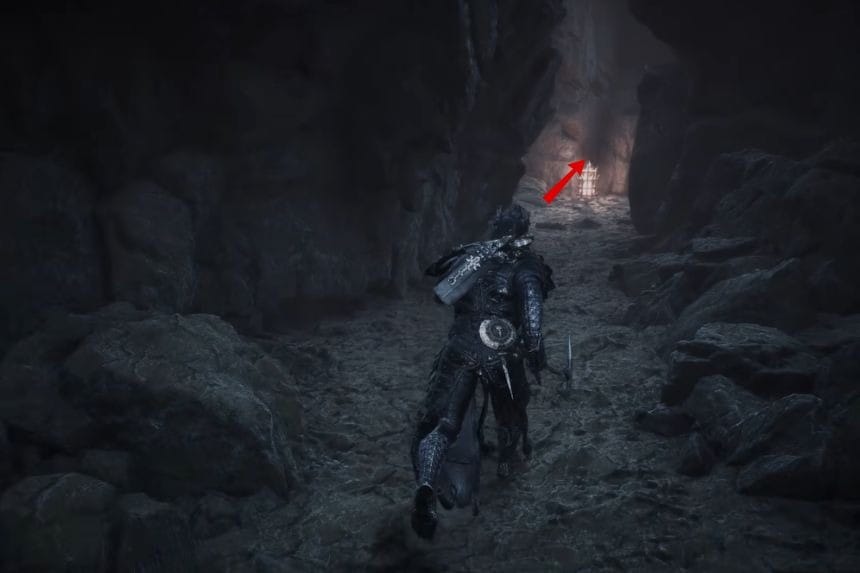
The Corroded Stone can be found inside a bone chest in the Wortbriar Encampment, which you can access through the Sunken Village Beacon. Once inside the dungeon, follow the torches along the walls to reach the centre of the area. When you spot a bonfire on your right, continue past it and head toward the wooden arch with a lit lamp.
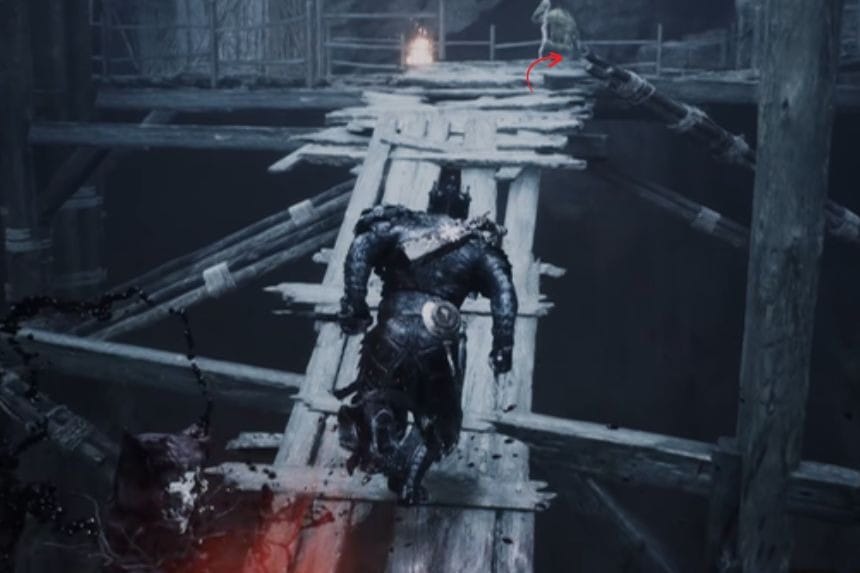
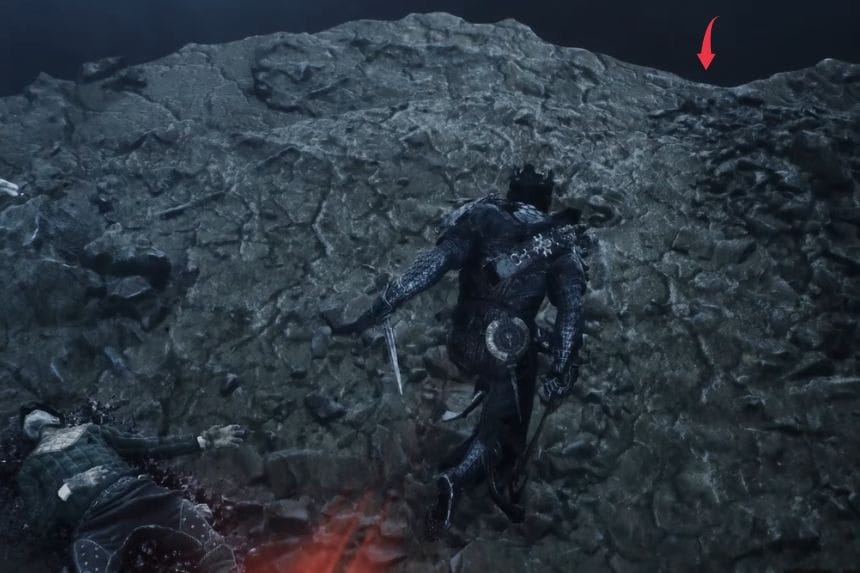
Go up the stairs and follow the narrow walkway until you reach the top. From there, move toward the edge of the cliff and jump down to the area on your left. At the bottom, look in the small corner to find the bone chest containing the Corroded Stone.
Squall Stone
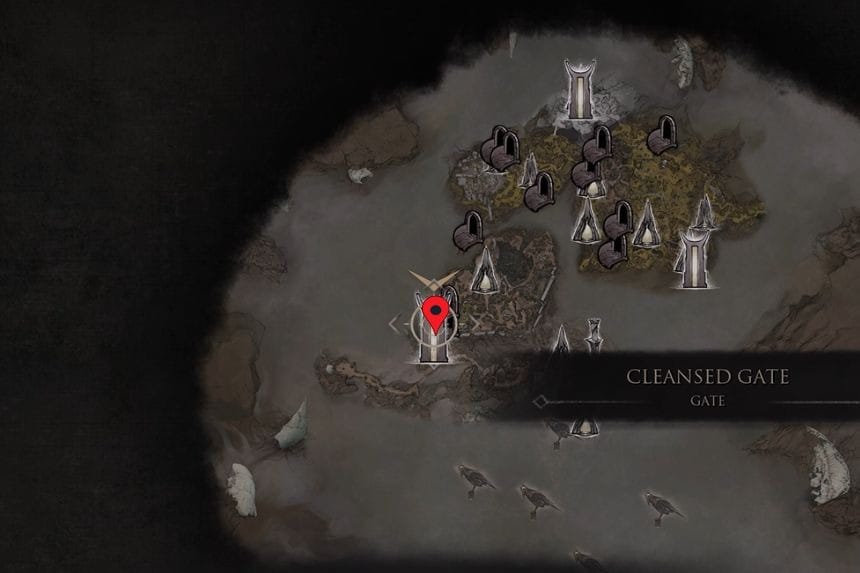
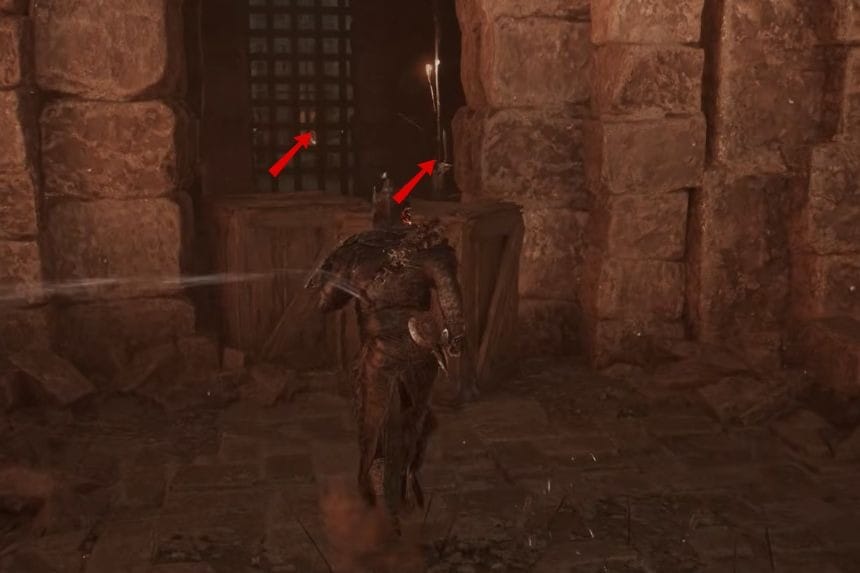
The Squall Stone can be found inside the Prisoner’s Domain. First, cleanse the Executioner’s Pulpit Beacon to gain access to the area. Make your way through the dungeon until you reach a room where enemies are coming out of the torture chambers. Enter the small room nearby and interact with the mechanism to open the gate across the area. Go through the newly opened gate and open the chest inside to collect the Squall Stone.
Charged Stone
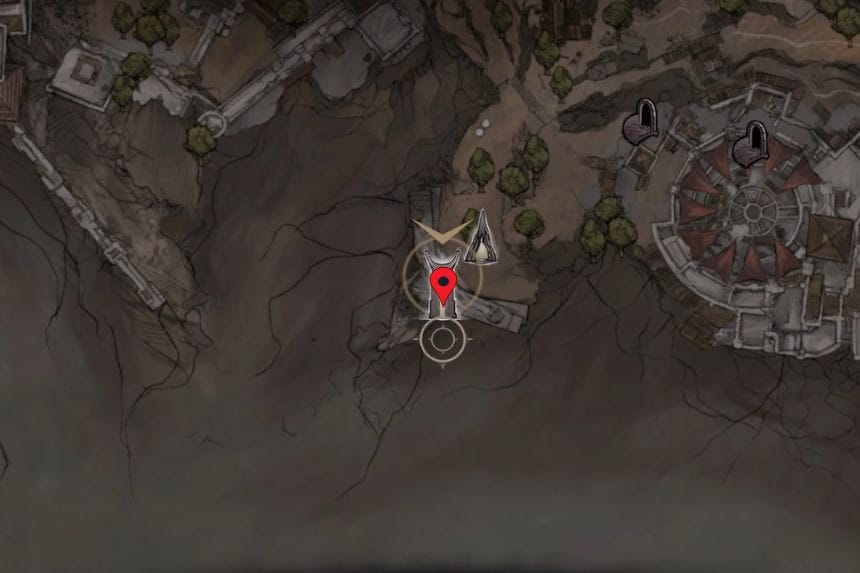
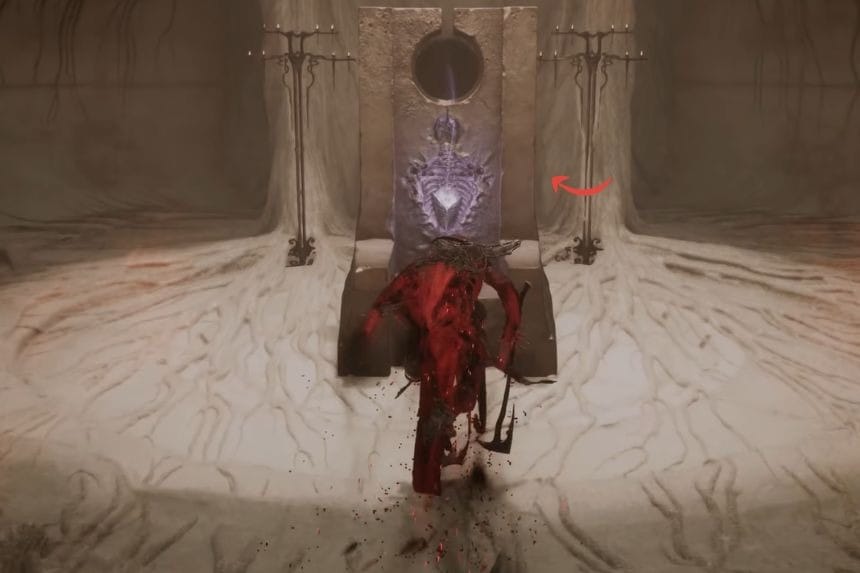
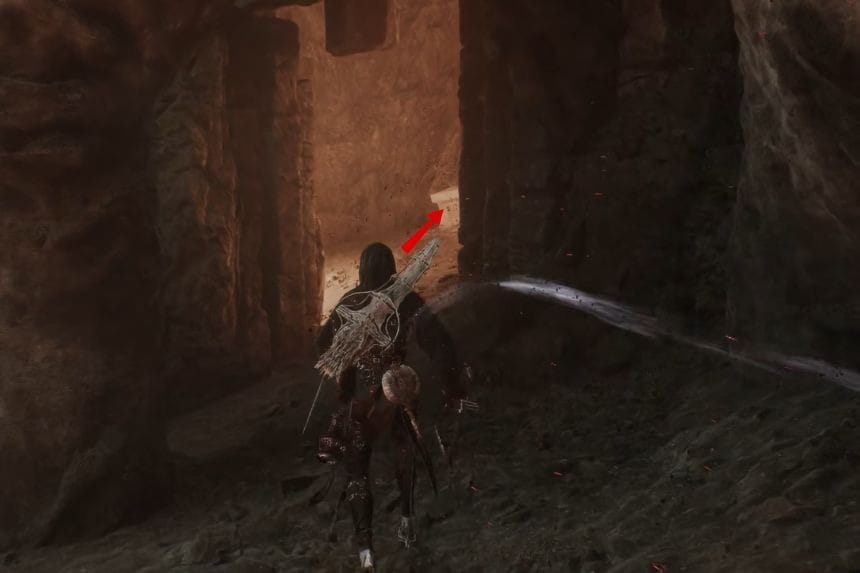
First, cleanse the Nameless Pass Beacon in the Withered Shoals. From there, follow the cavern path until you reach a large open area. Once you’re outside, look to your right to find a chest. Open it to collect the Charged Stone.
Unstable Stone
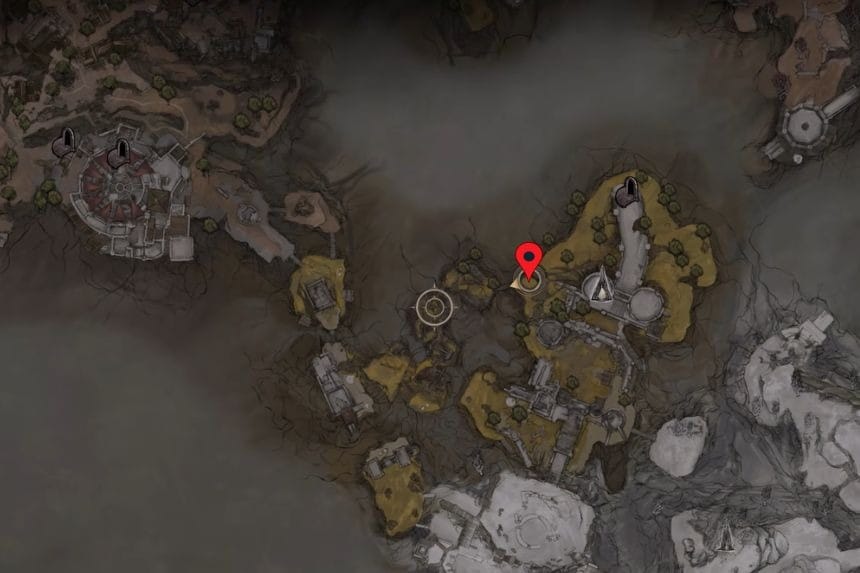
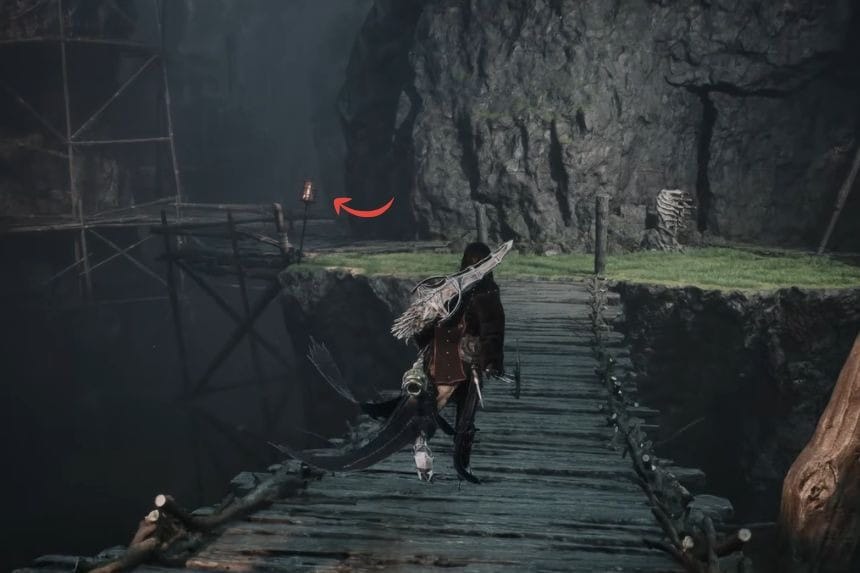
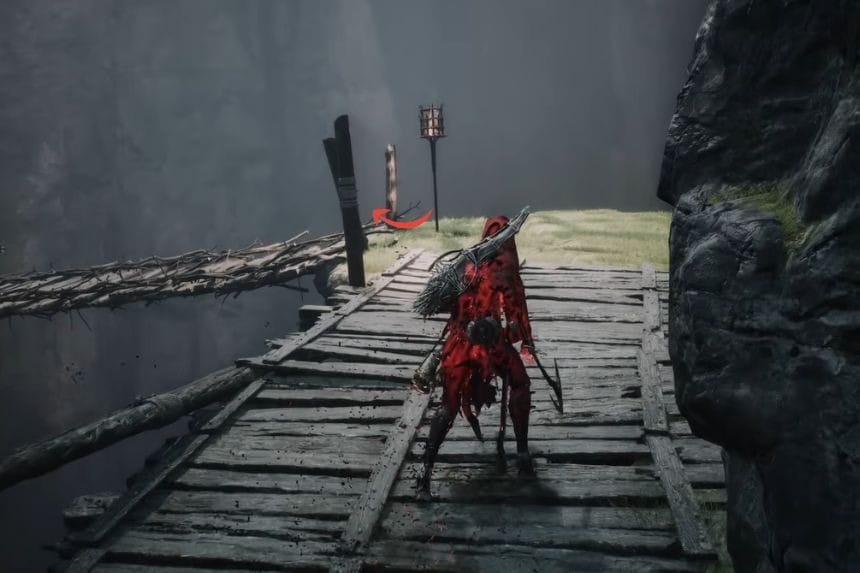
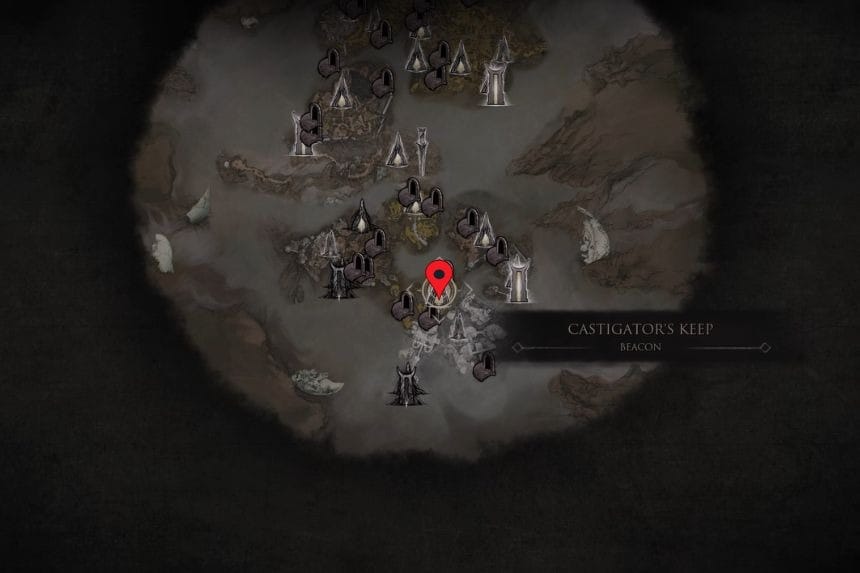
Head west of the Castigator’s Keep Beacon and drop down to the lower level. From there, make your way across the wooden platforms around the stone pillars. When you reach the second pillar on the northern side, attack the nearby wall to reveal a hidden chest. Open the chest to collect the Unstable Stone.
Volatile Fragment
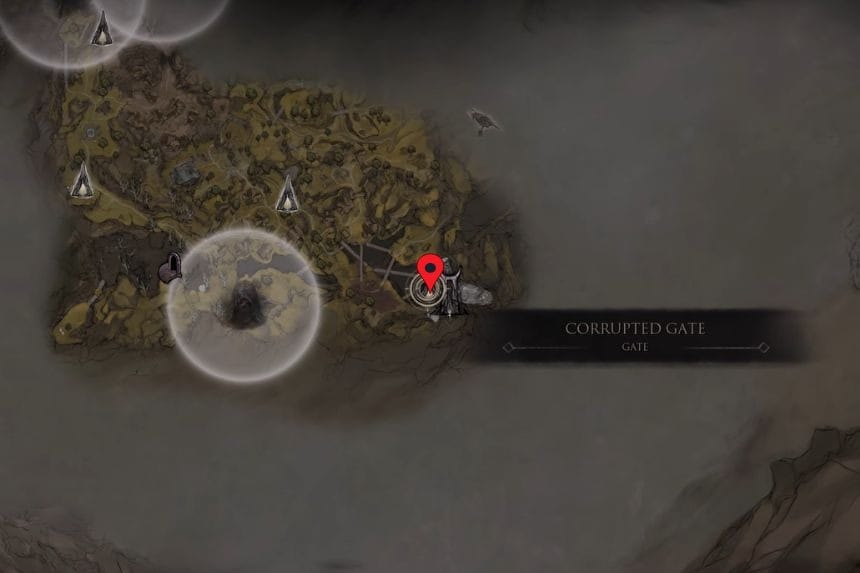
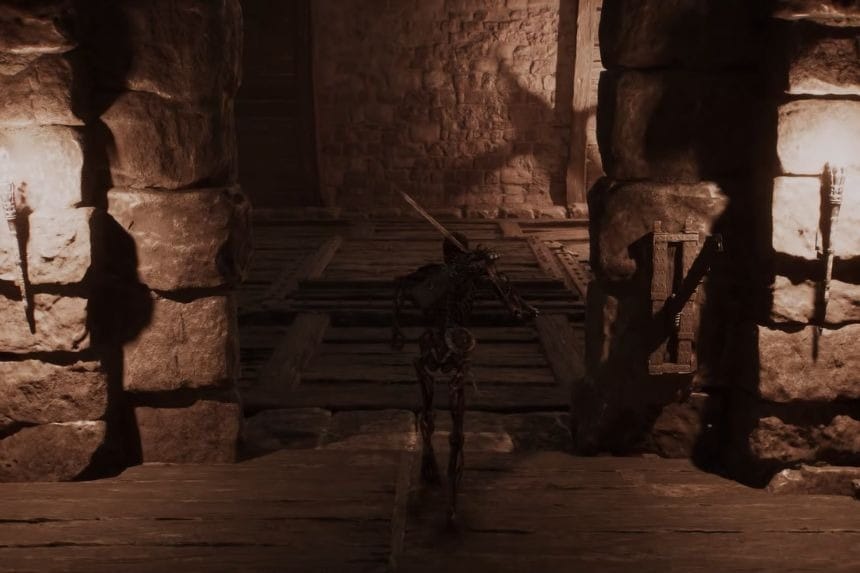
The Volatile Fragment is obtained by defeating Vrannic the Grand Illusionist in the Hall of Illusions. To reach the dungeon, first cleanse the Mushroom Village Gate Beacon, which is located east of the Mushroom Village. Enter the beacon and continue forward until you reach the Hall of Illusions.
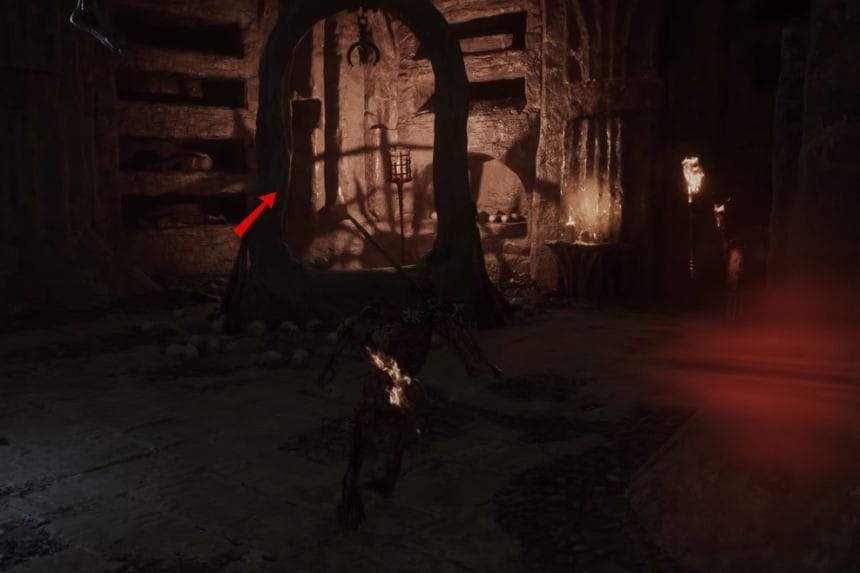
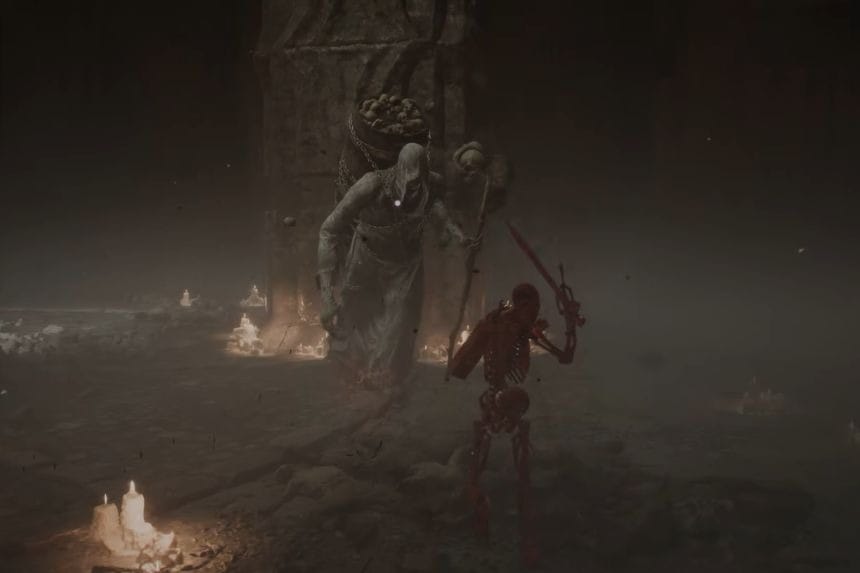
Inside, stand in the centre of the altar to reveal the hidden areas. Keep moving until you reach a large room, then look up to spot Vrannic standing on a balcony. Drop down into the hall to trigger the fight. Defeat Vrannic to loot the Volatile Fragment.
Arbiter’s Prize
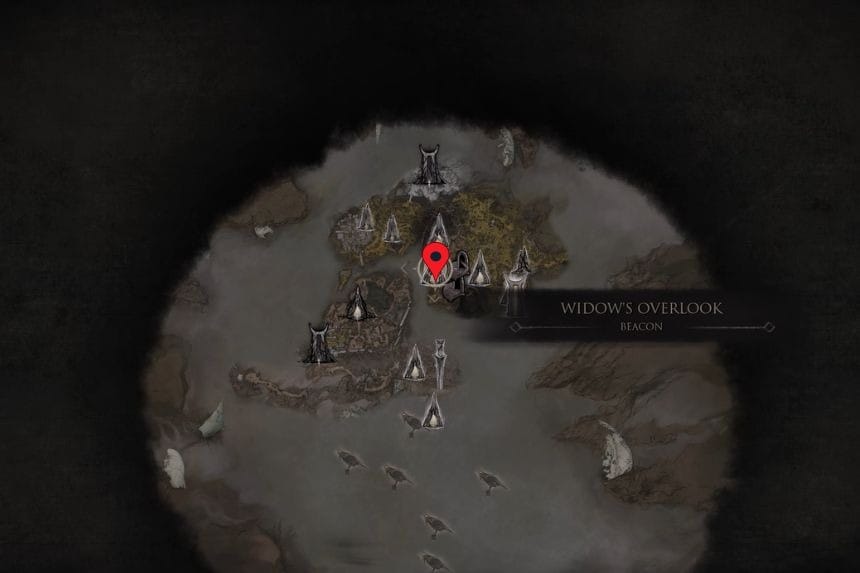
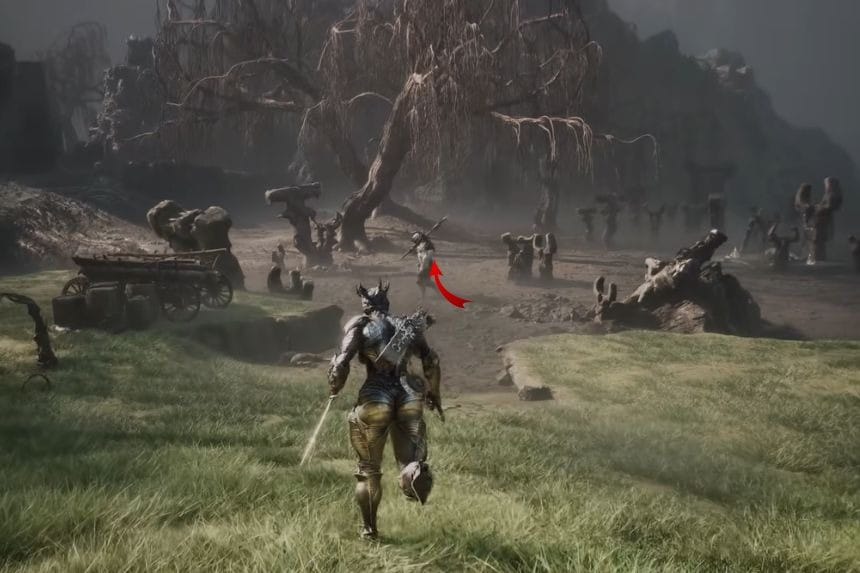
You can get the Arbiter’s Prize by defeating the Great Arbiter of Flesh. Start from the Widow’s Overlook Beacon and turn around. Follow the path until you reach a clearing with some ruins and dead trees. Defeat the Great Arbiter of Flesh there to loot the Arbiter’s Prize.
Serpent Stone
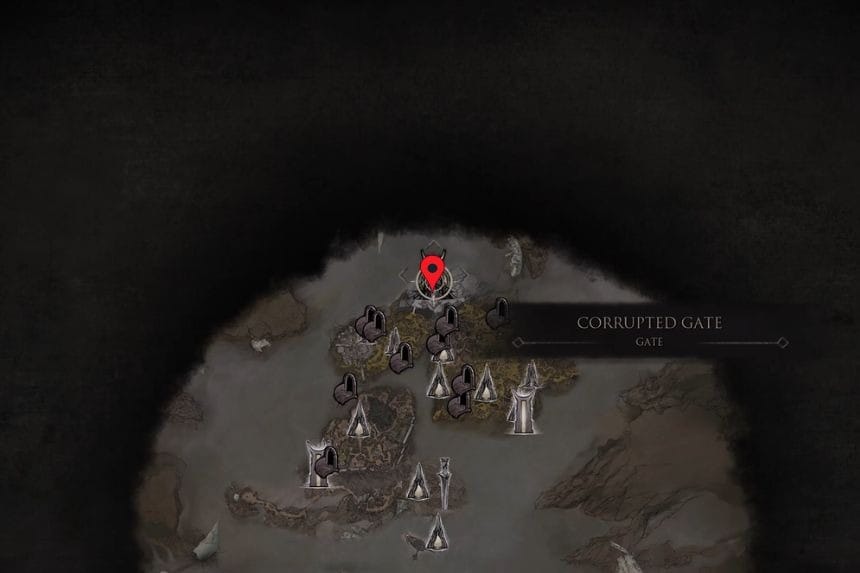
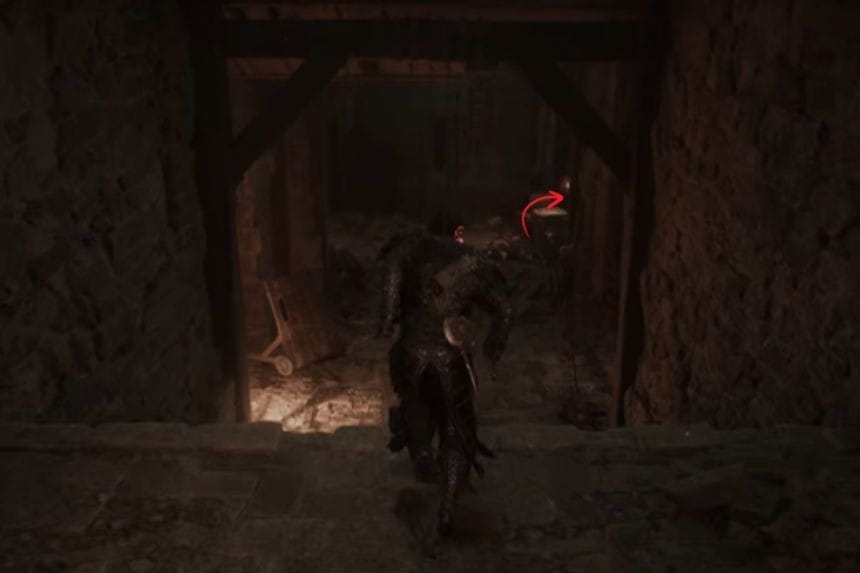
You can get the Serpent Stone by defeating Lucian, the Thirsting Knight, in The Hidden Keep dungeon. Start at the Stonebled Gate, rest there, and cleanse the beacon to access The Hidden Keep. Follow the hallway and turn right at the end to reach a dead-end room. Press the plate next to the hole to open a new path. Cross the bridge and step into the ring to start the fight with Lucian.
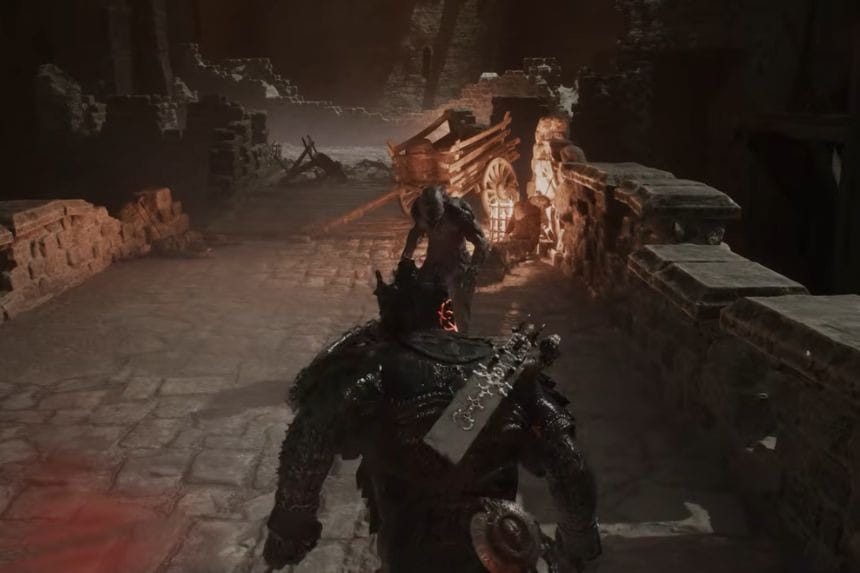
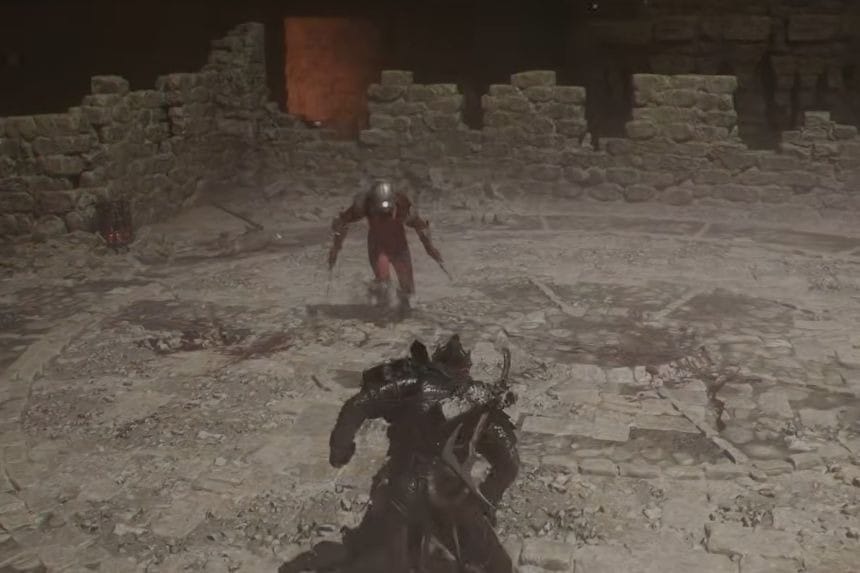
During the fight, Lucian will eventually flee to an upper area. Follow him through the teleporter, then squeeze through the gap on the left side of the wall. Continue the fight and defeat Lucian to get the Serpent Stone.
Voltaic Crown
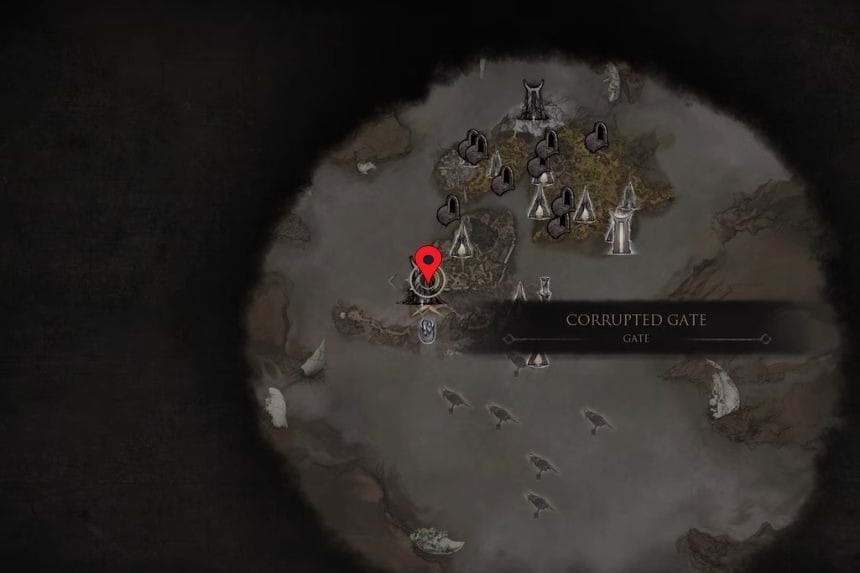
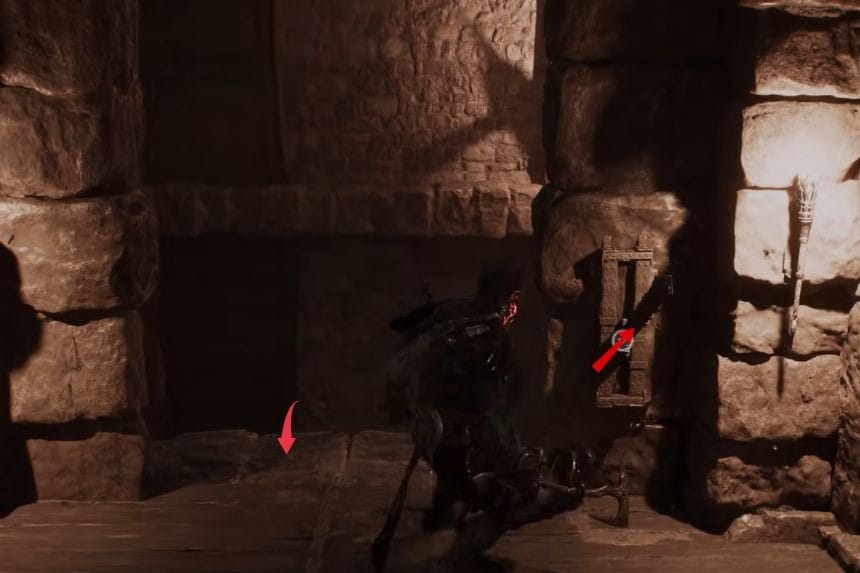
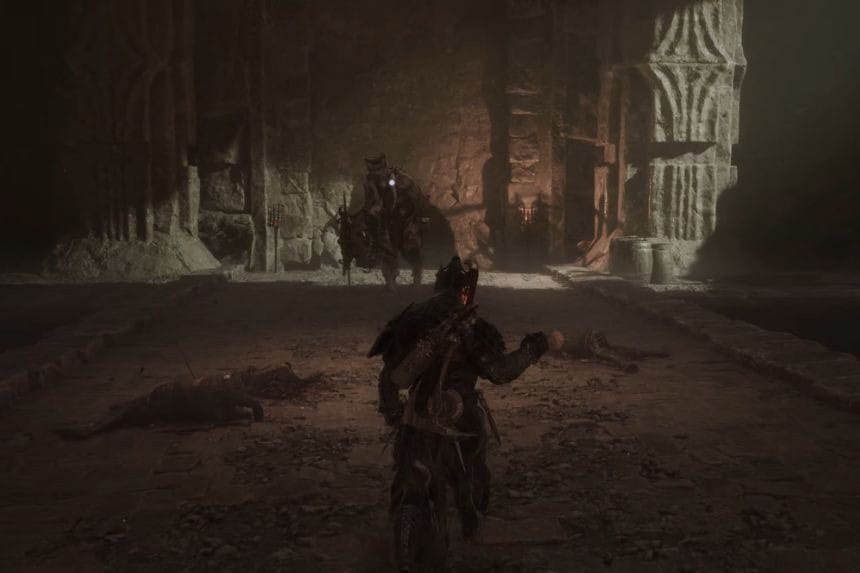
You can get the Voltaic Crown by defeating Vrago, Solikar Champion. You’ll find this boss in the Abandoned Shrine in the Prisoner’s Domain. Defeat Vrago to obtain the Voltaic Crown.
Warden’s Stone
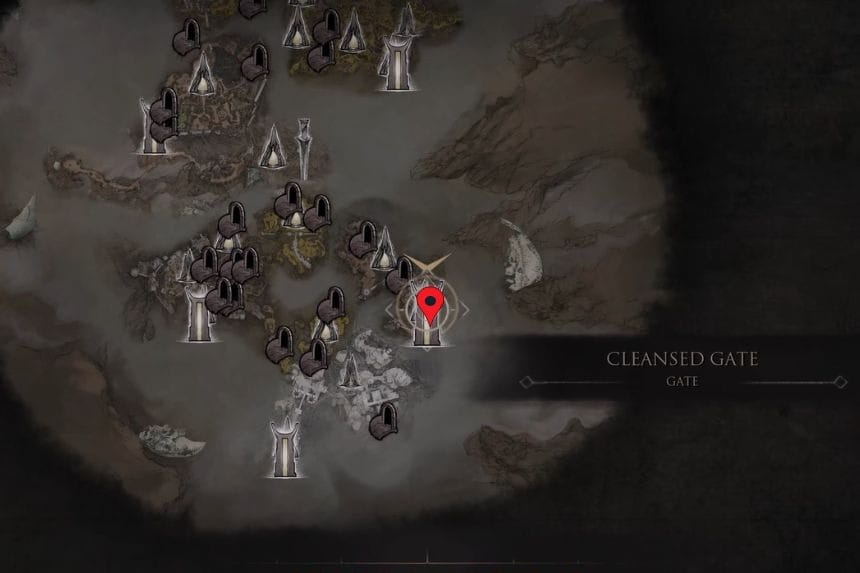
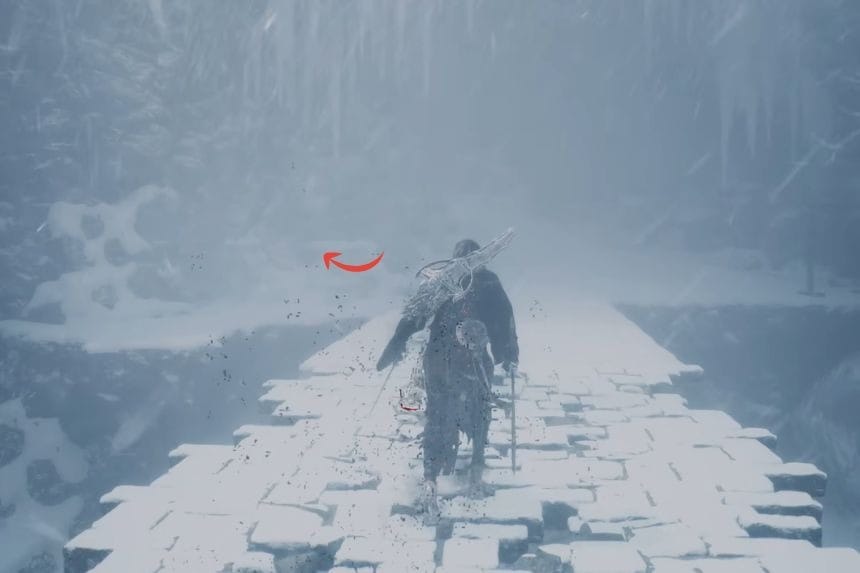
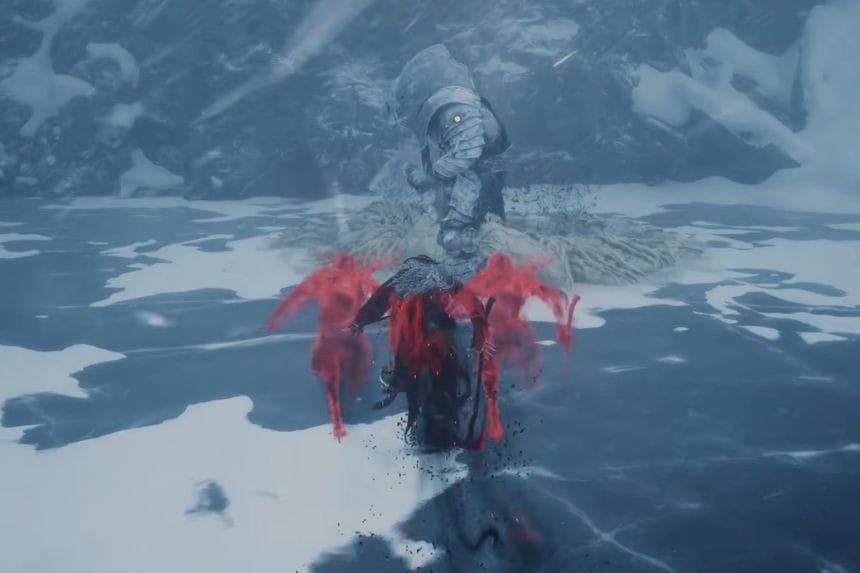
After the Winterglass Lake Beacon, follow the path through the Conquered Temple area until you encounter the miniboss Urrig, the Executioner. Defeat Urrig to obtain the Warden’s Stone.
Curseblood Stone
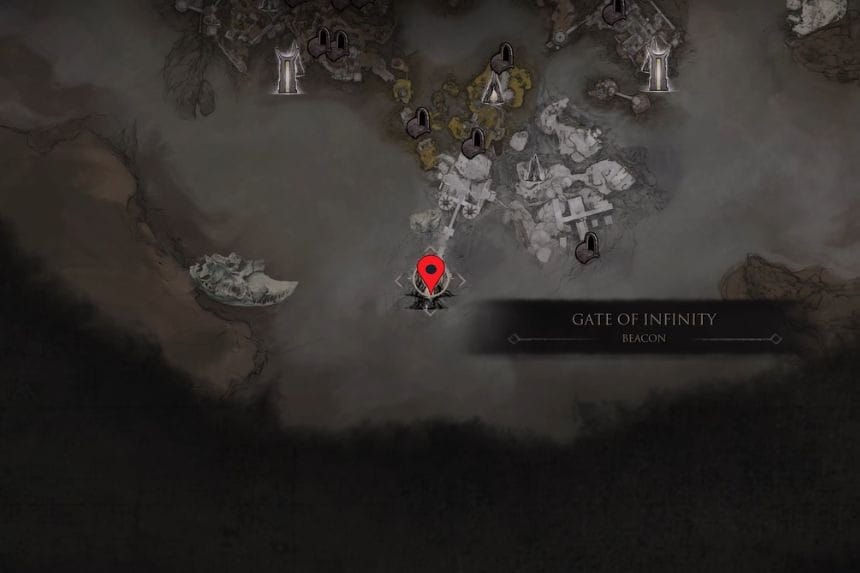
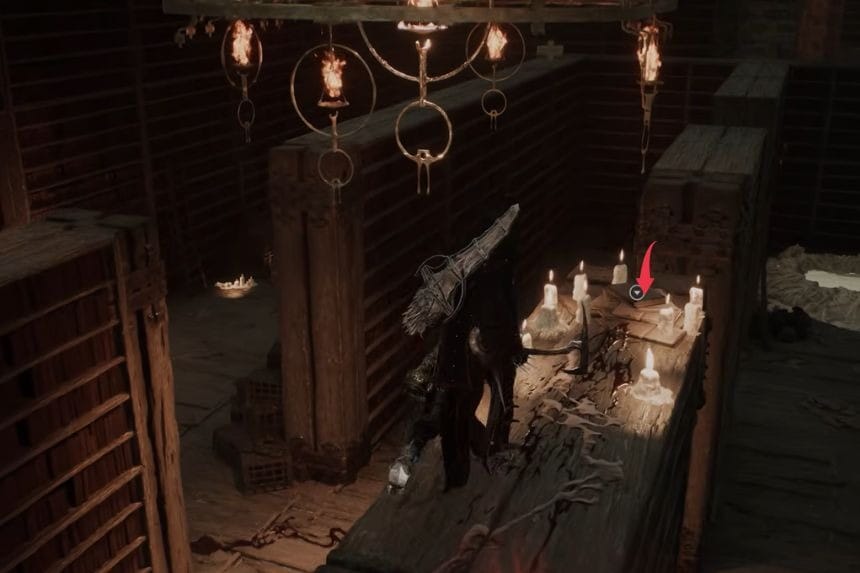
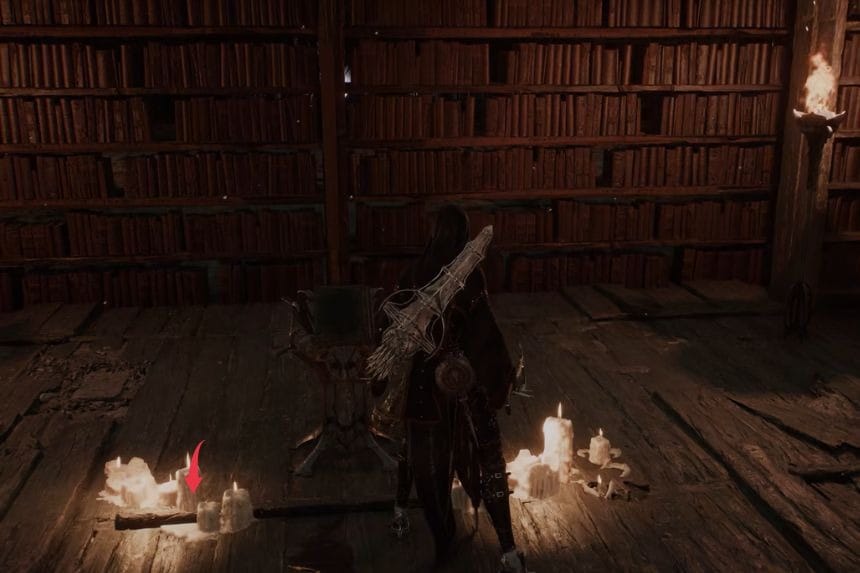
Start at the Gate of Infinity Beacon and make your way through the area until you reach the end. To access the miniboss, first pick up the Grimorium Obscurum from the top of the bookshelves. Take the book and place it in the slot on the wall near the entrance. This opens the way to Gloombound Wraith. Defeat the miniboss to obtain the Curseblood Stone.
Nightgrasp Stone
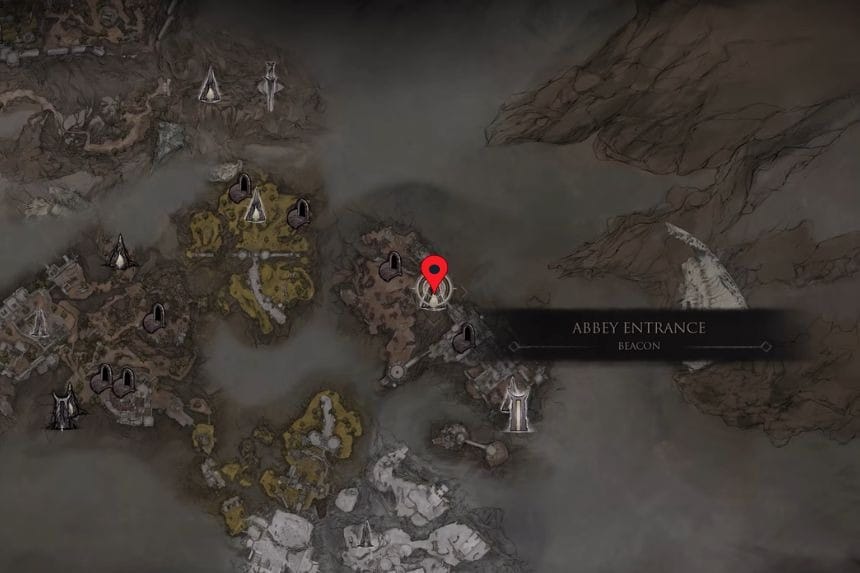
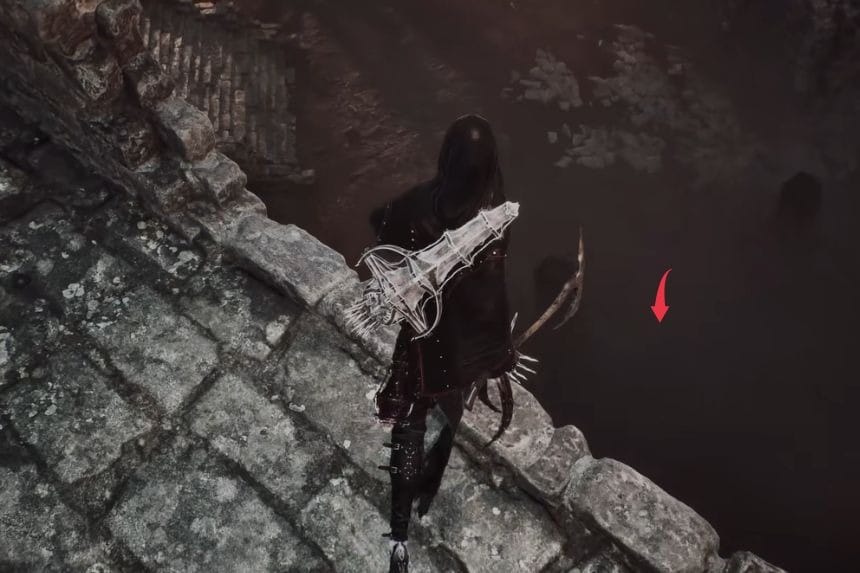
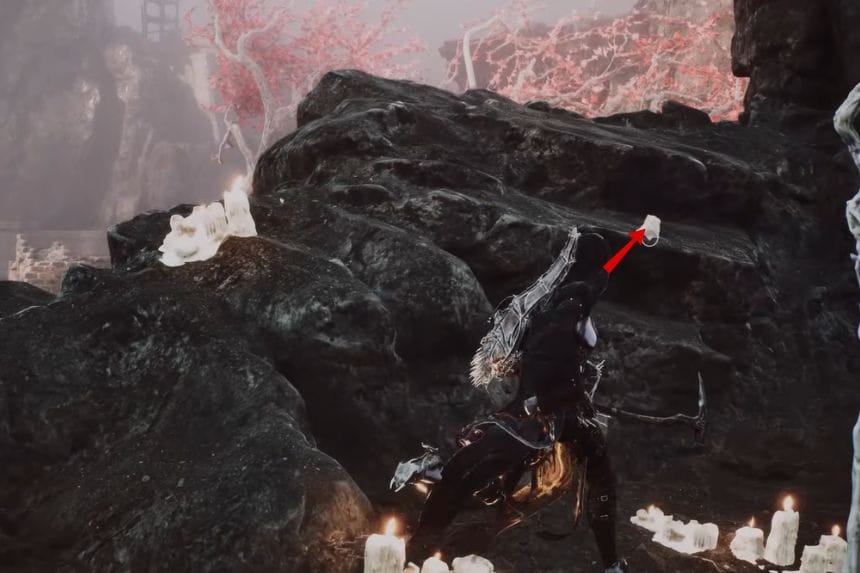
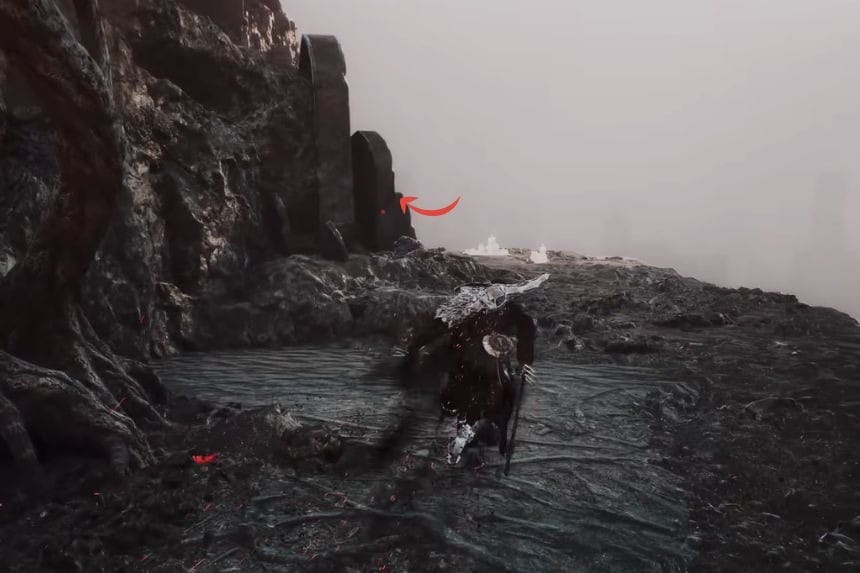
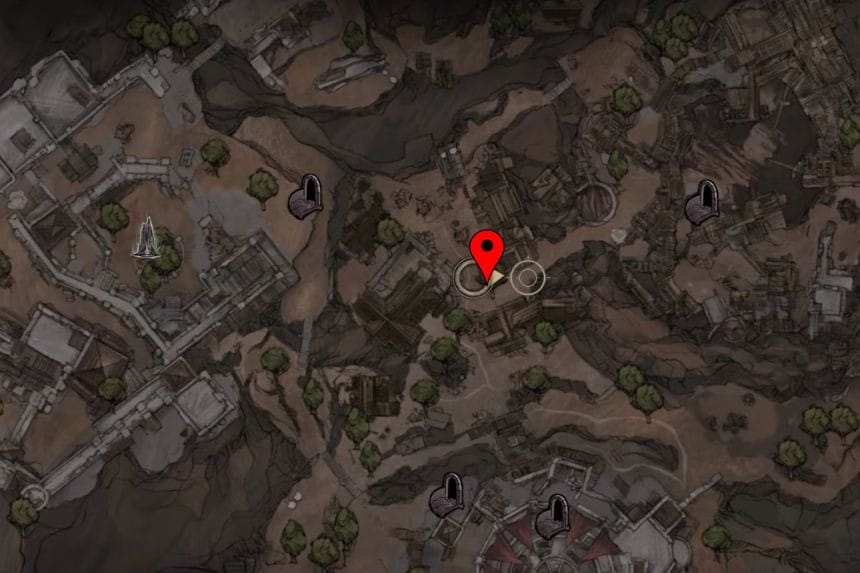
Start at the Abbey Entrance Beacon and enter the castle area. Take the immediate right turn toward the southwest and follow the path until you reach a tower with a Map Fragment. Head to the lower level of the tower, where you’ll find a chest that is locked until you light three candles. Here’s where to find them:
- First candle: In the same room as the chest.
- Second candle: Behind the trial pillar.
- Third candle: When facing the trial pillar, look to the left and drop down to the lower ledge to find it.
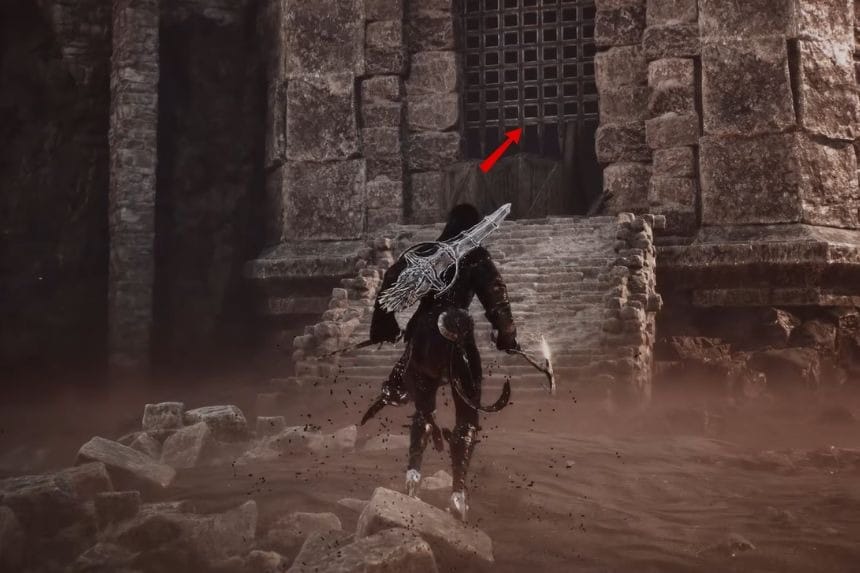
Once all three candles are lit, the chest will open. Loot it to get the Nightgrasp Stone.
Torpor Stone
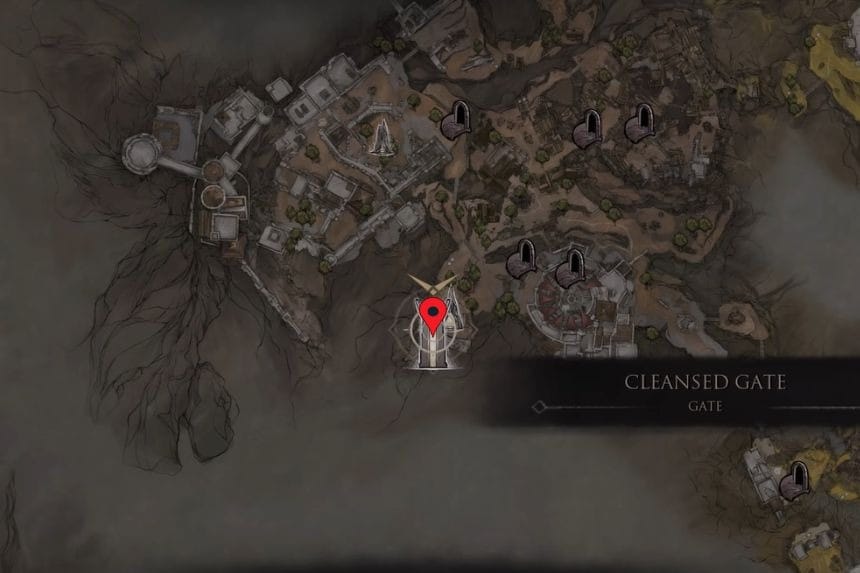

Head to the Ossinite Falls Beacon in the Withered Shoals. From the beacon, walk through the waterfall behind it to find a hidden chest. Open the chest to collect the Torpor Stone.
Wretchcaller’s Stone
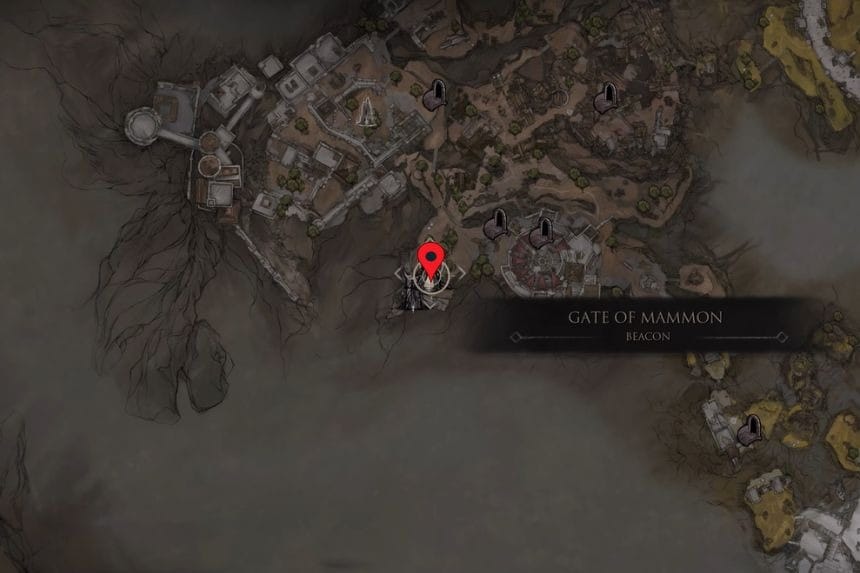
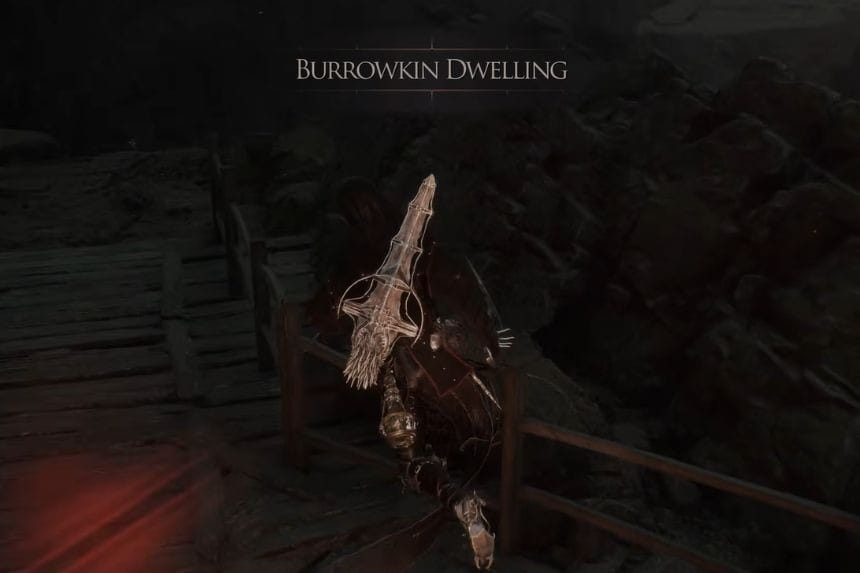
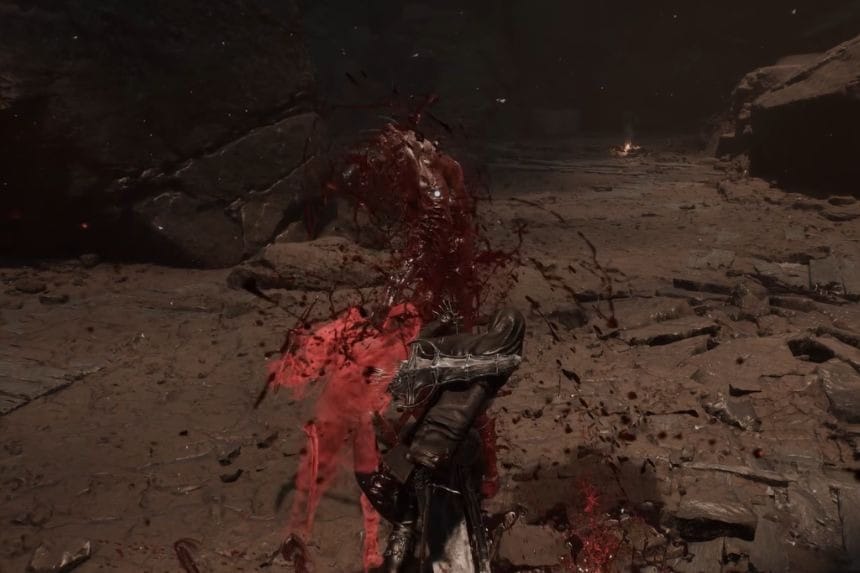
You can get the Wretchcaller’s Stone by defeating the Infested Miner. This boss is found inside the Burrowkin Dwelling, a dungeon that you can access through the Gate of Mammon Beacon in the Ruins of Mammon. Defeat the Infested Miner to receive the Wretchcaller’s Stone as a reward.
Inflamed Clawstone
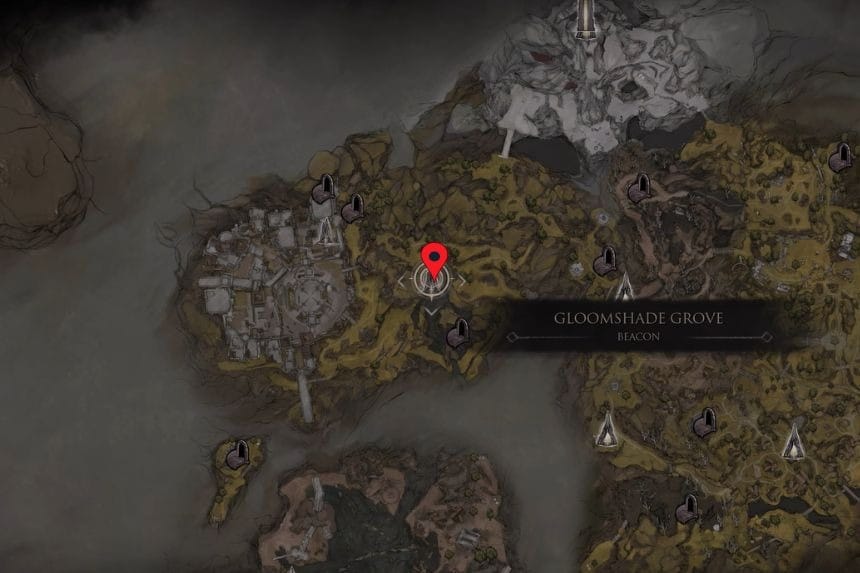
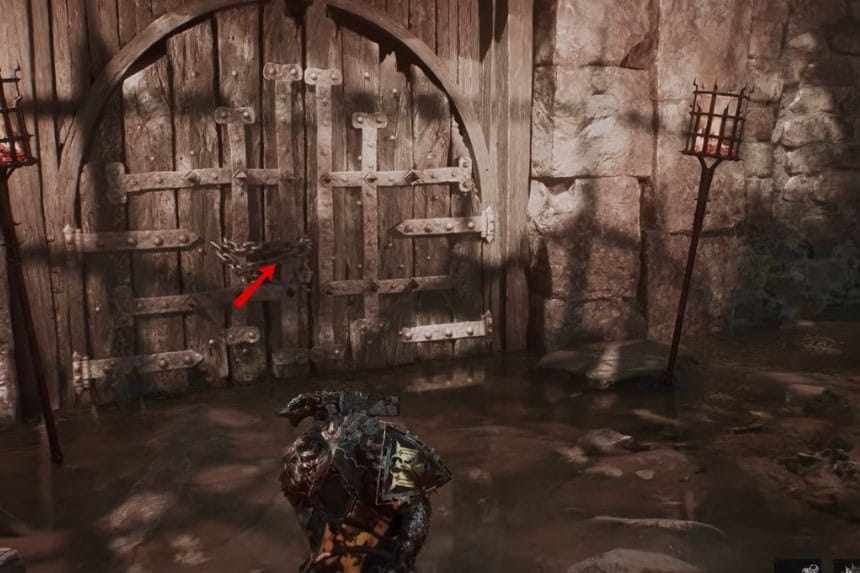
You can get the Inflamed Clawstone by defeating the Rabid Grisha Pack. You’ll find them in the Holding Cells. Defeat the pack to collect the Inflamed Clawstone.
Hag Stone
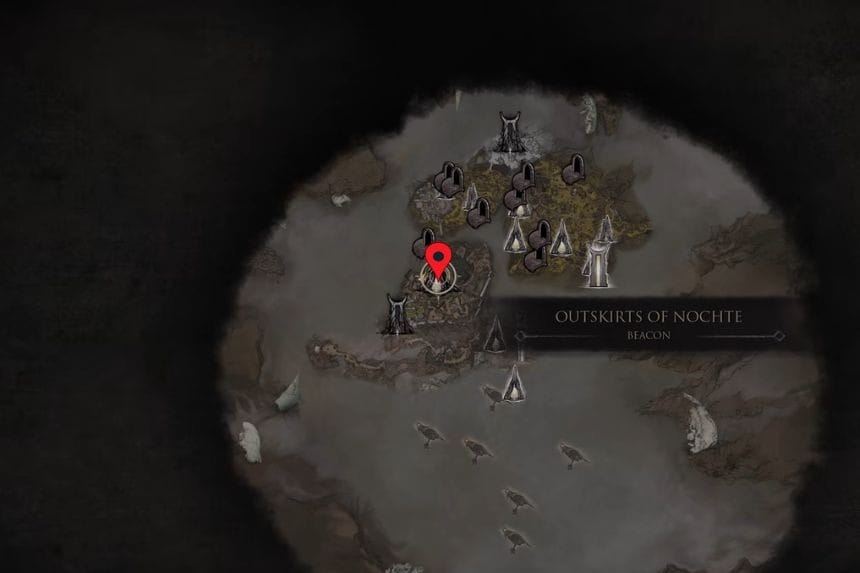
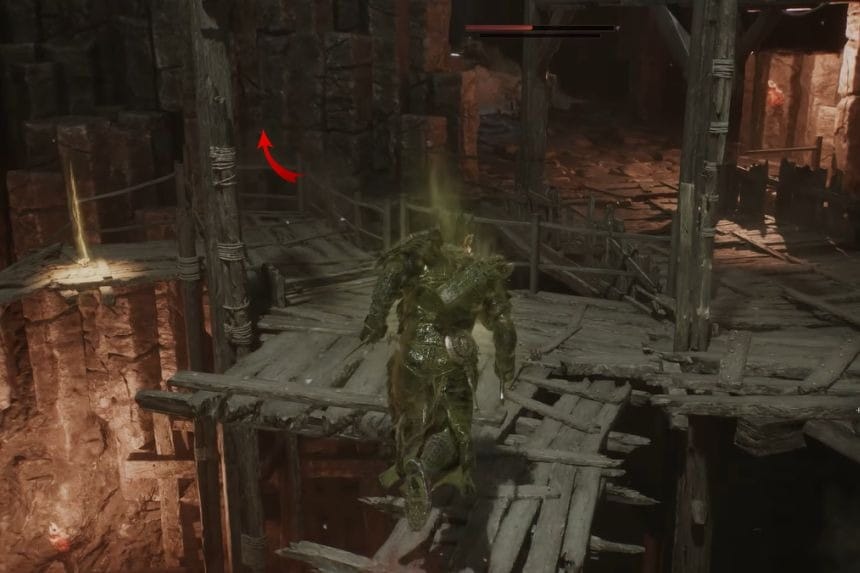
You can find the Hag Stone inside the Infested Den dungeon. Make your way to the upper level, where you’ll find a bone chest. Open the chest to collect the Hag Stone.
Emberseed Stone

You can find the Emberseed Stone inside a bone chest in the Passenger’s Shrine dungeon. To reach it, first cleanse the Mushroom Village Beacon in Widow’s Overlook.
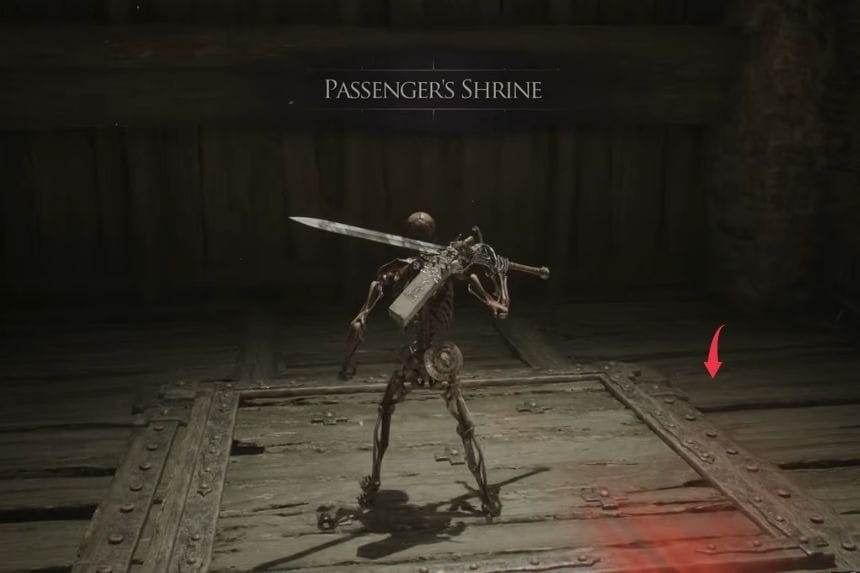
From the entrance, take the elevator down and follow the path until you reach another elevator inside the Passenger’s Shrine. Take it down, then head into the area behind you. Break the wooden wall on the right to open a new path.
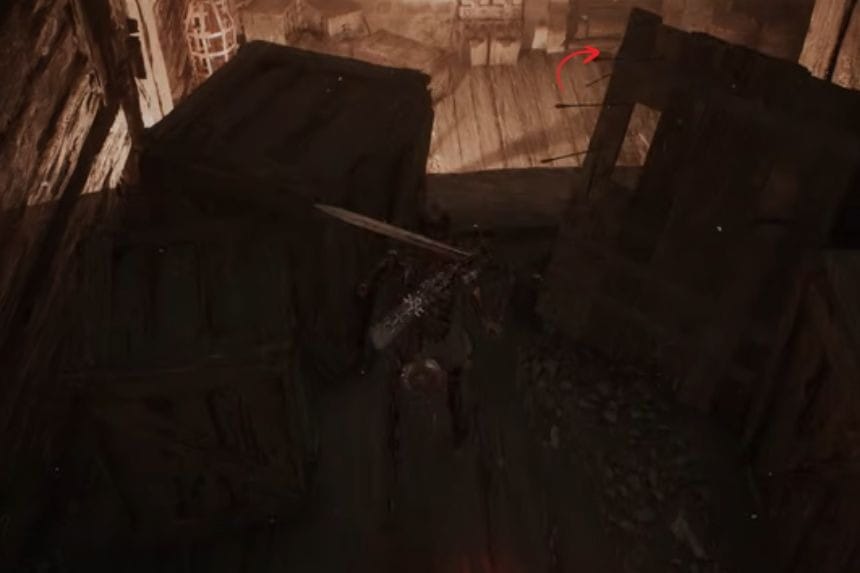
Turn right and follow the path down. When you spot the glowing effigy, turn left and keep going until you reach the end. You’ll find a bone chest next to some crates. Open it to collect the Emberseed Stone.
Viletongue Hedron
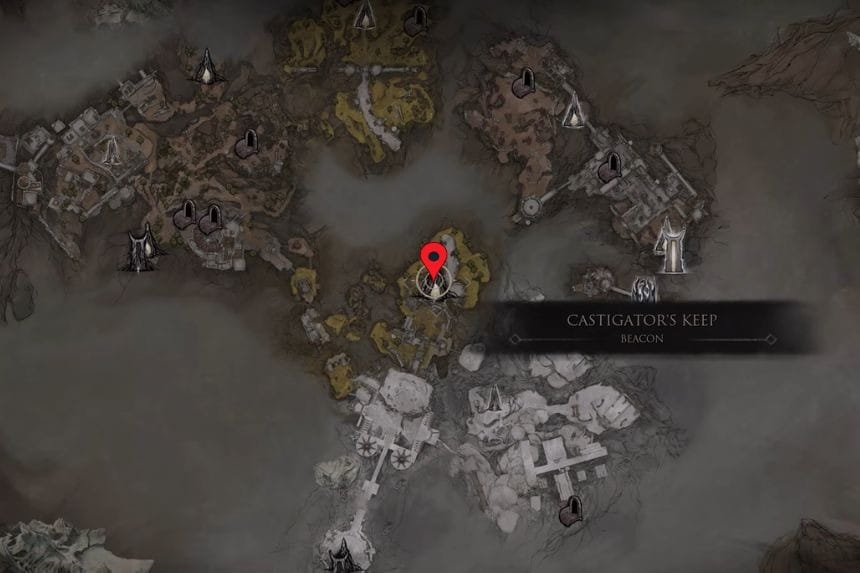
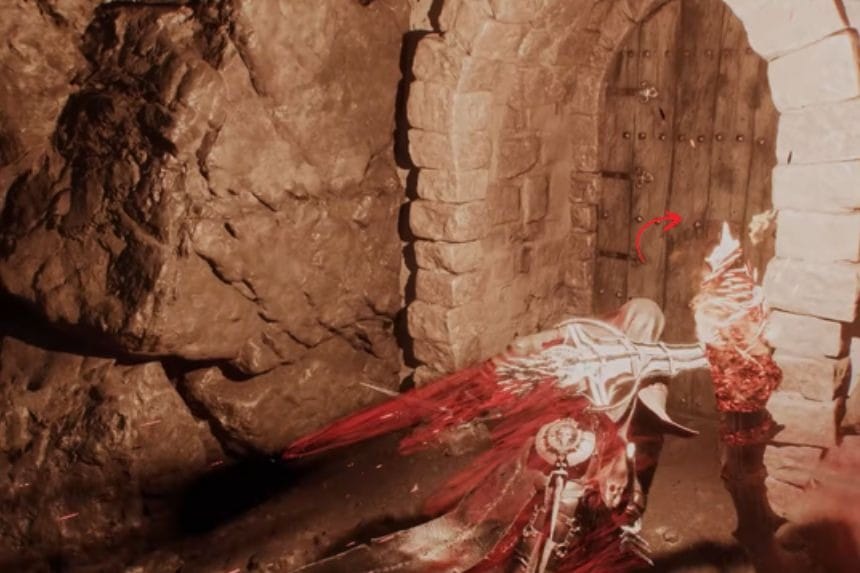
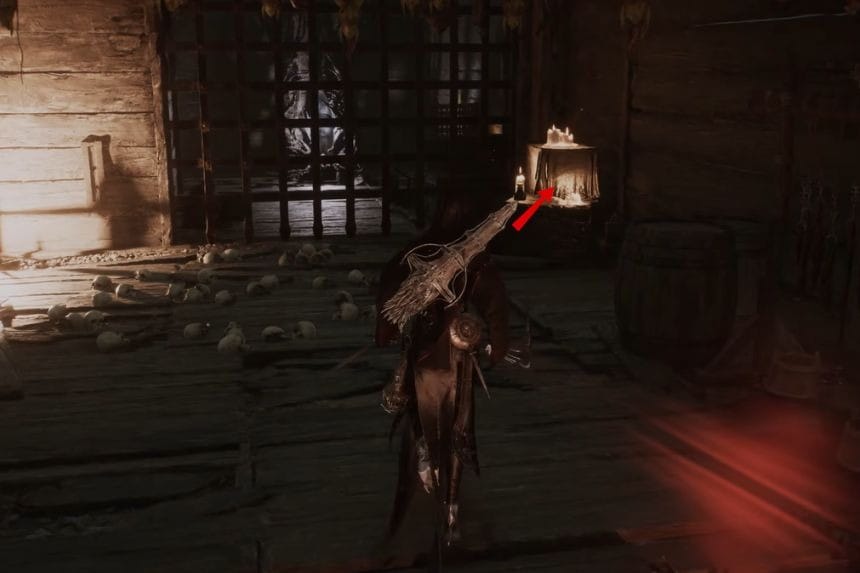
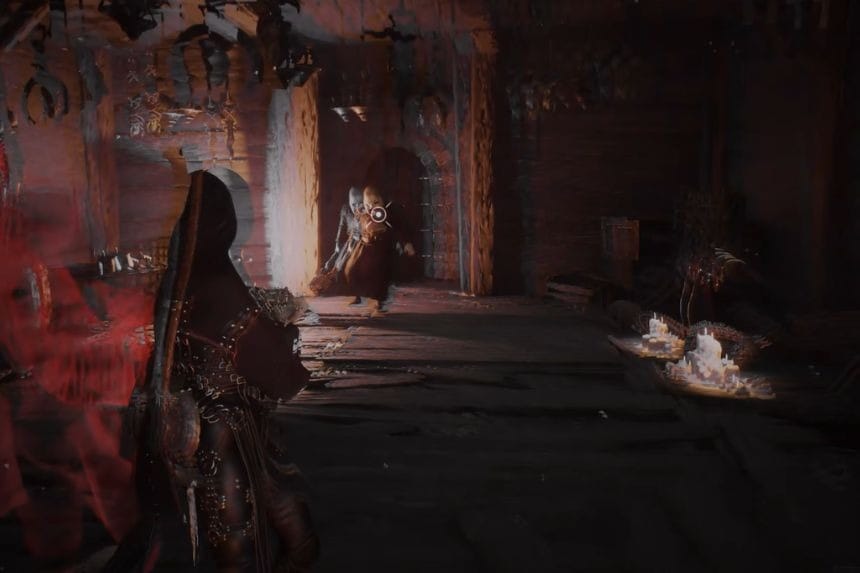
Start at the Castigator’s Keep Beacon and make your way through the area until you reach the room with the Ovum. On the right side, interact with the item to activate an effect that reverses your movement controls. Once this happens, continue through the area and defeat the miniboss Viletongue Batushka. After defeating it, you’ll receive the Viletongue Hedron.
Voltaic Amber
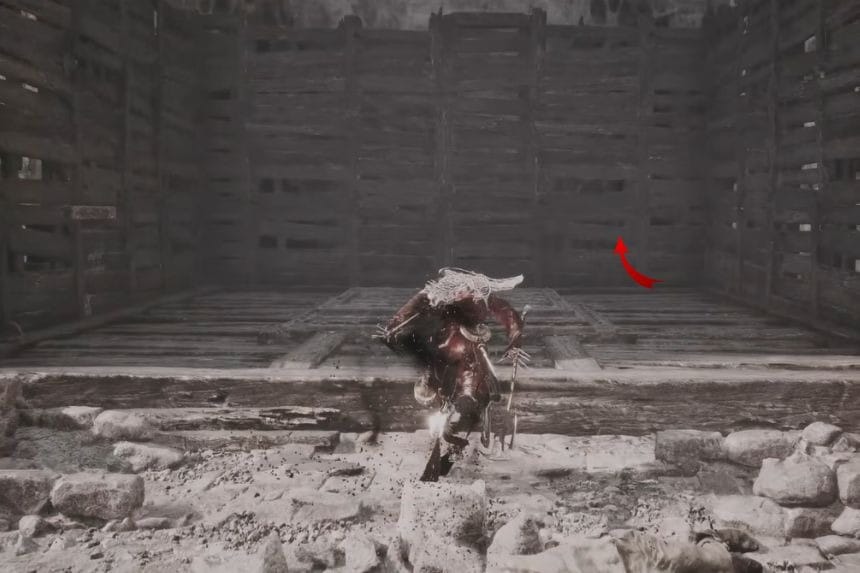
You can get the Volatile Fragment by defeating Vrannic the Grand Illusionist in the Hall of Illusions dungeon. To reach the dungeon, first cleanse the Mushroom Village Gate Beacon, which is located east of the Mushroom Village. Enter the beacon and continue forward until you reach the Hall of Illusions.
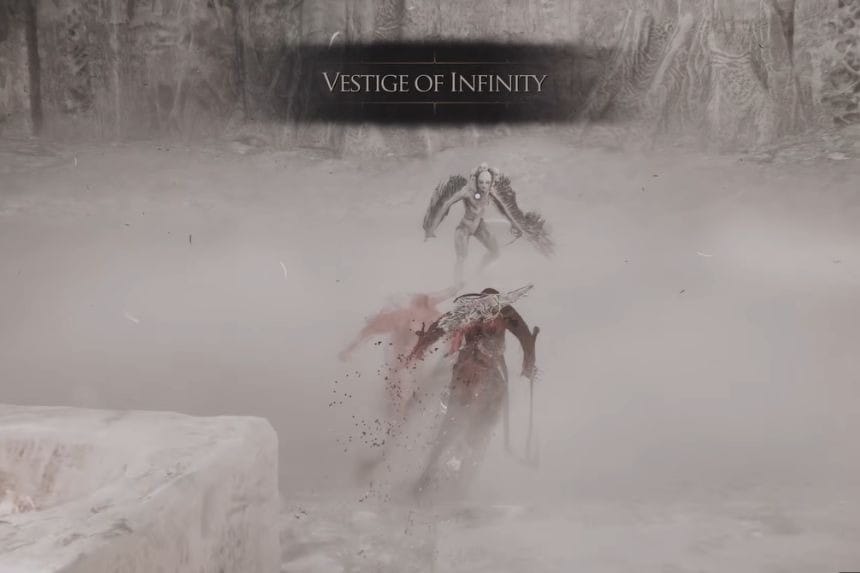
Inside the dungeon, stand in the centre of the altar to reveal the hidden areas. Keep going until you reach a large room, then look up to spot Vrannic on the balcony above. Drop down into the hall to start the boss fight. Defeat Vrannic to loot the Volatile Fragment.
Frostshard Stone
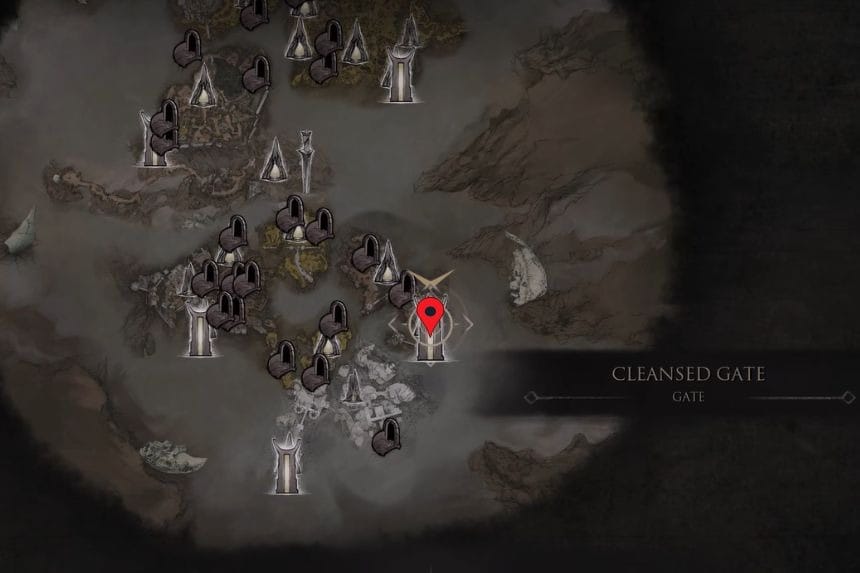
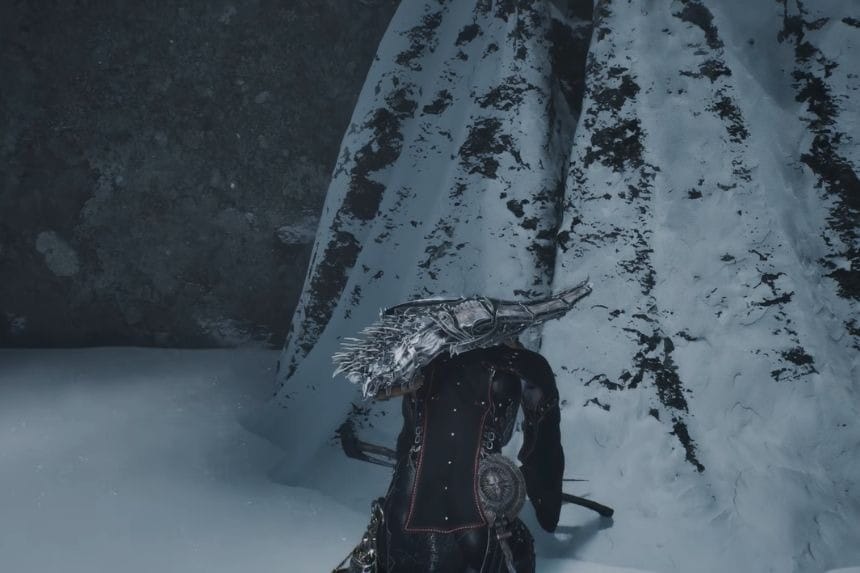
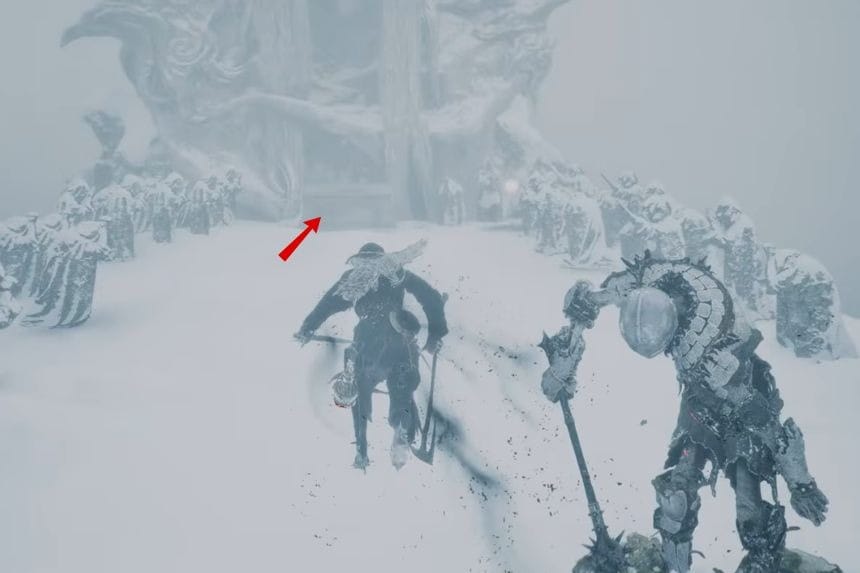
Head to the Conqueror’s Horde Beacon in the Conquered Temple area. From where you found the Ova, look behind it for a path that leads deeper into the beacon. Follow the path through the snowy area until you reach the end. You’ll find a chest in front of a large statue. Open it to collect the Frostshard Stone.
Monarch’s Vestige
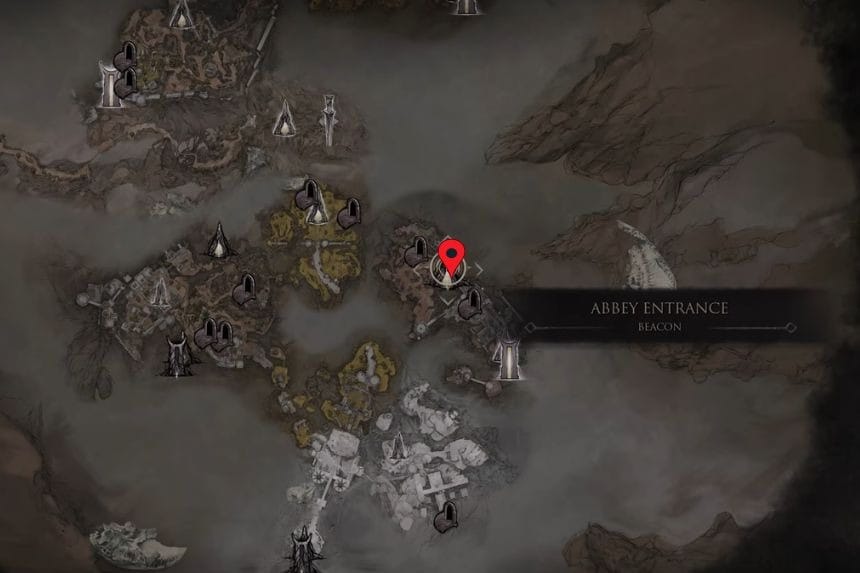
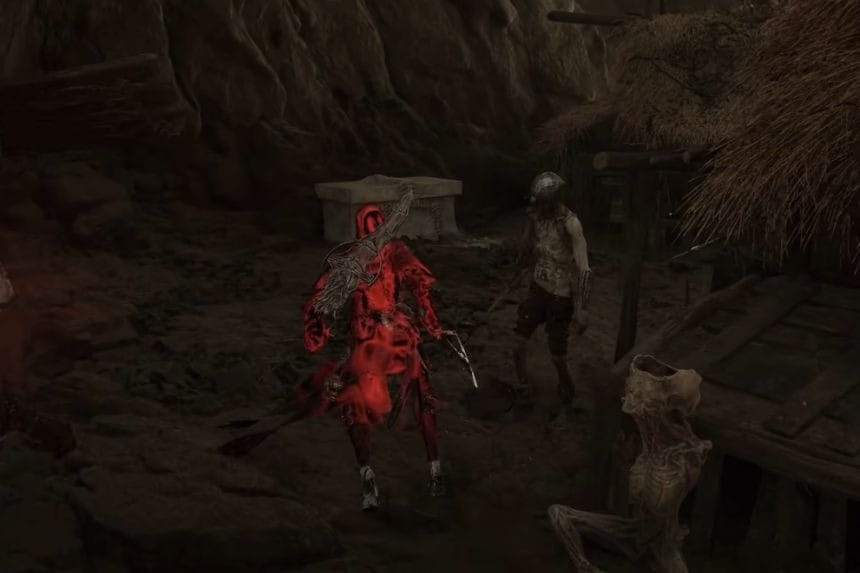
Start at the Abbey Entrance Beacon and follow the path through the area until you reach a small path behind the houses. There, defeat the enemy that emerges from the coffin. Once it’s defeated, pick up the Strange Village Key from behind it.
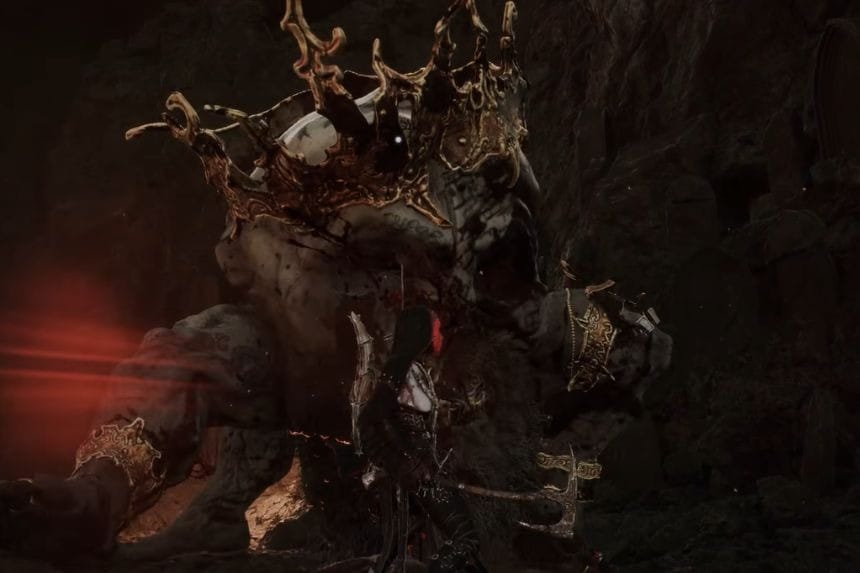
Take the key to the door in the centre of the area and use it to open the way. Drop down the hole and defeat the miniboss Bor, the Deluded Monarch. After defeating him, you’ll receive the Monarch’s Vestige.
Accursed Stone
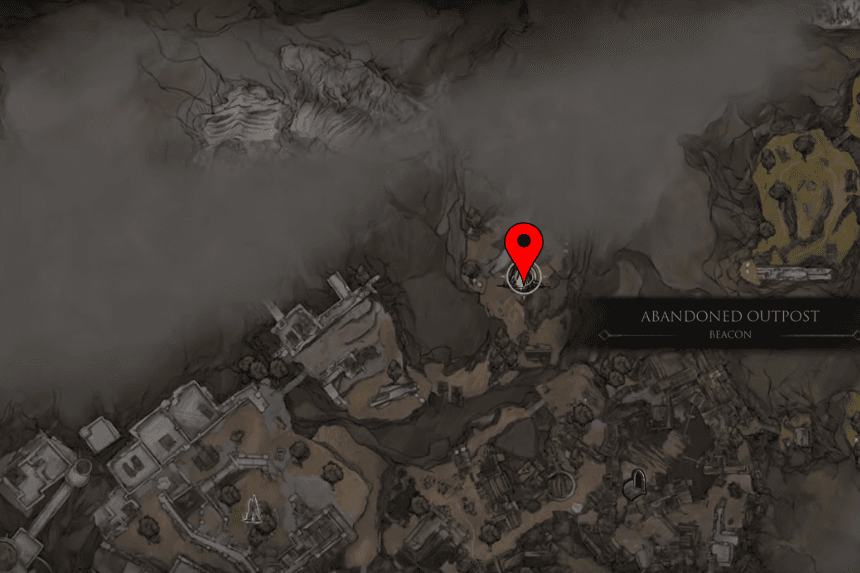
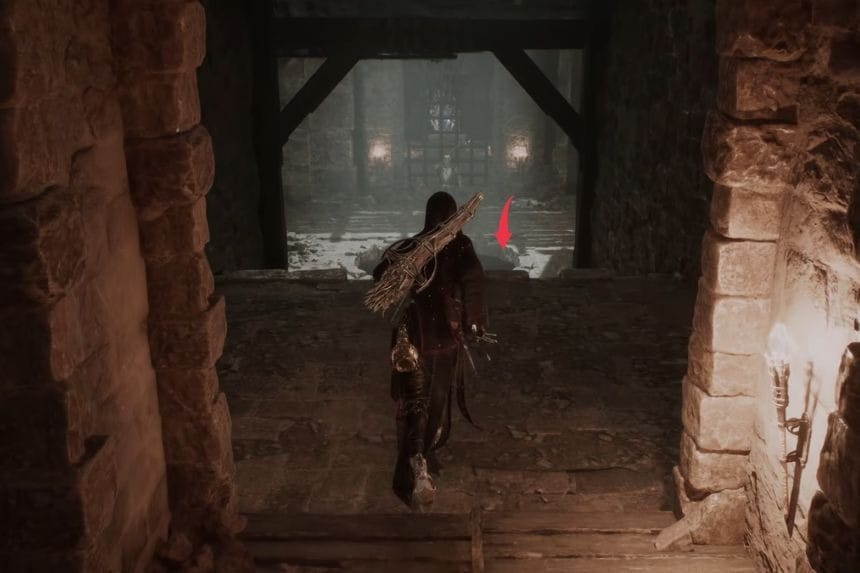
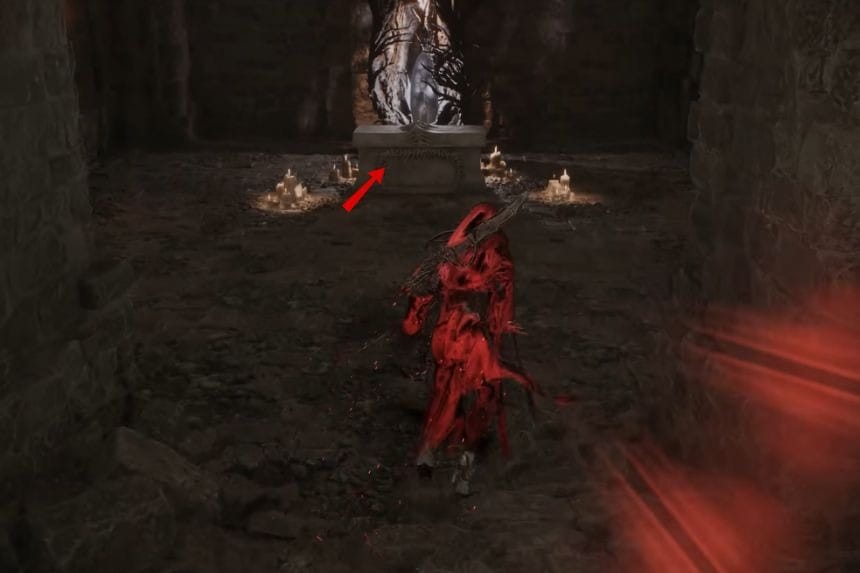
First, cleanse the Abandoned Outpost Beacon at the Big Ol’ Hole. Once you’re at the lower level, look for a small mechanism on the wall and interact with it to raise the nearby gate. Go through the newly opened room, and you’ll find a chest inside. Open it to collect the Accursed Stone.
Acolyte’s Stone and Unwieldy Stone
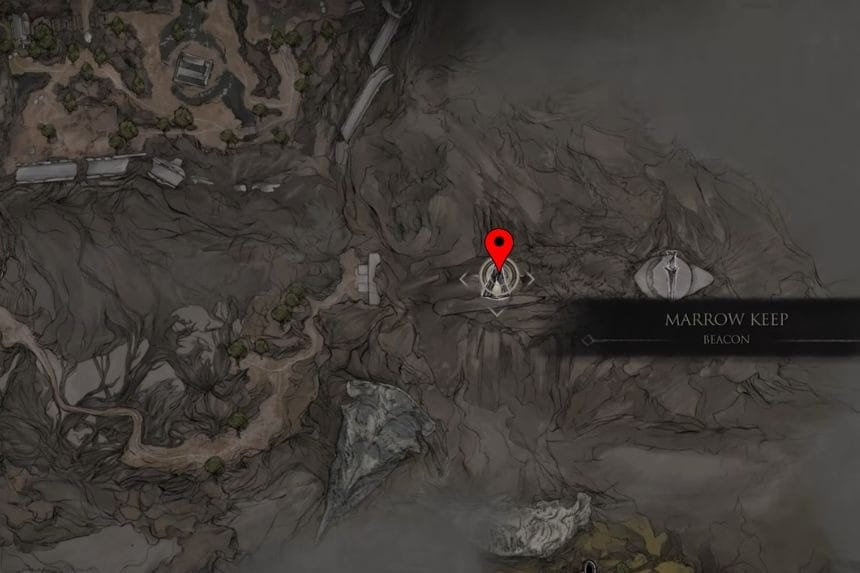
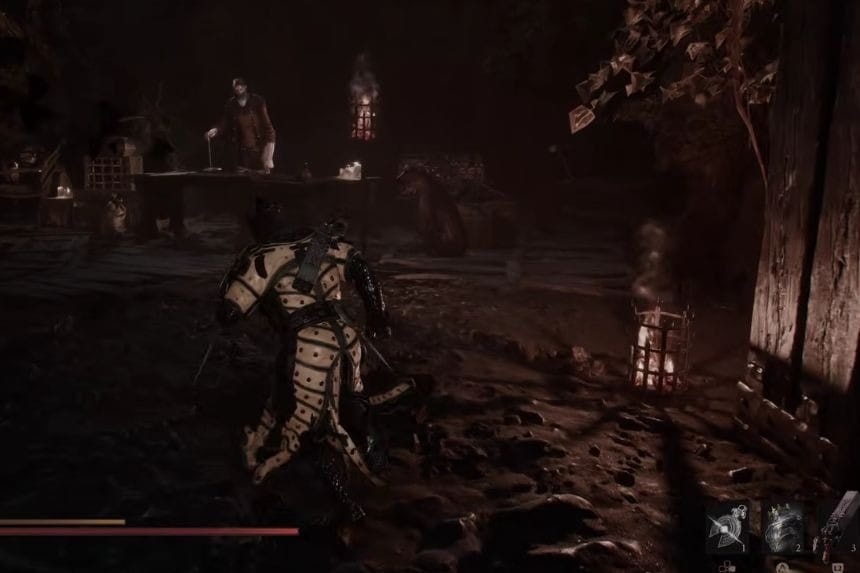
You can buy the Acolyte Stone and Unwieldy Stone from Merrick in Marrow Keep for 2,000 coins.
Magdalena’s Memento
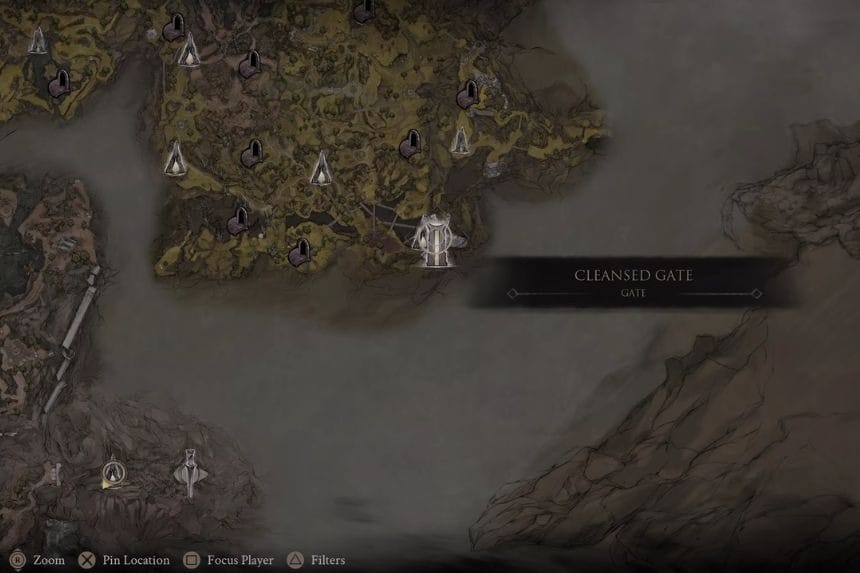
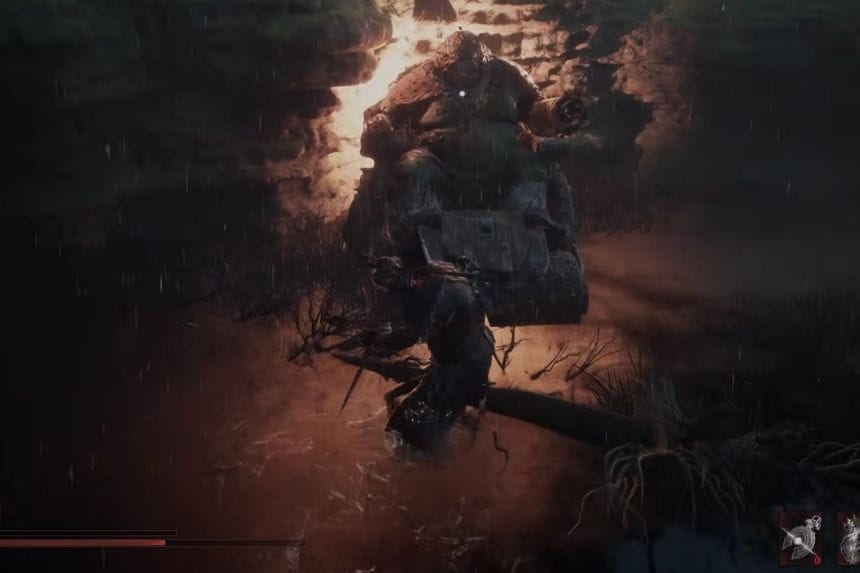
You can get Magdalena’s Memento by defeating Magdalena, the Lady of the Woods in the Sunken Village. Defeat her to loot the item.
Captive’s Scabstone
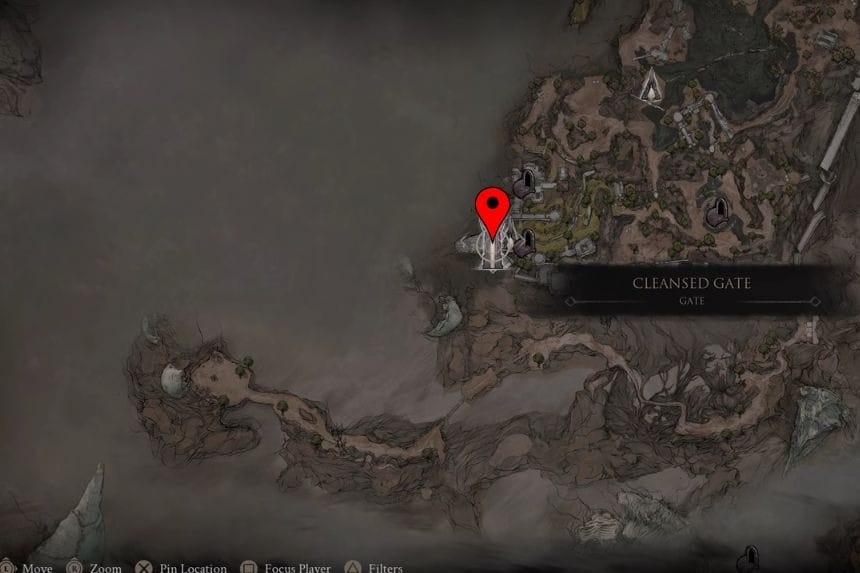
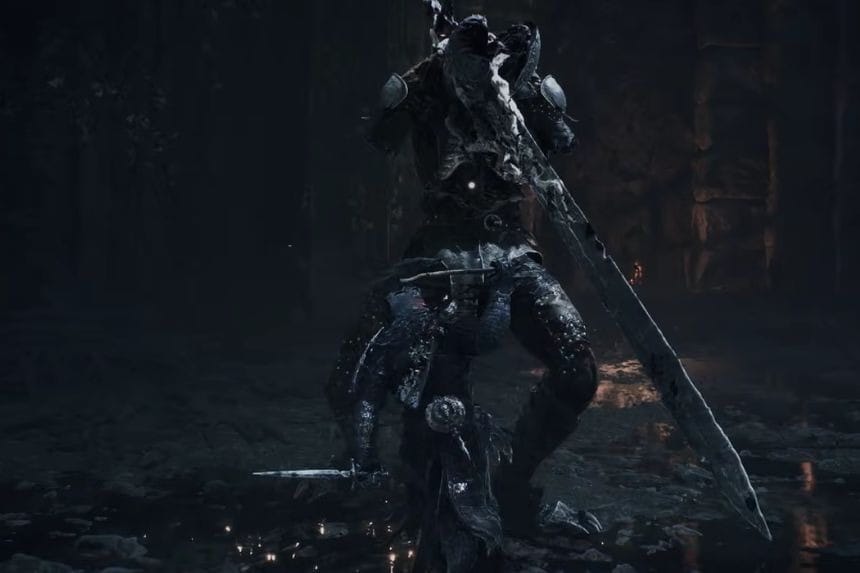
You can get the Captive’s Scabstone by defeating The Nameless Captive in Captive’s End, located in the Prisoner’s Domain. Defeat the boss to obtain the Captive’s Scabstone.
Conqueror’s Reward
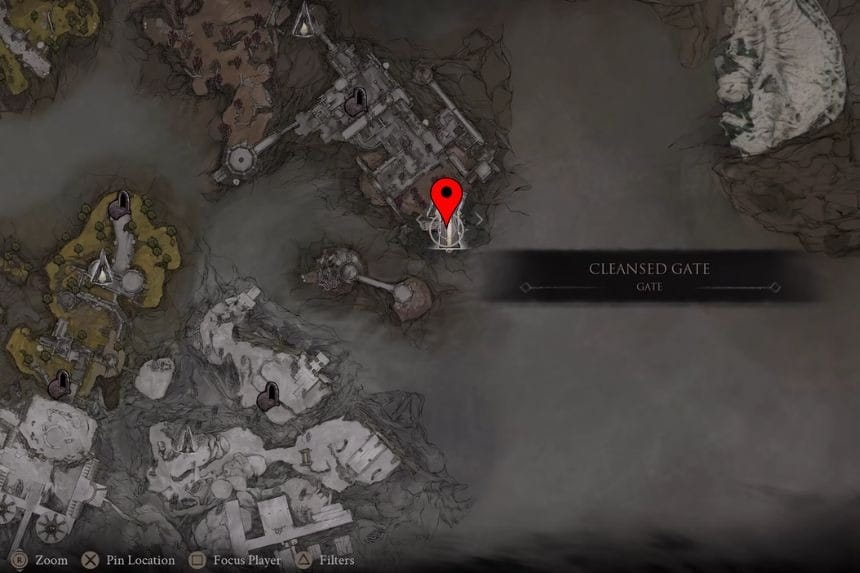
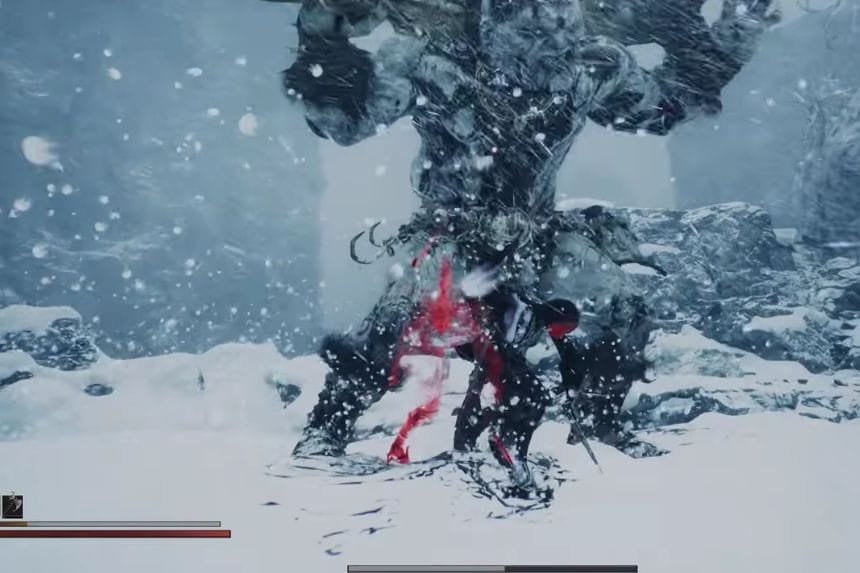
You can get the Conqueror’s Reward by defeating Droeg, the Conqueror in the Conquered Temple area. Defeat the boss to receive the Conqueror’s Reward.
Shrike Stone
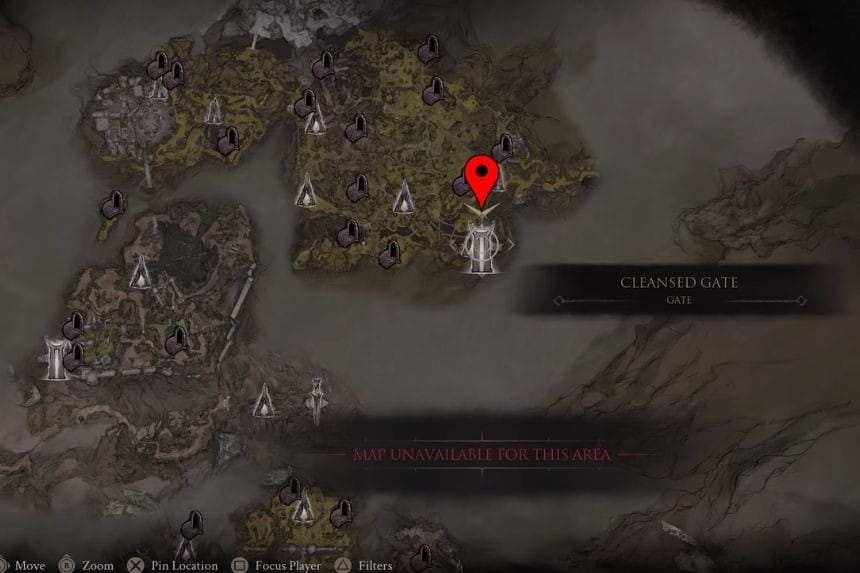
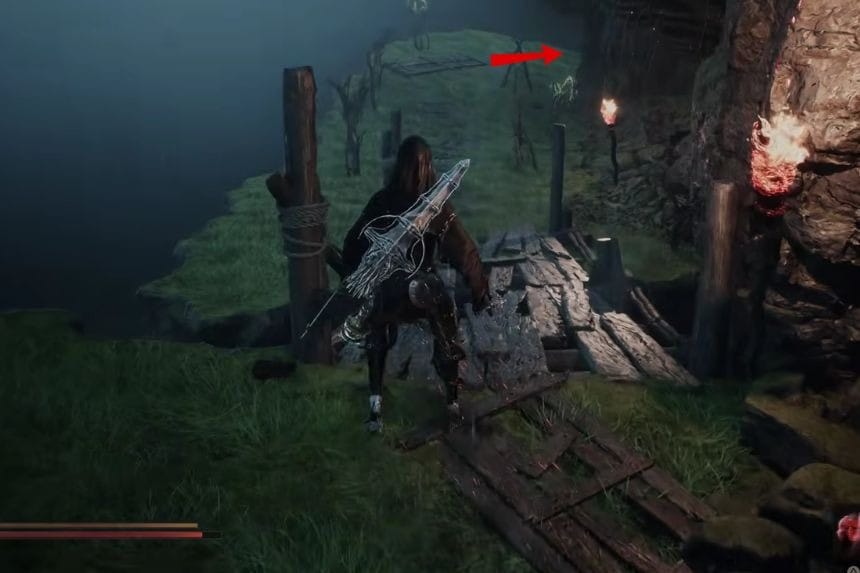
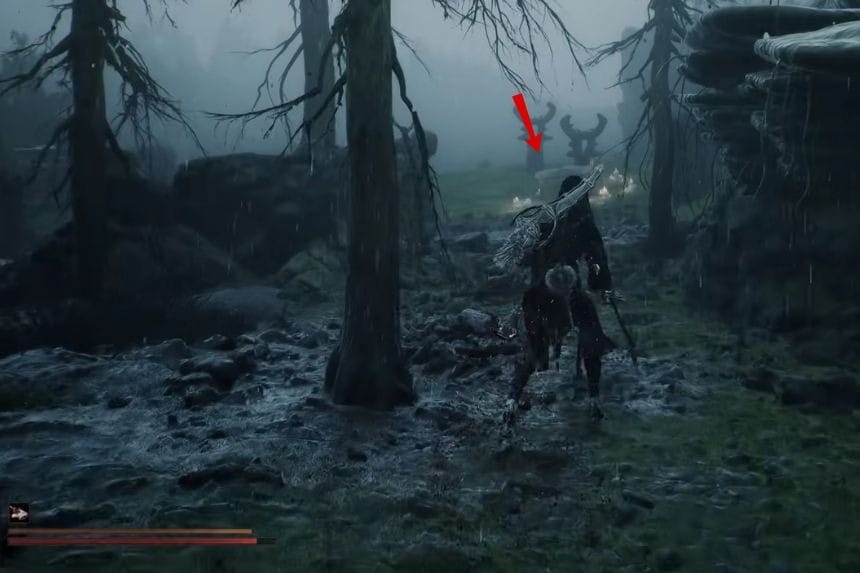
You can find the Shrike Stone inside a bone chest in the Sunken Village. Head to the ritual ground, where you’ll encounter two large worm enemies along with several other enemies. Look around the area for the bone chest and open it to collect the Shrike Stone.
Colossus Stone
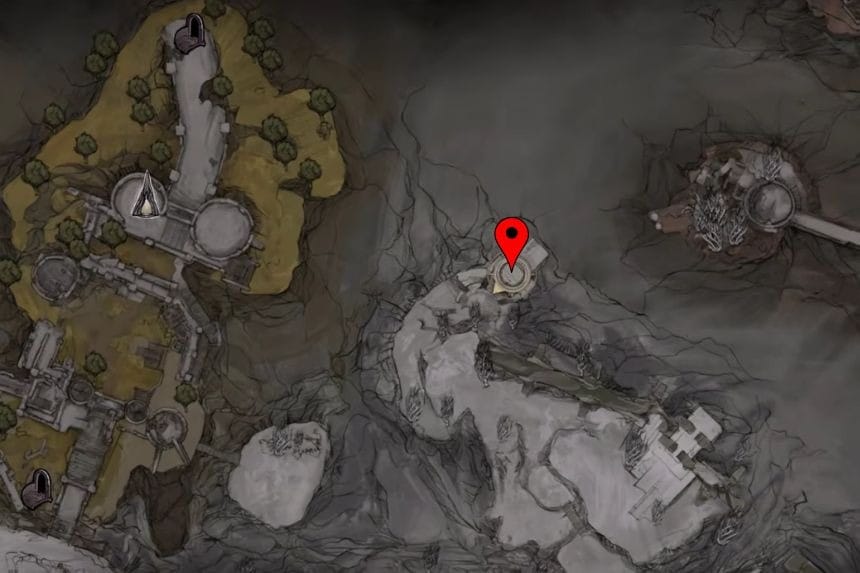
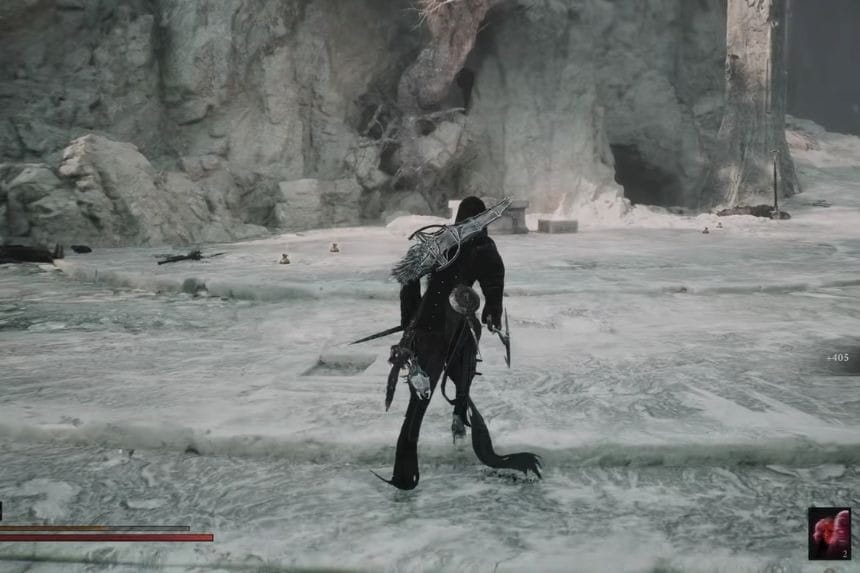
Start at The Silent Steps Beacon and follow the path heading northeast. Keep going until you reach a bone gate. Go through the gate to reach a platform with a chest. Open the chest to get the Colossus Stone.
Lost Clotstone
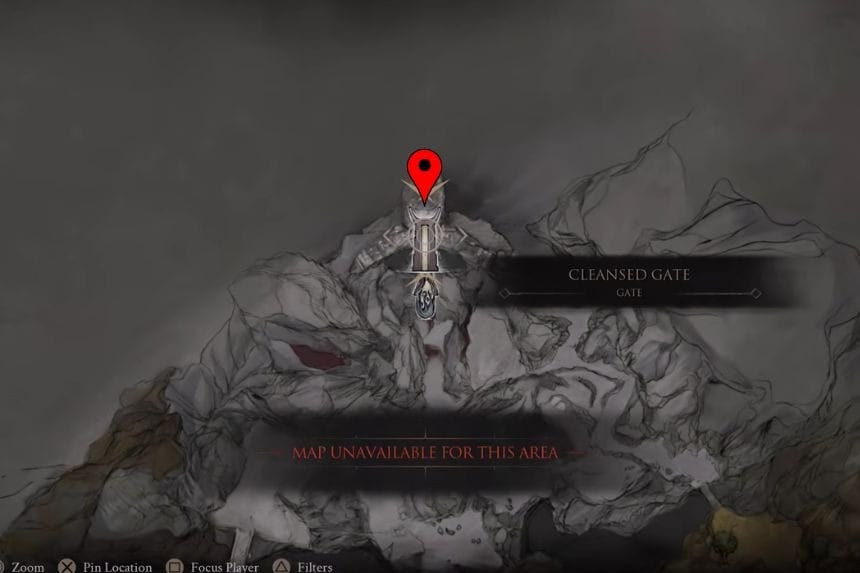
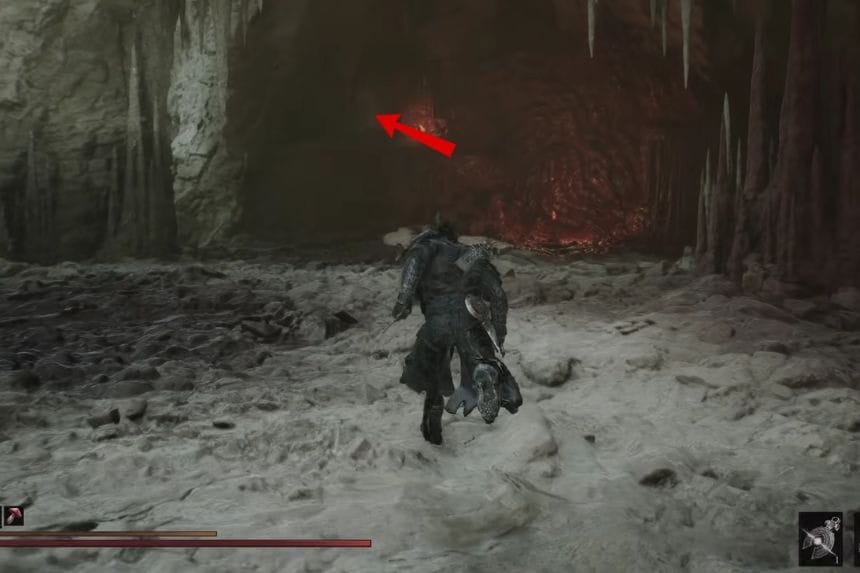
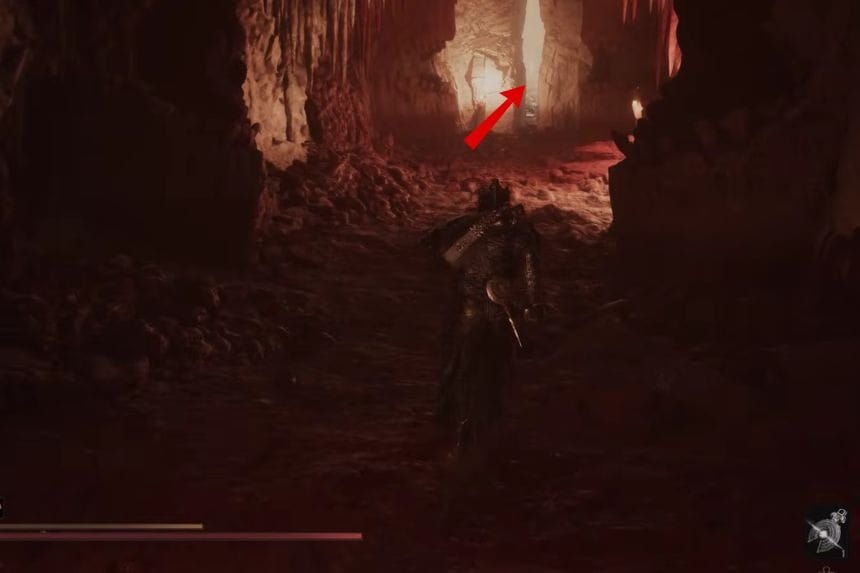
You can get the Lost Clotstone by defeating the main boss, Lost Child, in the Sanguine Caverns. Defeat the boss to receive the Lost Clotstone.
Scholar’s Wormstone
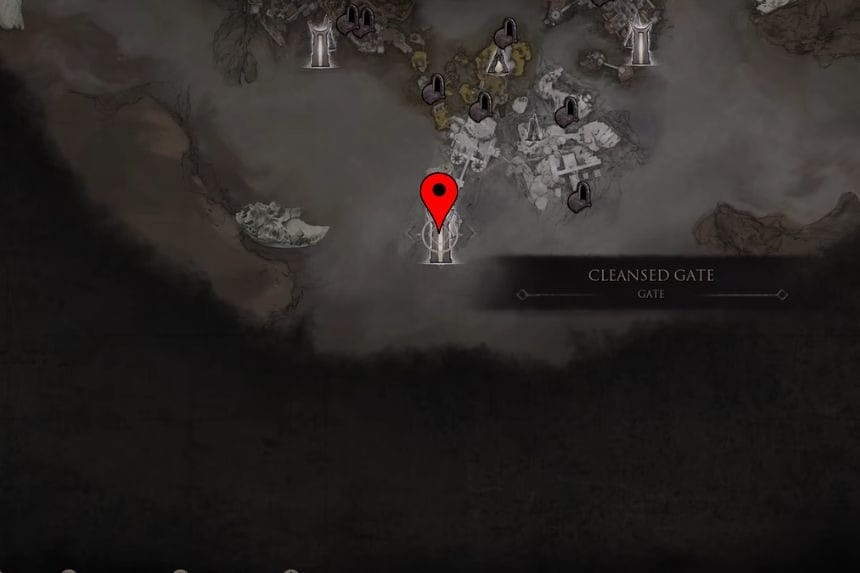
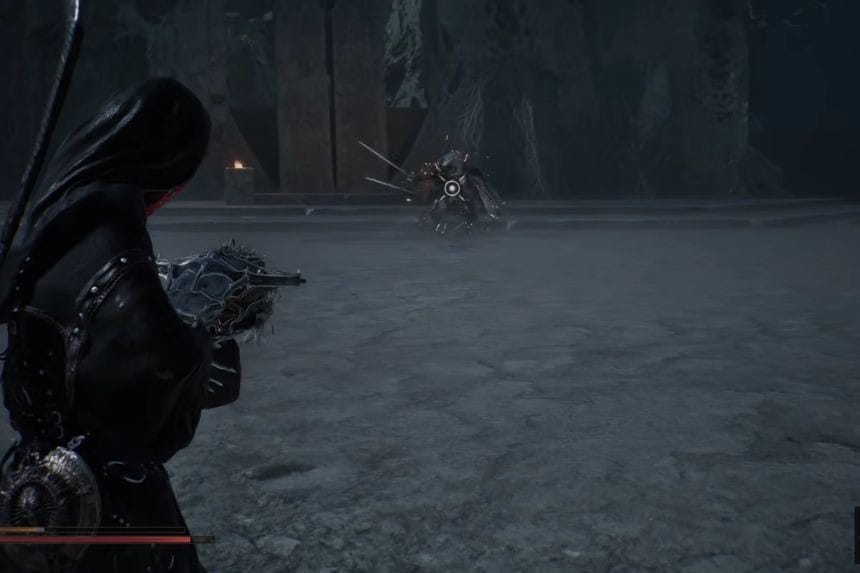
You can get the Scholar’s Wormstone by defeating Sir Isaac, the Scholar-Prince in the Faded Citadel. Defeat the boss to receive the Scholar’s Wormstone.
Clockwork Shardstone
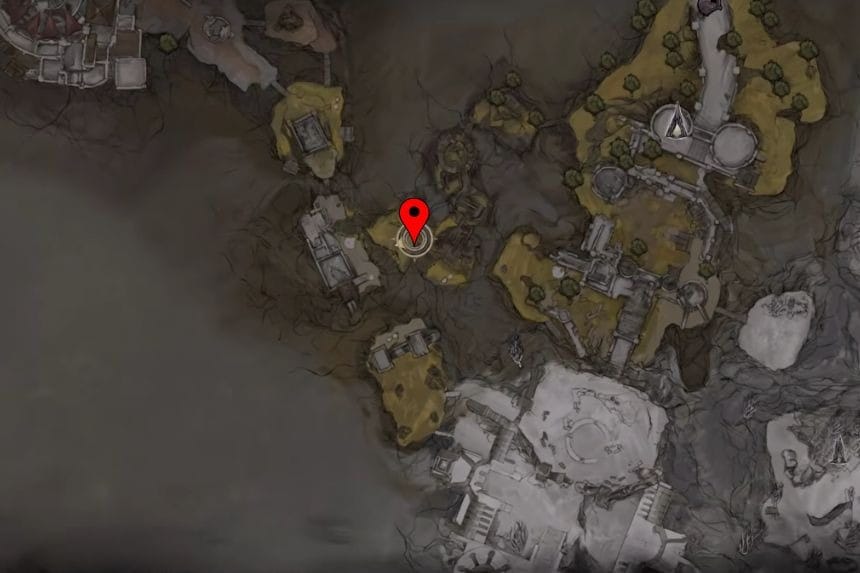
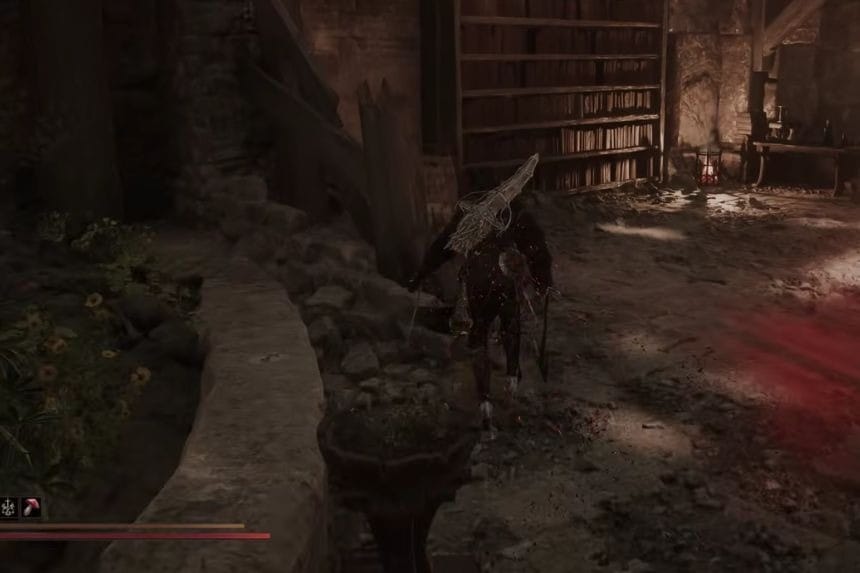
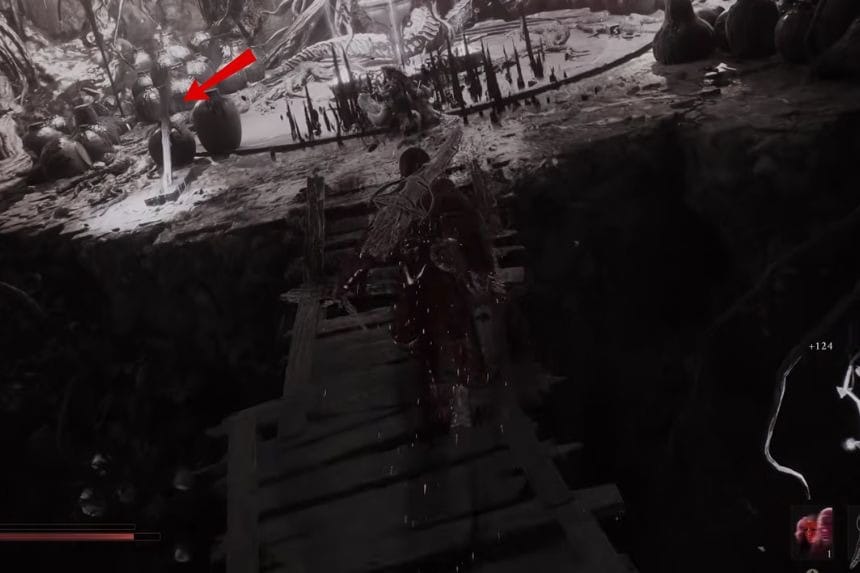
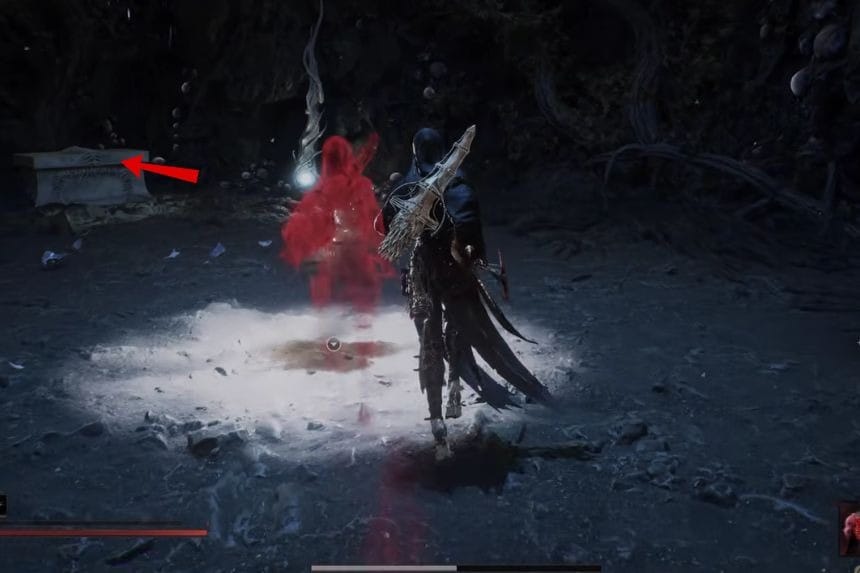
Once you have access to the Alchemist’s Workshop dungeon, head through the bookshelf to enter a hidden room. Continue through the area until you find a lever. Pull it to activate the lift, then use the lift to reach a chest. Open the chest to collect the Clockwork Shardstone.
Hexapod Core
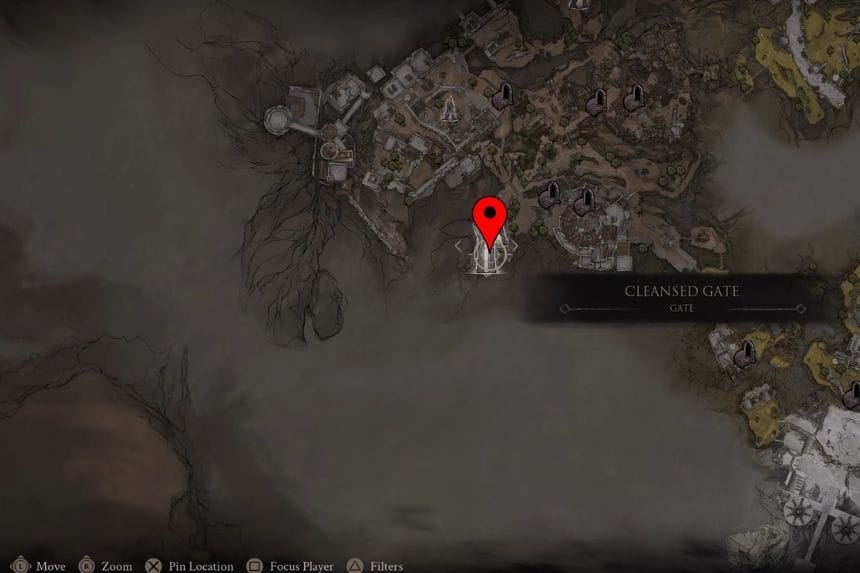
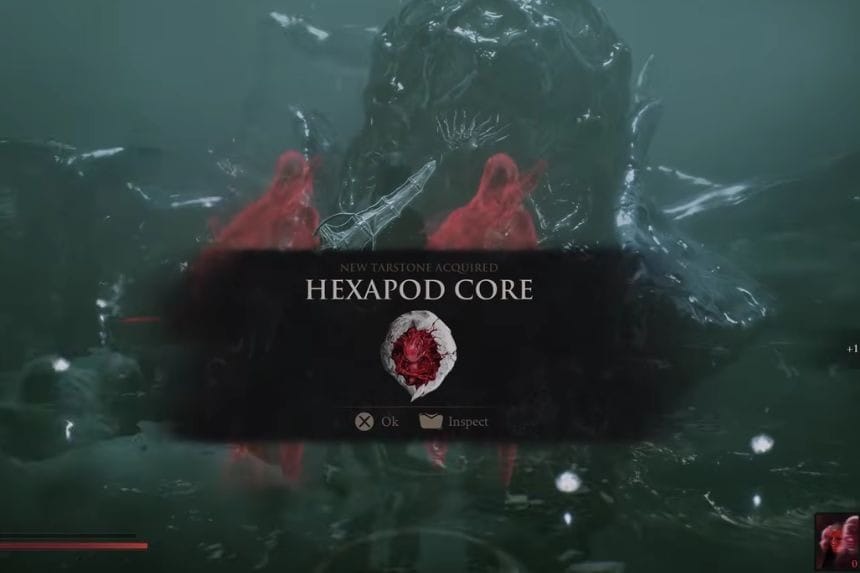
You can get the Hexapod Core by defeating the main boss Hexapod in the Withered Shoals area. Defeat the boss to receive the Hexapod Core.
Solnir Shard
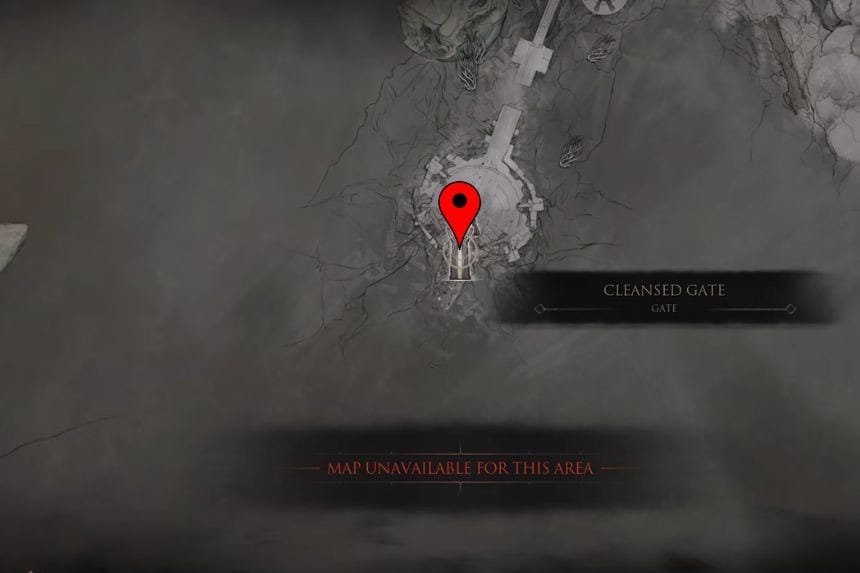
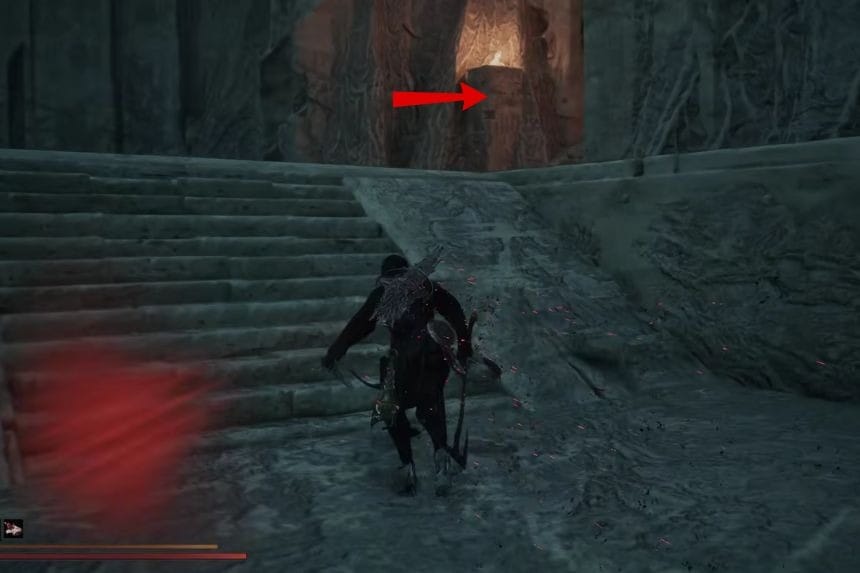
Head to the Faded Citadel and continue past the Citadel Annex Beacon. Follow the path through the area until you encounter the miniboss Solnir, the Gloom Seeker. Defeat Solnir to obtain the Solnir Shard.
Confessor’s Keepsake
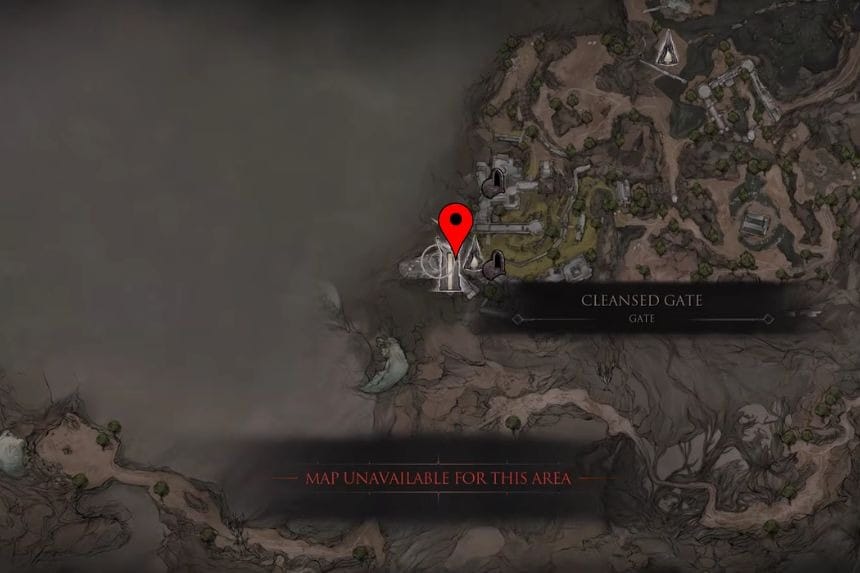
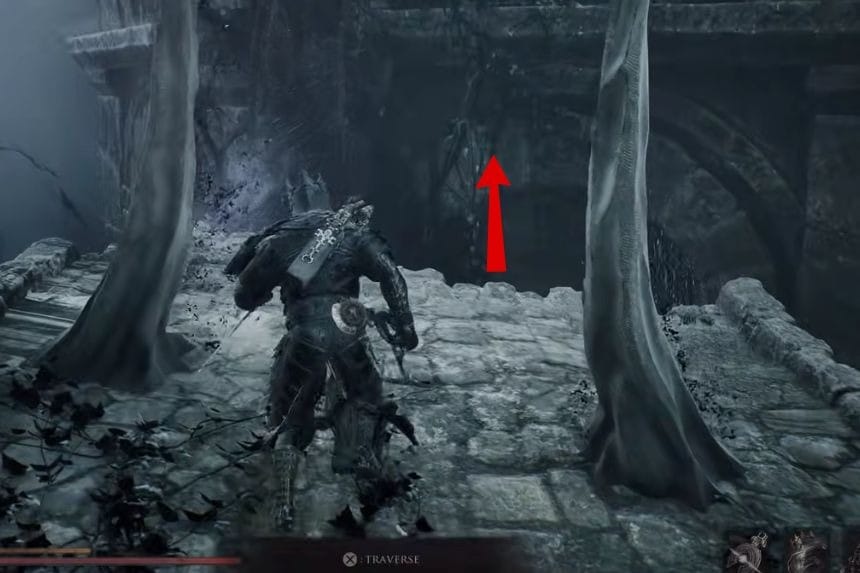
You can get the Confessor’s Keepsake by defeating Tishina’s Confessor in the Prisoner’s Domain. Defeat the boss to obtain the Confessor’s Keepsake.
Fusillade Stone
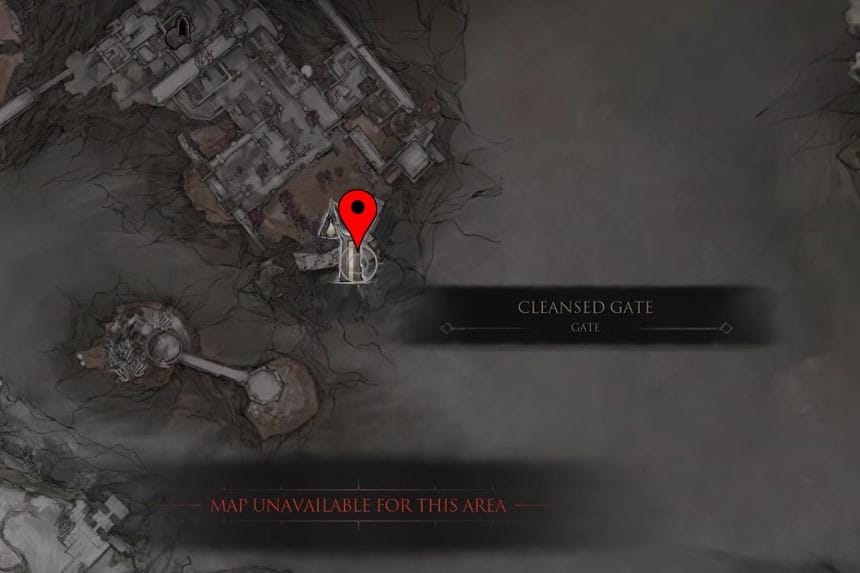
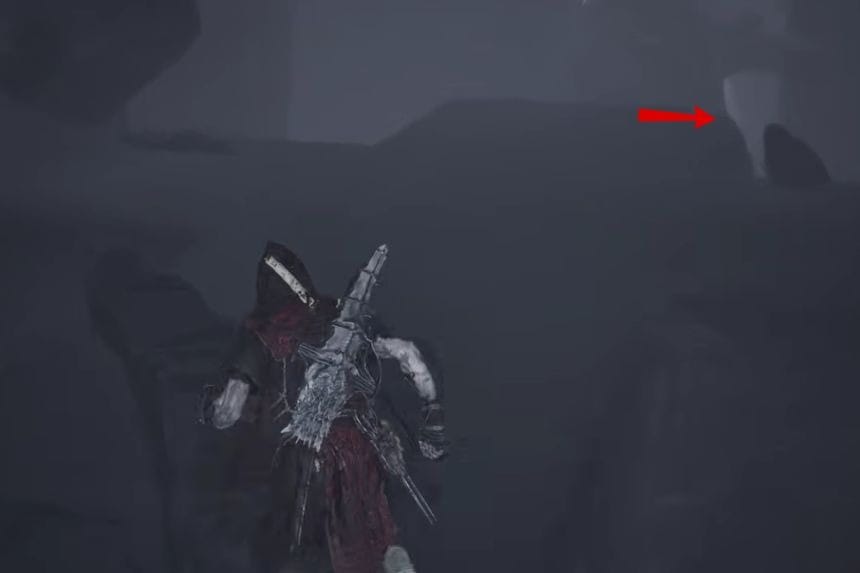
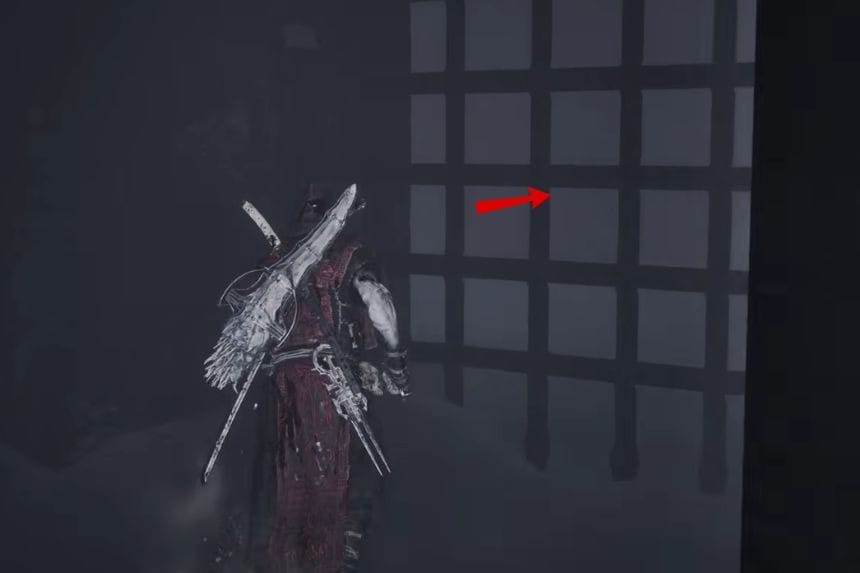
Head to the Winterglass Lake Beacon in the Conquered Temple area. Make your way through the beacon until you reach the end, where you’ll face the Caged Grisha. Defeat the boss to receive the Fusillade Stone.
Barrage Stone
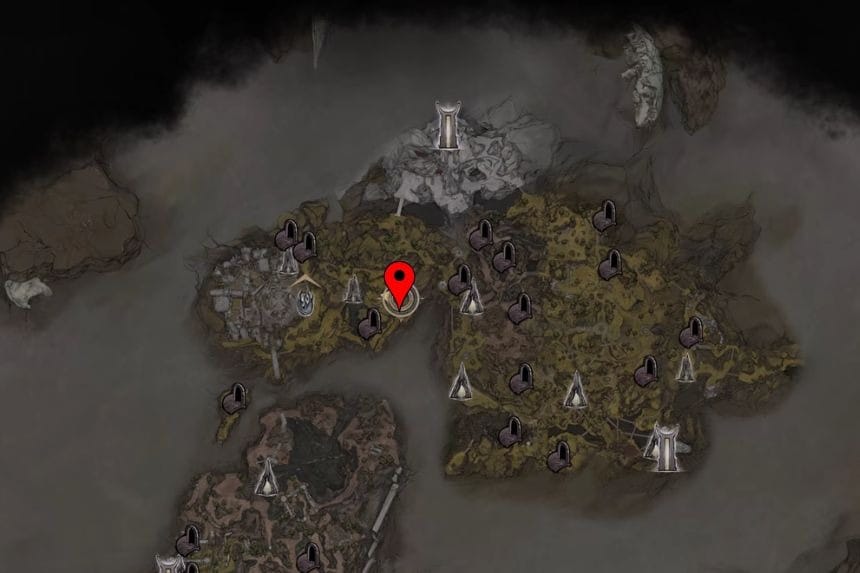
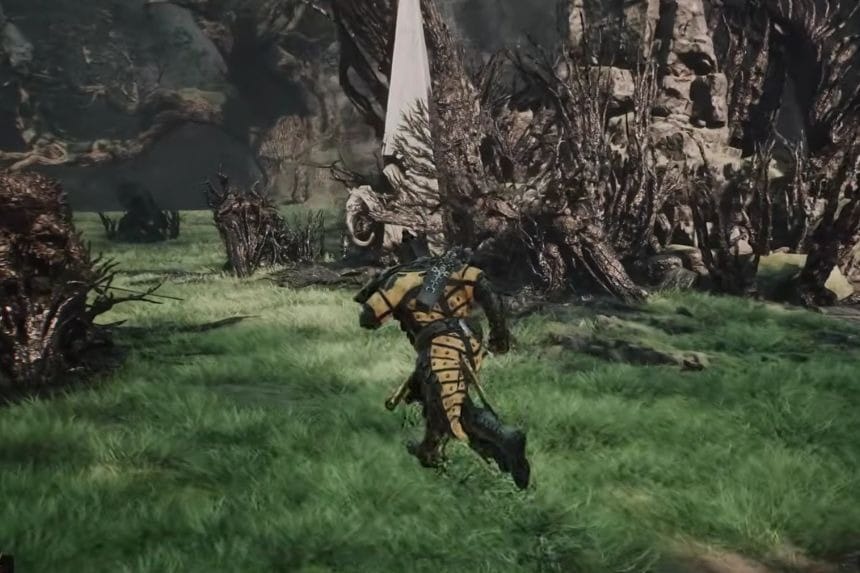
Head northeast of the Ravaged Hideout in Gloomshade Grove to find a trial. Enter the trial and complete the gauntlet. Once you finish it, collect the Barrage Stone from the monument.
Tarred Fragment
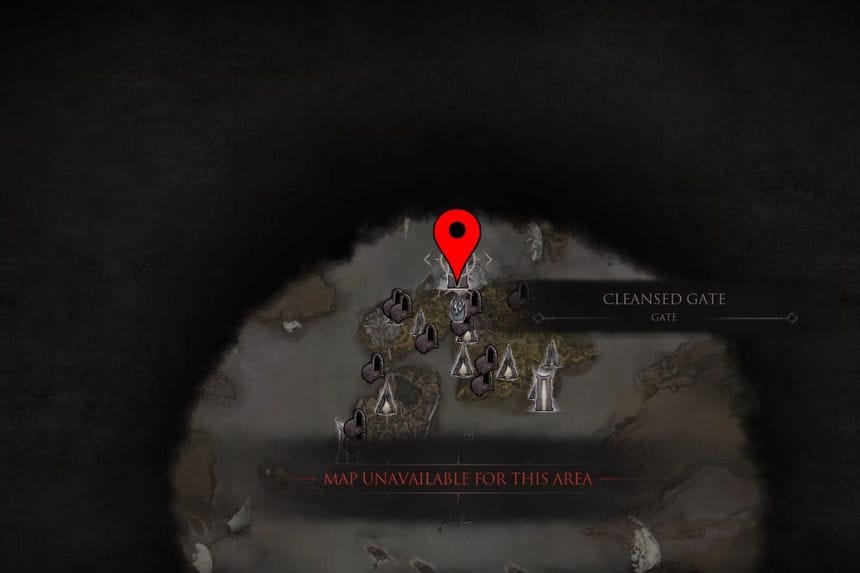
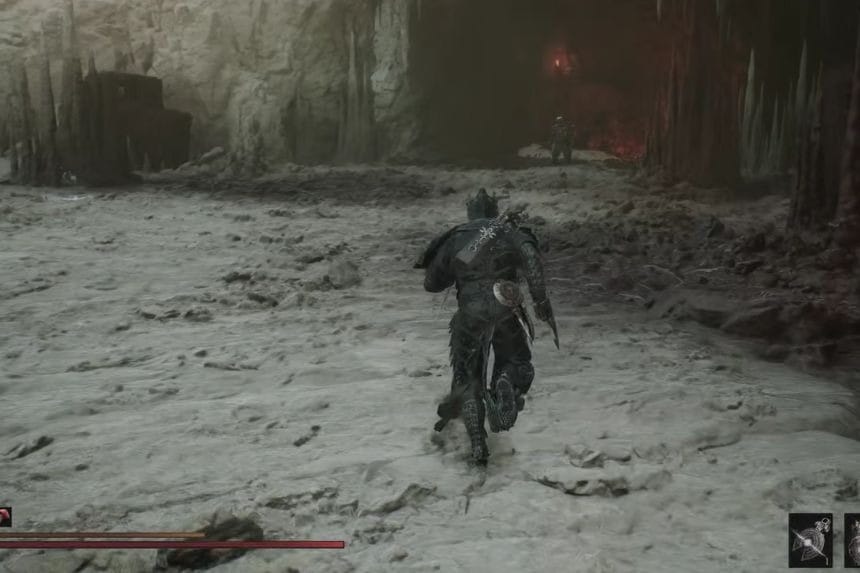
You can get the Tarred Fragment by defeating Tarblight Stoner in the Sanguine Caves. Defeat the boss to obtain the Tarred Fragment.
Strange Remnant
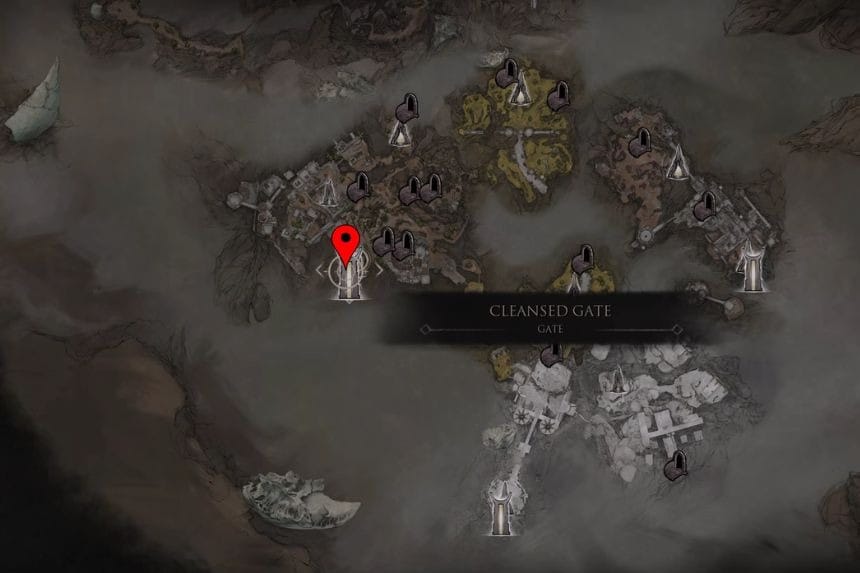
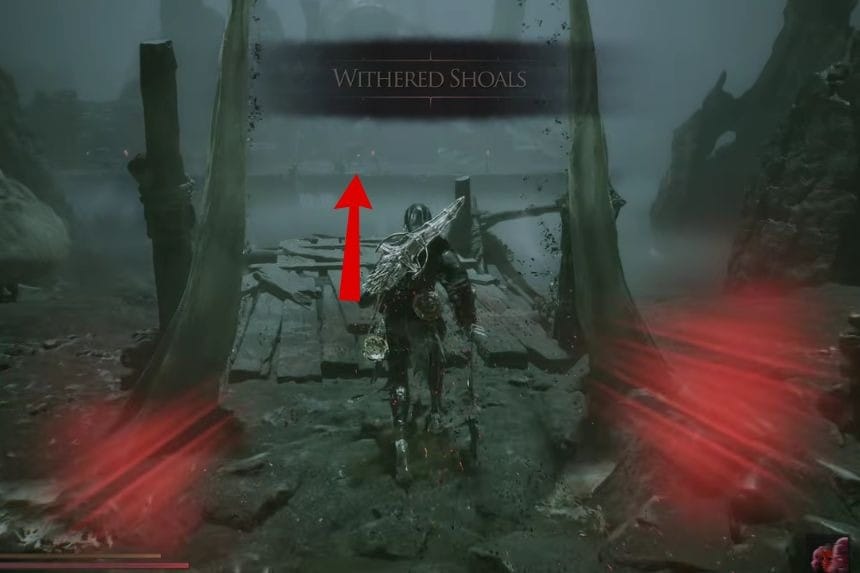
Start in the Withered Shoals and follow the main path while staying on the right side. Keep going until you reach a Bone Gate that lets you jump across to an island. Once you reach the island, you’ll encounter the Strange Grisha miniboss. Defeat it to obtain the Strange Remnant.
Infested Stone, Infused Stone, Weeping Stone and Fulminant Stone
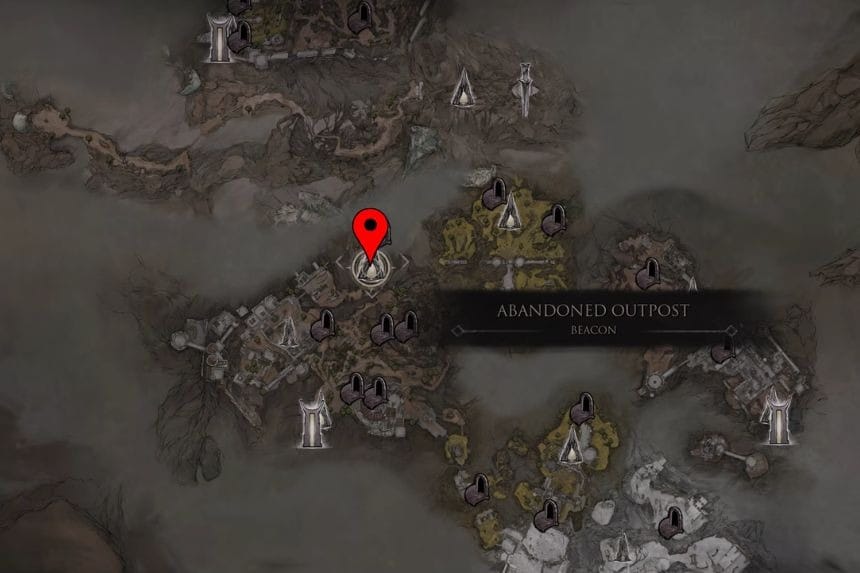
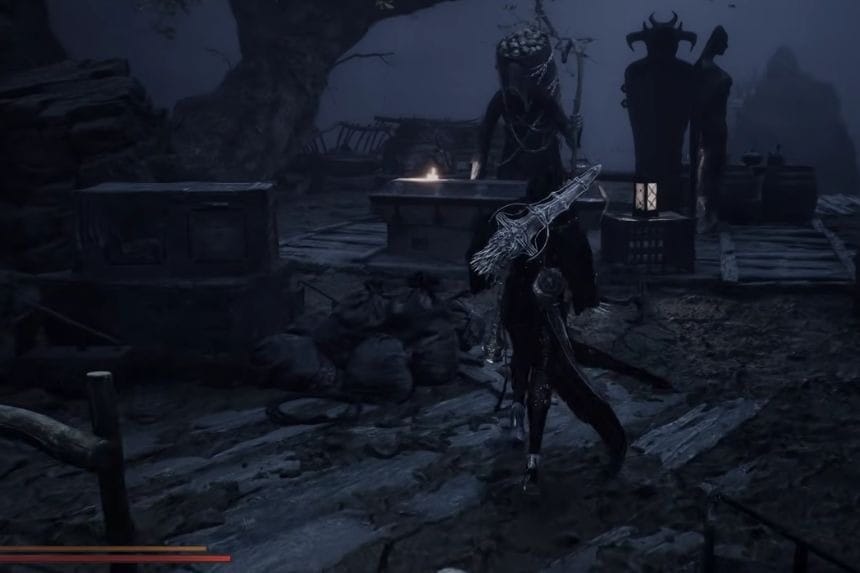
First, switch the game to nighttime. Then head directly south of the Abandoned Outpost Beacon, where you’ll find a vendor named The Collector. Speak to The Collector and purchase the Infested Stone, Infused Stone, Weeping Stone and Fulminant Stone for 1,500 Coins.
Summoning Stone
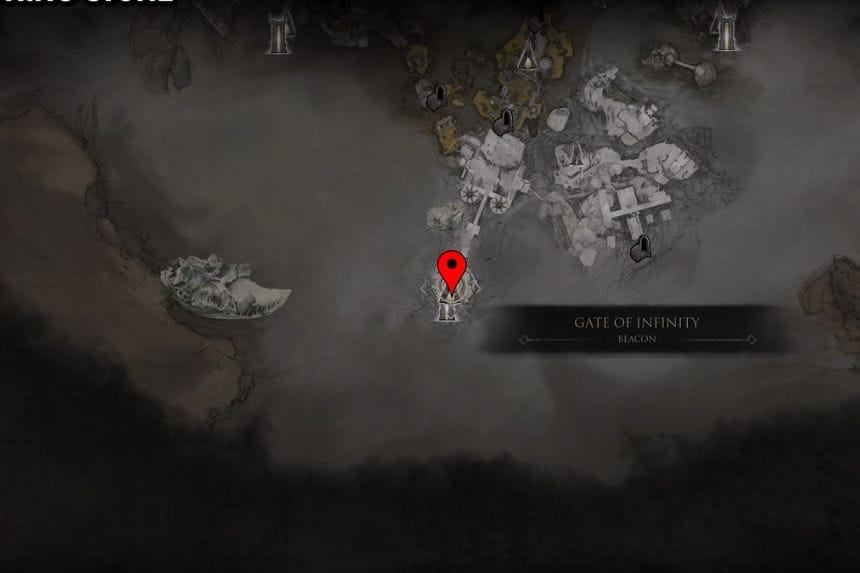
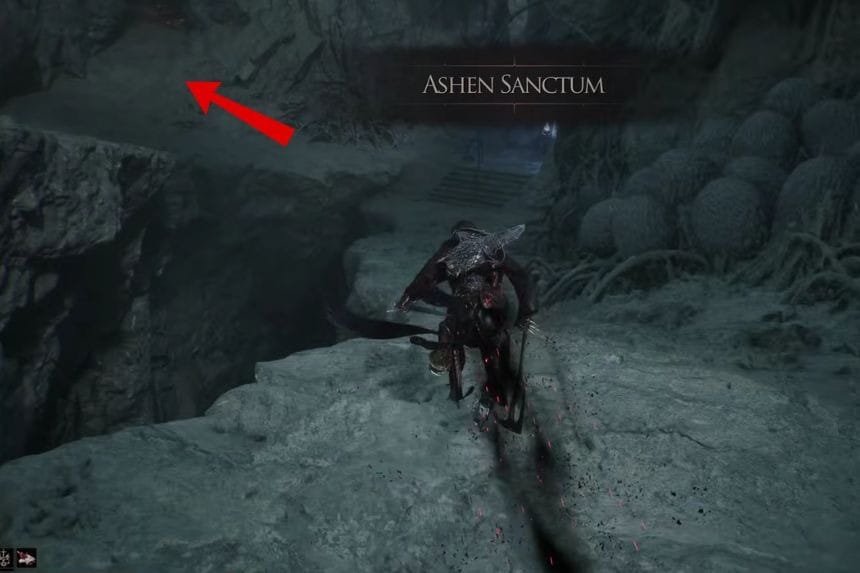
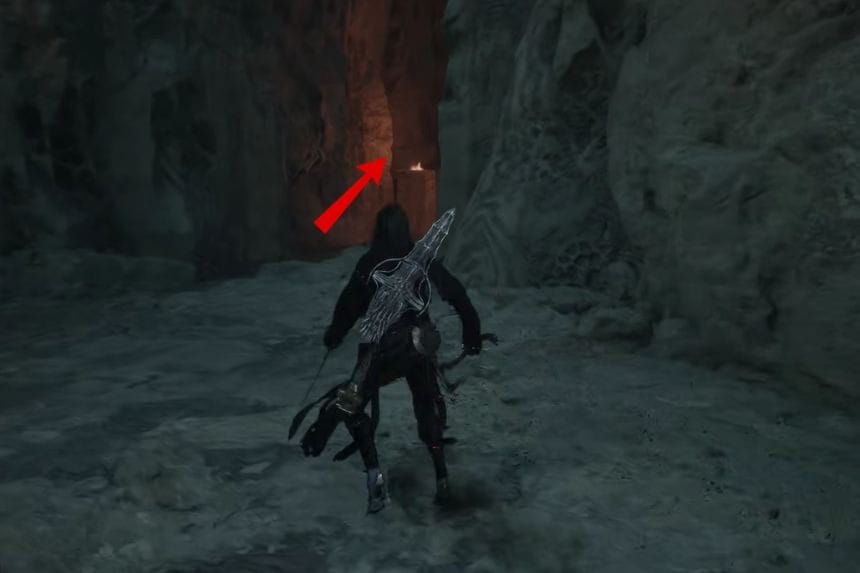
Start in the Faded Citadel and make your way through the area until you reach the second group of enemies with invulnerability fire. Defeat them, then head up the stairs inside the flame-lit tunnel. At the top of the stairs, you’ll find a chest. Open it to collect the Summoning Stone.
Hand of Rock
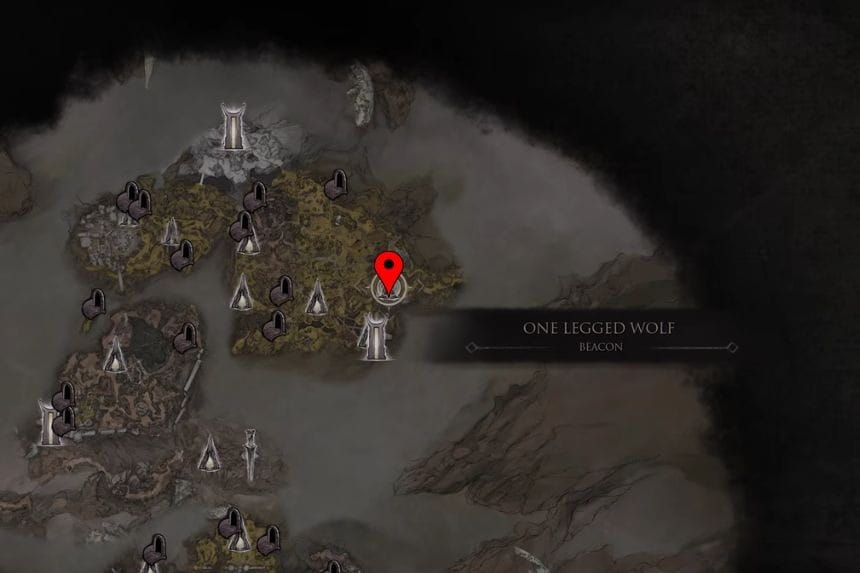
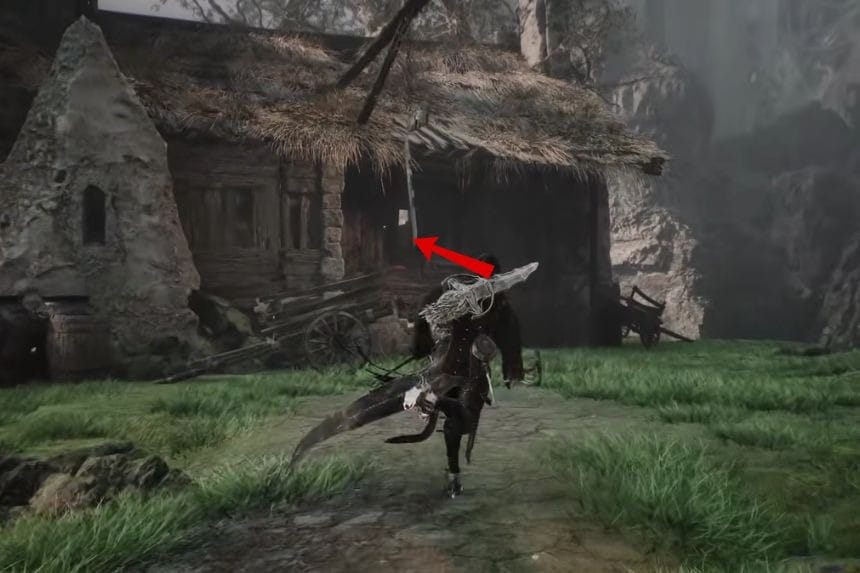
You can buy the Hand of Rock from the Tavern Keeper at the One-Legged Wolf Tavern in Fainweald. It costs 1,500 Coins, so make sure you have enough before purchasing it.
