
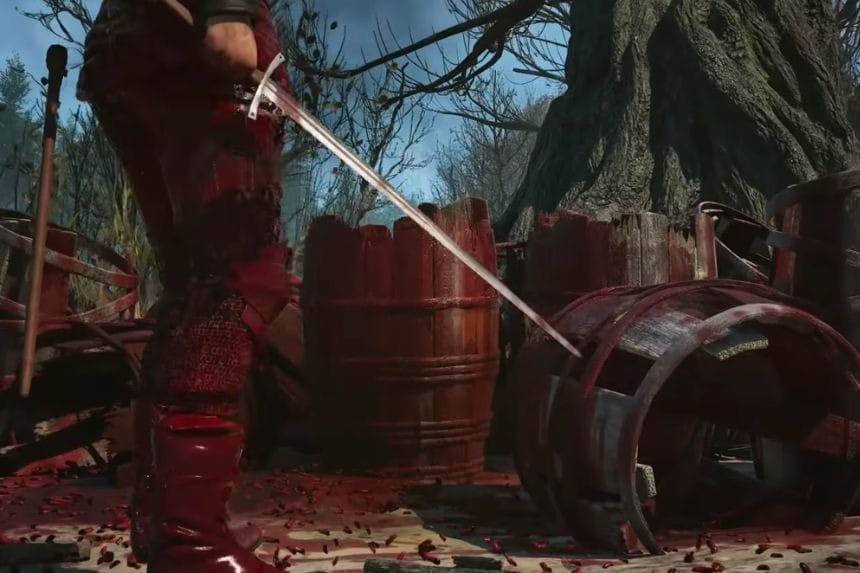
This guide covers all 20 Ambrus Court Activities in The Blood of Dawnwalker. Follow the step-by-step walkthrough to find each activity, defeat enemies, rescue prisoners, destroy blood and leech supplies, investigate outposts, and complete related objectives. We’ve included clear directions for every activity to help you progress through the quests without missing important steps.
All Ambrus Court Activities
There are a total of twenty Ambrus Court Activities in The Blood of Dawnwalker. Here’s an easy breakdown of each one of them. Do note that each activity will take up 3 Time Segments, so you need to plan your quests accordingly. Fortunately, you don’t need to do all 20 quests to trigger Ambrus’ wrath.
Keep checking his anger meter under the Court tab after each quest to see how many is required to bring his downfall. Keep an eye out for two particular quests to appear as well, as these quests are when you get to counter Ambrus for good. The quests you need to check for are The Gilded Gauntlet, which also triggers the Ambrus boss fight in The Bittersweet Toast.
As another tip, it’s suggested to climb all the towers to uncover more of the map as well as all court activities, so it’s easier to get from place to place.
Ambrus’s Transports: Bloody Business

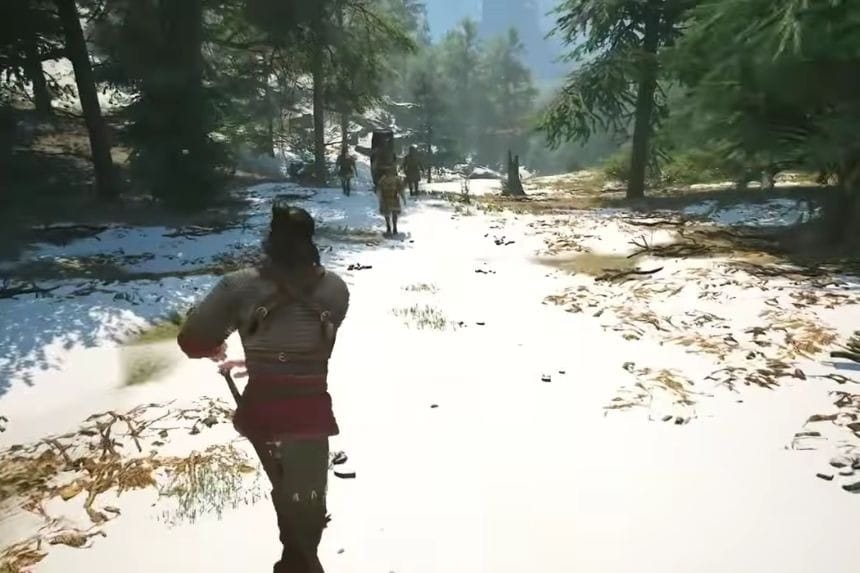
Start by going to the marked location, northeast of St. Tyna’s Grove. Once there, you’ll find a group of men whom you’ll need to engage in battle with. Once you defeat them, check the captain’s body for the Letter of Reprimand and end the quest.
Ambrus’s Transports Roadside Surprise
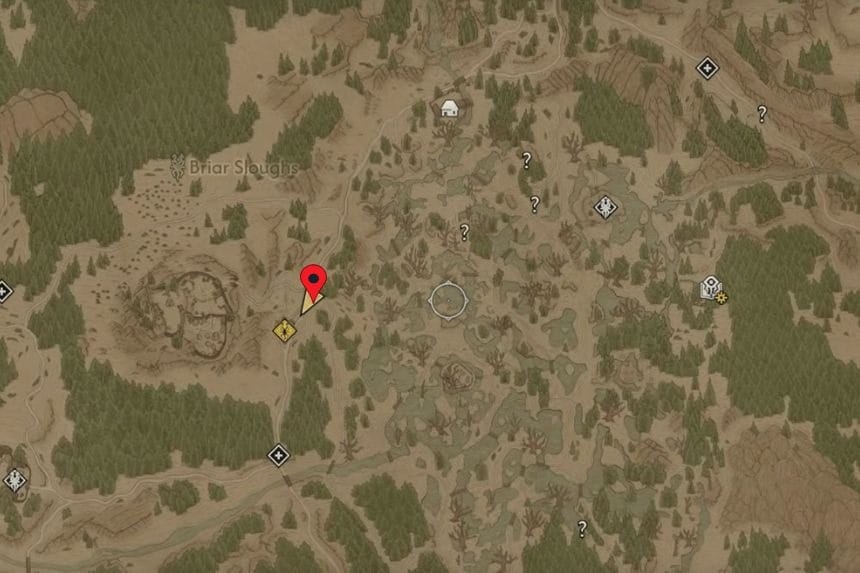
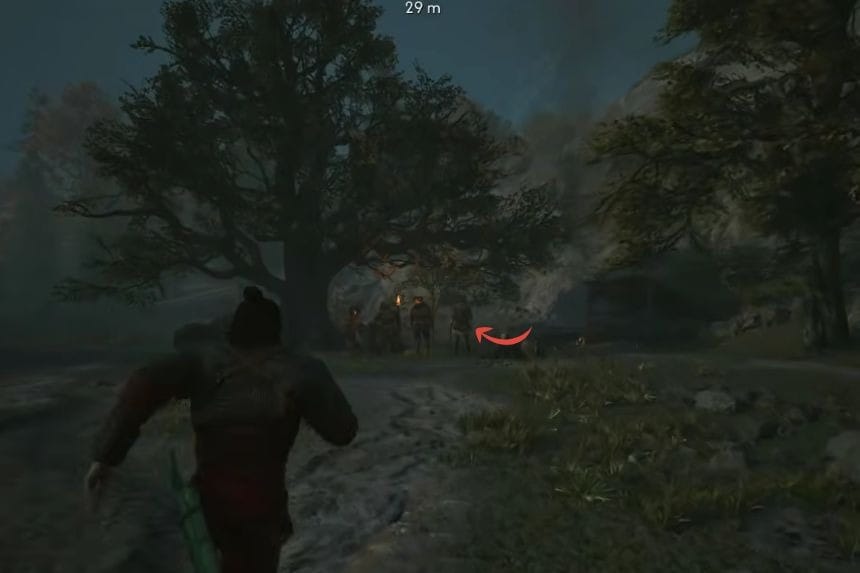
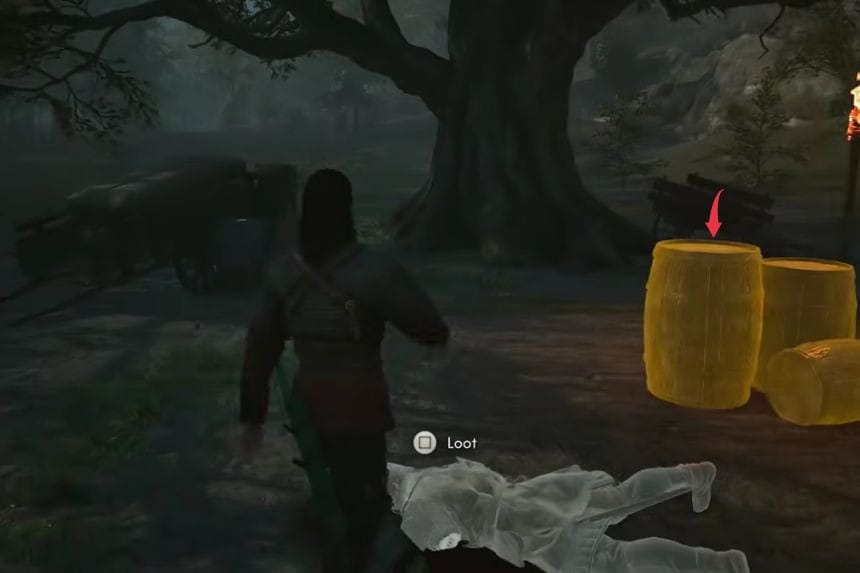
Start by heading towards the southeast of Briar Sloughs. Once you’re at the marked location, you’ll find some guards under the tree. Engage in combat with them and once they’re defeated, check the barrels there to free Klaus the Brave. The quest will end after a short cutscene.
Ambrus’s Leech-Pickers

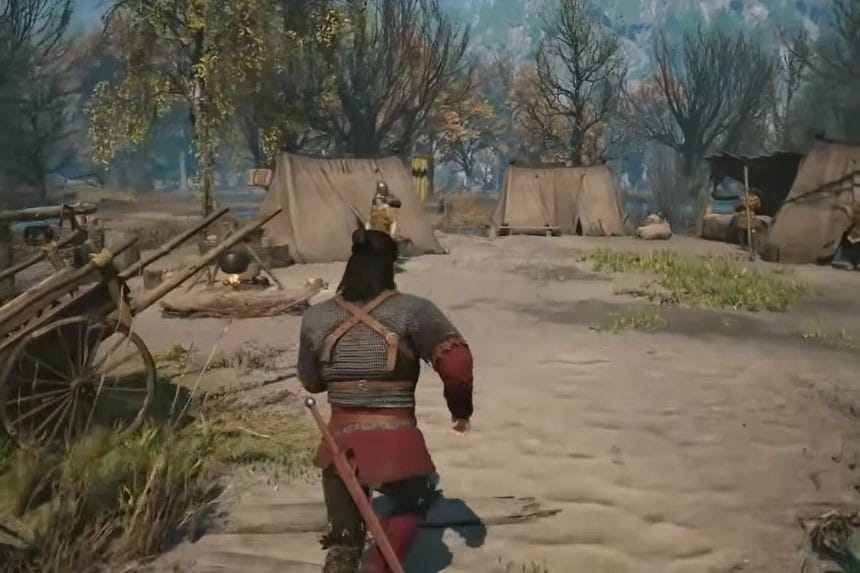
For this one, you’ll need to go east from Briar Sloughs. Going to the marked location will take you to Ambrus’s soldiers’ camp. You’ll need to find out why they require leeches. Engage in combat and defeat them to loot their bodies; you’ll find a letter from Boyar Ambrus explaining the importance of leeches for storing blood. This is the reason why the soldiers needed leeches.
Ambrus’s Collectors Bounty of the Mire
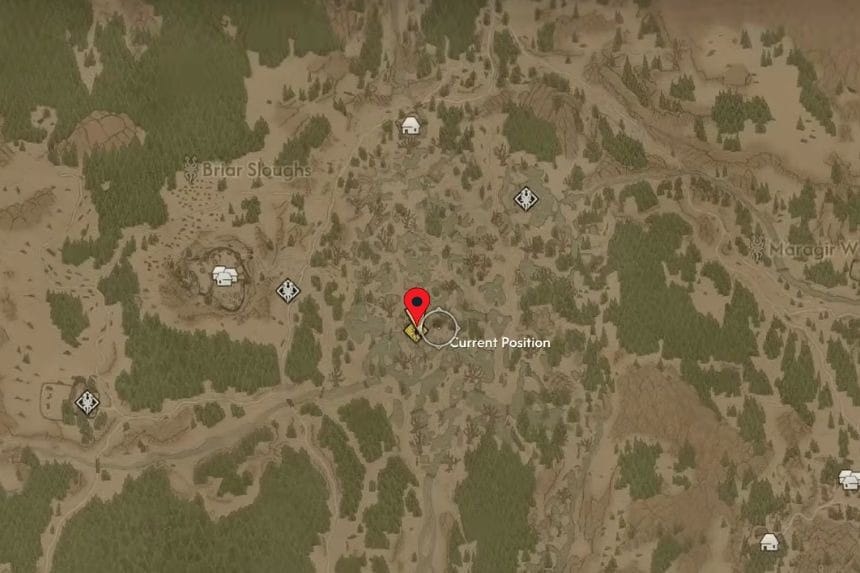
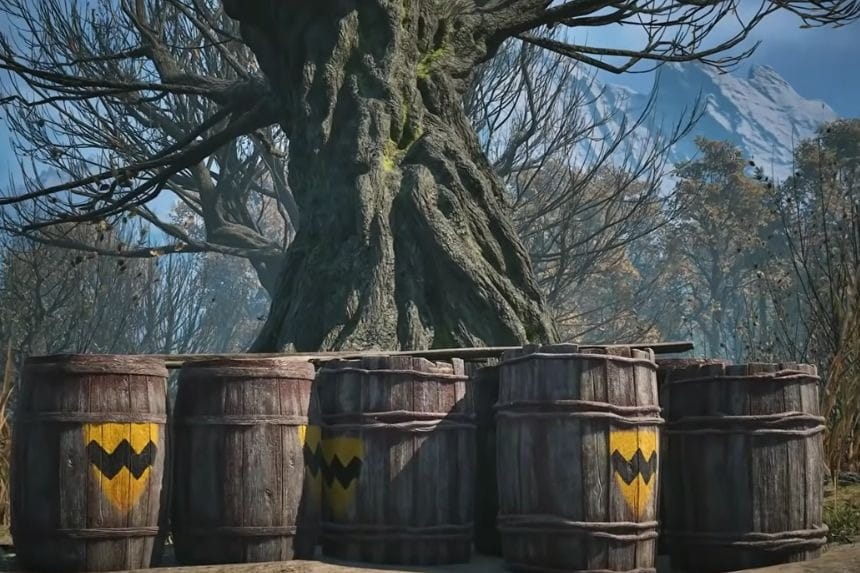
Go southeast from Briar Slough for this one. Once you’ve reached the marked location, you’ll find barrels of leech under a tree on the right. Your task here is to destroy the barrels. Collectors might come and try to stop you from destroying the barrels but you don’t have to listen to them; simply move forward with destroying the leeches.
Ambrus’s Collectors Wetland Helpers
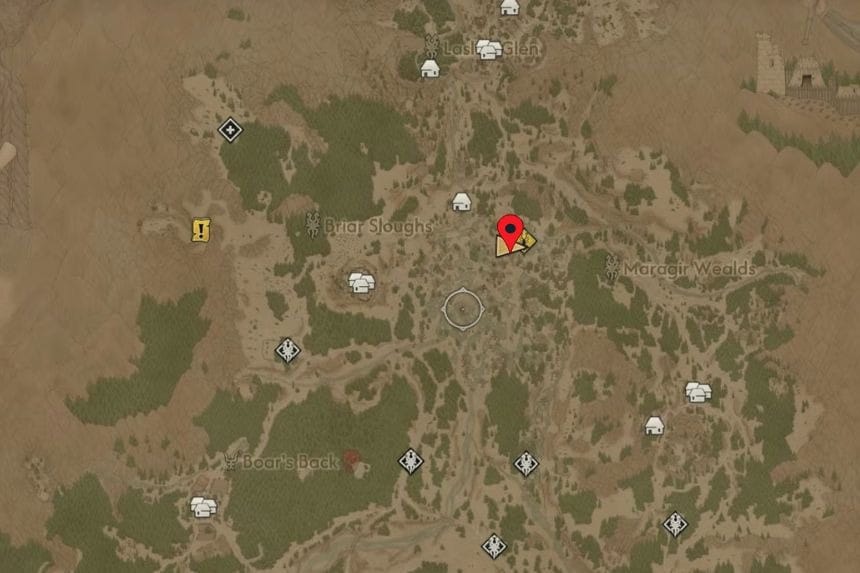
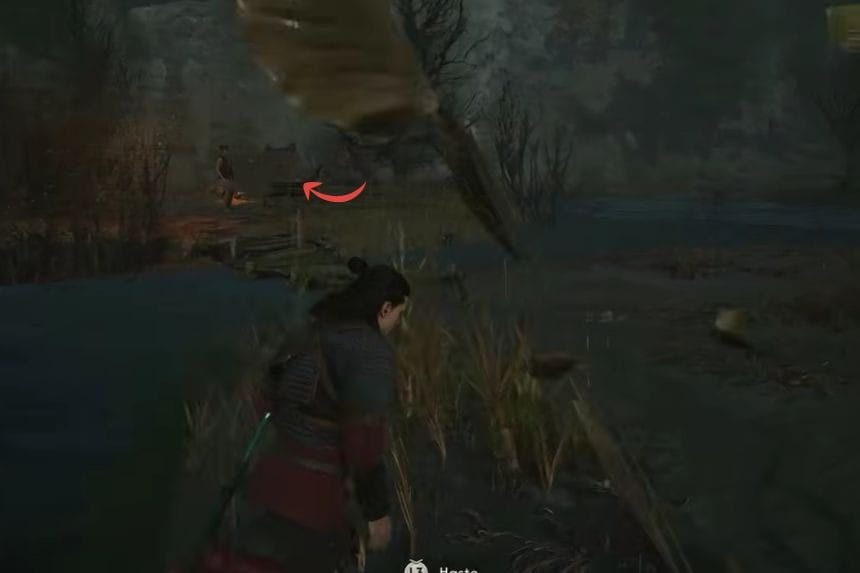
Go to the marked location northwest of Maragir Wealds. Once you’re there, you’ll find yourself on a small bridge. Cross the bridge and go left to reach the camp with leech barrels. Defeat the guards present there and proceed with destroying the leech barrels.
Ambrus’s Collectors Unsavoury Solutions
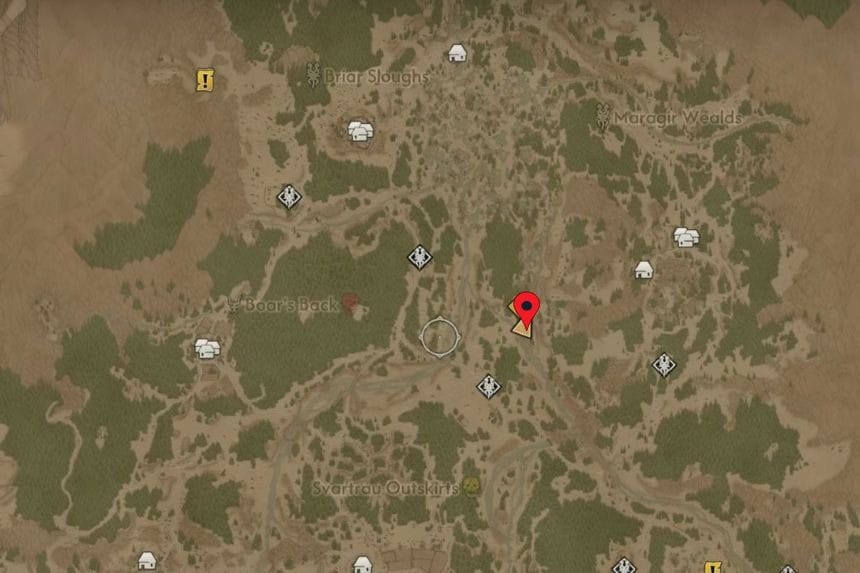
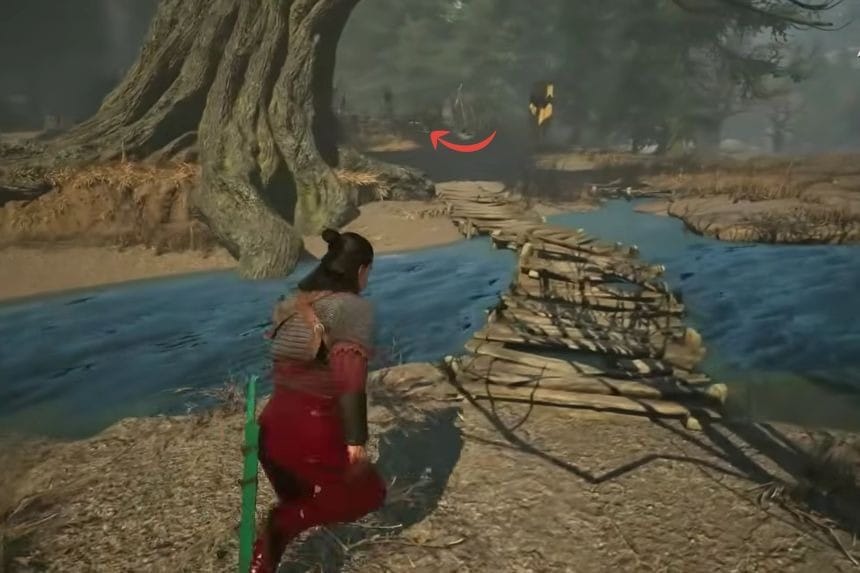
For this one, you’ll need to go east of Boar’s Back. Once you’re at the marked location, cross the small bridge on the left, and enter the camp. Defeat the camp guards present there and then destroy the leech barrels.
Ambrus’s Prisoner Lucky Crossing
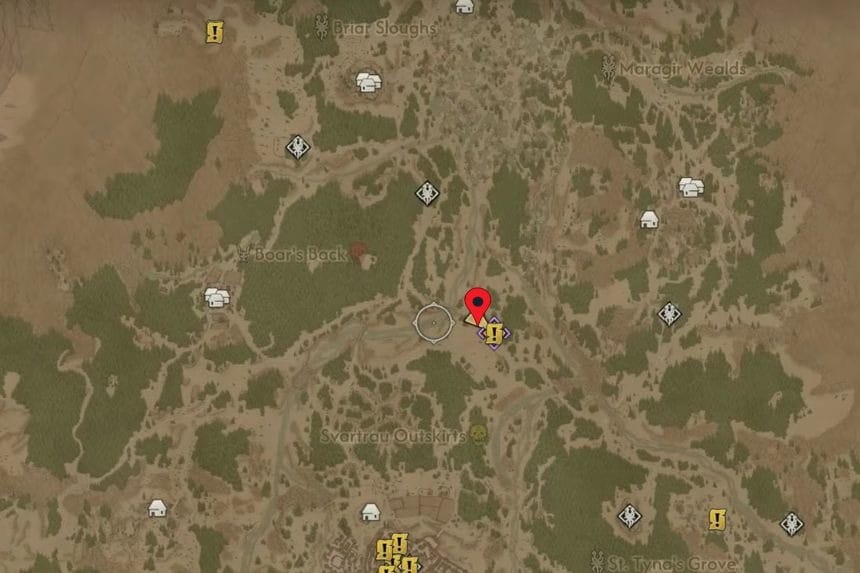
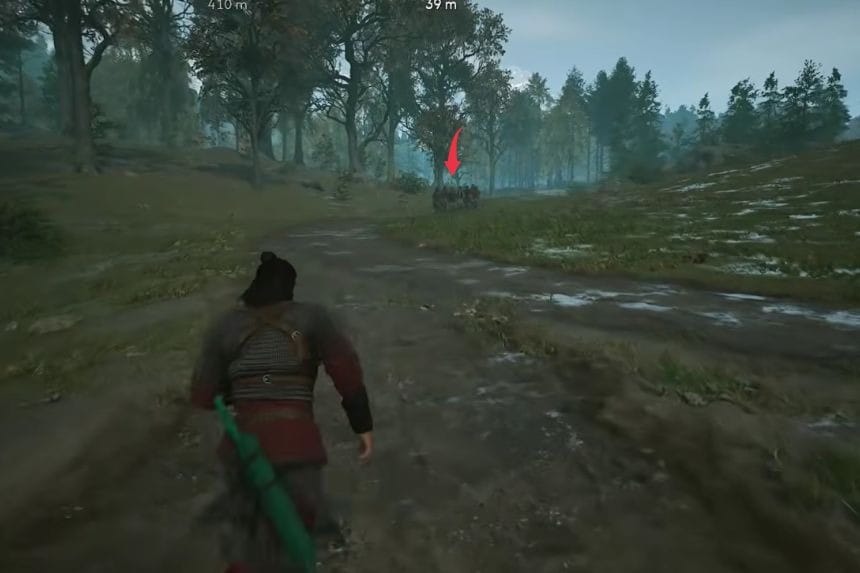
Start by going southeast of Boar’s Back. Once at the marked location, you’ll see that Ambrus’s prisoners are being transported via Lucky Crossing. Your task is to defeat the guards and free the prisoners.
Ambrus’s Prisoner Lucky Crossing
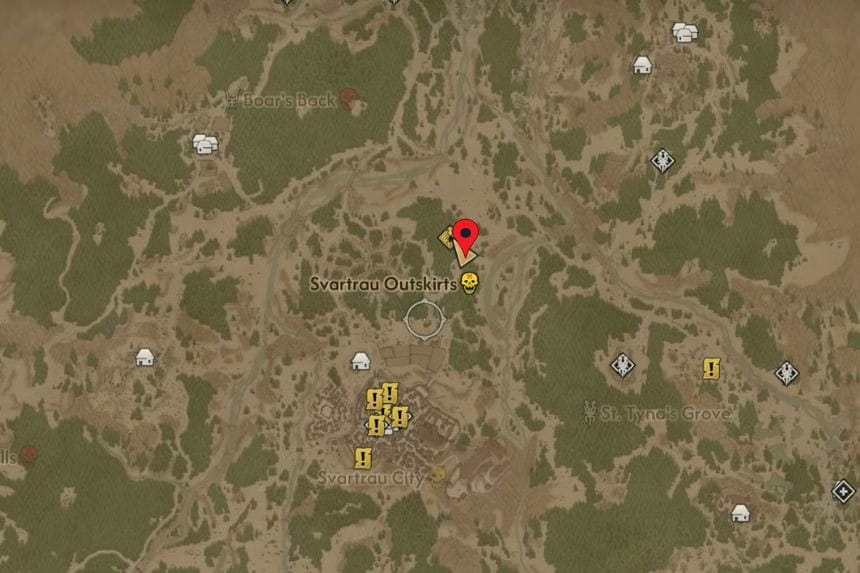
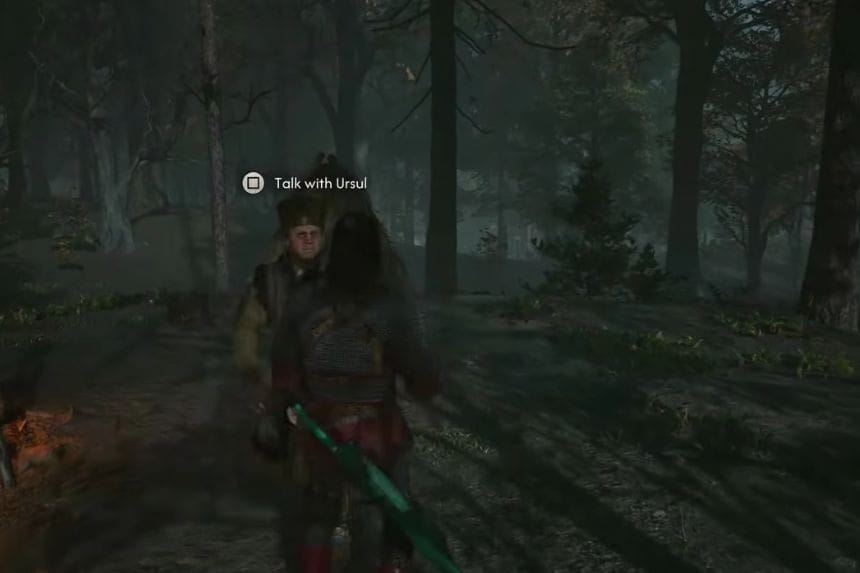
Go to the northeastern part of the Svartrau Outskirts to reach the spot where Ursul is camping. Your task is to simply meet up with Ursal and engage in conversation with him to end the quest.
Ambrus’s Prisoner Fate’s Mercy
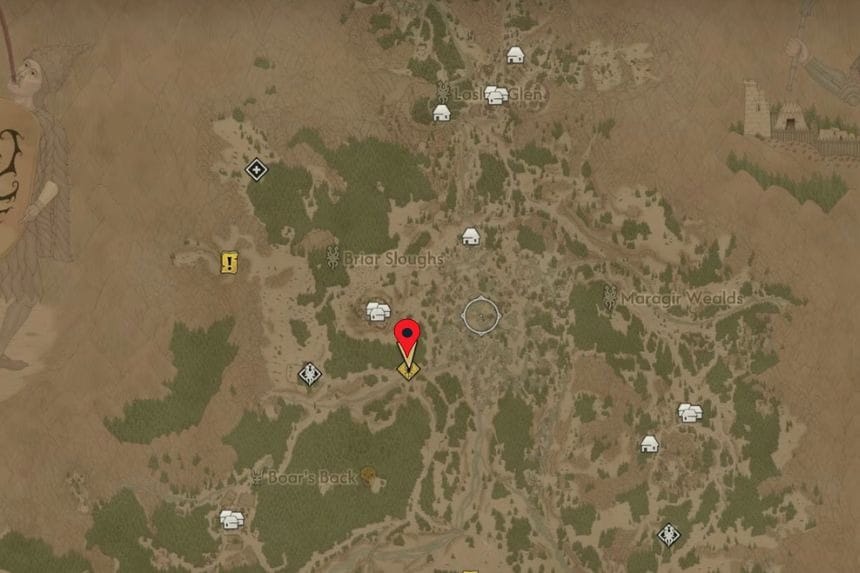
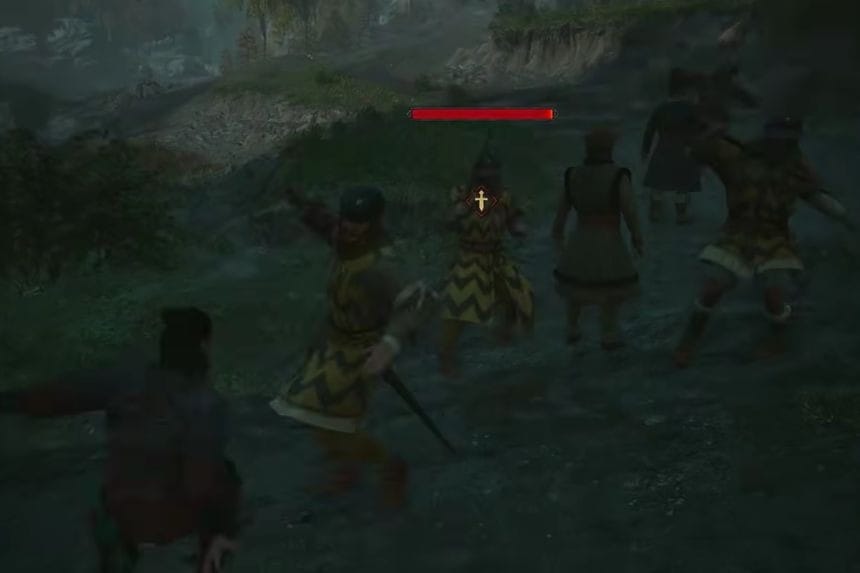
Go to the southern area of Briar Sloughs and once you’ve reached the marked location, you’ll find Ambrus’s prisoners being transported via road. Defeat the guards transporting the prisoners and free them to complete the task.
Ambrus’s Cellars: Uninvited
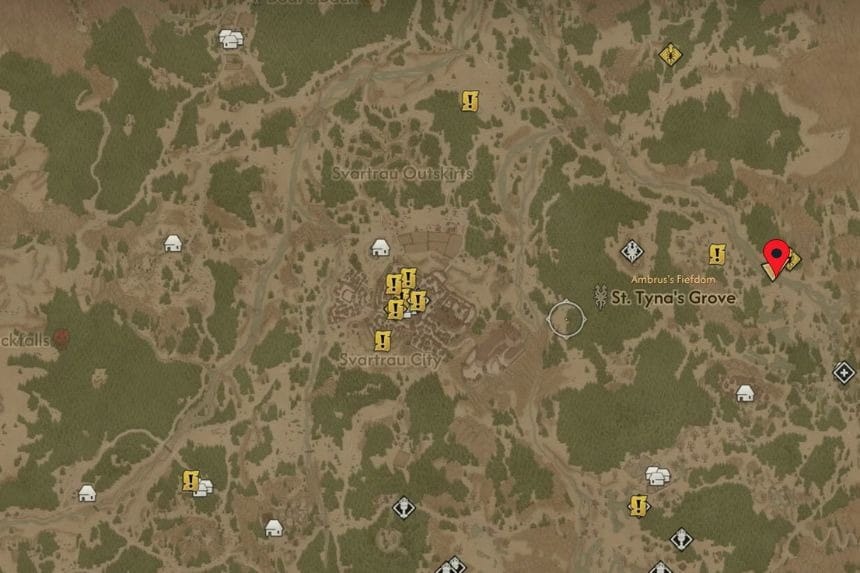
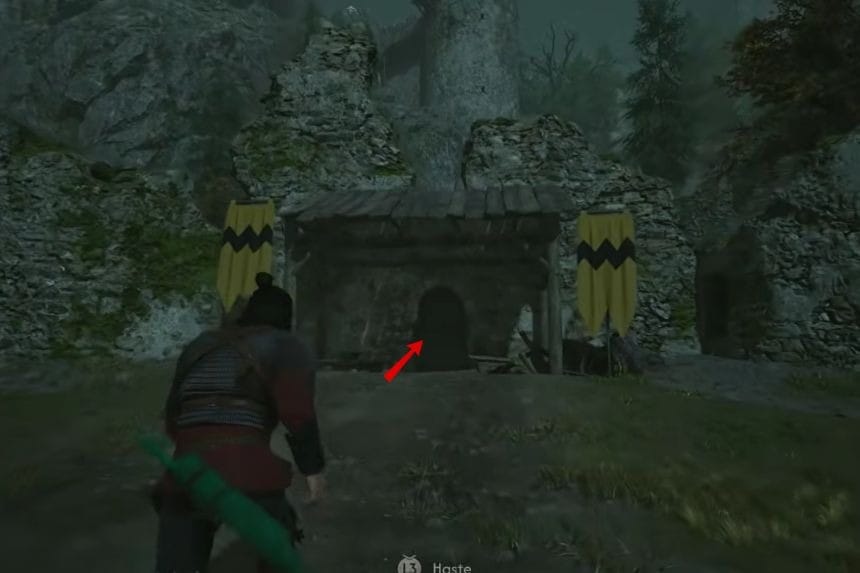
For this one, you’ll need to go to the northeastern part of St. Tyna’s Grove. Once you’re at the marked location, you’ll find the gate to one of Ambrus’s outposts. Go inside and you’ll find his guards camping there.
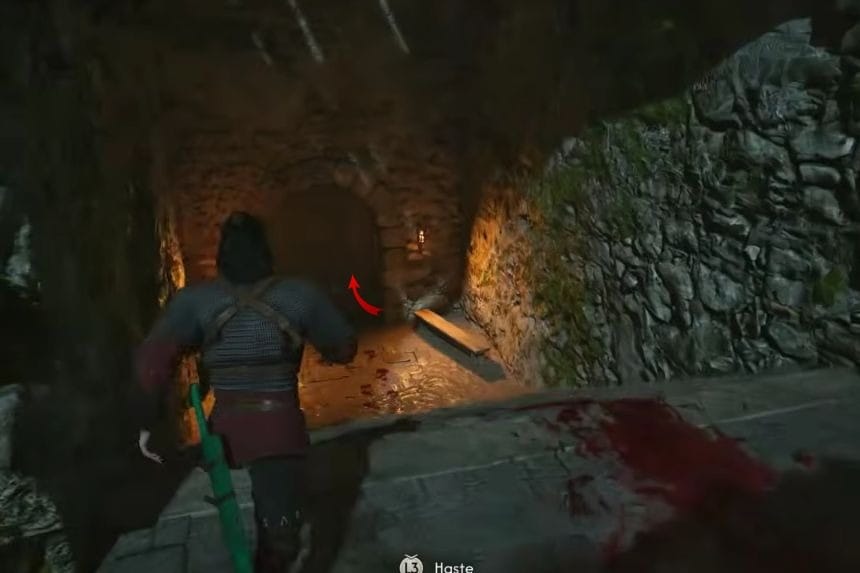
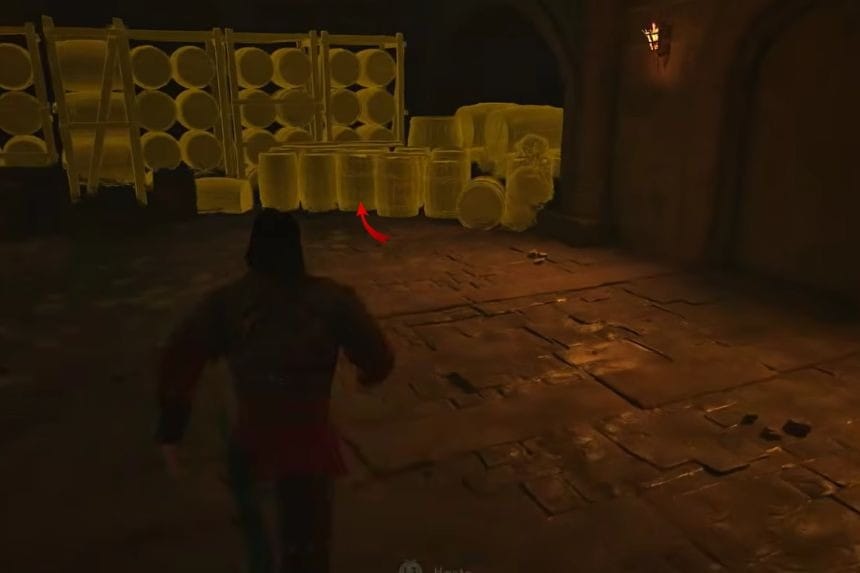
You’ll need to defeat them and go down to the cellar you’ll find on the left. Inside, you’ll encounter some more guards and the boss, Murohn. Defeat them and loot the boss’s body to get Murohn blood. Once you’re done with the boss, you’ll need to destroy the barrels of blood present in the cellar to complete the objective.
Ambrus’s Cellars Seeing Red
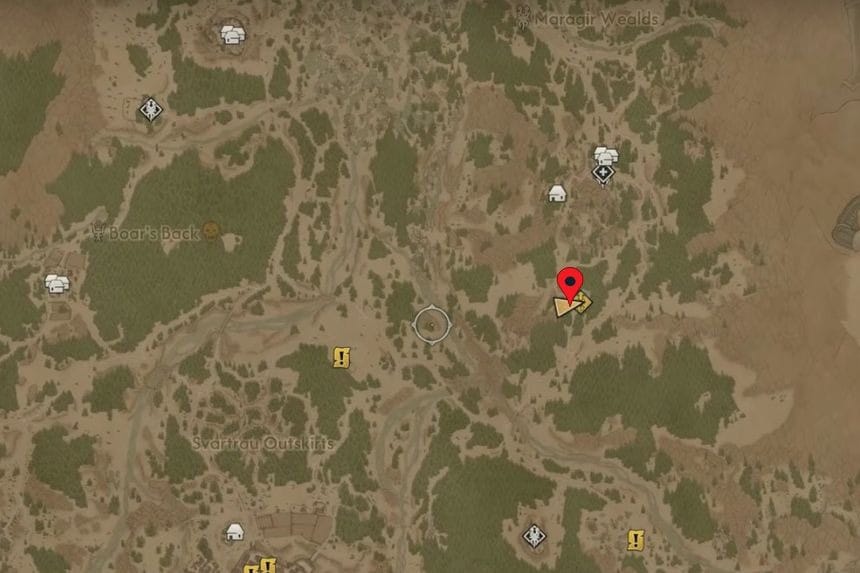
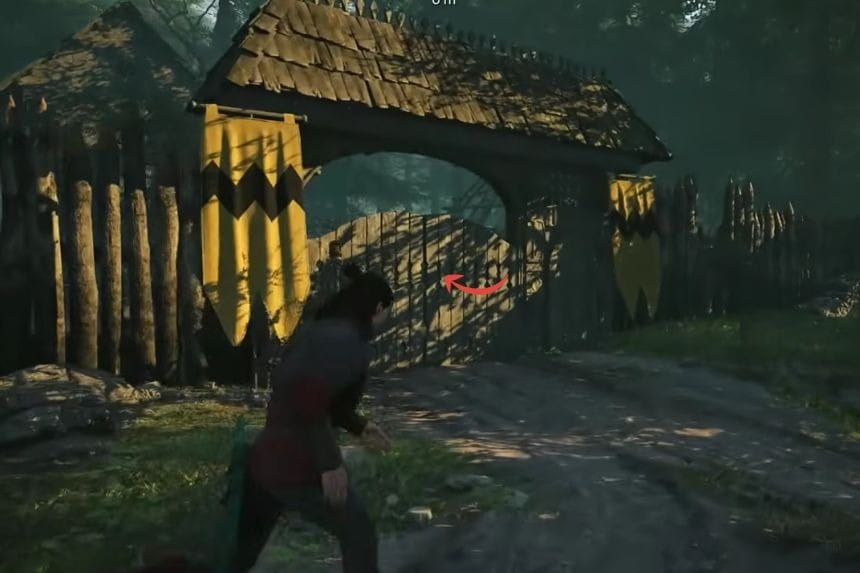
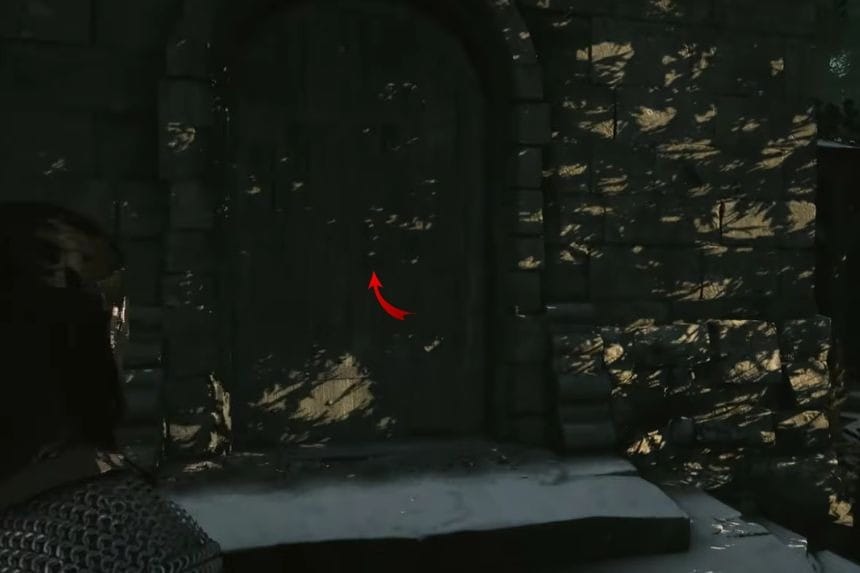
Start by going south from Maragir Wealds to reach one of Ambrus’s outposts. Defeat the guards inside to gain entrance to the cellar.
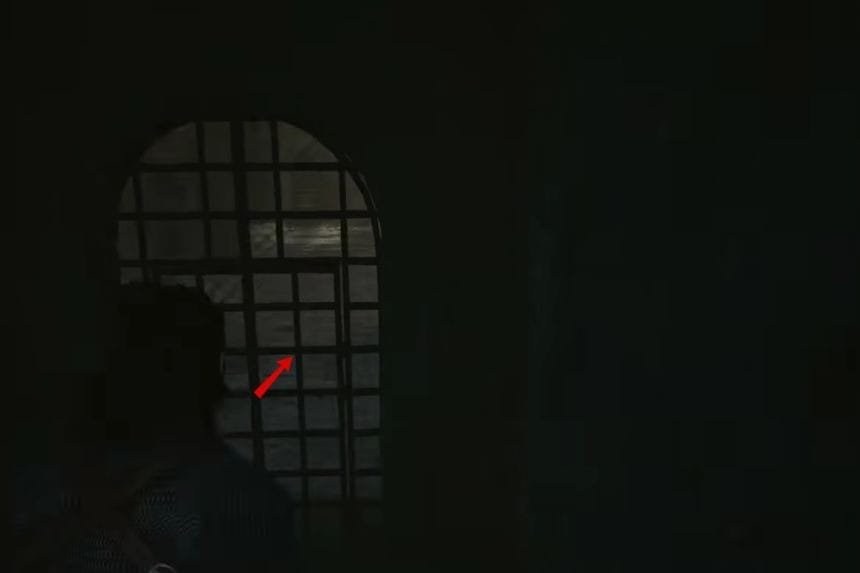
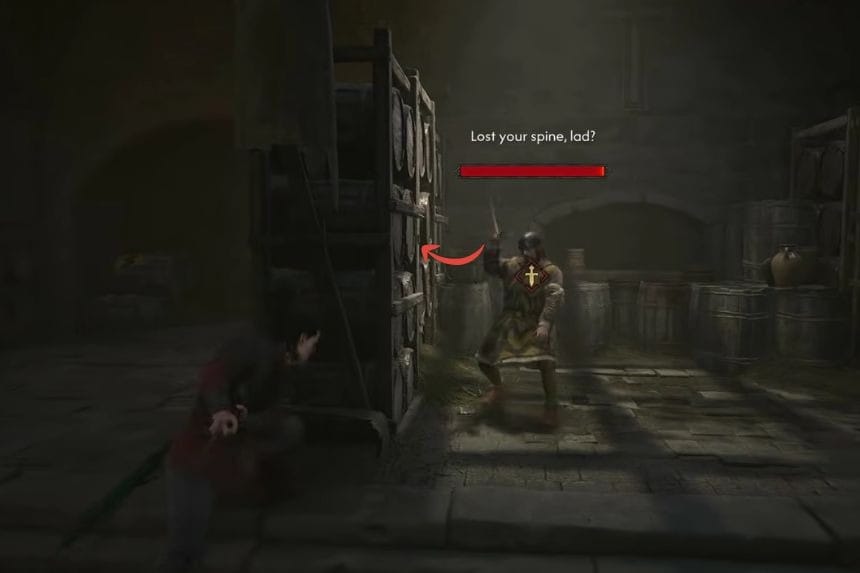
Inside the cellar, keep to your right to reach the room with the blood stock. You’ll first need to defeat the guards inside and then, destroy the barrels of blood present in the room.
Ambrus’s Cellars Trouble Brewing
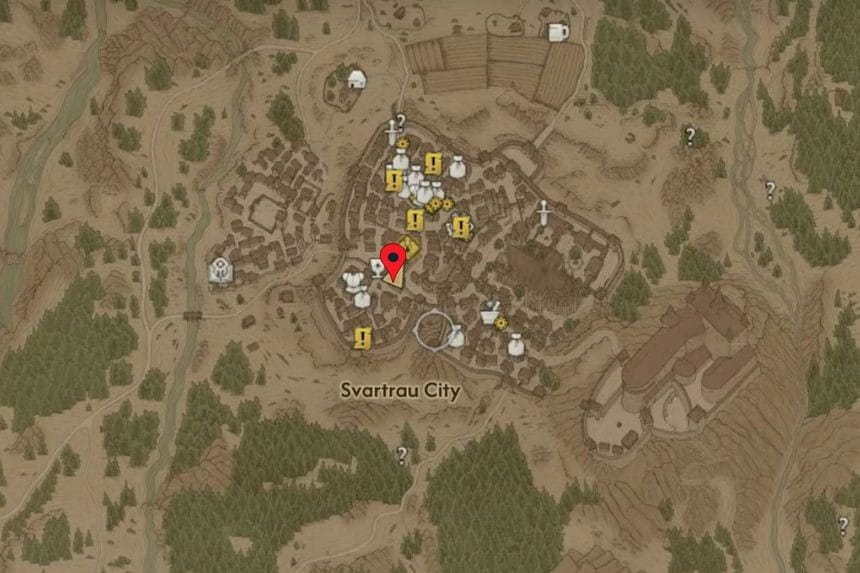
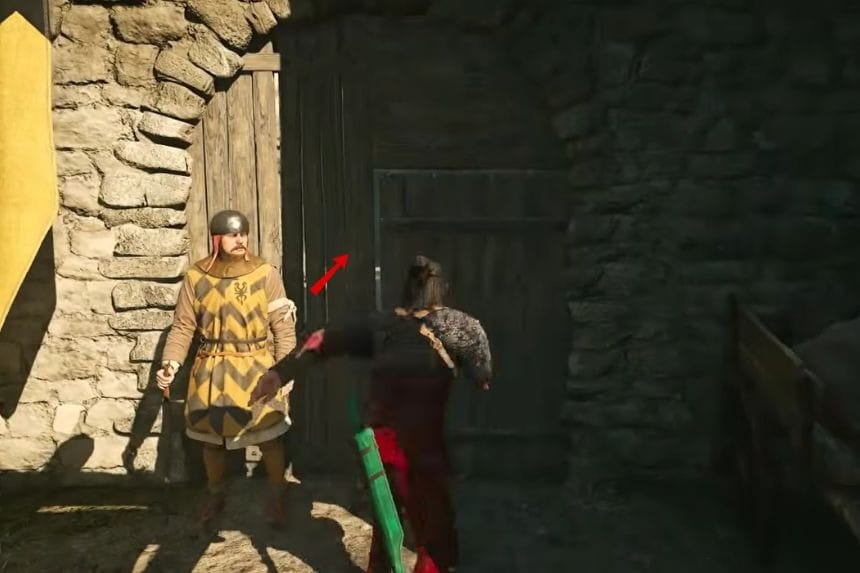

You’ll need to start by going to the northwestern part of Svartrau City. Once you’re at the marked location, you’ll need to trespass through the outpost, defeat the guards inside, and go to the cellar whose steps are stained with blood.
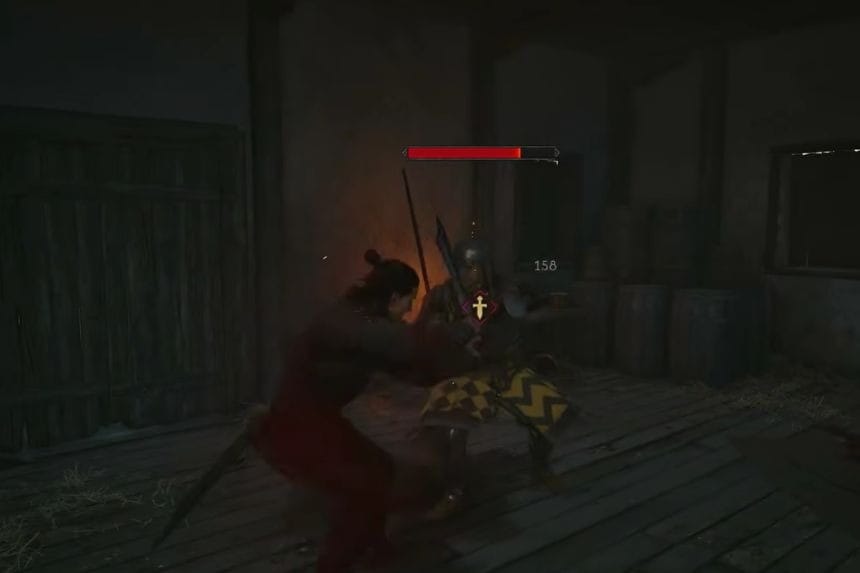
Your task is simple: defeat the guards inside, and destroy the barrels containing blood.
Ambrus’s Cellars Trouble Brewing
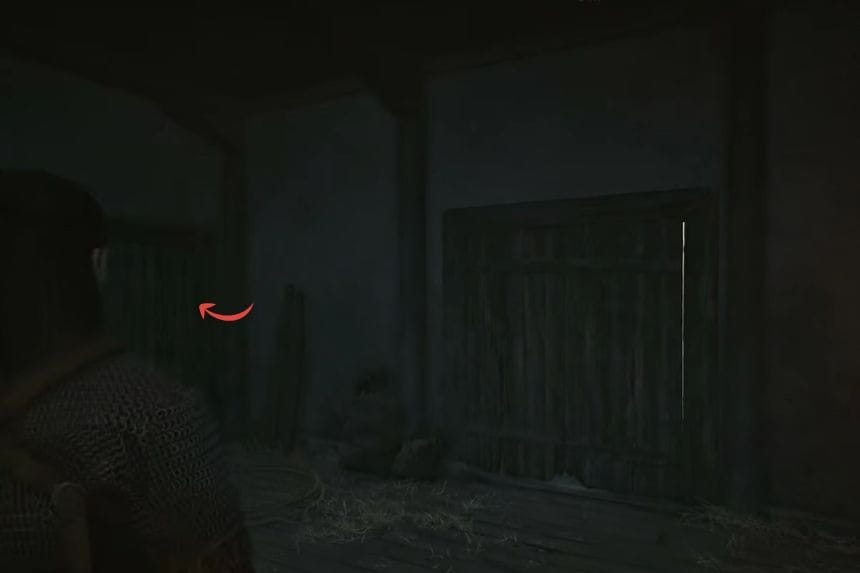
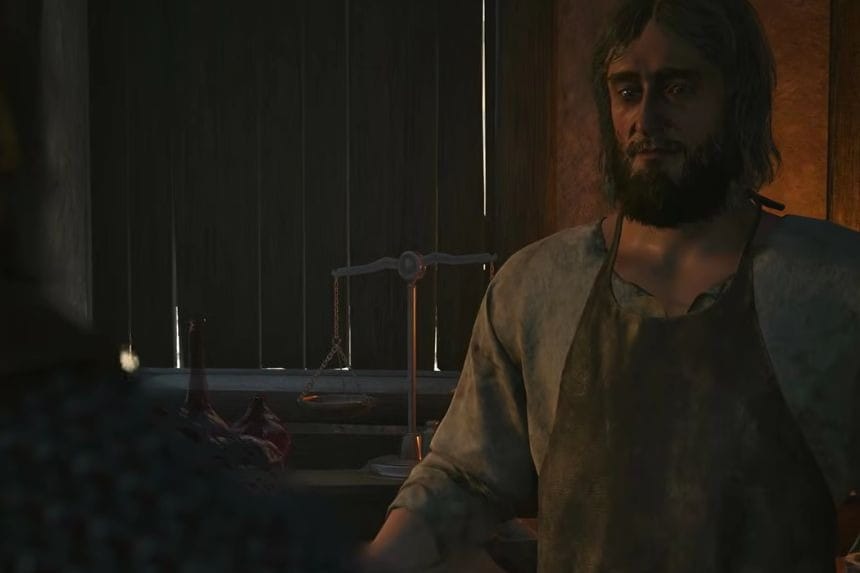
After destroying the barrels of blood, look to your right and you’ll find a door that will take you upstairs. Go through it and start investigating the area thoroughly for different items. Your task is to find the Alchemist and engage in conversation with him about the task he has been assigned.
Once the conversation is over and you have set him free, the Alchemist will hand over the Potent Razor Claw Vial and the Lasting Malediction Manual.
Ambrus’s Dungeons
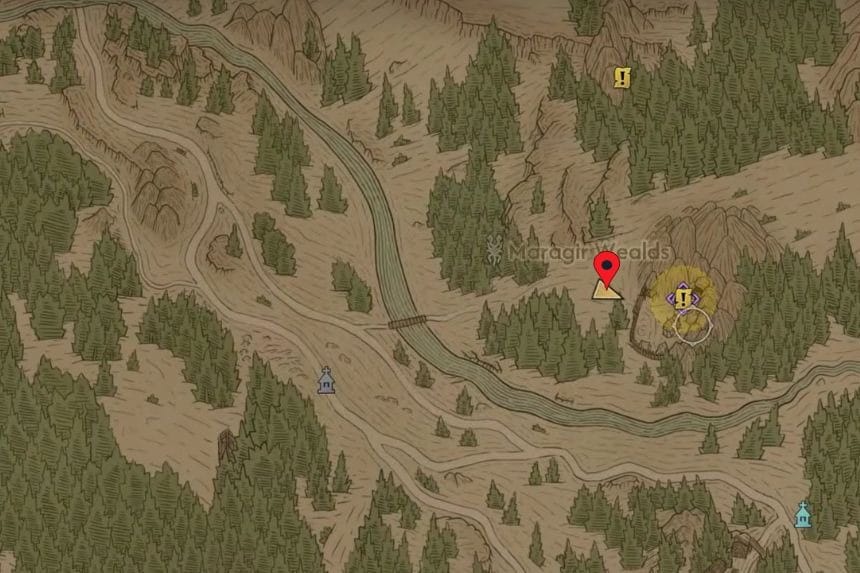
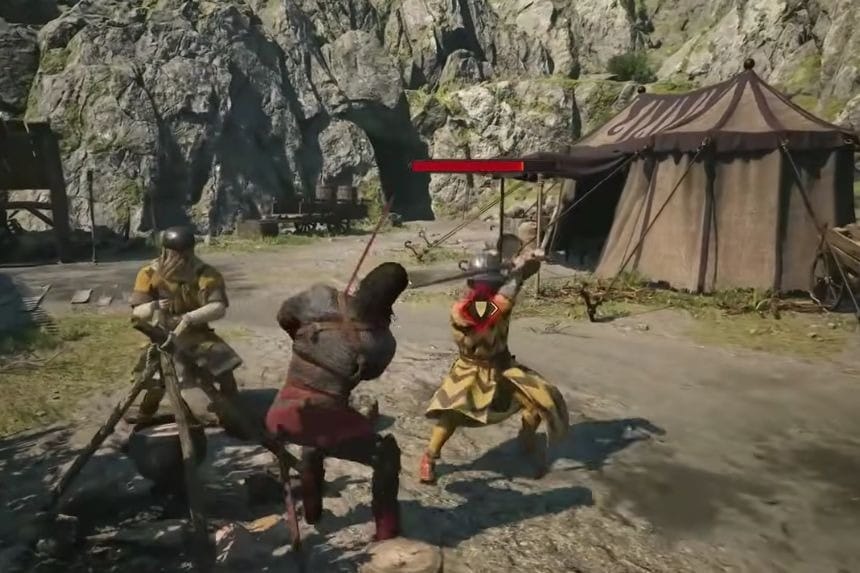
You’ll need to go to the outpost in Maragir Wealds. Once you’ve reached the outpost, defeat Ambrus’s guards that are present inside and investigate their camping to complete the task.
Ambrus’s Dungeons: Twists and Turns
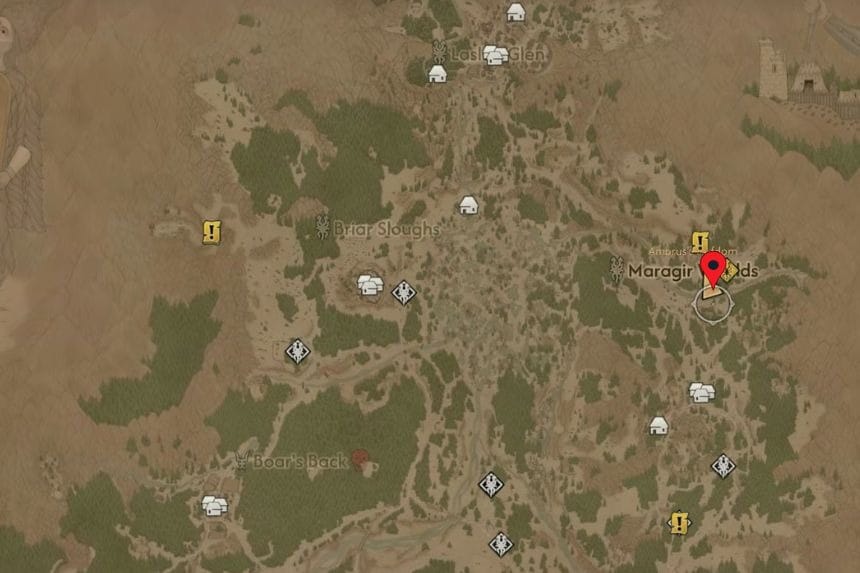
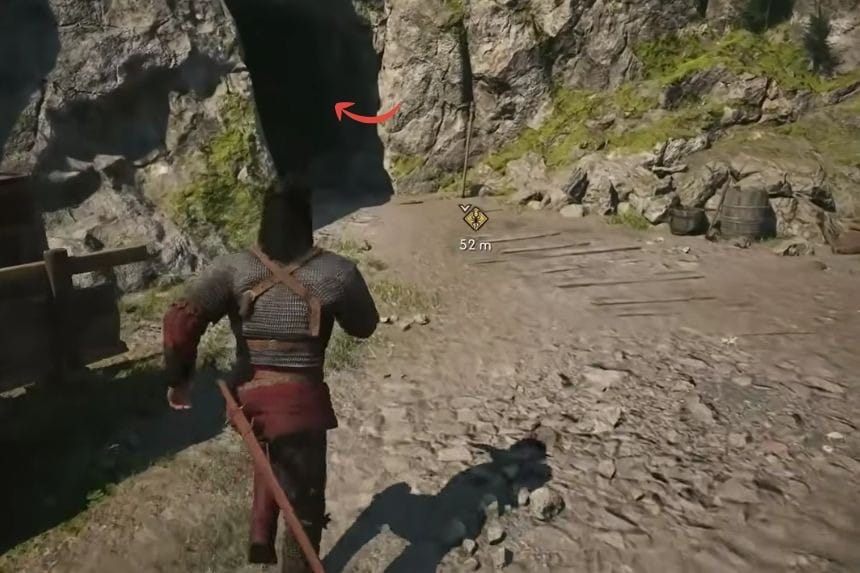
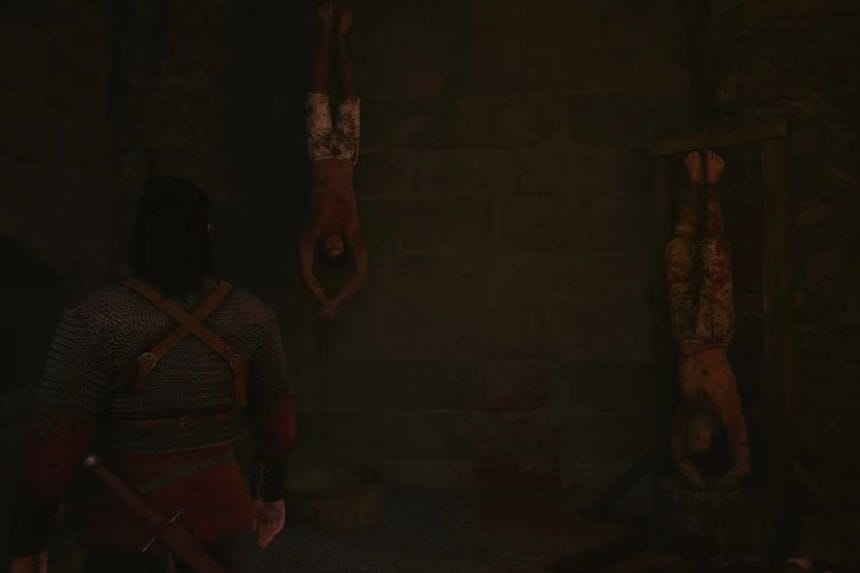
For this one, you’ll need to go to Maragir Wealds. Once you’ve reached the marked location, go right, and follow a straight path to reach the cellar. Inside, you’ll find corpses hanging upside down and a few guards whom you’ll need to defeat. Once that’s done, free the prisoners, and your task will be complete.
Ambrus’s Dungeons: Judge and Executioner
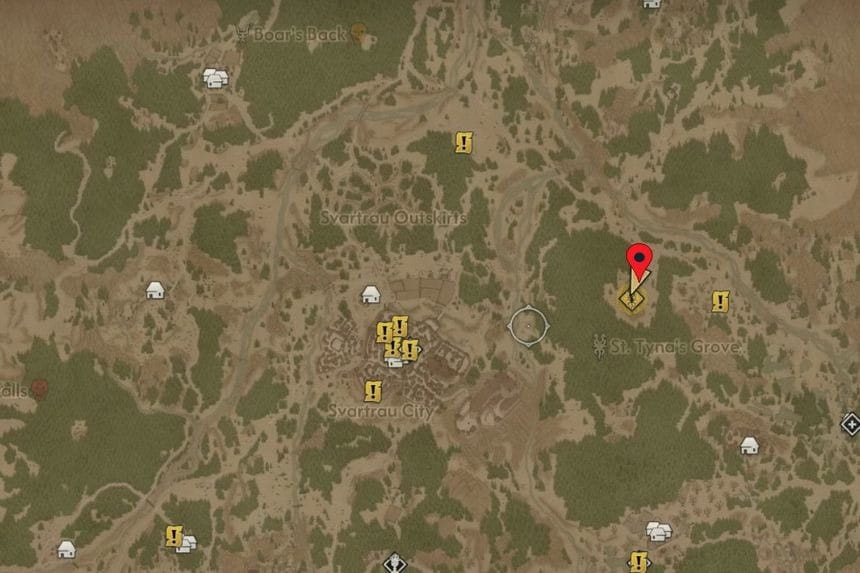
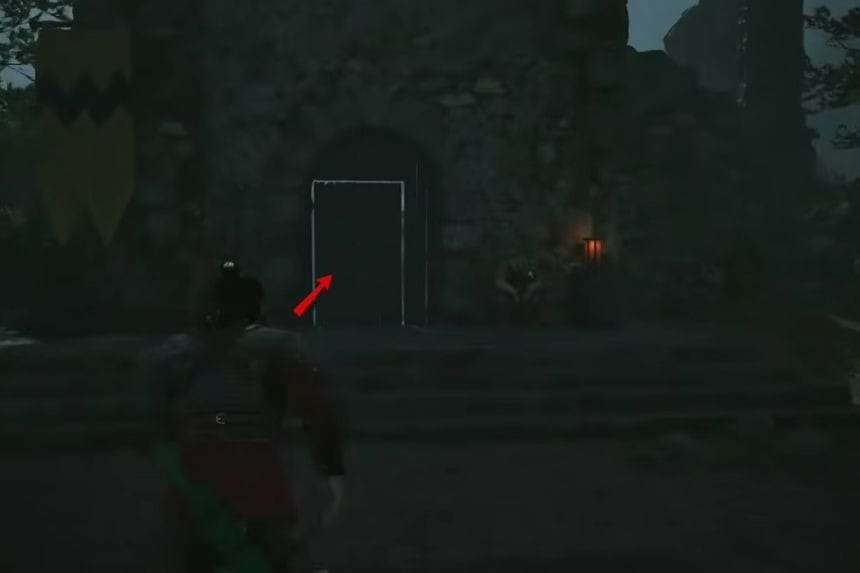
You’ll need to start by going to the northwest of St. Tyna’s Grove and reach one of Ambrus’s outposts. Defeat the guards on the gate and go inside.
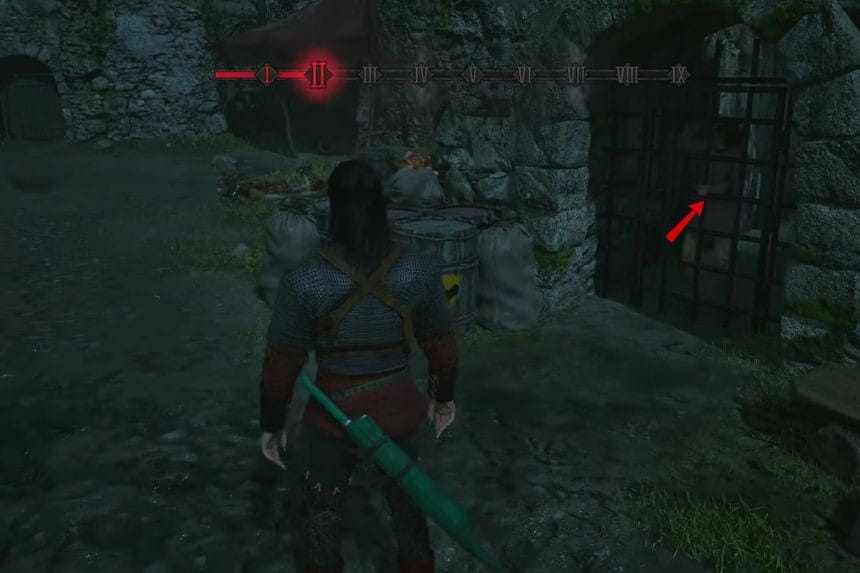
You’ll find more guards there that you’ll need to deal with. Once you’ve dealt with the guards, free the locked up prisoners, and your task will be complete.
Ambrus’s Dungeons: Judge and Executioner
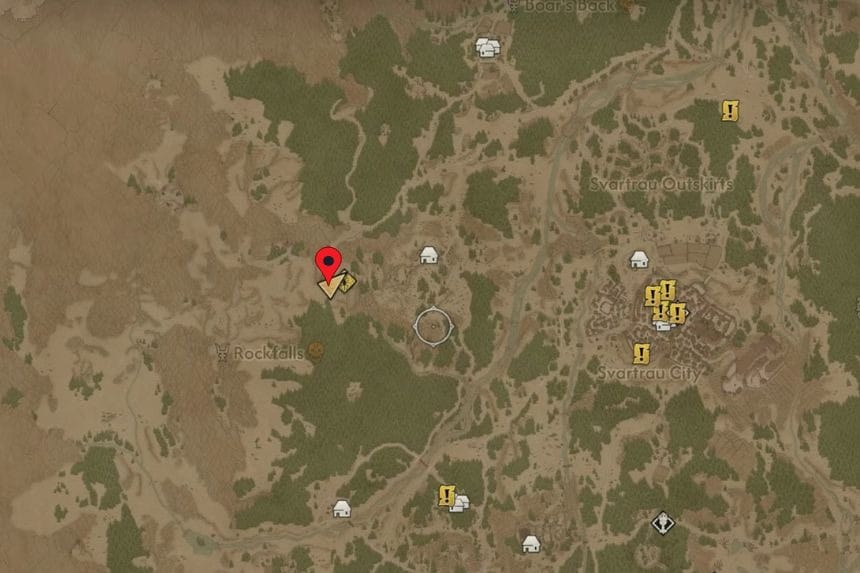
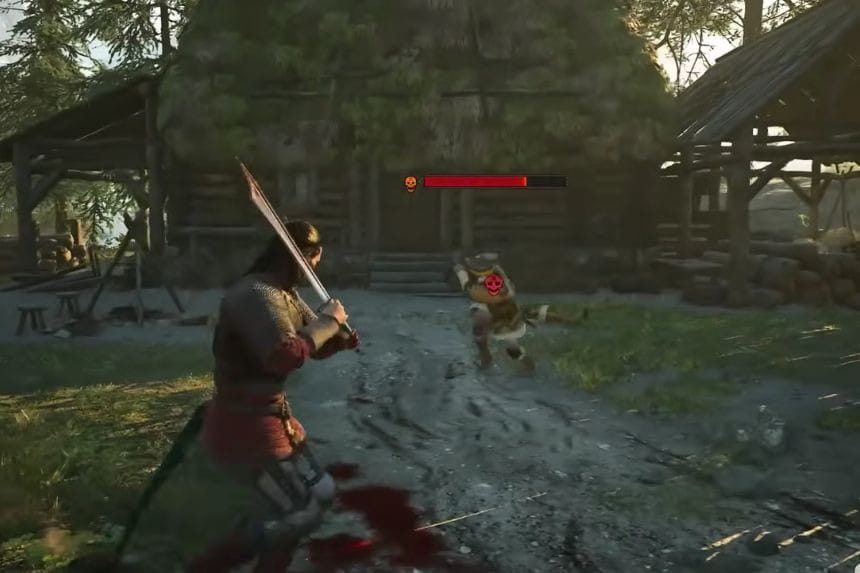
For this one, you’ll need to go northeast from Rockfalls, and reach the Woodcutter’s camp. You’ll find some guards there whom you’ll need to defeat to complete the objective.
Ambrus’s Dungeons: Evil and Convenience

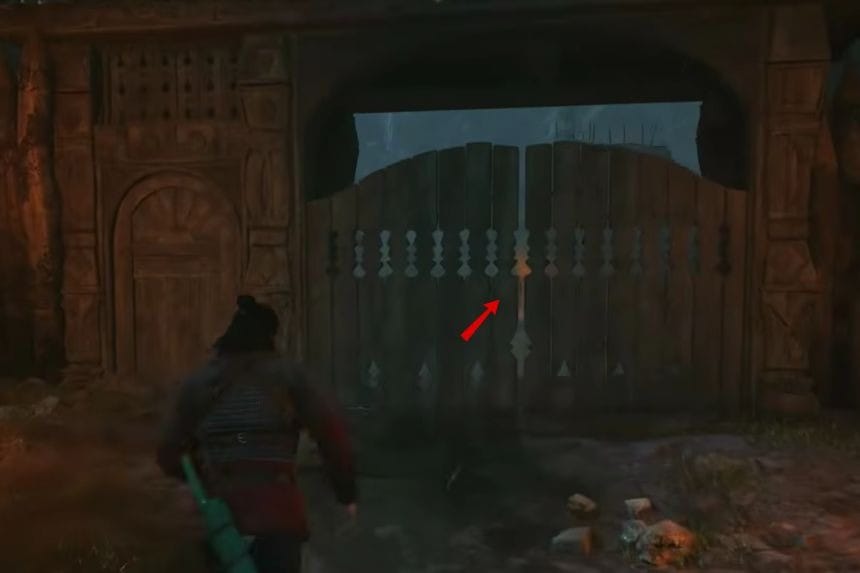
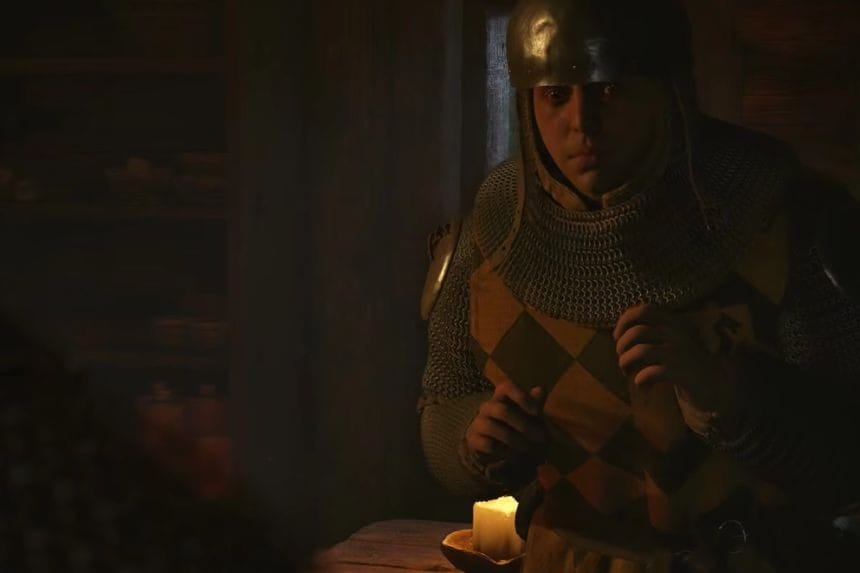
You’ll need to start by going to the northeastern part of Boar’s Back. Once you’ve reached the marked location, go through the outpost gate, and defeat the guards you’ll find inside. Once you’ve dealt with the guards, you’ll need to investigate and find the Chief Jailor inside a tent. He’ll help you get to a hidden stash and this will complete your task.
The Firebrand
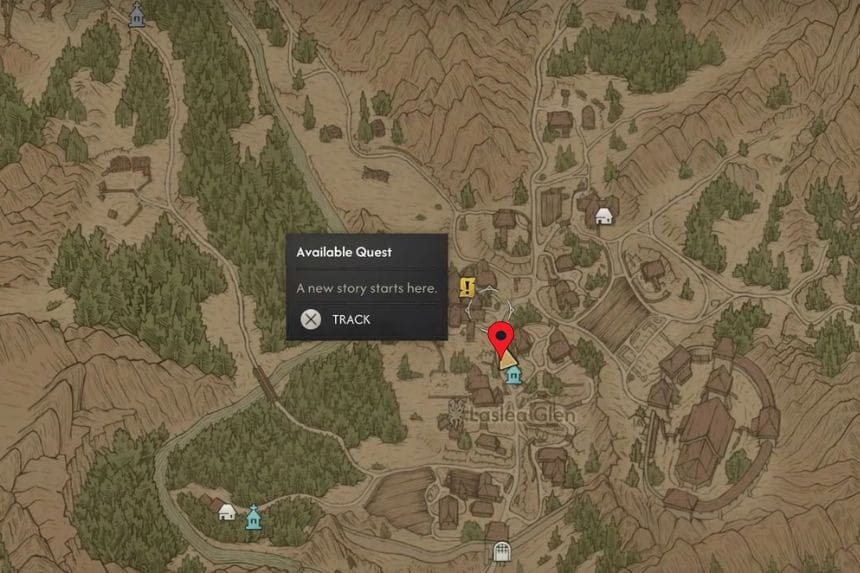
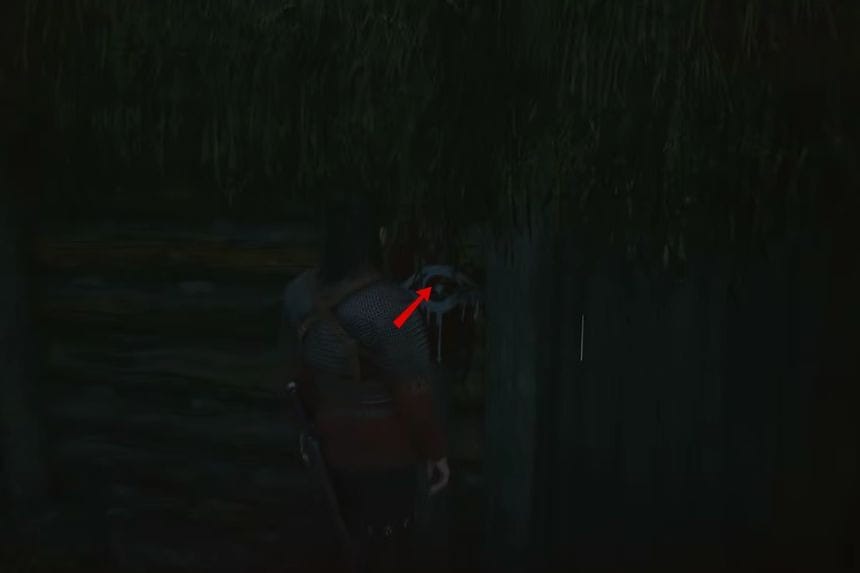
For this one, you’ll need to start by going to the northwest of Laslea Glen. Once you’ve reached the marked location, go left, and you’ll come across a marked door which is Vlad’s hut. Go inside and search the hut to find the Half-Burnt Letter from C.
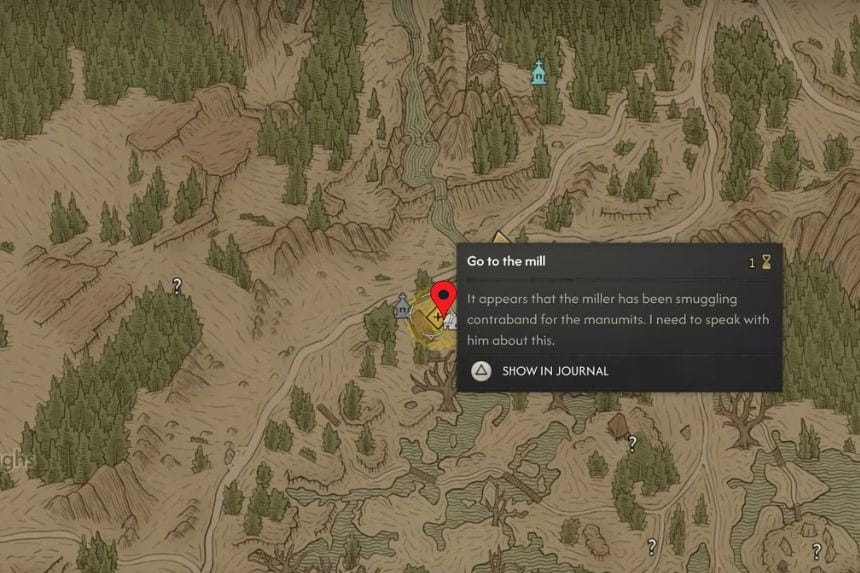
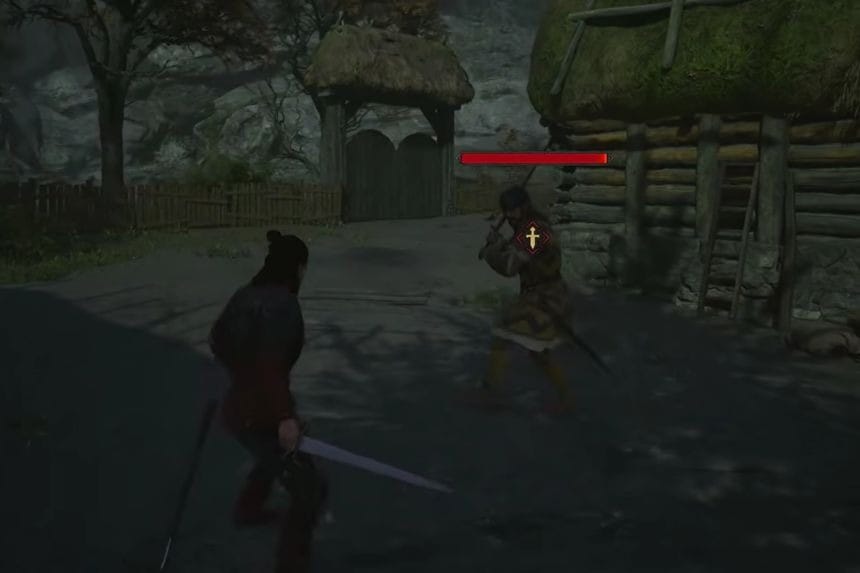
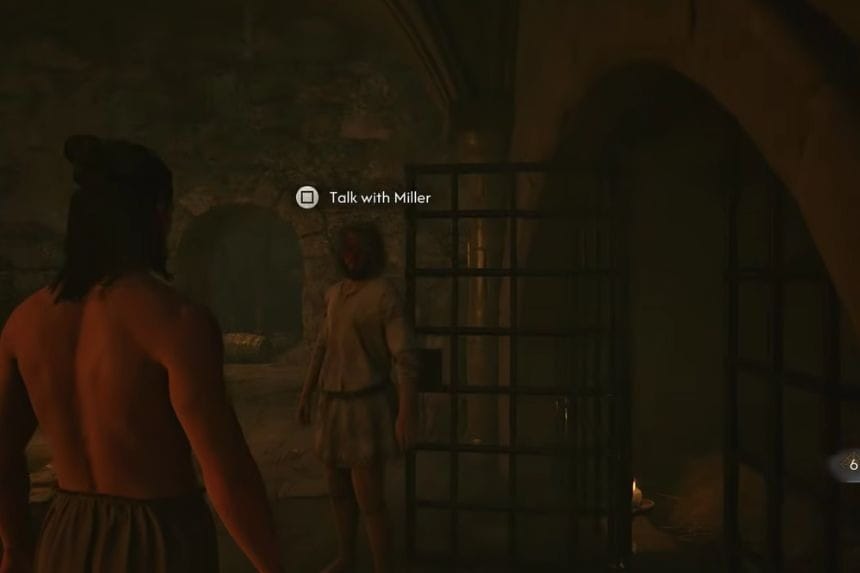
After that, you’ll need to go to the mill, defeat the guards, and converse with Renna who will direct you to the Master Fencer. Defeat him in a duel and then deal with the guards in that area. Once you’ve dealt with them, you’ll need to go to the Stoneward Post and speak with Miller to complete the task.
Under Watchful Eyes
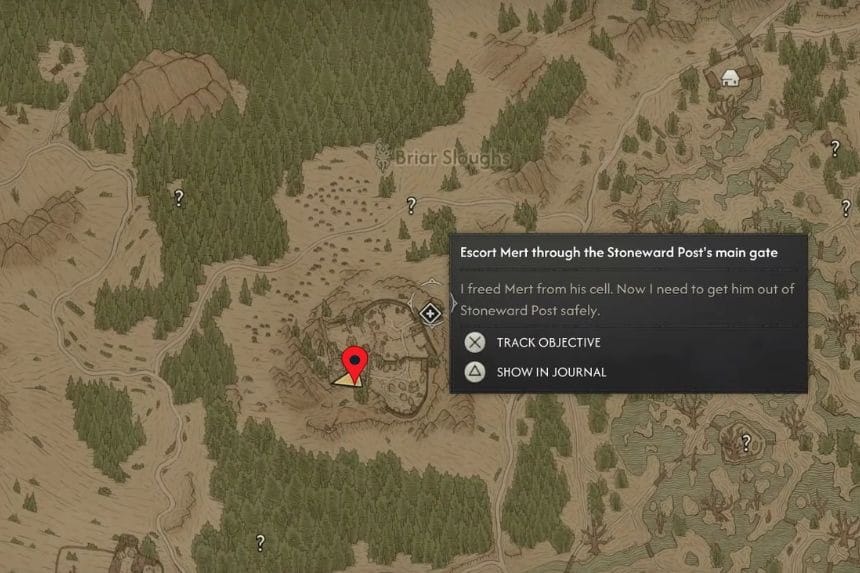
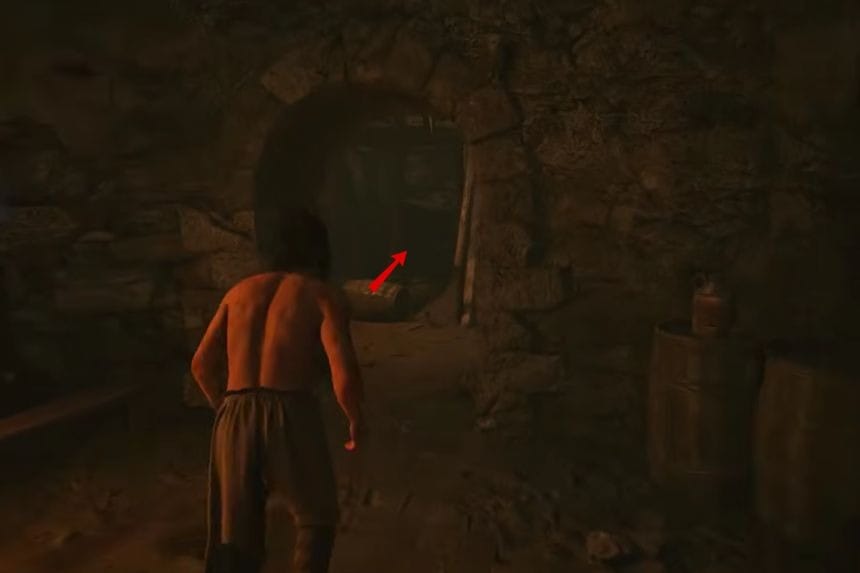
Once you’re done talking with Miller, you’ll need to escort him out of Stoneward Post using the stairs on the left, and this will complete your task.
