
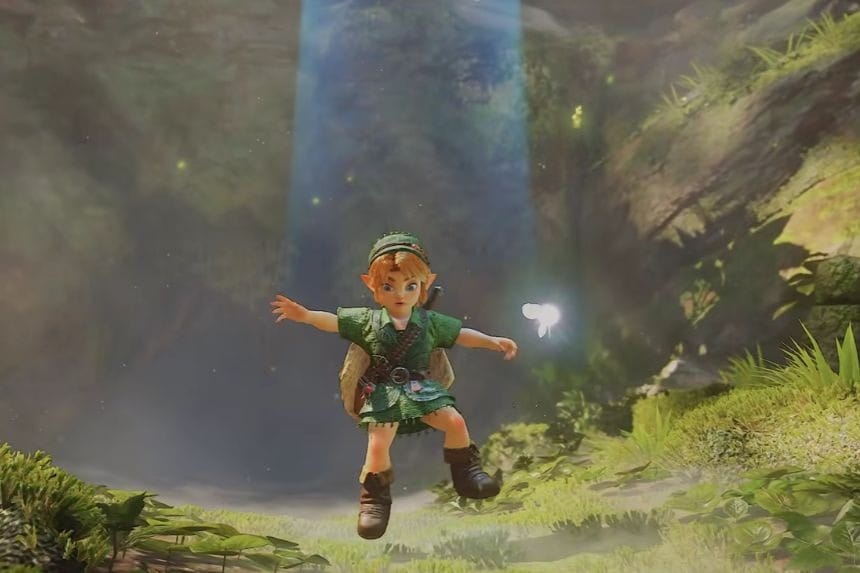
It all begins in Kokiri Forest, where you need to find a sword and shield in order to reach the Great Deku Tree. In the first dungeon, you will discover various puzzles, new equipment, and your first boss fight. In this walkthrough, you will find both locations, including the four Gold Skulltulas in the dungeon and the items you need in order to advance.
Chapter 1: Kokiri Forest
Leaving Link’s House
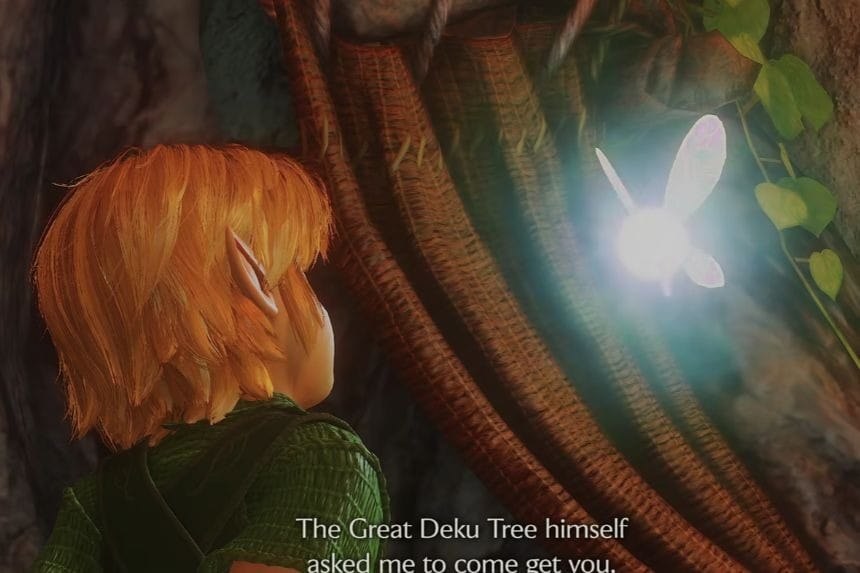
Once Navi wakes Link up, exit the treehouse and find Saria outside. She tells Link to go to see the Great Deku Tree, but Mido stands in the way and does not let him cross the path until Link gets the sword and the shield.
Your first task is to get the Kokiri Sword and buy the Deku Shield.
Finding the Kokiri Sword
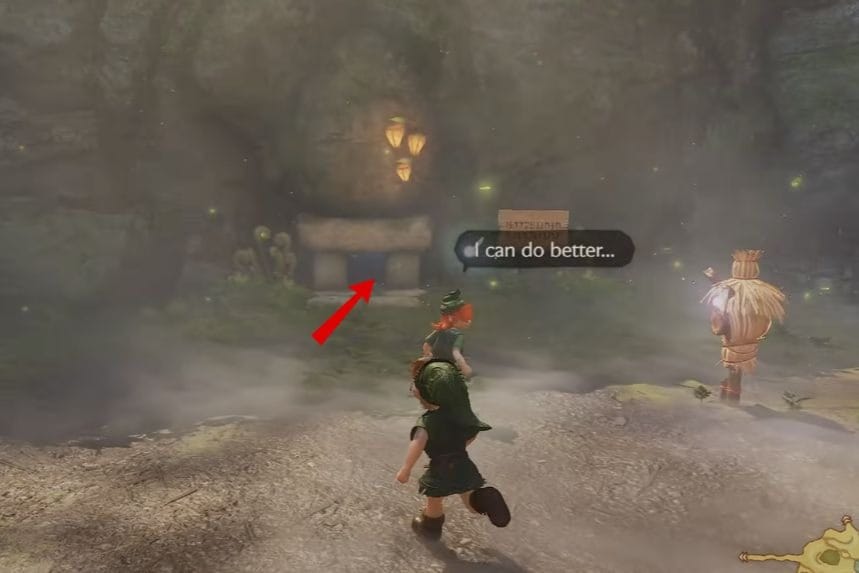
Go to the Forest Training Ground located in the southwest side of the village. Behind the area for training, you would find a small hole in the wall that will lead you to the practice grounds area.
Enter the hole and follow the path to find the ladder which you can then climb. After crossing the ledge, jump over the gap to get to the chest which has the Kokiri Sword. Unlike the original game, this treasure chest is suspended over the boulder maze.
As you head back, do not get hit by the boulder by hiding in the alcoves. Make sure to claim the Blue Rupee worth five Rupees before going back to the village.
Collecting 40 Rupees
The Deku Shield costs 40 Rupees. You can gather the required amount from these locations:
- Jump across the stepping stones in the stream to collect the Rupees.
- Climb the wooden steps and collect the Rupee on the raised platform.
- Search beneath rocks and bushes for additional Rupees.
- Open the four chests inside Mido’s House. They contain three Blue Rupees and one Green Rupee, worth 16 Rupees altogether.
- Collect the Blue Rupees scattered throughout the boulder maze.
Purchasing the Deku Shield
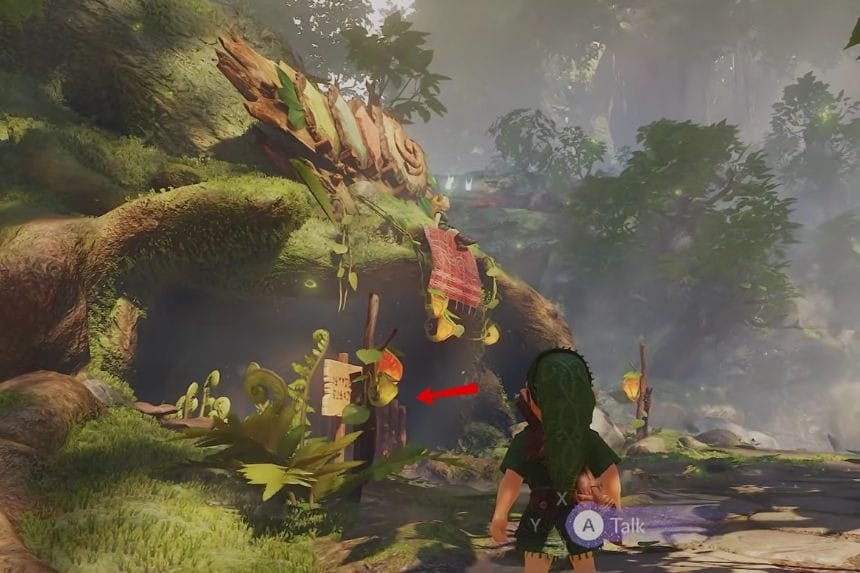
Head to the Kokiri Shop when you gather 40 Rupees and buy the Deku Shield. The store also sells additional items such as Deku Nuts and Deku Sticks.
In the shop, a Kokiri will show you how to use the shield. You must push the ZL button in order to block attacks which will be helpful while fighting Deku Scrubs.
Reaching the Great Deku Tree
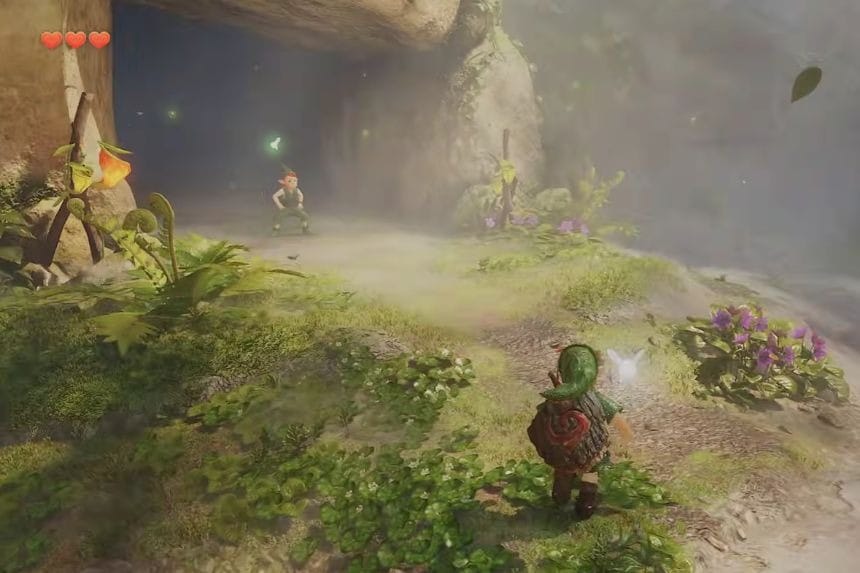
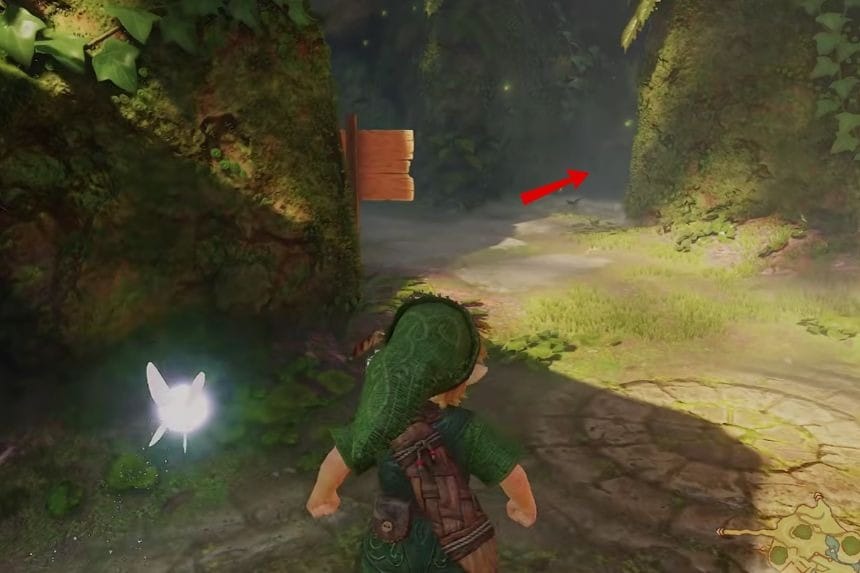
Proceed back to Mido while in possession of the two needed objects. Mido will allow access through the north passage, however, he will do this unwillingly.
During your travel, be mindful of the Deku Babas that stand in your way. If you manage to beat them in their upright position, you will be rewarded with Deku Sticks for your efforts. Press ZR to swing your stick.
Keep going and make your way to the Great Deku Tree. He will talk to you and after the cutscene opens his mouth so that you can get through.
Gold Skulltulas in Kokiri Forest
Three Gold Skulltulas are located in the village, but you cannot collect them during this visit.
- Kokiri Shop: A soft soil patch beside the shop requires Bugs from a Bottle.
- Know-It-All Brothers’ House: Find one on the back wall at night while playing as Child Link.
- House of Twins: Requires Adult Link and the Hookshot at night.
Chapter 2: Inside the Great Deku Tree
Collecting the Dungeon Map
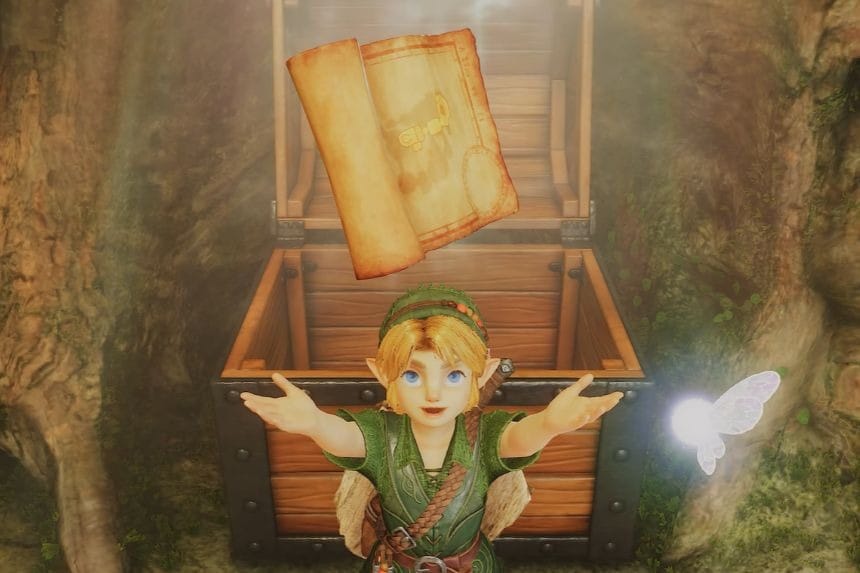
In the initial chamber, there is a large cobweb covering the main opening in the floor. As you cannot cross it from underneath, defeat the nearby Deku Baba and climb the vines to the upper level.
Continue on the path, leap over the gap on the right to reach the chest, which contains the Dungeon Map.
Finding the Fairy Slingshot
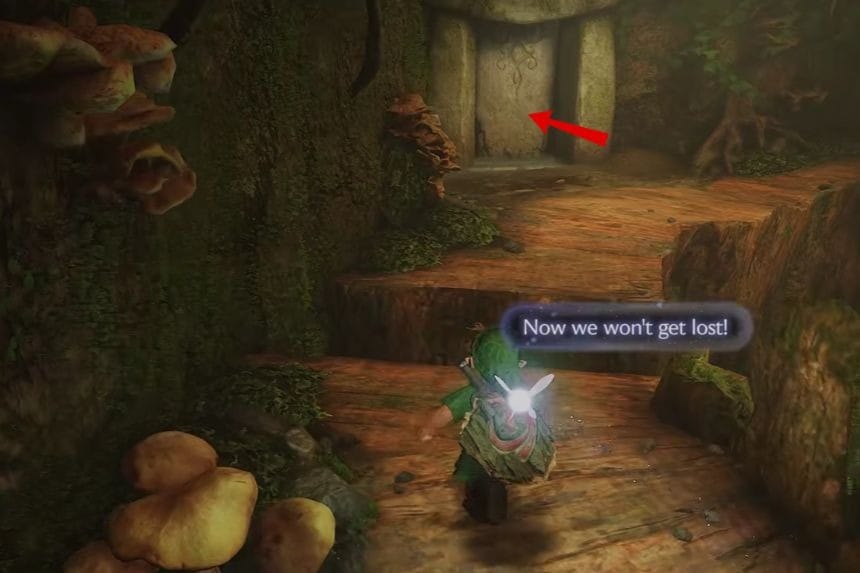
Pass through the stone entrance on the second-floor balcony. When you reach the balcony, you will come across a Deku Scrub who will begin to attack you. Use your shield to reflect its nut, and as soon as it starts to flee, use your sword against it.
The Scrub will give you a hint related to rolling after falling from heights.
After that, you will get the ability to progress through the next doorway.
In the chest located on a giant tree stump, you can get the Fairy Slingshot. Press ZR to aim and shoot with it.
Before you go, use the slingshot to fetch the Skulltula lurking on the wall made of vines, and then climb to the top of the wall to find the chest containing Deku nuts.
Finding the Compass
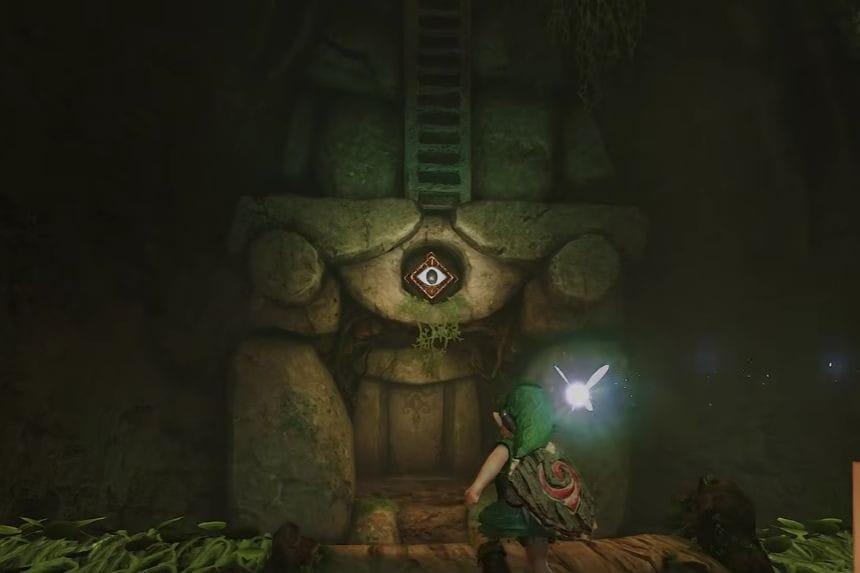
Fire an arrow at the eye emblem located above the rocky entry to let a staircase down to the central chamber.
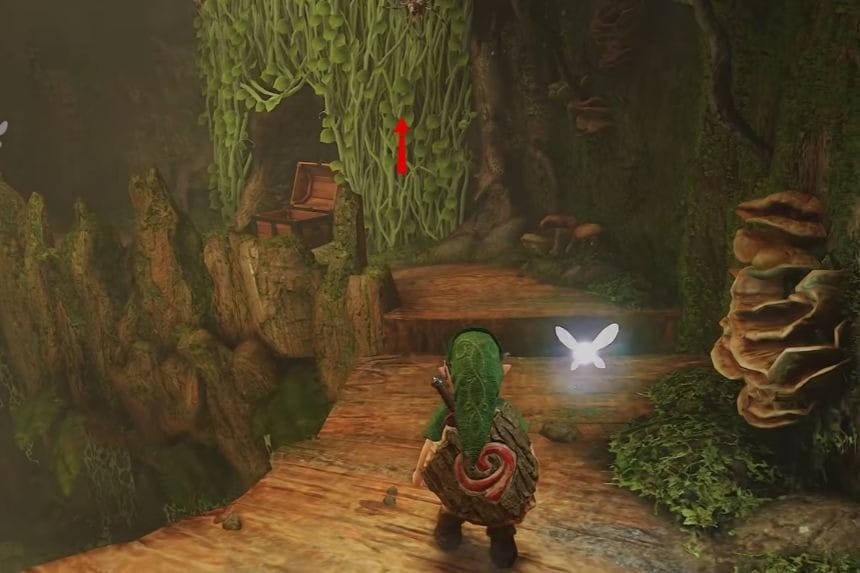
Destroy the Skultulas on the vines and ascend to the right. A large Skulltula awaits you on the next entry, so strike when it turns around.
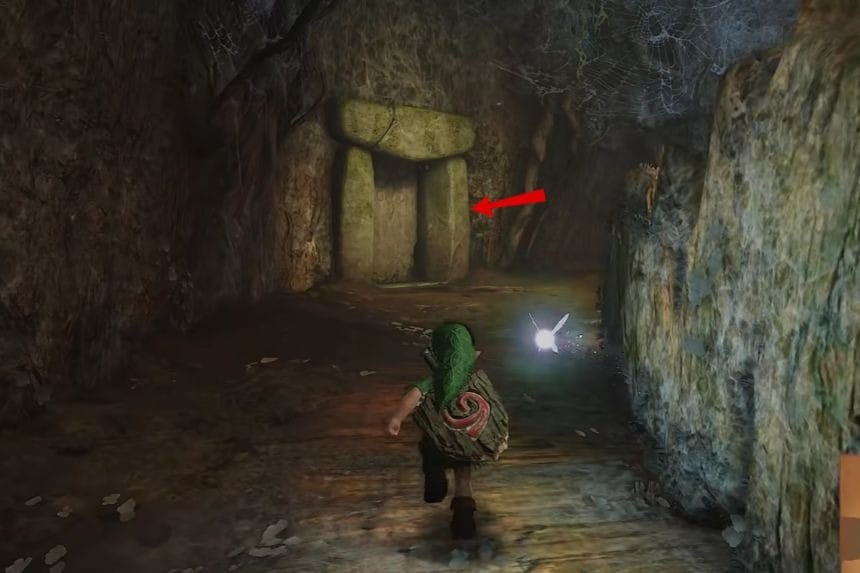
After entering, press the button on the floor so that tree stumps are movable. Walk on them to obtain the Compass chest. After that, squeeze through the hole behind it and climb the vines to discover a chest with Deku Nuts in it.
Gold Skulltula 1: Compass Room
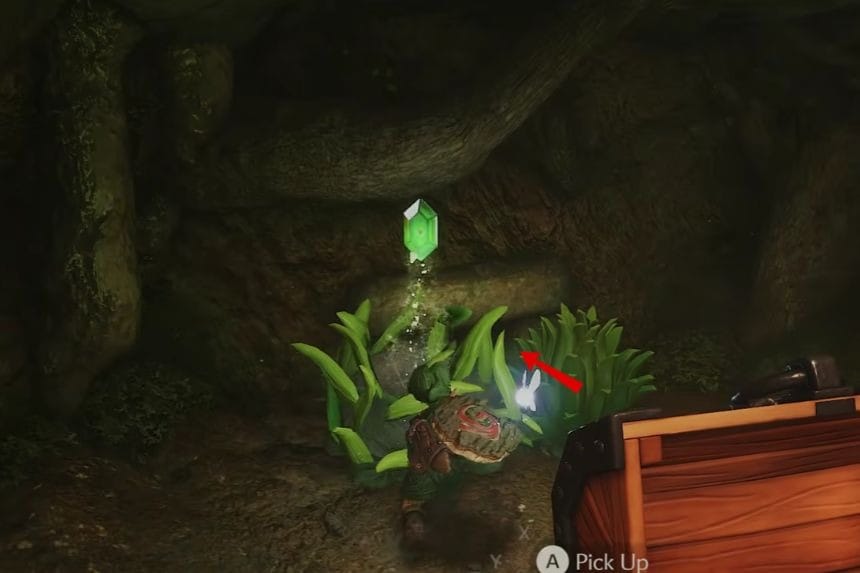
Go back into the room with the Compass and hit the switch again. Go to the left platform, eliminate the Skulltula in your way, and enter the alcove right there.
Use your Slingshot to shoot the Gold Skulltula, then claim its token.
Breaking the Central Web
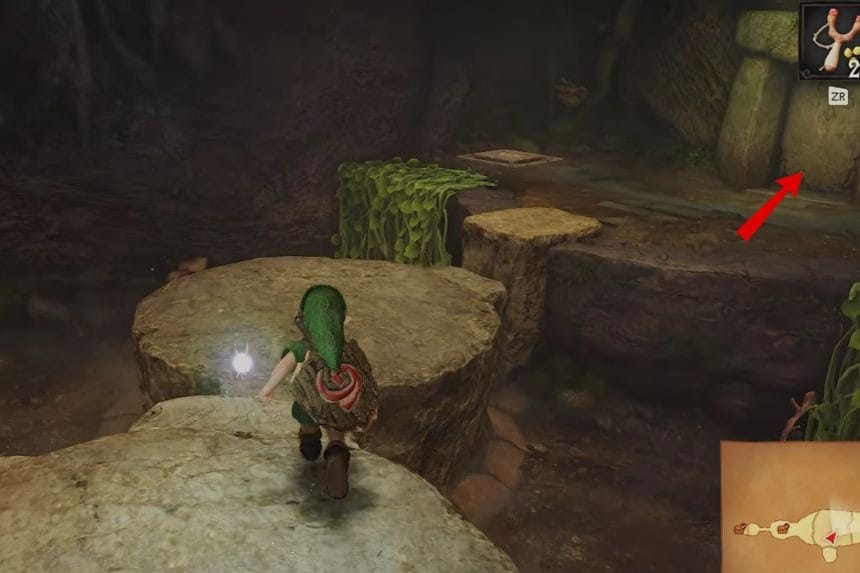
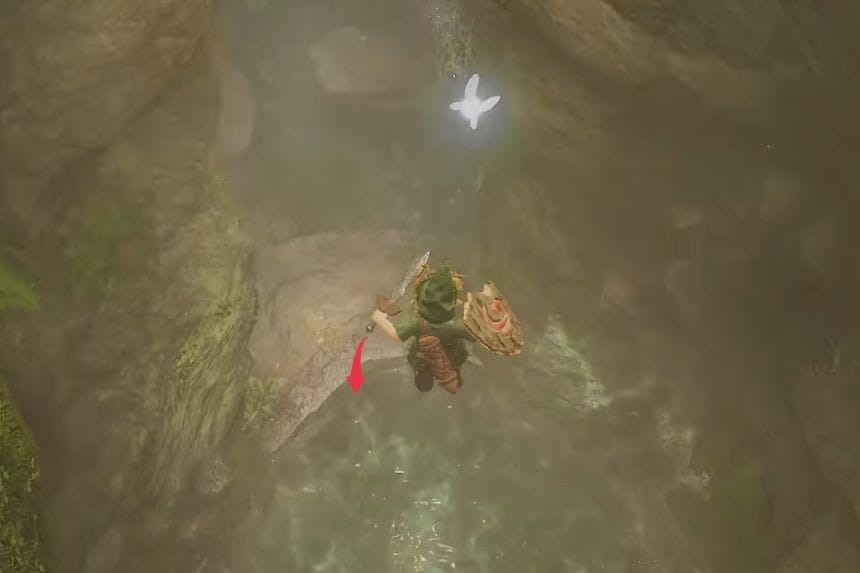
Travel through the upper halls, where you will encounter yet another Big Skulltula. Eventually, you will arrive at a ledge where you can observe the web, which is spread across the lobby floor.
Jump onto the web from above to break through it and fall into the basement water.
Gold Skulltula 2: Basement Gate
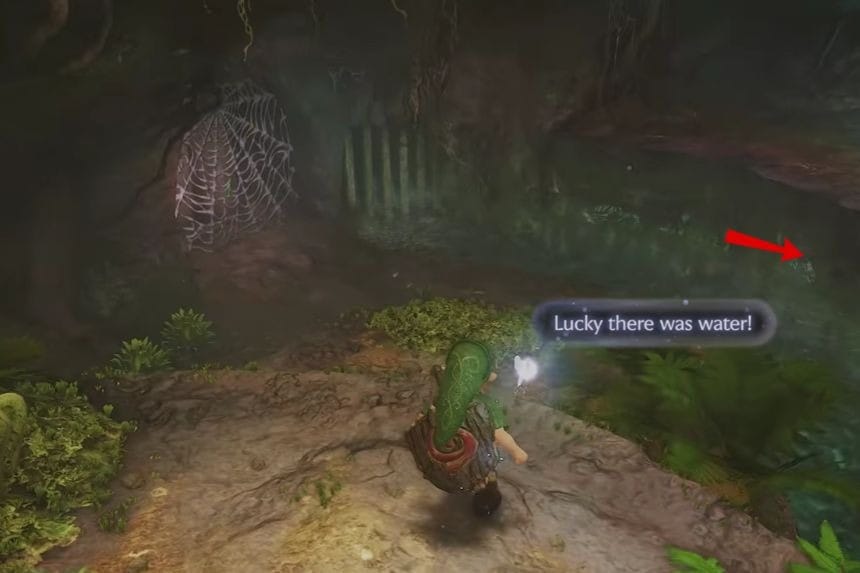
Get out of the water and gaze at the gate which is guarded by the bars. Shoot the Gold Skulltula that is attached to it, then leap across and grab the token.
Near the switch, there is a switch for a torch. Use its flame to burn the net which is blocking a chest and obtain the Deku Stick from it.
Gold Skulltula 3: Basement Vines
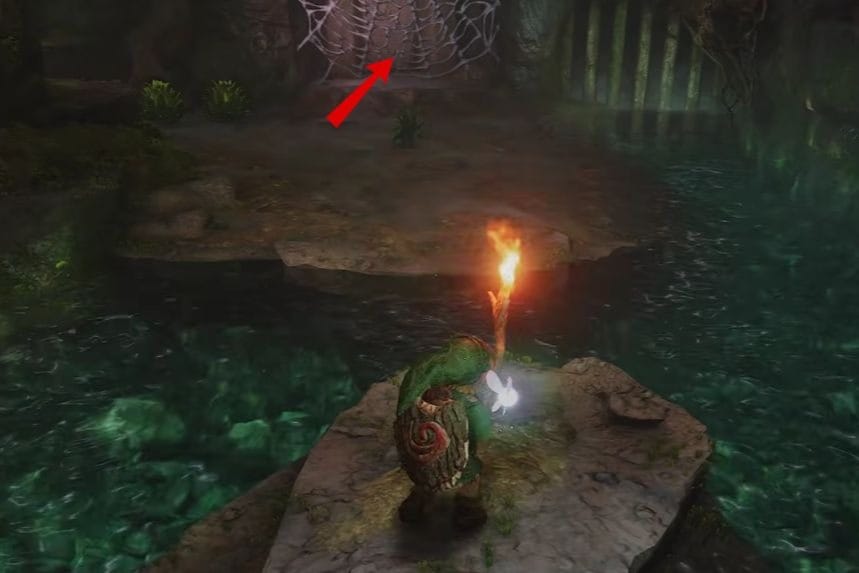
Go back to the place where you came into the water and take a look at the vines hanging above. There you will see a Gold Skulltula stuck to the stone.
Shoot it with the Slingshot, climb up, and collect the third token.
Solving the Basement Puzzles
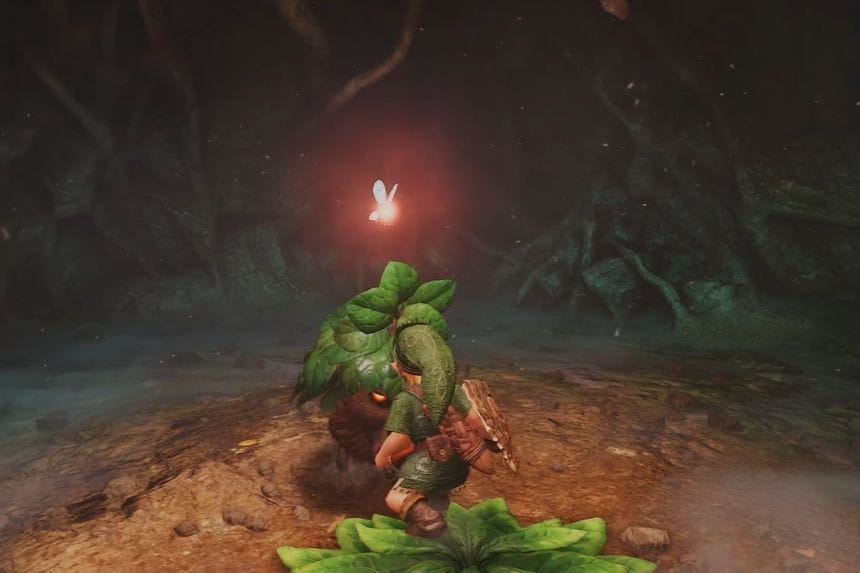
Light a Deku Stick using the torch and burn the web covering the opposite doorway. Defeat the Deku Scrub inside to learn the correct sequence for the three Scrub Brothers: 2, 3, 1.
Continue through the following rooms:
Eye Switch: Shoot the diamond-shaped eye above the barred entrance to unlock the door.
Underwater Switch: Dive into the pool beneath the thorn-covered log and activate the switch at the bottom. The water level drops, allowing you to climb out and cross using the moving platform.
Stone Block: Defeat the Big Skulltula, then push and pull the stone block into position to create a way up.
Torch Puzzle: Carry a burning Deku Stick between the torches to light the unlit ones and open the door. Be quick, as the stick burns away.
Gohma Eggs: Defeat the Big Skulltula and destroy the larvae emerging from the Gohma eggs using your sword or Slingshot.
Gold Skulltula 4: Egg Room
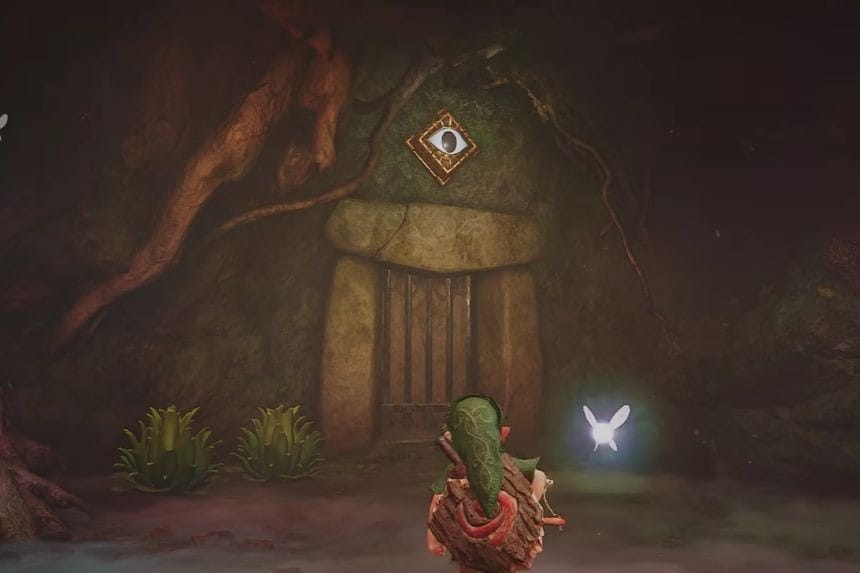
Use the Deku Stick to burn the cobweb on the left side of the wall.
Now follow the newly opened way to the wall covered in vines. Near the top of it is the fourth Golden Skulltula. Shoot it, climb up, and pick up the last coin.
Go back to the spider room and burn the last web on the right side.
Reaching the Lowest Floor
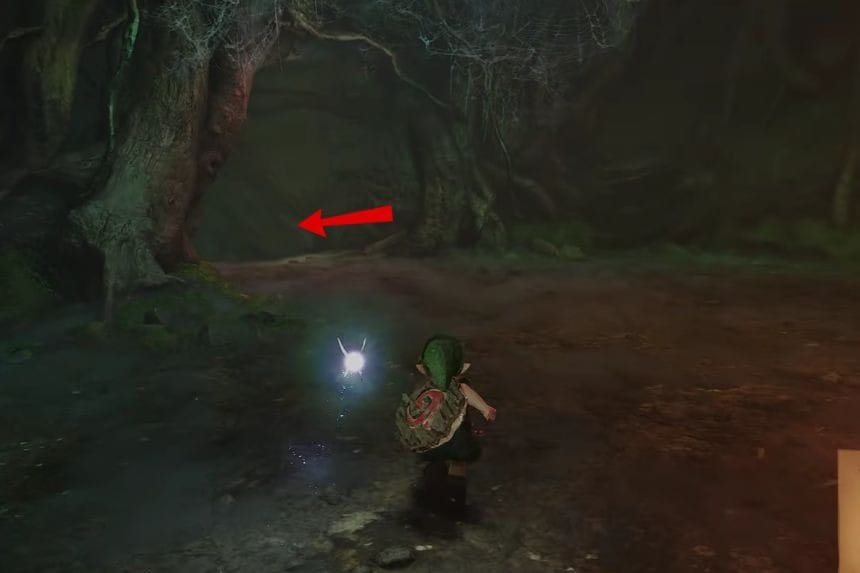
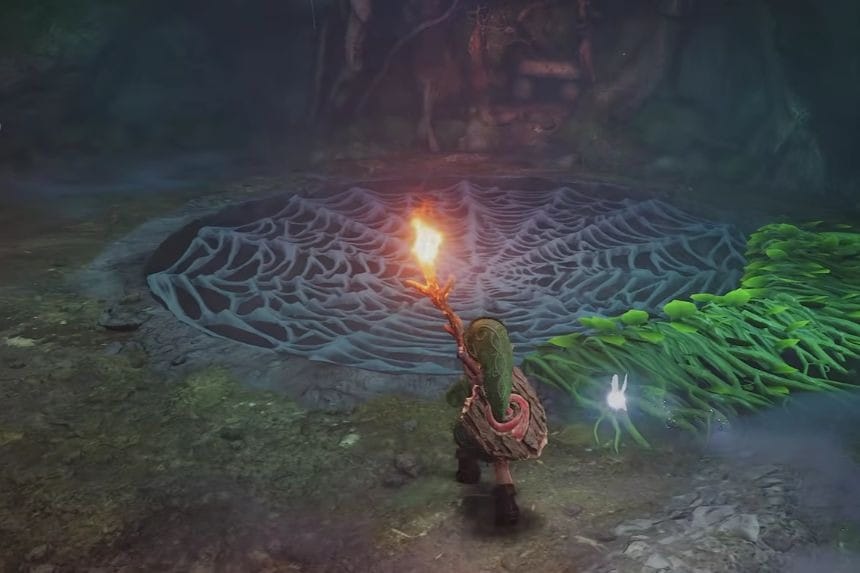
You’ll want to return to the ledge, find the stone block, and shove it down into the water under you. Once you have ignited a Deku Stick, put it down on the block, and walk toward the web on the floor. Use the stick to burn the web that was blocking your way.
The Deku Scrub Brothers
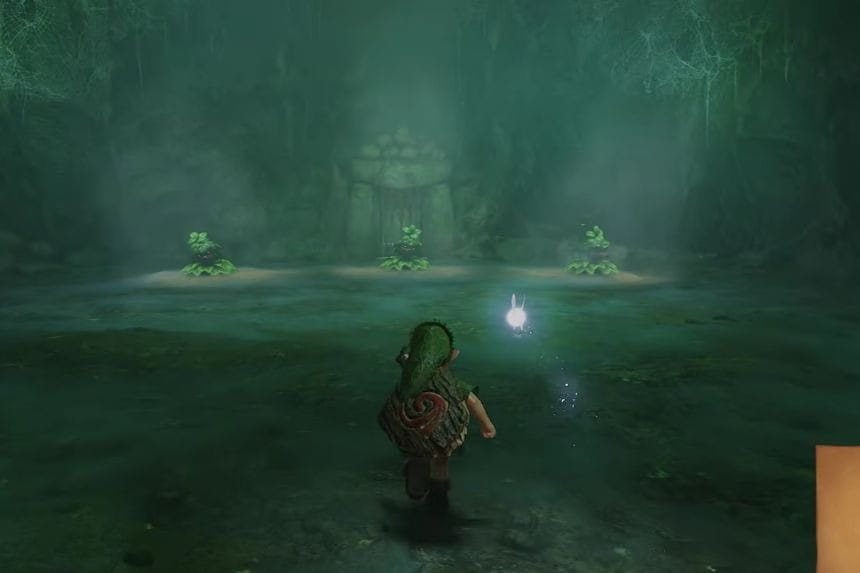
Three Deku Scrubs await you below. Reflect their attacks in the following order:
- Middle Scrub (2).
- Right Scrub (3).
- Left Scrub (1).
Choosing incorrectly resets the encounter. Once you get the sequence right, the final Scrub attempts to escape. Catch up and attack it with your sword.
It reveals that Gohma’s eye is her weak point before opening the boss door. Follow the passage and drop into the arena.
Boss Fight: Gohma
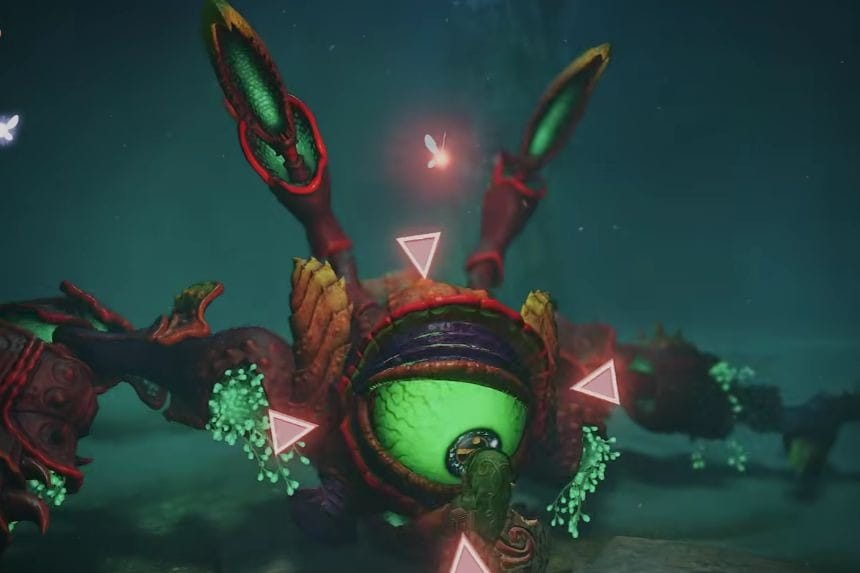
Gohma roams around the arena and sometimes climbs to the ceiling. Keep an eye on her eye that starts to glow, then access the Slingshot to hit her and stun her. If she is on the ceiling, this will make her fall.
When she is stunned, approach her and hit her eye with the Kokiri Sword. You can also throw a Deku Nut to distract her.
Continue doing the attacks until you defeat her. Collect the Heart Container and go to the blue light.
Claiming the Kokiri Emerald
Outside of the dungeon, Great Deku Tree tells Link about the background of the three goddesses, the Triforce, and the villain who has laid the curse on him.
Then after that, Link is given Kokiri Emerald, the first Spiritual Stone, as a reward by the Great Deku Tree and is sent to Hyrule Castle to meet Princess Zelda.
