
Hellraiser: Revival by Clive Barker comes with lots of collectables, upgradeable weapons, crafting items, and trophies for you to discover. However, there is no Chapter Select feature, meaning that any item that you miss cannot be obtained later on. In this guide, you will find the locations of all important items, along with keypad codes and tips for unlocking missable trophies and achievements. Make sure to explore each area carefully before moving on.
Hellraiser: Revival Collectables And Trophy
The Hellraiser: Revival game does not feature conventional chapters nor any Chapter Select mode, and therefore, you may end up missing out on many useful collectables and trophies. It is recommended that you collect everything that is available to you before proceeding to the next location, as there may be no opportunity for you to come back again.
Crafting Recipe: Bandage (1/12)
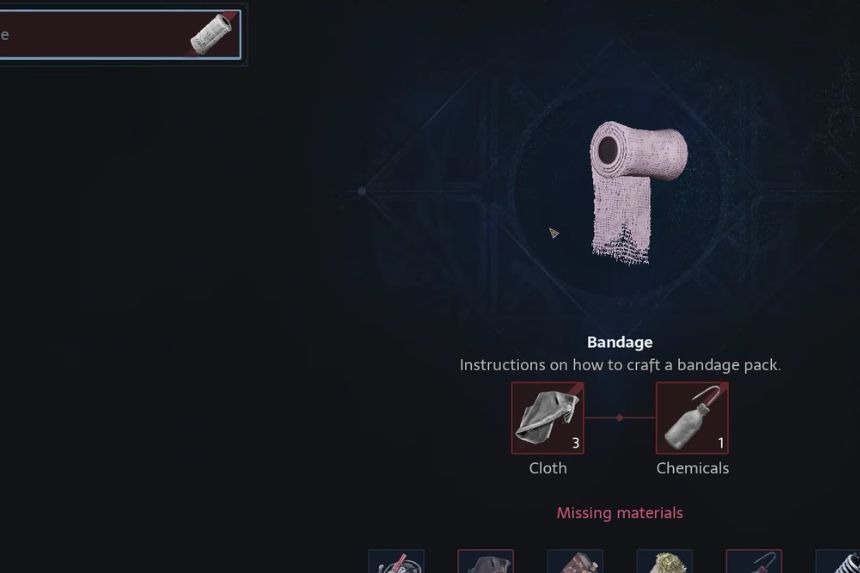
You can craft your first Bandage right from the beginning of the game. You will need 3 Cloth and 1 Chemical to make it.
Sneak Past Bruno / Find The Keycard Keypad Code: 0199 or 9901
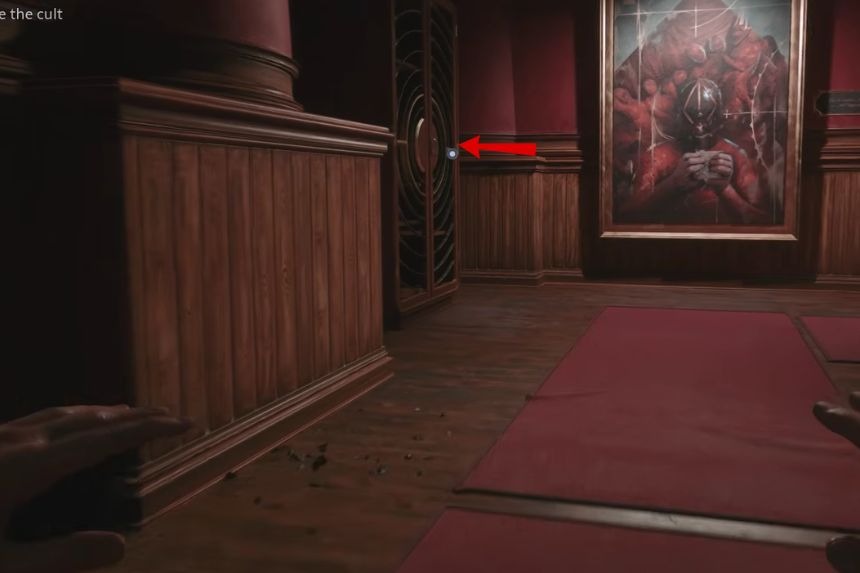
Once you successfully sneak past Bruno, go to the cabinet located in the hallway. It is located right after the place where you sneak past Bruno. To unlock the cabinet, refer to the numeric plates next to the two paintings in the hallway. Try 0199; if it fails, use 9901.
Trophy: Wetwork (Bronze)
In order to get this trophy, you have to silently kill 10 cultists without giving them any warning. Your knife will be available in the upcoming area; therefore, use silent takedowns in the game as much as you can. These takedowns can either be used on Cultists or Unworthy.
Keypad code: 9891
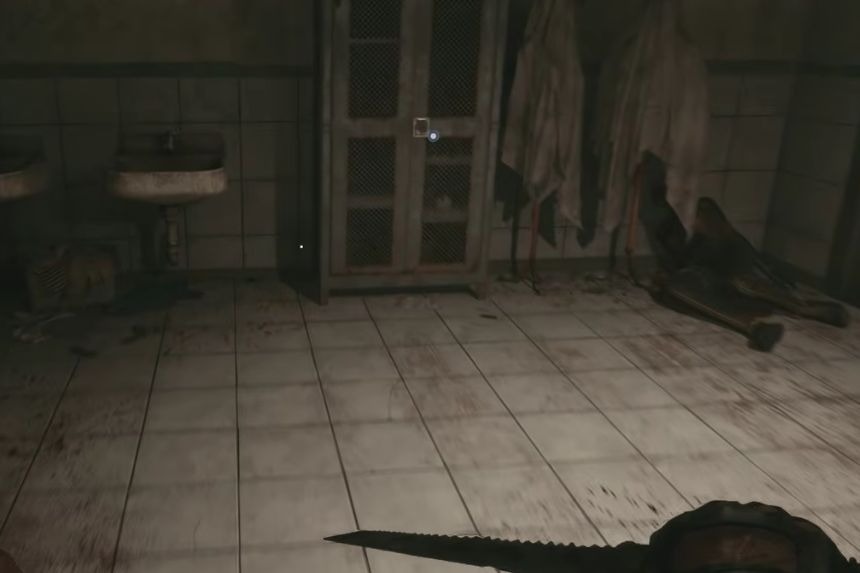
The next locked cabinet can be found right after the room which has bookshelves and two enemies. You have to look at the back of the dead body in the nearby bathtub for the numbers. These numbers will provide the combination for the locked cabinet.
Firearm: Pistol
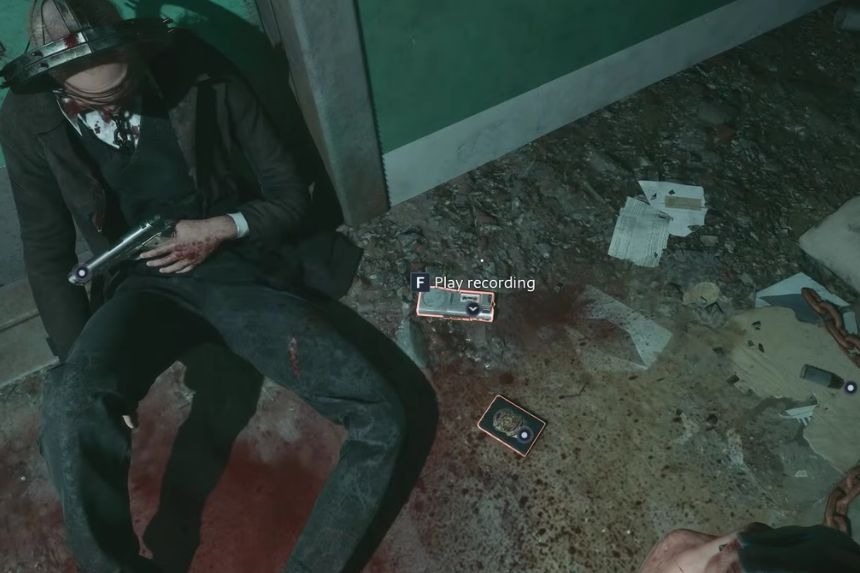
The Pistol is the first weapon in the game, and you will receive it as part of the main story, just after picking up the flashlight. There’s no need to search for it separately.
Crafting Recipe: Pistol Ammo
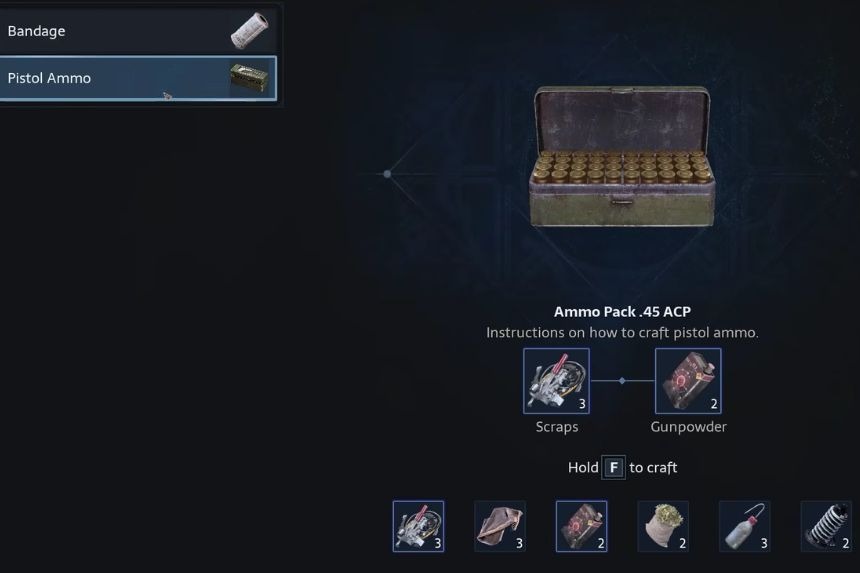
You will also unlock the Pistol Ammo recipe when you obtain the weapon. To craft it, you need 3 Scraps and 2 Gunpowder.
Inventory Upgrade
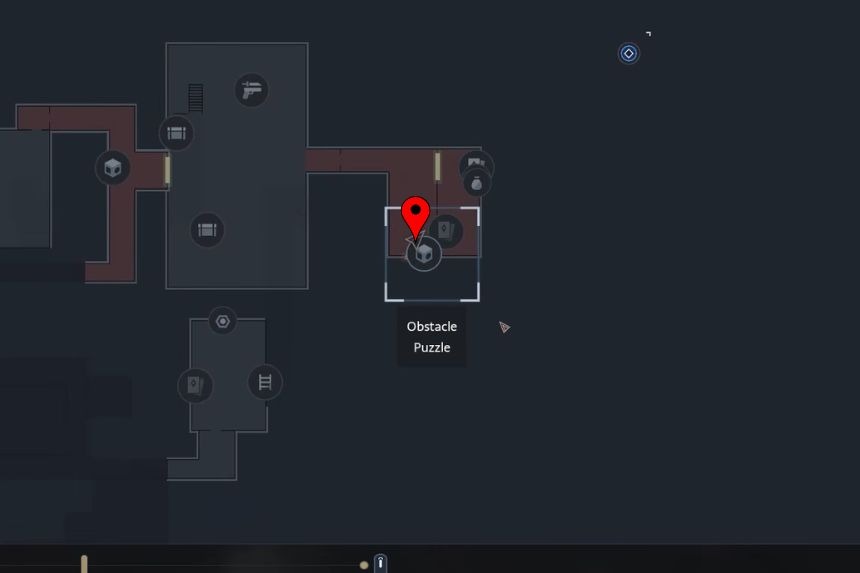
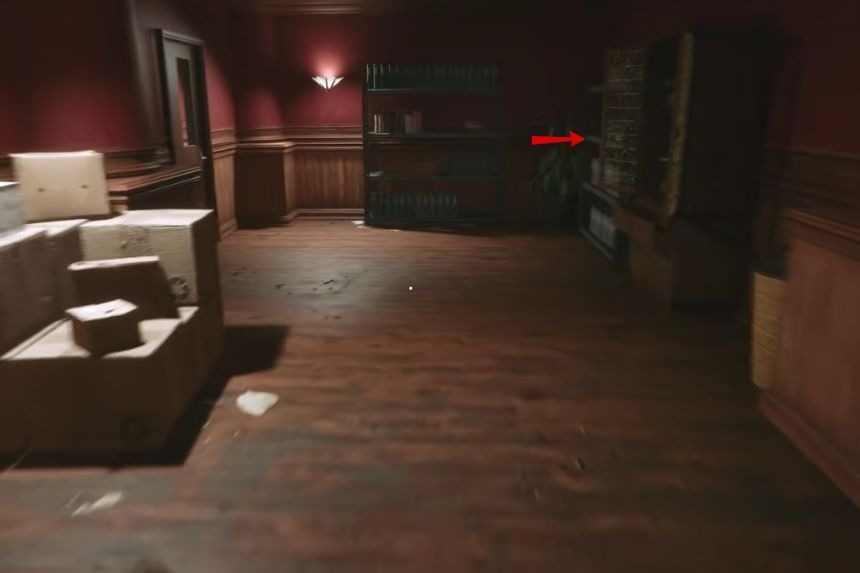
When you reach the large room containing a statue, head east into the security office. You will find the inventory upgrade on a shelf beside a locked cabinet.
Trophy: Portable Guillotine (Bronze)
In order to get the trophy, you have to decapitate at least three foes using the same melee weapon without breaking it. But for this particular trophy, you will have to decapitate three foes using the blade weapon. Kill the Unworthy and make it flash blue, and then decapitate it using the blade weapon.
Trophies: What’re Ya Buyin? and What’re Ya Sellin? (Bronze)
- What’re Ya Buyin?: Spend at least 666 coins in the shop.
- What’re Ya Sellin?: Earn at least 999 coins by selling items.
Both trophies will be glitched at the moment, so treat them carefully. After climbing the next ladder, you will find Zora at your first shop. Do not do anything and make a manual save. Then sell all the items you have and purchase the items you sold from Zora.
After that, go into the Buyback tab and buy the items you have just sold back from the shop. Now you can sell them once again in order to gain more money for the trophies. Both trophies should be done on the first shop, since on further ones there might be a glitch with trophies on the PS5 version.
Crafting Recipe: Medkit
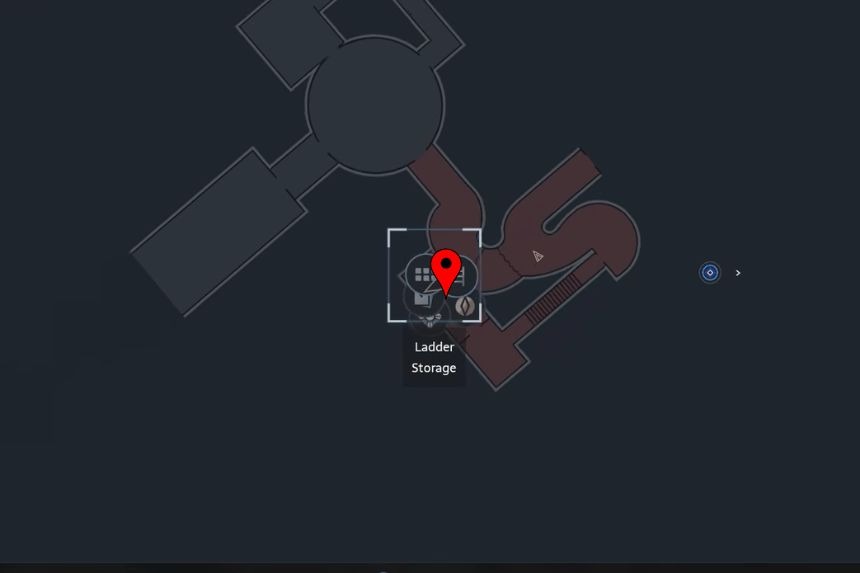
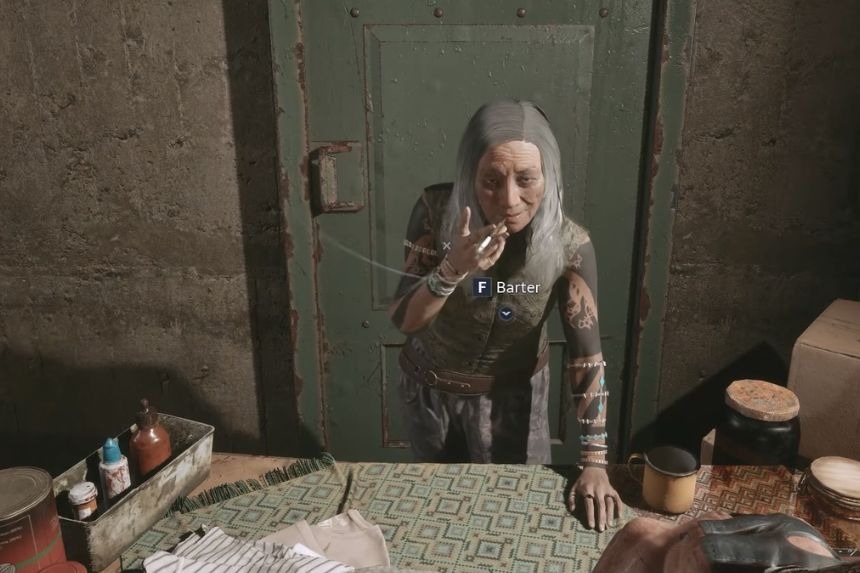
You can purchase the Medkit recipe from Zora at the first shop for 200 coins.
Materials required: 2 Cloth, 4 Herbs, and 1 Chemicals.
Crafting Recipe: Lockpick
Zora sells the Lockpick recipe at the first shop for 120 coins.
Materials required: 3 Scraps and 3 Coils.
Crafting Recipe: Basic Repair Kit
You can also purchase the Basic Repair Kit recipe from Zora at the first shop for 120 coins.
Materials required: 1 Scraps, 1 Cloth, and 2 Coils.
Trophy: Hairraiser (Bronze)
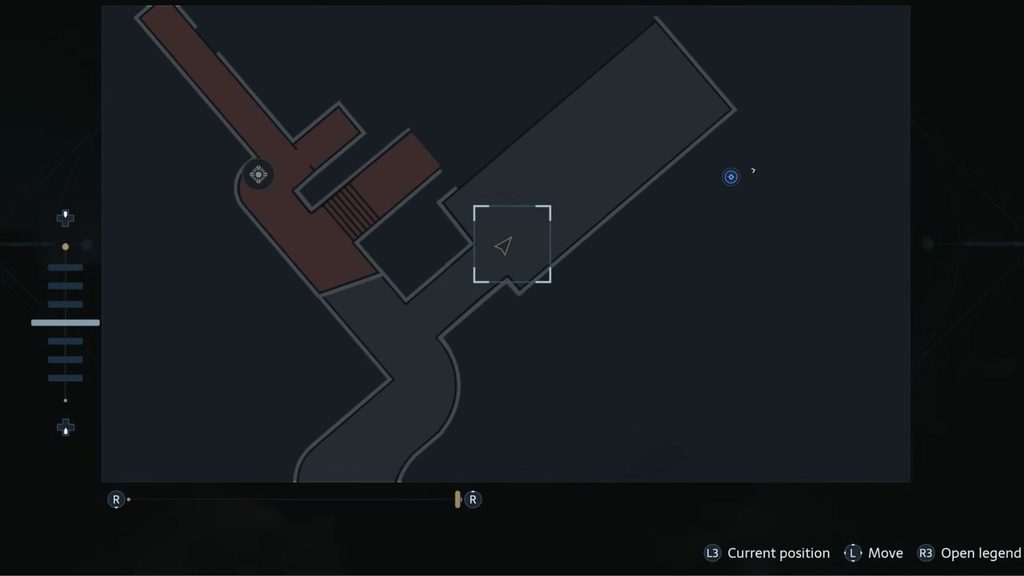
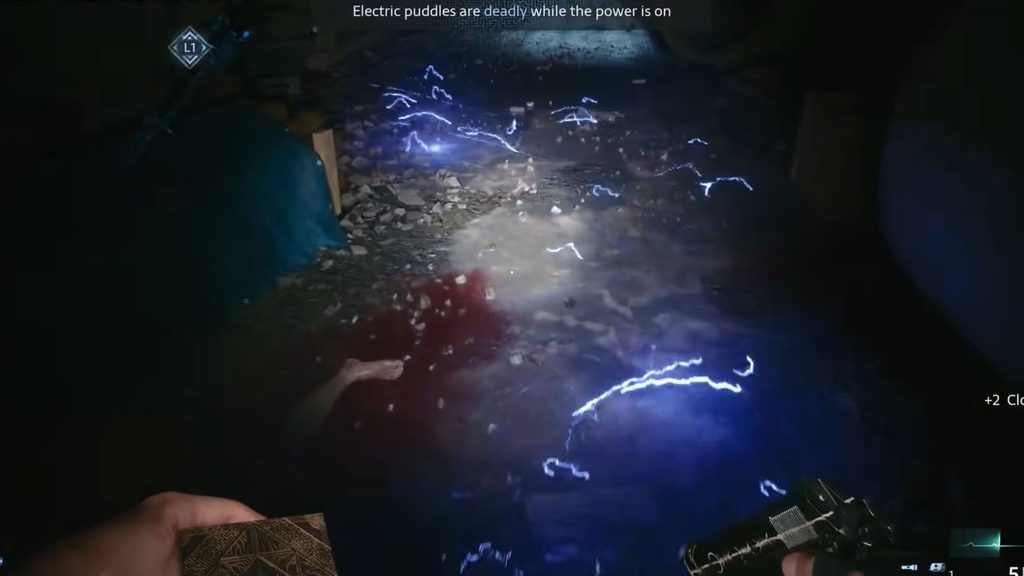
In order to get this trophy, you have to die due to electrocution. Just continue going forward during the Get to Safety objective while escaping Charlotte until you encounter the water, which is electrified on the floor. Do not die instantly; continue going forward until you find the manual save point in the next room. After saving your game, go back to the water and enter it in order to be electrocuted.
Firearm: Shotgun
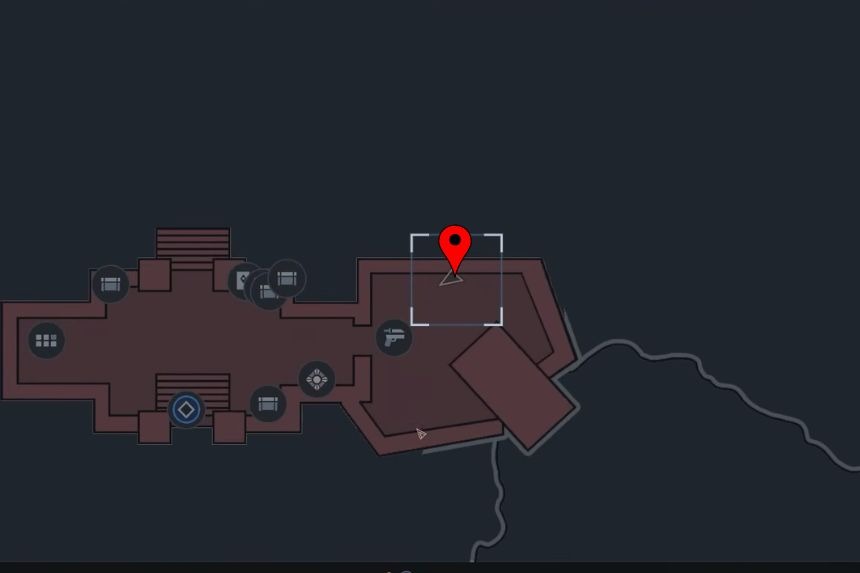
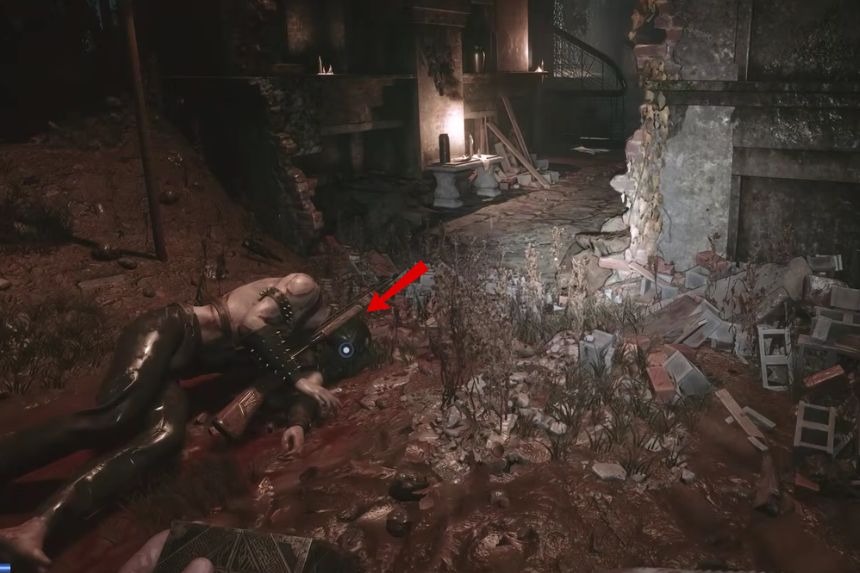
After falling into the graveyard and treating your injured foot, check the corpse lying right beside you. You will find the Shotgun there, so make sure you pick it up before moving on.
Trophy: A Quiet Place (Bronze)
To earn this trophy, you must escape the graveyard without throwing any objects or being spotted. Before moving forward, save your game at the save point on the left side of the church.
Keypad Code: 9606
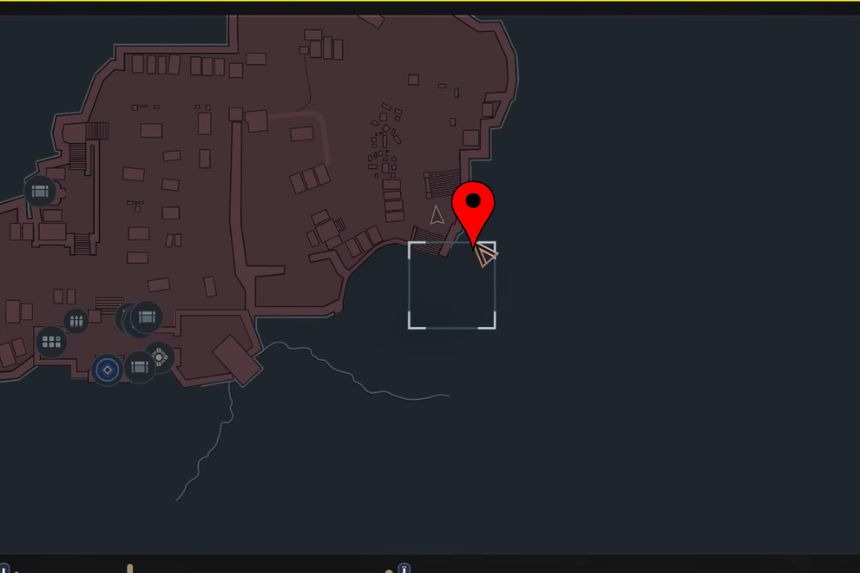
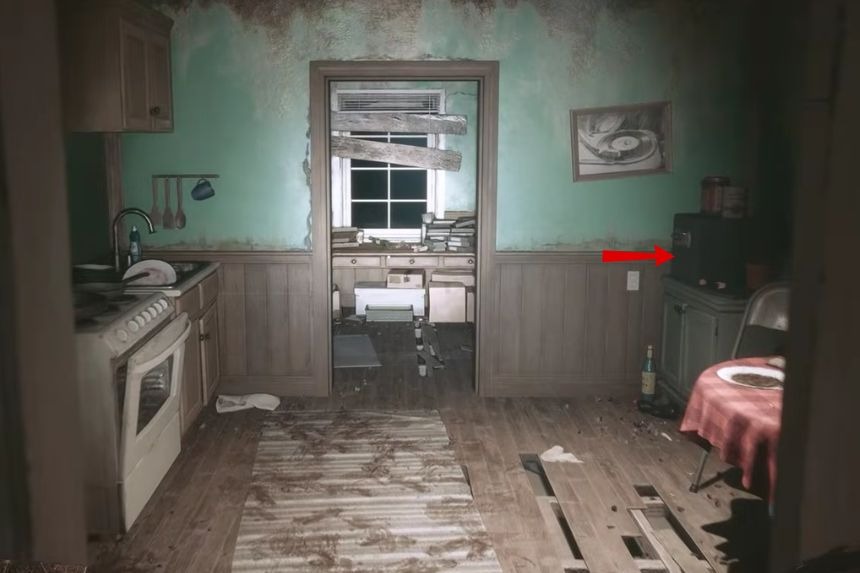
Inside the house in the southeastern corner of the cemetery, you will find a safe. Enter 9606 to open it.
Pistol Upgrade: Oversized Magazine Release
The Oversized Magazine Release upgrade is inside the safe you just opened with the code 9606.
Inventory Capacity Upgrade
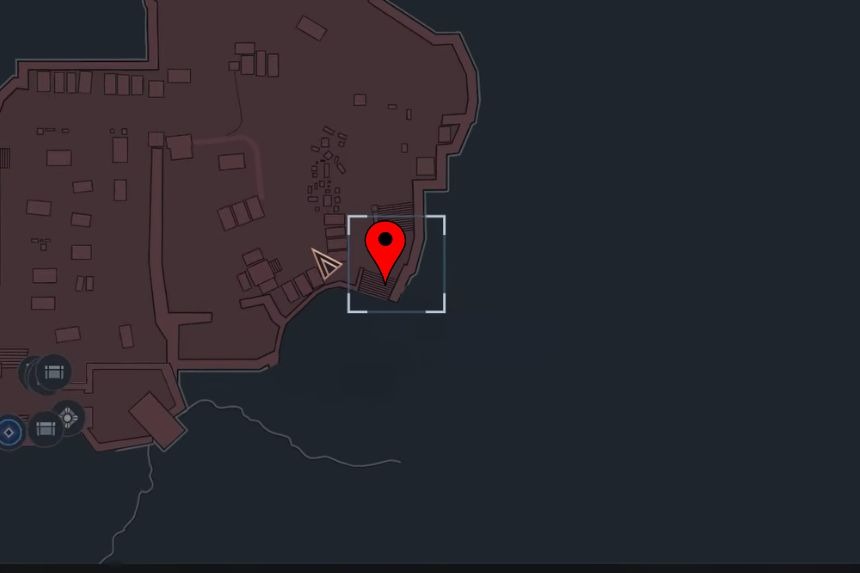
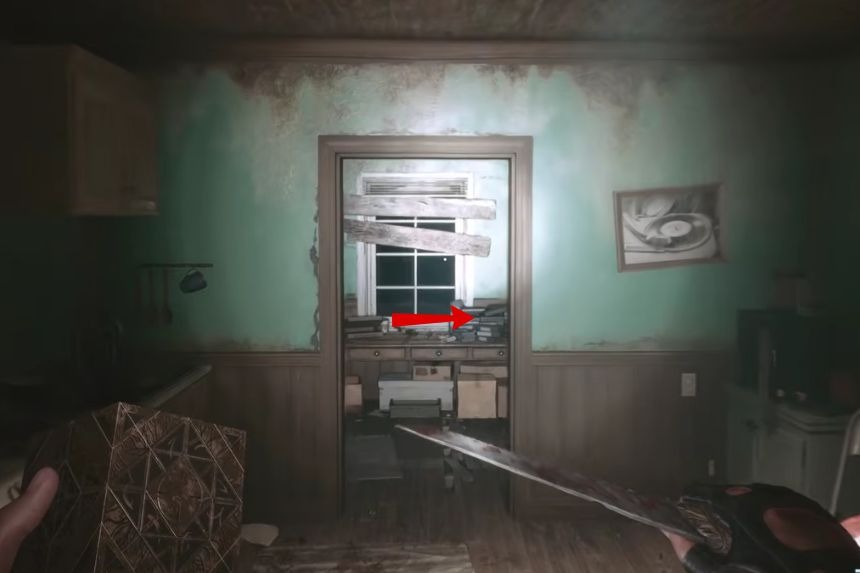
Check the green cabinet in the room containing the save point. You will find another inventory capacity upgrade inside.
A Quiet Place trophy
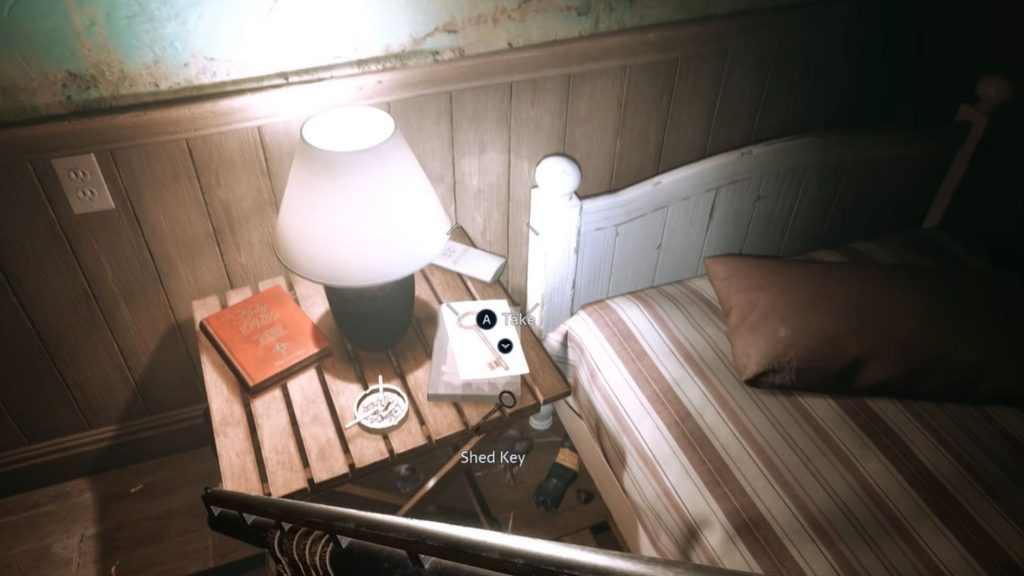
As you collect the statue key from the shed, you will have to exit the graveyard again. At this point, Charlotte will be patrolling the eastern portion of the graveyard. The patrol path depends on how much of the mission you have completed, therefore, it is important that you proceed cautiously while staying hidden behind the bushes.
Follow Charlotte from a distance until you manage to conceal yourself. The eye icon will then appear in the bottom-right corner of the screen, crossed out. However, not all bushes will hide you entirely from Charlotte’s sight. Therefore, it is important to listen to Aiden because he will tell you when you get discovered. The HUD will indicate it as well.
Wait until Charlotte moves south, and then move west to the northwest. Hug the tree to stay away from Charlotte. She will not go into the part of the map where the cultists were before, and you will be able to safely get out of the graveyard. At this point, interact with the door, and then leave the graveyard with the key. The “A Quiet Place” trophy will become unlocked as you leave the graveyard.
Pain Pillar #1: Health Increase
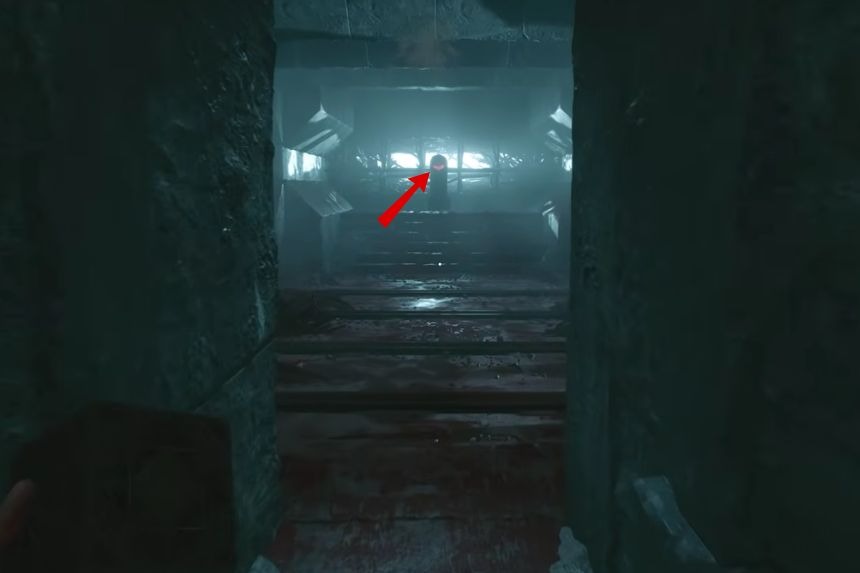
As soon as you get past the first corridor and the spinning diamond obstacle, you will arrive at a point where you will find an intersection. Make sure to turn right at the point where you will see the bloody hole in the wall. There will be four more spinning diamond obstacles ahead of you.
Suffering Pillar #1: Suffering Increase
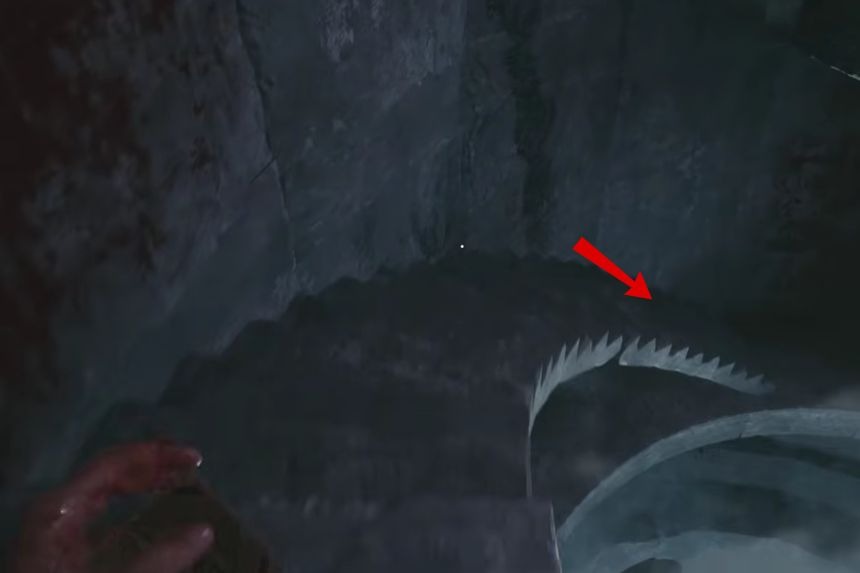
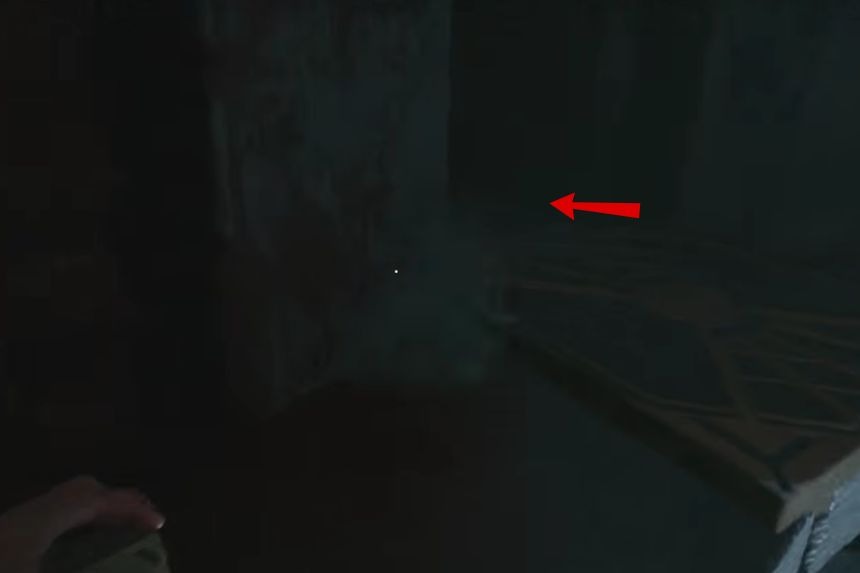
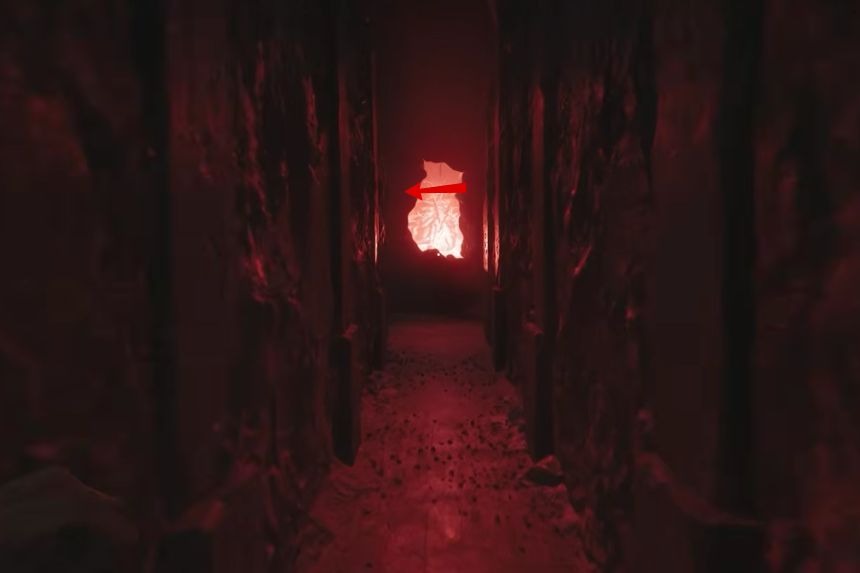
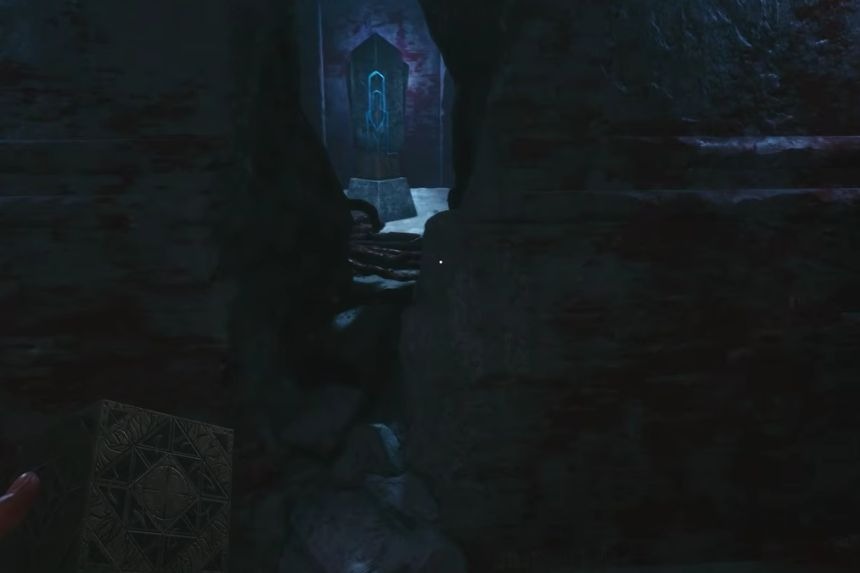
Keep on going through the maze until you are beyond the point where there are walls with spikes that move while the ceiling lowers. At the next junction, search for the red light that emanates from the wall. After turning to the left, you will see the Suffering Pillar ahead, surrounded by rotating traps in a counterclockwise direction.
Suffering Pillar #2: Suffering Increase
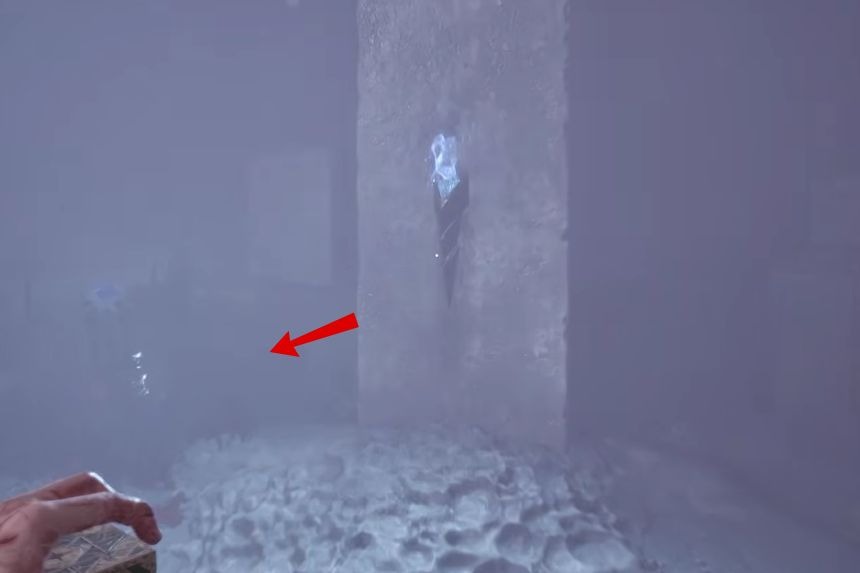
Keep going until you reach the point where the Leviathan can be seen in the distance and the Chatterer appears all around you. You will come to a point where there are archways up ahead. As soon as you get there, turn around immediately. The Suffering Pillar is right behind you. Do not continue moving toward the archway which has two blue flames on it with gold trimmings.
Crafting Recipe: Advanced Repair Kit
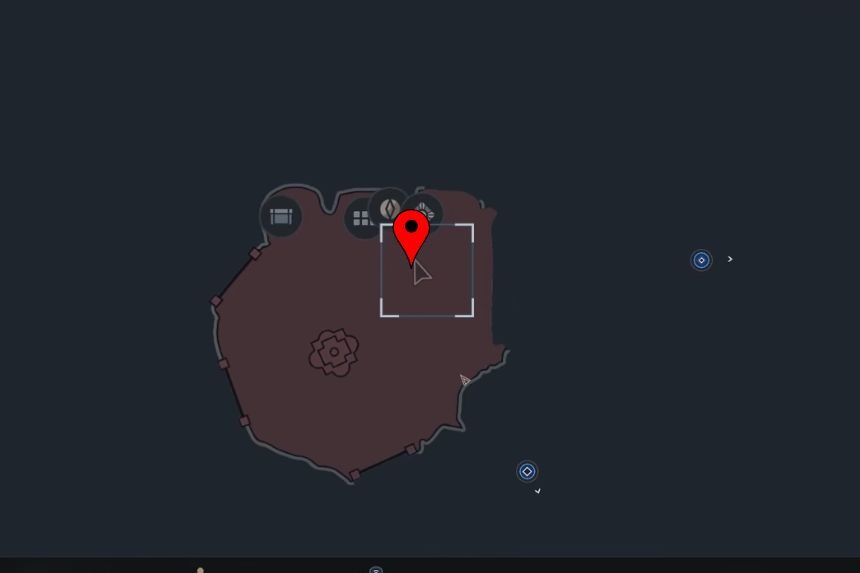
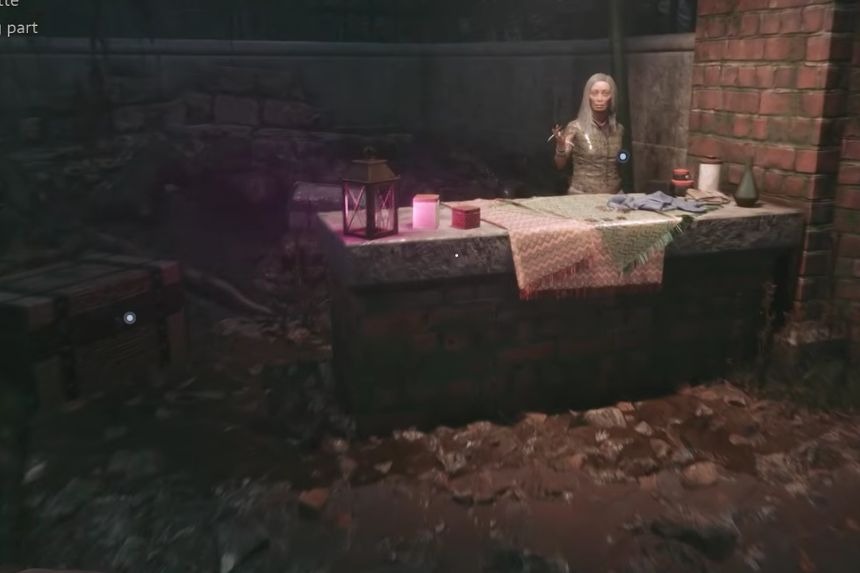
You can buy the Advanced Repair Kit recipe from Zora at the second shop for 180 coins.
Materials required: 2 Scraps, 1 Cloth, 1 Chemicals, and 2 Coils.
Crafting Recipe: Ammo Pack 12-Gauge (Shotgun Ammo)
Zora also sells the 12-Gauge Ammo Pack recipe at the second shop for 220 coins.
Materials required: 3 Scraps, 1 Cloth, 3 Gunpowder, and 1 Chemicals.
Firearm: SMG
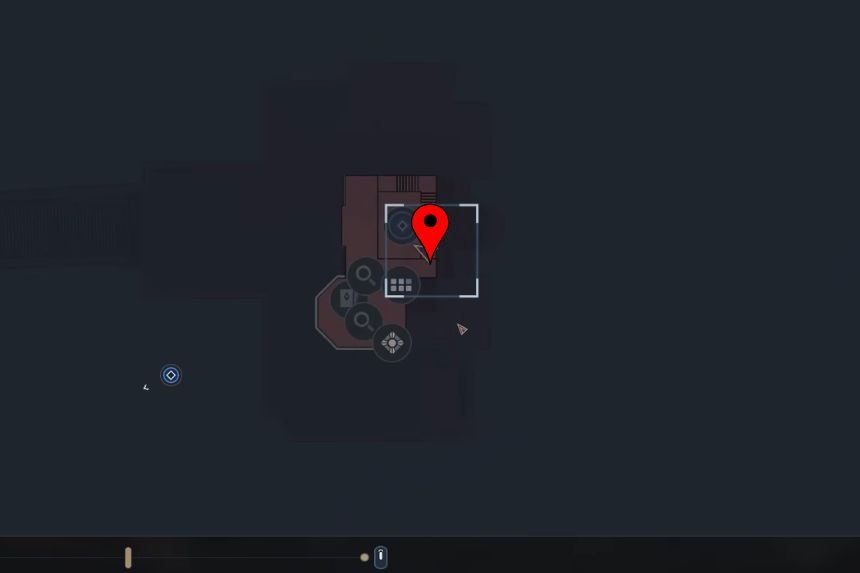
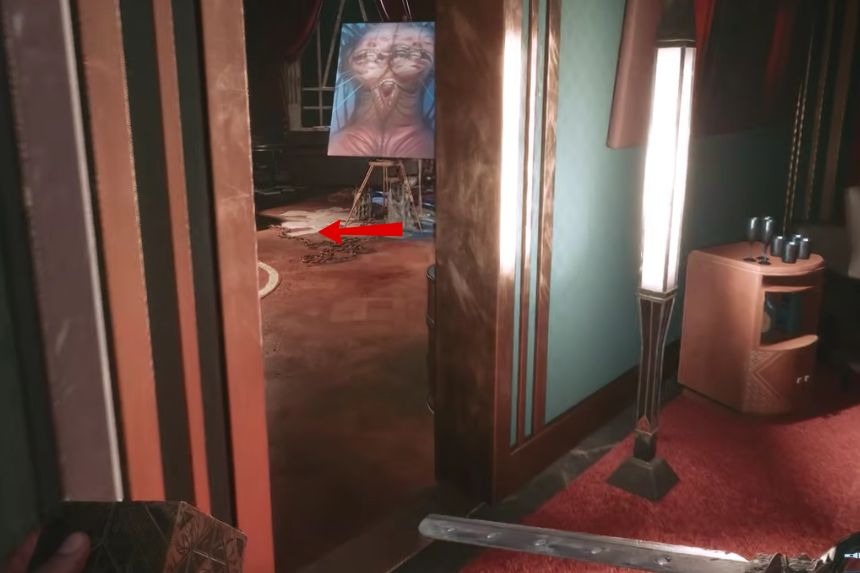
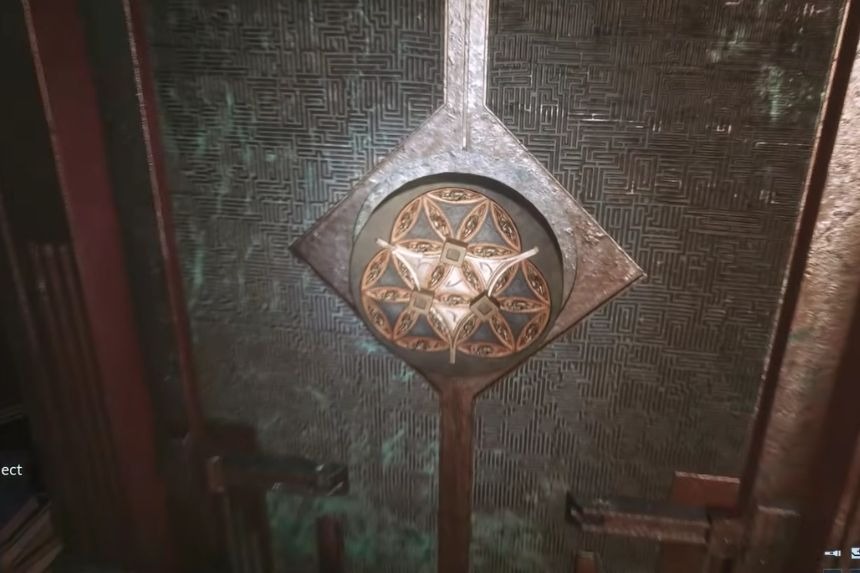
The SMG is inside a safe that is kept on the topmost floor of the mansion. To get access into the safe, one has to spin the discs until the four gold segments at the centre match. At the same time, the slots found at the left, right, and bottom should align with the centre too. From the starting position of the safe, spin the following segments in order:
Left, Top, Top, Top, Top.
Once you solve the puzzle, open the safe to collect the SMG.
Inventory Capacity Upgrade
The inventory capacity upgrade is inside the same safe as the SMG. Make sure you collect both before leaving the area.
Keypad Code: 1966
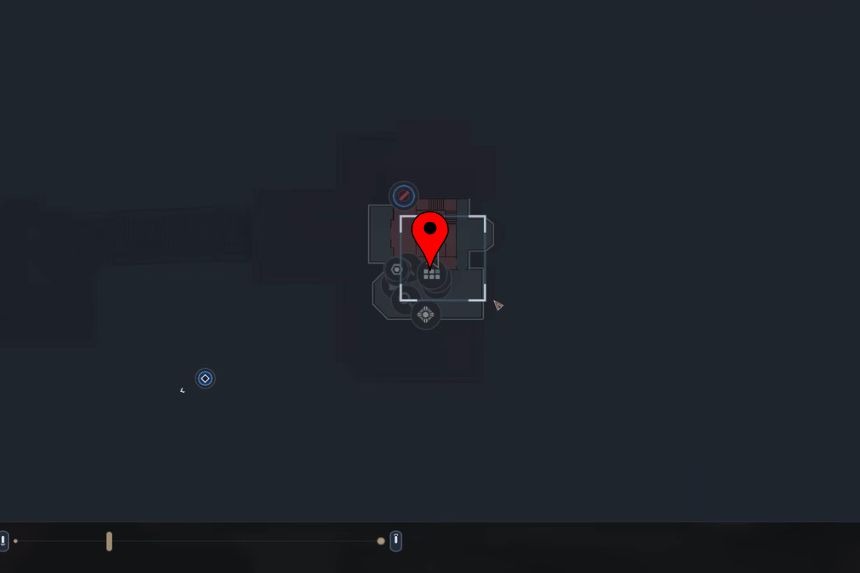
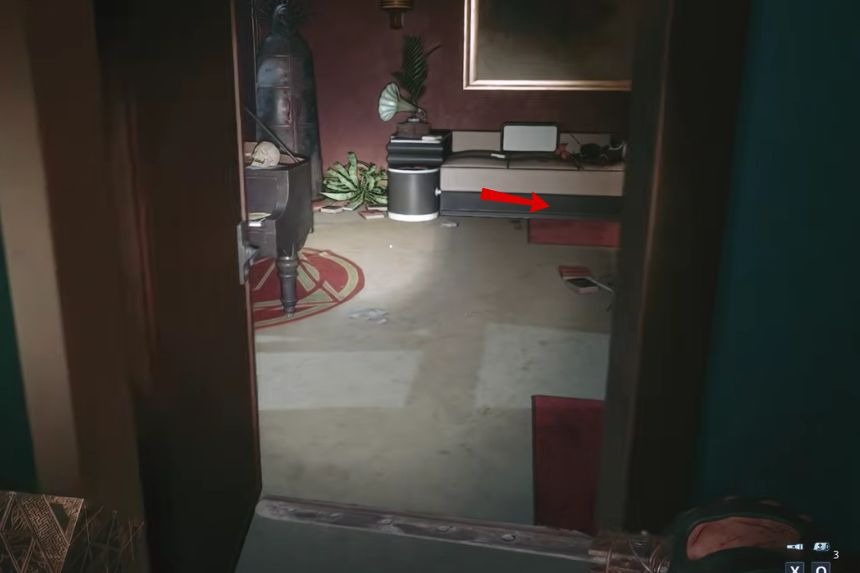
On the highest floor of the house, there is a locked cabinet located in the southeastern room. The code for the cabinet is obtained through two hints. First, examine the back of the painting inside one of the rooms to obtain the year. Next, look at the note beside the locked cabinet, and it says to add 300 to that year. The code is 1966.
Crafting Recipe: Ammo Pack 9mm (SMG Ammo)
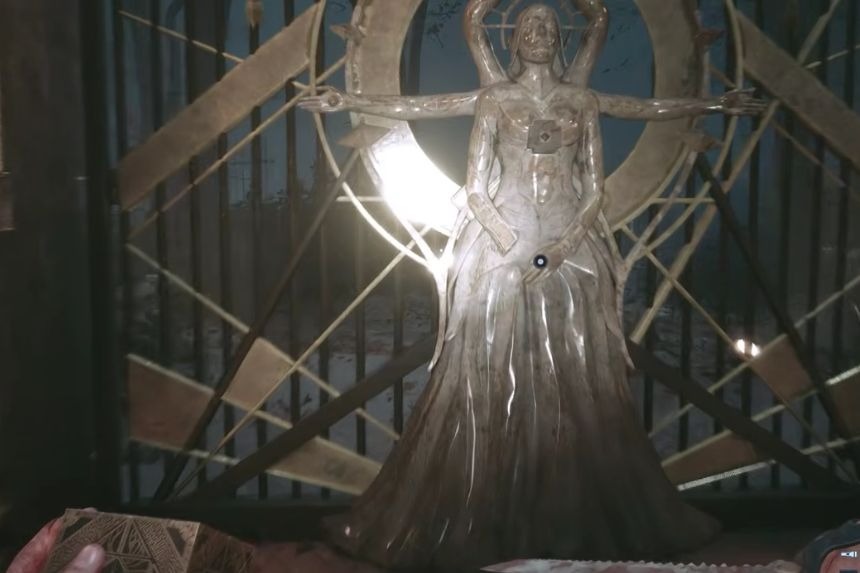
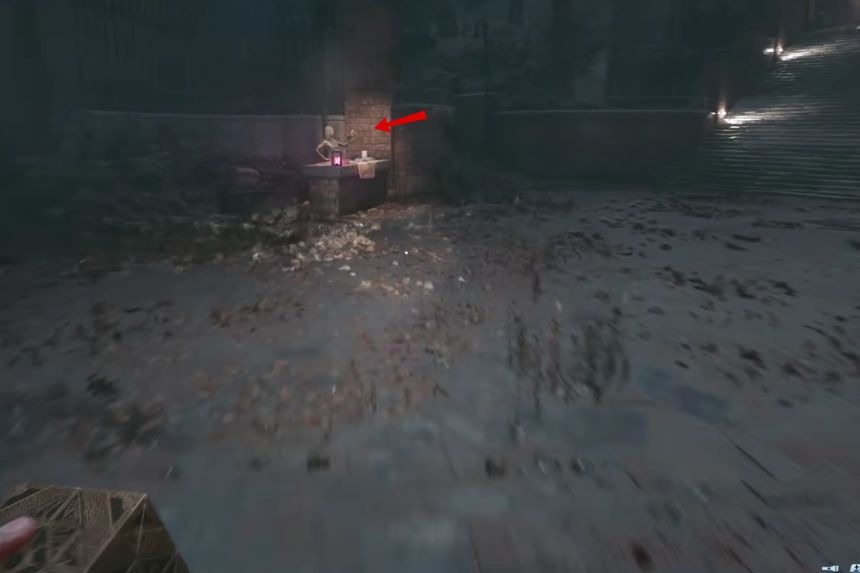
After collecting the Statue’s Hand and leaving the mansion, visit Zora at the second shop. You can purchase the 9mm Ammo Pack recipe for 140 coins.
Materials required: 2 Scraps, 3 Gunpowder, and 2 Coils.
Pistol Upgrade: .45 Super Rounds
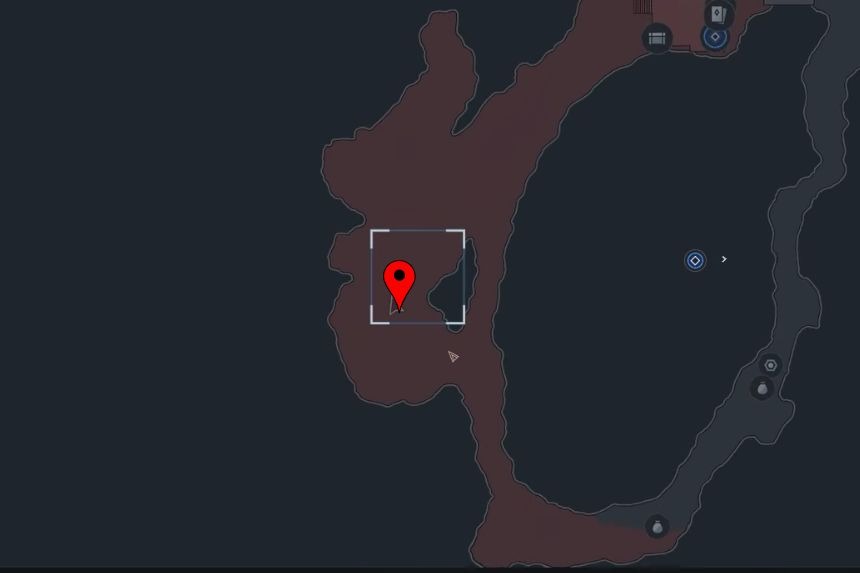
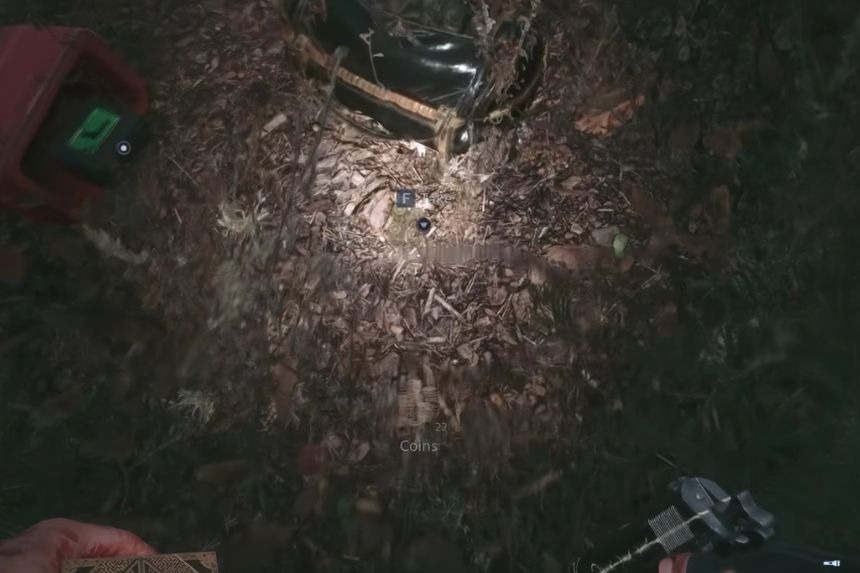
Continue into the next western area until you reach a campground with an exploding enemy. Head south from the campground and look for a dead end. You will find the .45 Super Rounds upgrade lying on the ground there.
Firearm: Revolver + Heavy Foregrip and Dragon Breath Rounds Firearm Upgrades
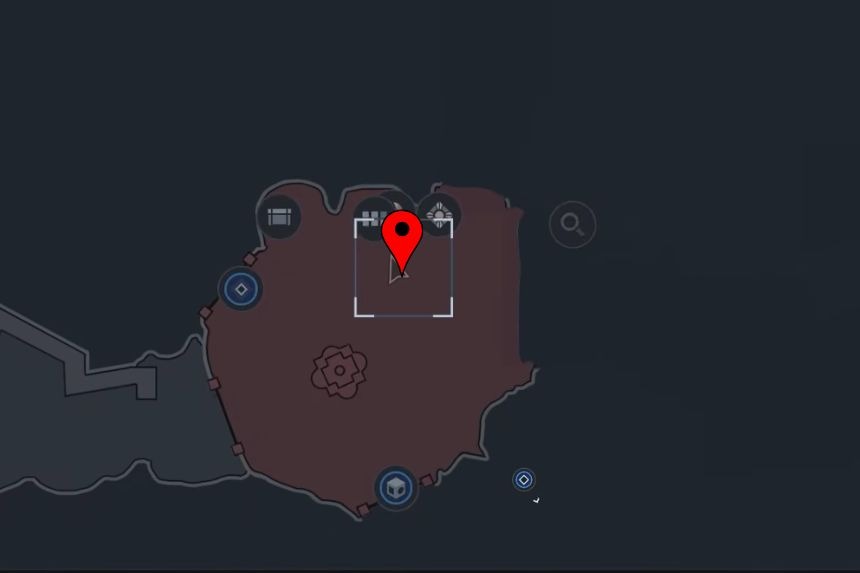
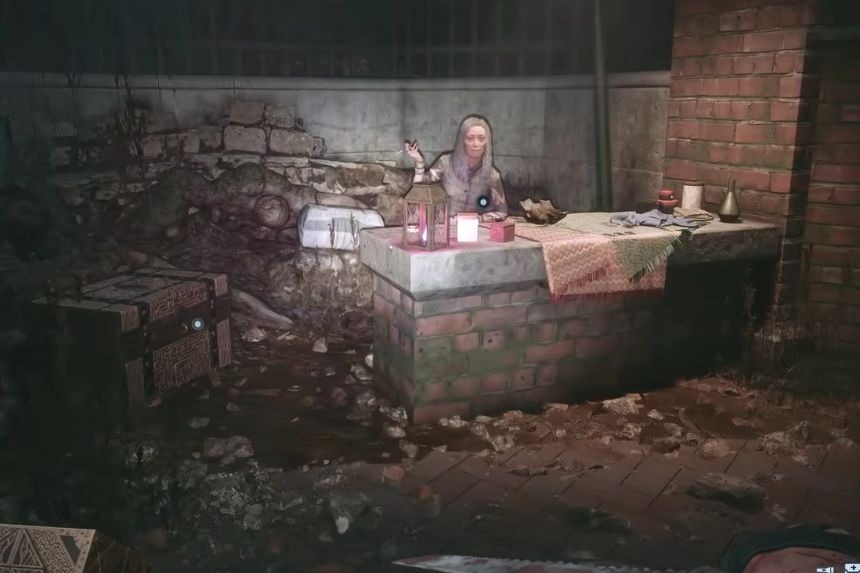
After collecting the Statue’s Head from the swamp, you will find Zora’s second store nearby. You can purchase the Revolver for 300 coins. You can also purchase the Heavy Foregrip and Dragon Breath Rounds to get 2 extra firearm upgrades.
Trophy: Sticks and Stones (Bronze)
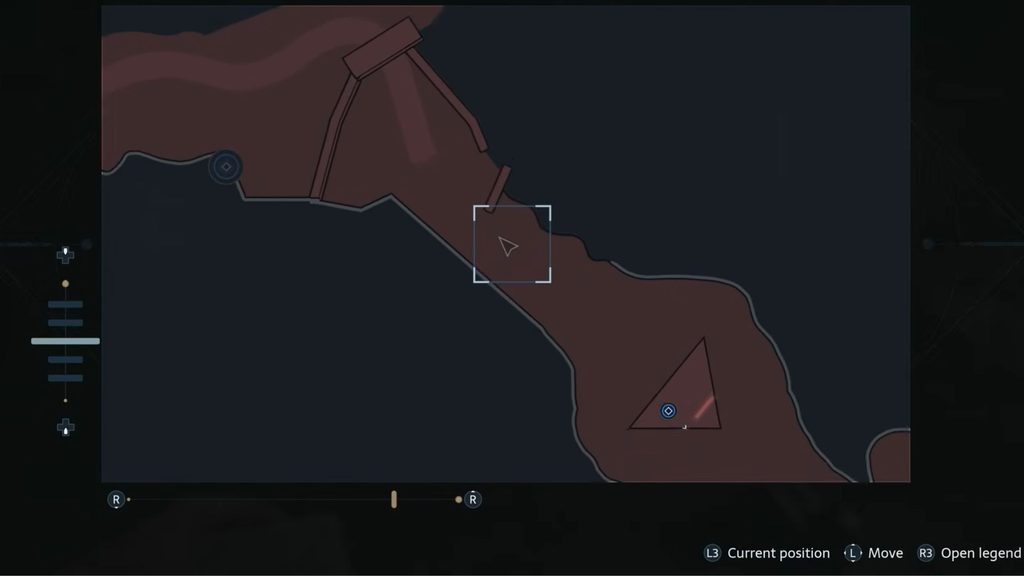
To unlock this trophy, you need to kill an enemy by throwing a Stone at him. The area where you need to open the gate for Charlotte is a great place to do it. The quest objective you get here is to find the Statue’s tongue. Once you have mastered the skill of pulling and throwing fire, proceed to the east, towards the mansion. Collect a Stone from the floor.
Find an ordinary zombie enemy, but not the explosive one. Place the Stone near the enemy and start shooting at him until he starts to glow blue. Grab the Stone and run towards the weak enemy, then throw the Stone at him.
Inventory Capacity Upgrade
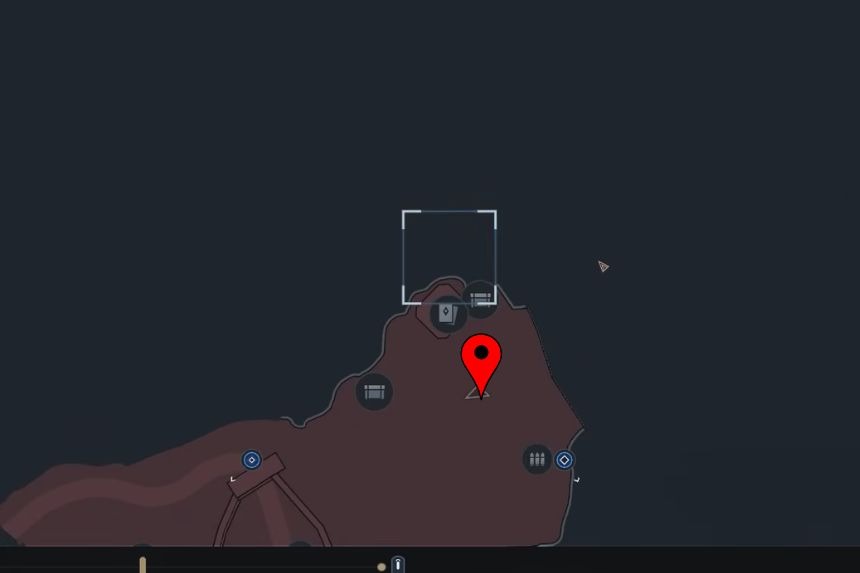
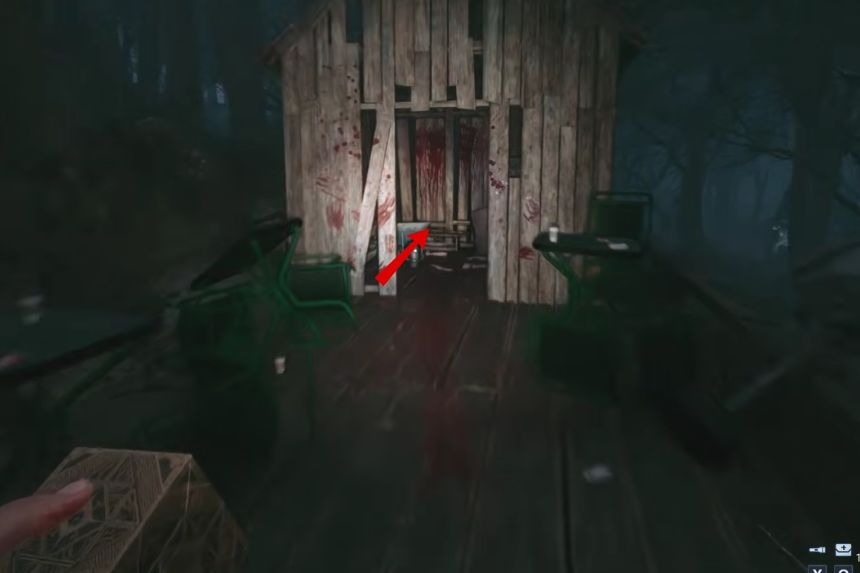
Head south of the pagoda and look for a shack at the top of the hill. Inside, you will find a safe containing the inventory capacity upgrade. You need to use your lockpick skill to unlock it, as there are no codes available here.
Shotgun Upgrade: Full Choke
The Full Choke upgrade is inside the same safe as the inventory capacity upgrade. Open it to collect both items.
Trophy: Red Dead Damnation (Bronze)
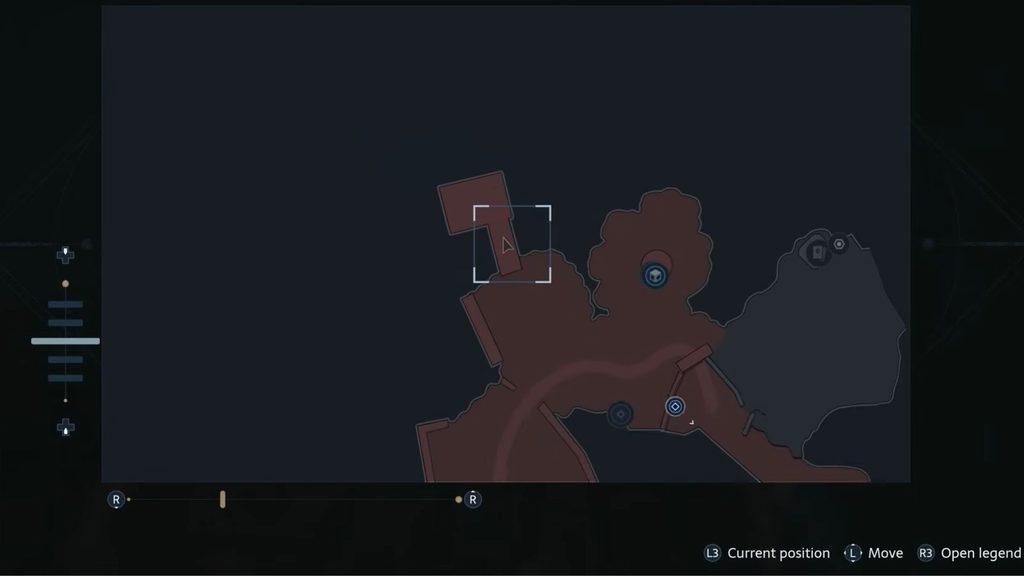
For this trophy, you need to shoot all nine bottles at the shooting range near the docks. Look to the right of the boat you pull in to obtain one of the puzzle boxes. You will find all nine bottles in that area.
It’s best to save your game before pulling the boat, as doing so will spawn several enemies. You will need at least nine bullets to destroy all the bottles in one attempt, so make sure you have enough ammunition.
Using the Handgun is a good option. If you run out of ammunition and leave the area to find more, the bottles will respawn. This means you will have to shoot all nine again in a single attempt.
SMG Upgrade: Linear Compensator
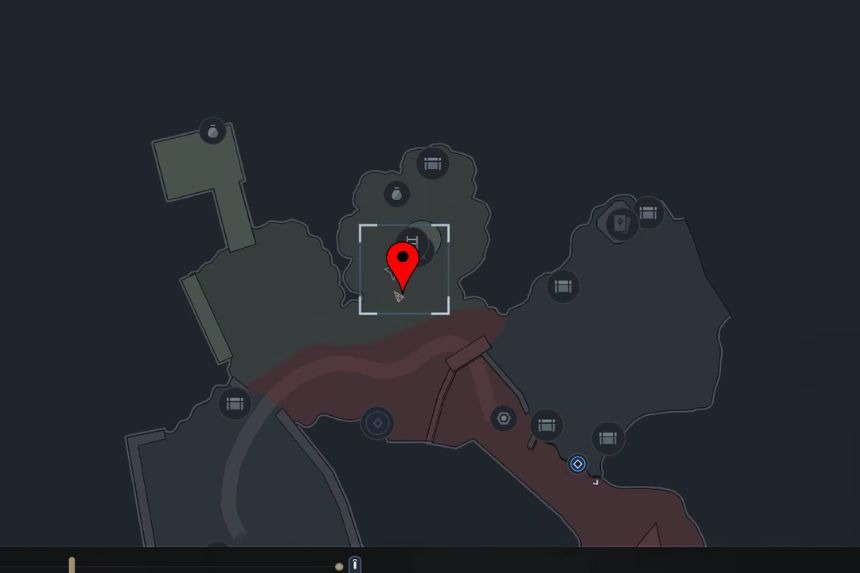
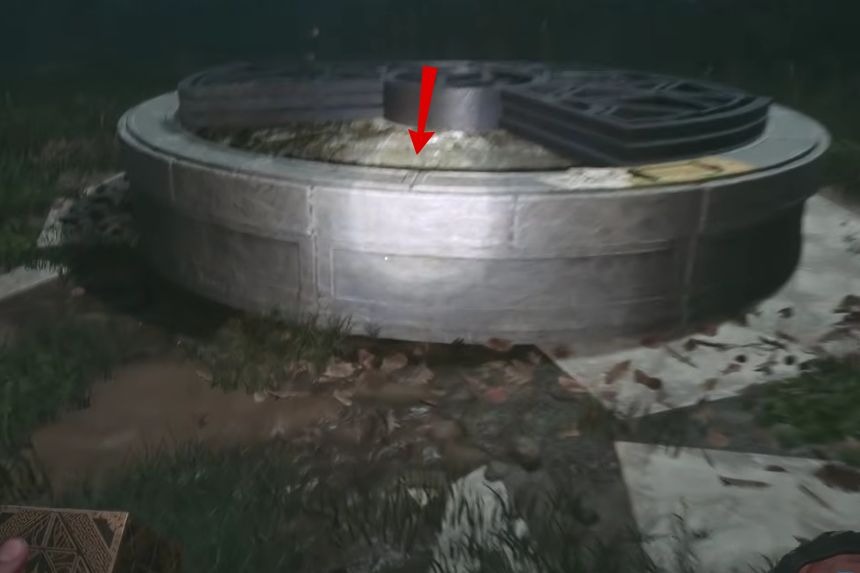
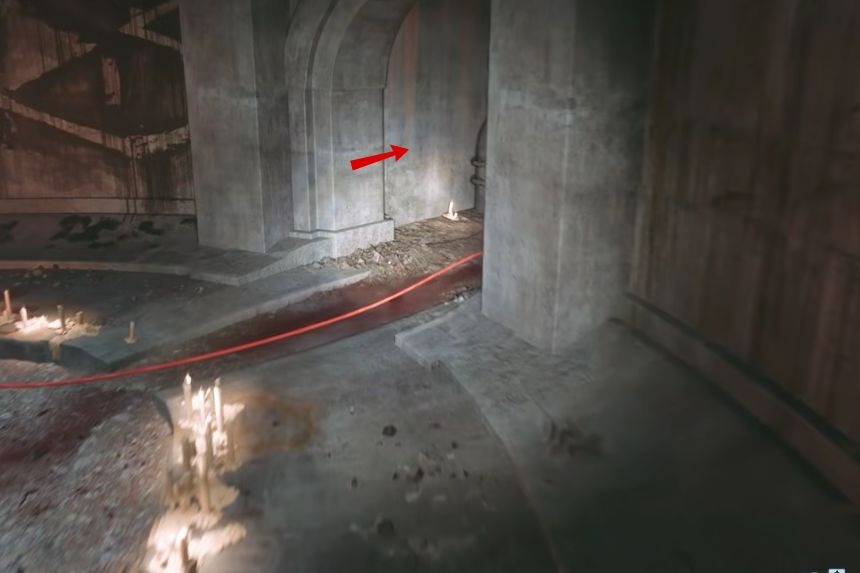
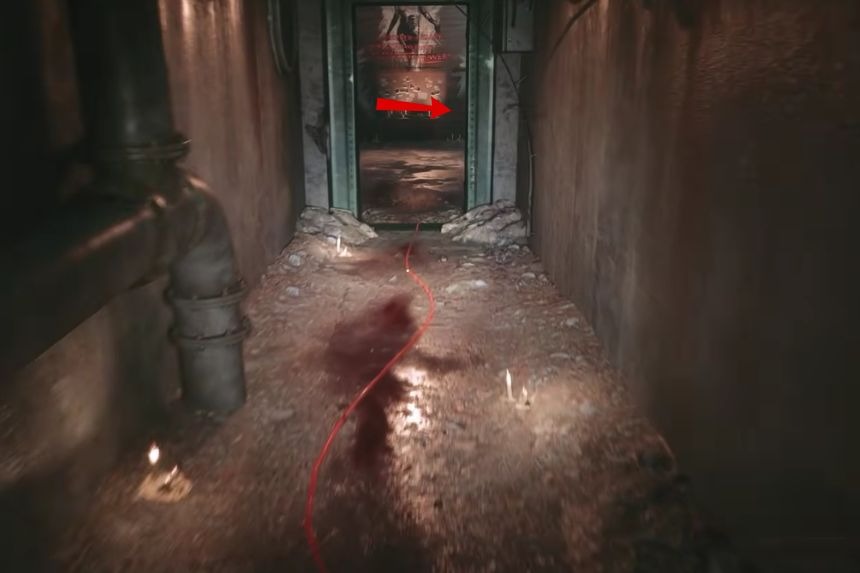
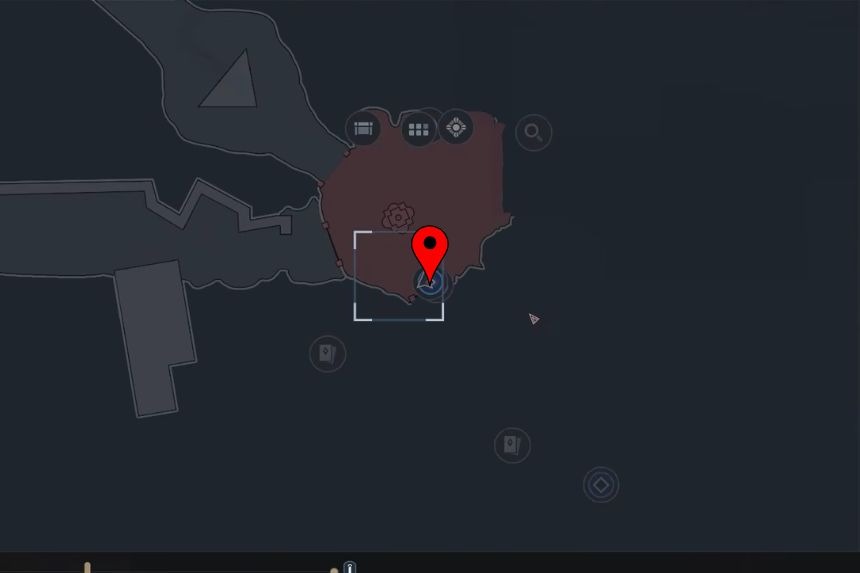
After using all four puzzle boxes to descend into the well, head to the southwestern room. Look for a cabinet that requires a Lockpick. Open it to collect the Linear Compensator upgrade for the SMG.
Crafting Recipe: Bear Trap
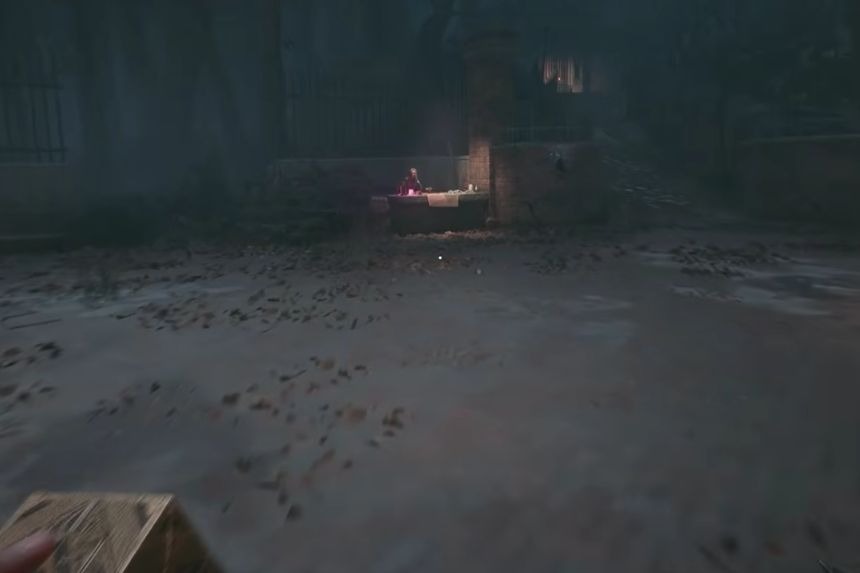
After collecting the Statue’s Tongue from the underground area, return to Zora at the second shop. You can purchase the Bear Trap recipe for 120 coins.
Materials required: 3 Scraps and 2 Coils.
Crafting Recipe: Fuel Can
You can also buy the Fuel Can recipe from Zora at the second shop after collecting the Statue’s Tongue. It costs 180 coins.
Materials required: 2 Scraps and 3 Chemicals.
Suffering Pillar #3: Suffering Increase
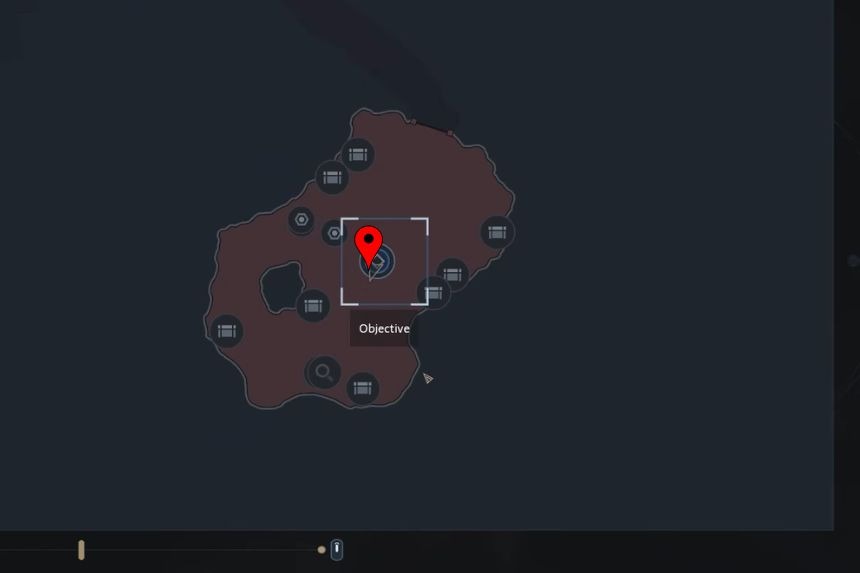
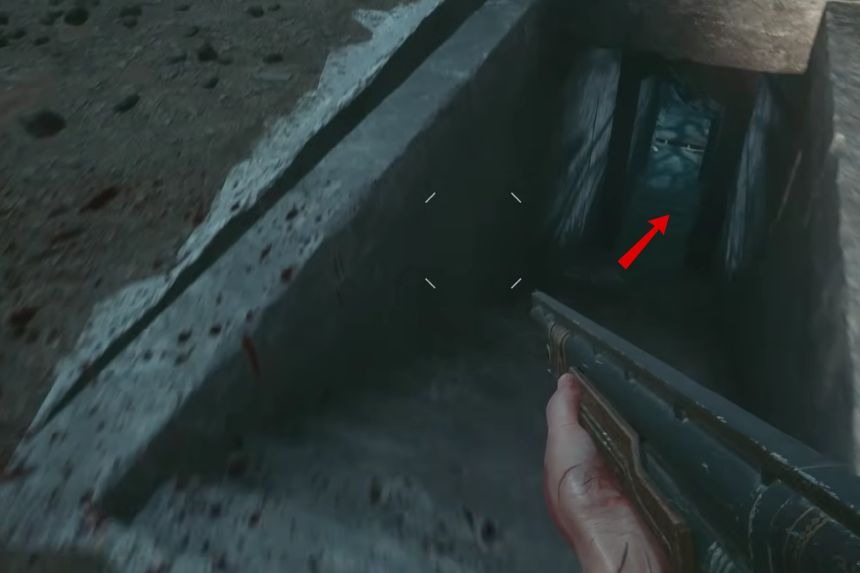
After defeating Charlotte, enter the labyrinth. You will find this Suffering Pillar directly along the main path, just beyond the save point.
Pain Pillar #2: Health Increase
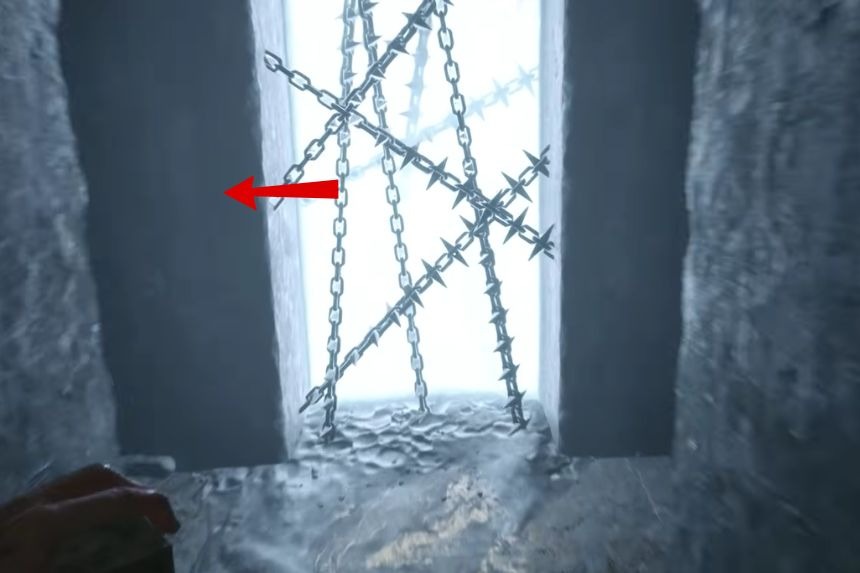
Continue along the main route until you pass through a pair of spikes that emerge from the left and right walls. At the next intersection, turn left and follow the path to a dead end.
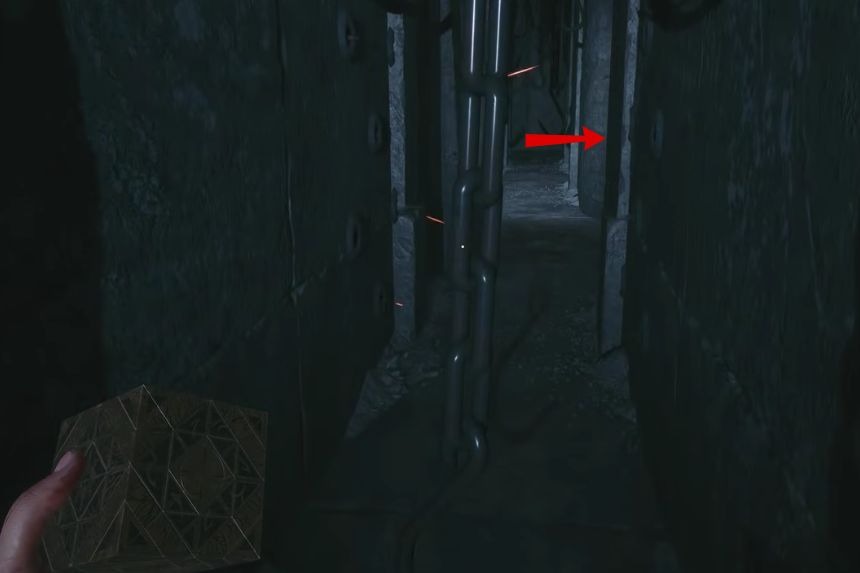
Look ahead to spot the area containing the Pain Pillar. Return through the wall spikes and turn right at the intersection. You will now have access to the path leading to the Pain Pillar.
Firearm: Assault Rifle
Trophy: Guns, Lots of Guns (Bronze)
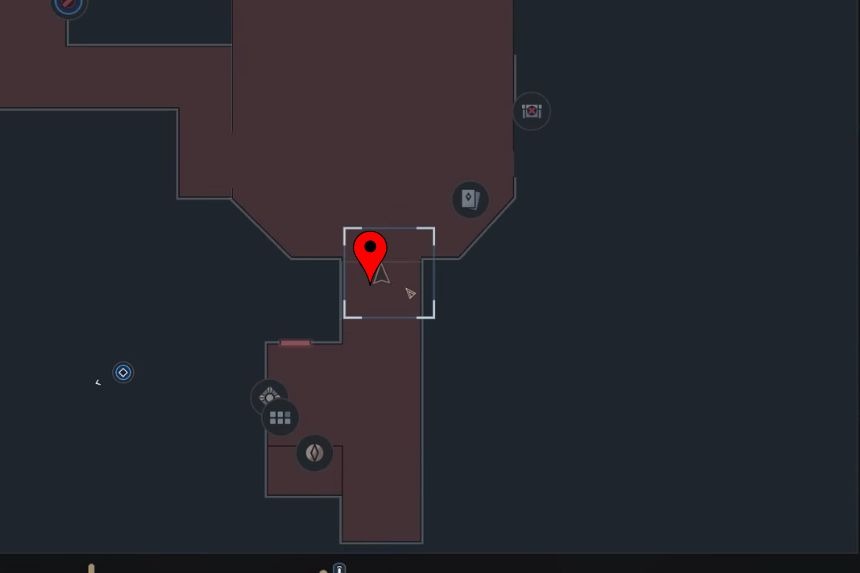
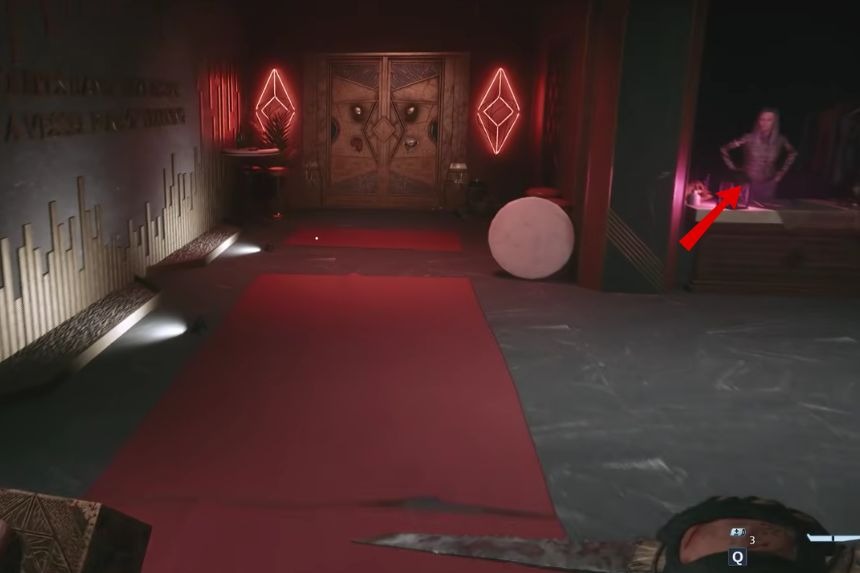
Zora’s third shop will now sell the Assault Rifle for 450 coins. Buying it unlocks the Guns, Lots of Guns trophy if you had purchased every firearm along the way.
Crafting Recipe: Ammo Pack .357 (Revolver Ammo)
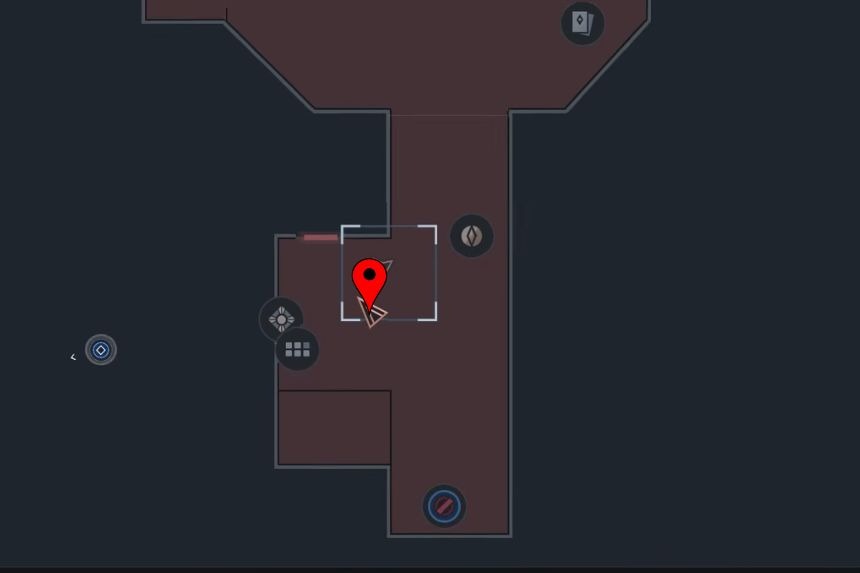
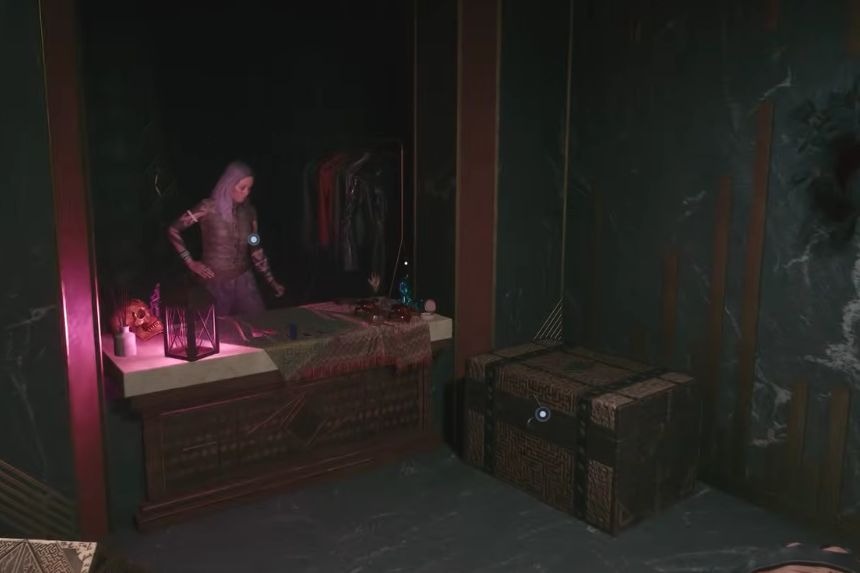
Zora sells the .357 Ammo Pack recipe at the third shop for 180 coins.
Materials required: 2 Scraps, 4 Gunpowder, and 1 Chemicals.
Keypad Code: 1952
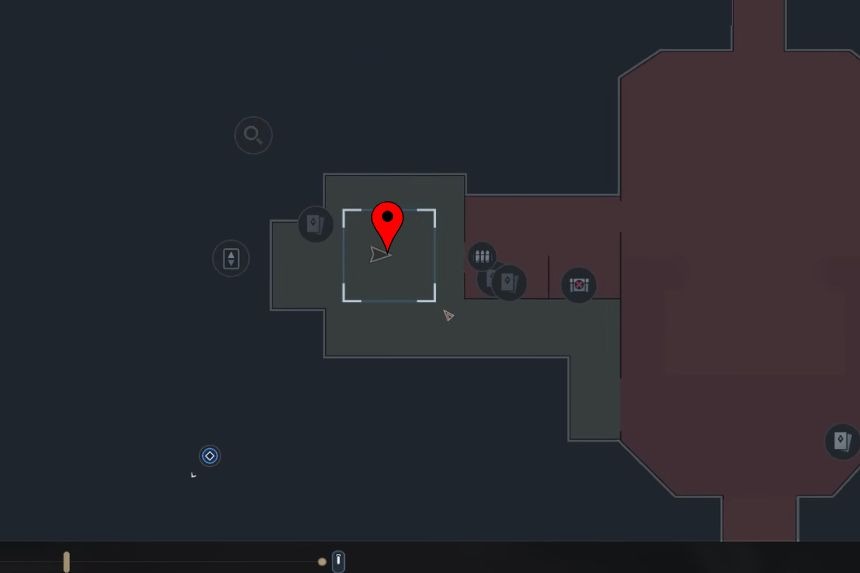
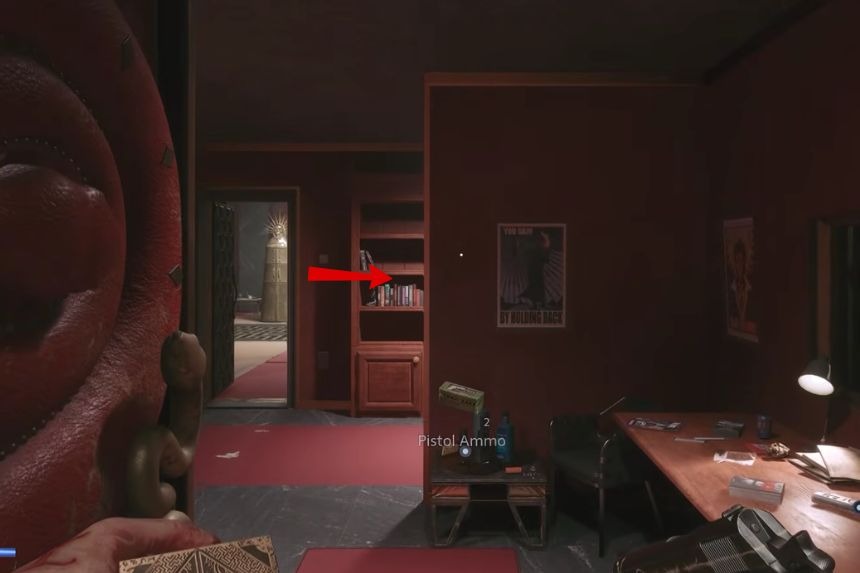
You will find a locked cabinet around the corner from the table holding the Voyeur Ticket. Enter 1952 to unlock it. The code can be worked out using the pictures scattered around the area.
Trophy: Codebreaker (Bronze)
This trophy requires you to unlock five number pad locks. Keep opening keypad-locked cabinets as you explore, and you should make progress toward it.
SMG Upgrade: Laser Pointer
The Laser Pointer upgrade is inside the keypad-locked cabinet in the room containing the Snake key. Enter the correct code to open the cabinet and collect the upgrade.
Inventory Capacity Upgrade
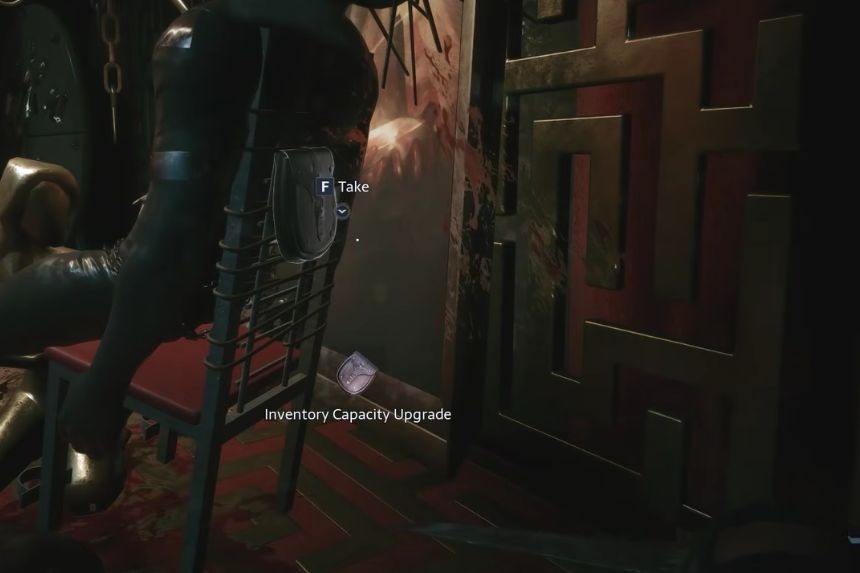
While sneaking around the Sister of Mercy in the lower area, take the path along the left side first. You will reach a dead end with a body sitting on a chair. Check the back of the chair to find the inventory capacity upgrade.
Suffering Pillar #4: Suffering Increase
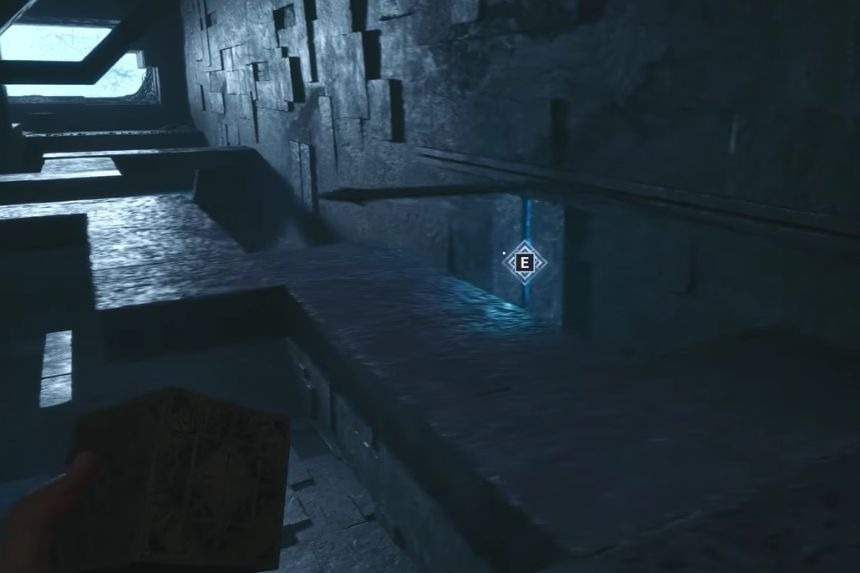
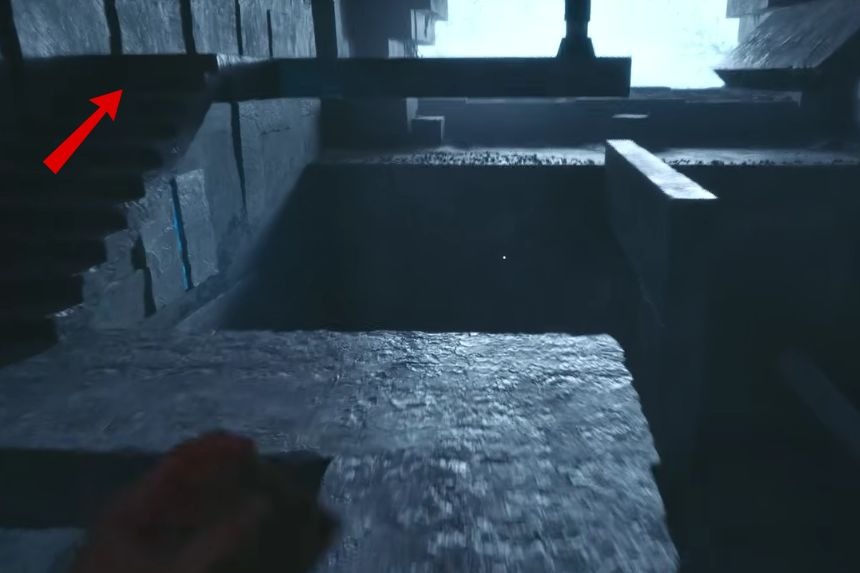
Continue until you reach the labyrinth right after the Sister of Pain encounter, where you rotate octagonal sections to create paths. The Suffering Pillar is located on the third section. Before moving past this room, rotate the second and third sections to create a path leading to the Pillar. Make sure you collect it before continuing.
Pain Pillar #3: Health Increase
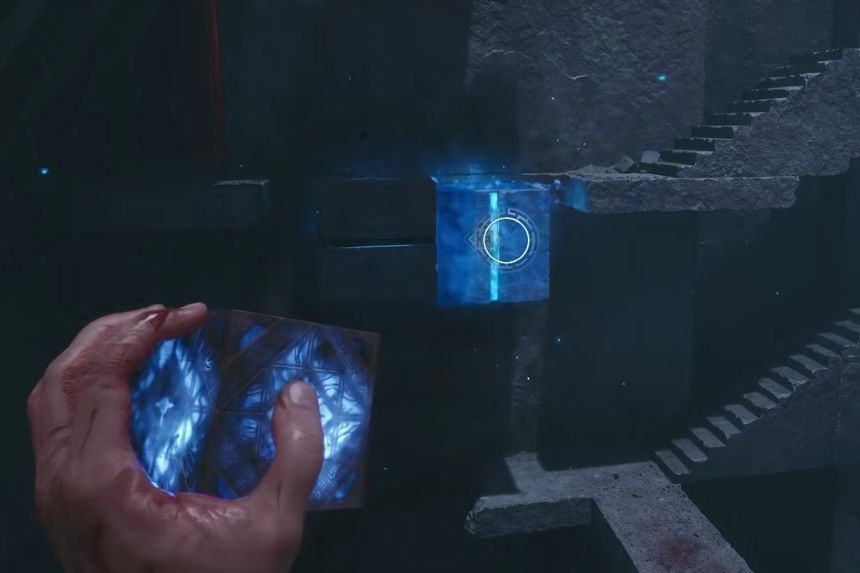
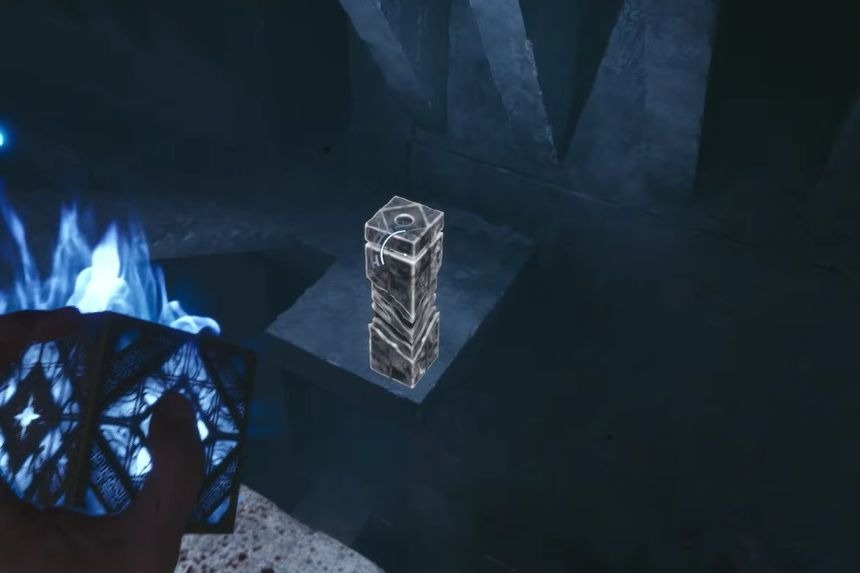
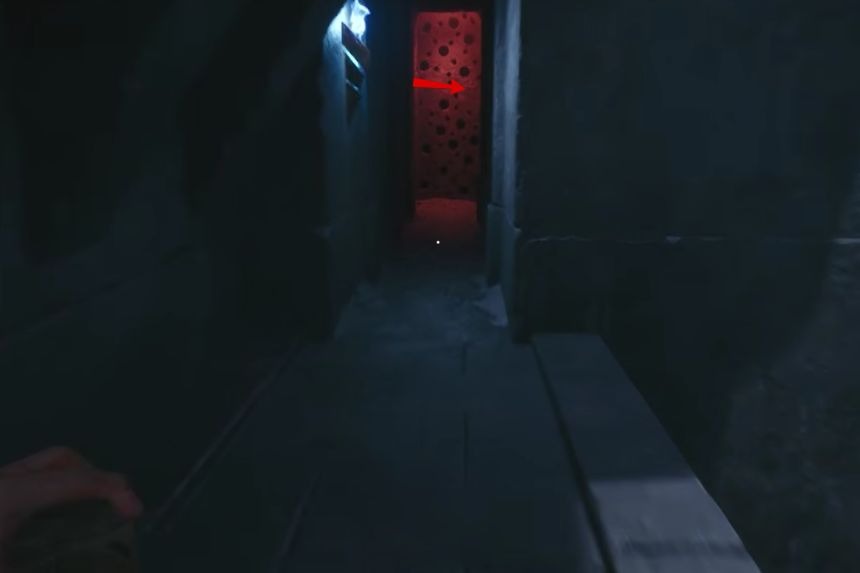
After climbing the ladder, you will enter a room containing moving staircases. On the left side, you will find two Labyrinth Cubes. Move them until they line up with the platforms between them. Then use fire on the pillar in the room. Follow the newly accessible path past the pillar and continue around until you can interact with the Pain Pillar.
Trophy: In the Land of the Pig, the Butcher Is King (Bronze)
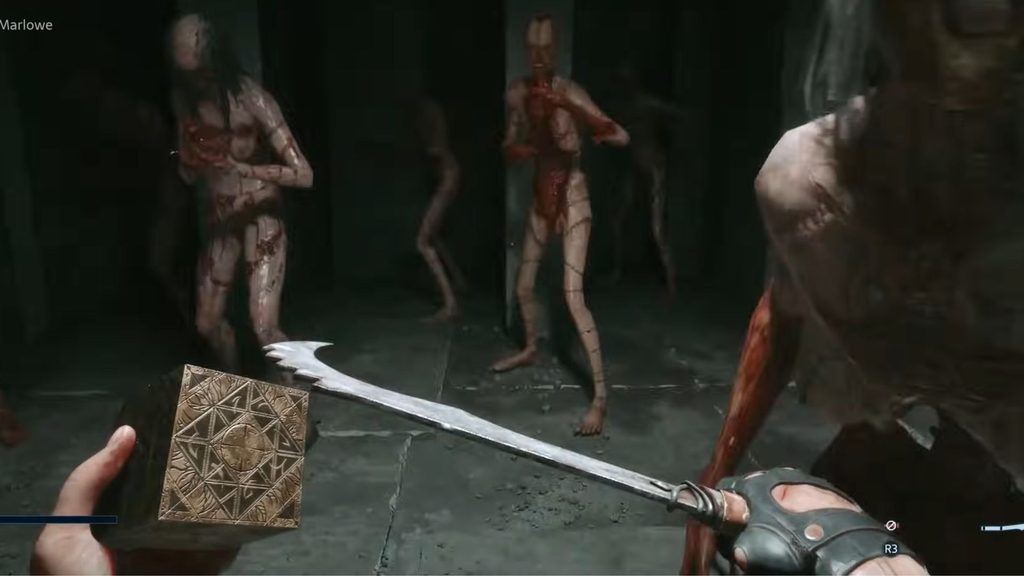
To earn this trophy, you must kill 69 enemies using Hellchains. You will unlock the Hellchains ability after completing the chase in the labyrinth. Once the chase ends, you will find yourself in a room filled with enemies.
Attack the enemies until your Suffering meter is full. Then hold the shoulder buttons to activate Hellchains and aim at the enemies in the room. The ability will hook them and kill them instantly.
You can reload your most recent autosave and repeat this process several times to work toward the 69 kills. This is a useful way to earn the trophy early instead of worrying about it later in the game.
Assault Rifle Upgrade: AP Rounds
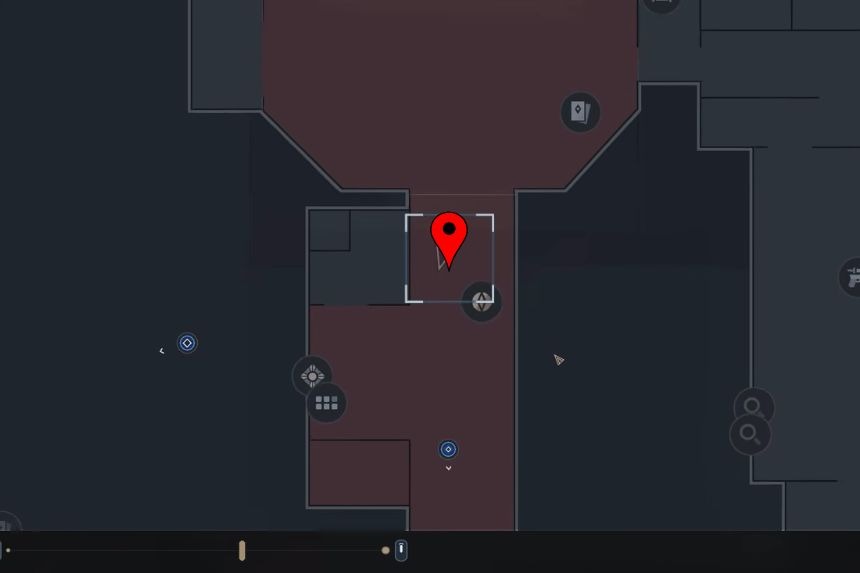
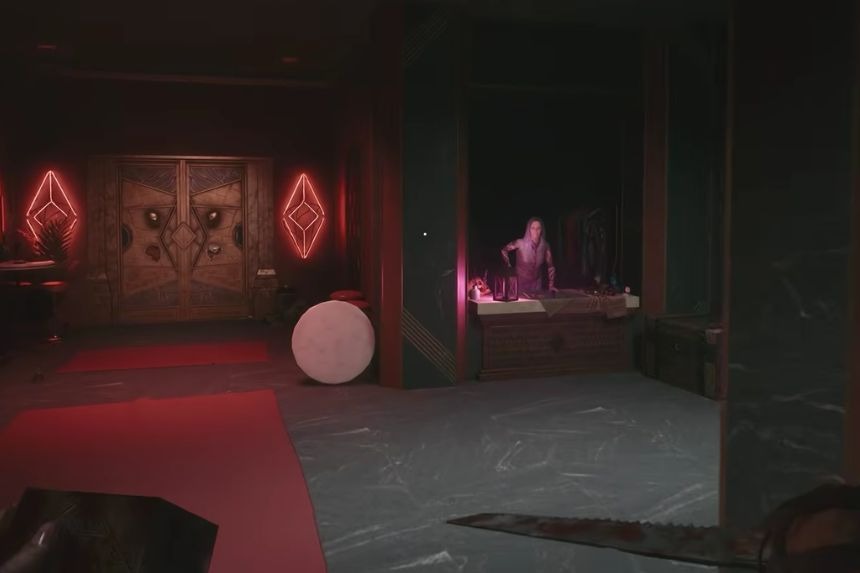
After returning from the labyrinth, visit Zora at the third shop. You can purchase the AP Rounds upgrade for 180 coins. It’s strongly recommended that you buy this upgrade now. Equip it on your Assault Rifle and bring the weapon with you, as you will need it for the next area’s trophy.
Crafting Recipe: Ammo Pack 7.62 (Assault Rifle Ammo)
Trophies: Librarian (Bronze) and Artificer (Silver)
- Librarian: Collect every crafting recipe.
- Artificer: Craft every craftable item.
After returning from the labyrinth, purchase the 7.62 Ammo Pack recipe from Zora at the third shop for 200 coins.
Materials required: 4 Scraps and 4 Gunpowder.
Keypad Code: 1923
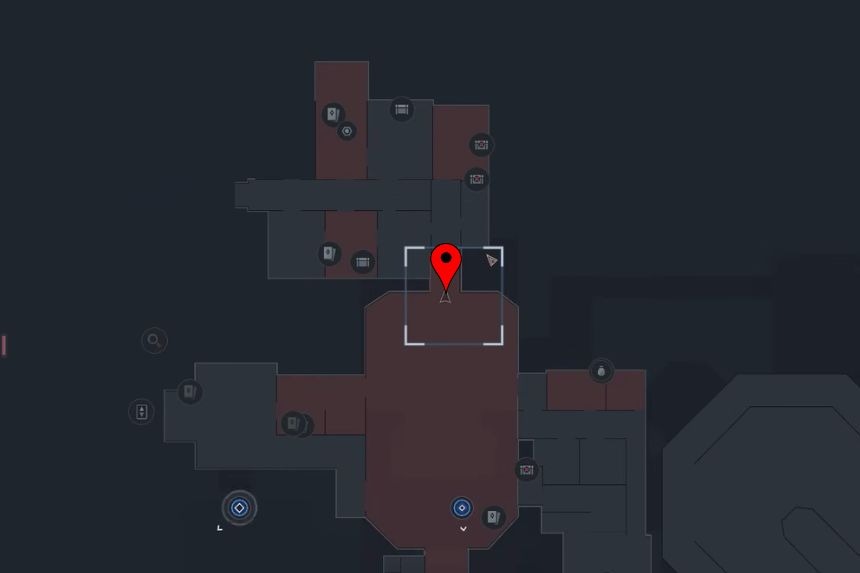
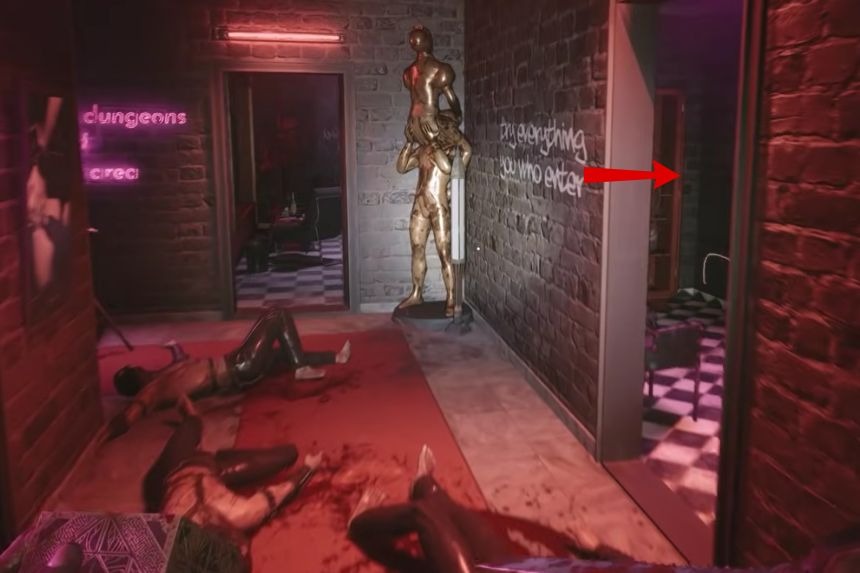
After passing through the puzzle box door, check the room immediately to your right. You will find a locked cabinet there. The code is 1923. Look at the picture in the next room for the numbers needed to solve it.
Revolver Upgrade: Hollowpoint Rounds
The Hollowpoint Rounds upgrade is inside the cabinet opened with the code 1923. Collect it before moving on.
SMG Upgrade: Skeletonized Bolt Carrier
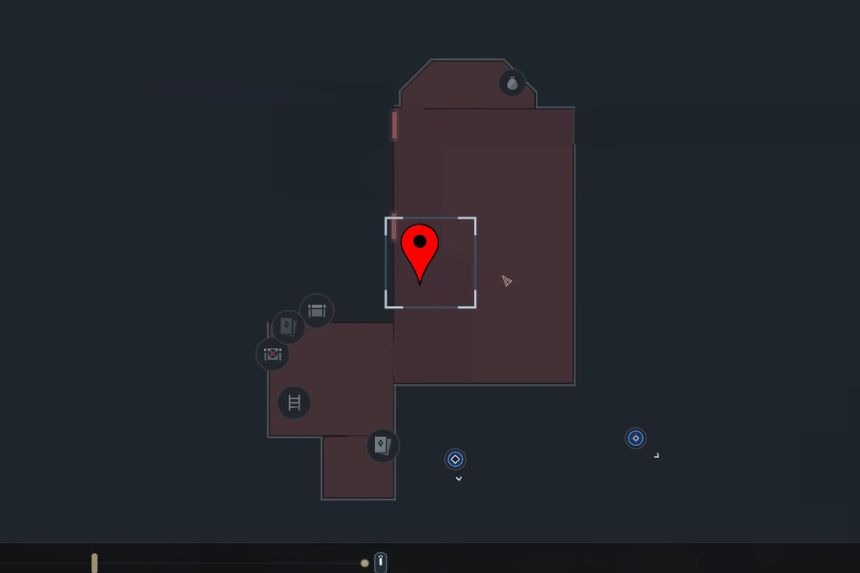
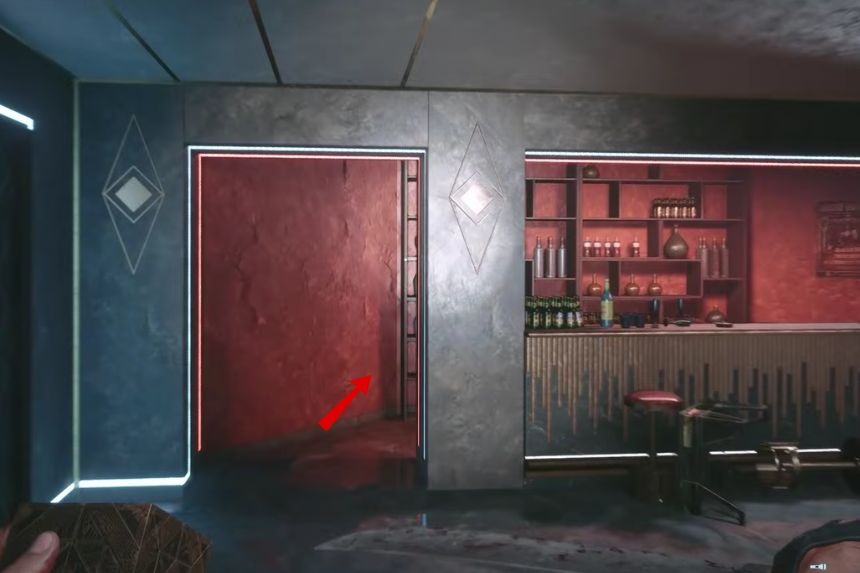
When you reach the room with the waterfall, head to the lower floor and check the suitcase behind the bar. You will find the Skeletonized Bolt Carrier upgrade for the SMG inside.
Trophy: Trickshot (Bronze)
To earn this trophy, you must kill at least two enemies with a single shot. After picking up the Hobby Horse and opening the door, several zombified Cultists will rush toward you. These enemies are very weak, making this a good opportunity to earn the trophy.
Assault Rifle Upgrade: Overloaded Cartridges
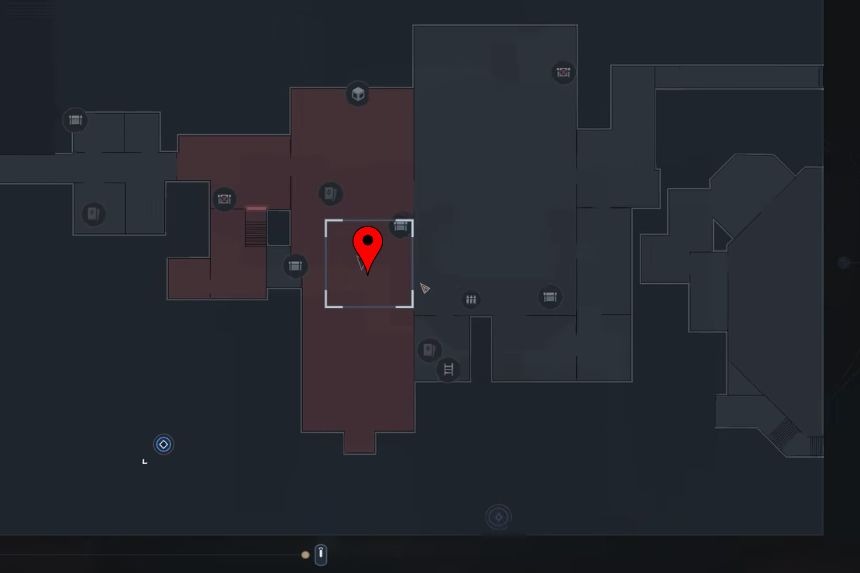
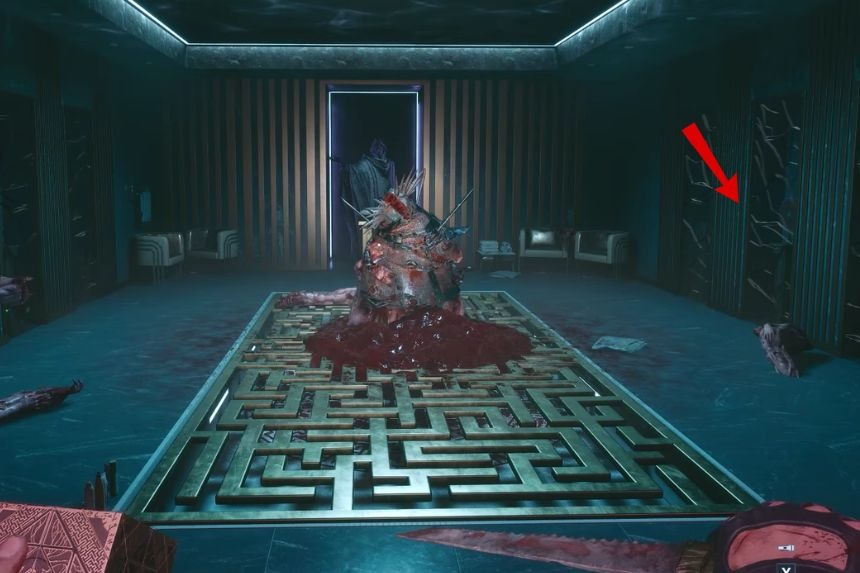
After defeating the blob enemy, look for a pedestal on the western side of the room. The Overloaded Cartridges upgrade is resting on it.
Trophy: Lord of War (Silver)
To unlock this trophy, you must fully upgrade a firearm. Once you return to the shop, purchase the Heavy Foregrip upgrade for the SMG and equip it to earn the trophy.
Pain Pillar #4: Health Increase
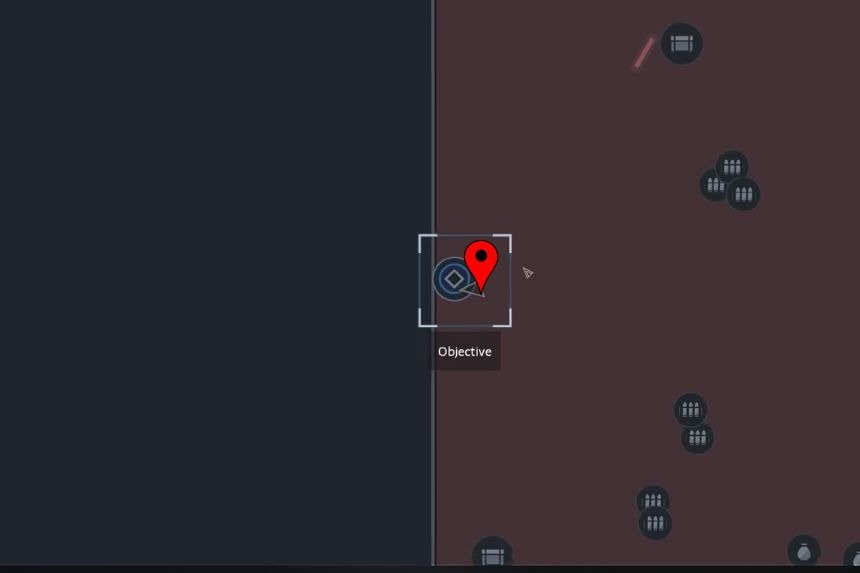
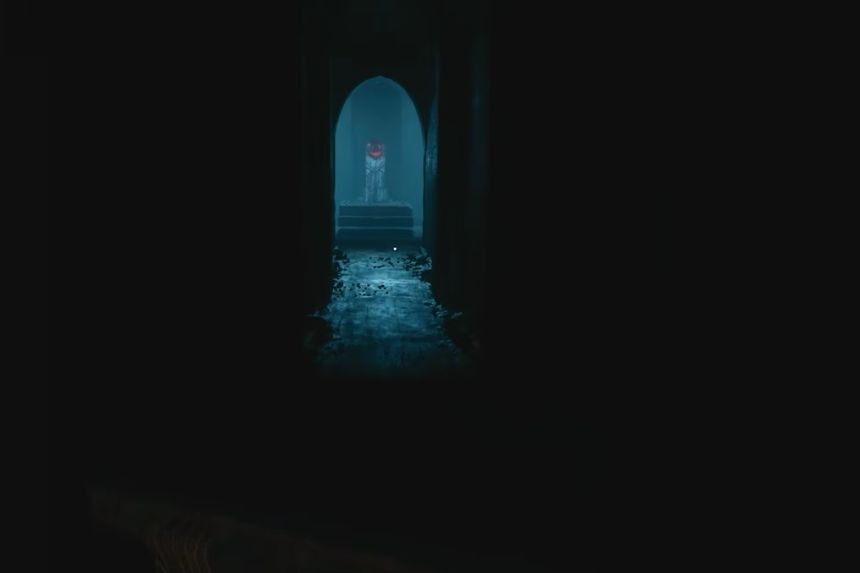
After defeating the Sister of Mercy, enter the labyrinth area. The Pain Pillar is directly along the main path, so keep an eye out for it as soon as you enter.
Suffering Pillar #5: Suffering Increase
Trophy: Pain and Pleasure, Indivisible (Bronze)
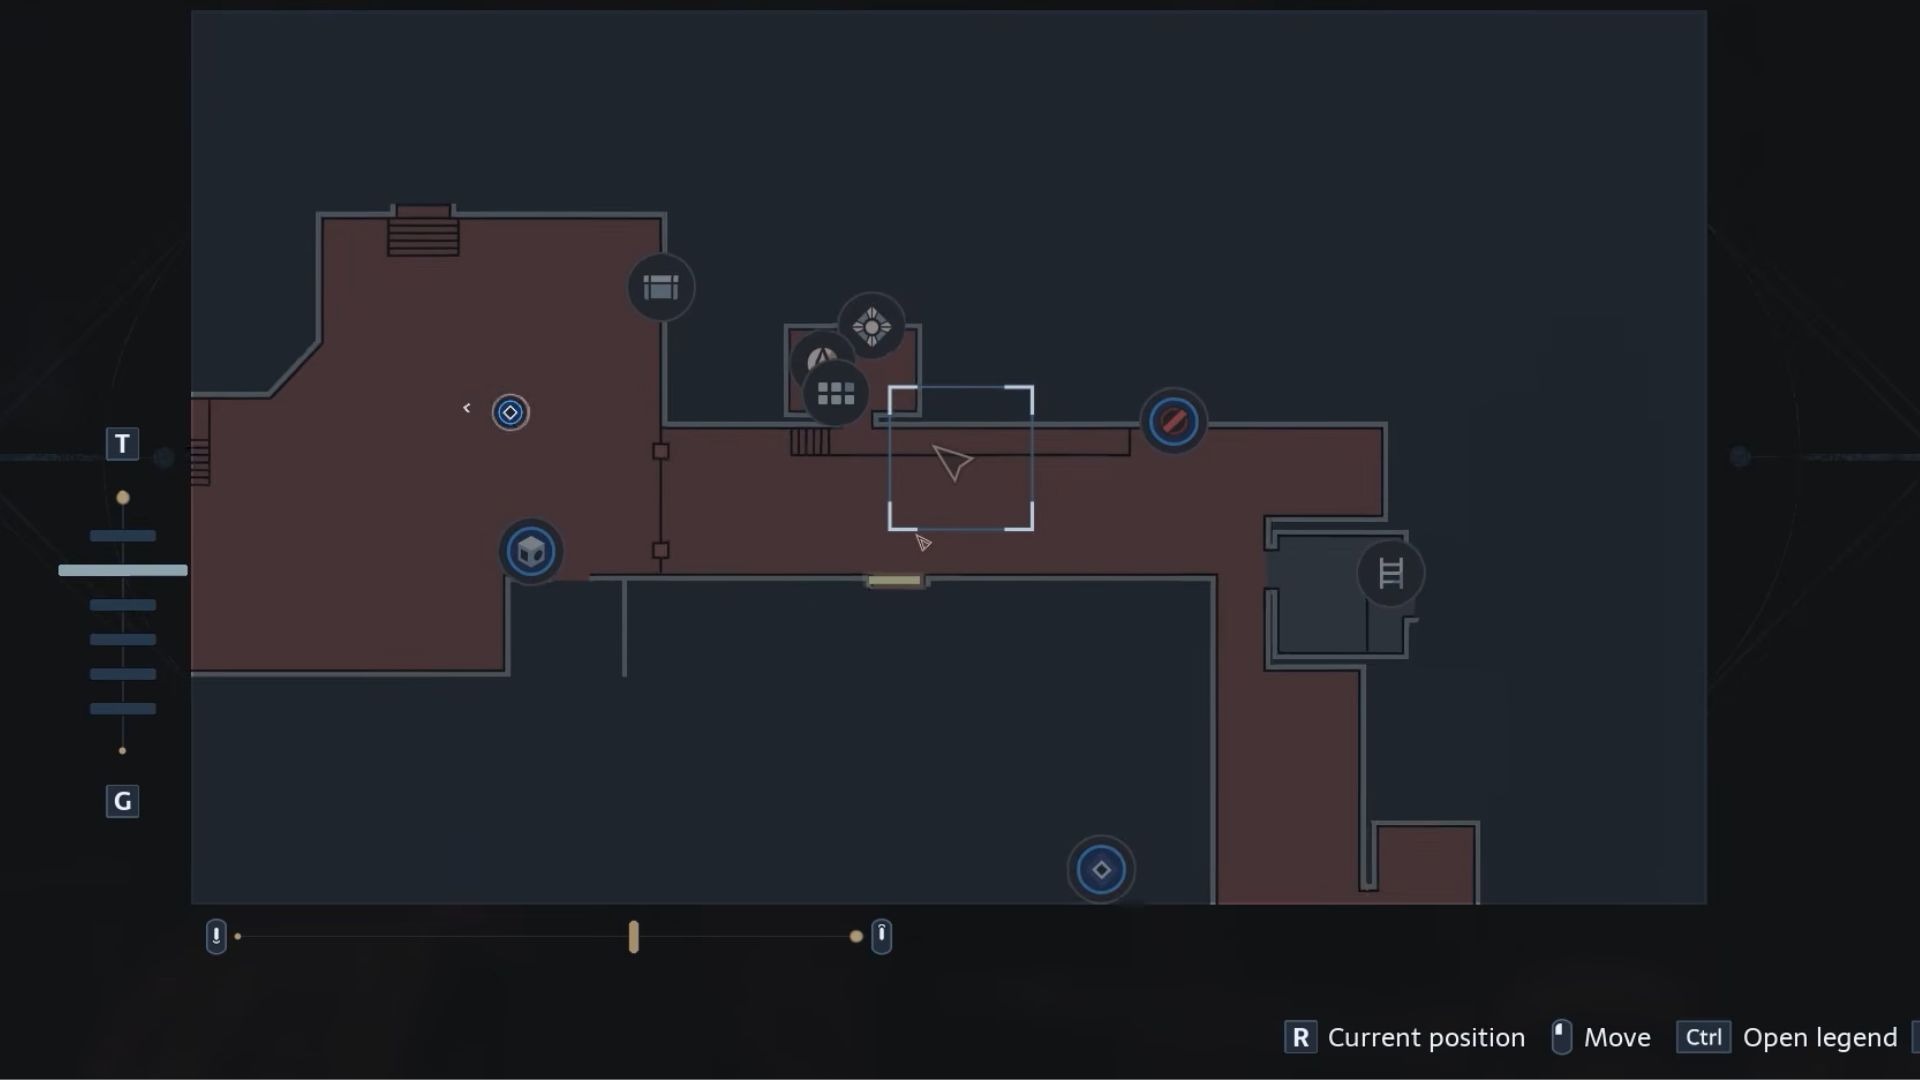
This trophy requires you to find and activate every Suffering Pillar Artefact. When you reach the open area where the Leviathan’s beam moves across the ground, head toward the front of the area, where you will find a flame in the middle.
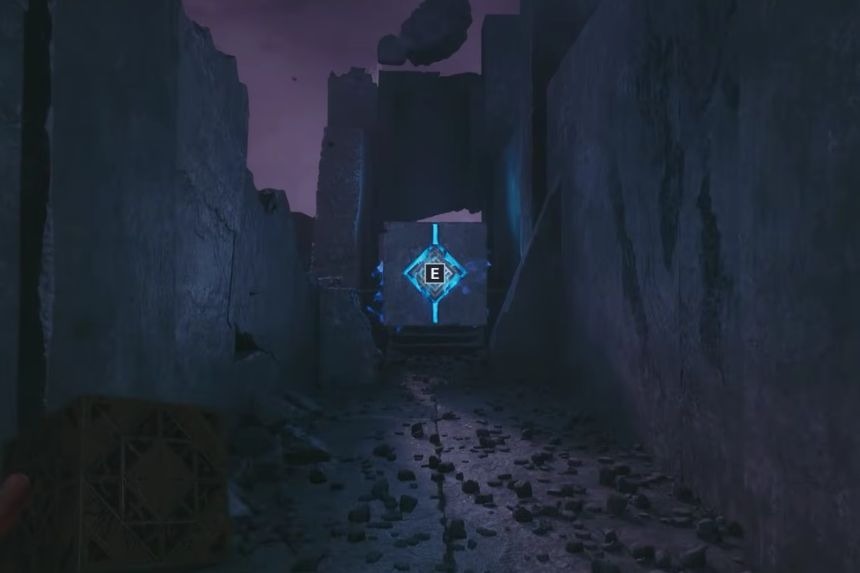
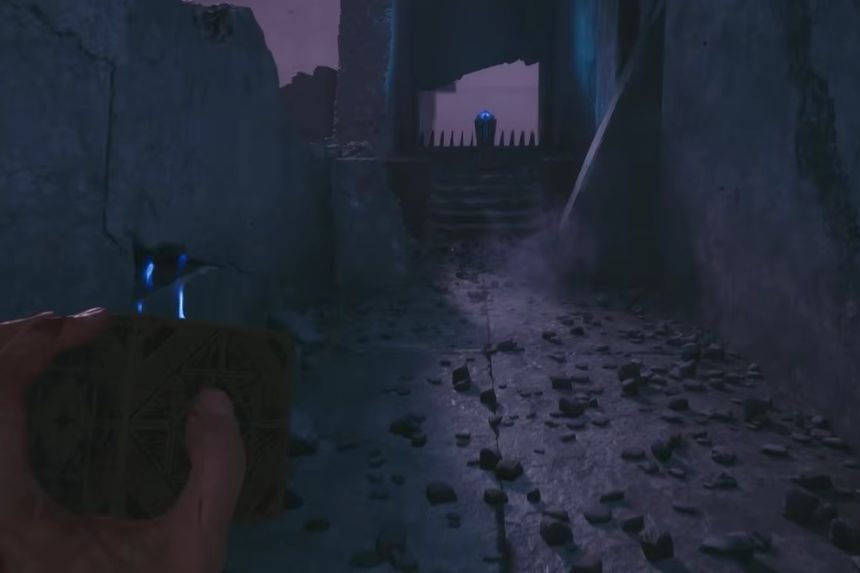
Pick up the flame and shoot it toward the block on the right. Next, enter the side area and move the block to reveal the Suffering Pillar. Once the Pillar is exposed, take the fire back and shoot it at the Pillar to open the exit.
Firearm Upgrade – Lightweight Recoil Spring
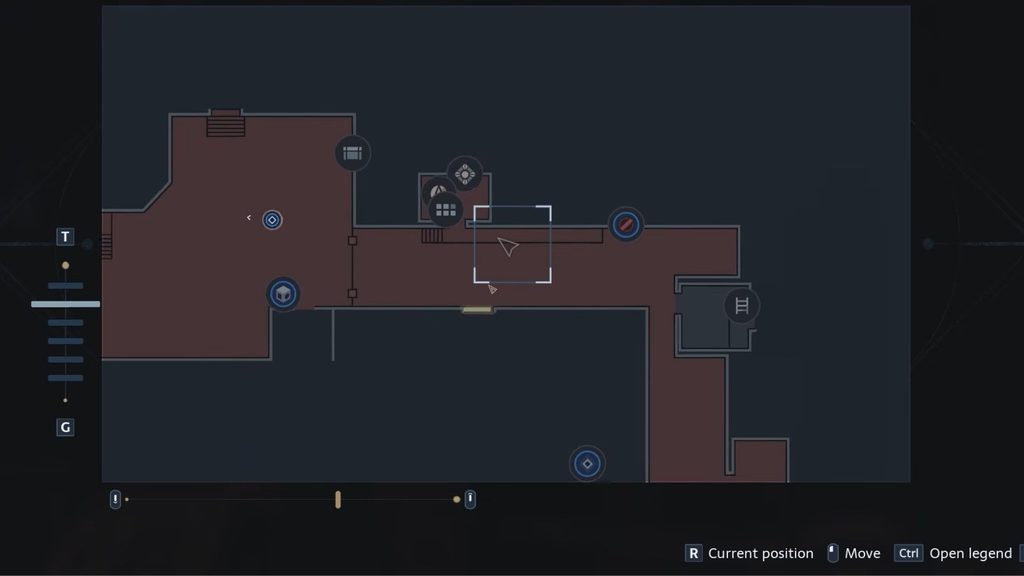
By now, you will unlock Zora’s fourth shop. Visit her store and purchase the Lightweight Recoil Spring for the Assault Rifle for 150 coins here.
Keypad Code: 1362
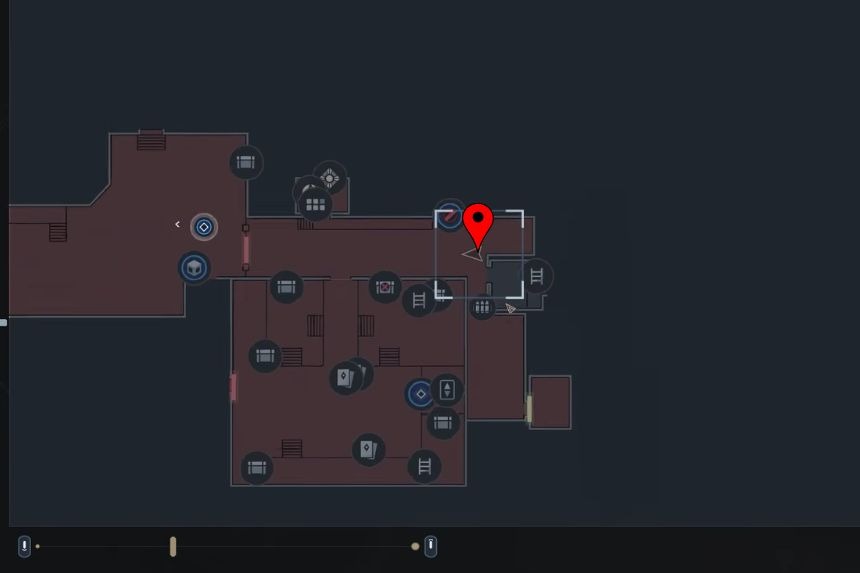
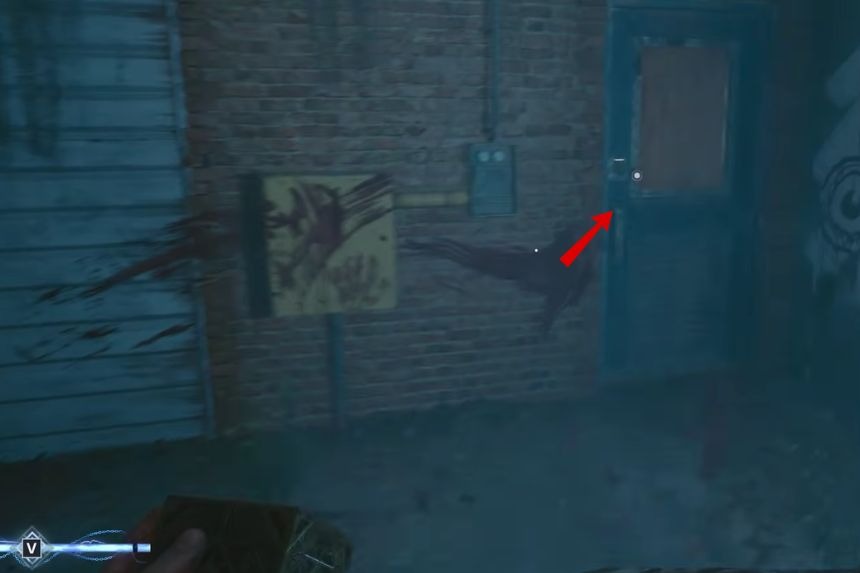
Head south of Zora’s fourth shop and look for a dead-end area. You will find a locked room there. The code is 1362. The numbers are displayed on statues in the next area, which you can access later.
Assault Rifle Upgrade: Heavy Lower Handguard
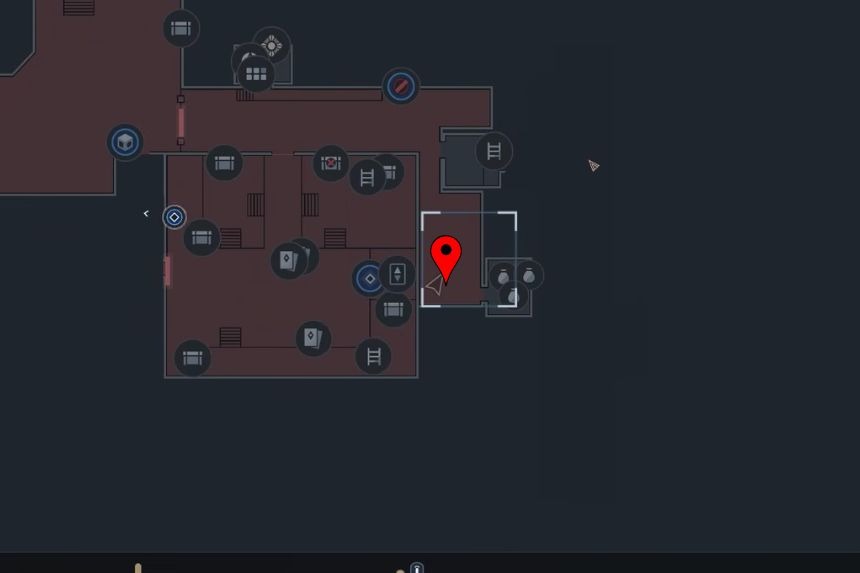
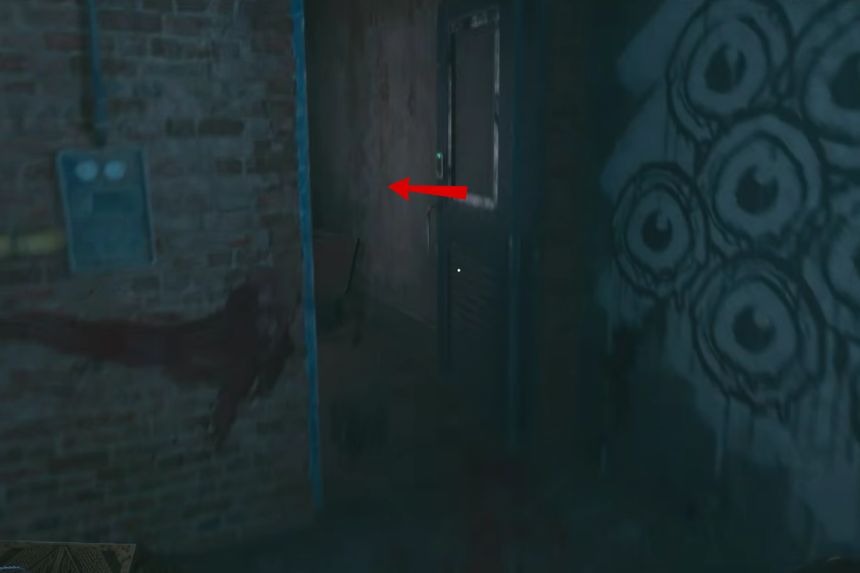
The Heavy Lower Handguard upgrade is inside the room opened with the code 1362.
Inventory Capacity Upgrade
While exploring the same room, check the ground beside the body. You will find another inventory capacity upgrade there.
Assault Rifle Upgrade: Double Drum Mag
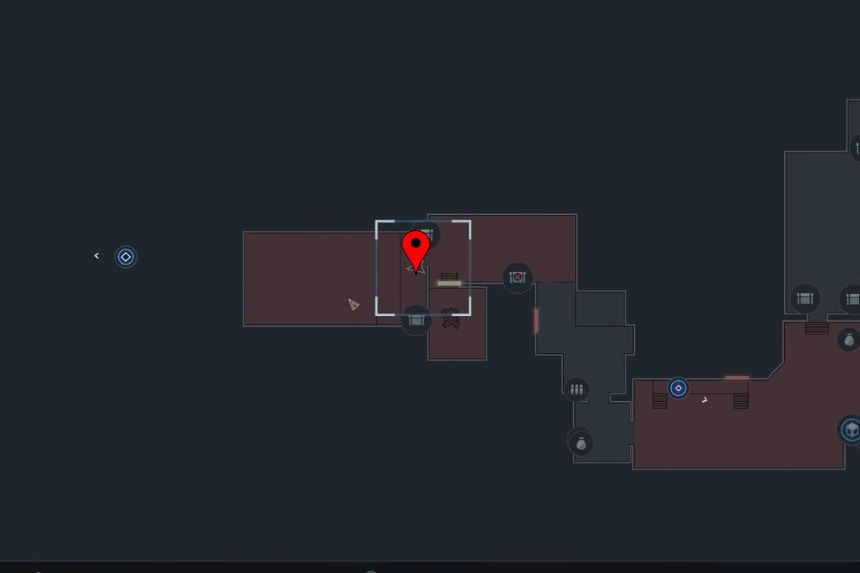
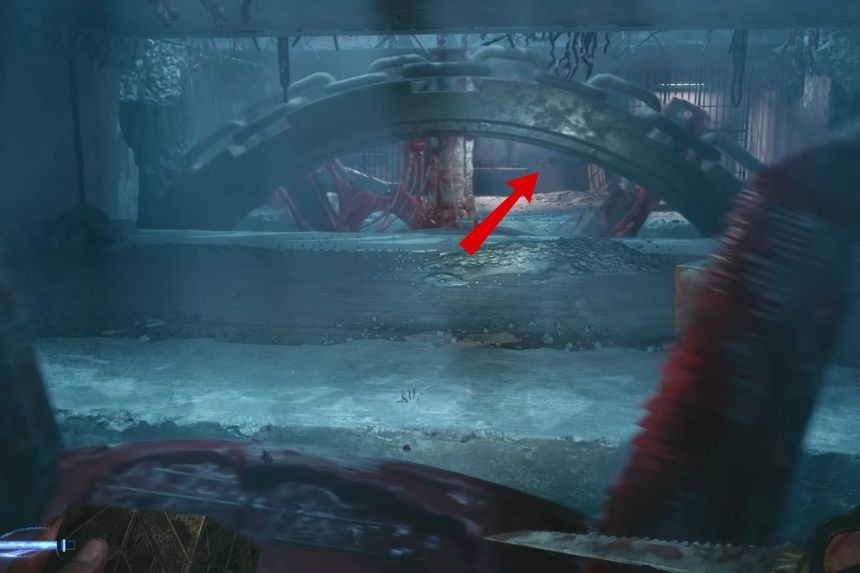
In the next area, move through the room containing the Cultists until you reach two spinning labyrinth traps. The Double Drum Mag upgrade is on a table behind the traps. Run and slide through the gap in the second trap to reach it. Once you collect the upgrade, step on the button to the right to stop the traps. This makes it much easier to leave the area safely.
Keypad Code: 8571

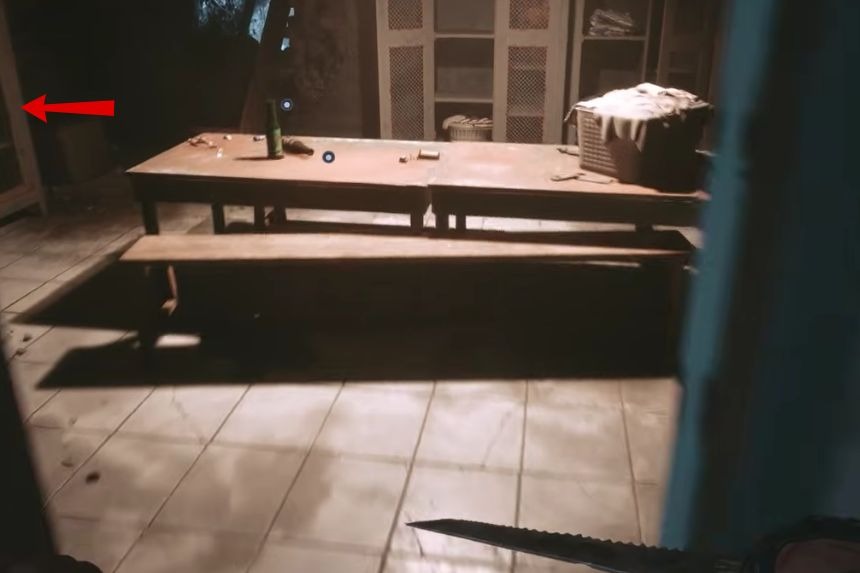
After the spinning trap moves across the room, a new room will become accessible. Check for a locked cabinet inside. Enter 8571 to open it. You can find the numbers needed for the code on the two televisions in the area.
Revolver Upgrade: Overpressure Ammunition
The Overpressure Ammunition upgrade is inside the cabinet you just unlocked with the code 8571.
Pain Pillar #5: Health Increase
Trophy: There Are No Limits (Bronze)
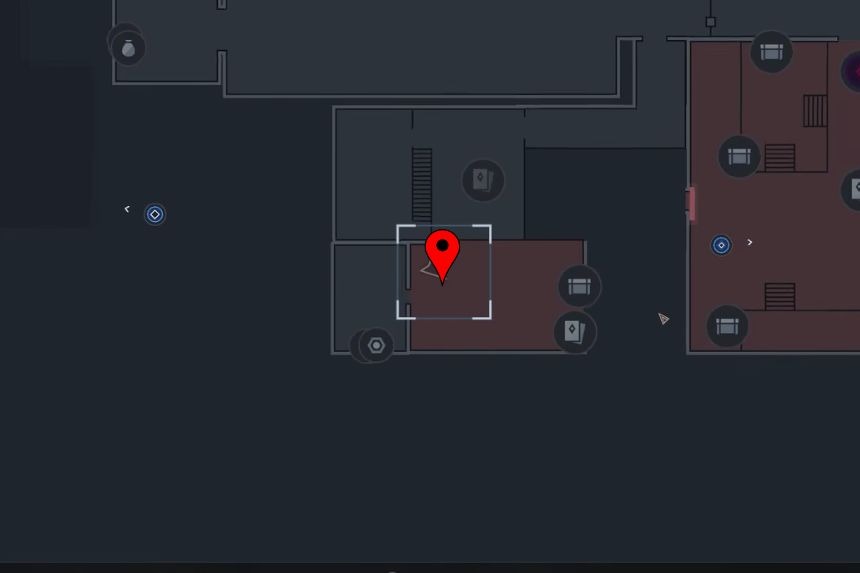
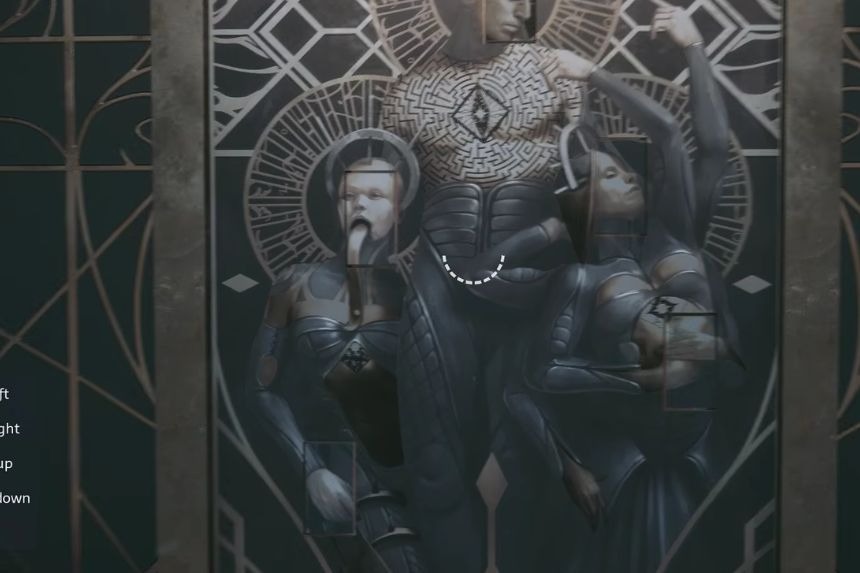
To earn this trophy, you must find and activate all five Pain Pillar Artefacts. When you reach the painted door, interact with it and rotate the spots in the wall until they form the correct picture. Once the puzzle is solved, the door will open, revealing the Pain Pillar on the other side. Activate the Pillar to complete this part of the collection.
Keypad Code: 2342
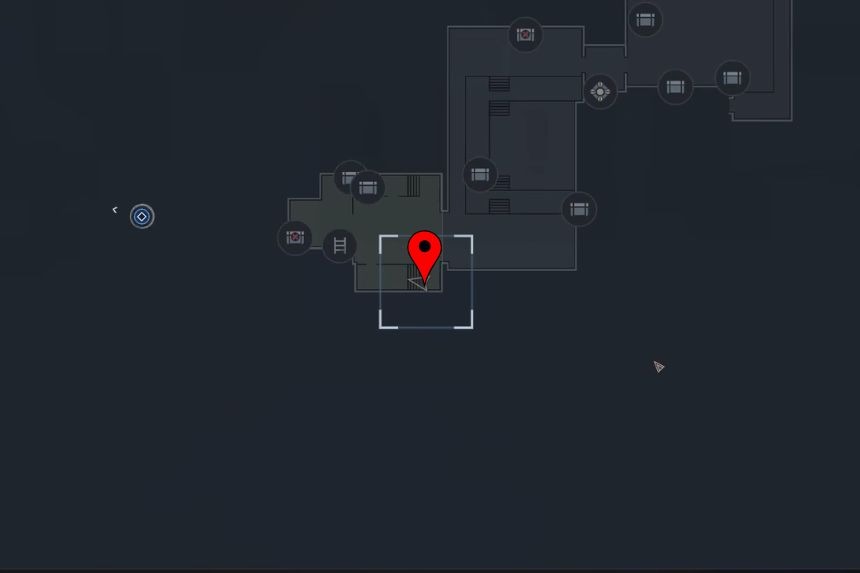
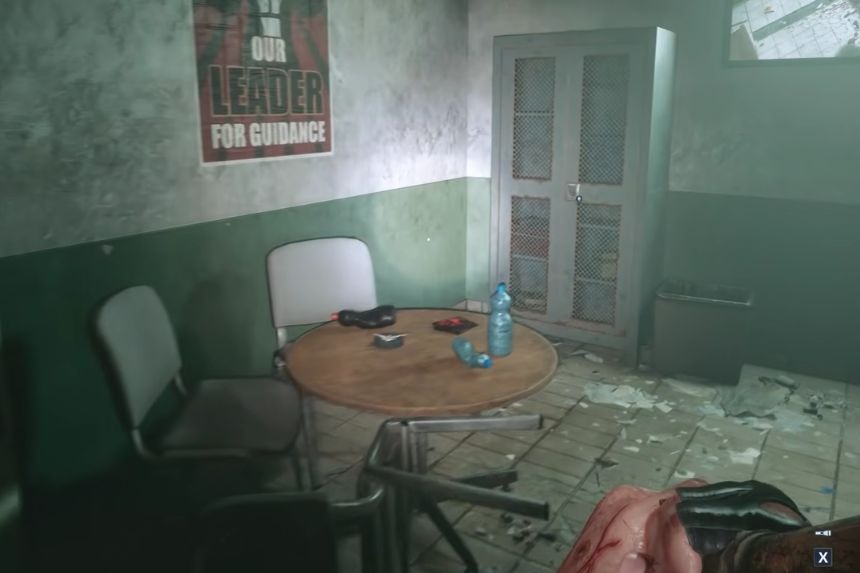
In the next area, look for the ladder you need to climb. There’s a locked cabinet in the same room. The code is 2342. Check the walls facing away from the cabinet to find the numbers painted on the walls to get the clue for the keypad. There’s a whole bunch of ammo inside this locker, so pick them up if you have the space for them.
