
Divinecraft Dungeon: Zenithmaze is considered one of the more difficult dungeons that players can enter when playing Where Winds Meet. It is found inside Heaven’s Threshold in Hidden Mountain, and it is filled with difficult platform puzzles, floating boxes known as Zenith boxes, and many hidden chests. In order to claim the final chest, you must get 10 chests in total throughout the entire maze. In this guide, we’ll walk you through the dungeon, including how to use the Zenith Boxes, find all the chests, and reach the final treasure.
Divine Craft Dungeon Zenithmaze
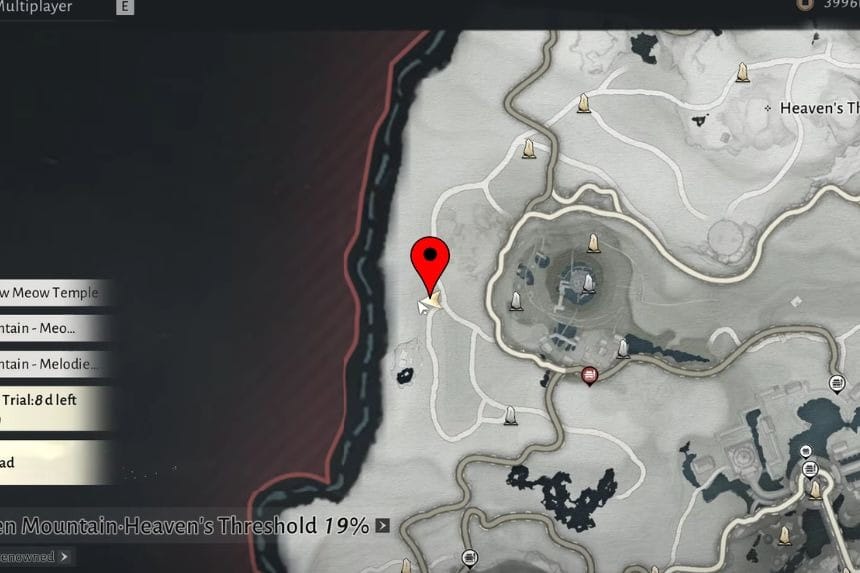
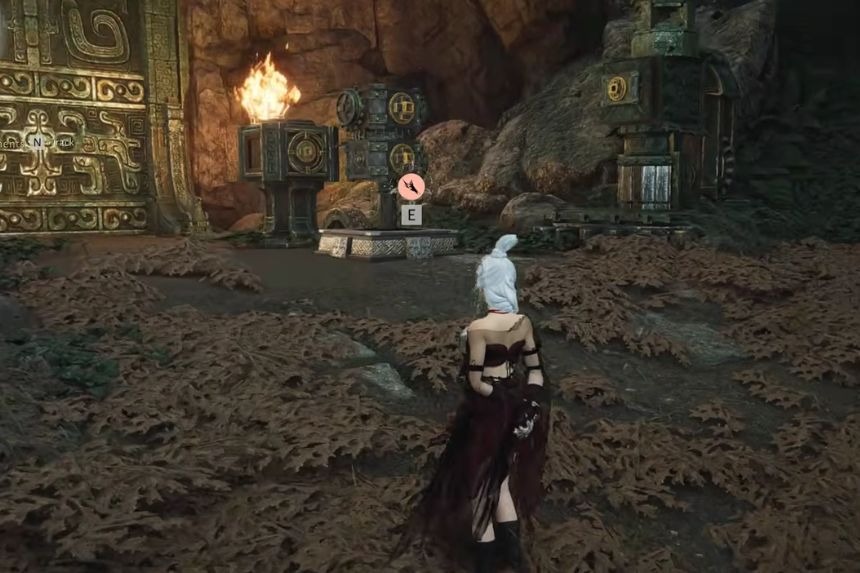
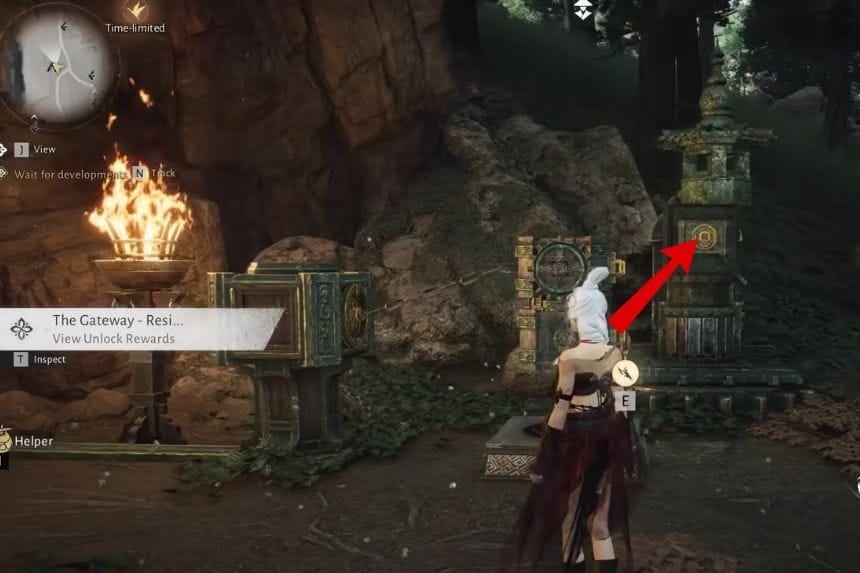
Divinecraft Dungeon: Zenithmaze is in the Hidden Mountain region, and it is located under Heaven’s Threshold region. As you approach the stone gate, interact with the puzzle machine to open the door. Make use of Celestial Seize and change the position of the puzzle pillars until you solve the puzzle and the door opens to enter the dungeon.
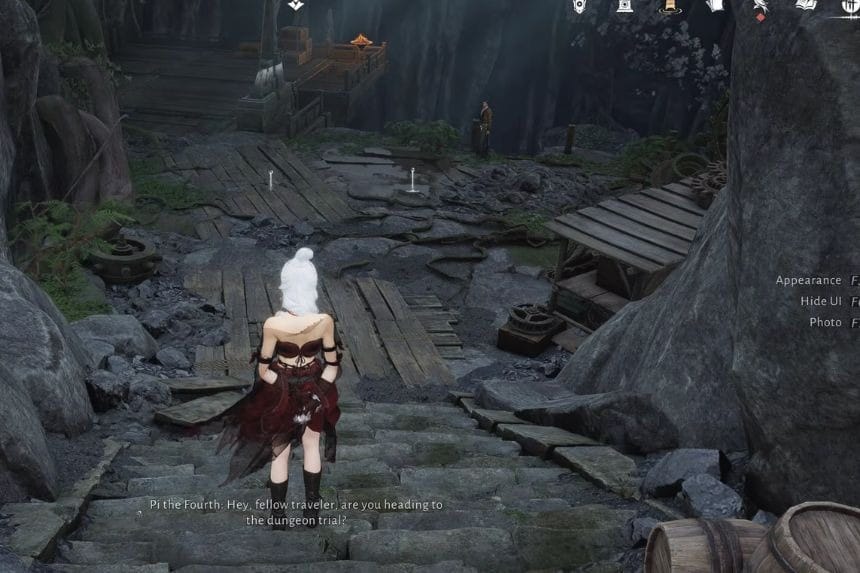
Proceed further through the stairs, and there you will find Pi the Fourth. Talk to him, and he will tell you to find the Elder Crane’s journal for the quest The Elder’s Legacy II. As soon as you talk to Pi the Fourth, pick up his journal from the platform close to him. Then, make use of the zipline to move down to the Hero’s Tomb checkpoint, where you will find the first chest.
The Zenithmaze is one of the difficult Divine Craft Dungeons in Where Winds Meet. The Zenithmaze makes use of Zenith Boxes, and they are floating lamp-like structures, serving as platforms on which you can jump.
How To Use The Zenith Boxes
As you make your way through the maze, you’ll see some Zenith Boxes scattered across various points in the level. You would need to hop from one box to another; however, it’s possible to link the boxes together.
Once the Zenith Box is linked, you’ll be able to stay on top of it without being tossed off, giving you enough time to observe the surroundings, prepare for the next jump and shift the box to a more convenient location.
This trick is especially helpful when making the long jumps. You need to collect 10 chests before you can reach the final treasure.
Chest 1/10
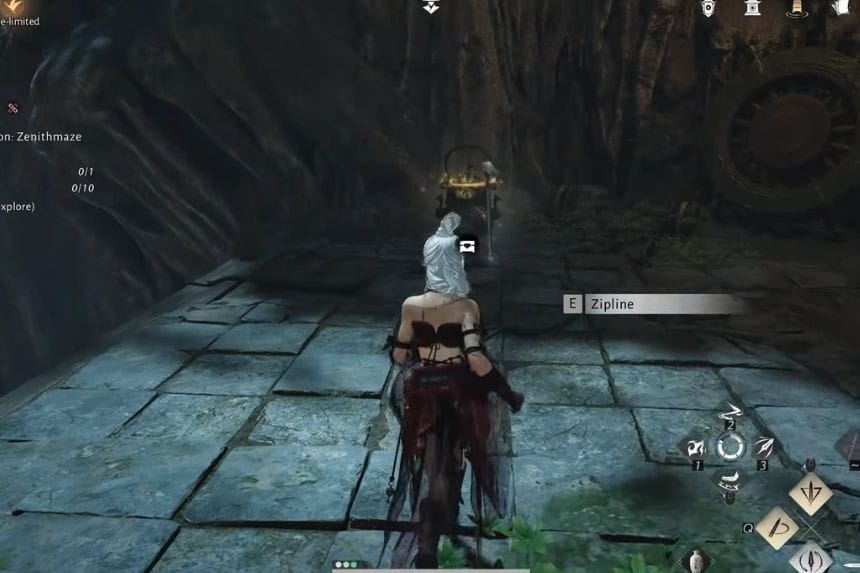
After finding the journal near Hero’s Tomb, continue ahead and use the zipline. The first chest is waiting at the bottom. Opening the chest rewards you with:
- X10 Echo Jade
- X5 Wooden Wheel
- X1500 Coins
- X2 Oscillating Jade
- X1500 Stored EXP
- X8 Hidden Mountain Exploration
Chest 2/10
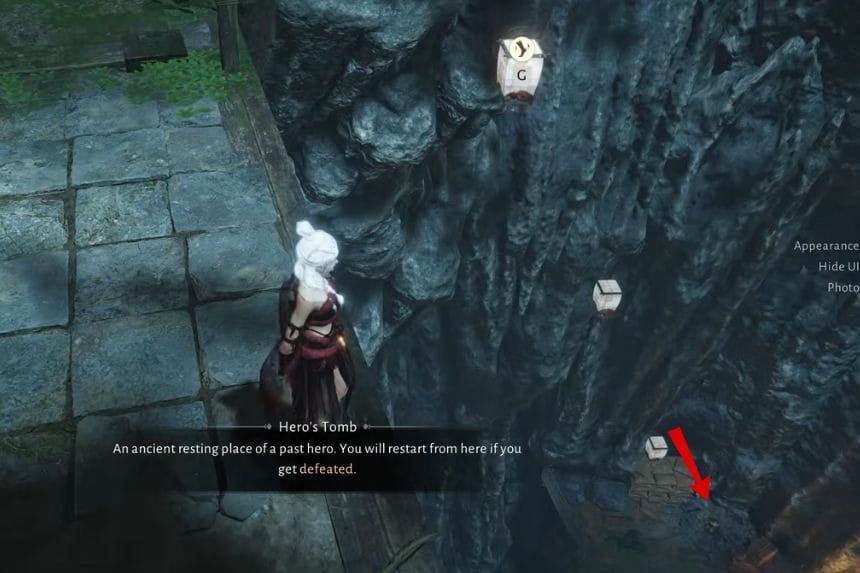
Use the Zenith Boxes to drop down to the lower platform. You will find the second chest there. Opening the chest rewards you with:
- X10 Echo Jade
- X5 Wooden Wheel
- X1500 Coins
- X2 Oscillating Jade
- X1500 Stored EXP
- X8 Hidden Mountain Exploration
Chest 3/10
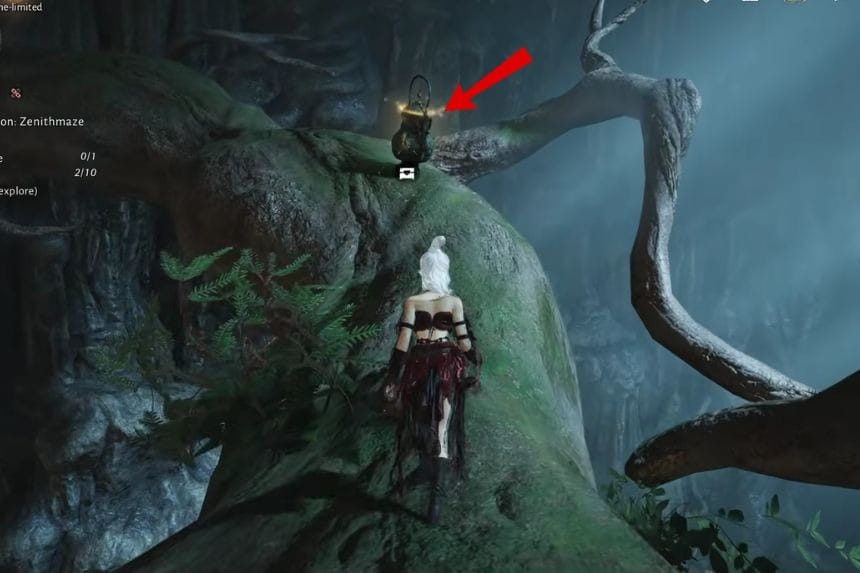
Look for a Zenith Box near the large tree. Use it to climb up the tree and reach the chest sitting on one of the branches. Opening the chest rewards you with:
- X10 Echo Jade
- X5 Wooden Wheel
- X1500 Coins
- X2 Oscillating Jade
- X1500 Stored EXP
- X8 Hidden Mountain Exploration
Chest 4/10
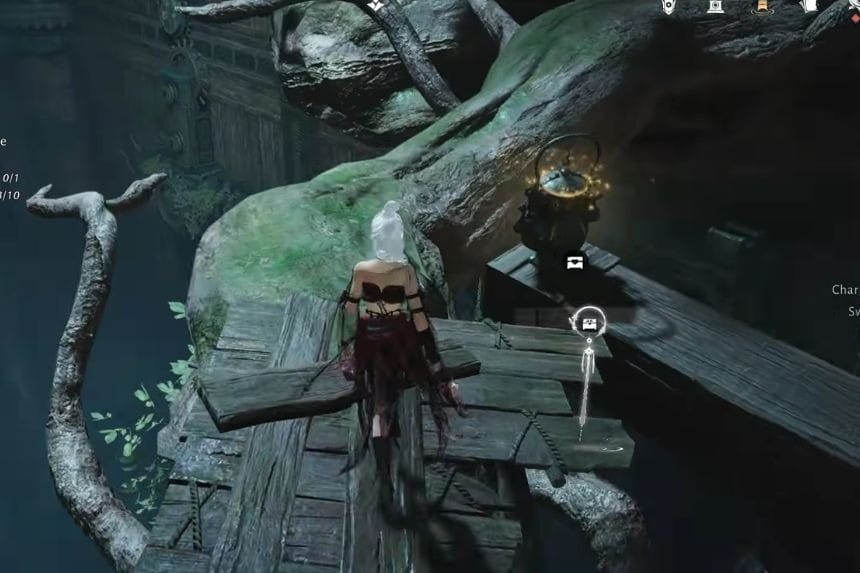
Continue deeper into the dungeon and take the zipline across the gap. The fourth chest is on a wooden platform on the other side. Opening the chest rewards you with:
- X10 Echo Jade
- X5 Wooden Wheel
- X1500 Coins
- X2 Oscillating Jade
- X1500 Stored EXP
- X8 Hidden Mountain Exploration
Chest 5/10
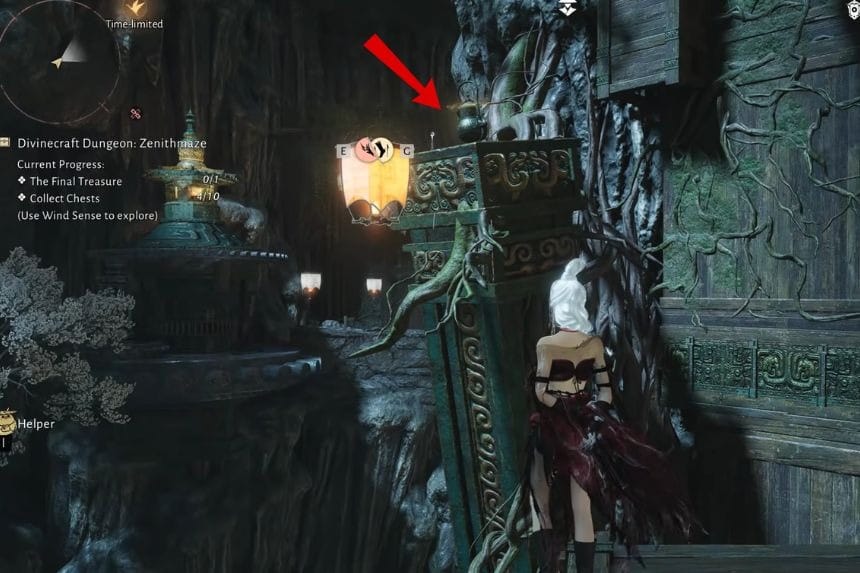
For the fifth chest, use the Zenith Box to move between the floating platforms. You can also use Celestial Seize to help reach the high alcove where the chest is located. Opening the chest rewards you with:
- X10 Echo Jade
- X5 Wooden Wheel
- X1500 Coins
- X2 Oscillating Jade
- X1500 Stored EXP
- X8 Hidden Mountain Exploration
Chest 6/10
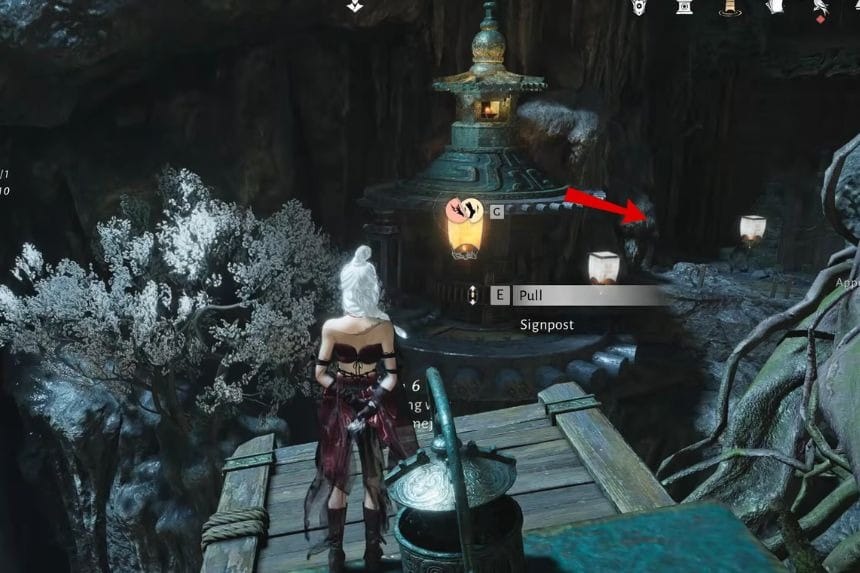
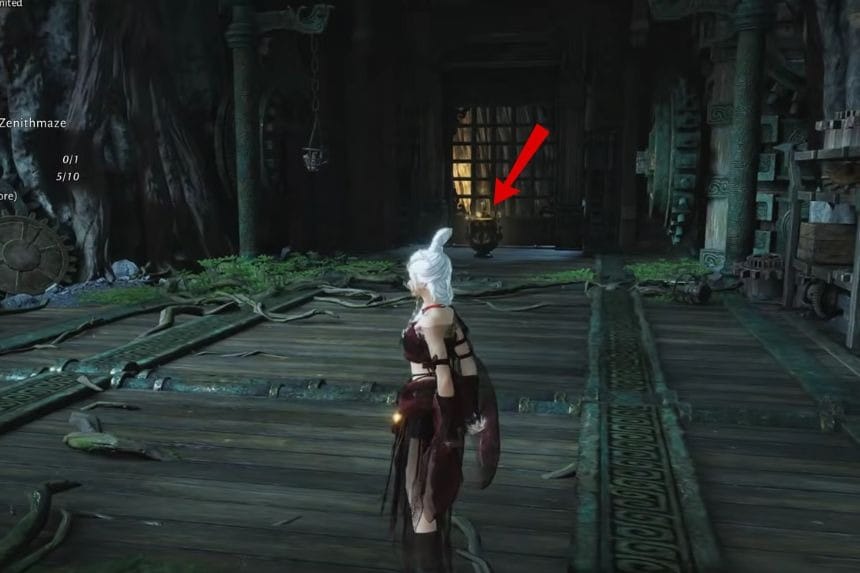
Move to the bottom floor, and there you will notice the huge gears. The sixth chest can be found in this location. Once you collect the sixth chest, find the device with two pressure plates. Put one Zenith Box on each pressure plate and pull the lever. It will open the first gate towards the left part of the maze. Opening the chest rewards you with:
- X10 Echo Jade
- X5 Wooden Wheel
- X1500 Coins
- X2 Oscillating Jade
- X1500 Stored EXP
- X8 Hidden Mountain Exploration
Chest 7/10
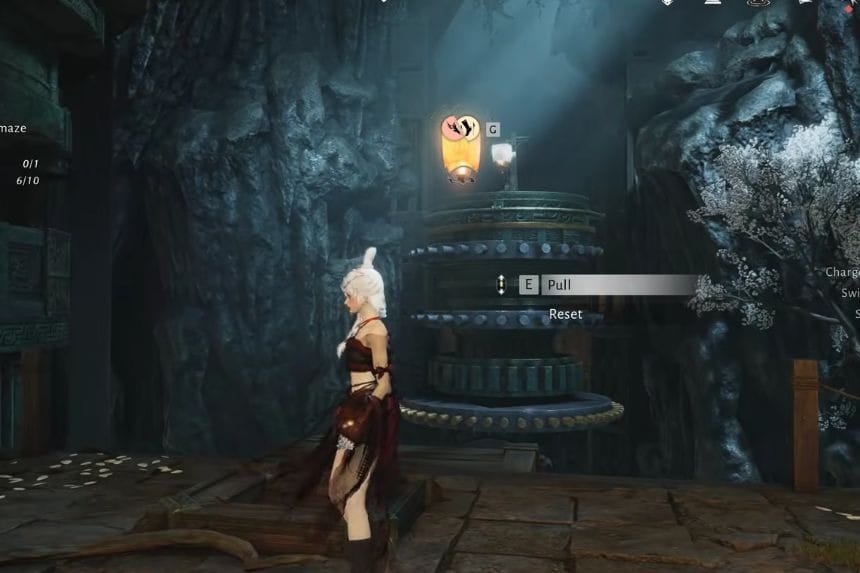
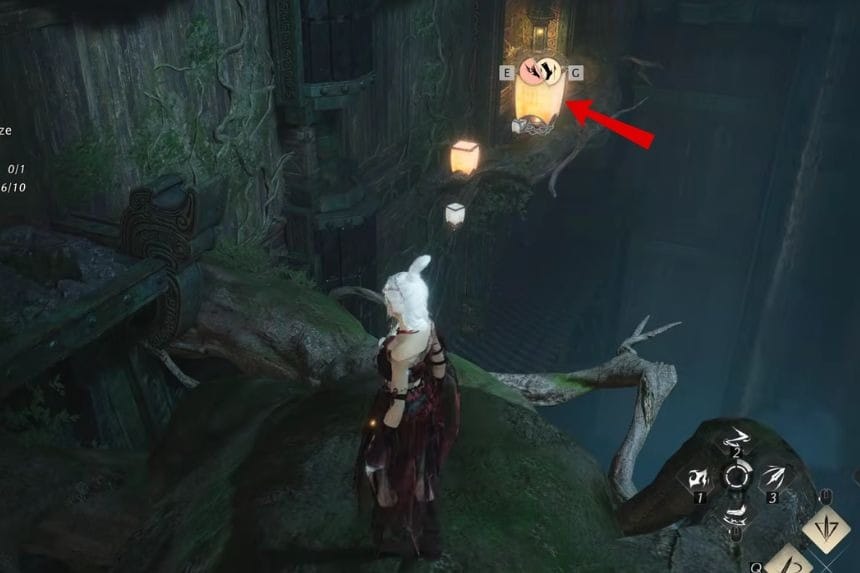
Go ahead towards the first door and take a left turn. The seventh chest will be located behind this door. Make sure that you position the glowing platforms right to allow yourself to go up and access the chest.
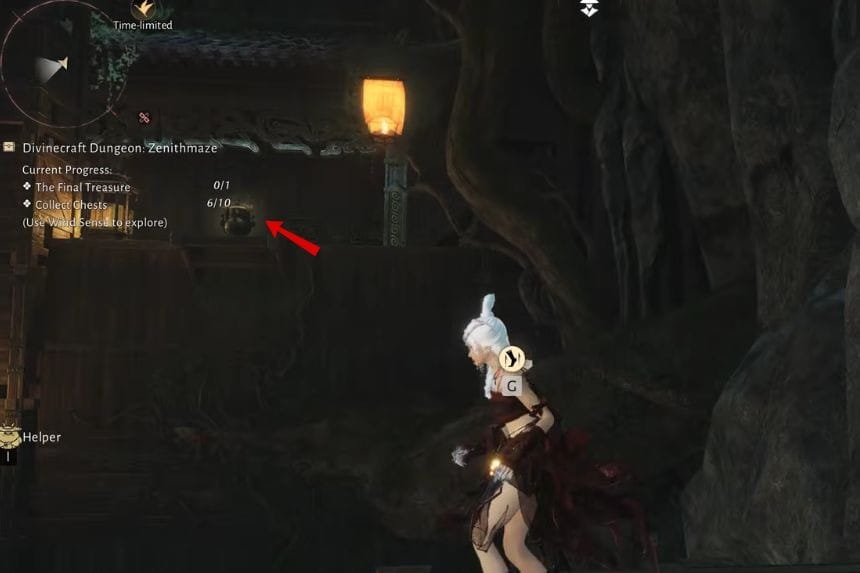
Be careful as you try to cross the gap right after this chest, as jumping from one side to another using Zenith Boxes can be difficult. It will be better for you to use your umbrella to glide across the gap. Opening the chest rewards you with:
- X10 Echo Jade
- X5 Wooden Wheel
- X1500 Coins
- X2 Oscillating Jade
- X1500 Stored EXP
- X8 Hidden Mountain Exploration
Chest 8/10
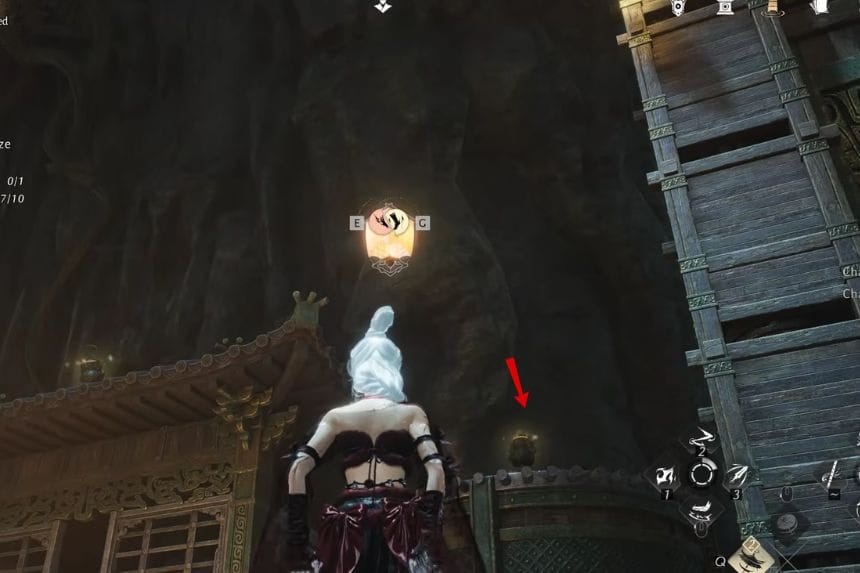
Continue along the upper path until you reach the large gear mechanism. The eighth chest is sitting on top of the gear. Opening the chest rewards you with:
- X10 Echo Jade
- X5 Wooden Wheel
- X1500 Coins
- X2 Oscillating Jade
- X1500 Stored EXP
- X8 Hidden Mountain Exploration
Chest 9/10
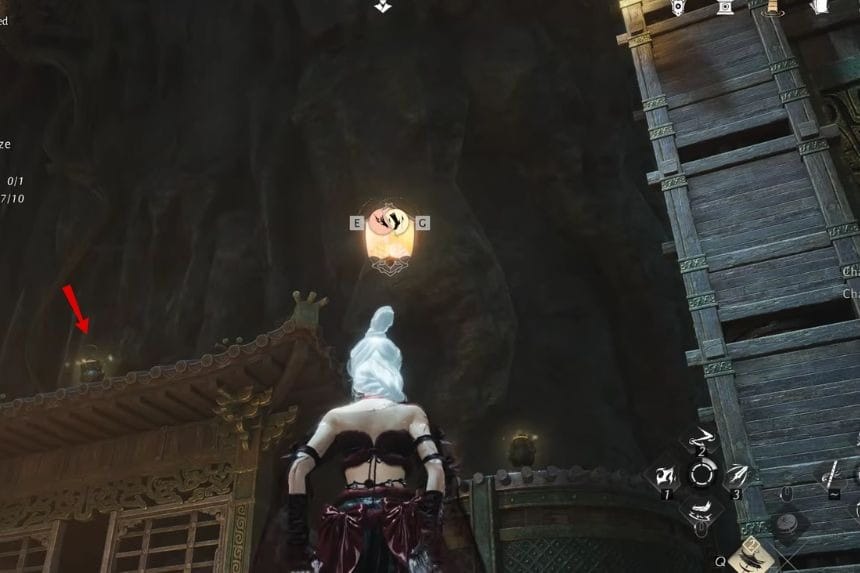
Keep following the upper walkways until you reach the roof or pagoda-like structure. You will find the ninth chest on top of it. Opening the chest rewards you with:
- X10 Echo Jade
- X5 Wooden Wheel
- X1500 Coins
- X2 Oscillating Jade
- X1500 Stored EXP
- X8 Hidden Mountain Exploration
Chest 10/10
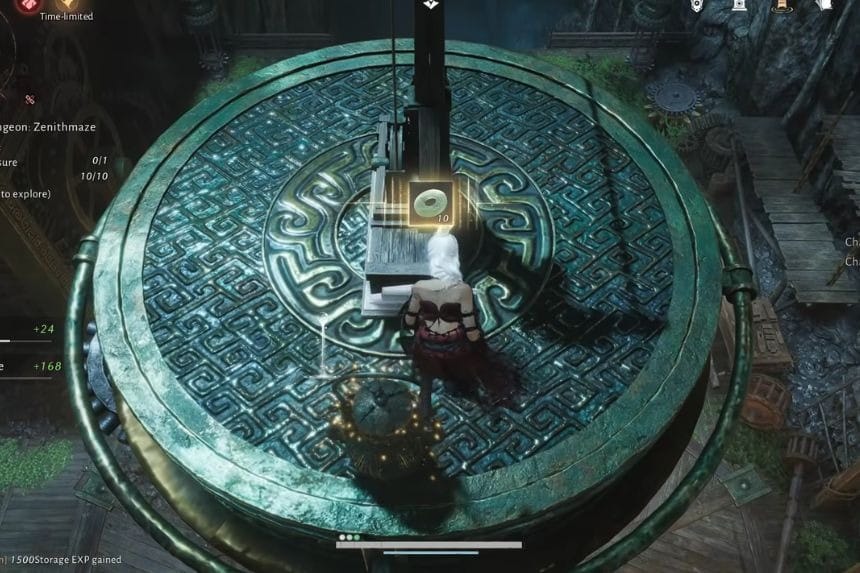
Continue further until you reach the high circular platform. The final chest is located here. Opening the chest rewards you with:
- X10 Echo Jade
- X5 Wooden Wheel
- X1500 Coins
- X2 Oscillating Jade
- X1500 Stored EXP
- X8 Hidden Mountain Exploration
Final Chest
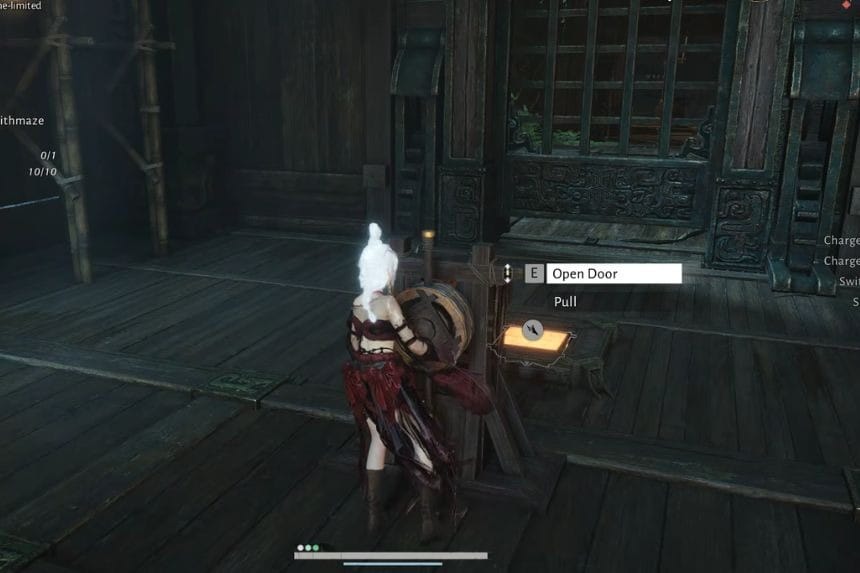
After finding all 10 chests, take the zipline to pull the second lever. It will open the second gate. This opens the route back to the centre of the dungeon, where the final treasure is waiting. Go to the centre where you first noticed the treasure cage suspended in the air. At this stage, you should have two open gates.
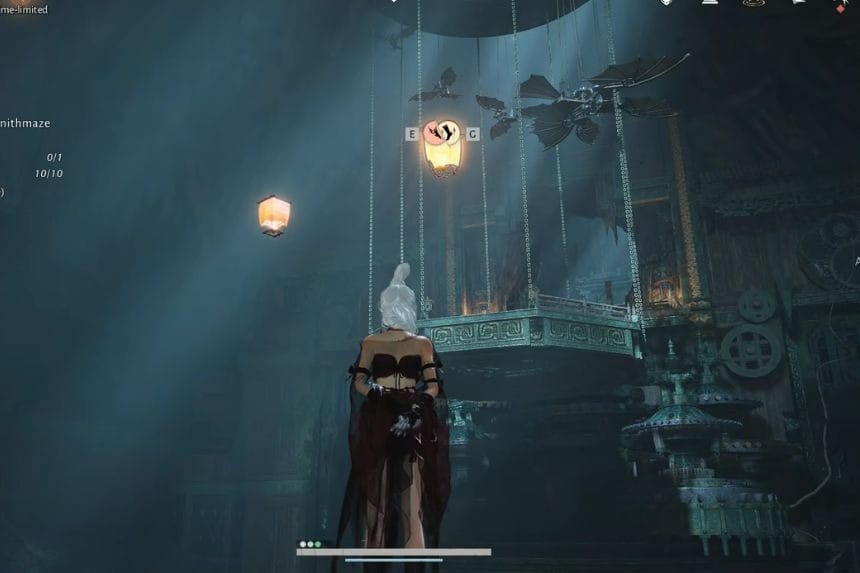
Now comes the most important part of the dungeon. Link the Zenith Boxes together to turn them into stable platforms. Move Zenith Boxes and link them to form a path going up to the suspended treasure cage.
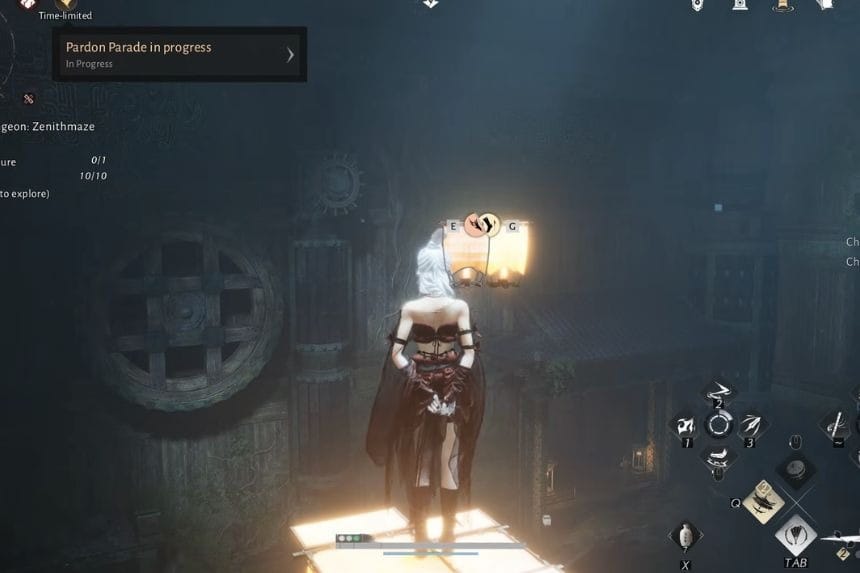
After that, cross the path made of linked boxes and get into the treasure cage. Pick the last treasure and get out of the cage to open the exit door. It will mark the end of the Zenith Maze dungeon. Opening the last chest rewards you with:
- X25 Echo Jade
- X2 Medicinal Tales
- X12000 Coins
- X12000 Stored EXP
- X25 Hidden Mountain Exploration
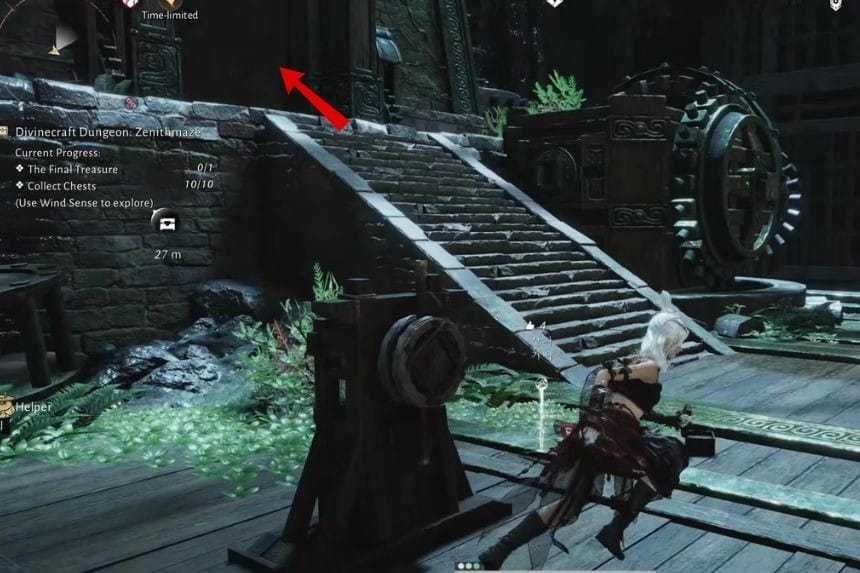
Once the dungeon is done, go out of the cave and talk to Pi the Fourth. He will ask you about the journal of Elder Crane, which you should give him to complete the side quest The Elder’s Legacy II.
