
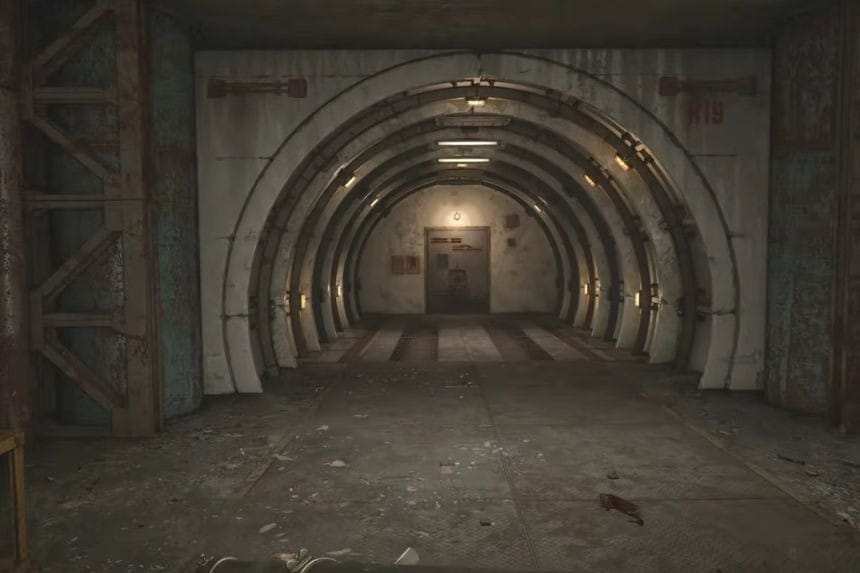
In Price of a Miracle, a mission in S.T.A.L.K.E.R. 2: Cost of Hope, you get to go inside Unit 4 and the reactor building. You’ll be moving around radioactive zones, fighting mutants and anomalies, solving some puzzles, and fixing the system. It all depends on what faction you decided to side with. Follow the steps below to reach the reactor, restart the system, and complete the mission.
Price Of A Miracle Mission
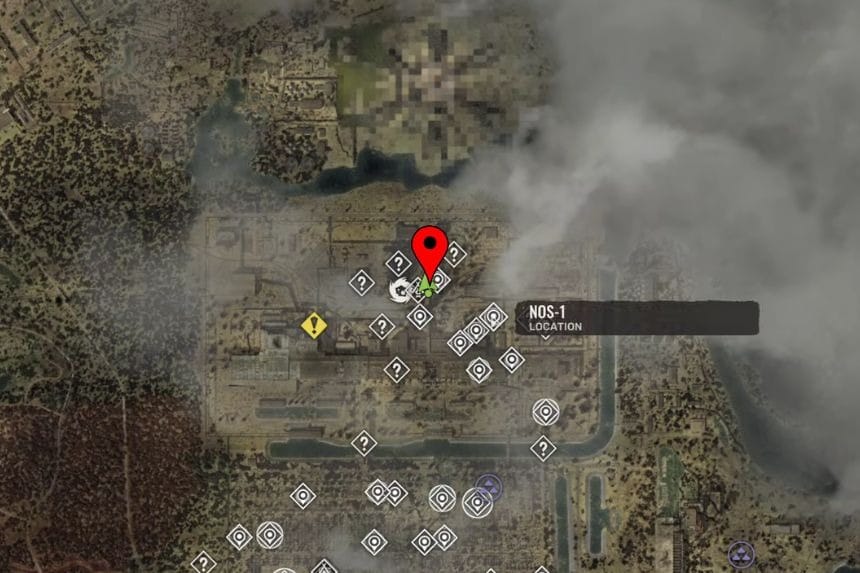
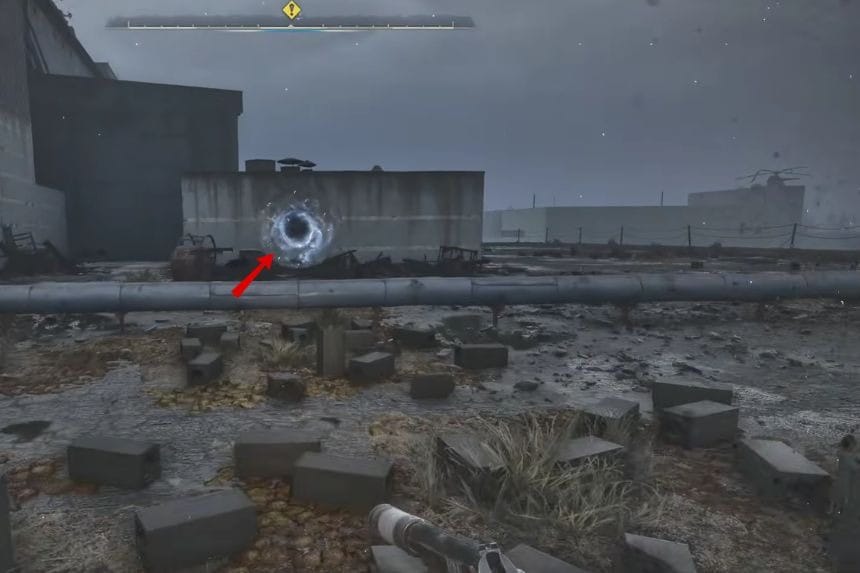
No matter whether you were on the side of Duty or you fought along with Freedom, one thing is certain: you will eventually have to make your way to Unit 4, which is situated to the southwest of the CNPP. As soon as you are at Unit 4, search for the metal stairway located on the northwestern side of the building. Use the stairs to climb up to the roof of the building, and there you will find a Teleport Anomaly. Go near the anomaly to teleport to the top of the reactor.
Reach The Reactor’s Technical Floor
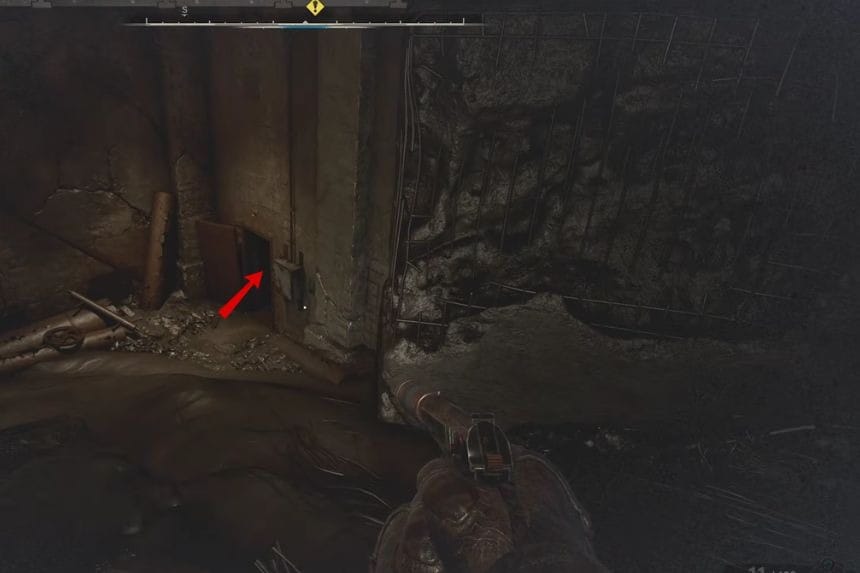
From here, go to the bottom of the pit by walking towards its side and jumping into it. Make sure to jump to the left where there is a ladder that leads to the bottom of the reactor. Go further until you see a door on your left.
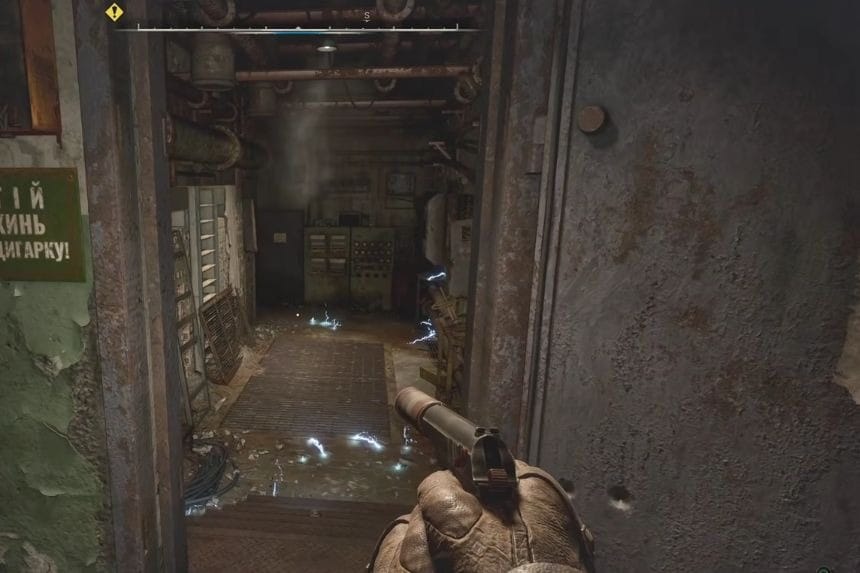
The next room contains several Electro anomalies. Throw a Bolt to trigger the anomalies, then quickly make your way to the door. Go through the passage and kill the zombies. Go to the caged-off room where there are control panels and find a red button in one of them.
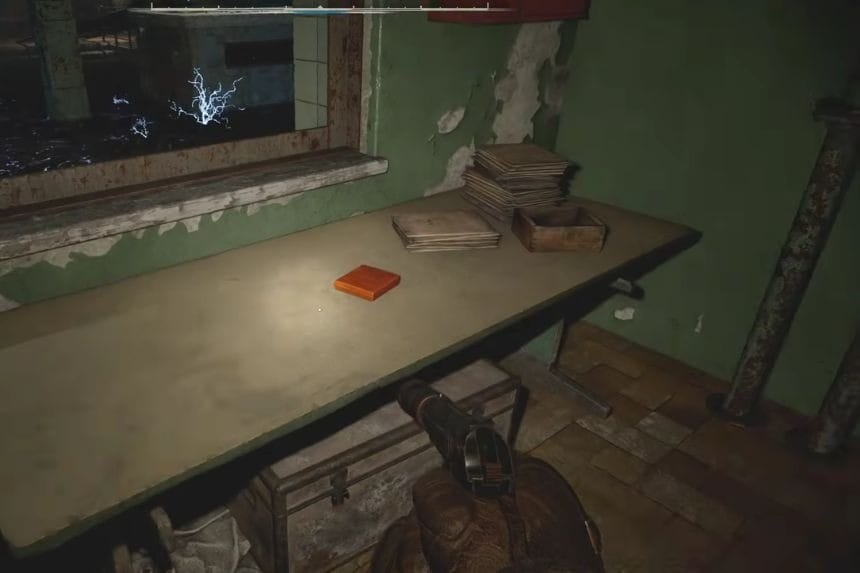
Click on the switch to reactivate power in that area. Once you are done with the task, there are other rooms in the corridor where you can find some items. Then proceed to the right where the door to the stairs will be located.
Use the stairs to go down to the lower floor and enter the room. Kill the zombies in the corridor and continue on to the next door. There are also several zombies in the room beyond the door.
Continue Toward The Technical Floor
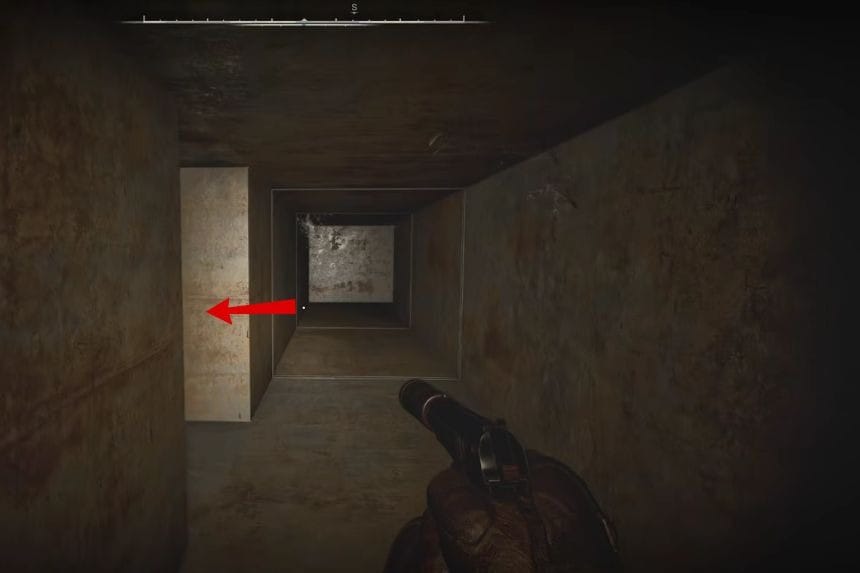
Once the room is clear, head to the door at the far end. What happens next depends on which faction you sided with. Also, the route to the Technical Floor is slightly different depending on your alliance.
- Duty: The door is sealed. Find the crack in the wall and use the C-4 Charge given to you by Zulu to blow it open. While heading towards the Technical Floor, go through the room with the Electro anomalies and continue down the long hallway while dealing with the Rodents.
- Freedom: The sealed hermetic door is already open, so you can simply walk through. While making your way to the Technical Floor, go through the hermetic door and enter the narrow hallway. At the end, you will find a vent. Crawl through it and deal with the Rodents on the other side.
As you get to the Technical Floor, find the small structure with the red light. Go inside and find the fuse box. Pull the lever to restore power. Be careful, as this will electrify the flooded area outside.
Next, make your way to the control room. Jump onto the table and climb through the open window to reach the pipes below. Follow the pipes toward the vent.
Search The Vents
Crouch and move into the vent, and turn left. Move through the vent until you come to the middle part. An exit will be there. Get out of the vent and enter the code 2110 for the laboratory door that can be unlocked. You will find various items of loot like ammo, med kits, and a Kharod rifle.
Get back to the vent exit where you came from before. Move along the pipes and approach the white platform below it. Enter the room with the Glass Shard anomaly, press the lever inside it and exit the room.
Look for the control panel with the red and yellow lights. Press the red button to unlock the hermetic door. The metal-bar door will also open, allowing you to go back to the hermetic door. But don’t continue yet.
Reach The Service Elevator
Move forward on the newly unlocked path and go along the corridor. At the end, go through the hatch and use it to move one floor downward. Proceed until you get to the Service Elevator. Interact with the control panel in front of the elevator shaft and press the button to call the elevator. There will be an encounter with a group of Rodents after you do that; kill them.
The power will cut off for some time. Look for the lever with rotating red lights and interact with it to restore the power. A number of mutants will appear now, among which are Snorks, so prepare to fight. Once you deal with them, the power will cut off once again.
Now find another lever and pull it. A Pseudogiant and some Rodents will appear now. Kill them all or stay away from them until you can activate the elevator. Once the mutants are dealt with and the elevator is ready, get inside and ride it down to the lower floor.
Meet Mavka Or Zulu
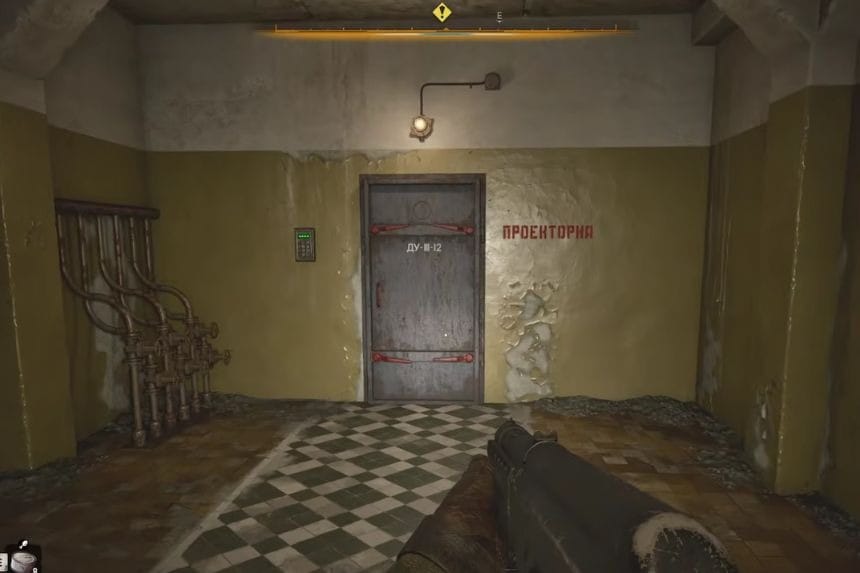
When reaching the bottom floor, make your way till you meet either Mavka or Zulu, depending upon your allegiance. Speak to them and finish all their conversation options, and then move towards the Central Room.
Move down and try to unlock the door by pressing the button on the control board. You will realise that the door requires power. Then, move upstairs on the other side and turn on the generator. But the generator will fail, leaving you trapped inside the room.
After the nearby door is opened, go straight along the hallway till you reach the door with the keypad attached to it. The code for this door is 3150.
How To Restart The System
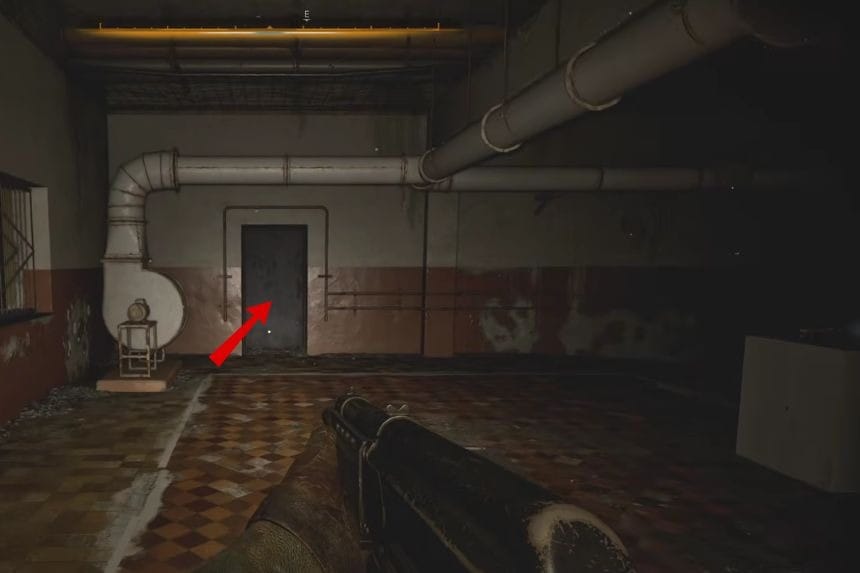
In the projector room, move to the left corner and go towards the stairs that are close to the locker room. Then, move forward to the other side via the laboratory and find another staircase.
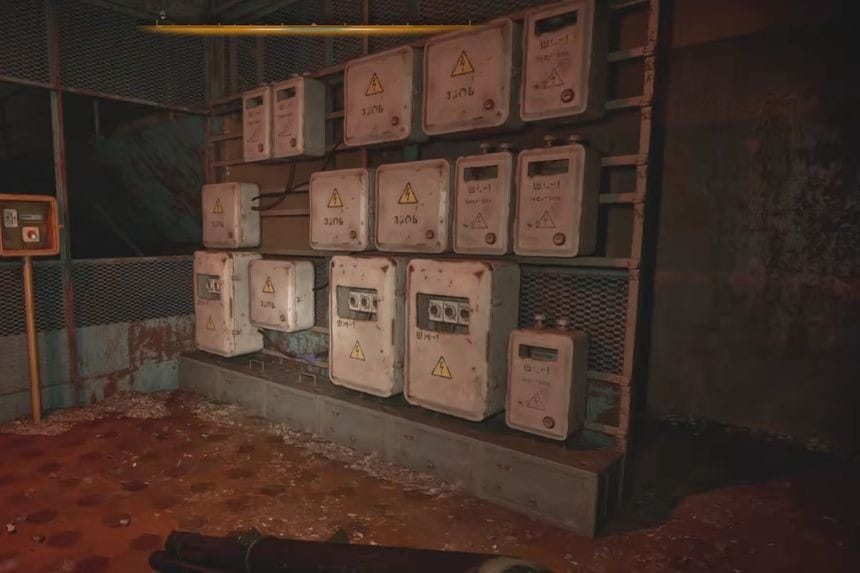
Head down one level and find the room with the big 06 sign on the door. Jump into the room and first search the left safe, which will contain an RPM-74 and other useful things. When you have taken everything that you needed, move to the platform and press the button to turn the system back on. An Amok will appear through the door you need to use.
Follow Mavka Or Zulu
Exit the laboratory via the vents and go further into the next laboratory. Walk inside the experiment room until you get to the room where there is a control panel and a switch placed in the centre. Interact with the switch and advance further. The activation of the switch will lead to the arrival of three Poltergeists, which have different elemental characteristics.
Look for Door 5 on your right side. Crouch inside and grab the Access Card to the Experimental Block. Exit the room when you have the Access Card. Head in the direction where you have to make a turn on the right, and there you will come across the door that requires an Access Card to unlock it. Open the door using the Access Card and move ahead. There is lots of ammo and some damaged weapons that can be used on the weapon racks.
Head upstairs and walk along the corridor until you get back to the Central Room. If you took the side of Duty, head after Zulu. And if you are on the side of Freedom, then head after Mavka. Go into the room with rotating red lights.
Destroy The Mutant Tanks – Duty Route
If you chose the path of Duty, then you have to blow up the mutant tanks. First, use the marked buttons and levers to unblock the platform. Moreover, you will have to blow up the fuses in that room in order to reveal mutant tanks.
All the buttons, levers and fuses will be marked out for you; just listen to the Zulu’s calls and follow your objectives. Then destroy all the mutant tanks. Do the same thing for each other mutant tank group until they are all destroyed. Remember that Mavka can’t die until you complete this task. This will bring you to the end of the quest, and you will get 32,000 Coupons, the Mriya weapon, and a unique Duty Medal.
Activate The Backup Cooling System – Freedom Route
In case you chose to be on the side of Freedom, you should start the backup cooling system. During the cutscene, Zulu will ruin the cooling system, thus making the area covered in darkness and fog. Further, he will take advantage of the darkness and try to get closer to you, attacking you with a shovel.
First deal with Zulu, and do not concentrate on the task given by Mavka immediately. After you have handled Zulu, you should proceed according to Mavka’s instructions. She will tell you what switches and levers to press in order to start the backup cooling system. This will end the quest and reward you with the Guardian shotgun as well as Lukash’s Bracelet.
