
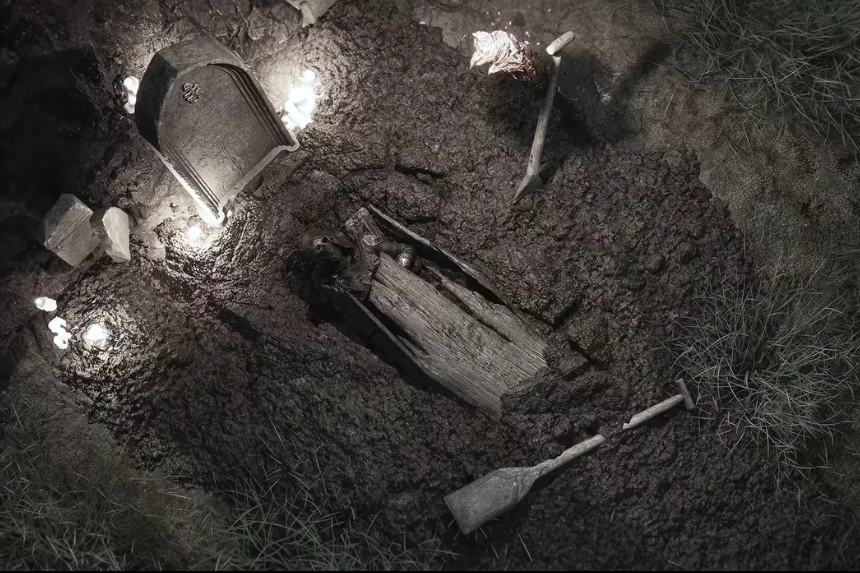
If you want to unlock the full power of Grisha Remnant in Mortal Shell 2, you’ll need to find all of its hidden locations across the game. Each Remnant makes the item stronger, improving both its active summon and passive effect. In this guide, we’ll show you where to find every Grisha Remnant and give you simple directions to reach each one.
Grisha Remnant Effects Explained
Grisha Remnant lets you summon a Grisha to fight alongside you. You can also get a chance to summon one automatically whenever you land a melee attack. The more times you pick up the Grisha Remnant, the stronger these effects become.
| Level | Active Effect | Passive Effect | Requirement |
| Level 1 | It summons a Grisha to help you in battle | 2% chance to summon a Grisha in battle whenever you use a melee attack. | Collected 1 Remnant |
| Level 2 | You will have one extra summon time per rest. | 4% chance to summon a Grisha in battle whenever you use a melee attack. | Collected 2 Remnants |
| Level 3 | Any summoned Grisha will deal damage proportional to the Grisha Remnants you have at hand. | Grisha summons will increase exponentially based on the Remnants you have found. | Collected 3 Remnants |
All Mortal Shell 2 Grisha Remnant Locations
You will get Grisha Remnants from defeating Grisha enemies scattered across the world map. There are a few fixed locations where you will encounter Grishas to fight.
Grisha Remnant #1
The first Grisha encounter is found to the north of Widow’s Overlook Beacon. Continue past Gorf and the Shrine of Trial until you reach a large building. The main entrance is blocked by a wall, but you can get around it by using the nearby gate in front of the building.
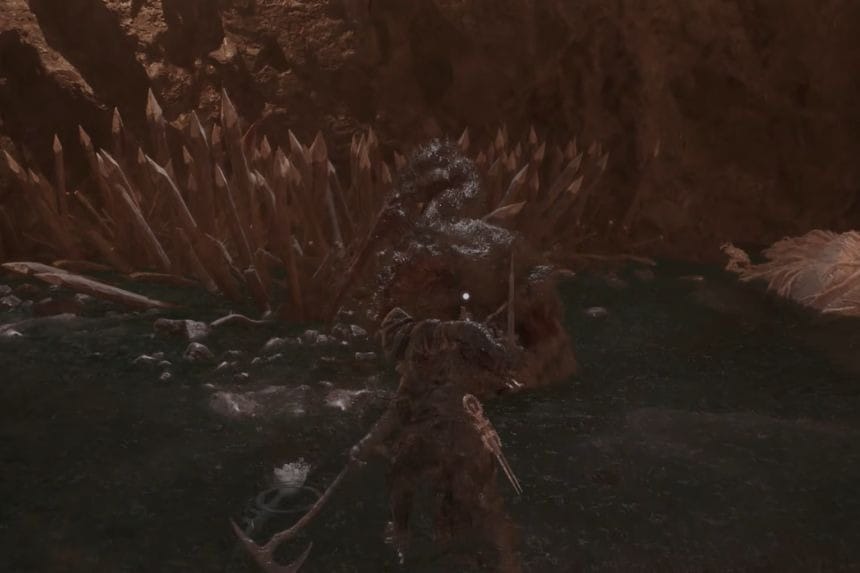
Once inside, use the elevator to go all the way down to the bottom level, where you’ll reach the Flooded Village. From there, keep moving forward, then turn right and follow the ramp downhill. When you reach the river, turn right again and follow the torches. They will lead you straight to Grisha’s arena.
Grisha Remnant #2
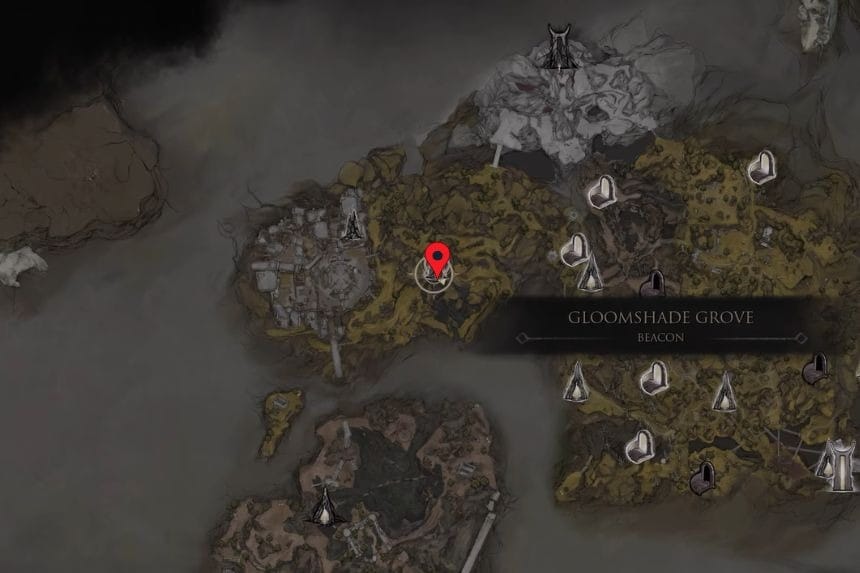
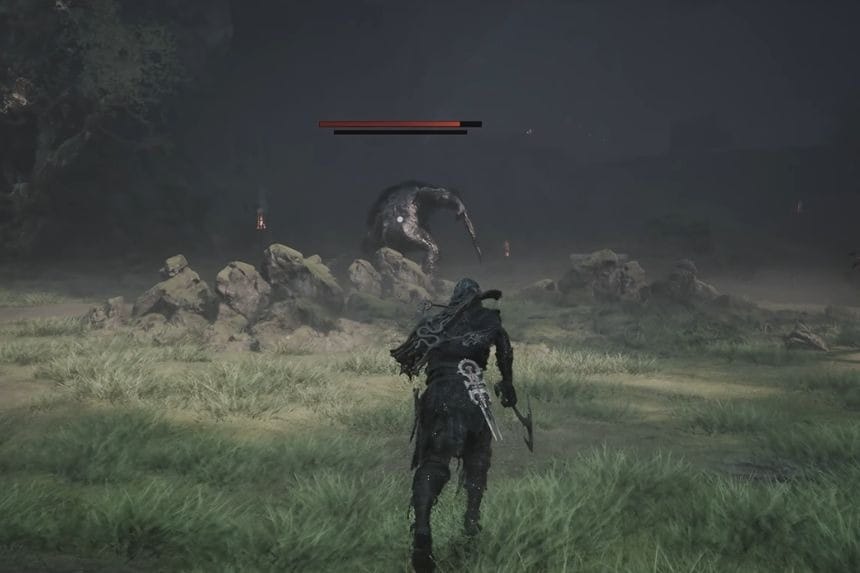
Start from the Gloomshade Grove Beacon and go left from there. After covering a small distance, you’ll be able to spot the Grisha.
Grisha Remnant #3 & #4
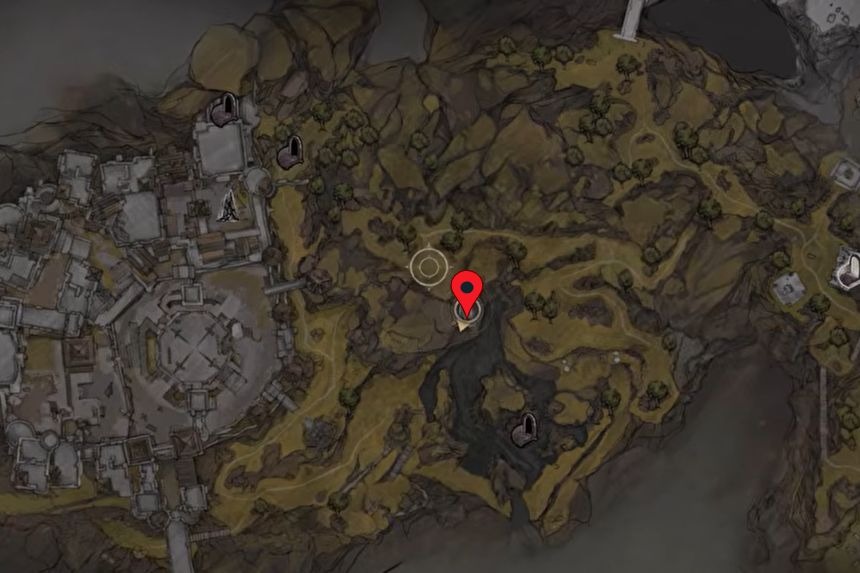
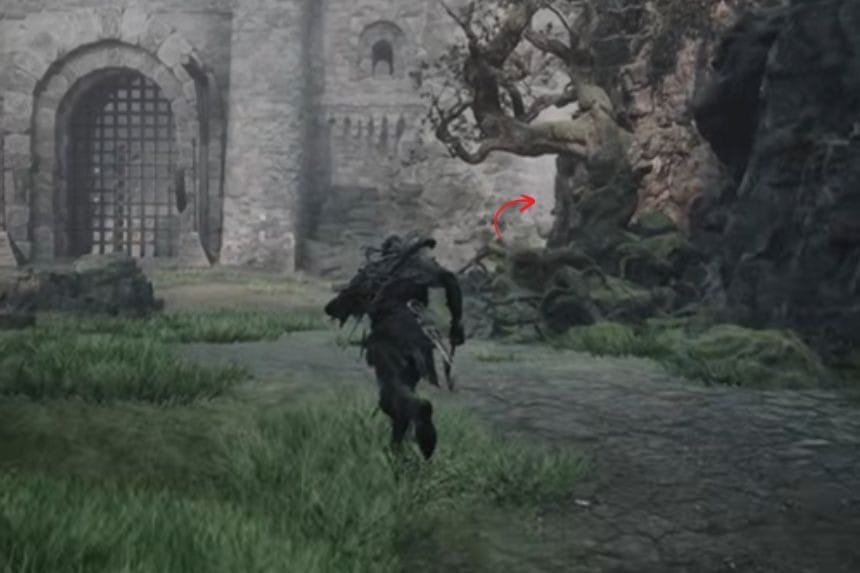
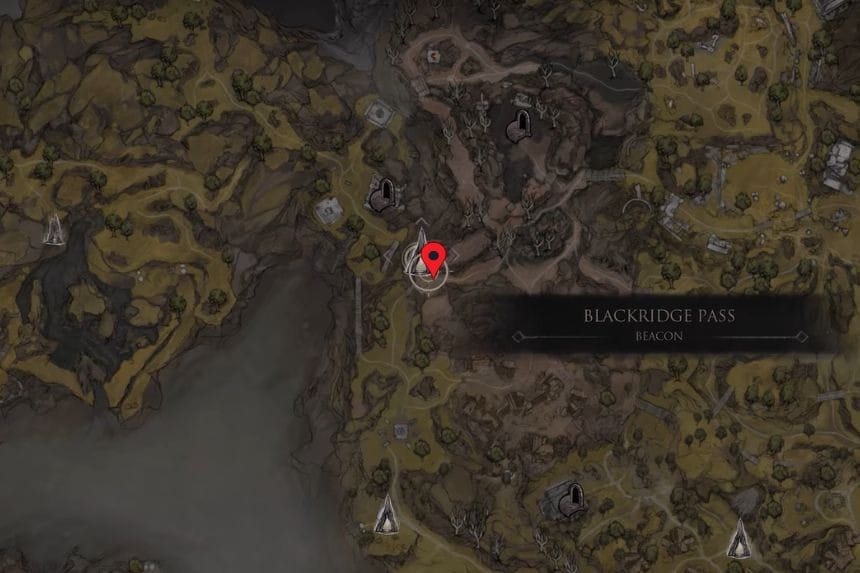
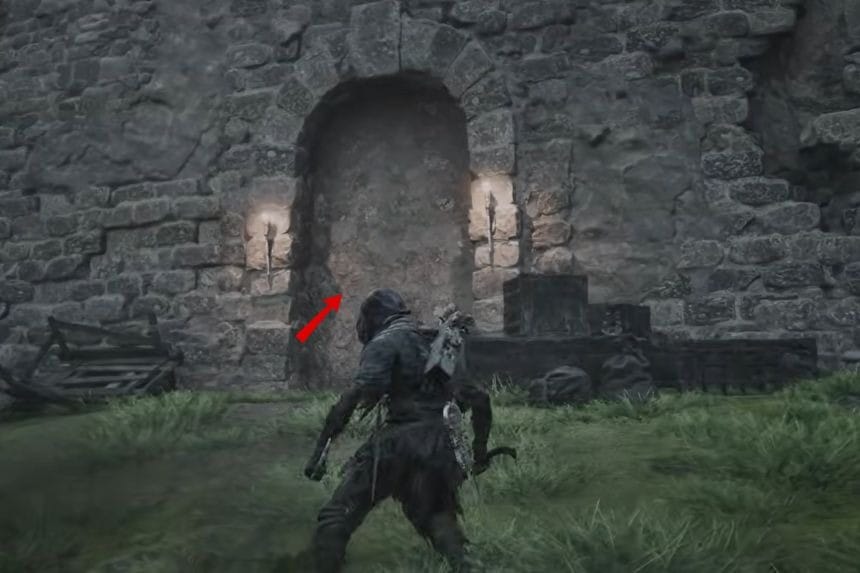
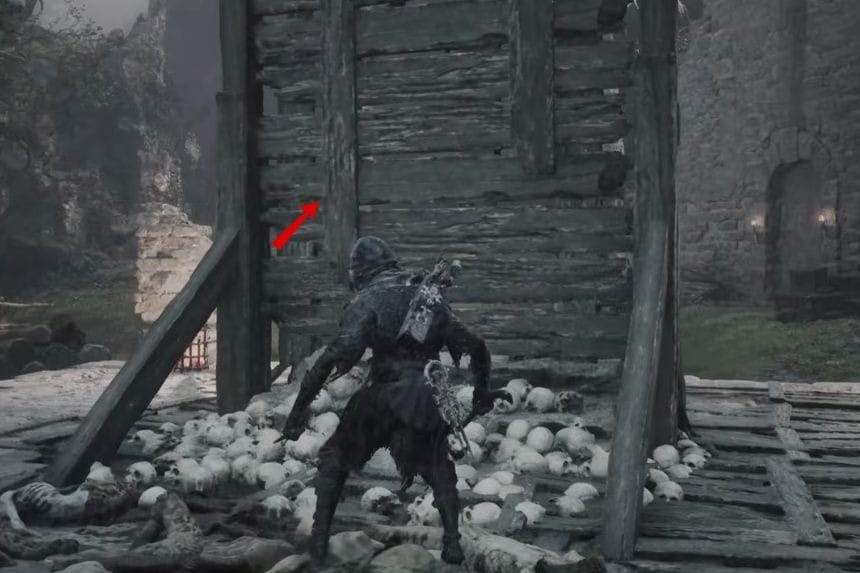
The Rabid Grisha Pack can be found at the bottom of the Holding Cells dungeon. To get there, start at the Blackridge Pass Beacon and head southeast toward Blackridge Hamlet. Look for the well entrance, which will take you into the dungeon.
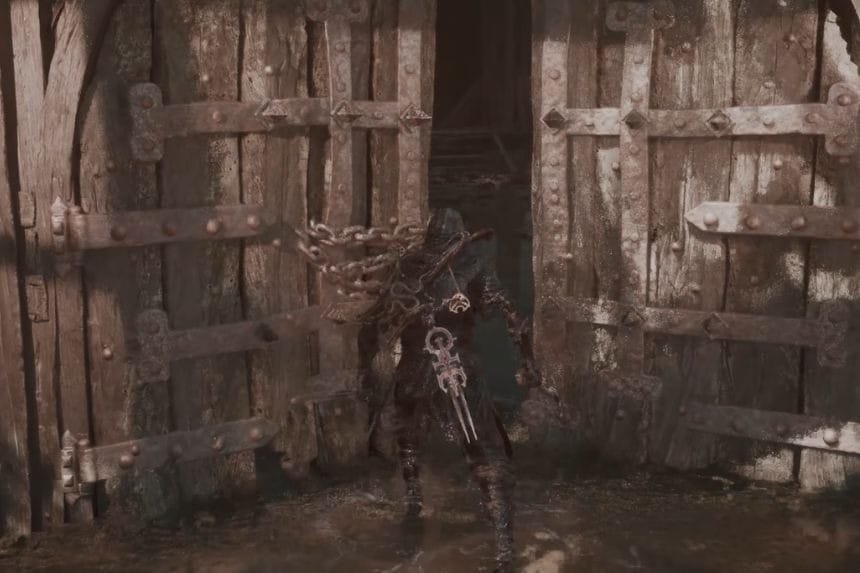
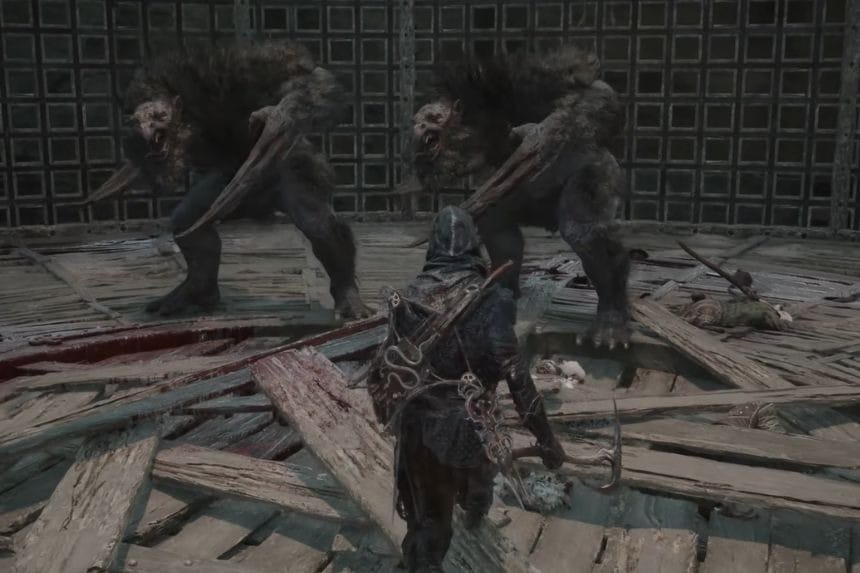
Once you’re inside, use the elevator to go down into the sewers. From there, keep to the right wall as you make your way through the area. You’ll eventually find a door that leads directly to the Rabid Grisha Pack boss arena.
Grisha Remnant #5
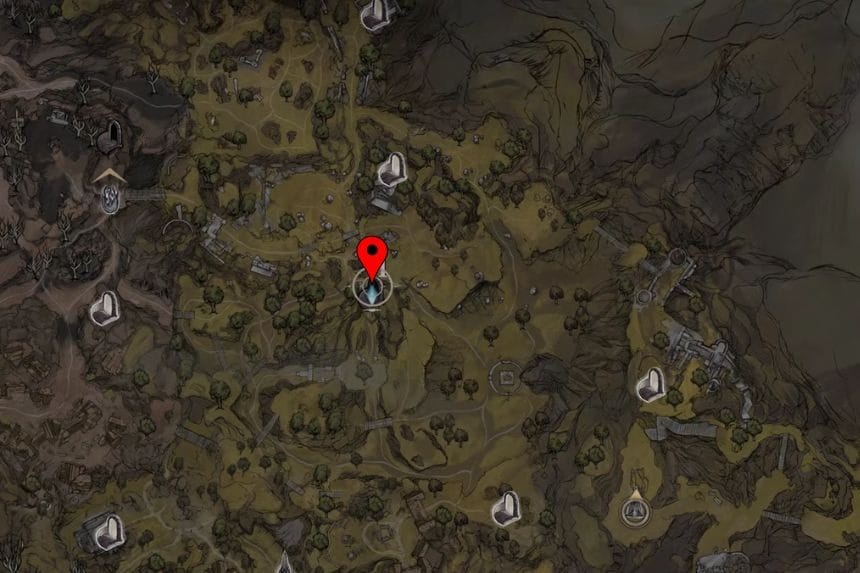
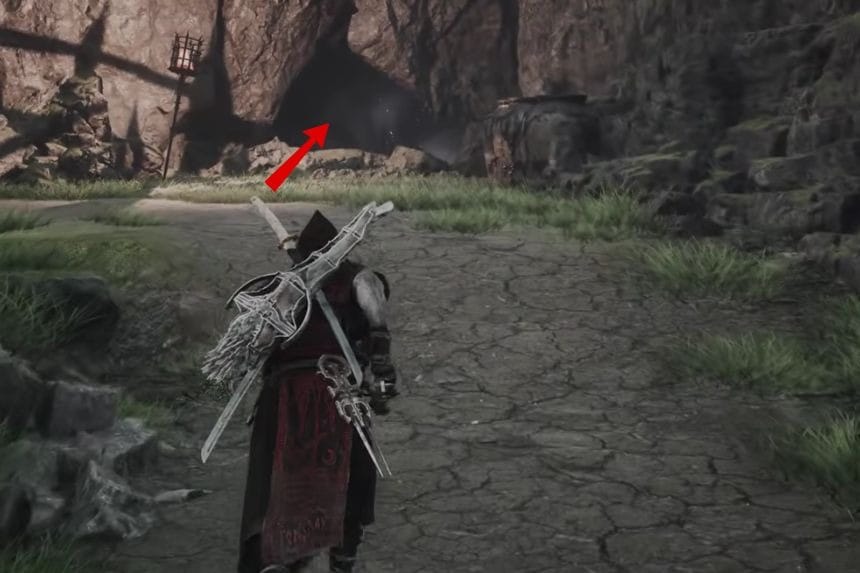
For this one, you’ll need to defeat the Pale Grisha in the Grisha Hunting Grounds Dungeon. Start from the One Legged Wolf Beacon and go northwest from there. Follow a straight path until you come across a red tree, take right from there, and follow a straight path until you reach the ruins.
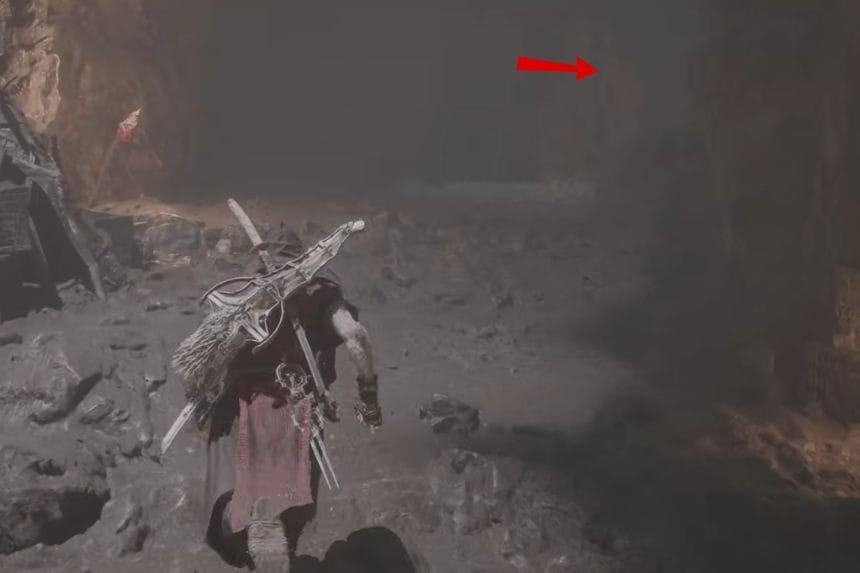
Keep walking through the ruins until you come across a cave entrance leading you to the Hunting Grounds Dungeon. Inside, you’ll need to keep to your left, take the elevator to go down, and follow the path on the right to reach the Pale Grisha’s arena.
Grisha Remnant #6
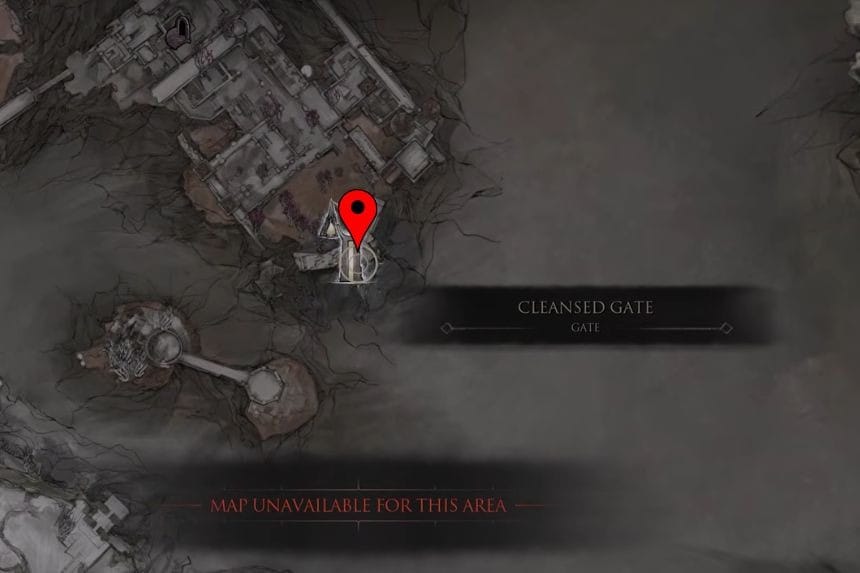
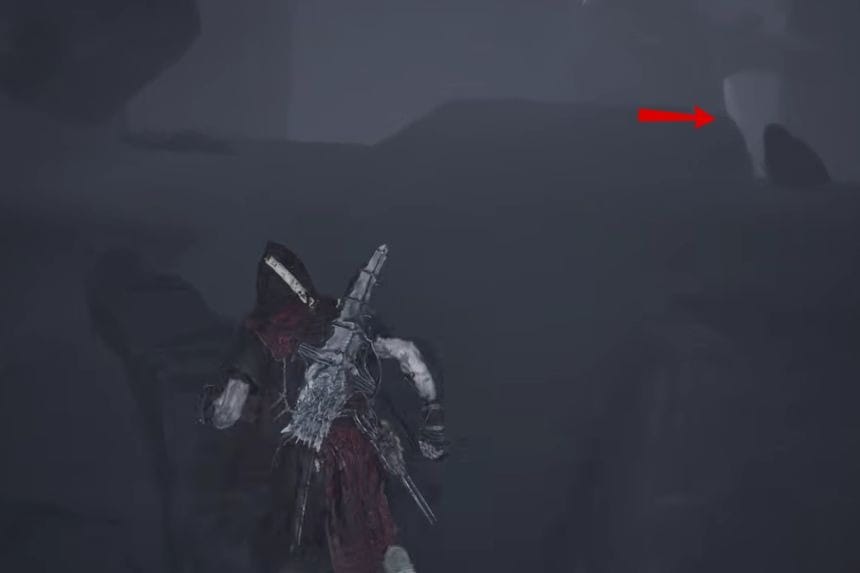
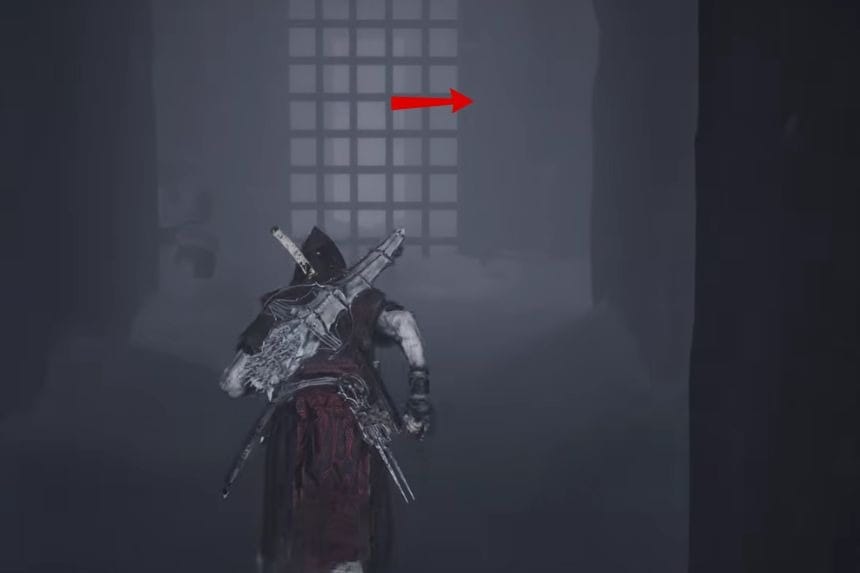
You’ll need to start your journey from the Cleansed Gate and use the Beacon there to reach the Mornefrost Grave. Inside, follow the path on the right until you reach an iron gate. Take another right from there, then left to get the Immaculate Crown which helps you unlock secrets within the ice.
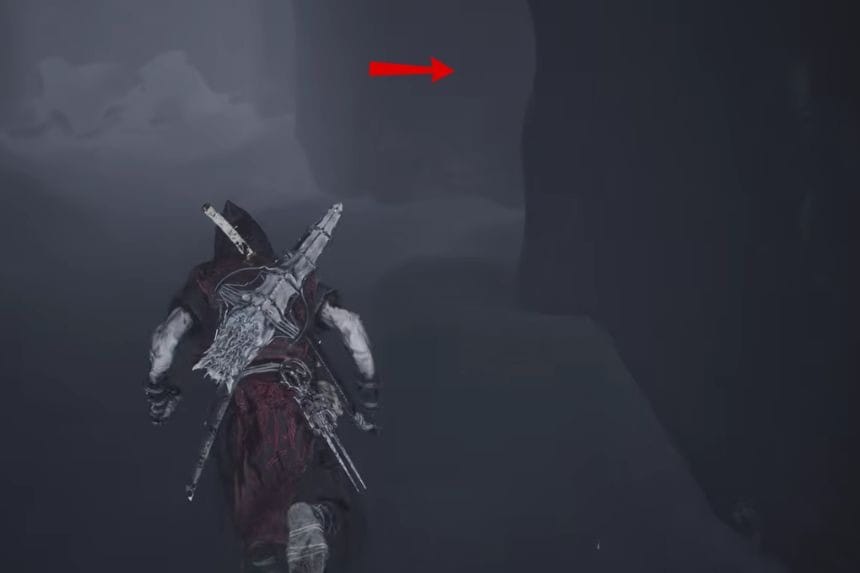
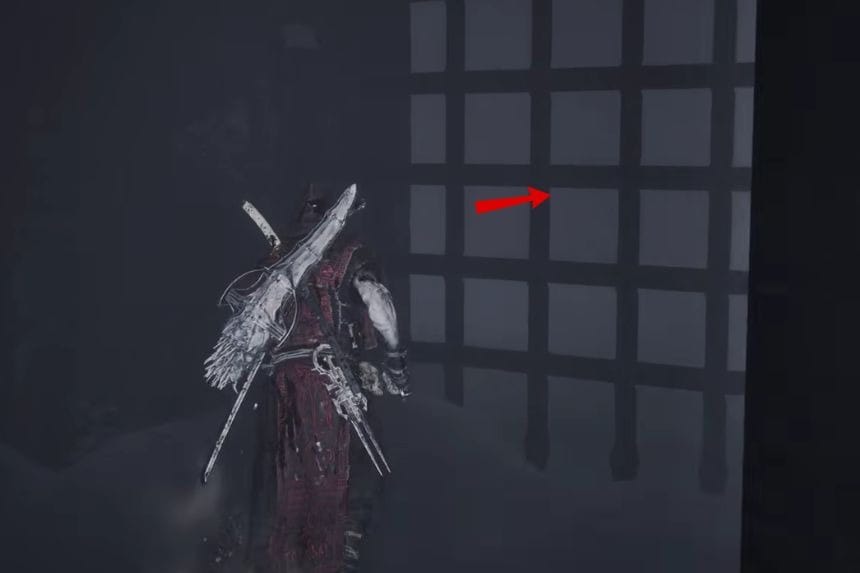
Afterwards, go right, and you’ll find an iron gate. Interact with the button on the left to lift the gate and reach the Grisha in the Winterglass Lake Beacon.
Grisha Remnant #7
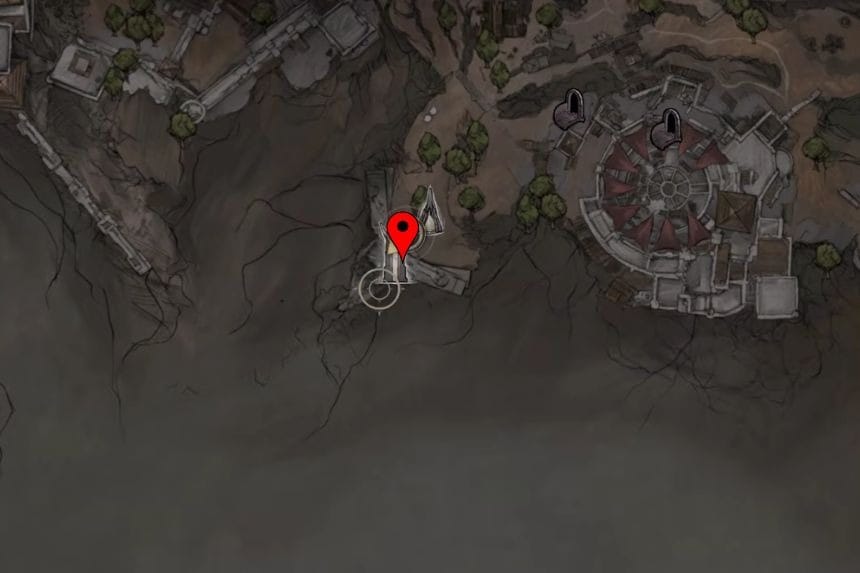
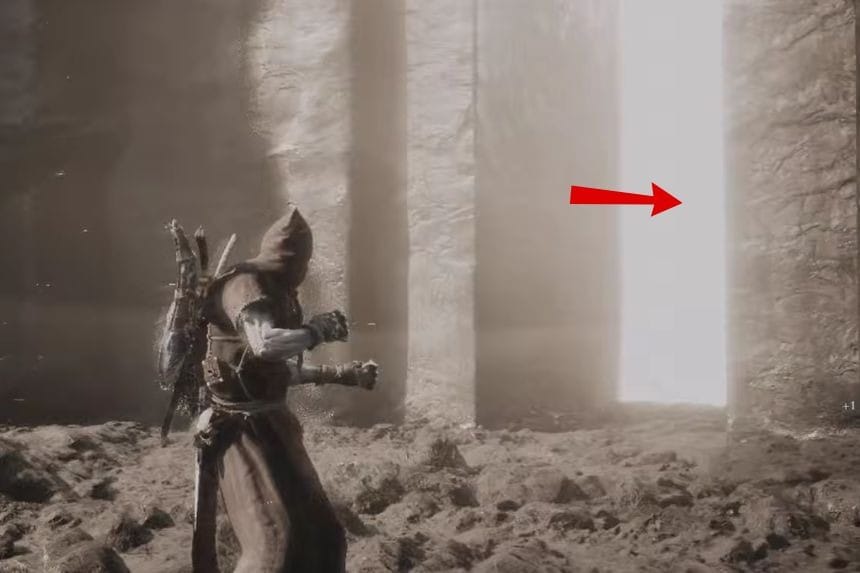
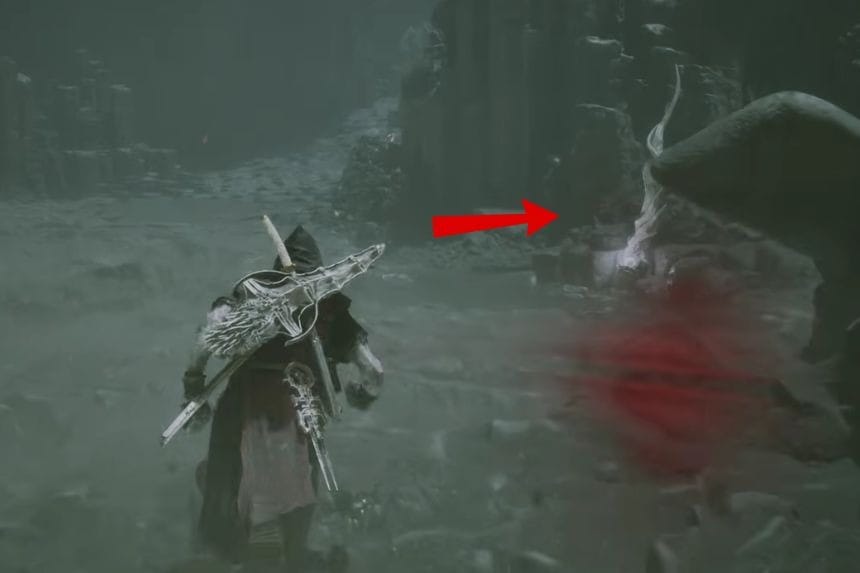
For this one, you’ll need to start from the Corrupted Gate. Once there, go through the gate, follow the path on the right, and go down the stairs. Keep following the path on the right and you’ll reach the Withered Shoals Gate that will take you to the Grisha’s arena.
Grisha Remnant #8
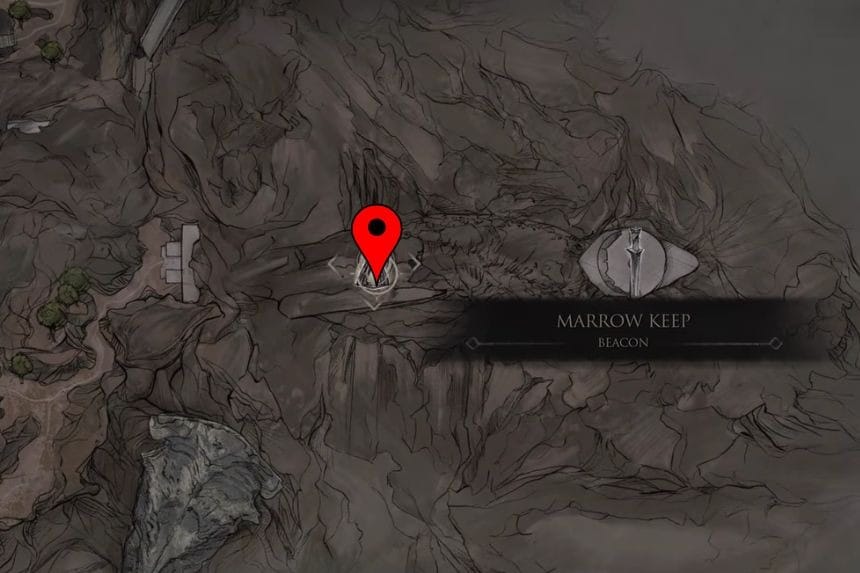
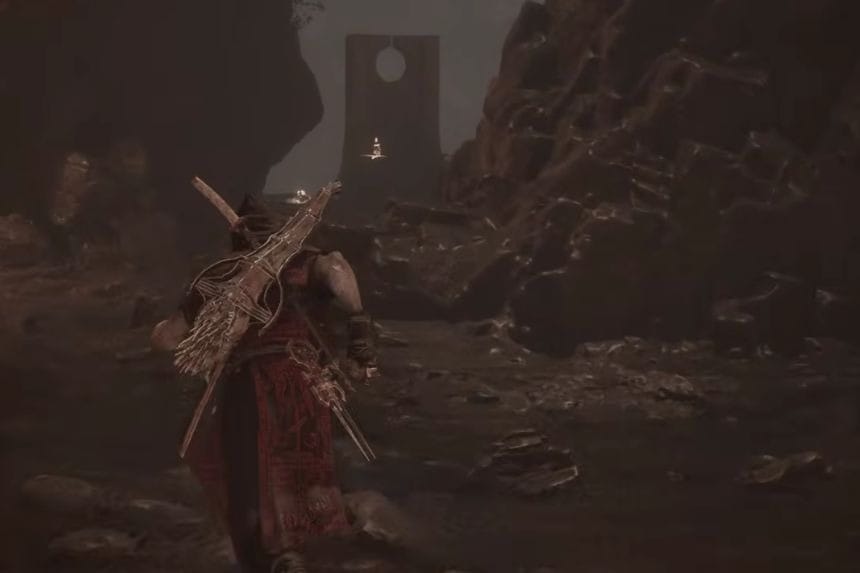
Start from the Marrow Keep Beacon and go west from there until you reach a sort of altar from where you can get the Slayer Seal, which will help you enter the hidden dungeon inside the Marrow Keep. Remember not to equip the seal, as it will disable trophies for you; picking it up will be enough.
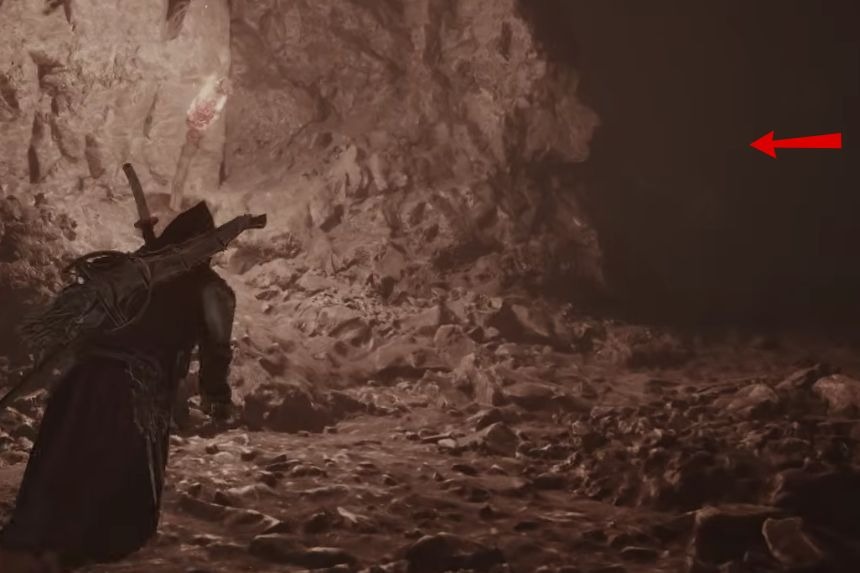
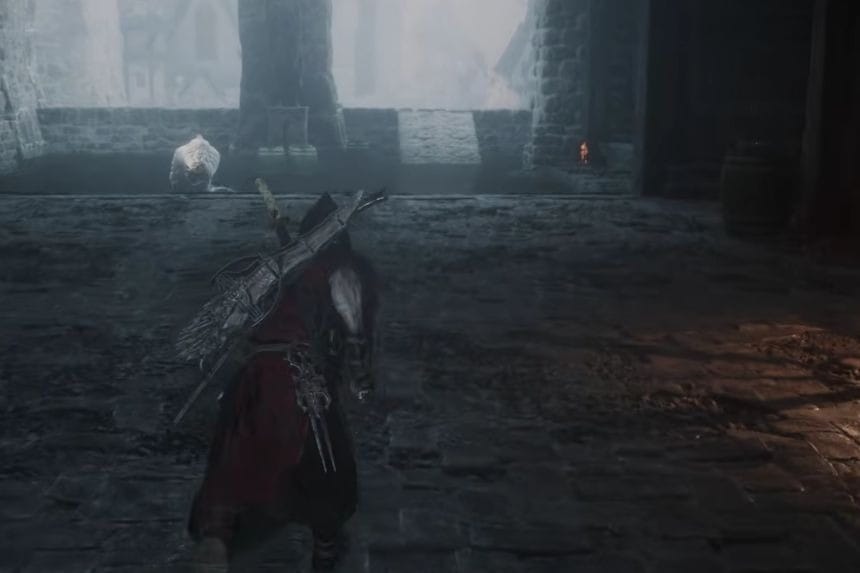
From the altar, go left to reach the dungeon. Keep to your right, and you’ll come across a sort of circular stand chained from four sides. You’ll need to break the chains to reach the Desolate Keep, where you’ll find the Grisha arena on the left. Kill the Grisha here to collect the final Remanent.
