
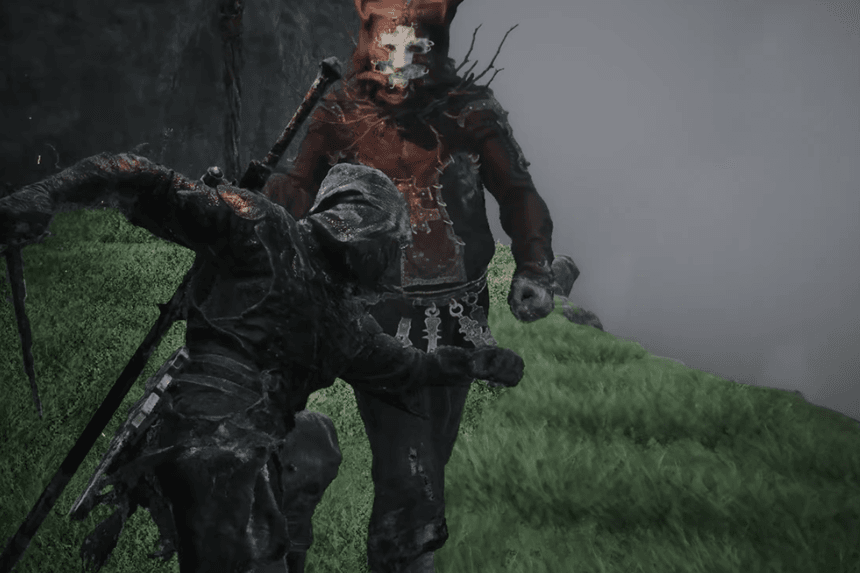
Shells have their own class-like attributes since they give their own unique statistics and mechanics. There are some that you can just discover on your exploration in the game world and there are some that you need to beat certain bosses and complete challenges to unlock the shells. In this guide we’ll show you the location of every Shell and how to unlock them.
All Shell Locations
Shells in Mortal Shell 2 act as the game’s class system. They are the bodies of fallen warriors that you can find and awaken throughout the world. You can get a Shell, use its body, and unlock its specific statistics, mechanics, and abilities. Each Shell has its pros and cons, and it can be important to select the correct one because of your playstyle. Whether you enjoy quick attacks, heavy weapons, or are more of a defensive player, you will find a Shell that matches your style.
Proxima Shell
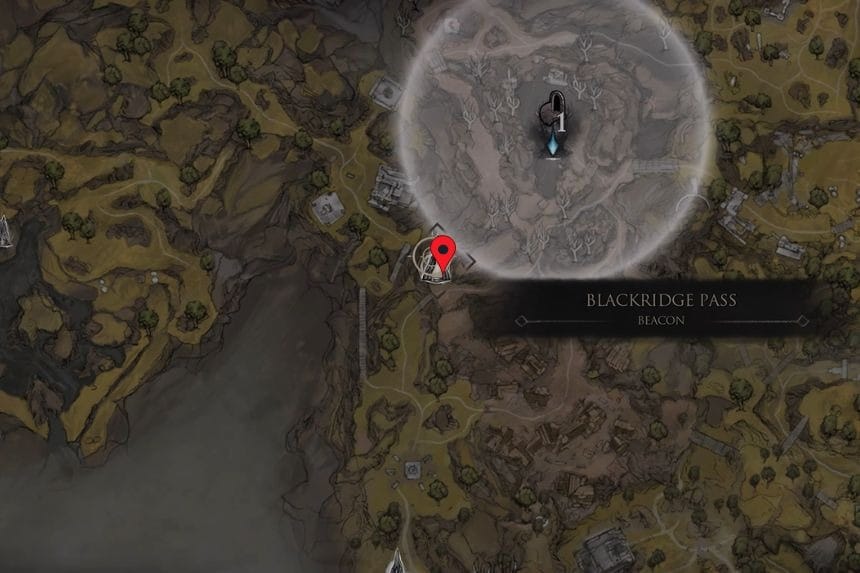
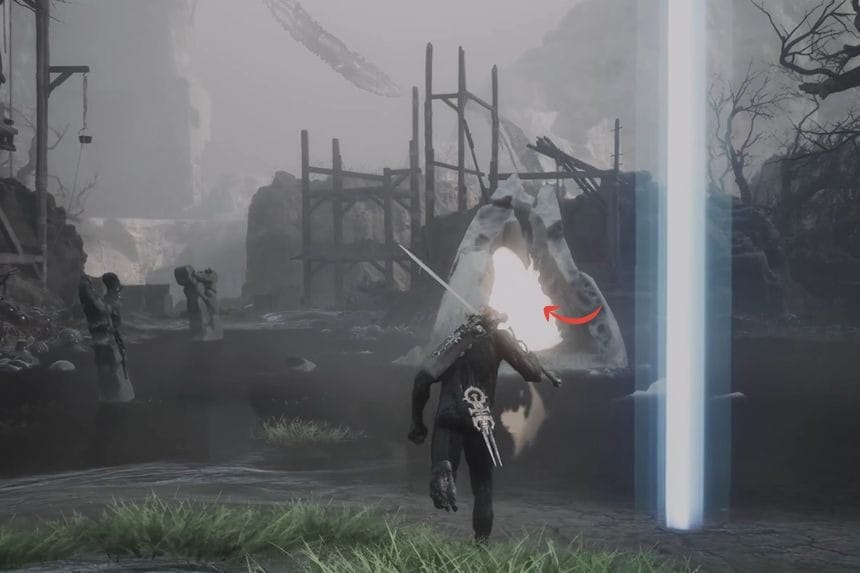
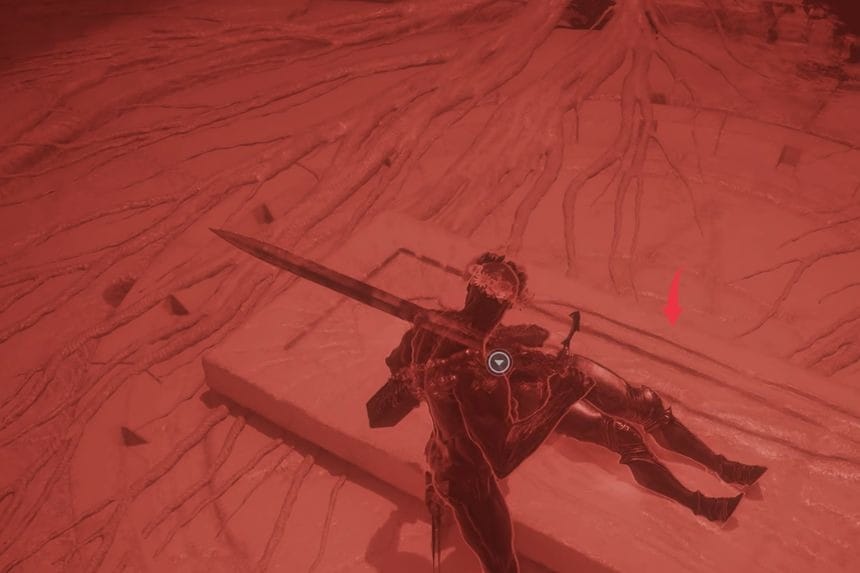
Proxima, the Broodseeker is a knight-like warrior woman clad in full body armour. The location of the Shell of Proxima is in Blackridge Cliffs, Fainweald. The location of Proxima’s Shell will be automatically marked on your map once you reach Marrow Keep. After that, go to the Shattered Beacon at Blackridge Cliffs. After reaching your destination, search for a table in the area. The Shell of Proxima will be on the table.
Tiel Shell
Tiel is a fast and agile class that focuses on quick attacks, dashes, and his unique Shadow Mechanic. It can also make itself briefly invisible and do an immense Shadow Strike with its dagger. Using your dash abilities effectively will give you the ability to stagger enemies with massive Stagger damage.
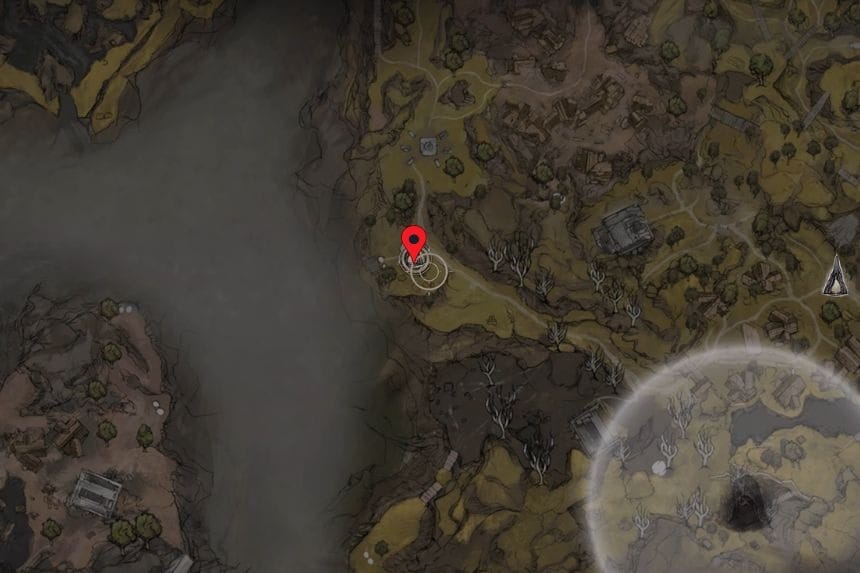
In order to get Tiel’s Shell, you should travel to Mushroom Village which is located close to Widow’s Overlook. The map marker will appear automatically after you visit Marrow Keep for the first time.
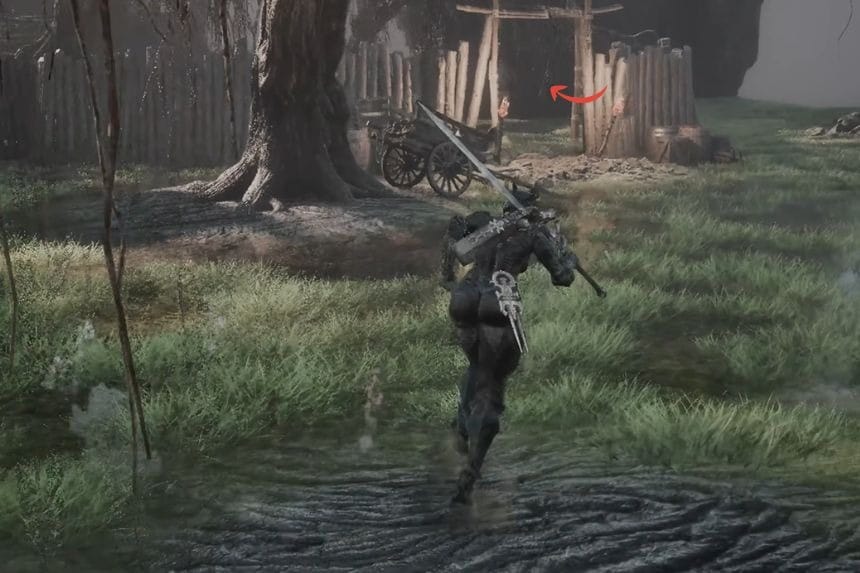
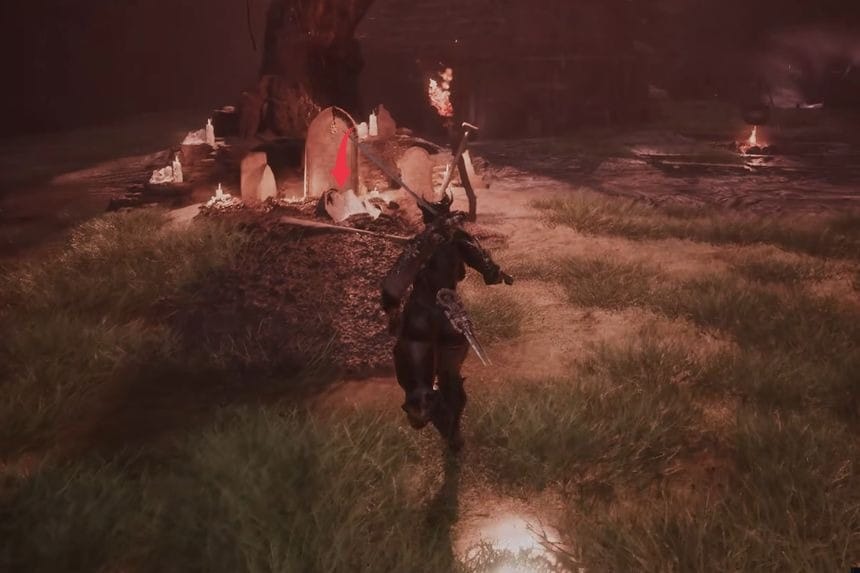
From here, head to the eastern part of Mushroom Village, beyond its border. Find a wooden gate lit by two torches and move towards the big tree near it where there lies Tiel’s tombstone. Once you approach the corpse, the screen turns red, and a heartbeat sound can be heard. Activate the corpse in order to access “The Rash” memory that will take you to a small house.
To proceed, move along the side of the house and climb through the window. In the house, take the flask from the table. Soon after, Apothecary will come in, and a cutscene will start. Watch the scene until you receive an opportunity to change your character to Tiel once done, you’ll unlock the Tiel Shell.
Gragu Shell
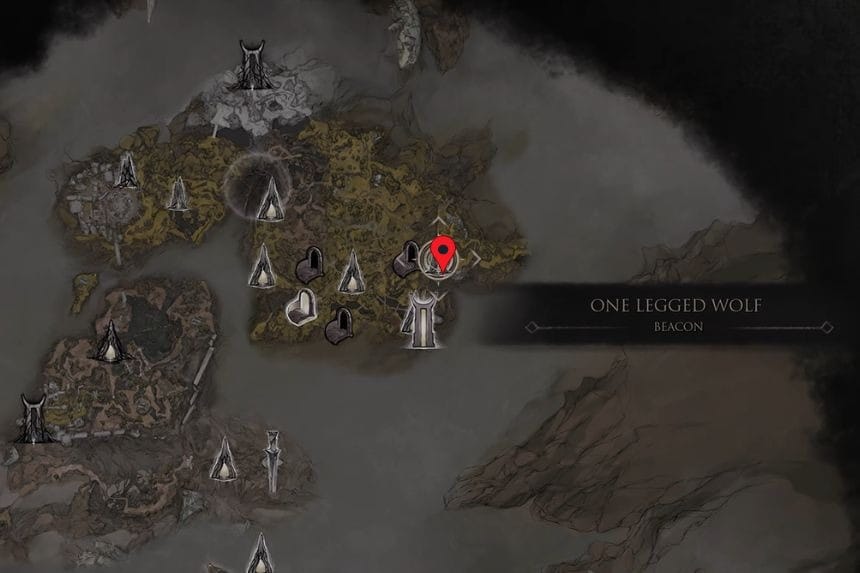
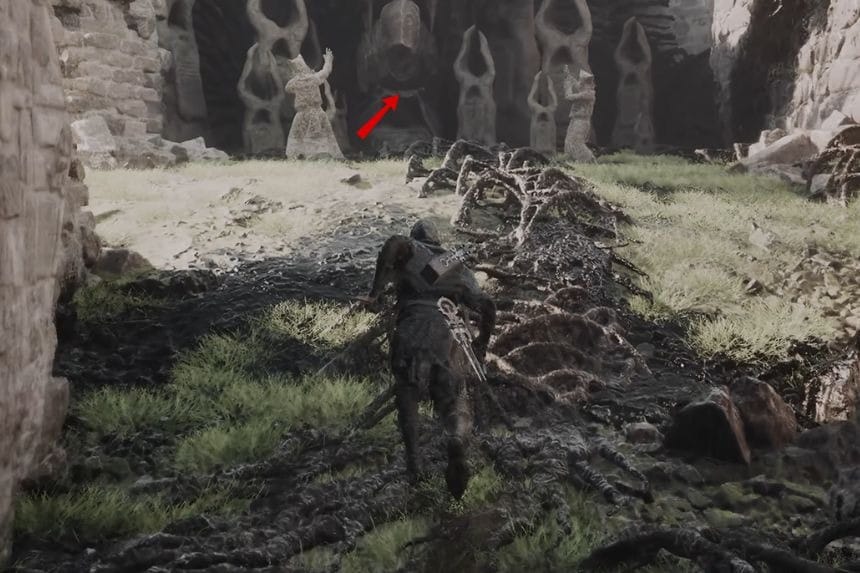
In order to get Gragu’s Shell, you will first need to get the Heart of Vatra and bring it back to Gragu in the tavern, which is located near the One Legged Wolf Beacon. However, you will not be able to access the tavern until you have gained the ability of Mether’s Breath, which lets the Harbinger cleanse the path of corruption.
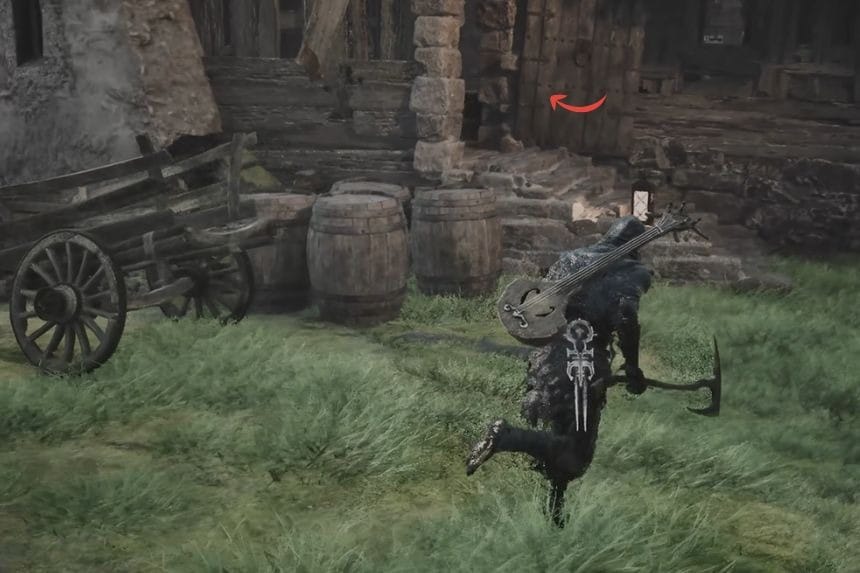
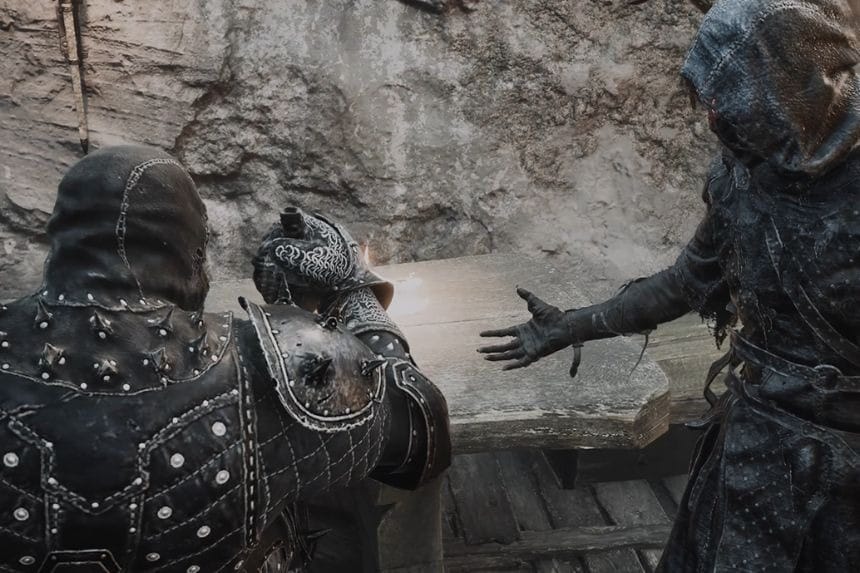
After doing so, enter the tavern that is located near the One Legged Wolf Beacon and talk to Gragu. He will tell you about the Heart of Vatra, which is located within a temple located on the far-eastern part of the map and can be reached by crossing the bridge near the tavern. Once you get the Heart of Vatra, take it to Gragu in the tavern and give it to him. He will then eat the heart and die soon after. After doing so, interact with his corpse to obtain Gragu’s Shell.
Eredrim Shell
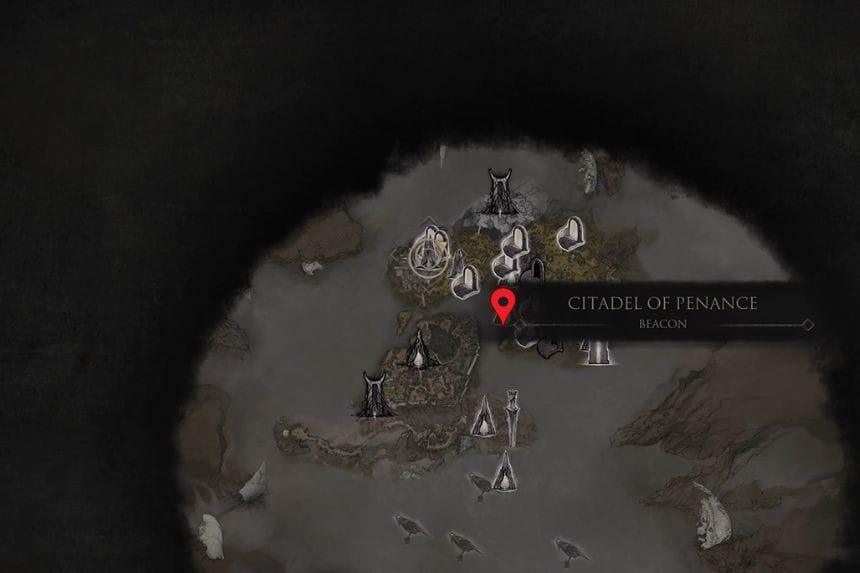
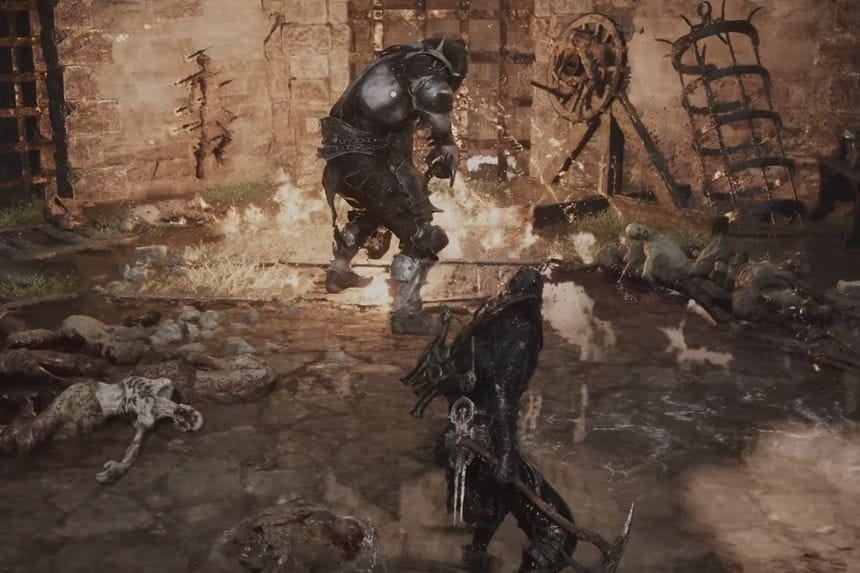
Eredrim the Venerable is a knight-like Shell built around strength and heavy attacks. To get your hands on this Shell, you need to defeat The Warden, which can be found in Citadel of Penance, Fainweald.
Smert Shell
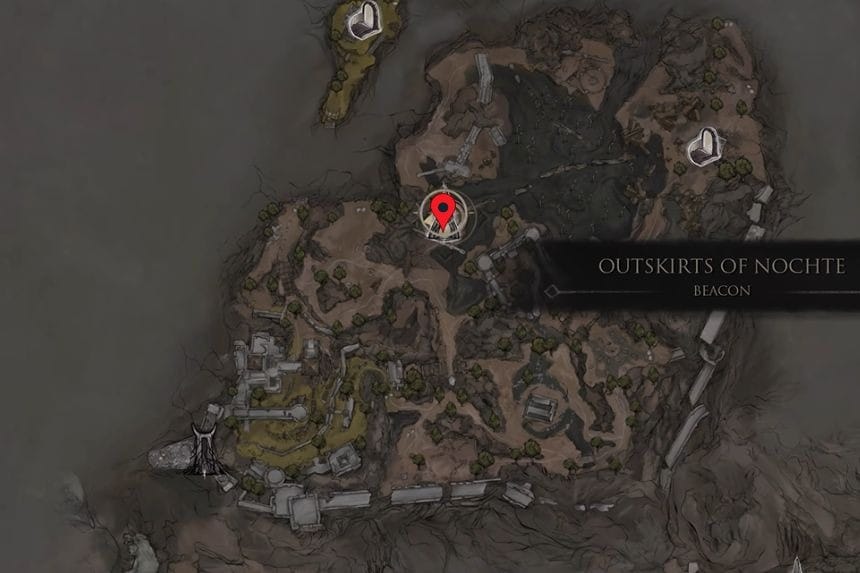
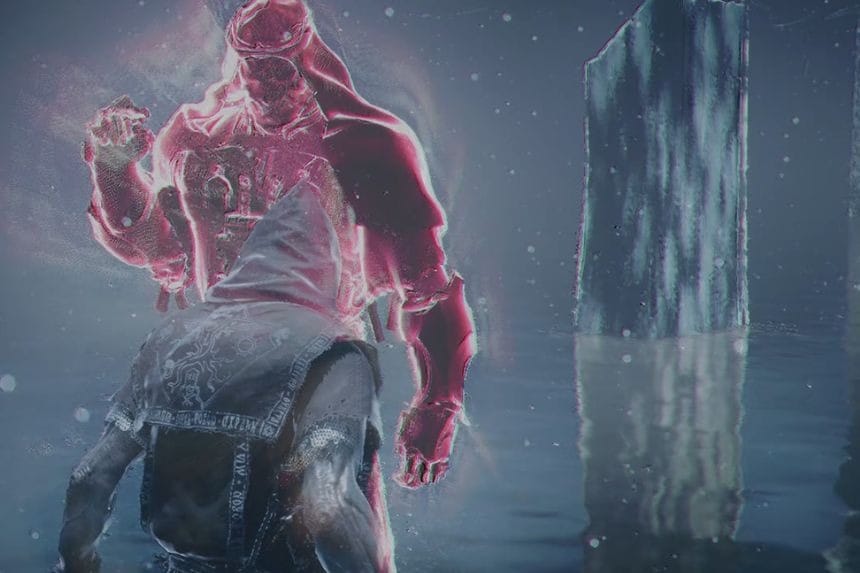
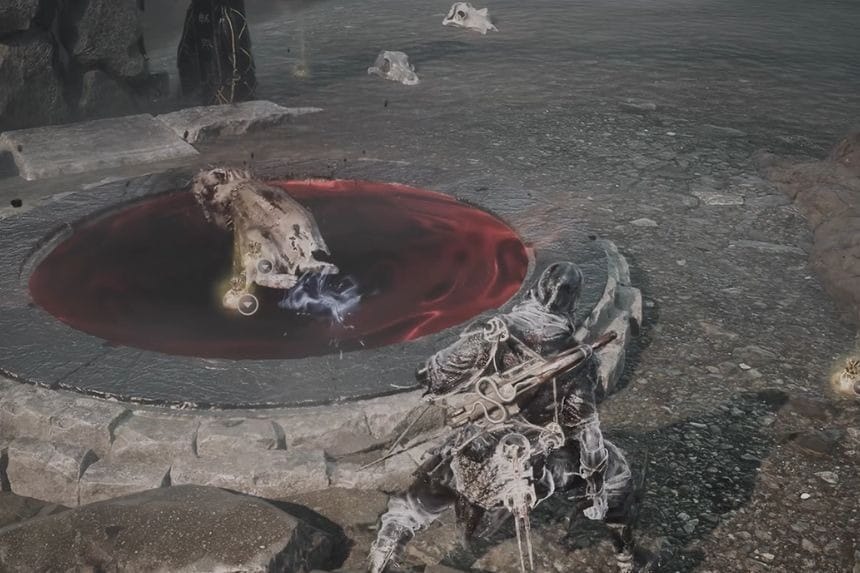
Smert can be found at the Prophet’s Rest sub-zone in Fainweald. It would be best to reach him by fast travelling to the Outskirts of Nochte Beacon. From here, take a turn to your left and make your way to the rock bridge. Here, you need to look for the path that leads to the top, and you will find Smert waiting for you. But you cannot claim his Shell straight away, as you will have to solve a small puzzle before that.
There are many enemies near the area, as well as three circles on the ground. You will have to kill the enemies when they are in these circles. Every kill will fill one of the circles with blood. After filling all three circles, you will solve the puzzle.
Sariel Shell
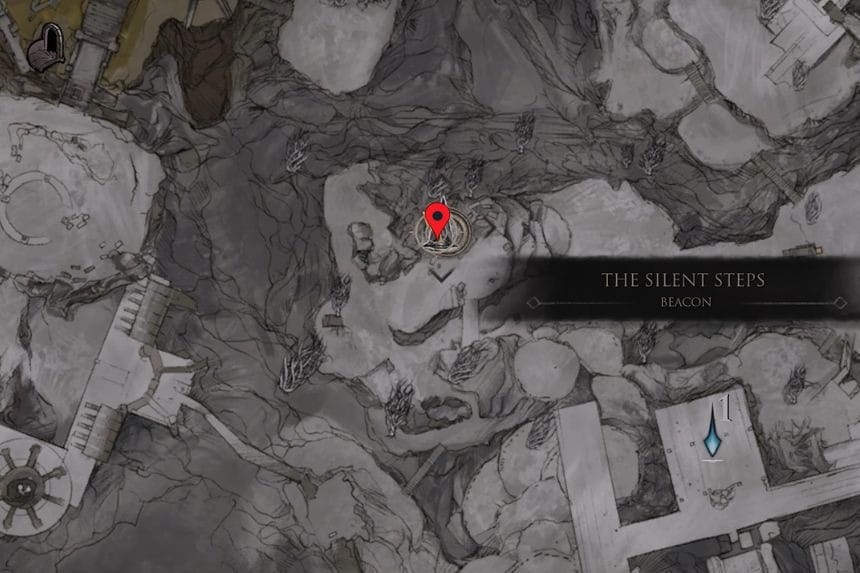
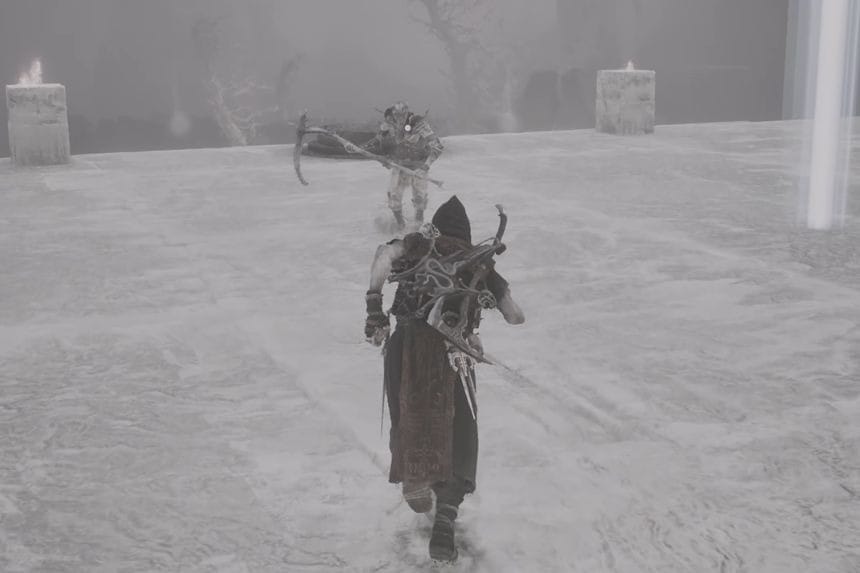
Sariel’s Shell can be found in the southeastern corner of the Mammon region. First, you should arrive at the Silent Steps Beacon, which will allow you to have somewhere near to rest and regain your strength. After that, you should use the jump gate to reach the high ledges. Once you arrive at the open area, Sariel will start attacking you. If you inflict some serious damage on him, he will run away.
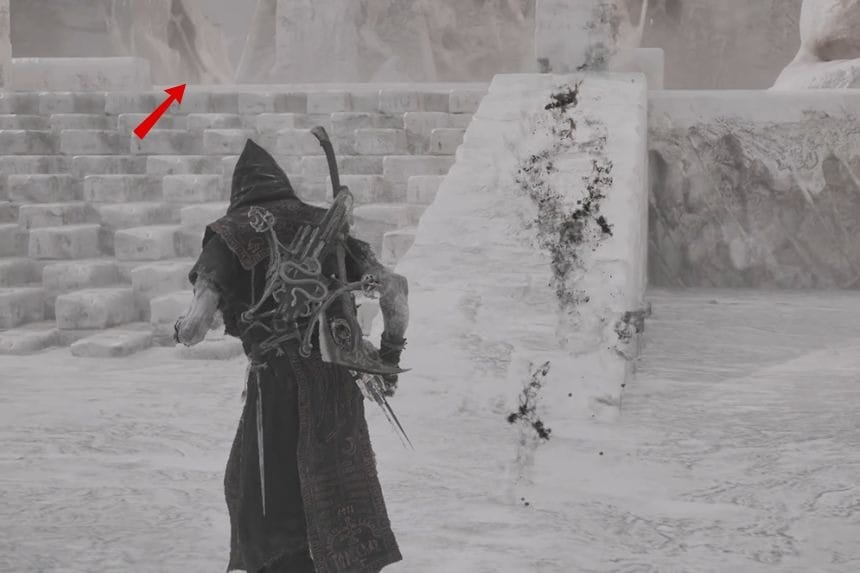
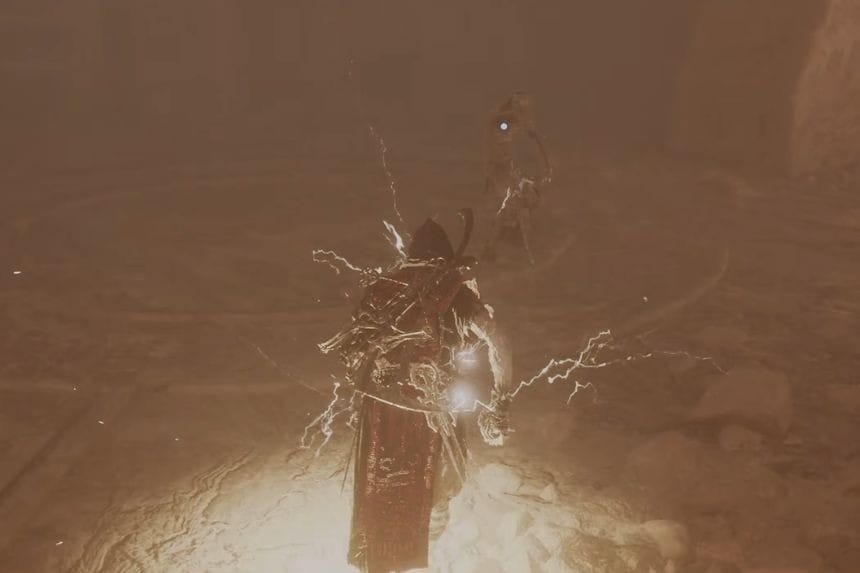
Now you should climb the stairs to enter the Chamber of Becoming dungeon. In the dungeon, you will have to fight Sariel once again. Remember to destroy the lightning rods during the fight because they can revive him. After defeating Sariel, you will get the Clockwork Scythe weapon. Then you can interact with his body to inhabit his Shell and see his memories, thus unlocking Sariel.
Lazlo Shell
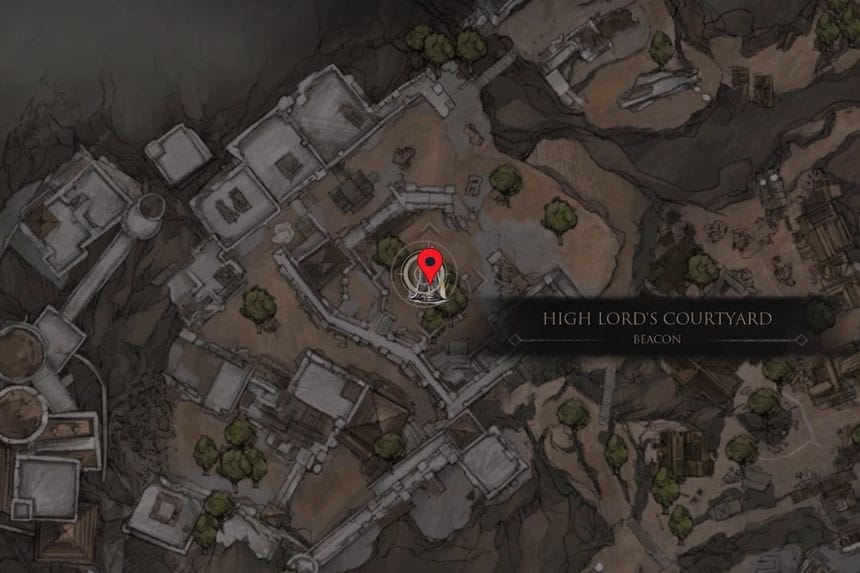
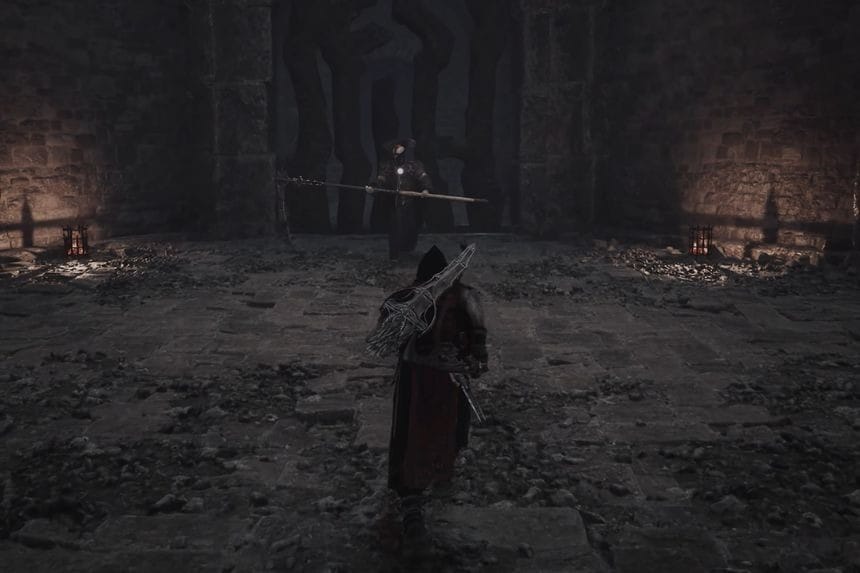
Lazlo’s Shell is found in the Royal Crypt of Mammon. The nearest Beacon is the High Lord’s Courtyard Beacon. From there, walk up until you get to an air current. You should go up using this, avoiding the circular Knight of Mammon nearby. Then, take the stairs to the right and continue walking downwards to the dark crypt.
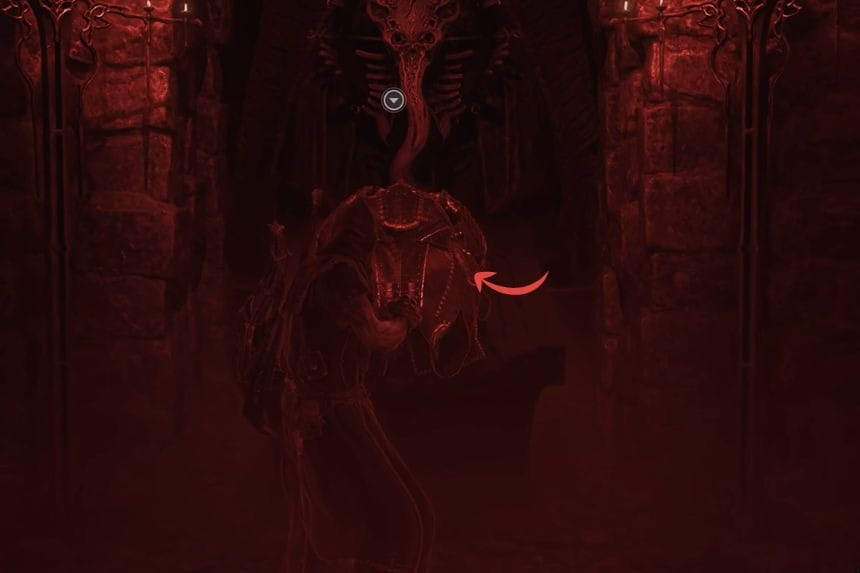
As you walk along the tight passage, another Knight of Mammon will roll at you. Get out of his way or kill him to continue further. As you proceed, you’ll finally encounter Vellen, the High Lord of Mammon. Upon killing Lord Vellen, the chamber behind him will become accessible, which contains Lazlo’s body.
Genessa Shell
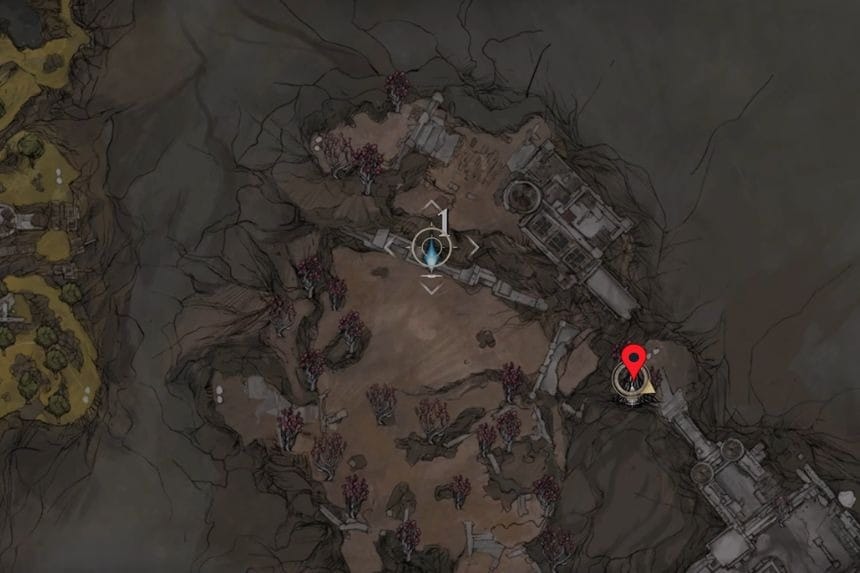
Your first encounter with Sester Genessa will be at Marrow Keep, where she serves as the training NPC. Continue talking to her multiple times, and she will eventually give you a side mission to return a censer to her. To obtain the censer, you have to head to the eastern portion of the Ruins of Mammon and locate Sester’s Refuge from there. Enter the neighbouring area, Revenant Graves, which consists of red trees.
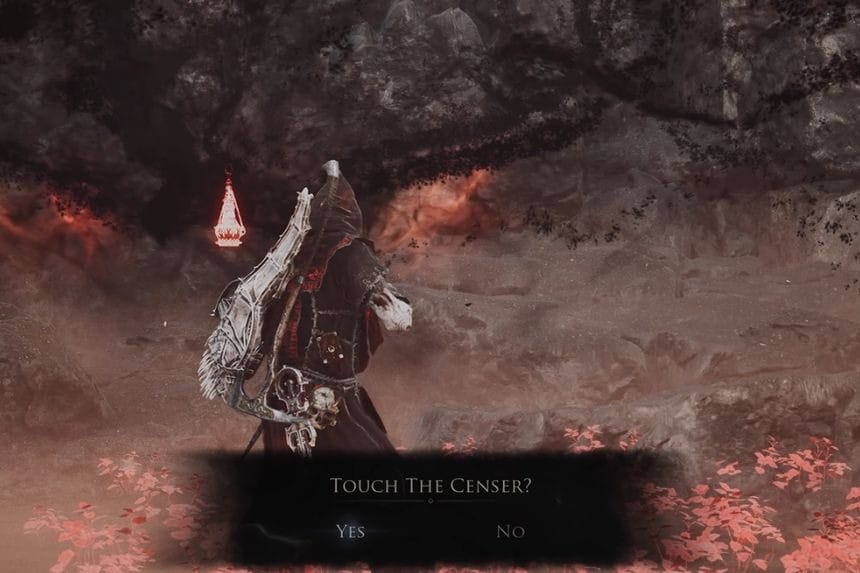
Head towards the rear portion of the area where you will find a clearing enclosed by glowing red figures of Sester Genessa. Additionally, you will also see a glowing censer by the cliff wall. Interact with it to start the next part of the quest.
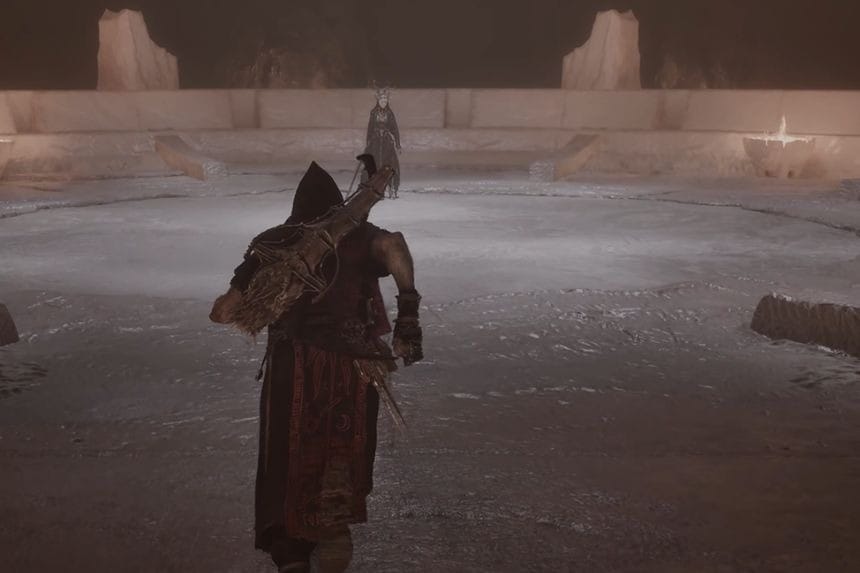
You will be sent in a fight against Sester Secondus, an individual who appears in Genessa’s past. Sester Secondus fights using a long spear and lightning attacks; hence, you will need to dodge her attacks. Once you defeat Sester Secondus, you will get the item called the Sester’s Censer. Deliver the Sester’s Censer to Sester Genessa in Marrow Keep and give it to her. You will unlock Sester Genessa’s first memory and have the chance to switch into her.
