
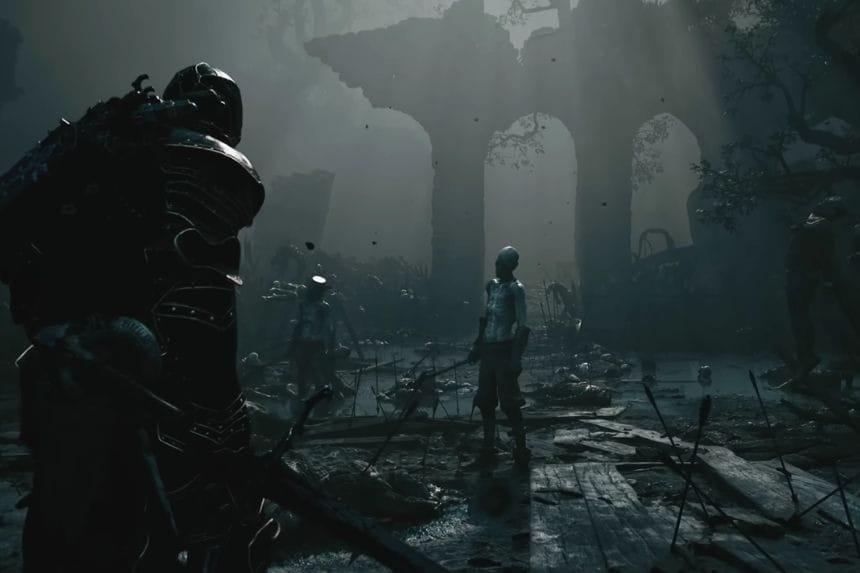
The Rabid Grisha Pack is one of the tougher boss fights in Mortal Shell 2, mainly because you have to fight two Grishas at the same time. They can attack quickly and give you very little time to heal or recover if you get caught between them. In this guide, we’ll show you where to find the Rabid Grisha Pack, which Shell, weapons, and equipment work well against them.
Rabid Grisha Pack Boss Location
The location of the Rabid Grisha Pack can be found at the bottom of the Holding Cells dungeon. This means that after death, it will take you quite some time to return to the battle location. There are also no checkpoints close to this battle location.
In order to find the Rabid Grisha Pack, make your way to the well entrance of Blackridge Hamlet, located to the southeast of the Blackridge Pass lighthouse. Upon entering this area, make sure to use the elevator to get down into the sewers, where you need to hug the right wall in order to reach their boss area.
Best Build For Rabid Grisha Pack Boss Fight
If you have Eredrim, then you would use him as your choice for this boss fight. His identity is built around being a durable, forgiving Shell, and heavy weapons pair naturally with him. Heavy weapons are the best match for him, so use the Obsidian Hammer as it will help with stagger and will provide some good hits if you will be able to find an opening.
If you find the hammer too slow against the pack, switch to a faster weapon like the Axe and Dagger. This will help you get more reach and speed rather than forcing the heavy build. As a sidearm, you should use the Ballistazooka. It provides you with a ranged attack and will be helpful in creating some space instead of fighting the whole pack at once.
Alongside this, here are some of the best Tarstones to use for the fight.
- Shattering Stone – useful for offensive pressure.
- Siegebreaker’s Stone – good option for a heavy-weapon setup.
- Deadman’s Stone – gives you additional defensive value.
- Parasitic Stone – useful if you’re comfortable staying aggressive.
- Shrike Stone – another option for adding offensive pressure.
How To Defeat The Rabid Grisha Pack
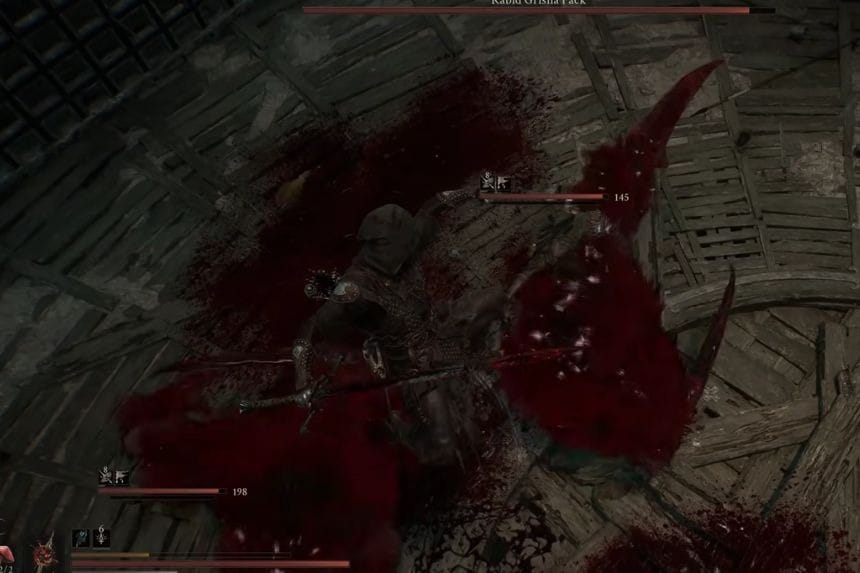
The Rabid Grisha Pack is one of those fights that can feel incredibly frustrating. It will be difficult for you to catch your breath since these monsters will continue attacking you without pauses and getting caught between them can take you down very quickly.
If you want to defeat all of these creatures, the Rabid Grisha Pack can be rather difficult for you. It is recommended for you to dodge their attacks and not to let yourself become surrounded. Pay attention to your opponents and concentrate on destroying one of them.
During this battle, pay attention to the lunges and fast melee attacks of the pack. Do not attack recklessly since after several hits, you need to step back and look for an opportunity. When you have enough Resolve, you can use your weapon abilities.
The main thing to watch out for is getting trapped between the two Grishas. In case the enemies surround you, you need to move away from their positions. After separating both the enemies, the fight will become easy.
Trapping The Boss
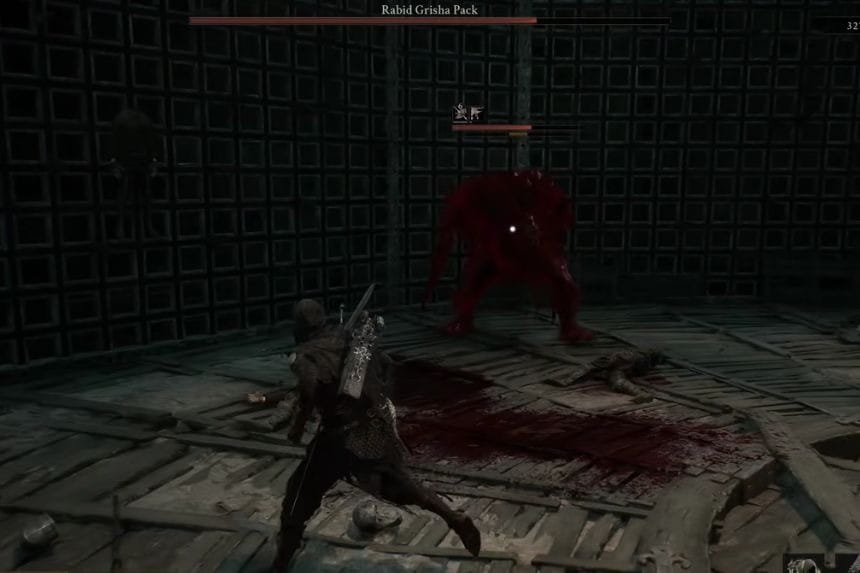
One of the most effective strategies to deal with the battle is to make use of a quick Shell hero like Tiel. The skills of Tiel will allow you to separate from the enemies if you are surrounded by both of the Grishas. In case you find yourself boxed into a corner, you can use Tiel’s skills to move away.
Another useful option is Proxima, especially if you have upgraded her armour-related abilities. One player managed to defeat the pack at around level 7 using Proxima, although the fight still took several attempts.
During the fight, make sure that you try to concentrate on one Grisha at once, instead of switching from one to another all the time, unless it is necessary. They have the same pattern of attacking which allows you to create a small gap in order to attack. After you kill one of the Grishas, the whole battle will become easier for you.
You can also use your sidearm to shoot the hanging objects around the arena. These objects will fall off and explode when hit, causing damage and sometimes stunning the Grishas. Thus, you will get additional damage, but it may require some practice to do it constantly.
The main thing that you should remember is to avoid being surrounded by Grishas. You should constantly move and make sure to create gaps when both Grishas are close to you.
Rabid Grisha Pack Rewards
After defeating the Rabid Grisha Pack, you’ll receive the following rewards:
- Grisha Remnant x1
- Inflamed Clawstone x1
- 1,132 Gloom
