
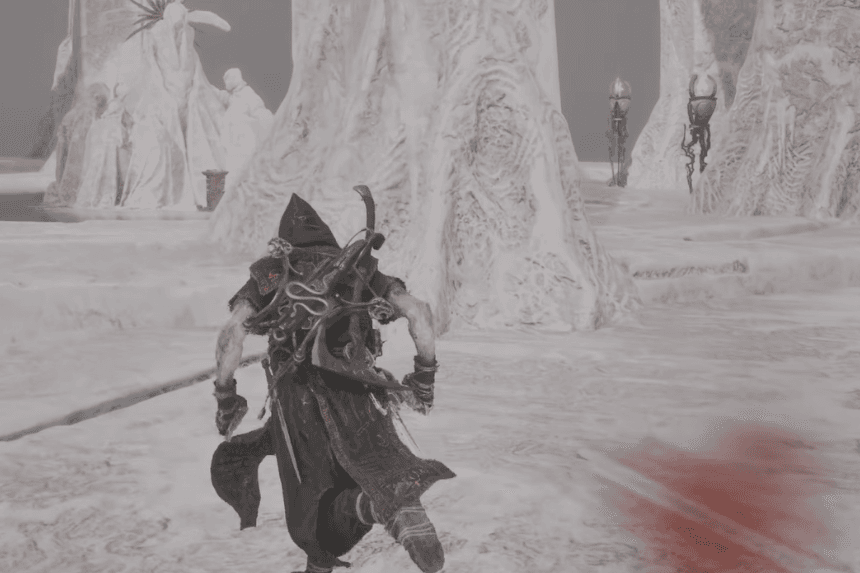
Map Fragments are scattered across Fainweald and Mammon, with each one revealing a previously hidden section of the map. Finding all eleven can make exploration much easier, but some require you to navigate dangerous areas, cross bridges, and deal with enemies along the way. In this guide, we’ll cover the locations of all eleven Map Fragments and how to reach them.
What Are Map Fragments?
Map Fragments are special collectibles that help reveal unexplored areas in Mortal Shell 2. They can be collected from statues where Ruk can sometimes be found perched. Picking up a Map Fragment removes the fog of war from a specific section of the map, making it easier to navigate and locate points of interest in the surrounding area.
All Map Fragment Locations
There are a total of eleven Map Fragments available in Mortal Shell 2. Here’s an easy breakdown on how you can get each of them:
Fainweald Map (1)
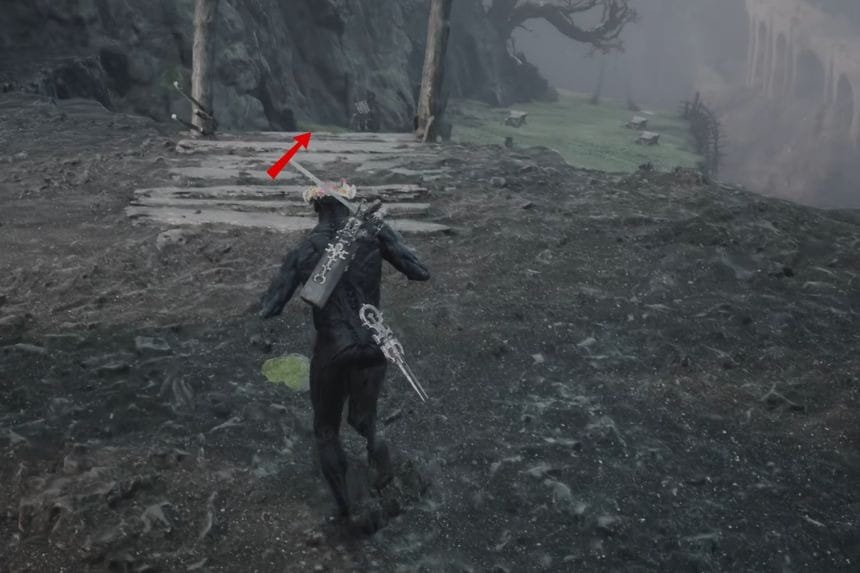
To get the Fainweald Map (1), you’ll need to head over to the Widow’s Overlook Beacon and go west from there. Follow the path on the right until you come across a small bridge that takes you to a narrow mountain path with some enemies that you’ll need to be careful of.
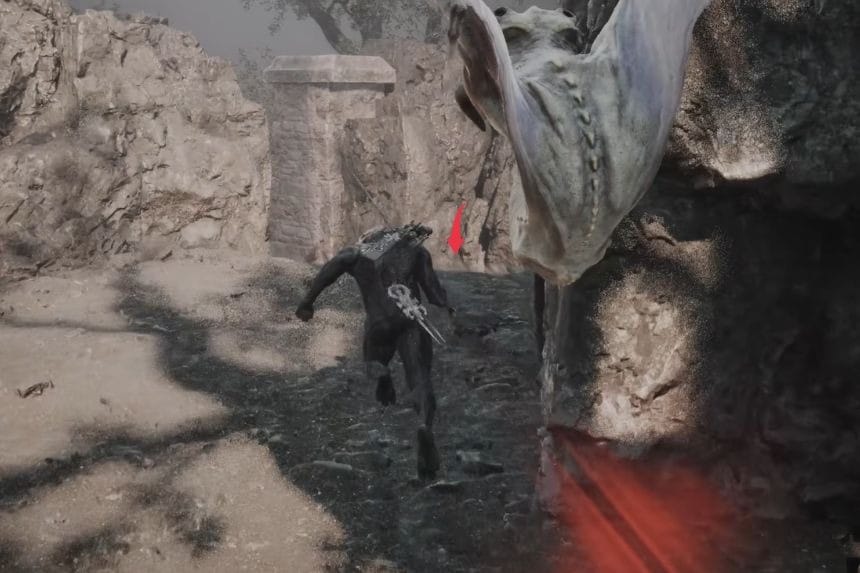
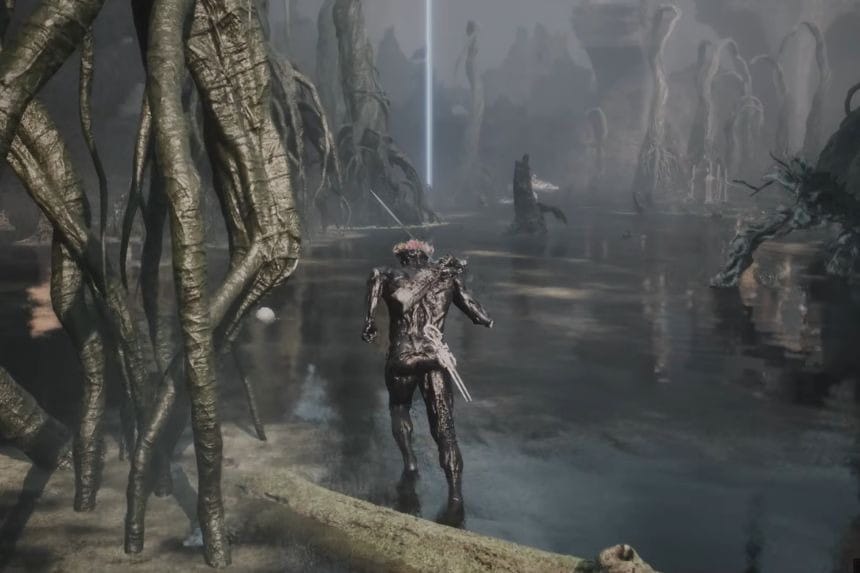
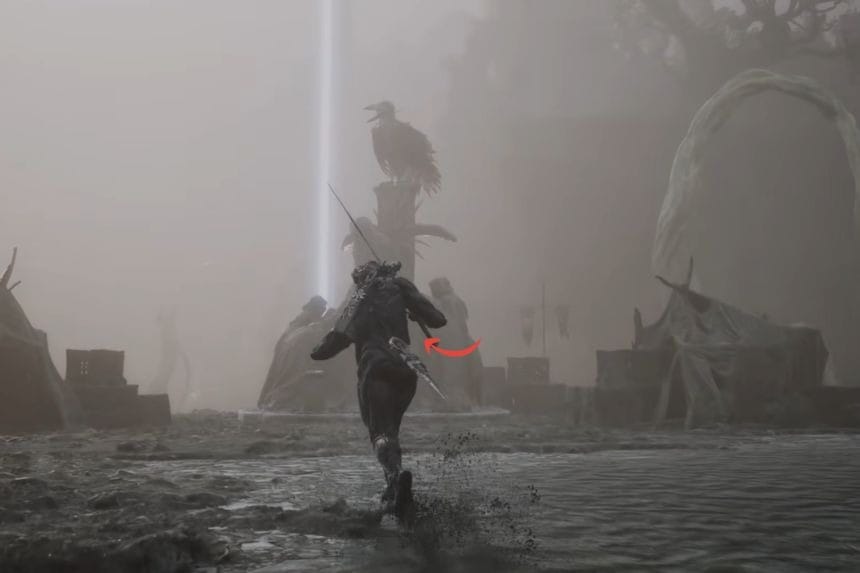
On the other side of the mountains, you’ll find ruins. Go there and keep to your right, jump down, and go left from there to reach the Ruins of Nochte. You’ll need to be prepared as there are a lot of enemies in the area. From there, you’ll have to follow the path on the right until you reach The Hag’s Path. Keep to your left and you’ll eventually reach the area with the Fainweald Map (1).
Fainweald Map (3)
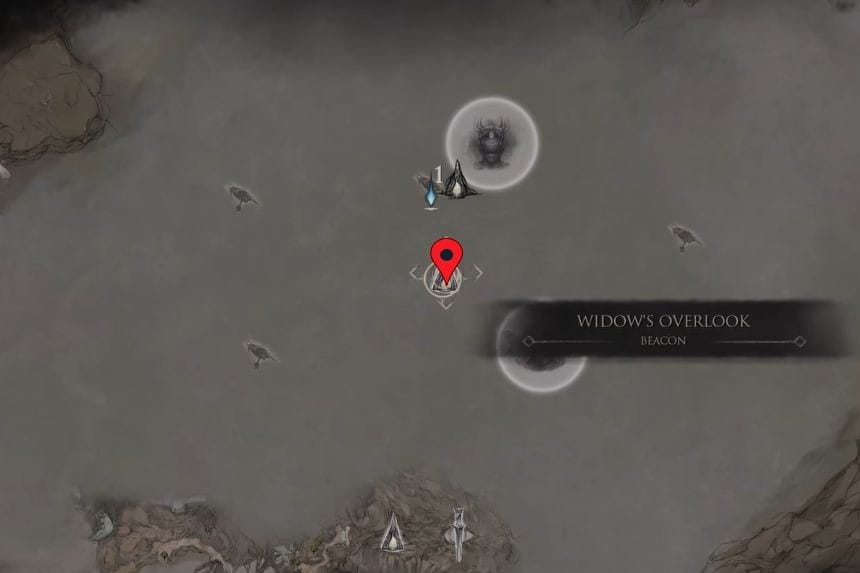
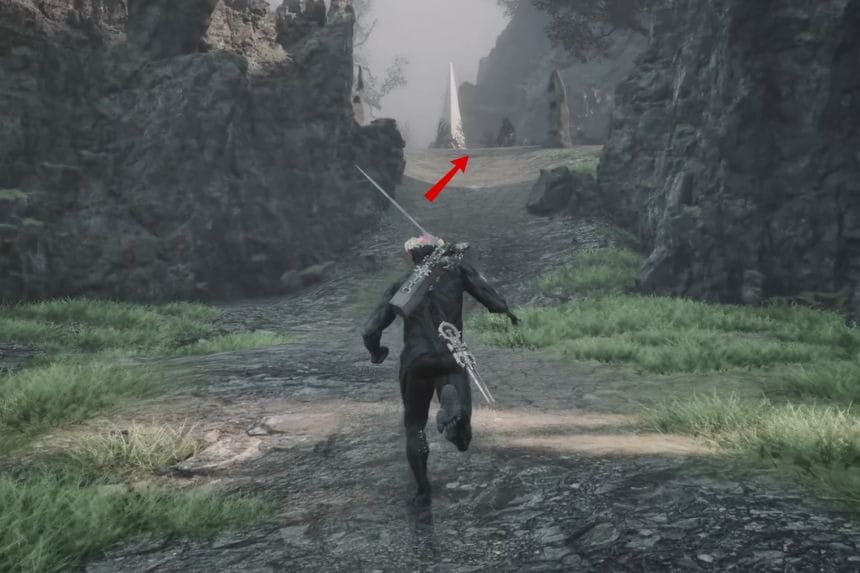
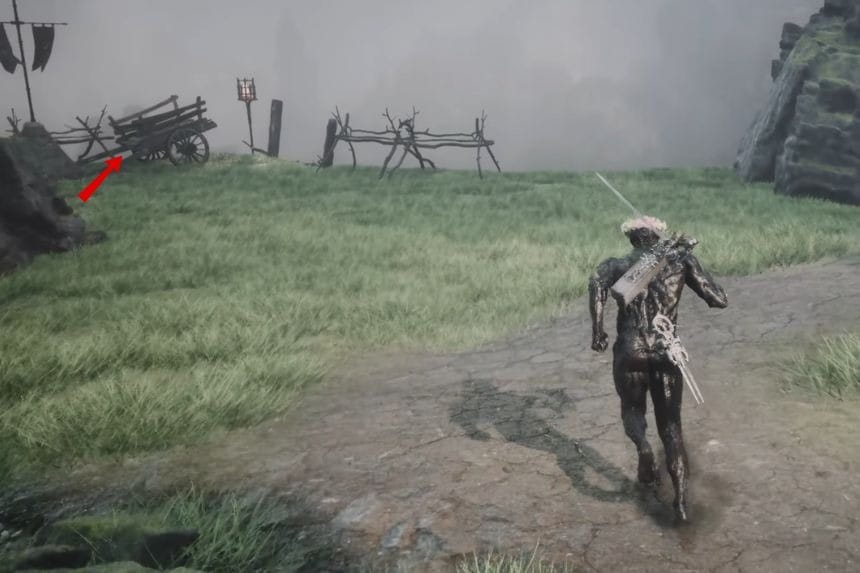
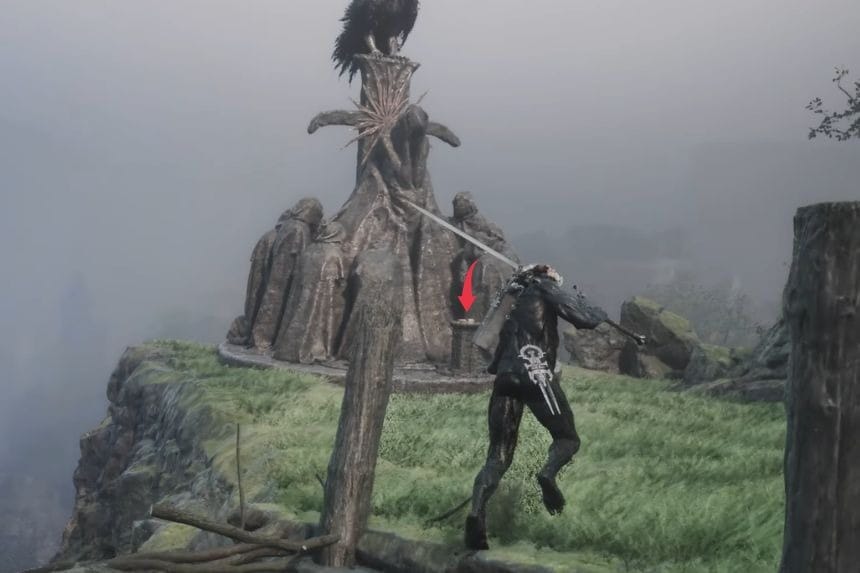
To get the Map Fragment for Fainweald Map (3), you’ll need to start from the Widow’s Overlook Beacon. Once you’re at the marked location, take the path on the right that’s going uphill until you reach a point where you’ll find a wooden cart on the left. Go to the cart and you’ll find a bridge that will take you to the Map of Fainweald (3).
Fainweald Map (5)
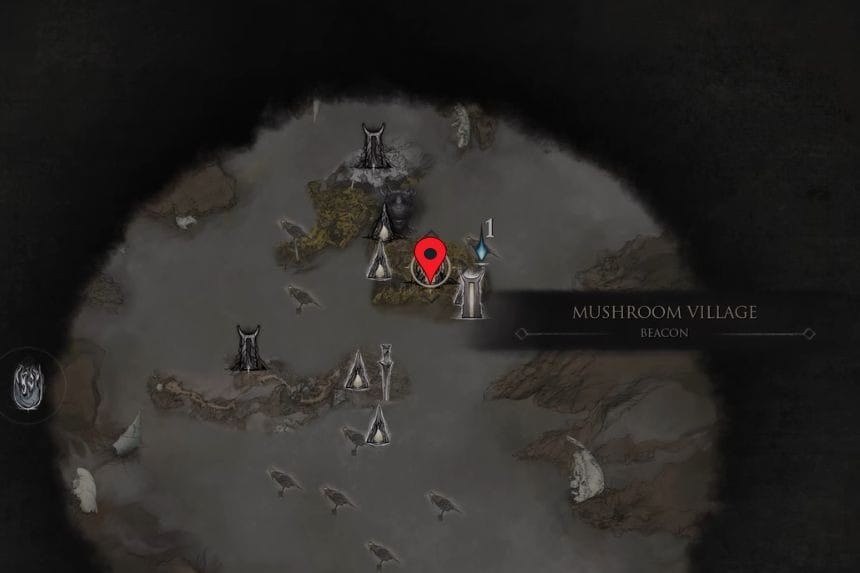
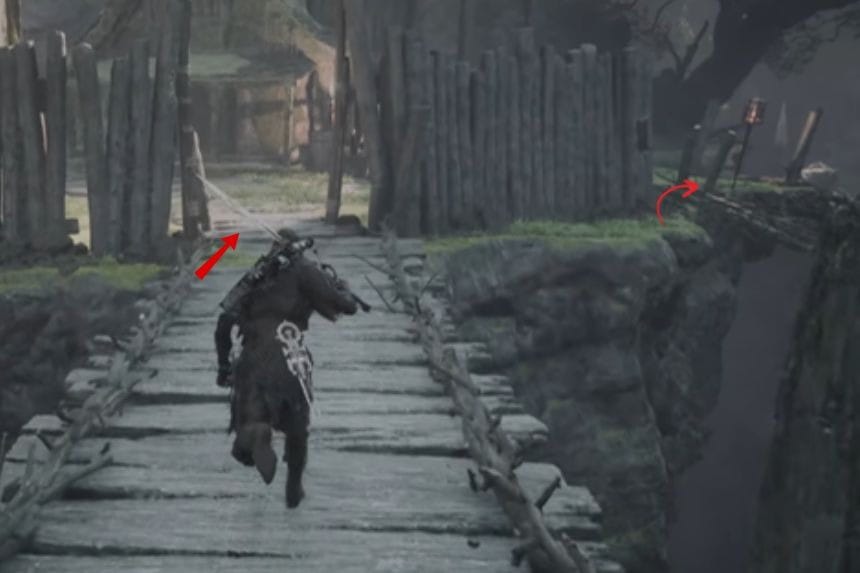
To obtain the Fainweald Map (5), you’ll need to start from the Mushroom Village Beacon and head northeast from there. Follow a straight path until you come across a bridge that takes you to a house.
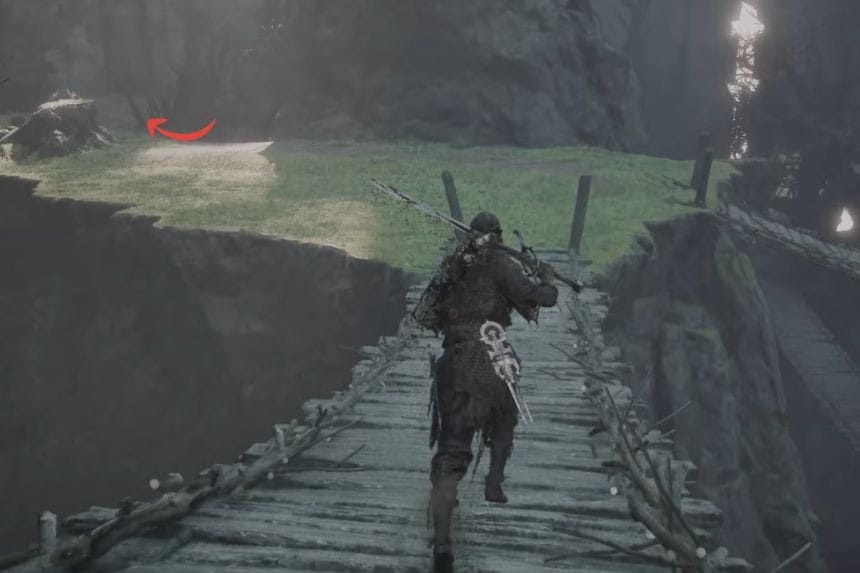
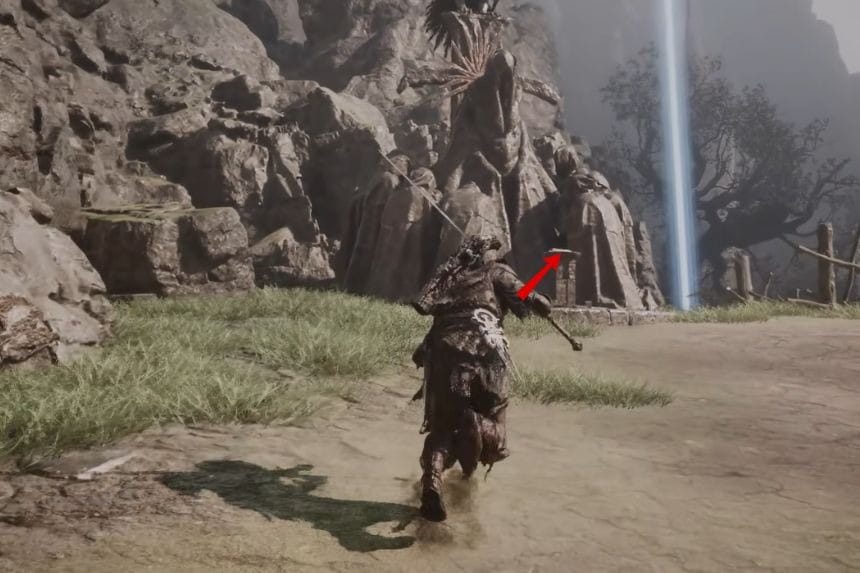
Once you’re inside the vicinity, you’ll find another bridge on the right. Take the bridge and go left until you come across a barrier which you’ll need to break in order to reach the Fainweald Map (5).
Fainweald Map (4)
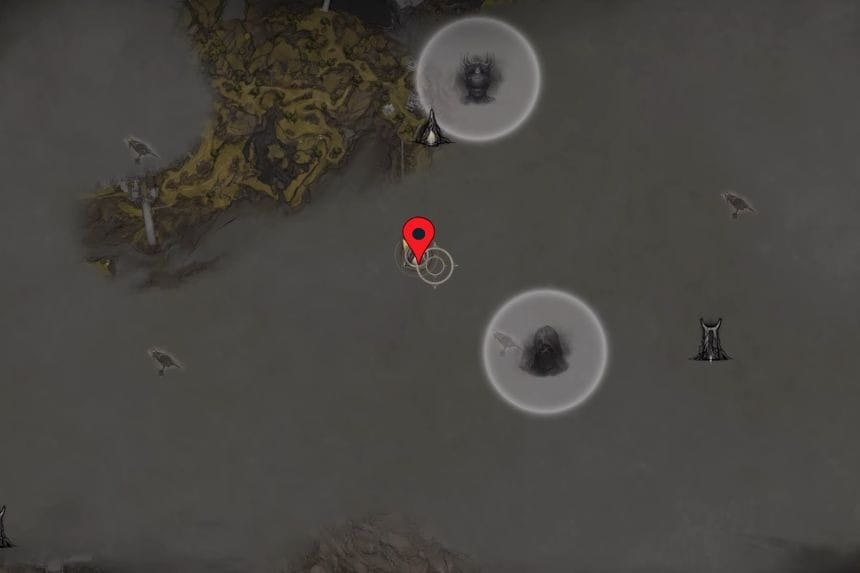
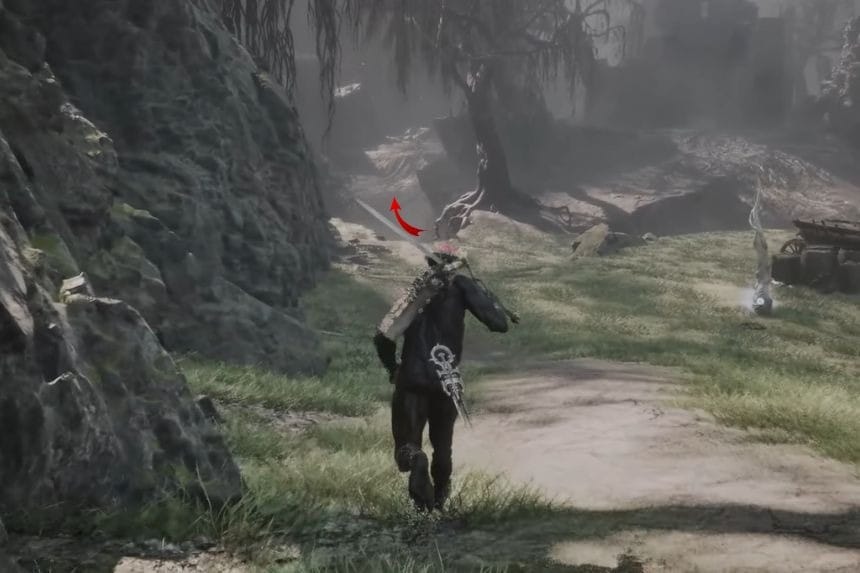
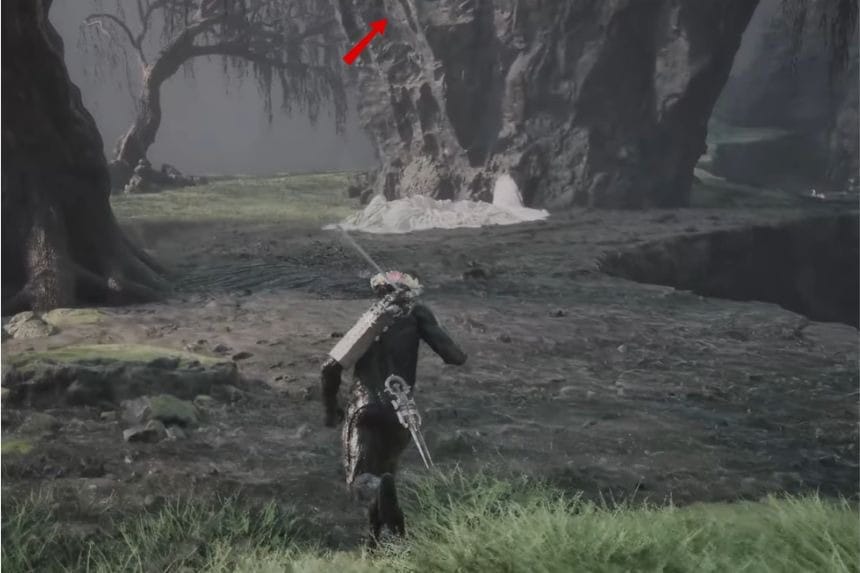
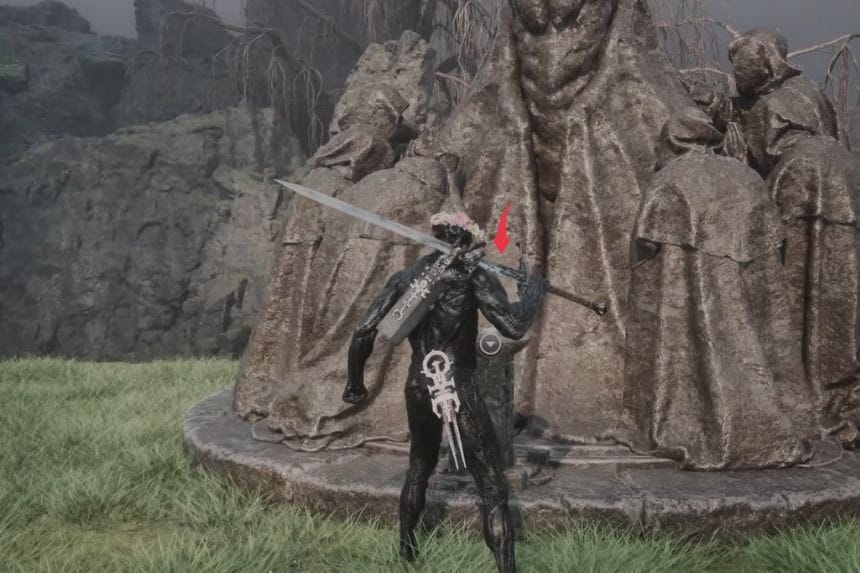
To acquire the Fainweald Map (4), you’ll need to start from the Widow’s Overlook Beacon and go south towards the Unknown Shell Search Area. Keep following a straight path until you come across an elevated platform on the right. Jump on top of the platform and you’ll get the Fainweald Map (4).
Fainweald Map (2)
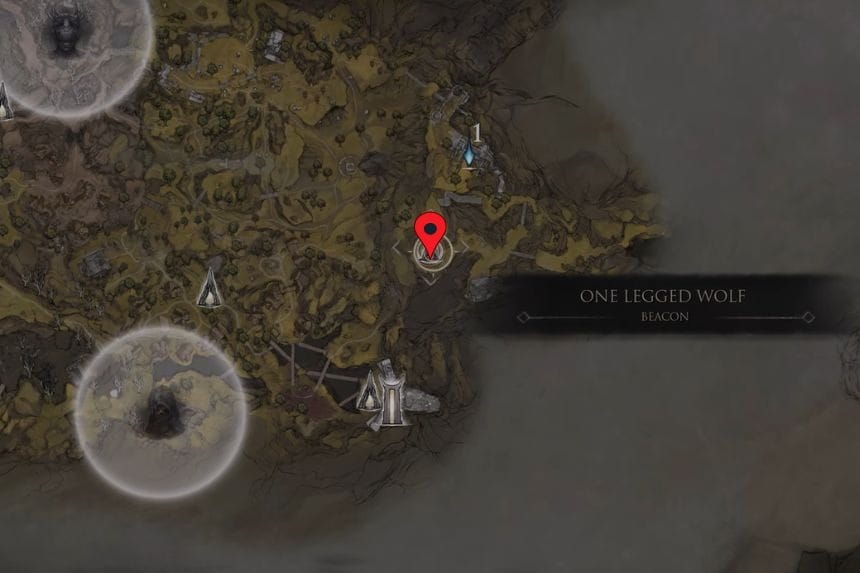
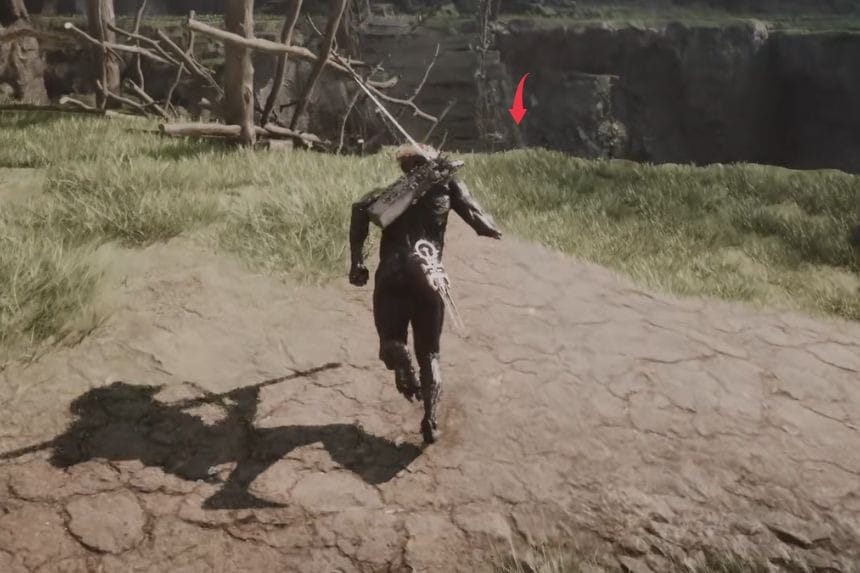
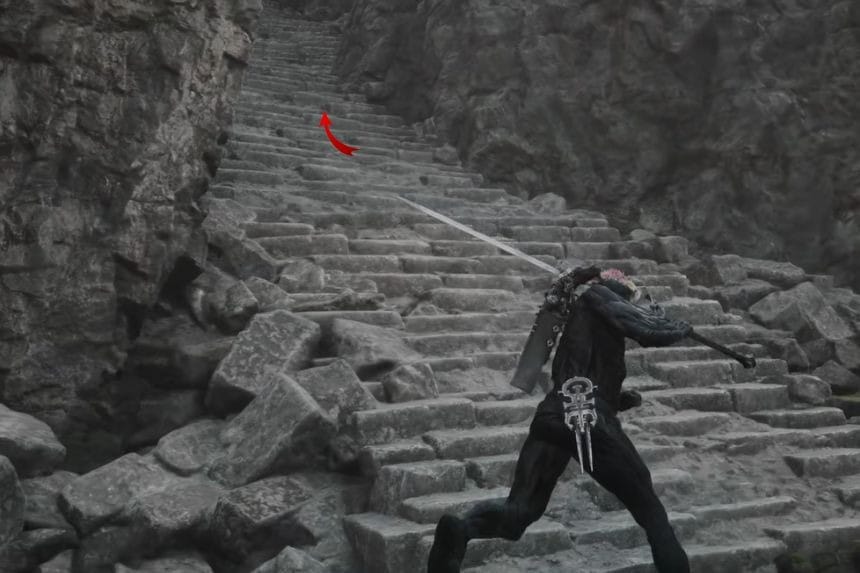
To obtain the Fainweald Map (2), you’ll need to start from the One Legged Wolf Beacon and go south from there. Follow a straight path and you’ll find a broken bridge ahead of you. Go down and take right from there, then take the stairs on the left to reach the Citadel of Penance.
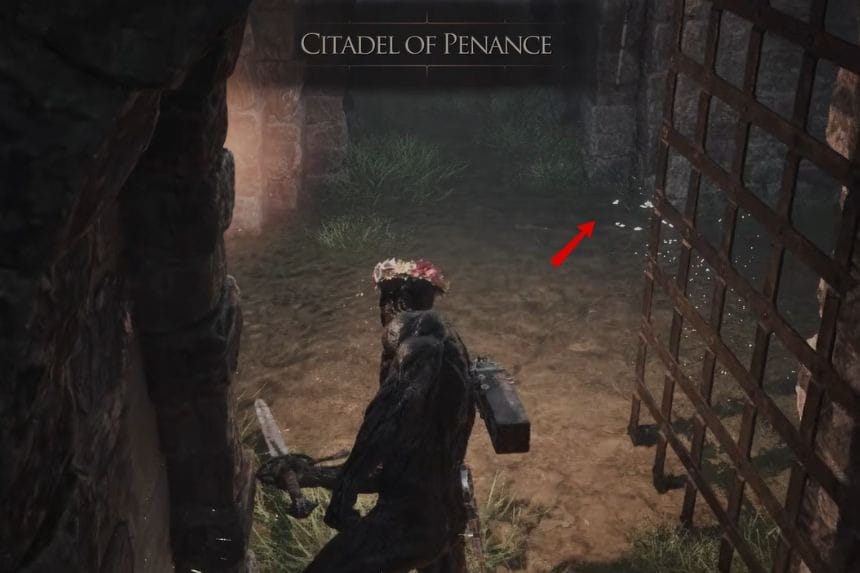
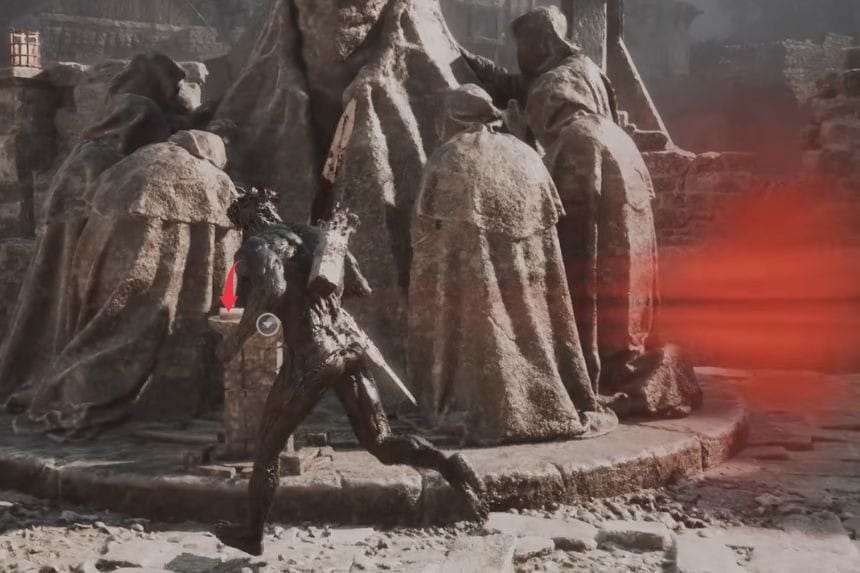
Once inside, break the iron gates, and go right. Climb up the walls of the Citadel and follow the path on the left to reach the Fainweald Map (2).
Mammon Map (5)
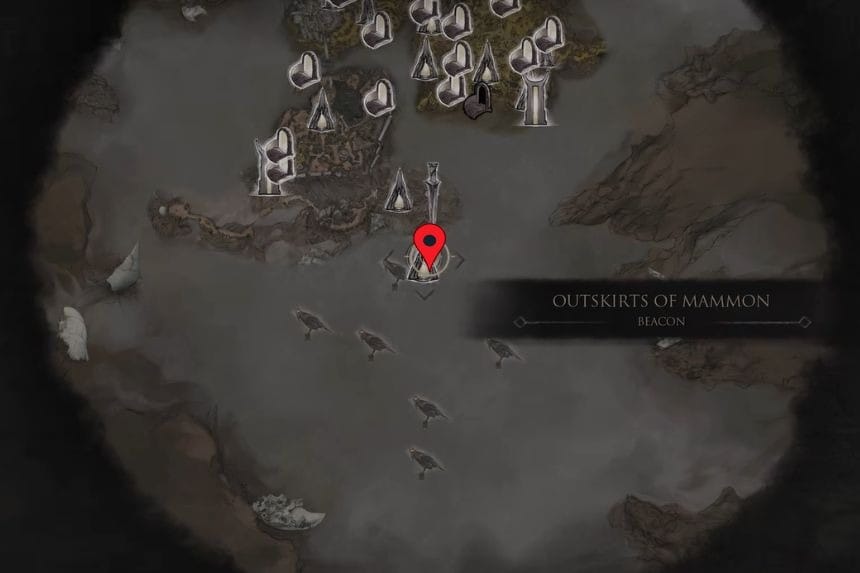
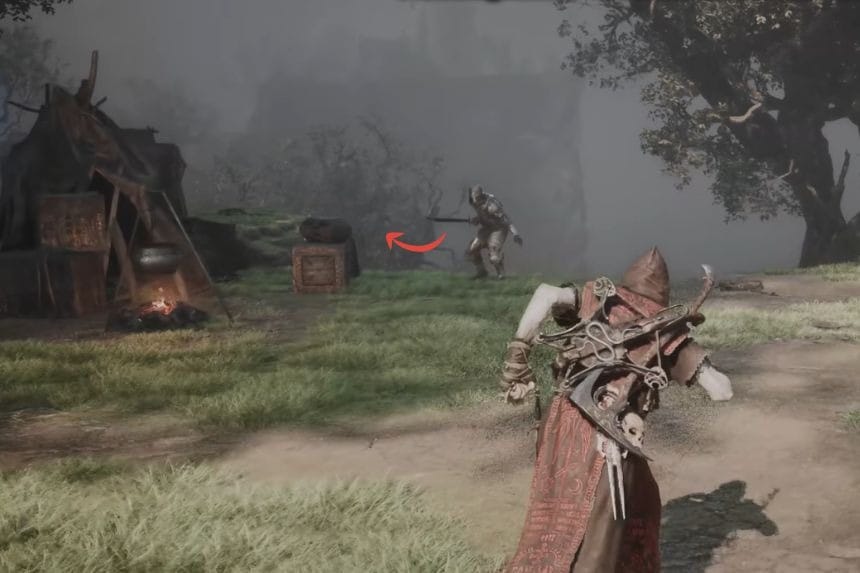
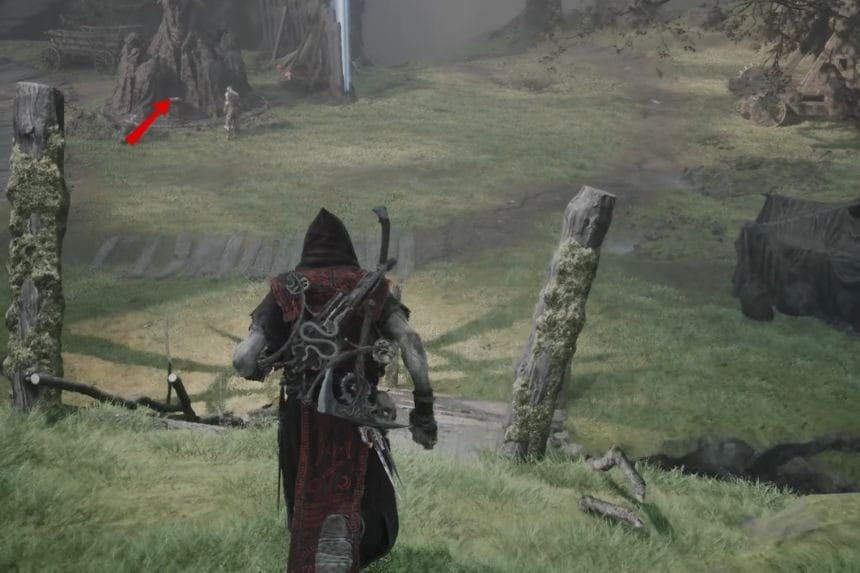
To get the Mammon Map (5), you’ll need to start from the Outskirts of Mammon Beacon and go southwest from there. As you head south, you’ll find a small camp behind which there is a bridge that takes you to the Mammon Map (5).
Mammon Map (4)
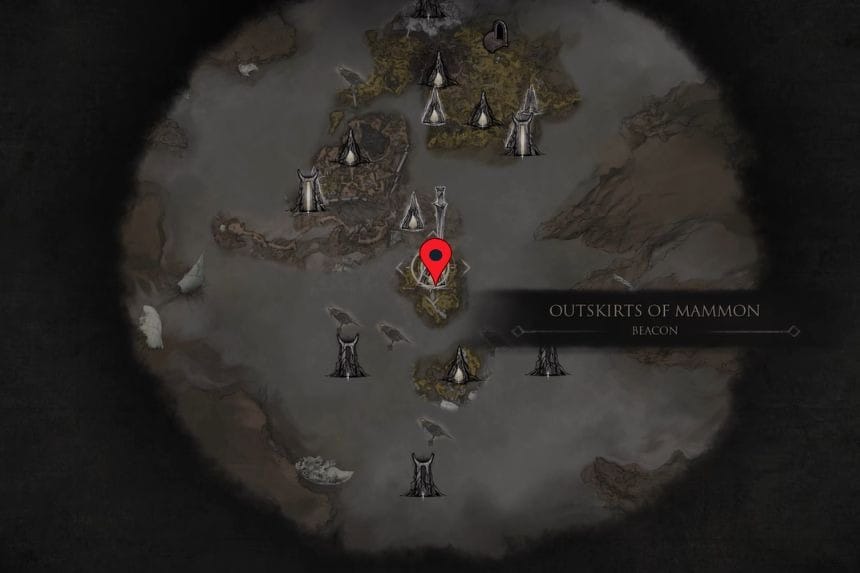
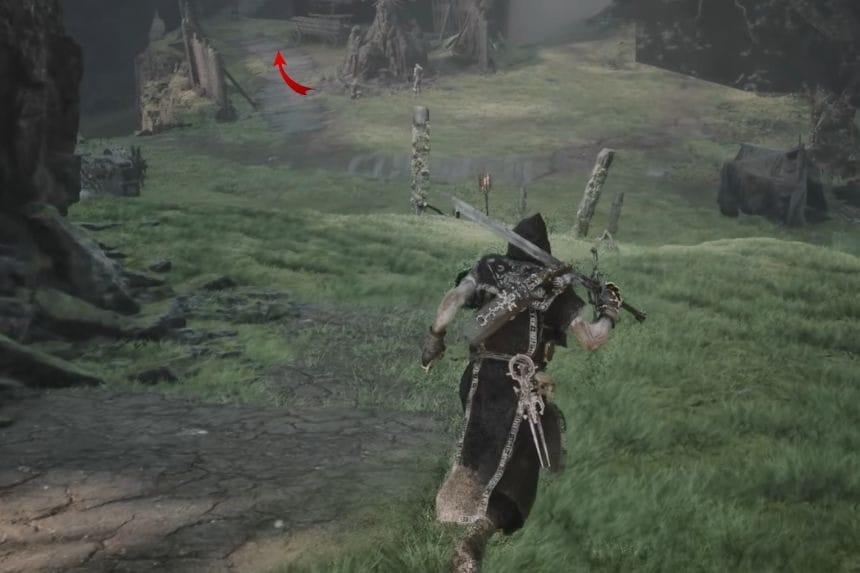
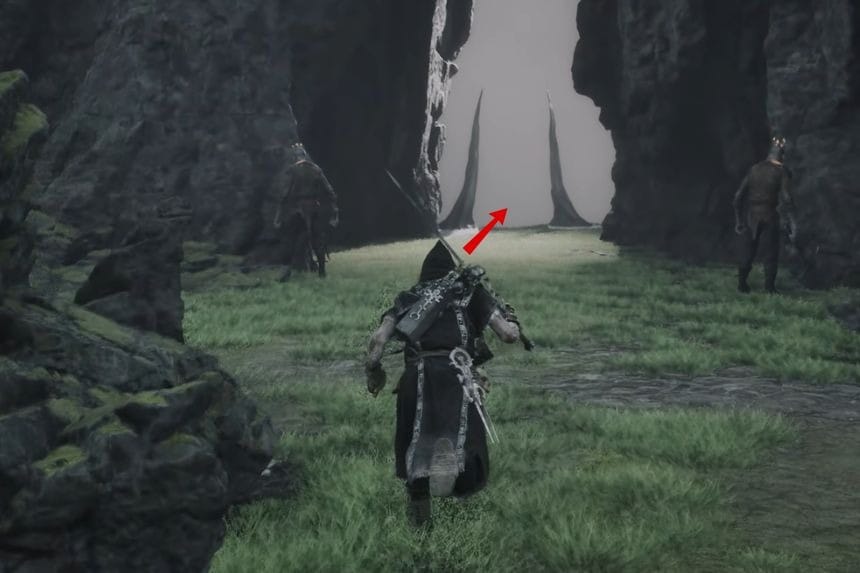
For the Mammon Map (4), you’ll need to go to the Outskirts of Mammon Beacon and go southwest from there. Follow a straight path and then take left to reach a sort of entrance from where you can go to the other side.
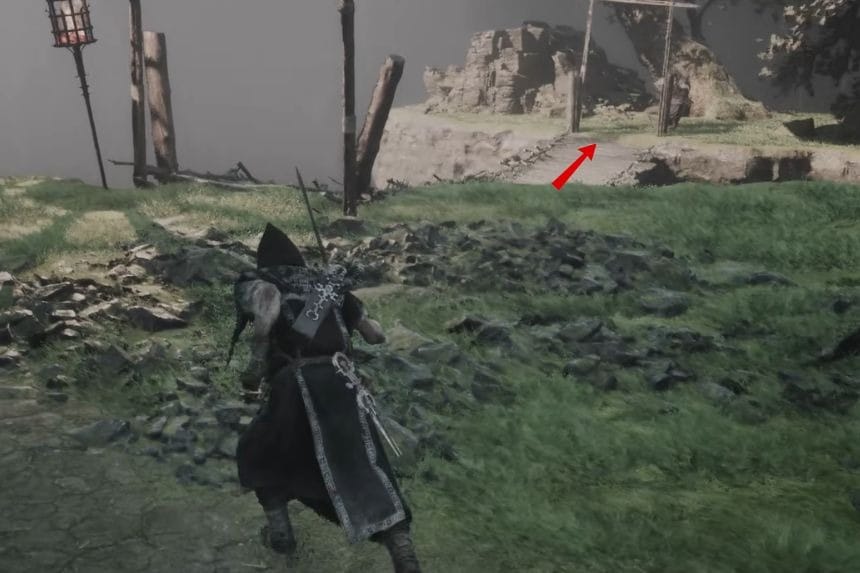
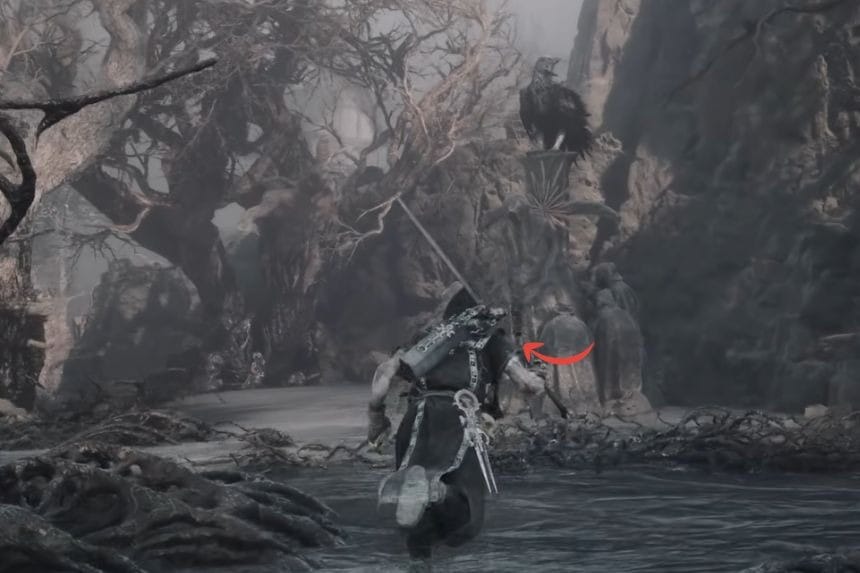
Once you’ve reached the other side, go right, and cross the bridge. Keep to your right until you come across another bridge; crossing it will take you to a third bridge that is connected with the Deserted Slums. Inside, take the path on the left, and keep going until you reach the Mammon Map (4).
Mammon Map (3)
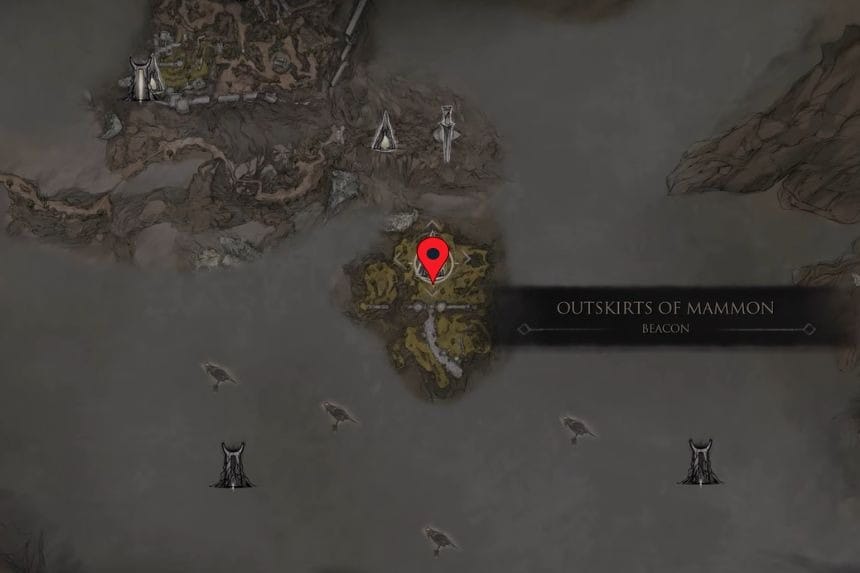
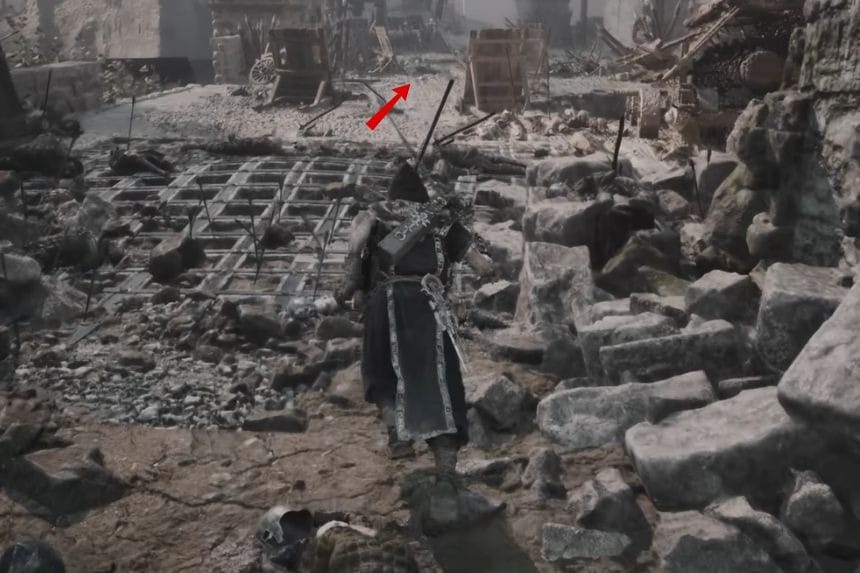
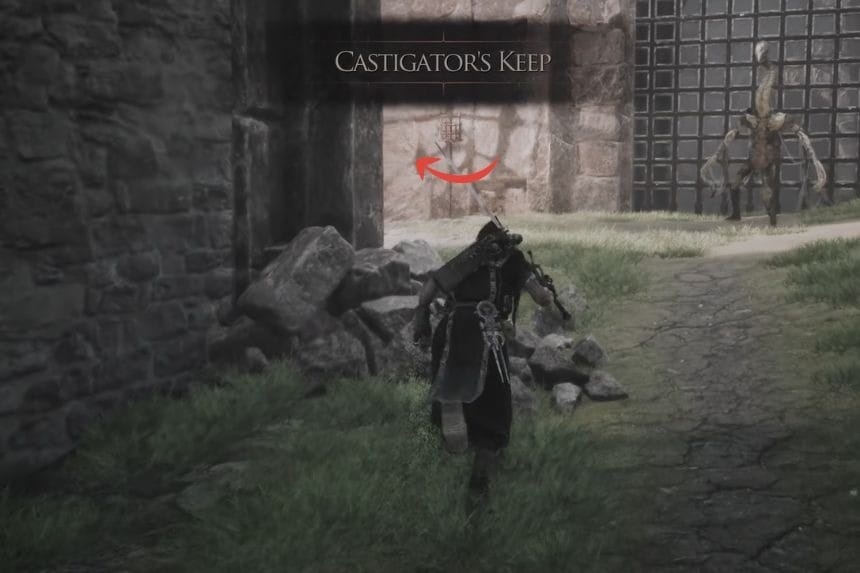
To obtain the Mammon Map (3), you’ll need to start from the Outskirts of Mammon Beacon and go south from there which leads you to the Road to Absolution. Keep following a straight path until you reach the end from where you can go to Castigator’s Keep.
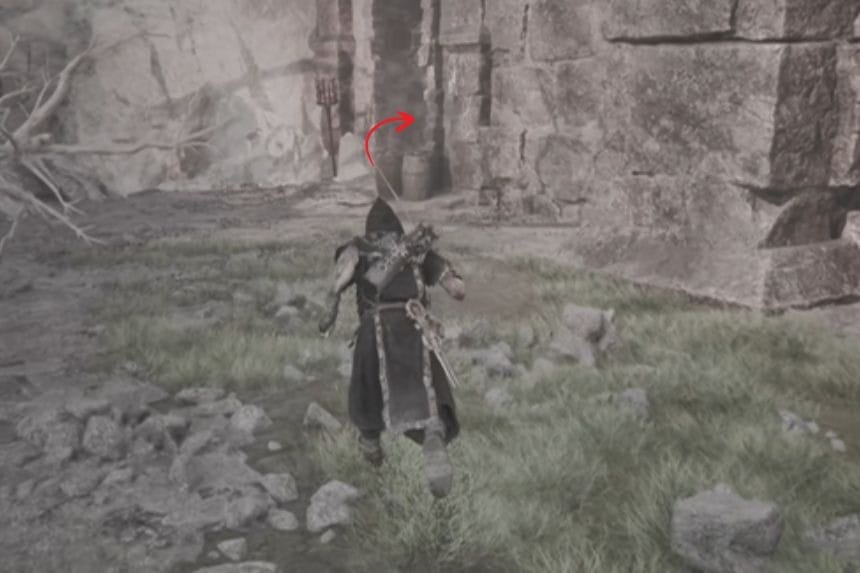
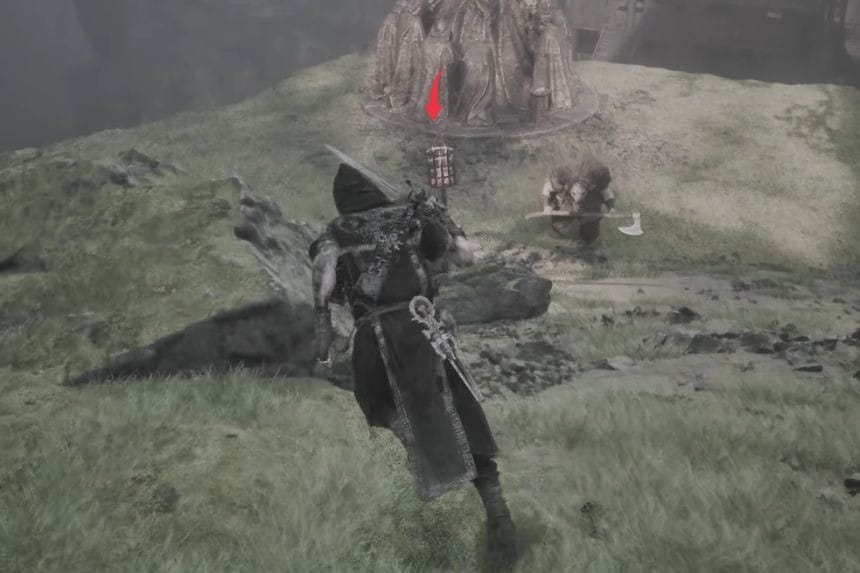
Inside the Keep, you’ll need to follow the path on the left until you reach the very end where you’ll find a gate on the right. Go through the gate and follow a straight path until you reach the Mammon Map (3).
Mammon Map (2)
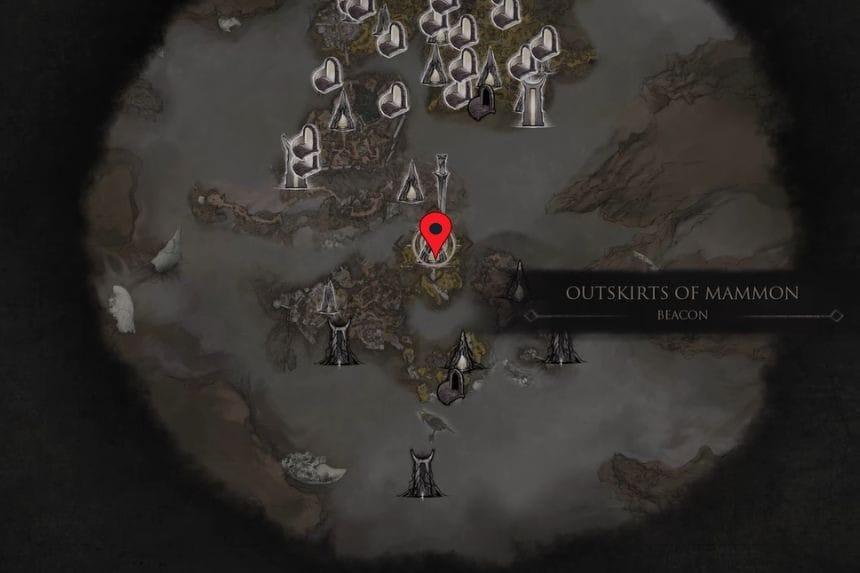
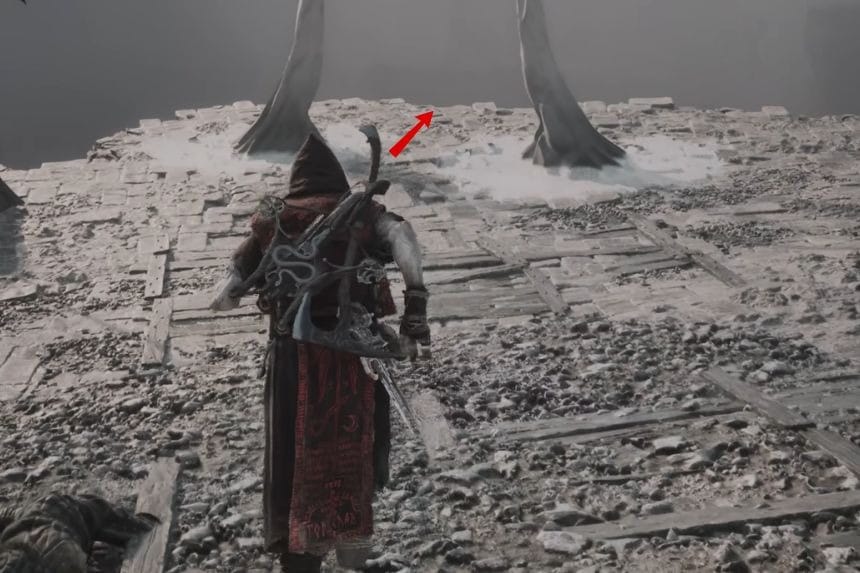
To obtain the Mammon Map (2), you’ll need to go to the Outskirts of Mammon Beacon and go south to reach the Road to Absolution.
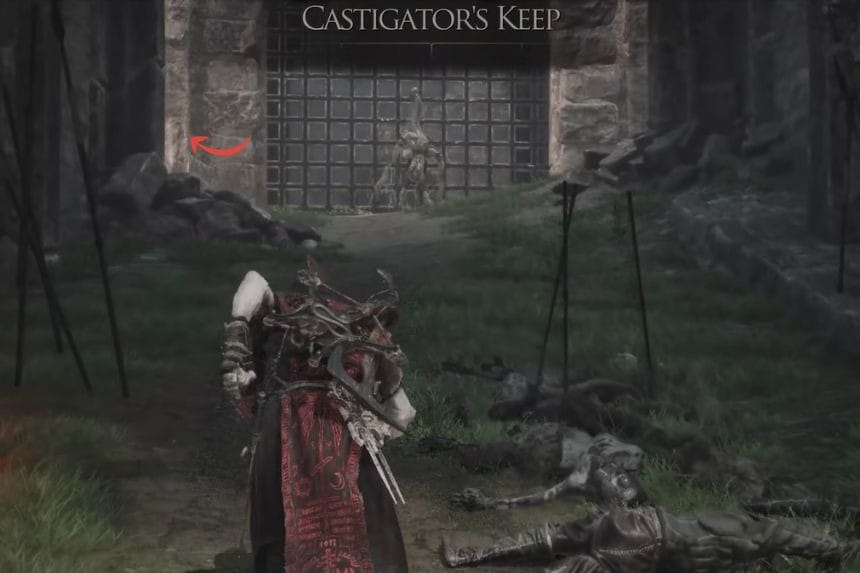
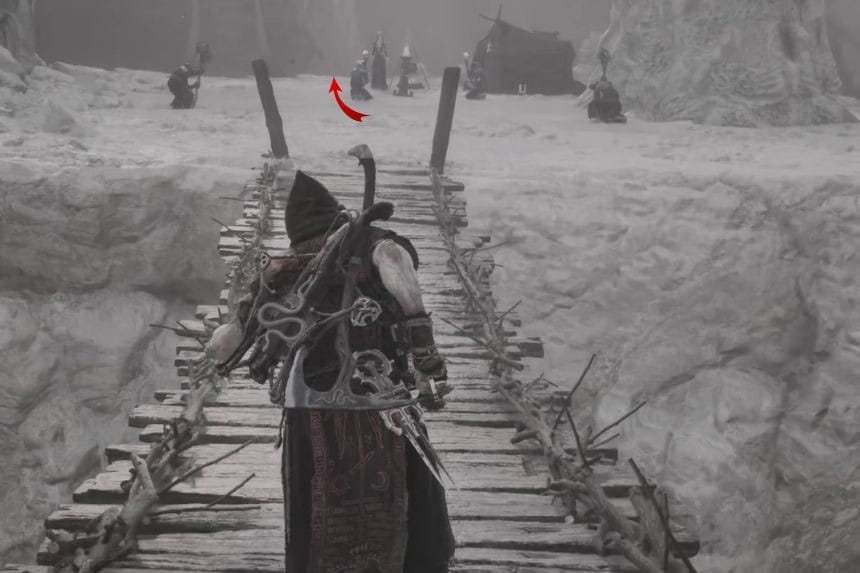
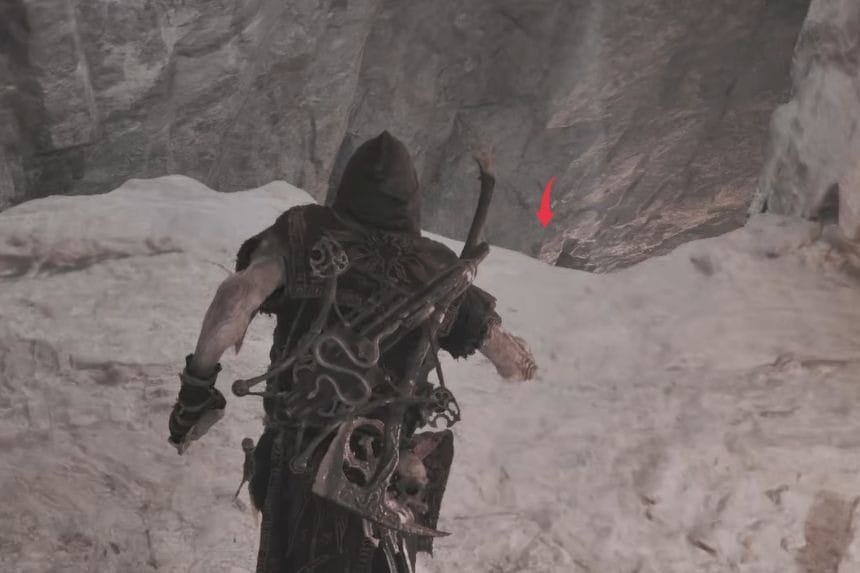
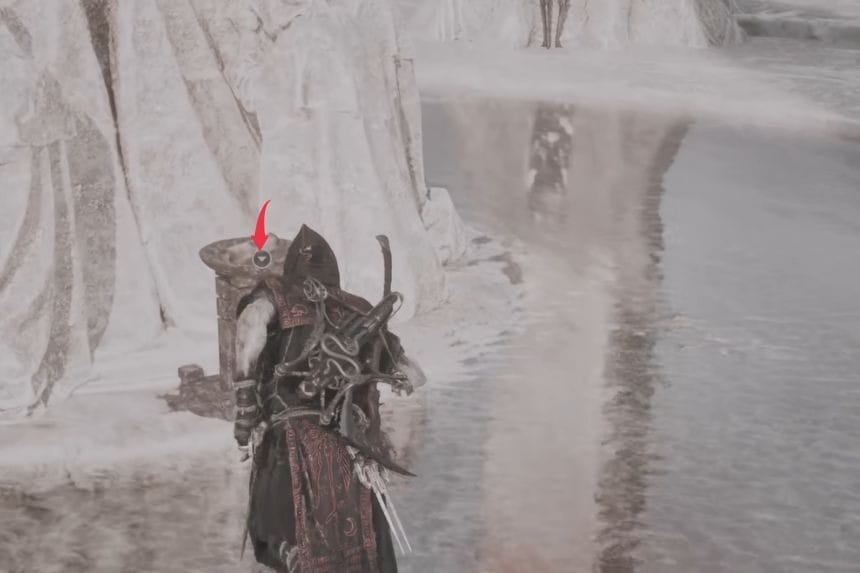
From there, go to Castigator’s Keep and take the left path to reach a small bridge leading to a point that takes you to the other side. You’ll need to follow the path on the right to reach the Silent Steps. Once you’re there, follow the path on the right to reach a sort of cave going downwards; it’ll lead you to the Vestige of Infinity. Keep to your left and you’ll eventually reach the Mammon Map (2).
Mammon Map (1)
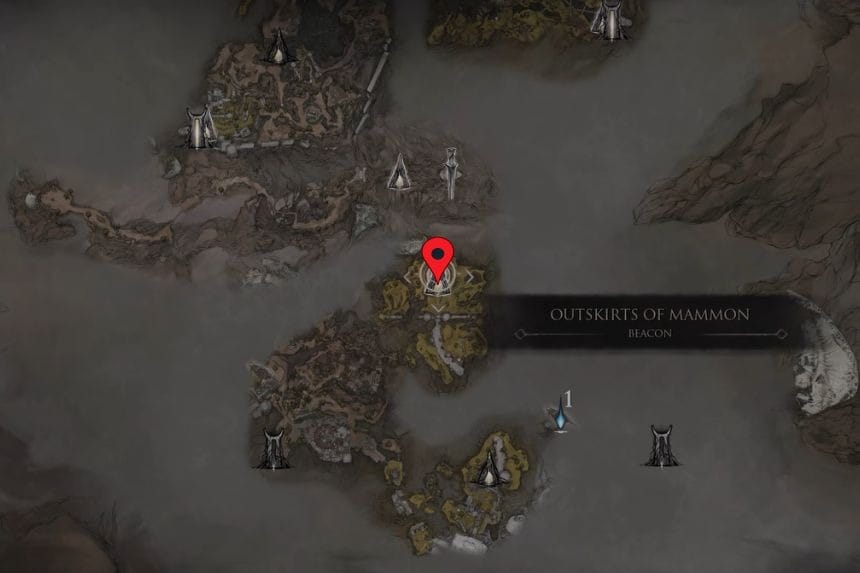
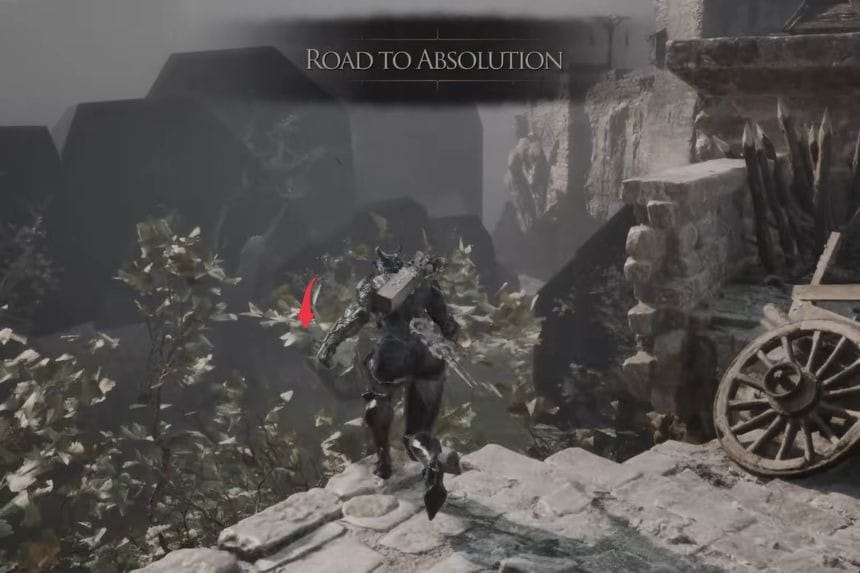
To get the Mammon Map (1), you’ll need to start from the Outskirts of Mammon Beacon and go south from there to reach the Road to Absolution. Follow the path and you’ll reach a cart on the left from where you’ll need to jump down.
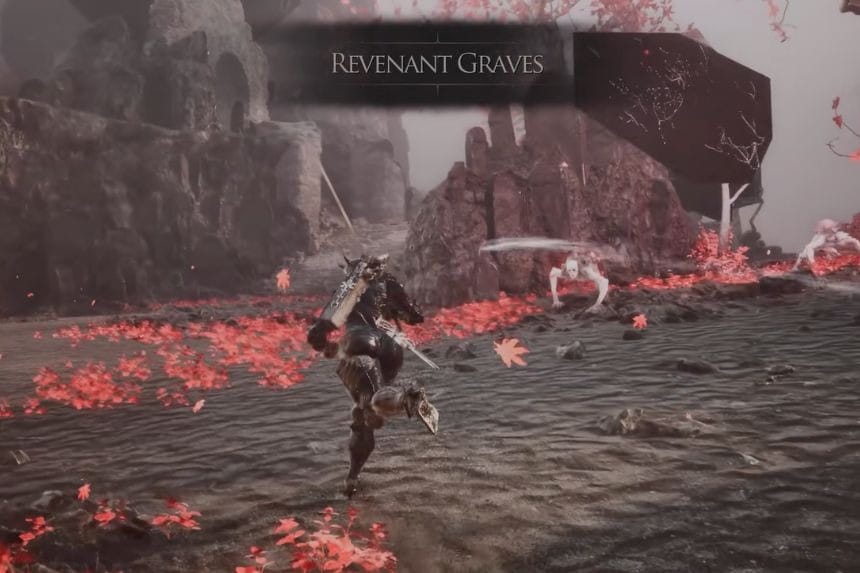
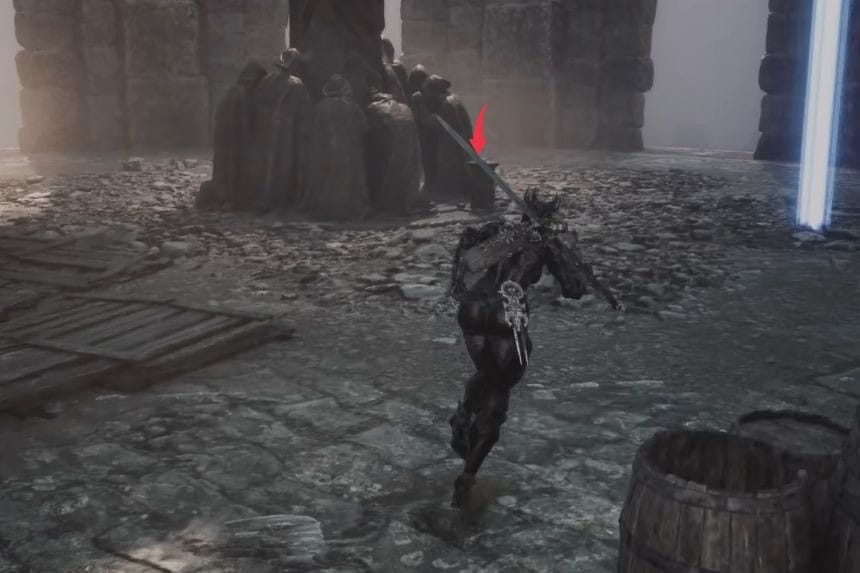
Follow the path on the left until you reach the Revenant Grave. You’ll need to follow the path on the right, ascend the stairs, and keep going until you reach the Mammon Map (1). Beware of the enemies in the area though as they’ll try to attack you on your way up.
Mammon Map (6)
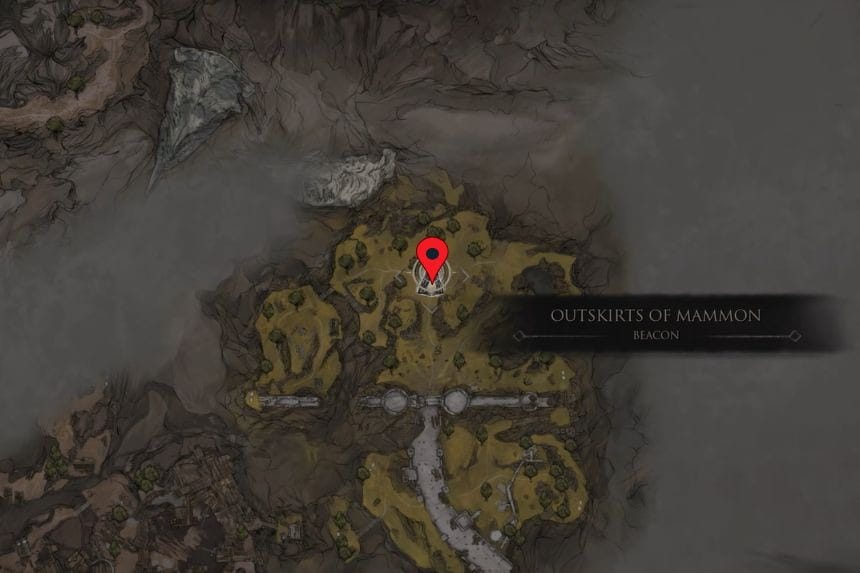
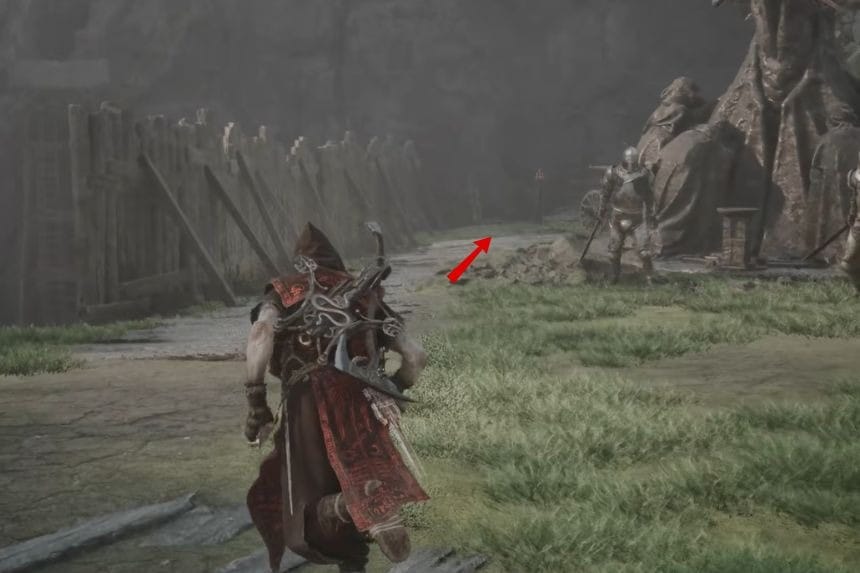
To acquire the Mammon Map (6), you’ll need to start from the Outskirts of Mammon Beacon and go southwest. Go past the camp until you come across a bridge, and then go left. You’ll come across a series of small bridges that take you to the Deserted Slums.
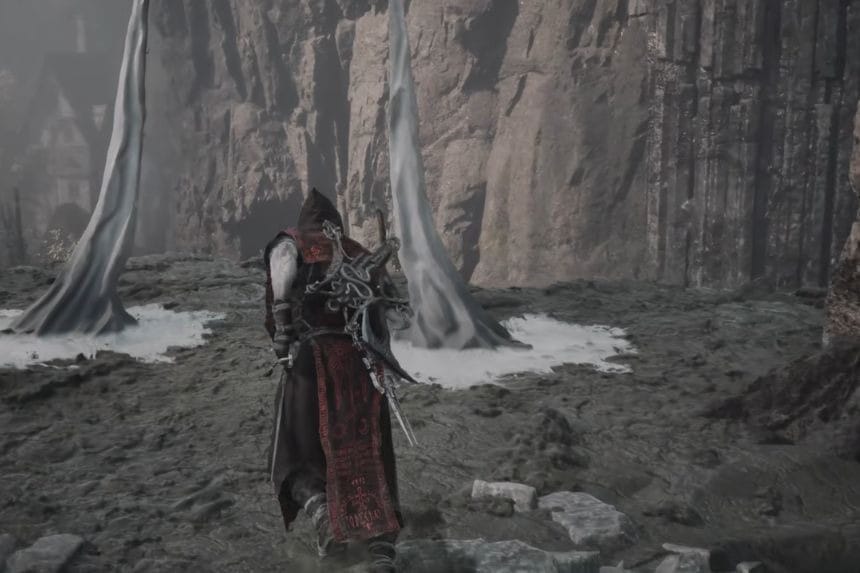
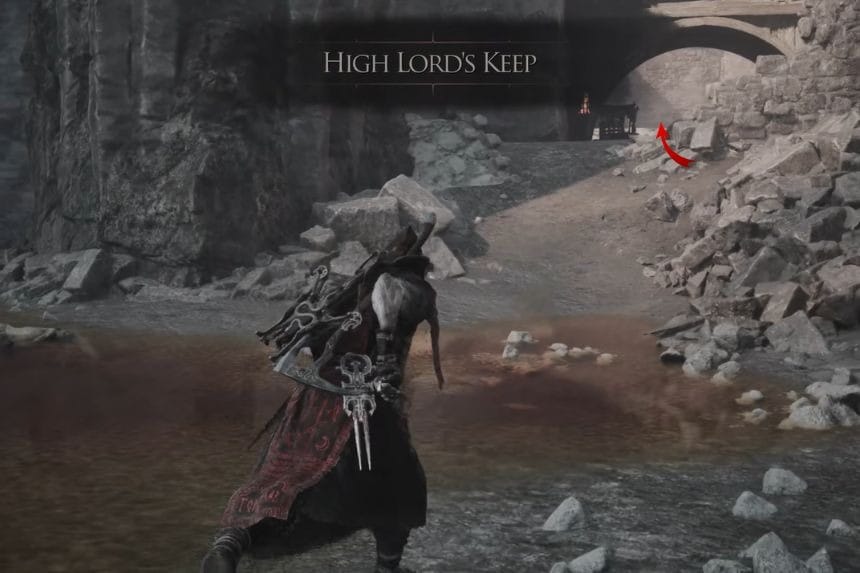
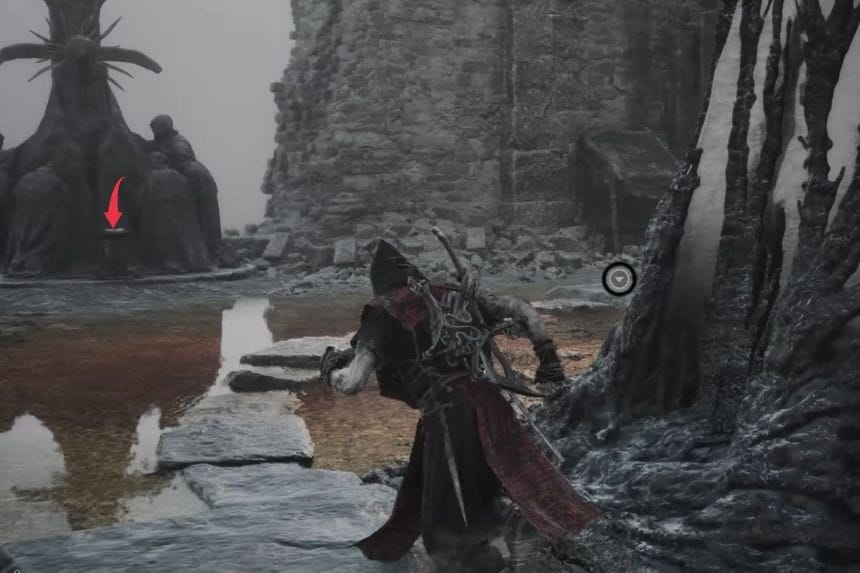
Once at the Deserted Slums, go right until you reach the High Lord’s Keep. Once there, follow the path on the right, and keep going until you reach the Mammon Map (6).
After collecting all 11 map fragments, you can add the Sat Nav Trophy to your growing list of trophies and achievements in Mortal Shell 2.
