Close Menu

    Subscribe to Updates

    Get the latest creative news from FooBar about art, design and business.

    What's Hot

    How to Leave SIRCAA in S.T.A.L.K.E.R. 2 Cost of Hope DLC (Moving in the Shadows Mission)

    August 25, 2026

    Flickering Hope Wandering Tale Guide – Where Winds Meet

    August 24, 2026

    Hilga Quest Walkthrough Mortal Shell 2

    August 24, 2026
    Facebook X (Twitter) Instagram
    Patch Crazy
    • Guides
    • Server Status
    • Patch Notes
    • Privacy Policy
    Facebook X (Twitter) YouTube Reddit
    Patch Crazy
    Home»Guides»How To Open The Blackmailer’s Chest In Gothic 1 Remake
    Guides

    How To Open The Blackmailer’s Chest In Gothic 1 Remake

    By NanditaJuly 1, 2026No Comments2 Mins Read
    Share
    Facebook Twitter LinkedIn Pinterest Email

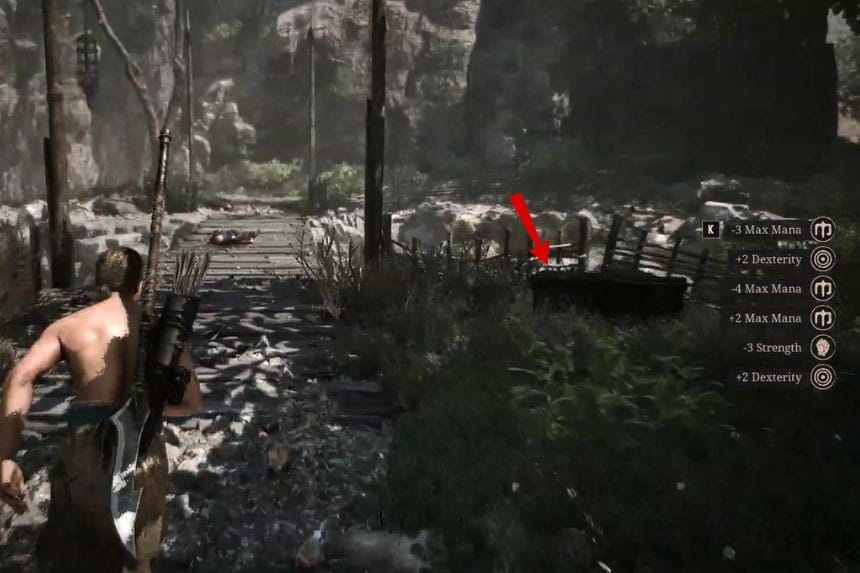
    Blackmailer’s Chest is one of those treasures that are easy to ignore during the exploration of the territory that lies between the Old and the New Camps in Gothic 1 Remake. Despite being protected by two foes, the loot in it is worth it. In this guide, we will show you where to find the chest, how to clear the area safely, and the correct lockpicking combination to open it.

    How To Open The Blackmailer’s Chest
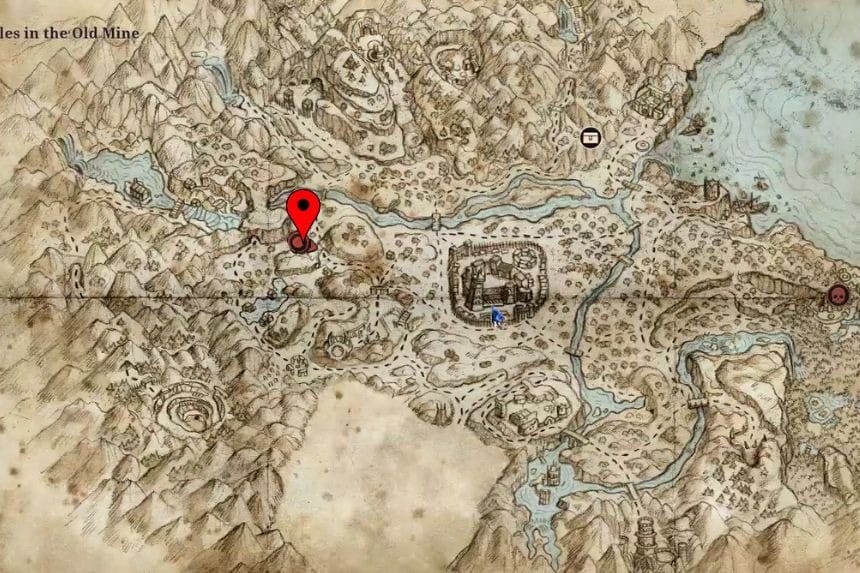
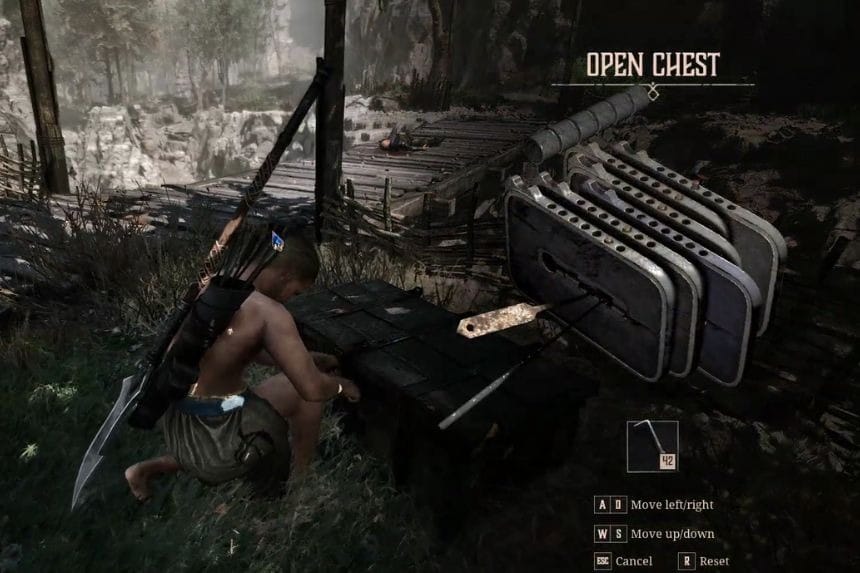
    The Blackmailer’s Chest is located close to the bridge that connects the Old Camp and the New Camp. There are two blackmailers protecting the chest, and hence you should kill them before you go. With the blackmailers defeated, you can now proceed to unlock the chest and acquire all the items contained in it. In the chest, you will acquire 2 Lockpicks, 2 Rice Schnapps, 5 Arrows, and 23 Ore Nuggets. You will also earn some experience points for unlocking the chest.

    First, shift the fifth plate two slots to the right. Then, shift the second plate four slots to the left. Then, shift the fourth plate six slots to the right, after which you should shift the fifth plate five slots to the right again. Continue by shifting the third plate four slots to the left, then shifting the first plate two slots to the left. Finish off by shifting the sixth plate two slots to the right. If you are using Xbox, you can use the left and right of the D-pad.

    The lockpick combination described above has been verified with Lockpicking skill at its most basic level. It is important to remember that this combination will only work for the most basic level of the skill; if you have advanced your Lockpicking skills, the combination will be different.   

    Share. Facebook Twitter Pinterest LinkedIn Tumblr Email
    Nandita
    • X (Twitter)
    • LinkedIn

    Damsel in her own distress, abodes in her imaginary world, and enchanted by the magical realms of Elden Ring. A professional overthinker who loves to weave captivating stories, and is fascinated by the art of doing nothing. When not lost in thought, paints canvases that echo her wildest daydreams!

    Related Posts

    How to Leave SIRCAA in S.T.A.L.K.E.R. 2 Cost of Hope DLC (Moving in the Shadows Mission)

    August 25, 2026

    Flickering Hope Wandering Tale Guide – Where Winds Meet

    August 24, 2026

    Hilga Quest Walkthrough Mortal Shell 2

    August 24, 2026

    How To Open The Mushroom Village Chest in Mortal Shell 2

    August 22, 2026
    Add A Comment
    Leave A Reply Cancel Reply

    Editors Picks
    Guides

    How to Leave SIRCAA in S.T.A.L.K.E.R. 2 Cost of Hope DLC (Moving in the Shadows Mission)

    By Nandita
    Guides

    Flickering Hope Wandering Tale Guide – Where Winds Meet

    By Nandita
    Guides

    Hilga Quest Walkthrough Mortal Shell 2

    By Nandita
    Guides

    How To Open The Mushroom Village Chest in Mortal Shell 2

    By Nandita
    Guides

    Mortal Shell 2: How To Beat The Hexapod Boss 

    By Nandita
    Patch Crazy
    Facebook X (Twitter) Instagram Pinterest Vimeo YouTube
    • Home
    © 2026 PatchCrazy.

    Type above and press Enter to search. Press Esc to cancel.