
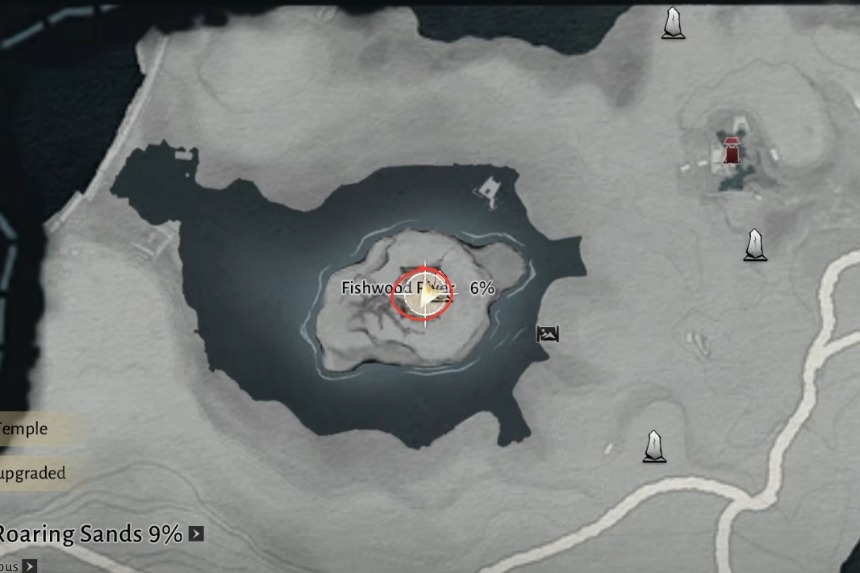
A River’s Fury is a puzzle-based quest in Where Winds Meet that involves control of water, timing, and implementing Tai Chi mechanics. This guide will provide you with information as you navigate through the process of locating all necessary items, solving numerous different multi-layered water-wheel puzzles while managing pressure plates, and completing the final part of the quest without skipping any of the collectibles or progression steps.
Finding the Lost Items

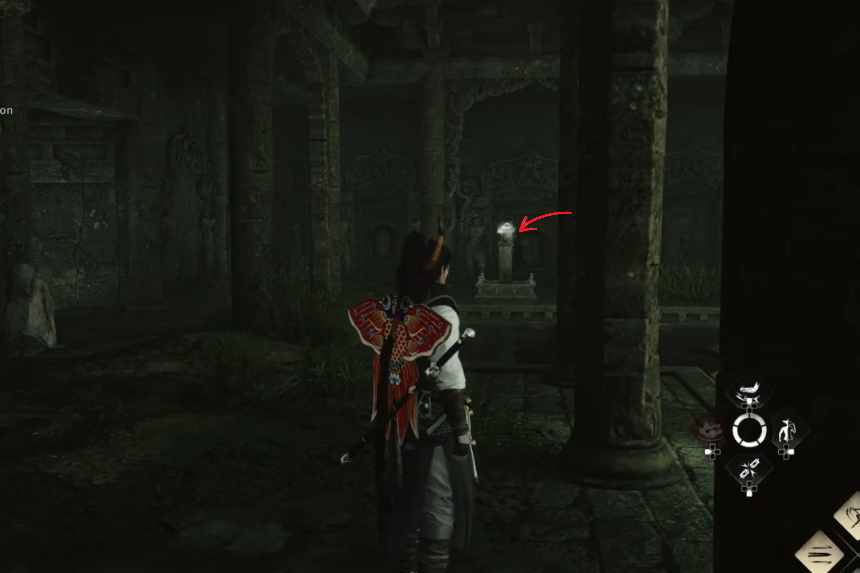
In the beginning, you will need to examine the environment via Windsense in order to identify any abnormalities or irregularities. Within the vicinity there are three misplaced objects. One will be located on your left hand side, and at least one more is nearby if you keep exploring.
The NPC will ask you for three items but you only need to hand in one of the three items to progress. Handing in one of the items triggers a cutscene and allows you to progress through the quest, regardless of how many items you haven’t collected yet.
The Water Puzzle

When the cutscene finishes, you will step into a room where you’ll find a pressure plate, which, when activated, will release a constant flow of water. Your task here will be to redirect the stream of water into the wheel on the right side.
Use the Tai Chi movements to guide the water by standing on the plate and releasing the water. As you are trying to aim, it may feel a little odd but be patient. After the water starts to flow around your character, turn it in a circular motion to get it closer to the wheel. In most cases, you only need one successful strike to activate the mechanism of the wheel.
Continue your journey through this region, heading deeper inside and be sure to search for a treasure chest on your right side. As you move through the area, you may find yourself experiencing minor tremors and there will be a number of bones from dragons along the way. Whenever possible, make an effort to collect these resources, as they can prove useful in future adventures.
Fast travel points appear as you proceed so even though you might overlook an object along the route, you will still have the opportunity to go back to that spot later. Scan the area for another chest that is being guarded by enemies before proceeding down the path to the left. Once you locate and retrieve that treasure, drop and continue down the path.
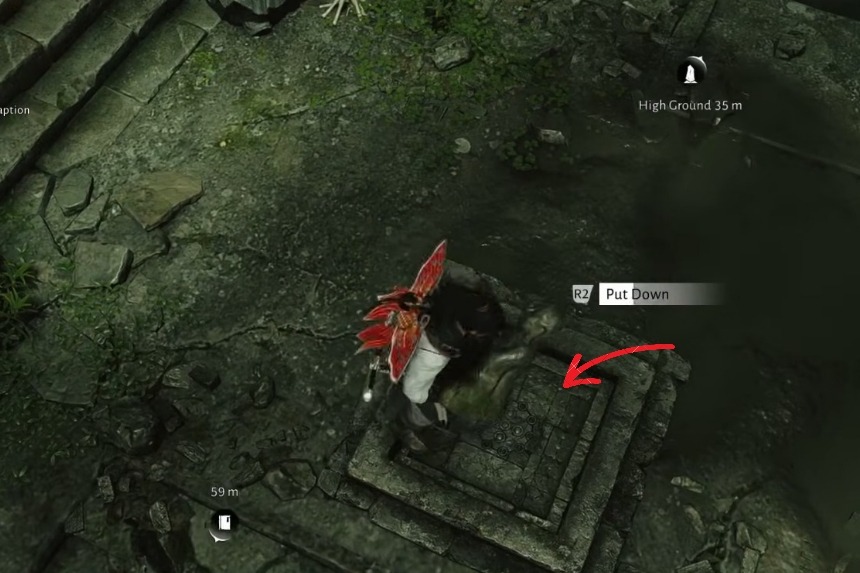
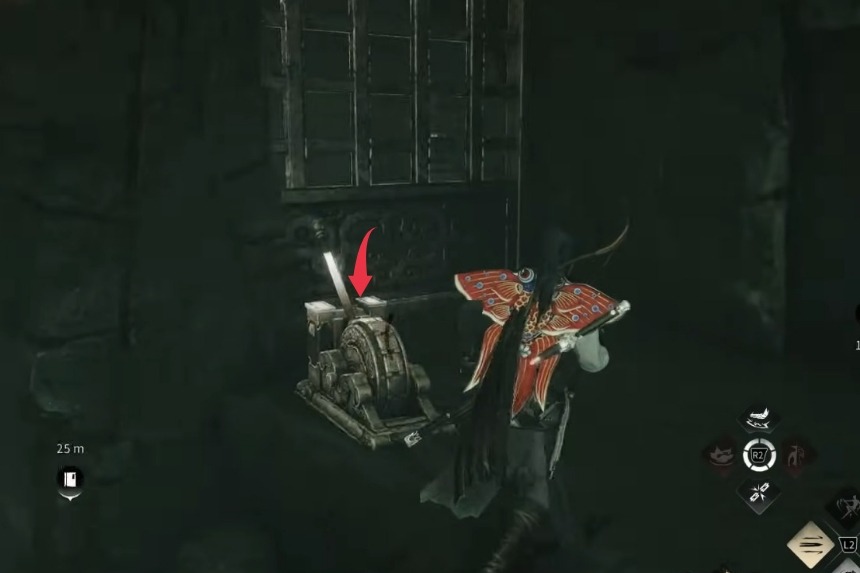
In the next room, you’ll see another pressure plate and a liftable statue. This time, stepping on the plate sends water too far to reach directly.
To keep the water flowing, pick up the statue and set it on the pressure plate. After activating the water flow, walk towards the edge of the platform and hit the Tai Chi from a distance to align with the yellow markings on the wheel.
The Broken Fountain Section
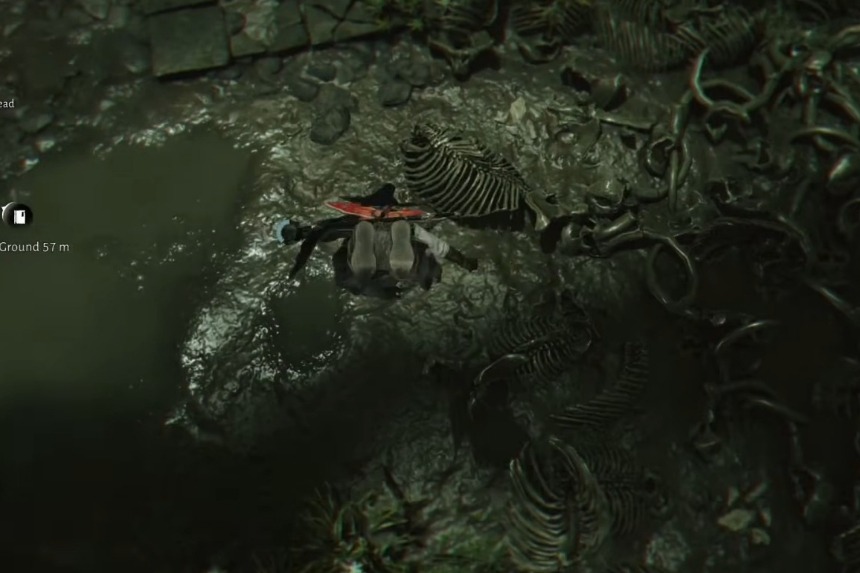
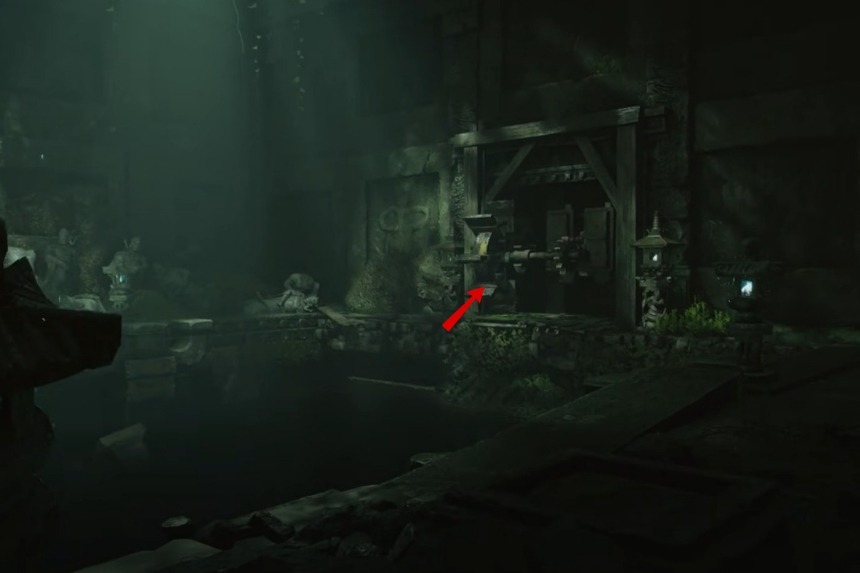
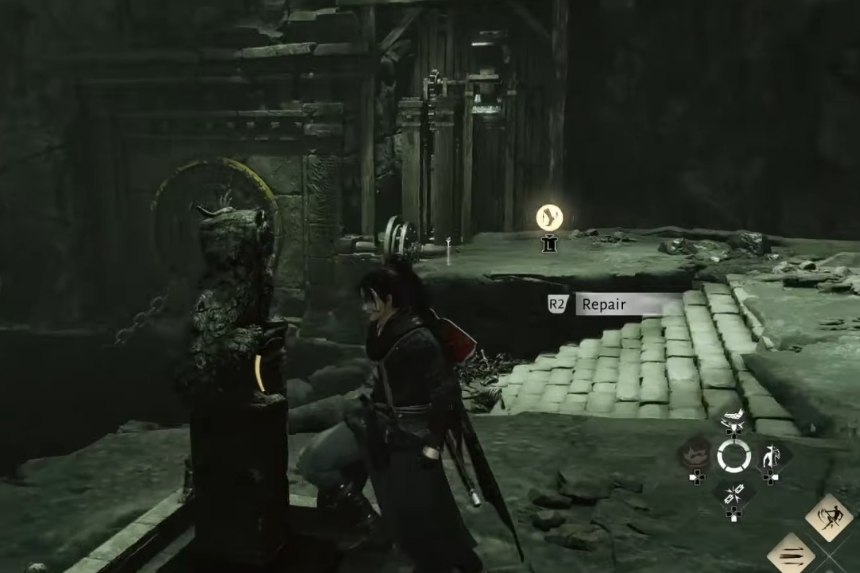
Following the opening of the next portal, you will find another water wheel. But it will not yet have any water flowing through it, because a fountain exists next to it that needs to be repaired. Swim across the water and activate the boundary stone, and then begin to explore the area. The location of the fountain part needed for fixing is located to the right. You can reach this area either by dropping into the pool, or passing through the wall, and following the path underneath.
While you’re submerged underwater, locate a chest and more dragon bones. After resurfacing, proceed to repair the fountain. From here on, stepping on the pressure plate will release water as expected.
You must time yourself properly for this puzzle. To solve it, you will have to step onto the plate, then move into position, activate Tai Chi, and redirect the water. It might take multiple attempts before everything lines up so be ready to step off and reset every time.
After leaving the area, you will encounter another piece of broken machinery that does not function immediately. You can find some notes and collectibles in this area. After examining them, turn left and walk down the hallway.
After climbing the top of the rocks, you will see a lever to open a door. Once you’re through the door, activate the panel and use Tai Chi to redirect the water to the wheel. This will complete step one and update your objective with the new goal. Just around the corner, there is a chest that you can collect before proceeding any further.
Fountain, Stone, and Dual-Wheel Puzzle
This section incorporates multiple mechanics. There will be a fountain, a rolling stone, and an additional water wheel.
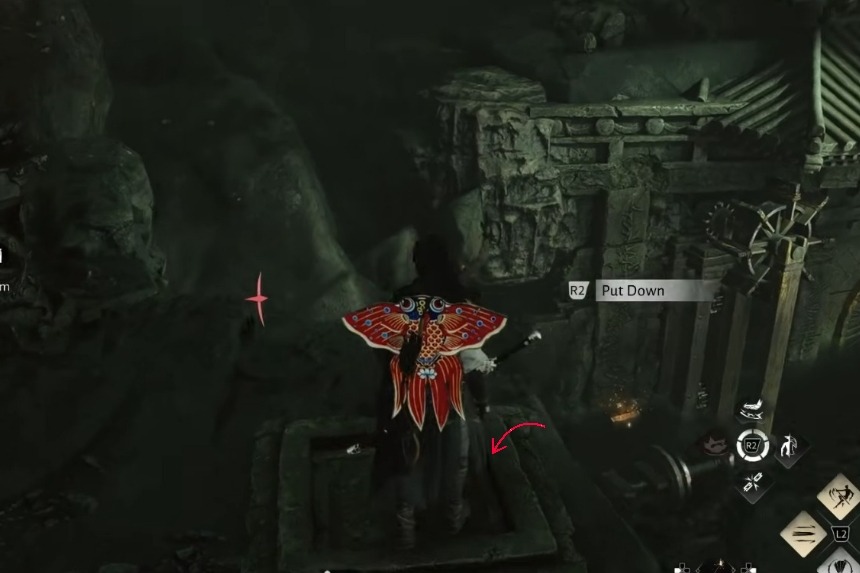
Lift the stone and place it so the water stays active. Now you can go back to your original position after making sure that you have redirected the flow of the water using Tai Chi. After this is done, redirect the source of water toward the next wheel indicated by the objective marker.
Once the wheel is active, jump along the path and continue forward. You can collect the nearby chest afterward.
Double Door and Upper Water Flow
You will come across a double-sided door with water panels connected to it. You can open the door by using the first water wheel, follow that with dropping down to get access to the second wheel, which will lead you to another chest.
To continue your journey forward, return to the previous location and turn the lever in the opposite direction. A new door will now open which will allow you to place the statue in its original position, then reactivate the panel to move the door while keeping water flowing.
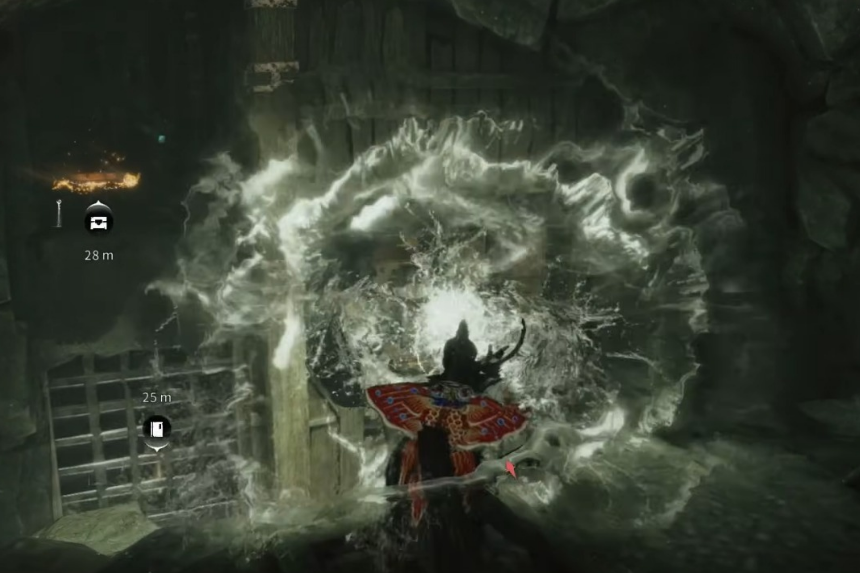
From the upper section, wait for the water to pour down and use Tai Chi again to redirect it into the wheel. Once activated, the path forward opens.
Final Fountain and Last Puzzle
In the end, you will return to a previous location to use the fragment taken earlier to fix the last fountain. After going down again to fix, you can now activate the pressure plate that had been previously disabled. Be sure to stand on this plate and grab the water, then turn around to redirect the water towards the wheel close to the drop point.
This part is finicky. You’ll need to step on and off the plate for each attempt until the water lines up correctly.
Draining the Area and Ending the Quest
Once the mechanism activates, the water drains and fish appear. They won’t attack, but you’ll need to reduce their health to zero. After that, loot the area and head back up.
Investigate the remaining objects, activate anything still highlighted, and perform the required salute. A cutscene will play to wrap things up. In some cases, the cutscene may freeze. Restarting the game resolves this, and the quest completes normally afterward.