
The White-Robed Elder’s quest in Wuchang: Fallen Feathers is one of the game’s most mysterious and rewarding side stories. You’ll first meet him as Zhao Yun in Shu Sanctum, but as you travel through the world, he’ll appear again and again, always watching, always testing you. This guide will walk you through each of his locations and help you complete his quest from start to finish.
How to Start the White-Robed Elder Side Quest
To start Zhao Yun’s quest in Wuchang: Fallen Feathers, head to the second floor of Shu Sanctum. You’ll find him near an old woman who’s praying at a shrine. When you talk to him, you’ll see he’s fast asleep at first, but he eventually wakes up. Zhao Yun is surprised you haven’t lost your mind to the Feathering yet, and warns you that if you ever do, he won’t hesitate to put you down. In Wuchang: Fallen Feathers, you’ll encounter the mysterious White-Robed Elder multiple times throughout your journey. Here’s how his appearances play out, and what you get from meeting him each time.
First White-Robed Elder Location
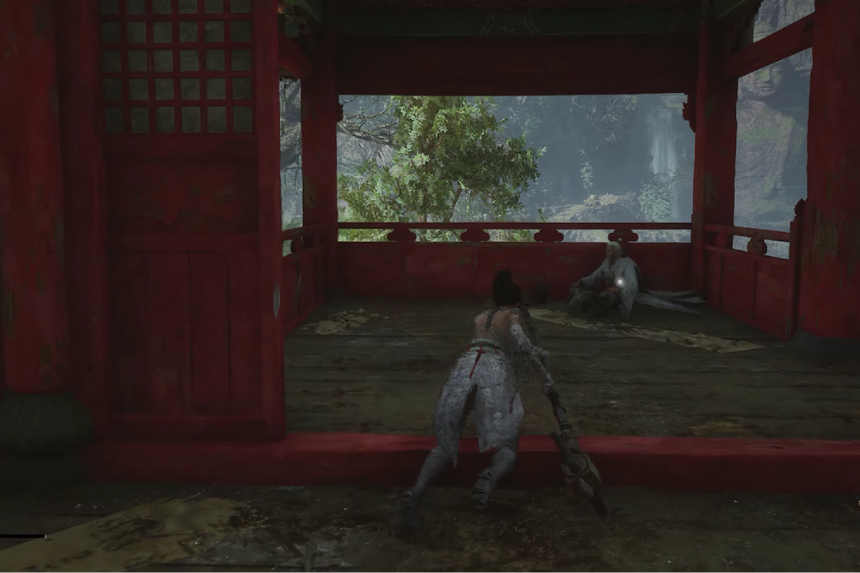
Your first encounter with the White-Robed Elder happens in Shu Sanctum, located in the Worship’s Rise region. Head up to the second floor, and you’ll find him standing on the walkway. Talk to him and he’ll give you a Plumed Branch as a reward.
Second White-Robed Elder Location
Later, you’ll come across him again at Doomwillow Beach, also in Worship’s Rise. Starting from the Shrine, follow the sloping path leading up to a hilltop. Once you find him, he’ll hand over a Crystallised Red Mercury.
Third White-Robed Elder Location
The third time you meet him is in the Cloudspire Outskirts. Climb the tower near the local Shrine, and you’ll spot him standing along the wooden walkway outside. There’s also a chest at the very top containing the Gunpowder Spear. After speaking with him here, you’ll receive a Glistening Red Mercury. If you go into the cave leading to Mt. Zhenwu before meeting him here, this encounter will be skipped, and he won’t appear in Cloudspire anymore, so make sure you come here first.
Fourth White-Robed Elder Location
Next, you’ll find him again in Hillswatch, a sub-area of Cloudspire. From the Hillswatch Shrine, cross the ravine and head into the mining cave on your right. Explore the upper sections, and you’ll see him overlooking the path below. This time, he’ll reward you with a Flawless Red Mercury.
Fifth White-Robed Elder Location
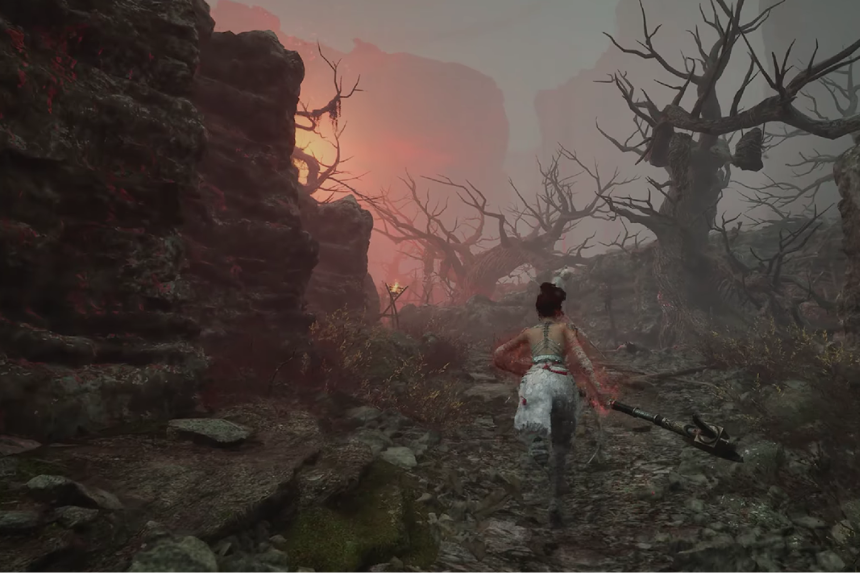
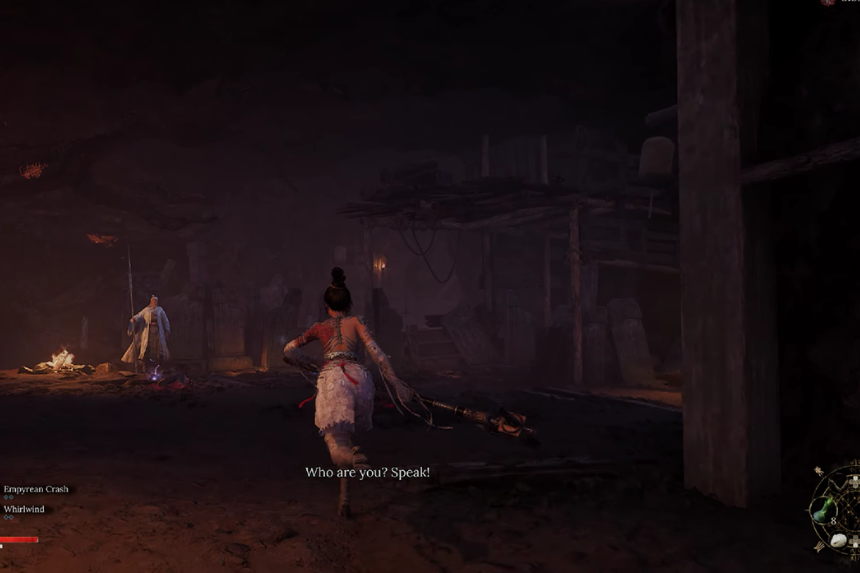
Your fifth meeting takes place at the Refugee Camp in Mt. Zhenwu. After exiting the cave and travelling through Battlefield Pass, you’ll reach the camp. Look for the White-Robed Elder on a plateau across from it. He doesn’t give you an item here; instead, he’ll ask for your help to defeat a demon. Agreeing to help will allow his questline to continue.
Sixth White-Robed Elder Location
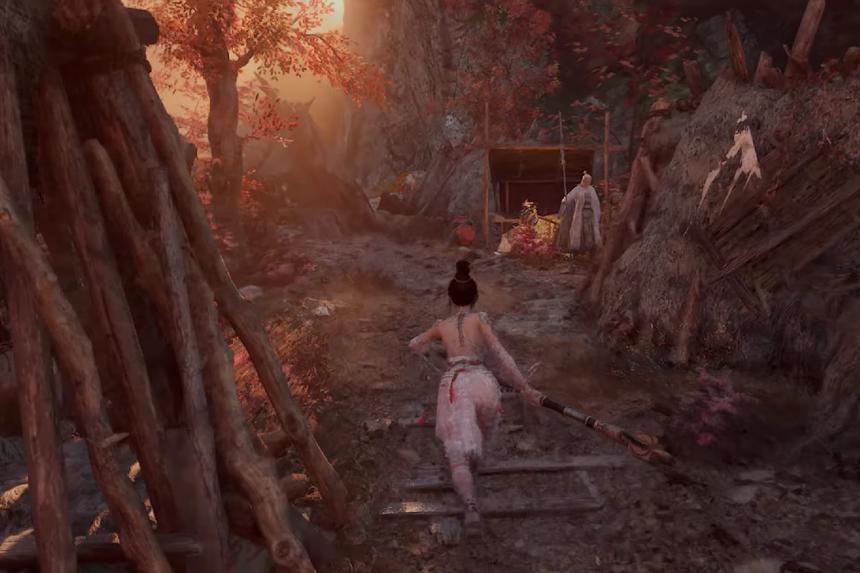
In Mt. Zhenwu, make your way through the Avian Marsh area. After passing the Lantern-wielding monk and grabbing the Manna Vase from the chest, you’ll come to an opening that leads into a forest. Head into the forest clearing, and you’ll find the White-Robed Elder waiting there. Speak with him to continue his quest.
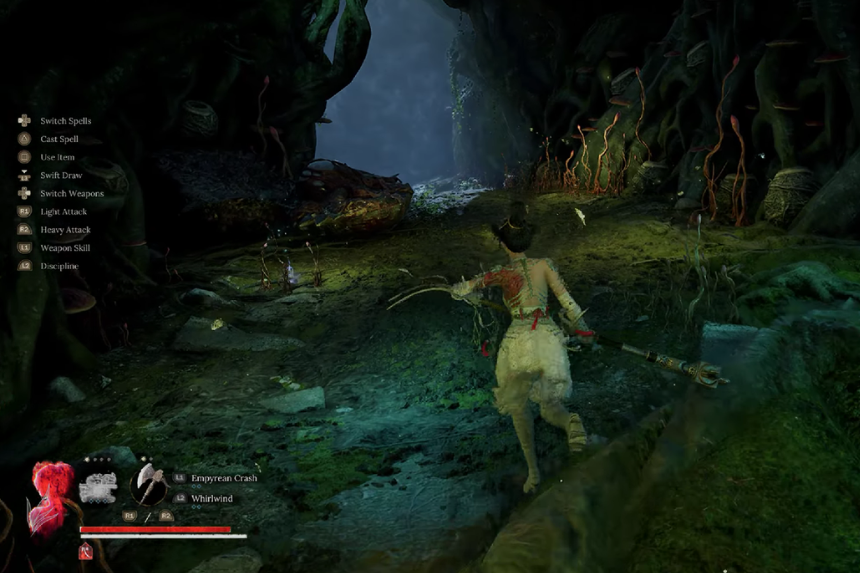
From there, you’ll need to make your way to the boss fight area. Follow the path that winds around the Avian Village until you find a shortcut leading to the Avian Dwelling Shrine. Keep going along the main route until you reach the boss arena.
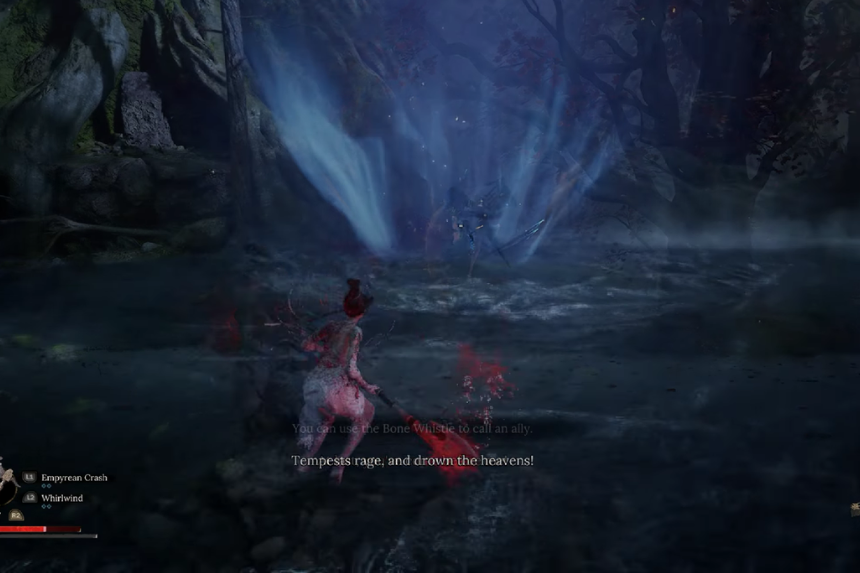
Bo Sorcerer is the monster that the White-Robed Elder warned you about. You can call on the Elder to help you before you begin the battle. He will greatly benefit from taking in numerous of her quick and forceful blows. Simply use the bone whistle item to summon him into the fight, just like you would any other ally.
Seventh White-Robed Elder Location

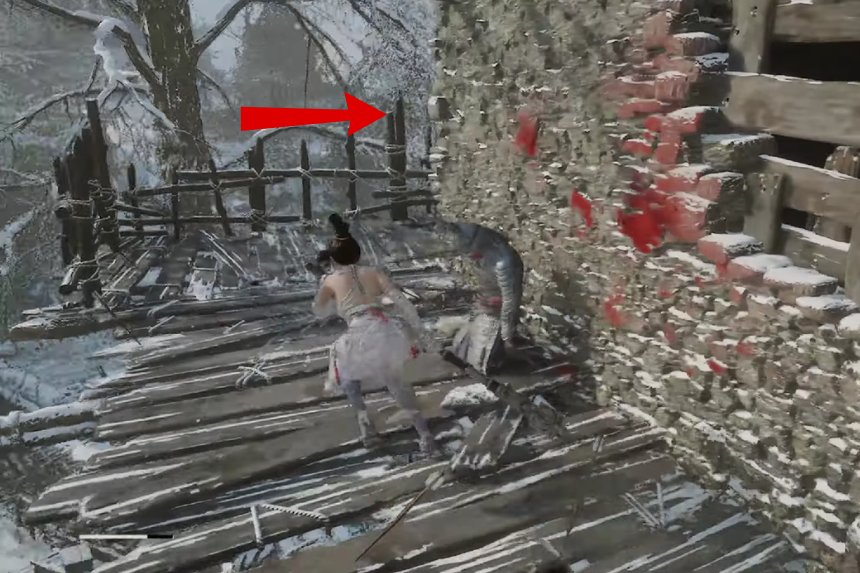
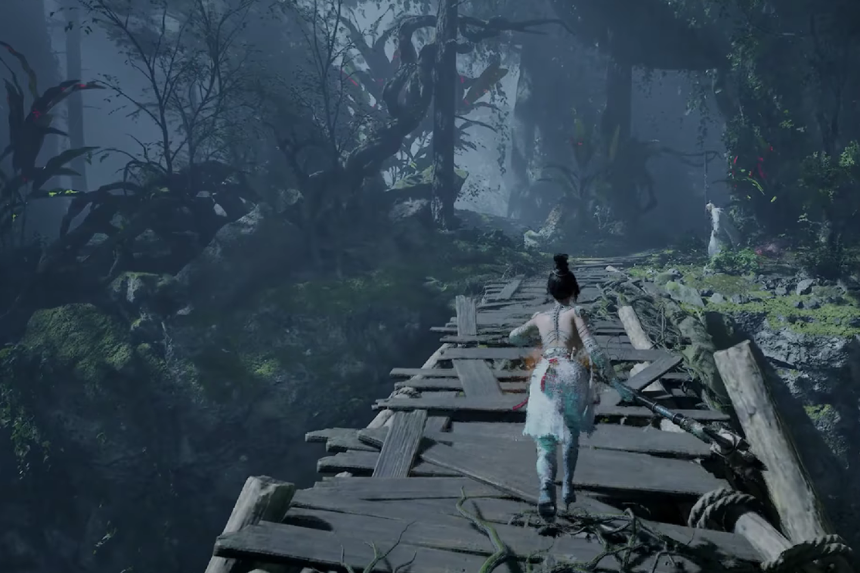
Finally, your last encounter with the White-Robed Elder is at the Avian Dwelling Tomb. After defeating the Bo Sorcerer, cross the massive tree trunk bridge near the Avian Dwelling Shrine. A Bamboo Shoot even appears as you cross, hinting that something important is ahead. On the other side of the field, you’ll find the Elder one last time, and he’ll reward you with the Tigraliz Pendant for completing the journey.
Final White-Robed Elder Location
The final step of the White-Robed Elder’s quest starts in once you reach the game’s fifth major area, Bo’s Capital. After you activate the first shrine there, fast travel back to the Avian Dwelling and return to the area where you previously fought the Bo Sorcerer.
When you arrive, you’ll be greeted by none other than Zhao Yun, revealed to be the White-Robed Elder himself, a legendary general. This time, you’ll need to face him in battle.
Defeating Zhao Yun will earn you several valuable rewards. You’ll get the Cyan Feather Chisel, which unlocks a Temper Acupoint slot, and a spell called Echo of Zhao Yun. The Tao Qing item, which enables you to buy the Malice Sting spear from the store, will also be given to you. Finally, by utilising the Worship emote in front of the Faces of the Past shrine, you will be able to get the Loyalty armour set.