
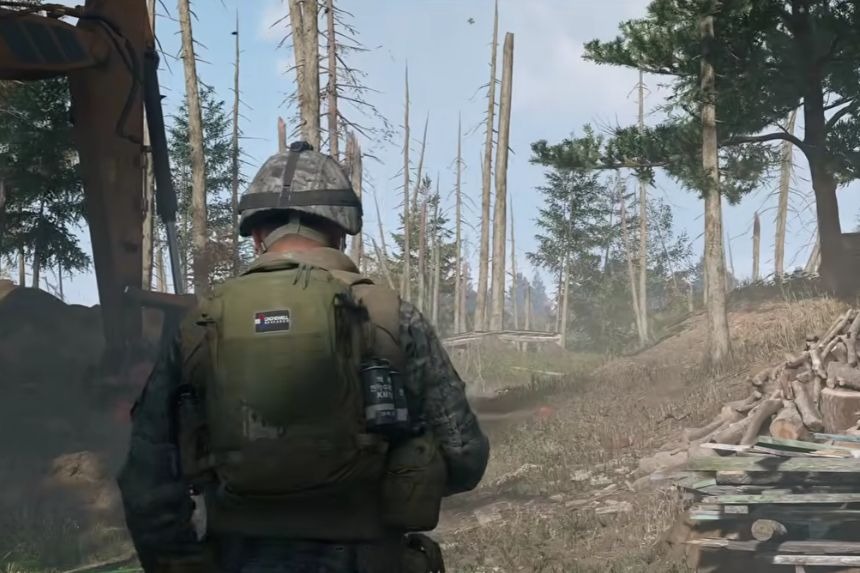
Operation Critical Extraction is a story-based mission in MW4 DMZ which involves rescuing General Kang from the hospital and evacuating him. You have to battle through various levels that are occupied by many enemies while moving his medical bed towards the extraction helicopter. This mission is difficult to complete, especially if you play alone, so ensure you carry all necessary supplies. In this guide, we’ll explain how to complete Operation Critical Extraction in MW4 DMZ step by step.
How To Complete The Critical Extraction Mission
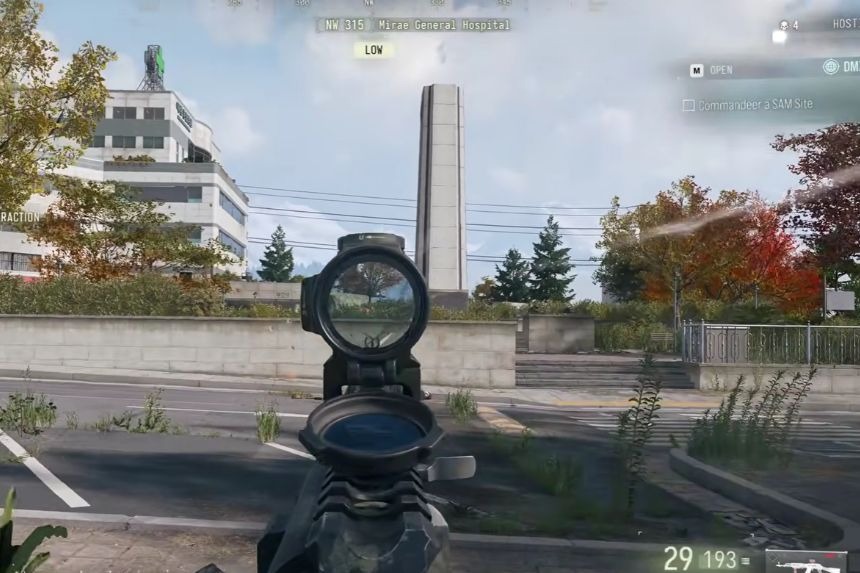
Critical Extraction in MW4 DMZ requires you to locate General Kang in the hospital and extract him from the hospital building with the help of an exfil helicopter. This mission may not be easy, especially when played alone, and thus it is recommended that you prepare yourself well before the mission starts by getting the necessary equipment.
A vest with two plates, a self-revive kit and some additional medical supplies can be useful in helping you survive. Once you spawn, proceed towards the hospital, which is about 300 meters from your location; thus, a vehicle will be useful in reaching the hospital.
Find General Kang In The Hospital
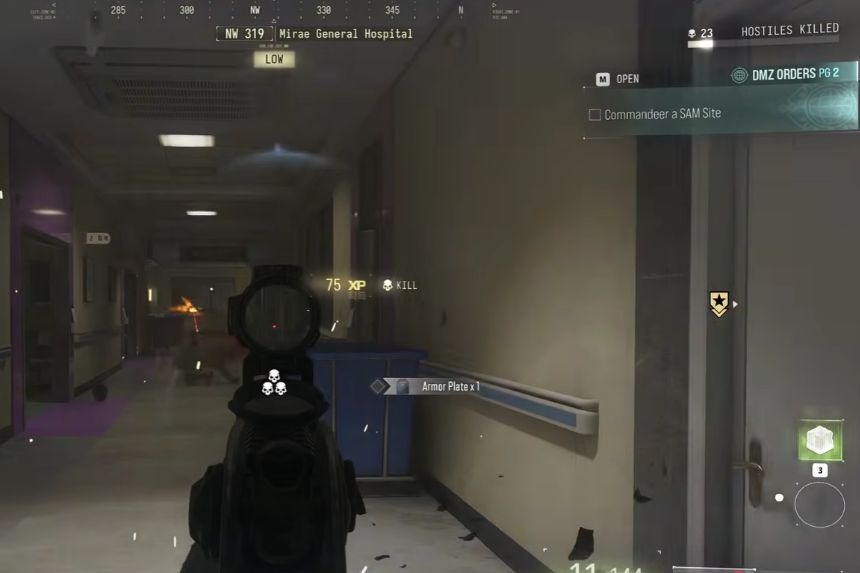
After entering the hospital building, climb up the staircase to the floor where the General is being kept. The goal is to find the General lying unconscious on a medical bed. Take your time clearing the room because you will encounter several enemies on the floor.
Leverage the small ward rooms as cover points when your health is down or when your armour is running low. Do not rush into any open areas because some of the enemies have a lot of armour and will require a few hits to kill. When you carry an armour box or munitions box, utilise them at any time when you need them.
After locating General Kang, use the stim shot to revive him. General Kang will be unconscious, so he will need to be moved to the exit point using his bed. It is important to note that the bed has to be pushed manually and hence will make it harder to fight the enemies.
Move General Kang Through The First Floors
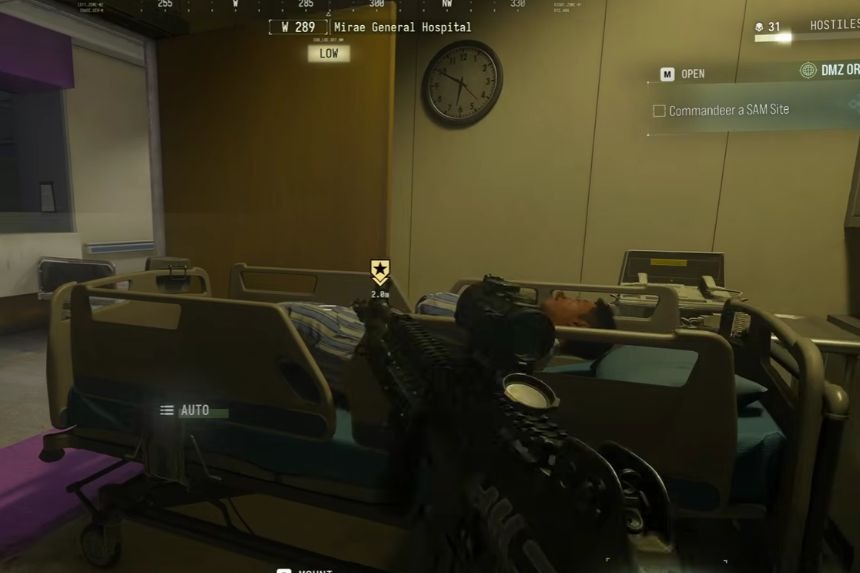
Use General Kang’s bed as cover while pushing it wherever necessary. You can hide behind the bed in order to cover yourself from any incoming attacks, and at the same time advance. The enemies will continue to attack you; therefore, be slow in going through the hallways.
Remember that red laser sights seen in the hospital are indicative of sentry guns, and these can do massive damage if they are overlooked. Locate the enemies controlling the sentry guns, and remove them in order to proceed further. Other AI enemies might attempt to control the sentry guns again; therefore, be aware of your surroundings.
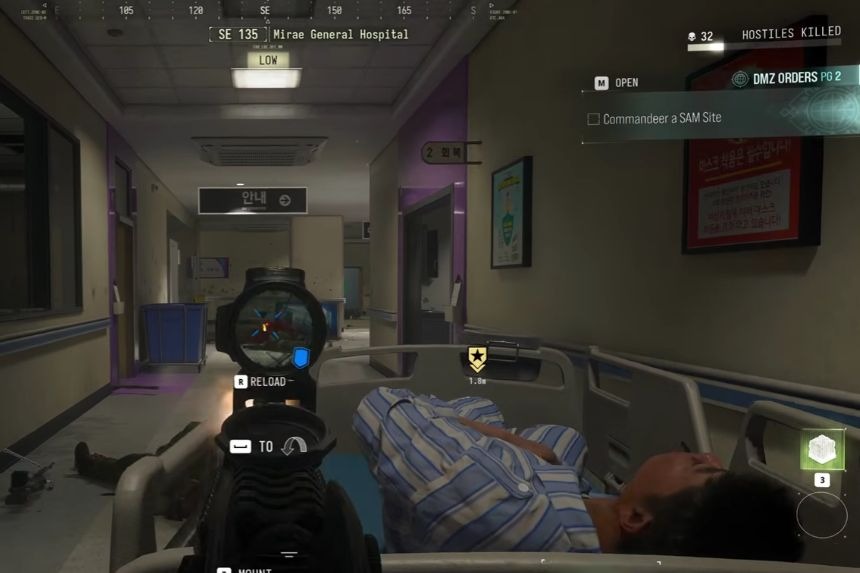
After the enemies are killed, advance with General Kang’s bed and push it to the elevator. Call the elevator and wait until it opens. Get inside and ride the elevator to the next floor in order to eliminate the enemies. If you’re playing with teammates, you can ask them to move ahead and clear the next floor before you bring General Kang up. This makes the mission much easier, but you can still complete it solo if you take your time.
Clear The Next Floor And Reach The Second Elevator
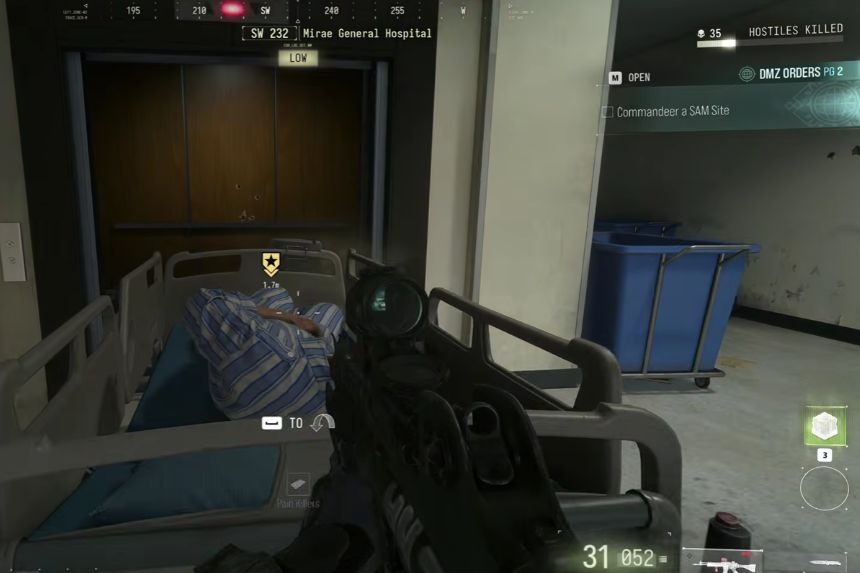
This segment is difficult for you since there are a number of enemies that want to prevent you from getting to the next checkpoint. They might be throwing grenades at you, and there will be enemies attacking you from many different sides. Keep running from one spot of cover to another so that you do not get shot easily.
Use the small rooms inside the corridor to regain your armour and avoid being hit by incoming fire. Look through the room to kill off any enemies, and then retreat back to the cover whenever you begin to take too much damage. There is a sentry gun in this section; watch out for the red laser, and look for the enemies controlling it. Make sure that General Kang’s bed stays between you and the incoming fire, but do not depend on it alone.
Continue using the nearby cover and eliminate enemies one at a time. Don’t rush to push General Kang’s bed into the elevator while enemies are still shooting at you. Once the area is clear enough, move the bed inside and take the elevator to the final floor.
Defend The Second Elevator
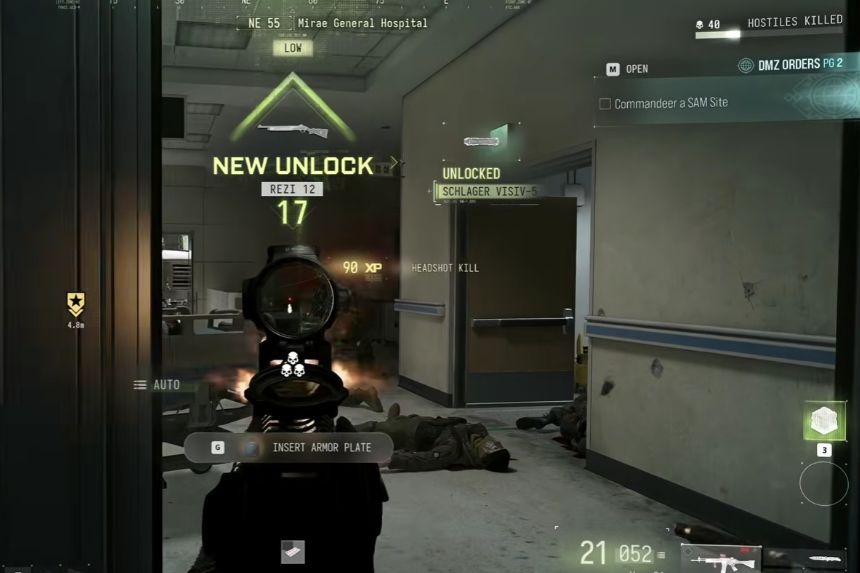
Once you summon the second elevator, there will be spawning of enemies who will attack you from all corners. You have to ensure that all the enemies which spawn close to you are killed before focusing on the enemies which spawn away from you.
There is one thing that you can do here – hold on to the left side of the environment because there are chances that enemies can spawn on the other side of the environment as well. Find the orange wall that the enemies can climb to get to you.
Continue using cover from your immediate environment to eliminate the enemies one by one. You have to make sure that you do not push General Kang’s bed into the elevator while the enemies fire at you.
Extract General Kang
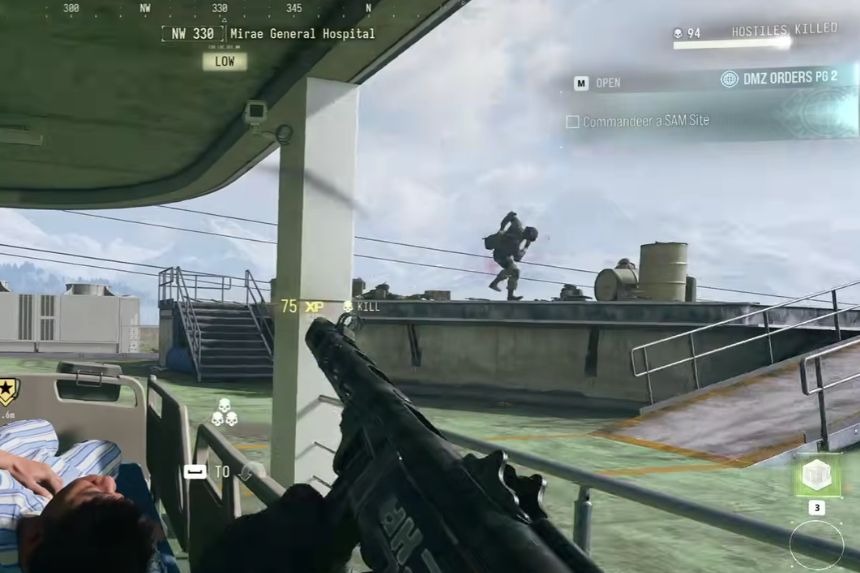
Once you have called the second elevator, you will be attacked by the enemies that spawn from all directions. You need to ensure that you kill all the enemies that spawn near you first before moving to the faraway enemies. One important thing that you need to take into consideration is that you can hold the left side of the environment, as the enemies can also spawn from the right side of the environment.
Locate the orange wall from which the enemies can climb up to reach you. Keep making use of the cover in your immediate environment to kill the enemies one by one. Ensure that you do not push General Kang’s bed into the elevator as the enemies shoot at you, and wait for the exfil helicopter to push his bed onto it. After you manage to save General Kang, the Operation Critical Extraction will be completed in DMZ.
