
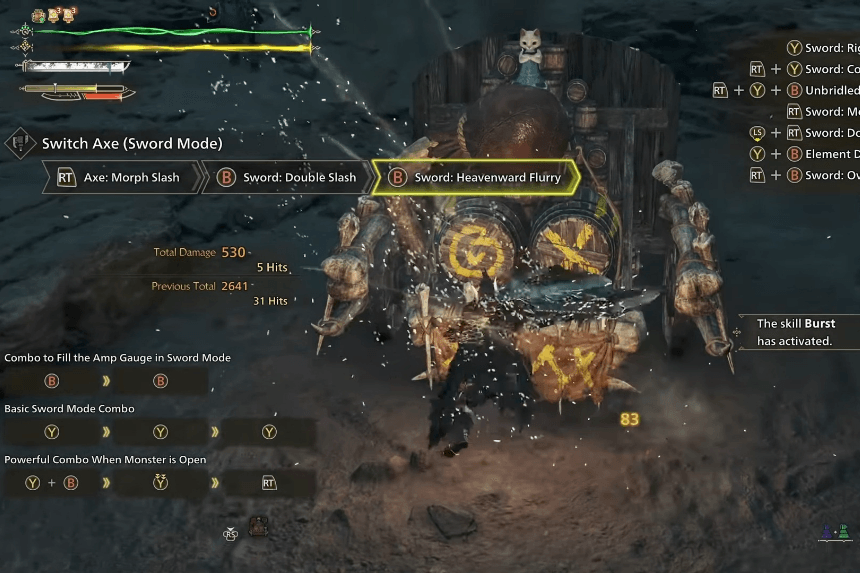
The Switch Axe in Monster Hunter Wilds is a versatile weapon, combining the power of Axe and Sword modes for dynamic combat. Mastering its mechanics and building the right set can significantly boost your damage output and survivability. This guide covers the best Switch Axe builds for Low and High Rank, helping you dominate every hunt.
An Overview of the Switch Axe Build
This Switch Axe build focuses on maximizing damage output, centering around the Full Release Slash combo to deliver the highest possible damage. It leverages the Gore Magala armor set, which inflicts Frenzy when fighting Large monsters. Pairing this with the Antivirus skill allows you to recover from Frenzy quickly and gain an Affinity boost.
Since the Switch Axe deals the most damage in Sword mode, and the Full Release Slash is highly effective, you’ll primarily stay in Sword mode. Therefore, this build doesn’t include Rapid Morph. However, if you prefer switching between modes more frequently, you can adjust by adding that skill.
This build is designed as a straightforward DPS setup that can work with various weapons, making the gear choices versatile and adaptable for different playstyles.
Equipment and Decorations
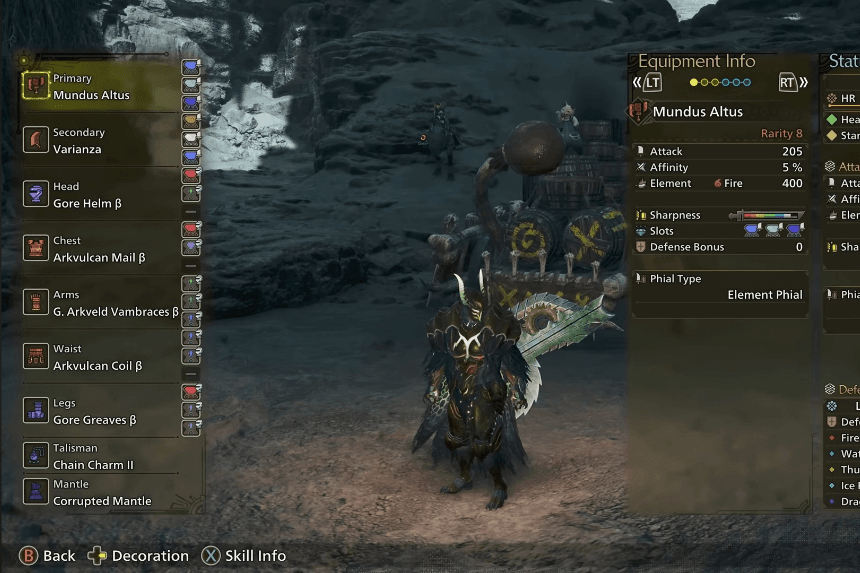
Weapon: Lala Selenocosmi – 700 base attack, 15% Affinity, 200 Paralysis
- Decorations: Critical Jewel 3, Critical Jewel 2, Paralyzer Jewel 1
Head: G Fulgur Helm Beta – Provides two points of Agitator and one level two decoration slot
- Decoration: Counter Jewel 2
Chest: Arkvulcan Mail Beta – Boosts overall damage and Affinity
- Decorations: Flayer Jewel 3, Mighty Jewel 2
Arms: G Fulgur Vambraces Beta – Improves evasion and overall performance
- Decorations: Jumping Jewel 2, Jumping Jewel 2
Waist: Gore Coil Beta – Enhances part damage and Affinity under Maximum Might
- Decorations: Destroyer Jewel 2, Mighty Jewel 2
Legs: Gore Greaves Beta – Boosts damage when the monster is enraged and increases Frenzy resistance
- Decorations: Challenger Jewel 3, Sane Jewel 1, Sane Jewel 1
Talisman: Challenger Charm 2 – Increases Agitator for higher attack and Affinity when monsters are enraged
Mantle: Corrupted Mantle – Provides additional protection and attack power during battles
Skill Overview
- Critical Boost – Level 5
- Agitator – Level 5
- Maximum Might – Level 3
- Antivirus – Level 3
- Critical Draw – Level 2
- Evade Extender – Level 2
- Constitution – Level 2
- Critical Status – Level 1
- Paralysis Attack – Level 1
- Counterstrike – Level 1
- Weakness Exploit – Level 1
- Flayer – Level 1
- Partbreaker – Level 1
- Flinch Free – Level 1
Gear and Skills Breakdown
The Lala Selenocosmi is the ideal weapon for this build due to its high attack power, decent Affinity, and Paralysis status. Its three jewel slots (levels 3, 2, and 1) allow you to fine-tune your offensive capabilities with Critical and Paralyzer jewels.
Artian weapons can surpass crafted weapons if you roll the right skills, but until then, the Lala Selenocosmi remains the best choice.
For the head slot, the Guardian Fulgur Anjanath Helm provides two points of Agitator and a level two decoration slot, where you’ll place a Counter Jewel 2 to increase attack when using Counter Rising Slash in Sword mode.
Note: If you don’t use the Switch Axe’s counter, consider swapping this decoration for something else, such as a point in Evade Window or an additional point in Evade Extender.
Conditional Skills and Playstyle
Frenzy (Gore Magala Set): Frenzy requires you to actively attack monsters to cure it. If you succeed, you gain an Affinity boost, amplified by Antivirus. However, Frenzy makes you take more damage and reduces healing effectiveness, so aggressive play is key.
Maximum Might: Increases Affinity when your stamina is full for three seconds. The Second Wind bonus from the Guardian Fulgur Anjanath set makes this easier by preventing stamina depletion from the second stamina gauge.
Agitator: Activates automatically when the monster is enraged, providing a massive DPS boost. This is the moment to stay aggressive and make the most of Counter Rising Slash for both offense and defense.
Partbreaker: Boosts damage when attacking wounded monster parts and makes it easier to inflict wounds.
Final Strategy
This build thrives on an aggressive playstyle. Focus on staying in Sword mode and capitalizing on Full Release Slash. Cure Frenzy quickly to gain Affinity boosts, keep track of monster rage to activate Agitator, and exploit weak spots using Partbreaker. The combination of high damage, Affinity, and paralysis will keep monsters vulnerable and allow you to control the pace of the fight.