
Master blacksmithing in Kingdom Come: Deliverance 2 by reading this ultimate guide. It shows you how to find all the tools and materials you will need, step-by-step from the heating and hammering processes, to the quenching. Learn about keeping a steady rhythm while hammering, how to get metal perfectly heated in the forge, and how to apply key skills for superior weapon-crafting. This course will cover many helpful tips and tricks that make you the most efficient blacksmith in town. You will produce equipment that you cannot buy at any price, whether you’re forging a simple horseshoe or a legendary sword.
How to do Blacksmith
So, to get started with blacksmithing in Kingdom Come: Deliverance 2, you’ll need to track down an anvil. They’re usually hanging around near forges or blacksmiths’ workshops. You also need to know what you’re making – have the blueprint for your weapon or whatever it is. And of course, make sure you’ve got all the materials you need in your inventory. Once you’ve got all that, head up to the anvil, choose the “Start Blacksmithing” option, pick your recipe, and hit ‘E’ to get crafting!
Blacksmithing in Kingdom Come: Deliverance 2 is pretty straightforward. Whether you’re crafting a shiny new sword or just some horseshoes, it basically boils down to three steps: First, you pump the bellows to get the metal nice and hot. Second, you hammer it evenly to shape it. And finally, you quench it—heat it up again and then dunk it in water to finish the job.
Heating
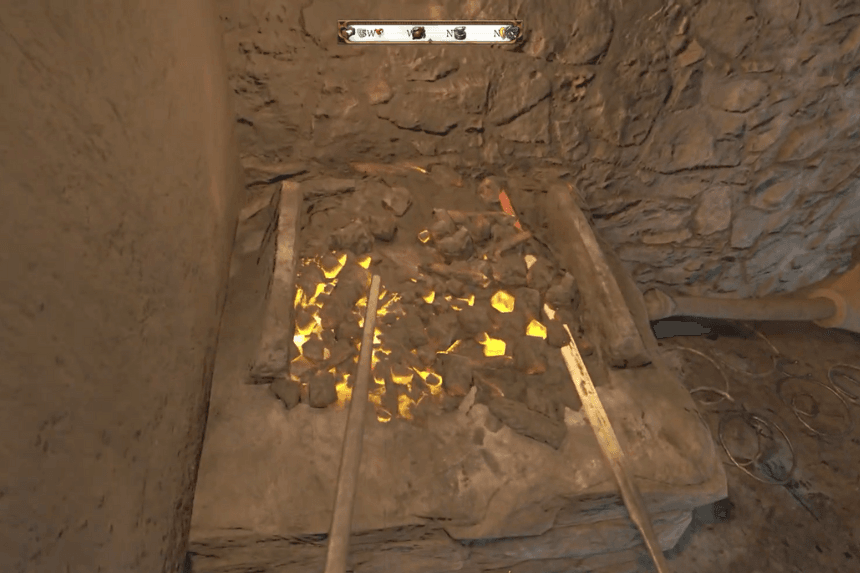
Alright, so you’ve got your anvil, blueprint, and materials. Now it’s time to fire things up! You absolutely have to heat the metal in the furnace – cold metal won’t budge. But be careful, too much heat or uneven heating will ruin your final product. Pop the metal in the furnace and pump those bellows to get it hot fast. You’re looking for a light yellow color.
If you’re making something big like a sword, you’ll need to move the metal around in the furnace so it heats evenly. Smaller stuff, like axes, usually fit in all at once, so you don’t have to worry about that. Once the metal’s glowing light yellow, give it a look. If you see sparks flying off, you’re good to go! Time to move over to the anvil and start shaping your weapon.
Hammering
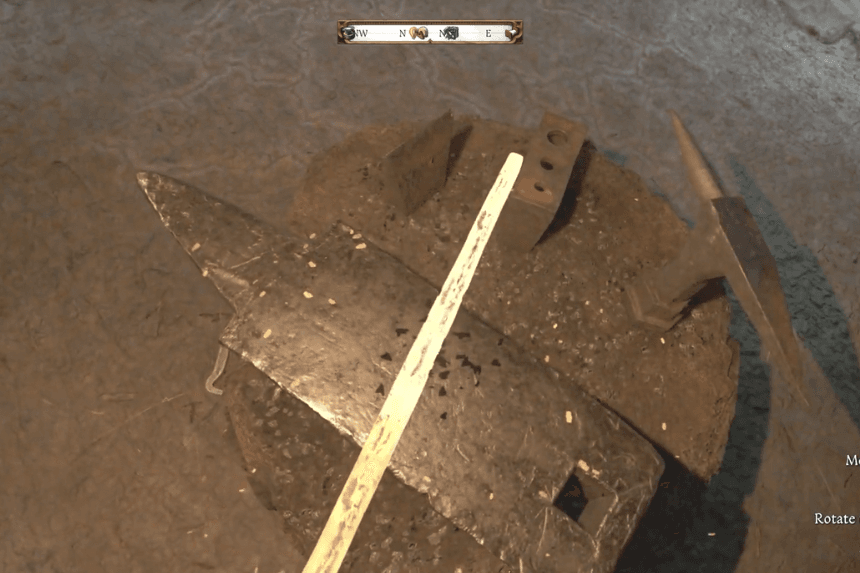
Okay, metal’s hot, time to get hammering! Whack the metal on the anvil – you’re looking for sparks flying off when you hit it. Use your mouse and left click to do the hammering. A good hit sounds like a ring and throws off sparks. Start at one end of the metal and work your way down, nice and even. Then flip it over and do the same to the other side. You’ll see it start to take shape.
Now, the metal will cool down as you work it. When that happens, pop it back in the furnace for a quick reheat and then back to the anvil. You might have to do this a few times. Here’s a neat trick: While you’re hammering, Henry might start whistling. If he does, try to time your hammer swings to the rhythm of his whistle. This makes the whole process way faster and improves the quality of your weapon! Just keep the beat in your head and swing along. If you’re doing it right, Henry will keep whistling. Mess up the rhythm, and he’ll stop (but he might start up again later).
Quenching
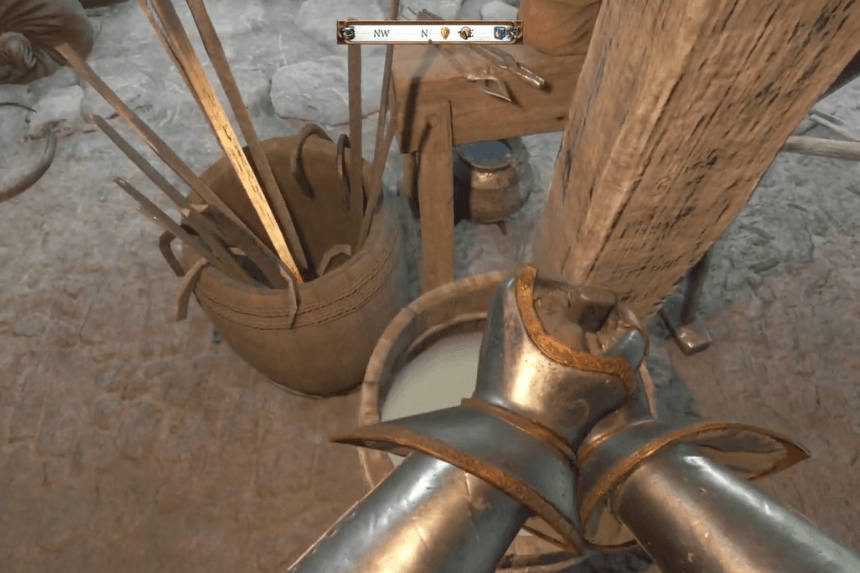
Keep hammering away, and your metal will eventually become the weapon you’re working on. Once you’re done shaping it, you’ll get a “Quench and Finish” option. Choose that, and you’ll heat the metal one last time and then dunk it in water to cool it down. A little window will pop up showing you what you made, how much it’s worth, and its stats. That’s it – you’ve crafted your own weapon in Kingdom Come: Deliverance 2! It might take a while, but it’s worth it. You’ll save money and often end up with better gear than you can buy in stores.
Skills for Blacksmith
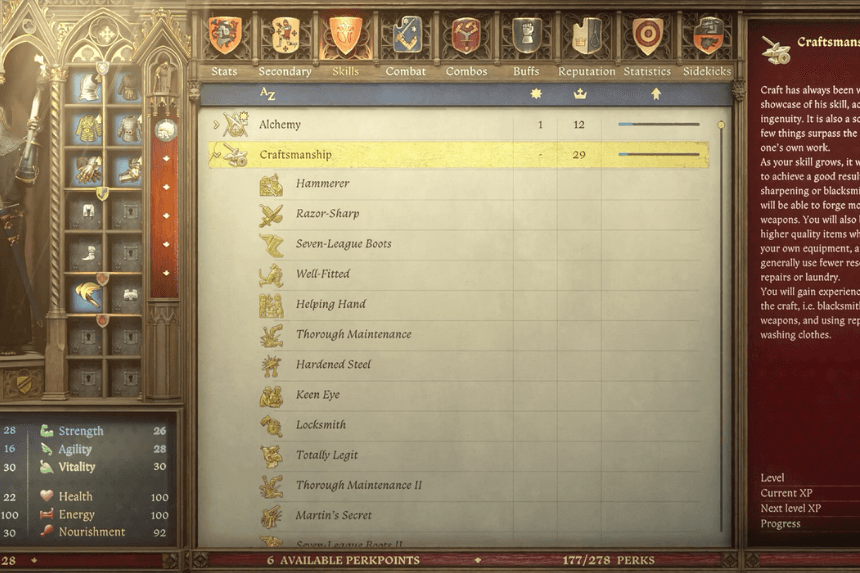
Even though blacksmithing skills are mostly lumped in with Craftsmanship, there are a few key perks to keep an eye on if you want to be a master smith.
First, there’s Hardened Steel (level 10). This makes the weapons you forge super durable, so they take damage 20% slower.
Then, at level 12, you can get Locksmith. This skill gives you a +3 bonus to your Thievery skill when you’re picking locks, making it much easier. Plus, you’ll get 1-3 extra lockpicks every time you successfully craft something using scrap iron.
Finally, the big one: Martin’s Secret (level 16). This unlocks the ability to forge top-tier, fourth-quality weapons. These are the best of the best, and you can’t get them anywhere else. They’re incredibly strong and effective.
Tips
- Keep the Beat: Whistling also while hammering, Henry will help you keep a steady beat. Go with him to ensure consistent, mighty strikes.
- Even It Out: Don’t just hammer in one spot. Spread your hits evenly across the metal, working your way along it. Remember to flip the piece and do the same to the other side.
- Just Right Heat: Aim for a bright straw-yellow color on the metal in the forge. Avoid getting it white-hot, as this can hurt the quality of your finished product.
- Practice Makes Perfect: Keep at it! With a little time and practice, you’ll have Henry crafting like a pro in no time.