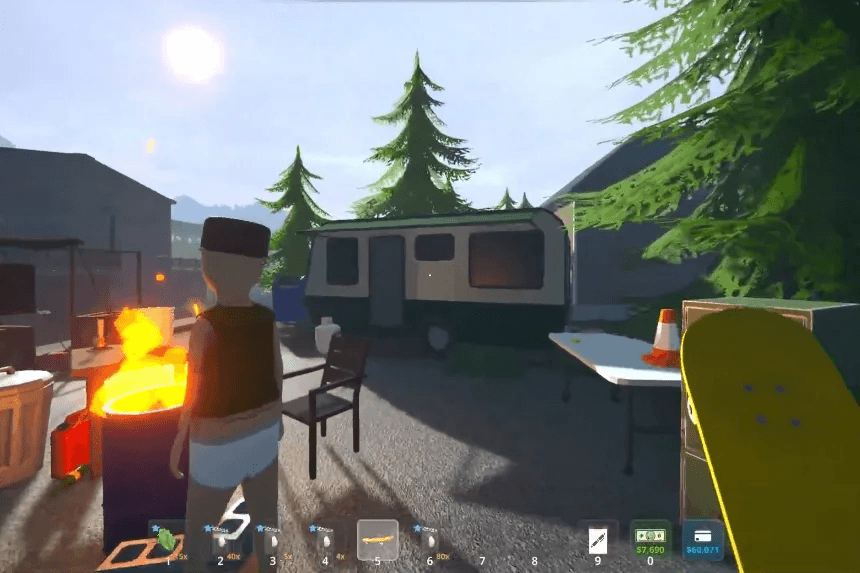
Schedule 1 offers players a dynamic and immersive experience, and like any good adventure, preserving your progress is crucial. This guide provides a comprehensive overview of how to save your game in Schedule 1, covering both the game’s built-in autosave and manual save features, as well as a method using console commands for those who prefer more flexibility.
How to Save in Schedule 1
Schedule 1 has an autosave system like many other life sim and open-world games, but it also lets you save manually. To avoid losing progress, it’s a good idea to save often especially at important moments in your adventure. Here’s how both saving methods work.
Auto-Save in Schedule 1
Despite the name, auto-saving in Schedule 1 isn’t fully automatic. The game won’t save at key moments on its own you have to trigger it yourself. To auto-save, simply sleep in your bed. This updates your last auto-save file to reflect your most recent rest, ensuring your progress is saved.
Manual Save in Schedule 1
In Schedule 1, you can also save manually by using the wall-mounted device in your Motel room at Hyland Park. You’ll unlock this hideout early in the game, making it a convenient spot to save whenever you’ve made progress you want to keep. You can also save by sleeping anytime, but keep in mind that this overwrites your auto-save. Manual saves, on the other hand, let you choose a specific file to reload from whenever you need.
Saving Using Console
You can also save using a console command, though this requires a mod to enable the console—so it’s not officially supported by the developers. That said, it does work, letting you save anywhere on the game’s map.
Here’s how to do it:
- Enable console commands from the Settings menu.
- While in-game, press the ~ (Tilde) key to open the console.
- Type “save” and press Enter to save your progress.

