

Leng Tu is a difficult boss fight in Phantom Blade Zero, since there are other puppet fights before getting to him. There are also phases in his boss fight, where other enemies and their attacks need to be kept track of. But with the use of appropriate weaponry and equipment, you could easily breeze through this fight. In this guide, we’ll go over the best equipment to use and explain how to defeat each phase of the fight.
Best Weapons And Equipment Loadout
The Baishan Storm Swords is an excellent choice for the primary weapon because it does massive damage, even better if the enemy is stunned. The Scarlet Wraithblade can be equipped to move fast to catch up to the enemy, and the Spider Lilies can be used to drain the Sha-Chi of the enemy over time.
For accessories, the Crimson Resolve and Quickhand Pair are used for increasing the damage of the Storm Swords. The Hunter’s Insight is also an excellent accessory to use because it speeds up the depletion of the enemy and increases the damage inflicted upon attacking them.
The Reflex Device will also need to be equipped to allow for easy parries and dodges. When it comes to defence, the Ancient Armour Fragment and Kye Du will add to the damage resistance, especially when your health is full. This will help you survive any mistakes that may occur in the battle.
Lastly, you can use the Lament Draft to increase the damage by 20 per cent for 40 seconds. Do this as often as possible. You can also try the Uloom’s Deluge,e which will apply the Wet effect on enemies, making them vulnerable to lightning attacks. However, the water cannon doesn’t have much of an impact on every enemy in this fight.
Phase One: Puppet Scavenger
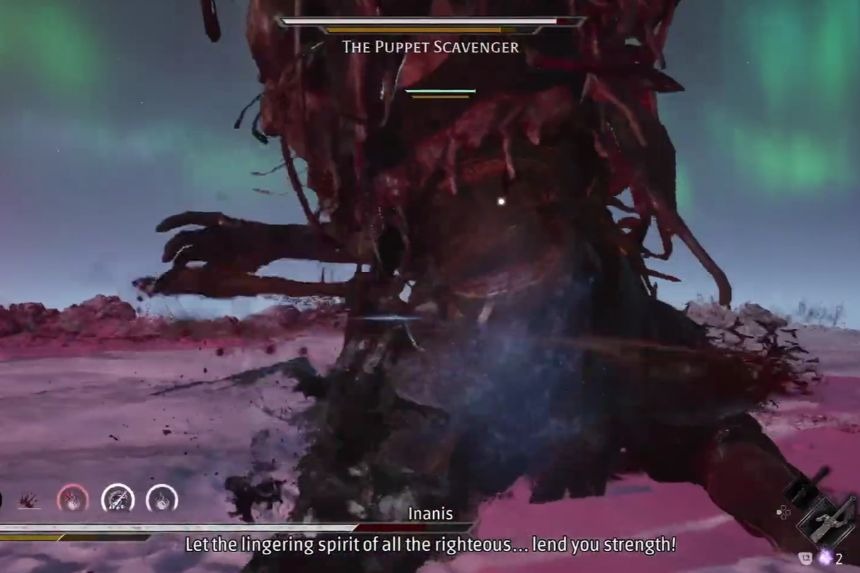
The first stage opens with Leng Tu, also referred to as the Puppet Scavenger. Different puppets join the enemy in the fight, and you can turn this weakness into your strength by defeating the puppets. Pay attention to the attacks coming from these puppets since some of them move actively. Once you get yourself an ally, you will be able to notice that the Sha-Chi of the enemy will deplete significantly faster. Use this moment to deal additional damage to the enemy as often as you can when he becomes stunned.
Remember to activate the Bashan’s Blessing when you attack the enemy who is already stunned. It will help you do considerable damage and defeat the enemy in no time. Following the defeat of the first puppet, another one appears in front of you, but you won’t have to change your weapon to defeat him because his shield is not immune to the damage of the iron gauntlets.
Leave your partner free to take care of one of the enemies while you concentrate on the other one. Make use of your potions and invoke Bashan’s blessing to enhance your combat prowess. You can also lay out Spider Lilies that will sap their Sha-Chi energy and leave them vulnerable to stuns. Once you’ve disrupted their posture, go in for the kill with your best combos.
Puppet Combat Encounters
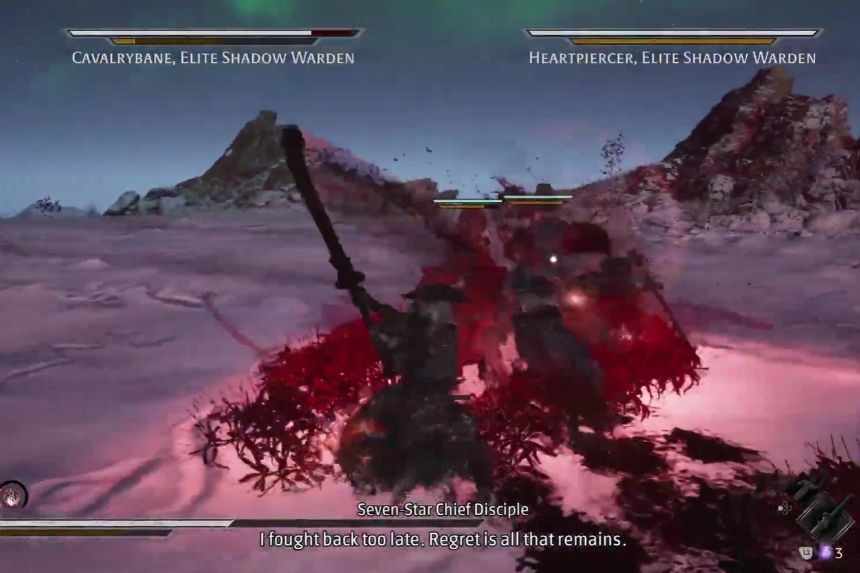
In the next part, you will face off against several strong puppets. The Crescent Blade Puppet and the Frosted Blade Master are both very difficult to fight, so do not under-rate them.
But you have to keep something else in mind. Every time that her guard is lowered, she might fly off before you can get to perform your L2 attack on her. Thus, you should wait till you are absolutely sure that she is going to stay in range before you perform this action. The Frosted Blade Master is also a hard opponent to fight. Continue to watch out for him and avoid being hit by any of his attacks.
Boss Fight: Leng Tu
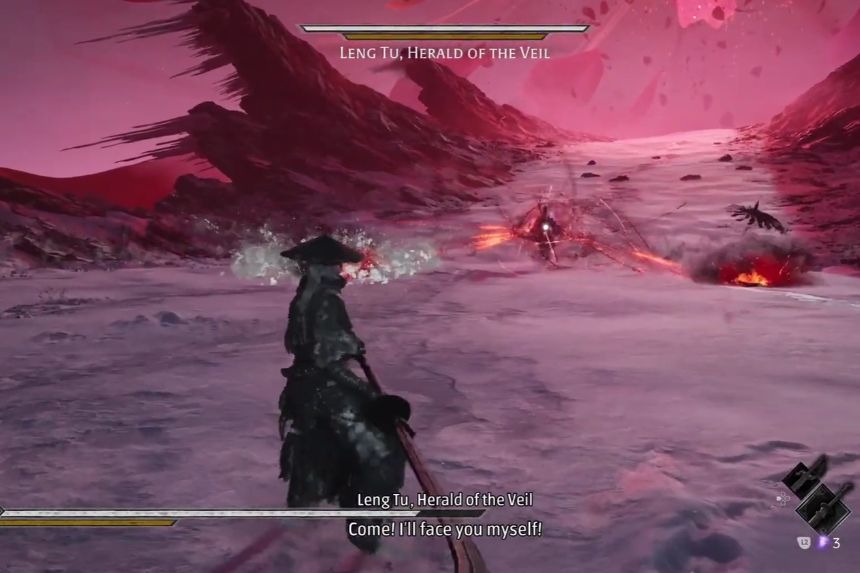
Once you’ve taken care of the puppets, the next task is taking out Leng Tu himself. But you have to take care of the puppets belonging to Leng Tu first. Try defeating these enemies before you get to fight the boss. Luckily enough, you won’t find it tough to beat them provided that you’ve levelled up your character and weapons. Just use your Phantom Edges to eliminate them.
The boss is very mobile, thus making it hard to attack him. Just follow him and wait for an opportunity to get closer to him. Moreover, he uses red attacks a number of times, so you need to be careful about them and parry them when they occur, since they provide a nice chance to attack him.
When you are done with that, use your buffs and strike at him with Bashan Storm Swords. Spider Lilies are also good in this case since they drain his Sha-Chi without requiring you to make attacks on him. The water cannon from Uloom’s Deluge wasn’t really very useful in this fight.
Once you successfully disrupt his stance, then it’s time to use your L2 attack. Just be careful because another enemy may push Leng Tu away from you, thus making you lose some part of your attack. There is also his area-of-effect attack, which is something else to look out for. Every time he uses it, make sure to keep some space rather than block it or try to strike through it. Keep applying pressure, use your buffs, and don’t overextend in your attacks. When his health bar is drained, you are ready for the final phase.
Phase Two: Final Battle
Before commencing the second stage, be ready for the process. If you lack any medicine, it is possible to purposely die between the two phases to respawn with your supplies refilled. The second phase brings a lot of dangers. Some of the dangers are the attacks that you have to avoid. At the beginning of the process, one of the attacks that you should be careful about is the large fire attack. As soon as you see that it is coming, step back to avoid getting hit.
Another thing to be aware of is the powerful cannon attacks. Be attentive to the red warning before the cannon shoots and then dodge. Parrying can also be done to some of the attacks that allow parrying. It is at this stage that the Spider Lilies come in handy. Plant them around the opponent, and they will continue draining her Sha-Chi no matter where she goes, even when flying. Thus, it becomes a good way to deal with this part of the process.
Continue using the Scarlet Wraithblade to close the gap whenever she retreats. However, do not rush into attacking all the time. Just dodge and continue depleting her Sha-Chi.
She enters the frozen stage at some point and acquires an extra shield. You can use the weapon which breaks her shield, but this is not essential. After this has been done, it is important to make the most of the window and deal heavy damage.
It is also important that you build up the lightning meter with triangle attacks. When the meter is full, you activate the buff and reserve the L2 attack for her next posture break. The timing is crucial since she will be able to teleport out of there.
Whenever she makes an aerial jump in preparation for her area attack, you should immediately move out of her way. Her attack is quite wide-ranging, and it can cause quite a lot of damage. It is better to be safe than sorry when facing such an attack.
This tactic needs to be repeated through the entire fight. Make use of your buffs; summon your Spider Lilies, and always make sure to use your most powerful attacks whenever you break her posture. There is no need for you to play perfectly in order to emerge victorious from this battle. With some equipment and Sha-Chi damage, you’ll be able to defeat this boss easily. Make sure to avoid the fire attacks and always be on the lookout for your finishing moves.
