

There are six Resonants that you have to kill in Control Resonant. Each of these gives you different kinds of boss battles along with new combat abilities. There are some Resonants that come with the storyline, whereas others are located in other places. If you are able to beat all of them, you gain some very powerful combat abilities. This guide covers all Resonant locations and explains how to defeat each boss.
Downtown
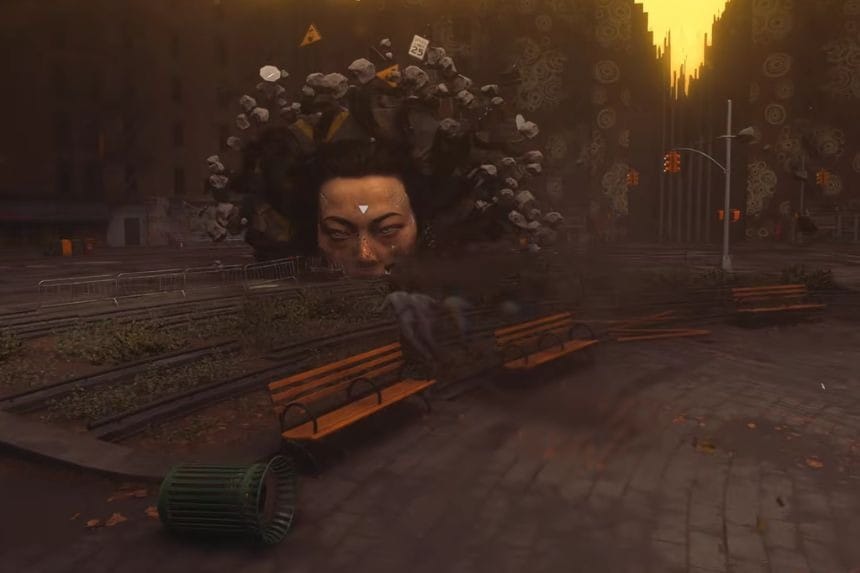
The Artist is the first Resonant that you will face in the game, so it won’t be hard to overlook this encounter. After successfully dealing with the enemies, you will be able to select one out of the three combat skills. Barrage involves the use of projectiles on the enemies in the same way as Jesse Faden does in Control. Volatile Anomaly is the ability that lets you summon an orb in order to shoot projectiles at nearby enemies, but you can even throw the orb at the enemy to cause additional damage. The final option is Shield, which creates a barrier that uses your power meter to absorb incoming attacks. While the shield is active, you can also dodge into enemies to damage them.
How to Defeat The Artist
You will be facing The Artist in the prologue phase of the Control Resonant game. This bizarre floating head will be your first opponent, but although the fight might appear hard initially, dodging its attacks is not too hard once you learn how to deal with them. There are three stages of the fight.
Phase 1
Phase One is very easy. Once you get near The Artist, it will begin launching objects at you in the form of cars. Just keep advancing and continue to attack when you have the chance to do so. It will then pick up two big pillars and smash them on the ground.
If it smashes the pillars in a vertical direction, then just stay out of the way or remain above the attacks. If it smashes the pillars horizontally, try to stay in mid-air between the two pillars. Attack while avoiding its attacks till it drops its first blue health bar.
Phase 2
Once you have reached the first blue dot, the boss begins charging an attack on you. While doing this, the boss rises up in the air, creating platforms below it. Jump on top of these platforms and wait till the boss stops rising, then jump to the boss and attack it. This will interrupt the attack and cause the boss to descend back to the ground.
Next, keep attacking it continuously and be careful of its attacks during the first phase. The boss will also have another attack where it slides back in a backwards direction and starts dropping boulders from the sky. During this attack, go to the sides of the boss instead of going towards it. The reason behind this is that the boulders drop in the direction from which The Artist is moving and not directly towards the boss.
The artist can line up some of the boulders and launch them at you. The easiest way to dodge these attacks is by staying up in the air.
Phase 3
There aren’t any more new attacks used by The Artist during the latter stages of the fight; you can use the same tactics to defeat him. Just keep moving around, jump up whenever necessary, and pay attention to the boulders that are dropping from the ceiling and the pillars which drop from above. Attack whenever you have a safe opening, and you’ll eventually bring The Artist down and finish the fight.
Central Resonant
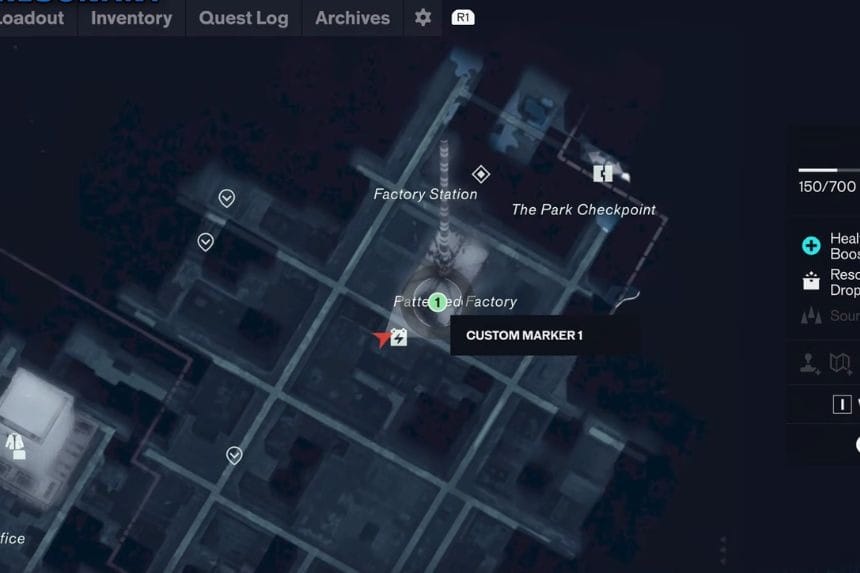
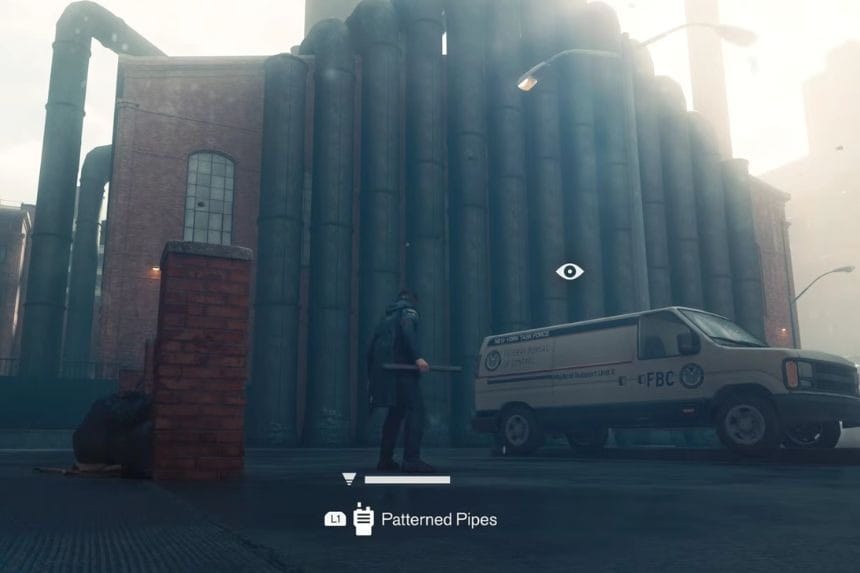
The Deserter resides below ground level inside the Patterned Factory, located in Central. First, you must use Power Cores to unlock the door and take an elevator to get down. From there, you will need to clear the red blobs blocking the pipes to get to The Deserter and begin battling him. Once defeated, you have two combat skills to select from. With Ignite, you can set fire to all melee attacks; Barrage, Shield, and Volatile Anomaly for fire damage and an eventual burn effect. Inferno allows you to shoot waves of fire at your enemies, giving them fire damage and burn.
How to Defeat The Deserter
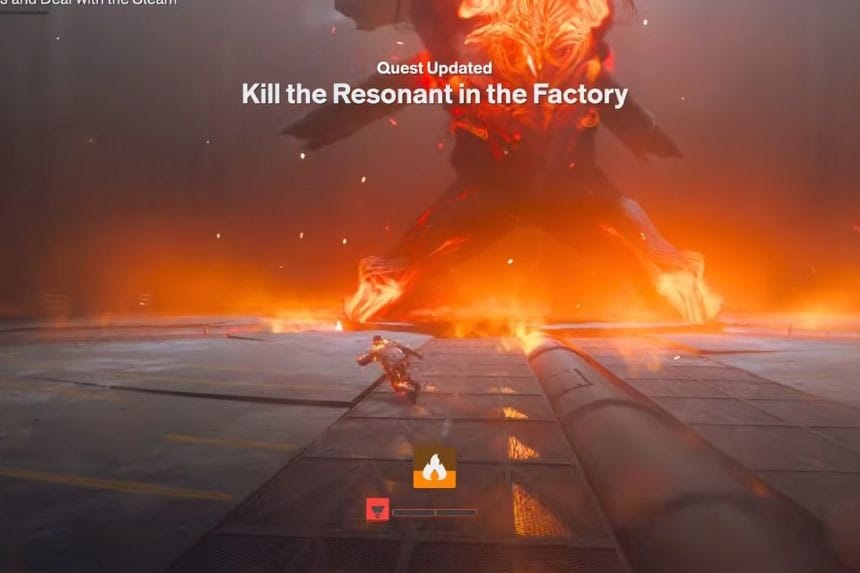
If you find yourself fighting against The Deserter in Control Resonant, you might just have some issues with your character’s power level. Prior to the battle, go to the GAP and open the Weapon Upgrades menu. Under the Combo Finishes section, make sure that you unlock Wide Edge, which will give you a better combo finisher. In addition to this, make sure that you use any upgrades available for increasing your Aberrant Strength. It doesn’t really matter which upgrades you use; the purpose is just to raise your Aberrant Strength. Once you’re done, equip Wide Edge as your Combo Finisher from the Loadout menu.
Phase 1
As soon as the battle commences, start to run away from The Deserter and make use of dodge to run across the arena. You can also utilise the jump and dodge technique when running away to maintain your distance from the lava. After getting some distance away from The Deserter, wait for an opening and go for a couple of combos. Make use of Wide Edge for combos in order to deliver maximum damage.
Once you see that The Deserter is falling forward, wait until it hits the ground and then approach it. During its fall, you can use the jump and dodge technique to get away from any potential damage caused by The Deserter. As it hits the ground, target its ankles and knees to inflict decent damage on The Deserter. While its chest orb is exposed, don’t forget to attack it. The destruction of the orb will result in bonus damage, which is why you should try to destroy it every time it falls down.
Phase 2
Phase two is very similar to the first one, except that The Deserter now has a new form of projectile attack. Continue to run around the arena, dodging both the projectiles and the lava at the same time. Just wait for The Deserter to fall down from the sky and attack him while retreating back to safety.
Phase 3
In the third phase, your objective is to destroy the nodes surrounding the arena. Continue moving in circles and avoid getting hit by the lava while attacking the nodes each time there is a chance. Using Wide Edge will allow you to quickly eliminate them, but do not get stuck in one position just to destroy them, because taking unnecessary damage is more harmful than wasting some time.
After destroying all the nodes, you will move to the fourth phase. At this point, the battle gets tougher since it gets hard to perform any attacks safely. Levitating towards The Deserter when it is vulnerable, delivering an attack combo using Wide Edge, and getting out of its range are the best strategies here. You will need to continue circling the arena to avoid getting hit by the lava.
It is also possible for you to use your other skills to attack The Deserter in order to deal additional damage; however, survival is the priority in this stage. With the absence of more health drops, refrain from receiving any damage that is not necessary. Just keep moving around the ring, and whenever The Deserter gets vulnerable, attack him with a combo, then step away.
West Incursion Zone Resonant
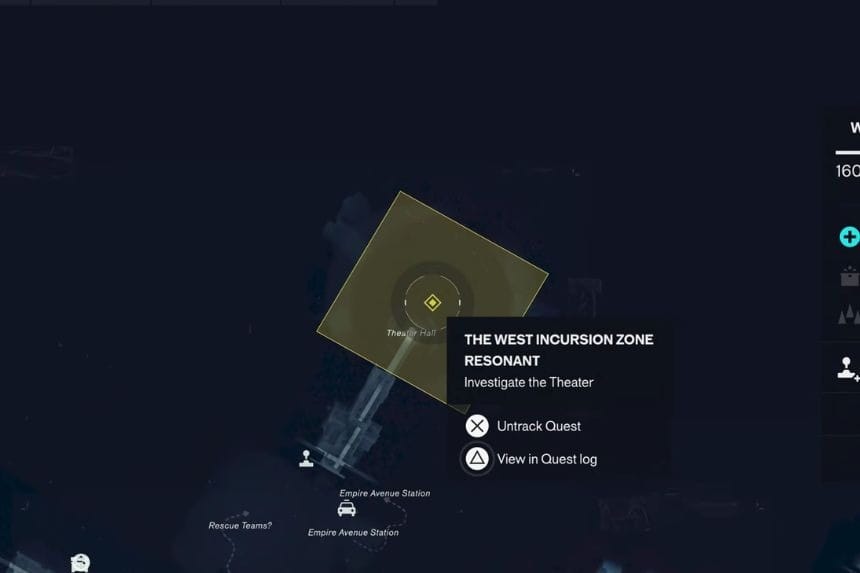
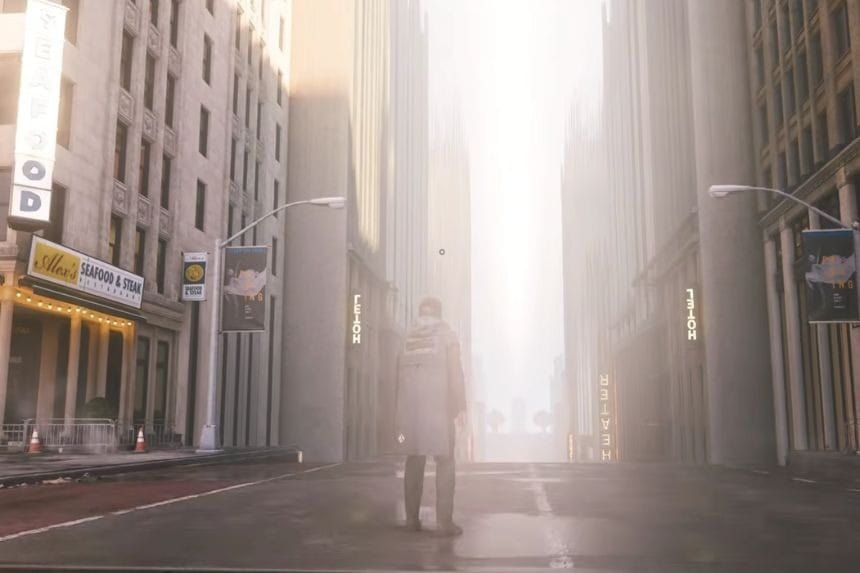
The Dancer is located in the Theatre Hall in the West Incursion Zone. Prior to visiting the area where the enemy is located, make sure that you have completed the fault in the Parking Garage, since you will require the Shift traversal technique to get to the location. After defeating The Dancer, you will be able to obtain one of two combat techniques. One of these is called Push, which allows you to push enemies through a telekinetic blow, which you can use to throw your opponents off edges. Ground Slam allows you to smash the ground from mid-air, though you cannot perform it while standing on the ground; the higher up you do this from, the stronger the blow will be.
How to Defeat The Dancer
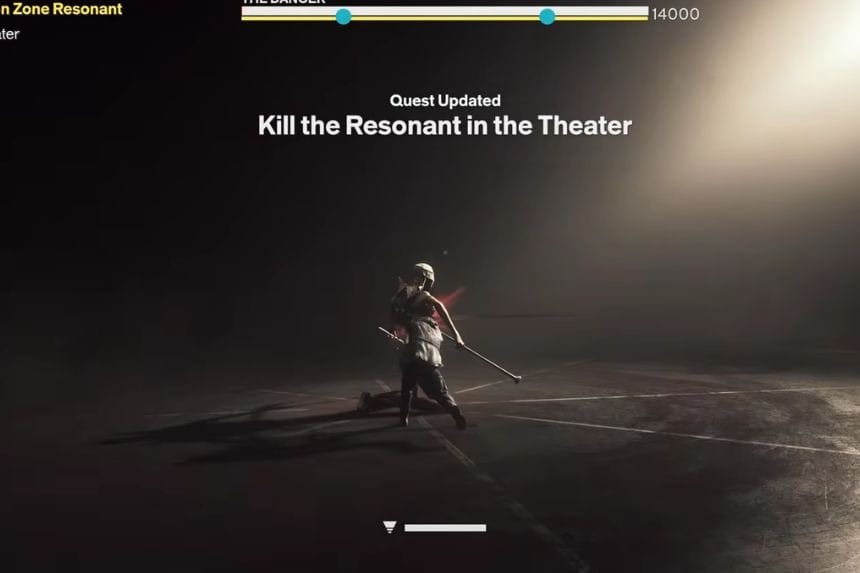
There are two health bars for The Dancer. As such, there are two rounds that you must survive before defeating The Dancer. It is advisable to have an ability that lets you inflict fire damage on The Dancer since it will allow you to burn and falter The Dancer.
Phase 1
The battle begins with The Dancer using fast melee strikes. There is time for you to deal a couple of blows to her, but you should not stick close to her for too long, as after three attacks you need to dash away from her spinning strike. The other thing that can happen is that she will leap at you, and in order to avoid her attack, you need to double-dash. After the completion of her combo, you have to attack her during her vulnerable moment.
Use fire and melee attacks as often as possible to increase Faltering on The Dancer, and attack her at range in order to avoid being hit. Do not try to take her hits; instead, dodge them, as she can remove a great part of your health in a short period of time.
As soon as The Dancer approaches the end of her first health bar, her attacks will start becoming more dangerous. They include extra hits in her combos, so you need to wait until the entire combo ends before attacking her.
Phase 2
After depleting her health bar once, the Dancer will enter her second form. The Faltering build-up from the first form will not transfer into the second, but you will have to create the build-up once again. Also, the Dancer will get some new moves, like throwing bodies at you. Try to dodge this projectile attack and wait for an opening to make your move.
As the second form progresses, the Dancer gets even quicker and more aggressive than in the previous form. This time, she can deliver multiple hits followed by a powerful jump attack. You need to look carefully for any openings in her movement patterns and chain dash to evade these long hit chains. While jumping towards you, do not try to attack her; just dodge.
Apply the fire skill when possible and attack The Dancer whenever there is an opening after her combos. The battle pace is quite fast, so do not stand still and attack. If you know how to react to her attacks and dodge the long combos, then you will defeat her easily.
Park Resonant
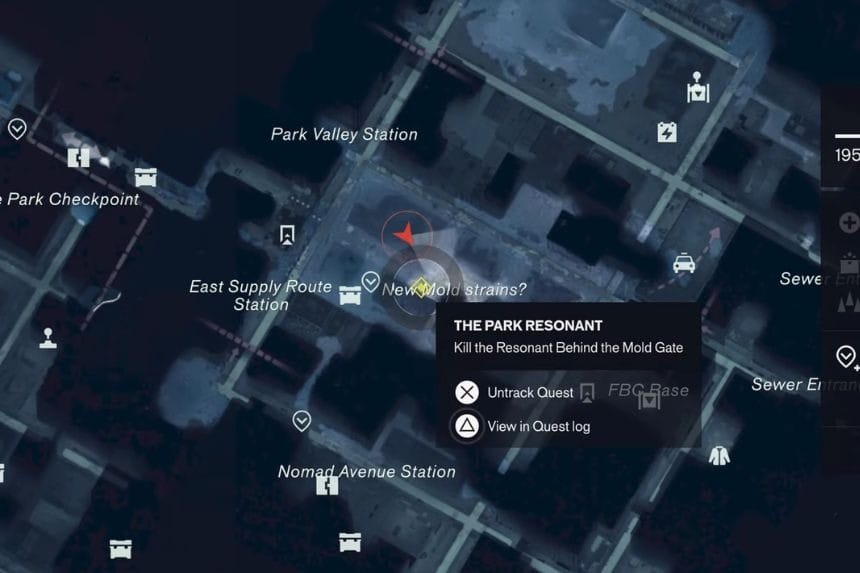
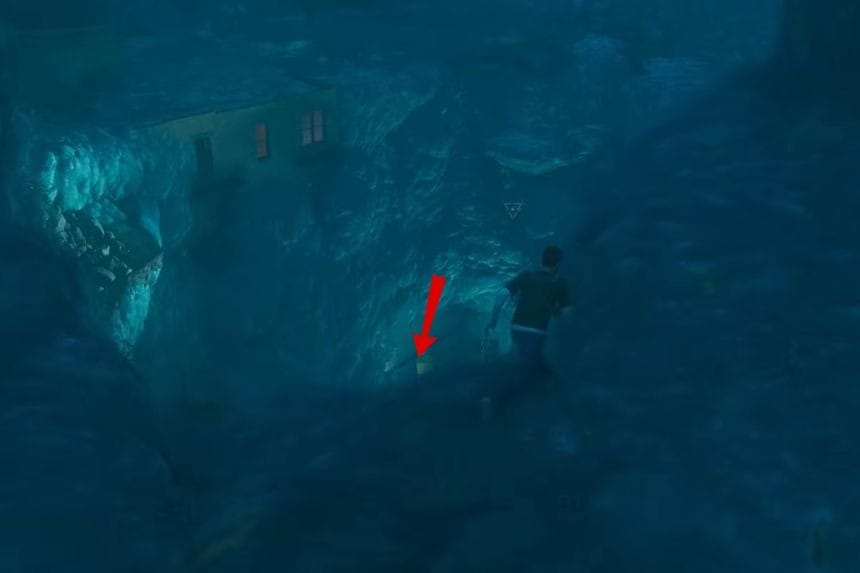
The Collective can be located behind the mouldy gate, at the bottom of the pit in the middle of The Park. In order to unlock the gate, it is necessary to consume all three moulds present in the location. After opening the gate, you should enter it and use Reach and Shift in order to destroy tentacles located on the walls of the location. Following defeat of The Collective, you have to pick between two combat skills. Spore Burst is a skill that allows you to shoot mouldy projectiles from your hand, which stack the infected debuff on enemies. Infected enemies suffer from damage over time effect and explode in case of dealing them with fire damage. Growth is a skill that allows you to summon a mouldy turret that shoots spores at enemies.
How to Defeat The Collective
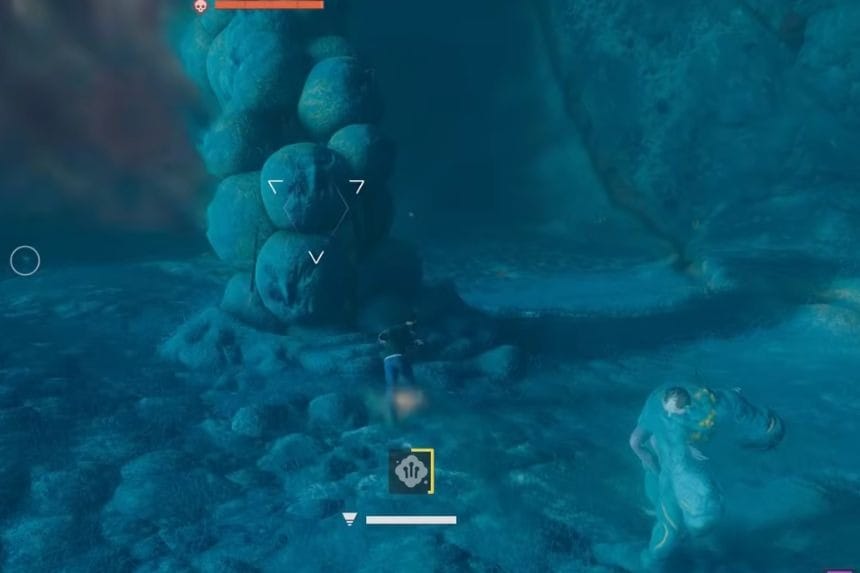
Collective is one of those bosses who can become difficult if you do not know how to approach them. Prior to engaging them in combat, do not use the artefact that enables you to get rid of the mould; using it will drain your health.
Phase 1
To begin with, pay attention to worms that are circling around The Collective. They make sure that the boss cannot be damaged while they are alive, so you will have to get rid of them first. These worms are quite predictable, so you will be able to dodge their attacks. It is important to dash right before they swing their heads. The best part about this is that if you manage to dodge their attacks perfectly, then you will be able to do significant damage. If you have your fire ability available, it will be possible to defeat them quickly.
Once they are gone, you can start attacking The Collective. The platforming in this arena is rather complicated, so you should always stay mobile. Whenever you notice that mould bubbles are emerging from the boss, try to destroy them. The problem with this is that The Collective will throw out some mould once you break a bubble.
In case of additional worms being present, make sure to eliminate them first. Worms have the ability to throw their mould attacks at the player, and a single successful hit may cost a player a large amount of health points. In case no worms are present, make sure to focus on other enemies until the boss becomes vulnerable once again. Some of the enemies will be armoured and, therefore, their armour should be eliminated first.
During further gameplay, more mould bubbles will start appearing on The Collective. They can be destroyed at any convenient moment, but it is essential to pay attention to any new worms that may appear. Once new worms spawn, approach them and dodge their attacks; a perfect dodge attack is capable of doing massive damage to worms, as well as firing attacks.
Phase 2
Toward the end of the battle, you might need to fight against three worms simultaneously. It becomes tricky to avoid these worms when they get close to each other, so just keep running to avoid them. If you have activated the fire ability, then use it against them when they are grouped together to attack more worms simultaneously. Ensure that all the worms have been destroyed before getting back to the boss.
After becoming vulnerable again, go to the mould bubbles and destroy them. You should charge your power abilities before attacking the bubbles, but do not stay stationary for too long since the boss will keep launching mould attacks around the arena.
Phase 3
The last phase of the battle involves hectic action where lots of worms spawn at once. Concentrate on dodging their attacks, and do not allow yourself to get cornered by them. Always keep your fire attack ready in case you can use it because it will help you get rid of those worms quite fast. There is no need to spend lots of time fighting other enemies if they are not in your way.
Always make sure to destroy every mould bubble that appears on The Collective. This battle provides you with many chances to replenish your health, so just concentrate on the boss’s weaknesses and do not waste lots of time on defeating other enemies. Just keep dealing damage to exposed bubbles, dodge mould attacks, and kill worms when they show up.
Underpass Resonant
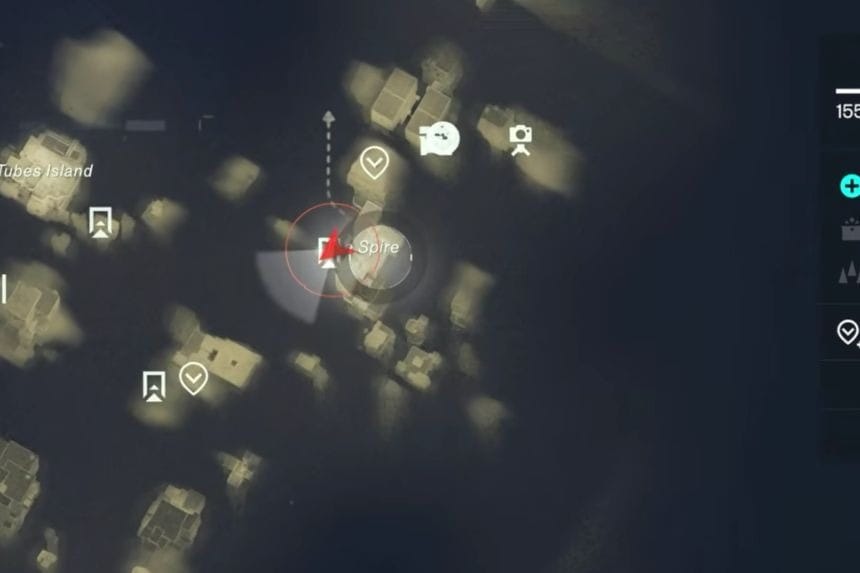
The Underpass Resonant is located at the top of the Spike. Use Shift to access the red carpeted wall and move up from there. You will have to fight the enemies on your way to clear a path to the next area. When you get to the next area, collect three Astral Keys. One key is located to the east, another one to the north, and the third one is to the south. Collecting all three keys will give you access to the doors and the arena where you will fight the Physicist.
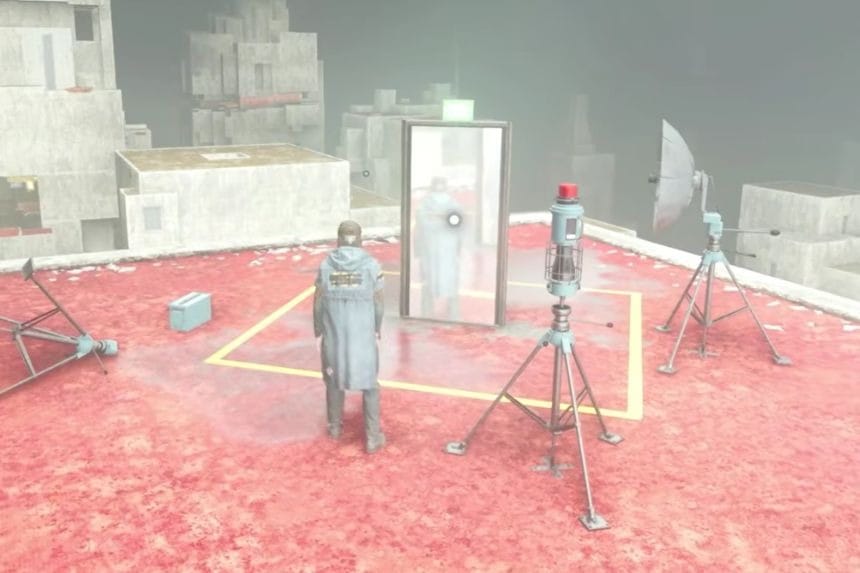
Defeating the Physicist will allow you to choose two combat abilities. The first ability is called Spike and gives you access to the Astral Spike. It is represented by the chaotic black orb that attacks enemies around you. The second use of it will knock down your target, and also, the attacks increase the Astralized status effect. It increases the power of other status effects and makes it easier to build them. Astral Rebuke throws a homing spike at the target and lifts it up into the air, giving the Lifted effect.
How to Defeat the Physicist
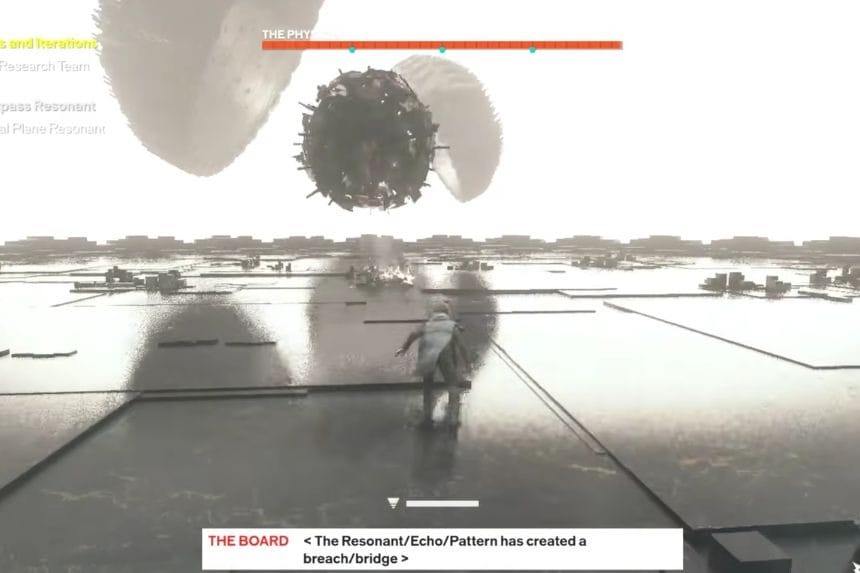
The Physicist possesses multiple unique moves and uses much of the battle time in the air. When the enemy flies into the sky, you have to follow the example and do the same as soon as possible since it can attack from the skies, and it will be much harder for you to dodge its attacks when you are on the ground.
You should try to stay in the air and move during the whole battle. Use your movement skills to constantly move and change your position. Staying in the air, you can easily dodge many of the enemy attacks. If you do not stop moving and do not stay on the ground, you will not find defeating the Physicist so difficult.
Unknown Resonant
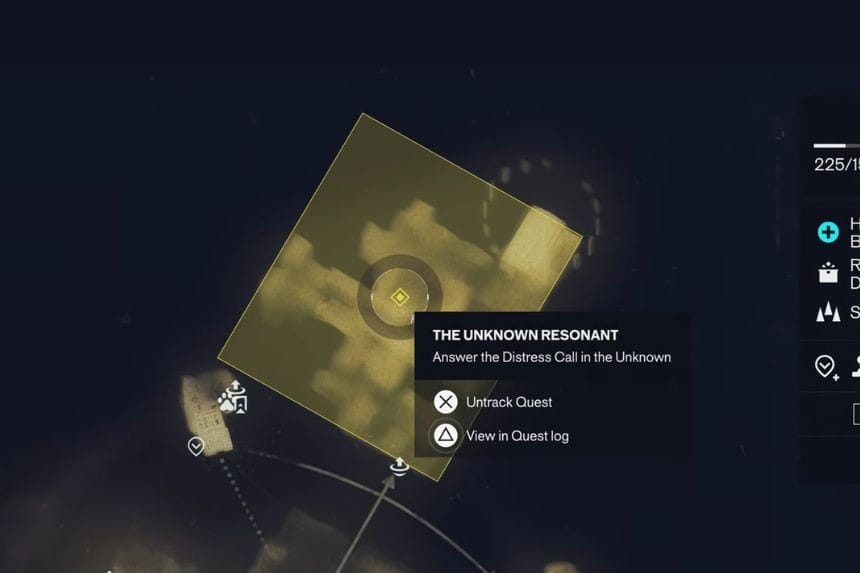
The Co-Director will be the last Resonant that you’ll meet in Control Resonant. You can meet the Co-Director in the Field Office at the Unknown. In order to gain access to the location, you should use the Pope research balloons to unlock access to the westernmost island and from there, move to the southeastern island, where you can again use the Pope research balloons. Then move to the Evac Building Island, and using the Pope research balloons, you’ll reach the island with the Field Office.
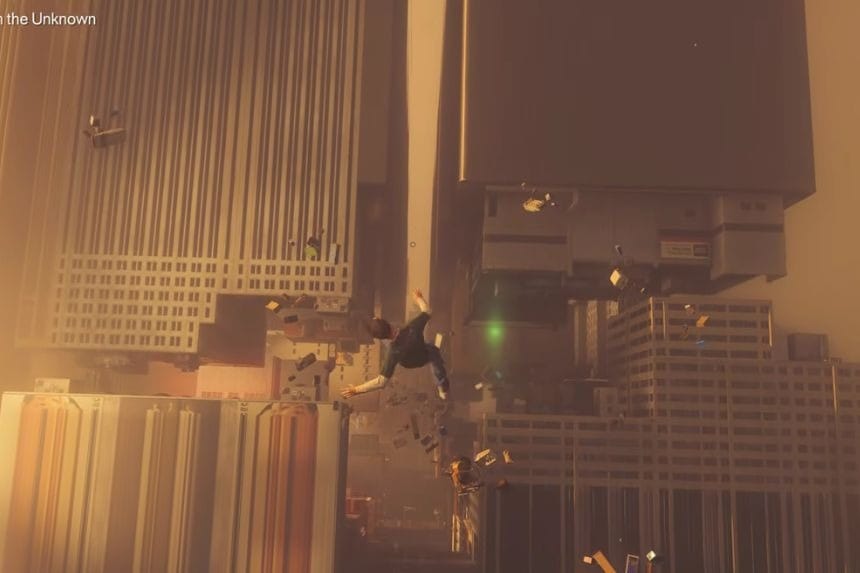
After defeating the Co-Director, you’ll unlock Command, which lets you turn an enemy into an ally and have them fight alongside you. Keep in mind that heavy enemies require more Command charges to control.
How to Defeat The Co-Director
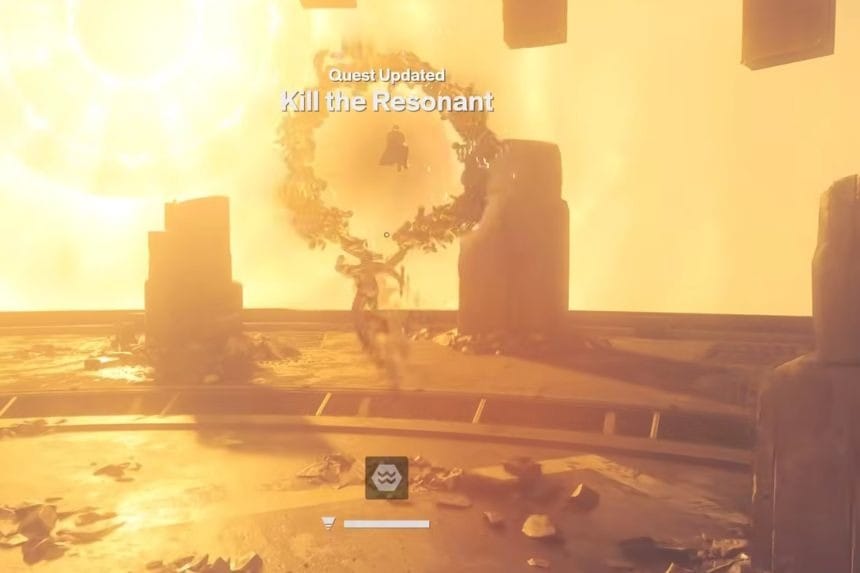
The Co-Director is one of the more challenging bosses to face in Control Resonant, so when approaching this fight, it is best if you are already at around 110 Aberrant Power. The boss has high health and can deal massive amounts of damage with its attacks. Another helpful build is one that can do plenty of Falter damage, as it will make The Co-Director take roughly double damage while stunned.
However, the most problematic thing about this boss is its mind-control meter that fills slowly during the entire fight. Each hit from The Co-Director increases the speed at which the meter fills, and once it fills up completely, you are killed instantly, and there is no way to decrease its value. Therefore, you need to attack aggressively and kill the boss before the meter fills up.
Phase 1
The Co-Director starts the battle with a beam that targets some Rangers that are positioned around the arena. These Rangers should not be a problem for you since the rest of the Rangers will take care of them. Just concentrate on the boss.
The Co-Director spends most of the time in the air during this stage of the battle. You can use the pillars in the arena and your movement abilities to get into melee range of the boss and land some combos before moving to a different position. The long-range attack is the beam that you can dodge easily by moving to the sides.
However, when you are too close to the boss, the Co-Director can perform a ring attack. You have to watch the outer ring that starts moving towards the boss. As soon as the ring closes in on the boss, perform a back dash to move out of the range of the attack. Then move in again once the ring stops spinning.
If you’re using a summon build, be careful with your summons because The Co-Director can take control of them. Low-health summons such as mould turrets are safer since they can be replaced easily.
Phase 2
The battle will become harder once The Co-Director loses around a third of its HP, because it will begin to take control of all other Rangers. Defeat them quickly before that happens.
The Co-Director also obtains a new skill with a bomb attack. This skill launches several smaller bombs in your direction, which detonate once they hit the ground. Avoid these missiles flying towards you, and then run away from where they detonate.
Also, this boss can lift its arms and then do a slam on the ground. If you notice this animation, quickly move away from this attack.
This spinning skill will also become more dangerous since the boss will spin longer and will deal much more damage. Additionally, the Co-Director can destroy some pillars in the arena with this skill, as well as chase you while spinning. Do not attack the boss in this state; just run around the arena.
Phase 3
As the Co-Director’s health drops to half, Rangers will spawn around the arena. They will assist you in attacking the boss, but the boss can mind control them as well. You will know when the boss is mind-controlling the Ranger, as the boss will use its laser to target the Ranger. Once this happens, it is important to kill the Ranger before it turns hostile on you.
Soldiers positioned around the outer ring of the arena will have the ability to launch clusters of three rockets towards you. It is important to pay attention to the spawning of the soldiers, dodge the rockets, and return to the boss.
At this point, The Co-Director doesn’t gain many new attacks, so the main goal is to keep dealing damage while avoiding its existing attacks. Use your movement abilities to stay close enough to attack, but don’t stay in one place for too long.
Final Phase
The last phase of the battle involves dealing with The Co-Director before the mind control meter fills up. Continue stacking up on Falter, and use the stunned periods to attack and deal major damage.
Press the attack and do not take any hits that are not necessary. Dodge the beam, the bombs, the rockets, and the spinning attacks, and look for opportunities to attack. With persistence and avoidance of unnecessary damage, it would be possible to kill The Co-Director before the mind control meter fills up.
Slaying The Co-Director will reward the player with the Command skill, which gives mind control power to enemies.
