The Zodiac and Element Puzzle is a challenging yet rewarding task in Citadelle Des Mort in Black Ops 6, leading to the upgrade of the powerful Bastard Sword into the fearsome Balmung: Raven’s Shadow. The player can unlock it by navigating through the map, gathering specific items, and solving a puzzle involving the twelve Zodiac signs and the four classical elements.
If the player correctly matches these symbols, he can open dark aether portals and get his upgraded weapon.
Highlights
- Upgrade your Bastard Sword: Transform your powerful Bastard Sword into the fearsome Balmung: Raven’s Shadow.
- Solve the Zodiac and Element Puzzle: Successfully match the 12 Zodiac signs with the 4 classical elements to open dark aether portals.
- Collect Items: Gather specific items like rocks, skulls, or horns from the Alchemical Lab.
- Defeat the Helmet Zombie: Eliminate the Helmet Zombie to obtain a stamp.
- Close the Portals: Pull balls over the opened portals to close them.
- Claim Your Reward: After closing all portals, interact with the symbol-matching device to receive your upgraded Balmung sword.
Balmung: Bastard Sword in Citadelle Des Morts

The Bastard Sword is a strong weapon that can easily slice through the undead. It’s very good at blocking attacks and countering enemies, but it is more powerful when transformed into one of four different magical swords. Each has a unique special attack and becomes stronger as you wield it. One of these forms is Balmung: Raven’s Shadow, which expels zombies into the Aetherial chasm while warping nearby foes with a localized tear in space.
How to Get the Balmung: Bastard Sword in Citadelle Des Morts


- Start the Game: Begin your journey on the Citadelle des Morts map.
- Activate the Lion Cannon: Follow the orange markers to locate the Lion Cannon. Fire it to blast open a new path forward.
- Retrieve the Blood Aetherium Crystal: Head to the Oubliette Room in the Dungeons. Look for a blue box with three locks and shoot them off to open the box. Be prepared to face a Doppelghast zombie. Defeat it and collect the Blood Aetherium Crystal it drops.
- Activate the Pack-a-Punch Machine: Place the Blood Aetherium Crystal on the red portal inside the box to activate the Pack-a-Punch machine.
- Survive Until Round 8: Continue fighting through the waves of zombies until you reach Round 8.
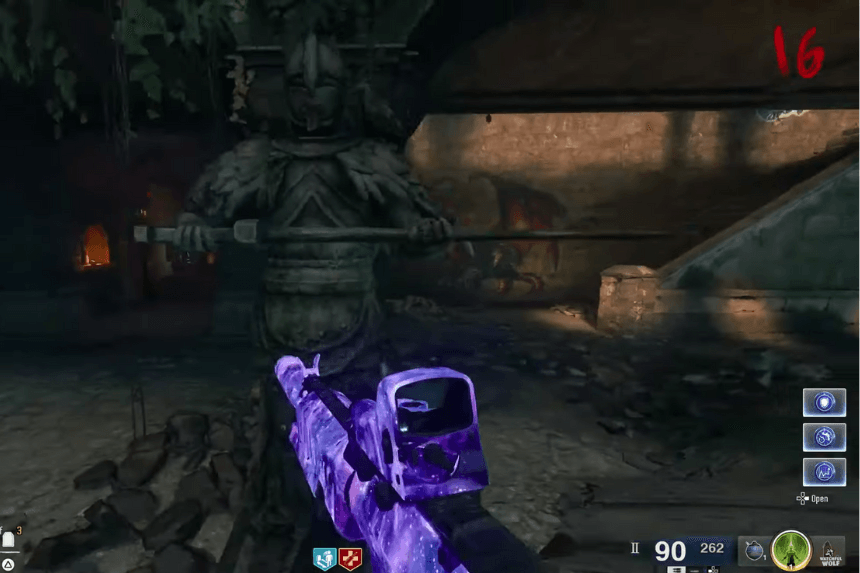
- Defeat the Helmet Zombie: Go to the area with the four Knight statues. Eliminate all zombies in the area until a Helmet Zombie spawns. Aim for its body to bring it down, as aiming at its head will not decrease its health.
- Collect the Stamp: The Helmet Zombie will drop a stamp once defeated. Pick it up.
- Claim the Bastard Sword: Take the stamp to one of the four Knight statues marked with a Raven symbol. Present it to receive the powerful Bastard Sword.
- Gather Items: Head to the Alchemical Lab. Find and take an object from a shelf or table. It could be a rock, skull, or horns.
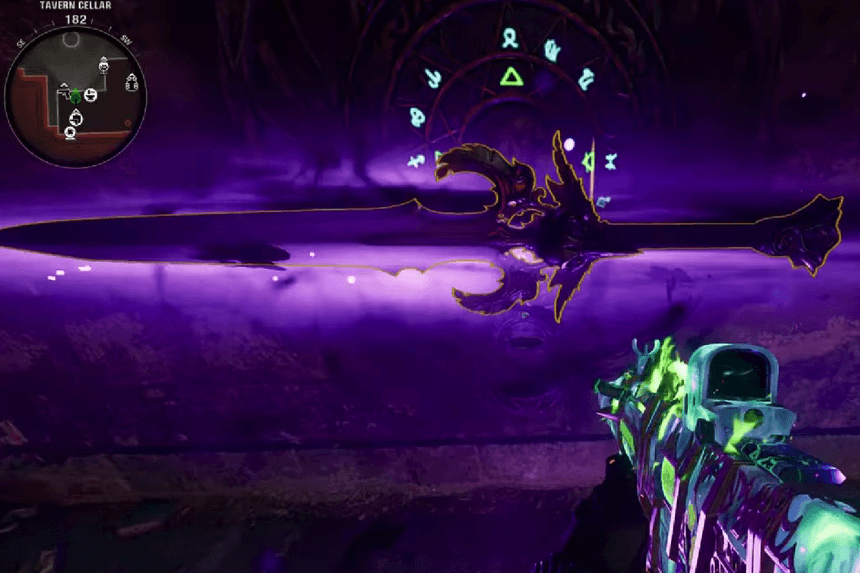
- Activate the Puzzle: Go to the Tavern Cellar. Place the Bastard Sword and the item you collected on the wall.
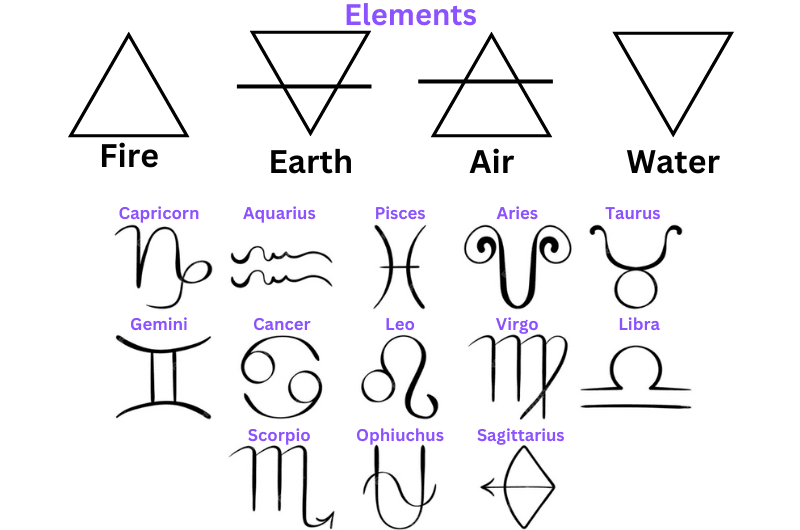
- Solve the Zodiac and Element Puzzle: Examine the puzzle with 12 Zodiac symbols and 4 alchemy elements. Match these symbols correctly to open a dark aether portal.
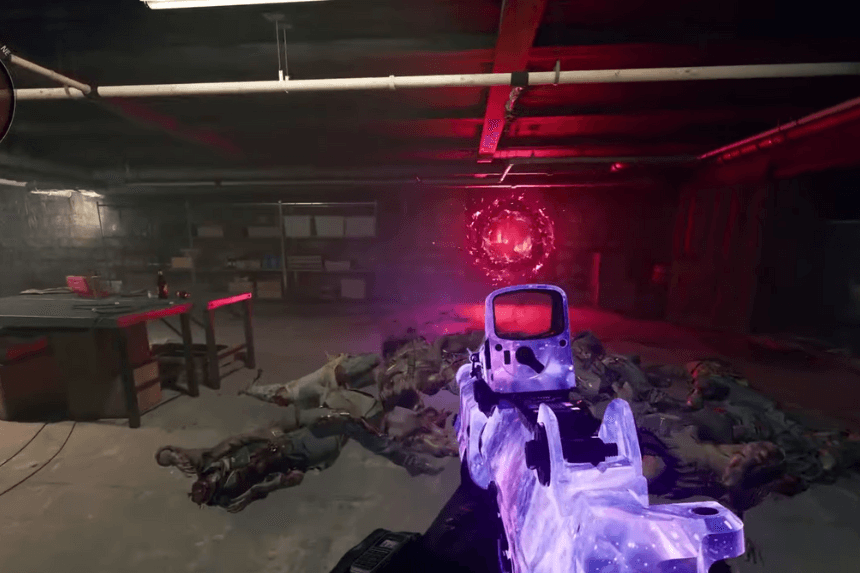
- Close the Portals: When the portal opens, balls will appear. Pull these balls over the portal to close it. Also, be careful as if you touch these balls, you will gain damage from these balls, and your health will deplete. Repeat this process for three portals:
- One in the Tavern basement
- One on the ground floor
- One near the pool table on the top floor
- Claim Your Reward: Return to the symbol-matching device after closing all three portals. Interact with it to receive your upgraded Balmung sword.
Zodiac and Element Puzzle
We’ve listed the combinations we’ve found so far from playing the game. We’ll add any new combinations we discover to the list later.

| Alchemical Lab Item | Puzzle Combination |
| Rock with a Virgo | Virgo + Earth (♍︎ + 🜃) |
| Lower jaw | Leo + Fire (♌︎ + 🜂) |
| Rock with a scorpion | Scorpio + Water (♏︎ + 🜄) |
| Horns | Aries + Fire (♈︎ + 🜂) |
| Antlers | Capricorn + Earth (♑︎ + 🜃) |
| 2 Raven skull | Gemini + Air (♊︎ + 🜁) |
| Rock with a fish | Pisces + water (♓︎ + 🜄) |
| Animal Skull | Libra + Air (♎︎ + 🜁) |
To understand how to decipher your code, first, see any symbols in the item you have taken from the Alchemical Lab. If you insert the item into the puzzle wall, you can easily see it. After that, match the zodiac sign in the item to the elements’ symbols on the wall by rotating the dials. The above table will guide you to which Alchemical Lab Item corresponds to which puzzle combination.

