In Stalker 2: Behind Seven Seals, players embark on a journey filled with choices that impact the storyline and eventual outcome. The mission starts with a conversation with Warlock, the bartender. Along the way, you’ll encounter side missions, like “Warlock’s Debtor.” In this guide, we will explore the Behind Seven Seals Mission in Stalker 2.
How to Start Behind Seven Seals Mission

First, you need to talk to Warlock, the bartender. As you start chatting, Gaffer announces he’s leaving and heads home. When the dialogue option pops up, pick “Who should I ask about Solder?” Warlock will give you two choices: Capt. Zotov from the Ward or Gaffer, who just left.
Either choice will move the story forward, but your path will affect the outcome. Now leave the bar. There are two paths to follow in Behind Seven Seals. Teaming up with Gaffer sides you with the Stalkers while choosing to ally with Capt. Zotov puts you on good terms with the Ward.
Talk to Gaffar

You can find Gaffer at his house on the eastern edge of the settlement. Look for a brick house with a smoking chimney. Head inside, and you’ll see Richter is there, worried about the whereabouts of a man named Squint. Capt. Zotov is looking for Squint, who’s somehow connected to the deaths of the Wardens. Richter is desperate to find Squint first.

Walk in and ask Gaffer about Solder. Richter interrupts, saying he knows Solder and where to find him. However, the information isn’t free. He wants your help in finding Squint. Gaffer explains that you’ll need to climb a tower beneath the balloon floating above the settlement and “tinker with the equipment.
You can either agree to their plan or tell them to leave. Choosing the second option will end the conversation, allowing you to reconsider and help the Wardens if you change your mind. But if you decide to side with the Stalkers, agree to help, and that will start the new main mission, “A Needle in a Haystack.”
Visit the Ribs

After completing the mission A Needle in a Haystack return to the stalkers. Here, Richter will tell you that Solder is a tech working for the IPSF, a security group from the Mainland.
The IPSF has been mapping Anomalies near the Sphere, a compound close to Zalissya. So, that’s where you need to head next. Richter mentions that you could attack the Sphere directly, but it’s well-guarded. Instead, he recommends visiting the Ribs first, as there might be something there to help you.

You’ll need an Artifact from the Ribs to sneak into the Sphere. You can find the Ribs southeast of Zalissya, down a road that branches off the main street heading south. Afterward, head inside the Ribs bunker. You’ll need to investigate the bodies of dead IPSF soldiers to find clues on how to access the Sphere. The radiation levels are high in the Ribs, so move quickly.

You can also find the Message to Sidorovich on the table past the first IPSF body. It’s a letter from Sukhin to Sidor. Head deeper into the Ribs and be on the lookout for a cloaked mutant that uses psychic abilities to throw objects at you. To attack it, shoot where the air shimmers with a faint light.
After taking enough bullets, the creature will be defeated. Next, look across the water for a room with a fenced-off door. Go inside and loot the PDA from the soldier’s body. The message on the PDA will reveal a key code 2765 (use this code to unlock the door in the tunnel leading to the Sphere).
Go to the Sphere
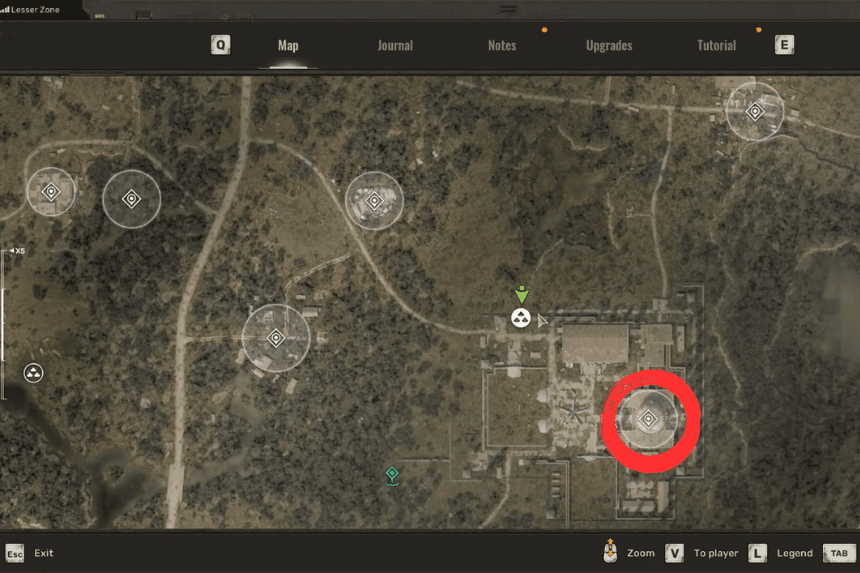
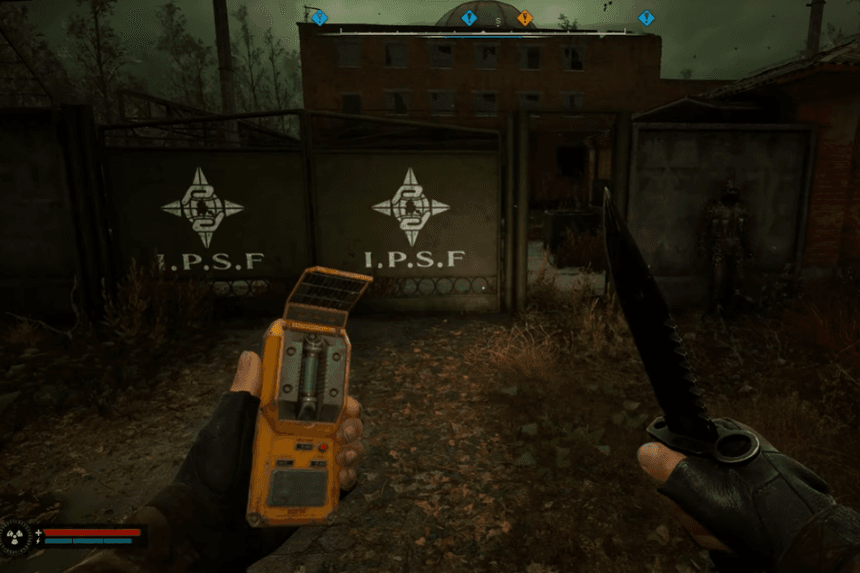
When you’re ready, leave the bunker. Your next destination is the Sphere, located southeast of the Ribs. As Richter said, you could try attacking the Sphere head-on, but it’s heavily guarded, with soldiers carrying powerful rifles and grenades.
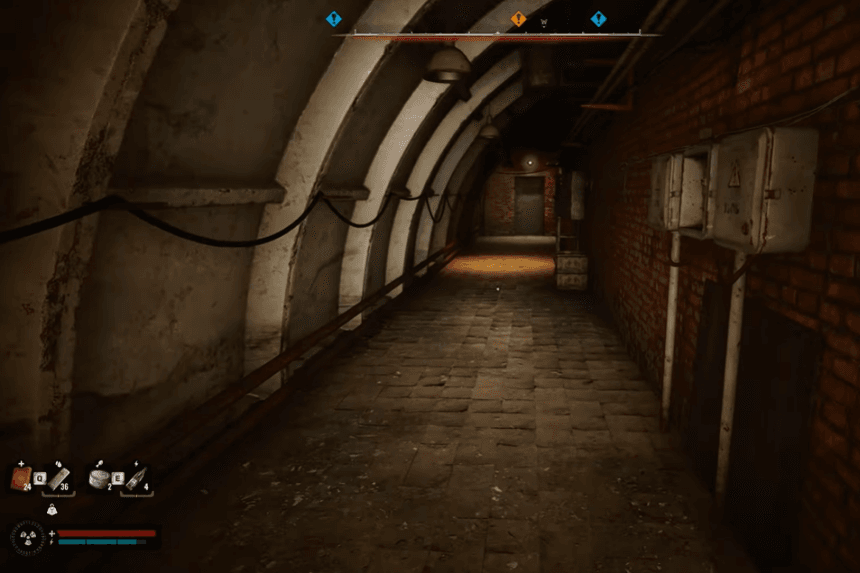
If you prefer a stealthier approach using the code, look for a tunnel entrance just north of the Sphere, before the wall. Head down the sewer hallway, but avoid the radioactive sludge puddles. Soon, you’ll come across a room with a keypad next to the door. Enter the code 2765 to get inside.

Continue through the sewers, but stay alert, as you’ll have to fight off a horde of mutant rats. Eventually, you’ll reach a broken catwalk you’ll need to climb onto. Take the left path to keep moving forward.
Beyond the next door, you’ll find a room with at least four soldiers guarding it. Take them out from the top of the catwalk, then drop down to continue. Keep pushing until you reach a hallway with a gray door on the left. Approach the door to trigger a cutscene with Solder.
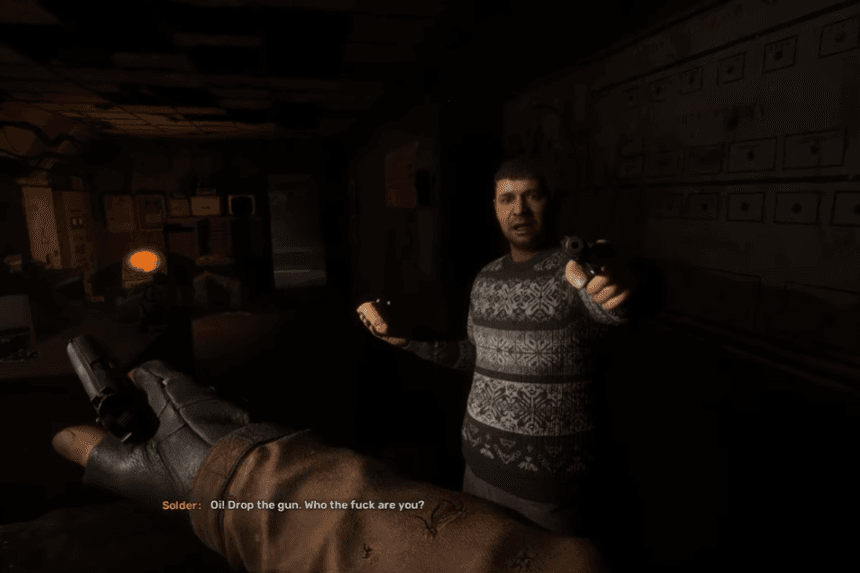
After a brief struggle, Solder reveals that he’s just a small part of a bigger operation. He mentions Nestor, who runs the Scanner operation, he’s further up north. You’ll soon have the choice to either shoot Solder or knock him out.
Your decision won’t have an immediate impact, but it could affect things later. If you choose to kill him, you can loot his body for a PDA containing a message from Solder to Nestor about the Ward’s knowledge of the Scanners.

After you take care of Solder, crouch behind a table and wait for a curious guard to pass by. Once the guard is dealt with, turn around and head into the back room. There, you can grab the High-Capacity PTM Magazine from the desk.
The door you came through is now locked, so you’ll need to find another way out. Leave Solder’s room and turn left. Take out the guard at the end of the hallway, then keep moving forward. You’ll find a patrolling guard in the next hallway. Take him out, too.

Turn around and continue down the hallway. You’ll probably encounter more guards, so keep your weapon ready. Soon, you’ll reach a large storage room with a staircase and orange barrels.
Climb the green metal stairs; at the top, you’ll find another set of stairs leading to a door. Beyond that door is a room with checkered tile floors. To the left of the door you just came through, you’ll find a hallway leading to the building’s exit, which soldiers guard. To avoid a fight, look for an entrance on the left wall across from the stairwell.

Head down the hallway and exit through the door on the right. The hole in the wall leads you outside, but more soldiers are waiting. You can try to sneak past them, but you might have to fight.
Head left until you’re near a guard tower to reach the exit. Look to the left of the tower, and you’ll see a green gate with an open door. Run through the door and make a break.
The Northern Checkpoint

Your meeting with Solder went well. He gave you the name of the person you need to speak to next: Nestor, north of the Lesser Zone. After leaving the Sphere, Richter calls you over the radio. You fill him in on Nestor, a name Richter recognizes. He tells you to meet up with some of his Detention Center allies, who can help guide you.
However, you’ll need a key to get past the Northern Checkpoint, and Gaffer has one. This means you’ll need to head back to Zalissya. But just before you reach the settlement, an Emission hits, and you’ll need to find shelter to survive. This starts a new main mission: A Race Against Death.

Complete the A Race Against Death mission to move forward in Behind Seven Seals. Once the skies clear, you can leave the Lesser Zone and continue your journey. Follow the road north from Zalissya until you reach a river. The large gate blocking the road is locked.
You’ll need to unlock the building to the left using the Northern Checkpoint key to get through. This will complete Behind Seven Seals, and the rewards for completing the Behind Seven Seals mission include coupons, with the amount varying based on the difficulty level you choose.

