
In Chapter 5 of Doom: The Dark Ages, there are 9 hidden secret areas and a collectible toy to find. This level is open-world, which means you can explore in any order and go through the Gore Portals however you like. Some secrets are hidden behind breakable walls, locked gates, or high ledges, while others are hidden away near waterfalls or statues. This guide will help you find every secret and collectible in the chapter so you don’t miss anything important.
All Secret Areas & Toys in Chapter 5 The Holy City of Aratum
Chapter 5 of Doom: The Dark Ages has 9 secret areas and a collectible toy. Since the level is open-world, you can go to the Gore Portals in any order you like.
NOTE: You can click on the images to enlarge
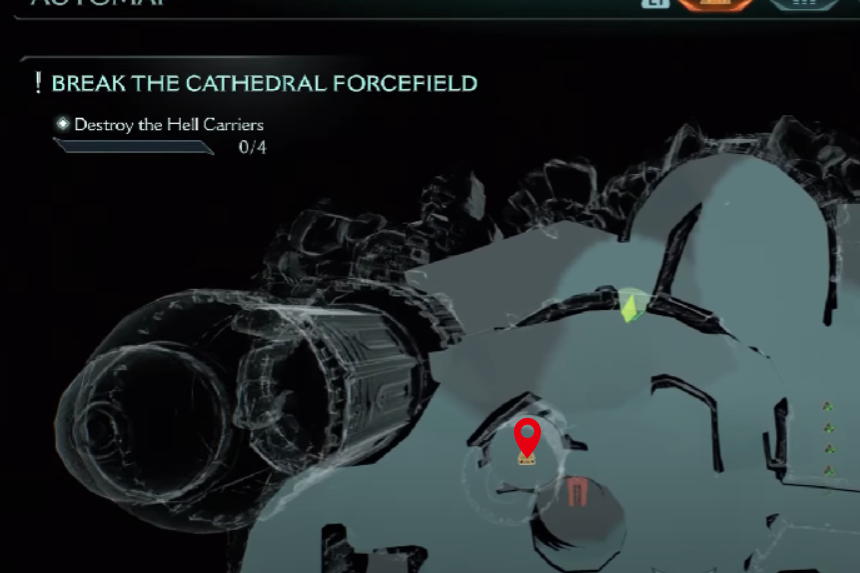
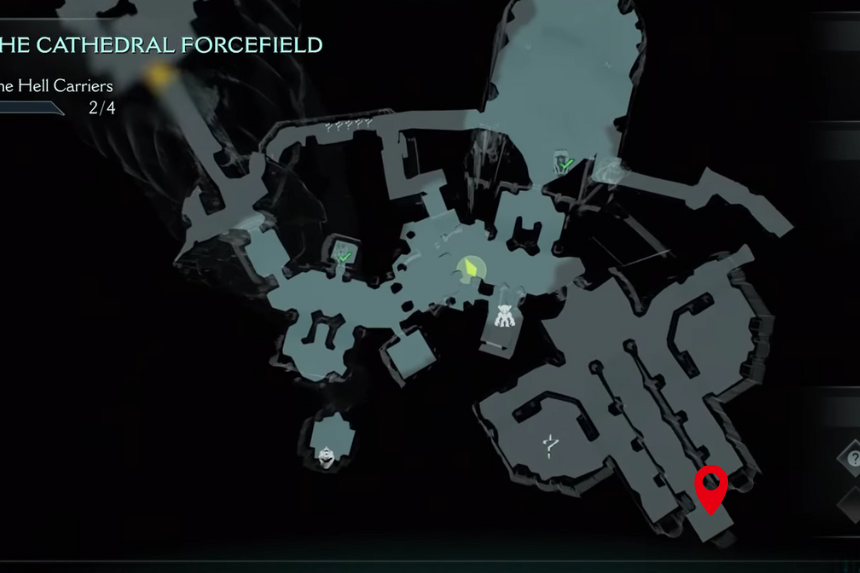
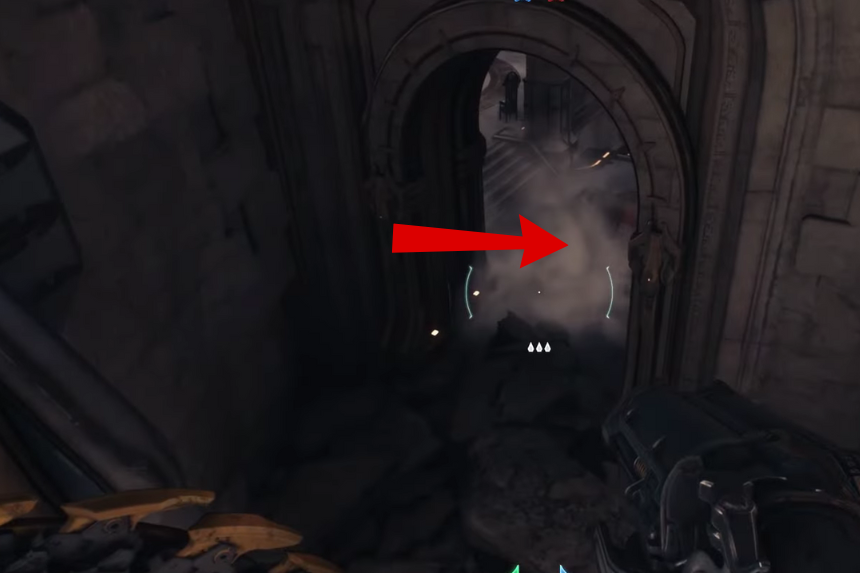
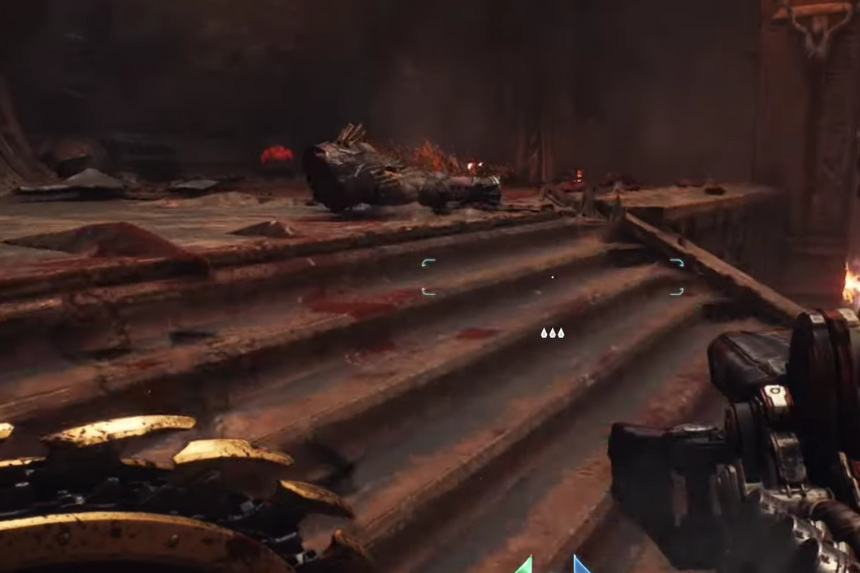
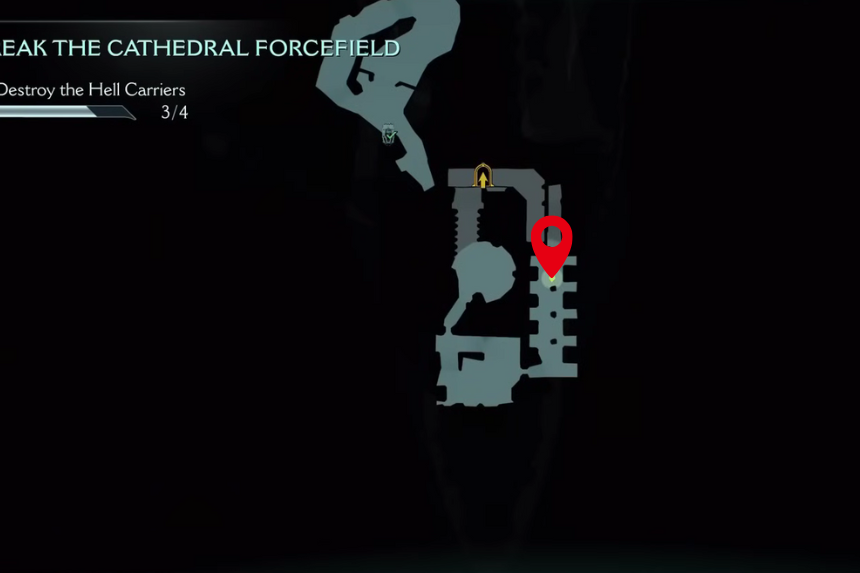
1. Secret Area – Collectible Area
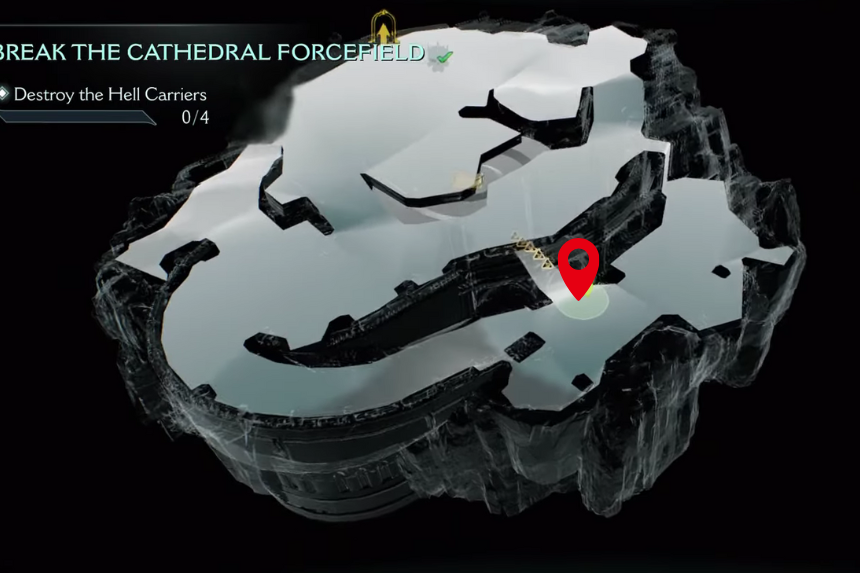
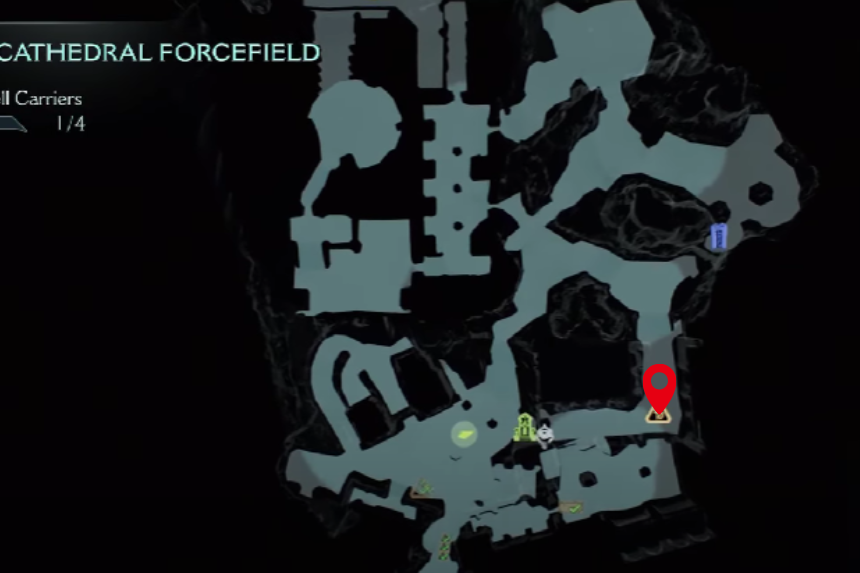
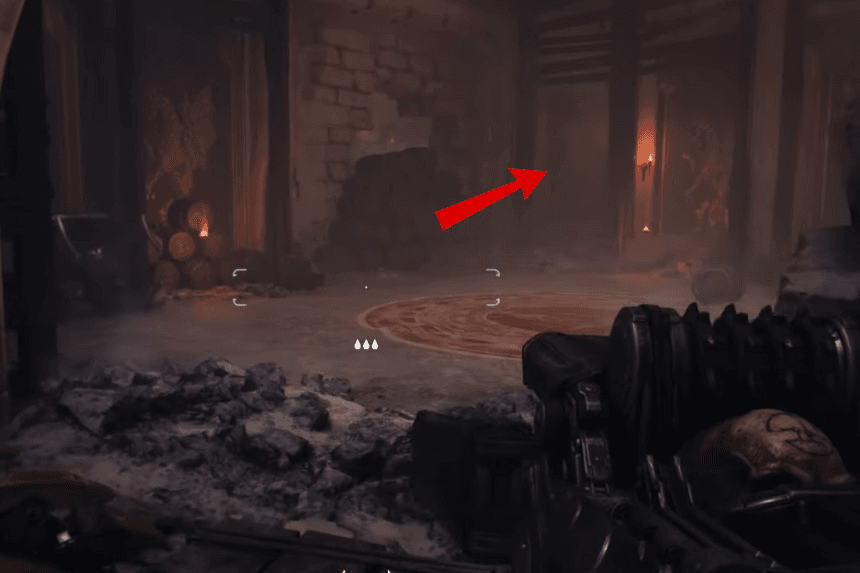
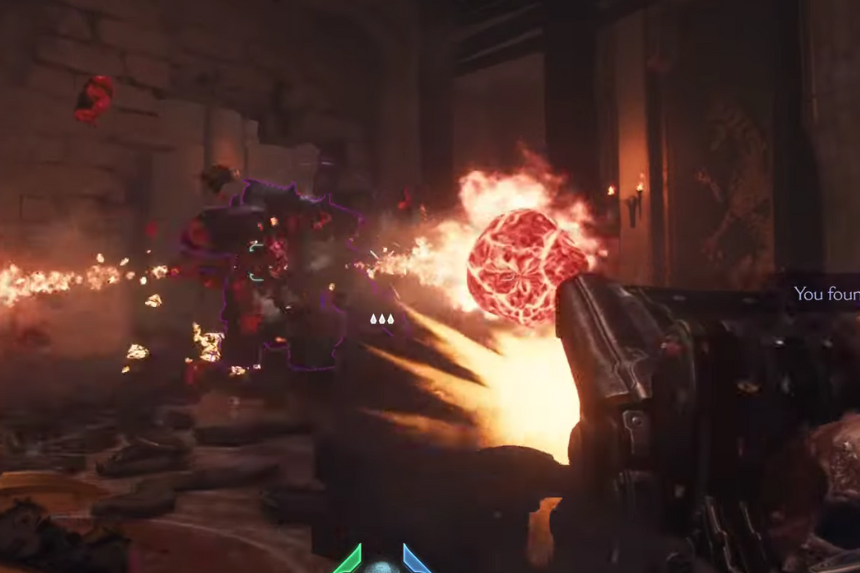
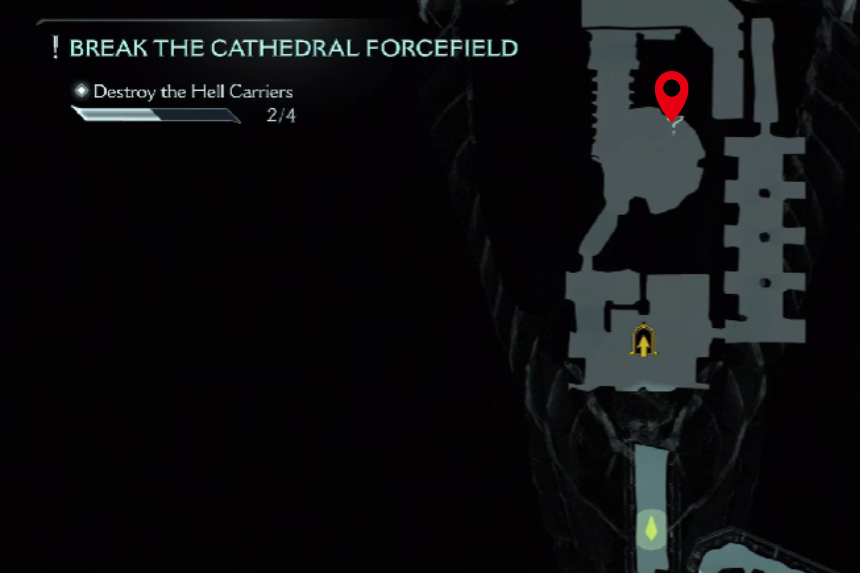
Just to the left where you are told to destroy four Hell Carriers is the first secret landing zone. A Titan monster is atop a nearby tower if you look to the left. Defeat it and then land there. The leader will emerge if you destroy the tree and expel all the demons that surround it. To obtain a demonic essence, defeat the leader. After that, move beneath the area to discover a secret location with five gold coins and a chest that contains fifty more.
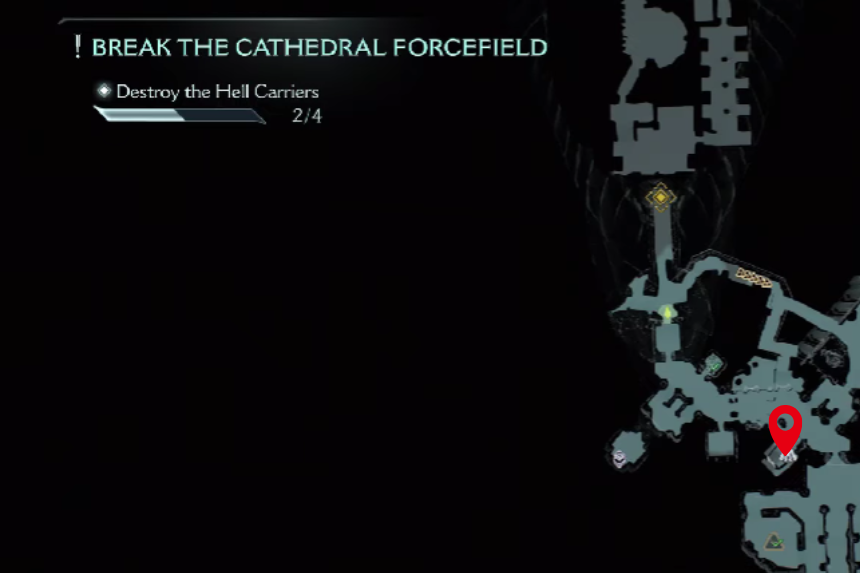
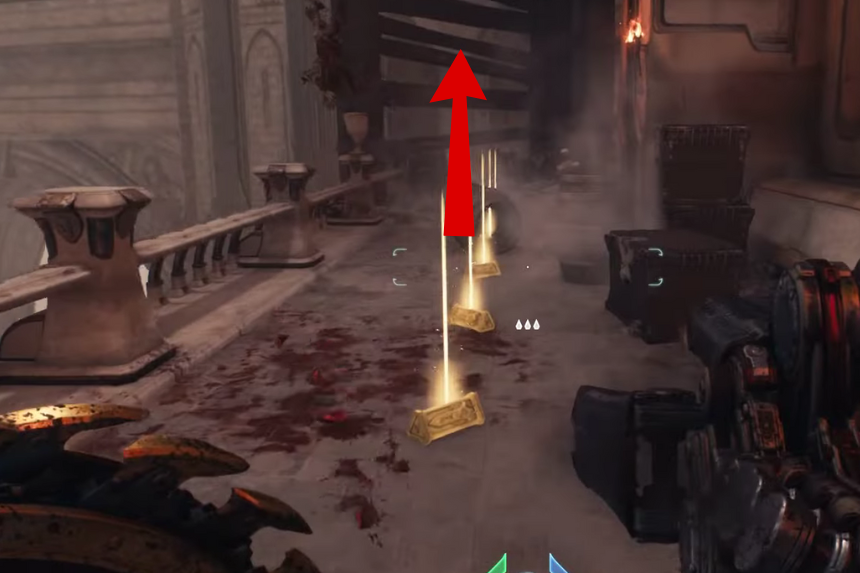
2. Secret Area – Weapon Skin
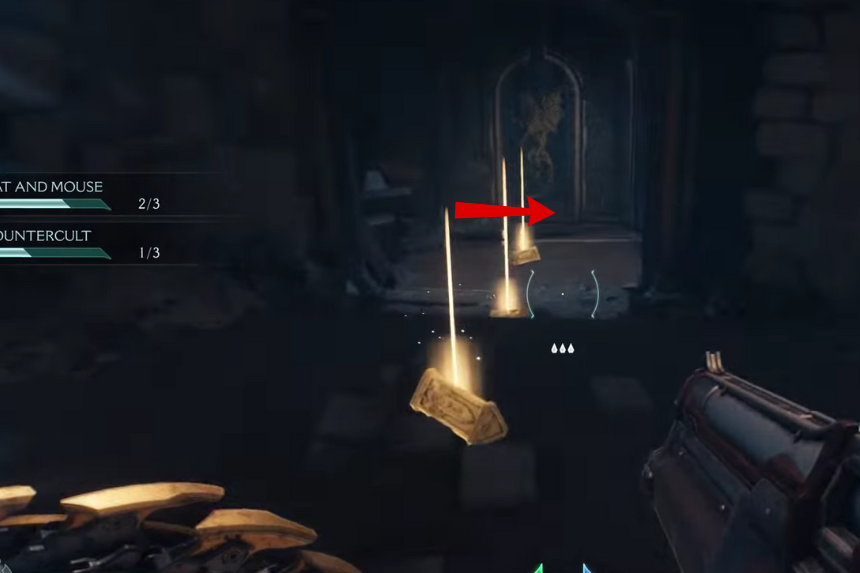
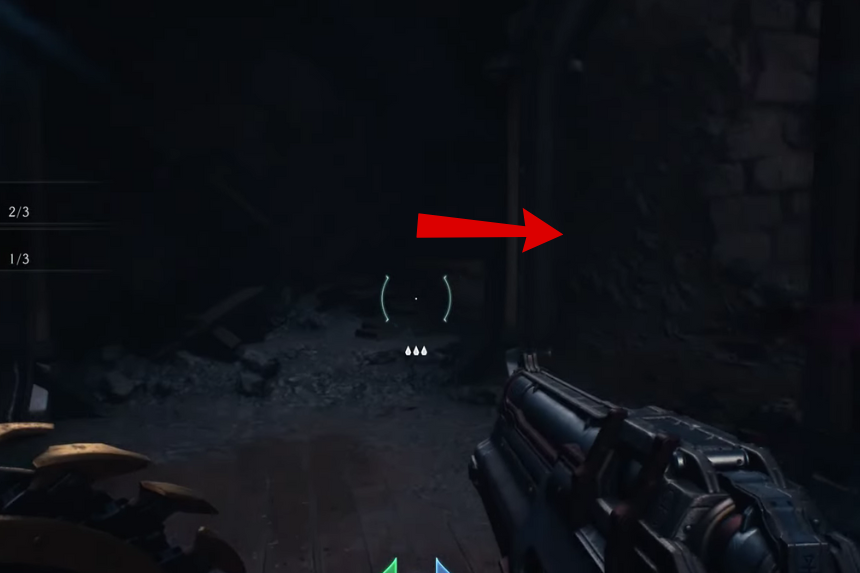
After the second set of five gold, there is an opening to the right with additional gold; turn around and continue walking around the area, gathering gold as you go. Continue walking until you reach the secret area and weapon skin at the end.
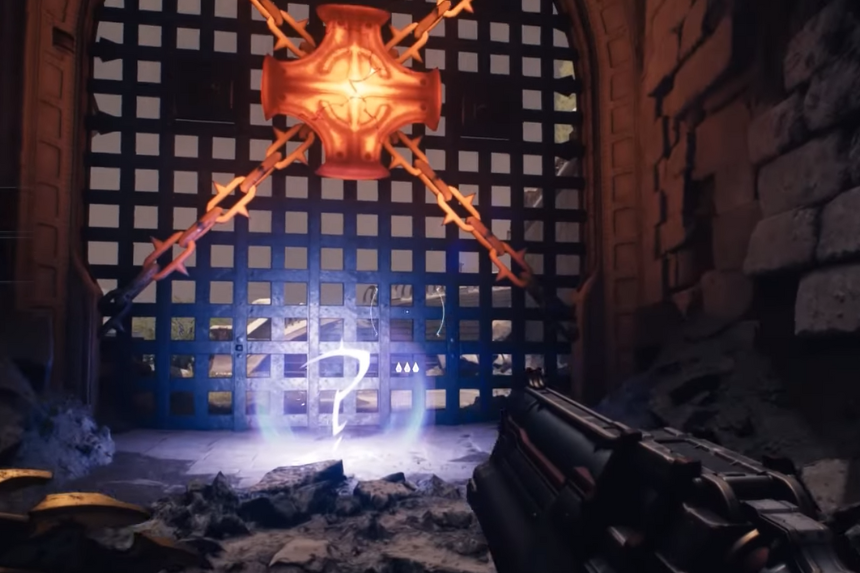
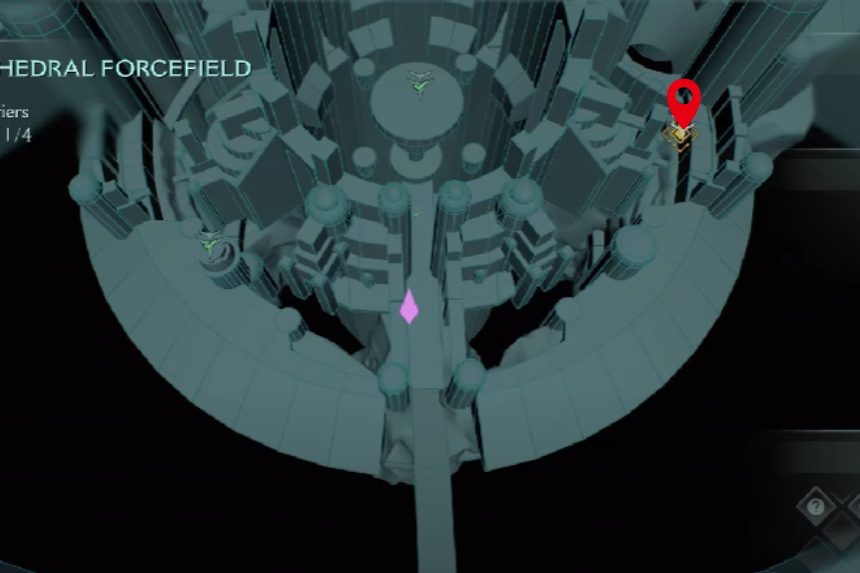
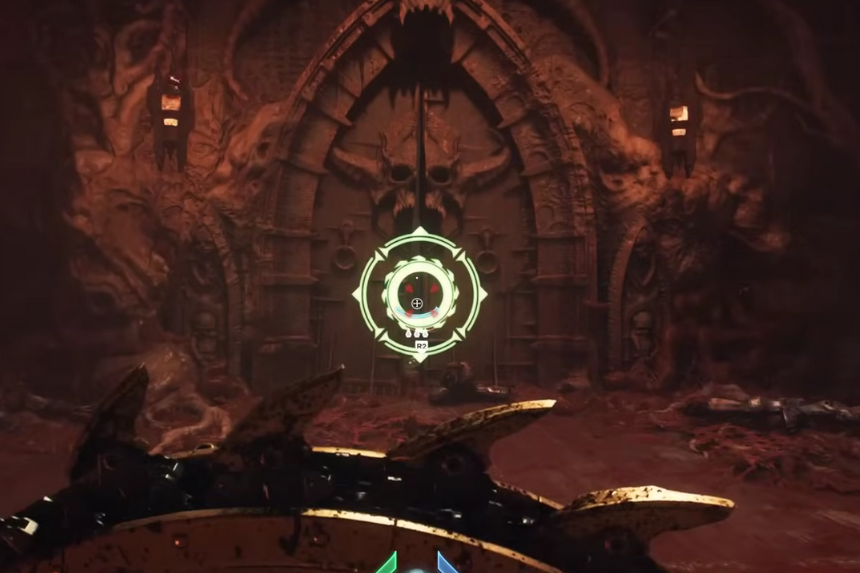
3. Secret Area – Collectible Area
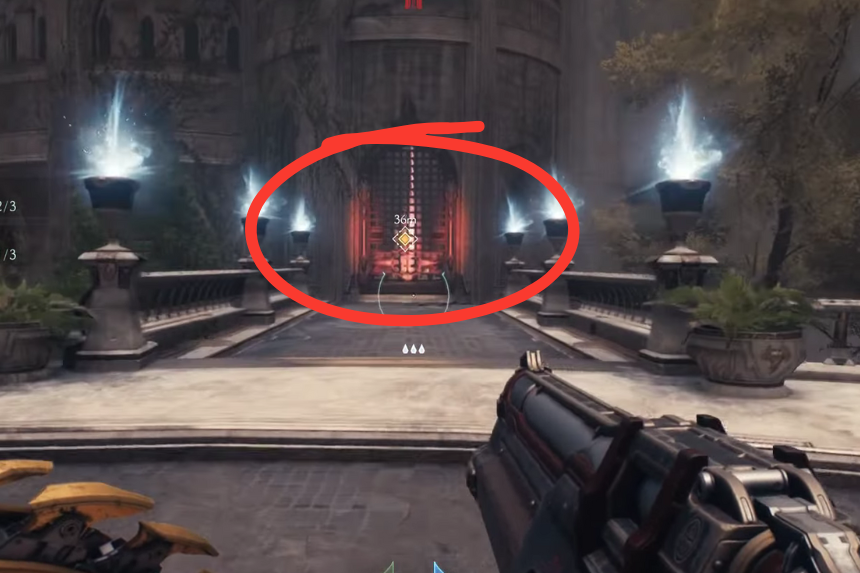
Step on the green switch after moving to the area’s centre. A platform will rise in front of you as a result; toss your shield at it to bring it down. Use the valve to drain the water after jumping into the water where the platform was. Then turn around and throw your shield at the gate to let it open. The red keycard is located inside.
To get out of the location, use the nearest jump pad. With four gold, you’ll land in a tiny room. You can use the red key to open a door after smashing through the gate on the left and continuing straight. The secret area, six gold pieces, and a ruby are all inside.
4. Secret Area – Collectible Area
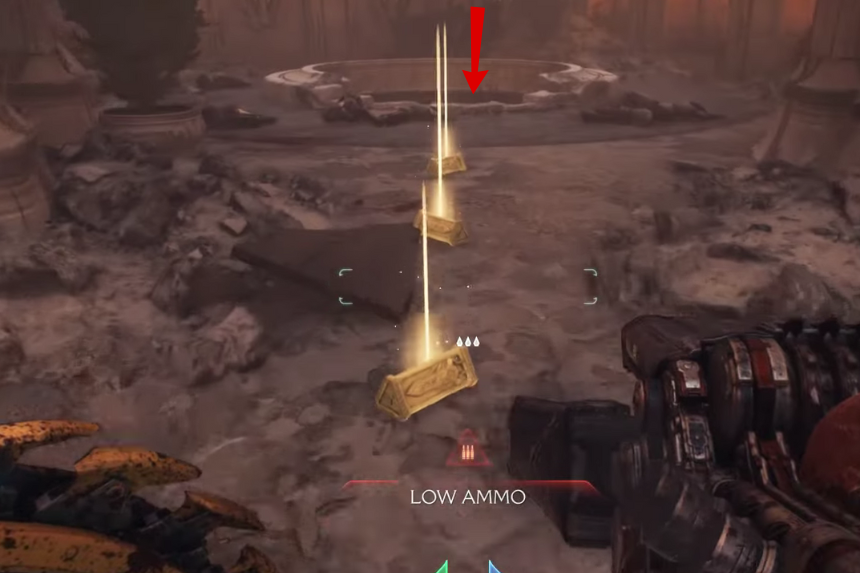
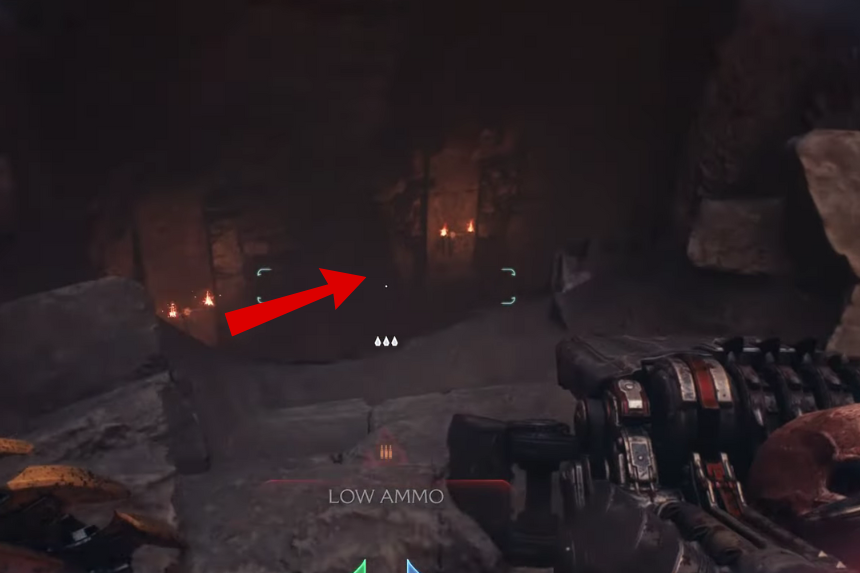
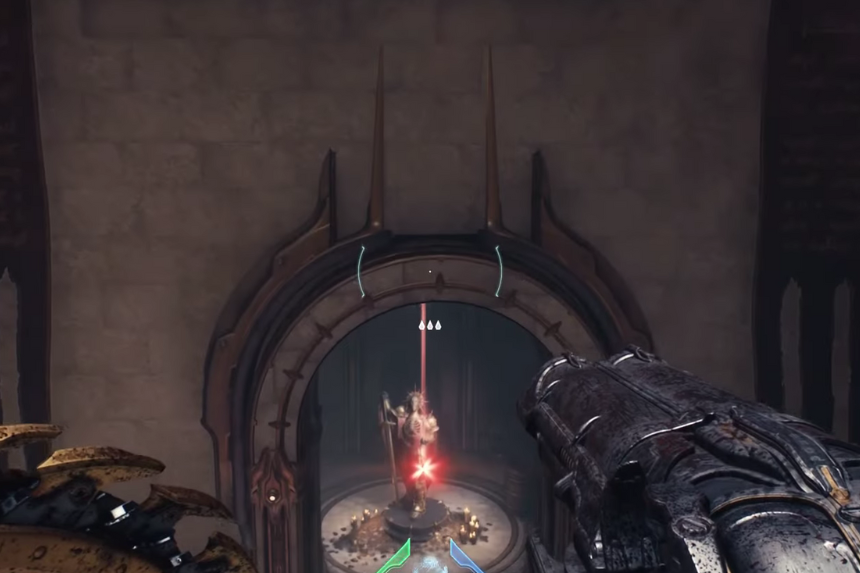
After you have eliminated every enemy, look to the right to see three gold. Follow this down a hole to the secret area, and directly ahead is the cultist circle. On the other side of the circle is an alcove containing eleven gold. To find a chest with the final 50 gold, swim through the pool of water beyond the circle.
5. Secret Area – Collectible Area
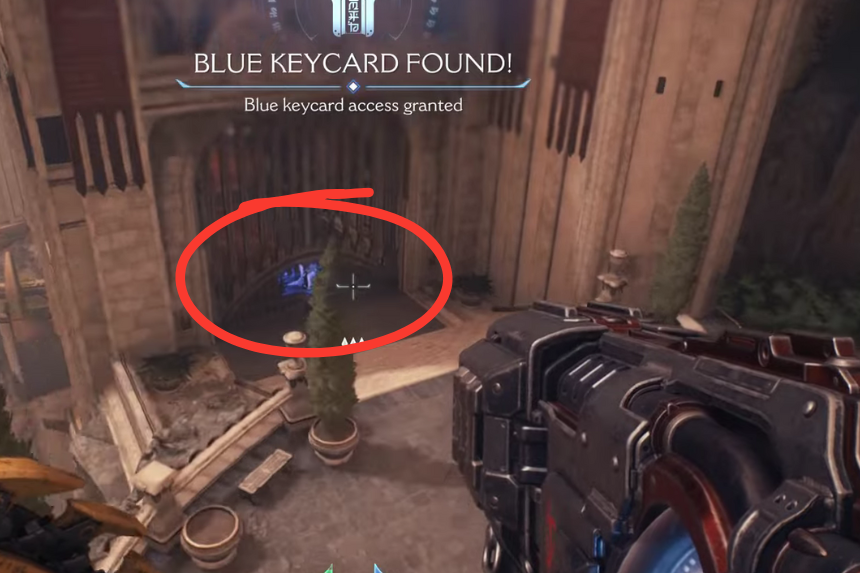
Proceed past the Sentinel shrine, on the right path is some gold behind a blue locked gate, you need the blue keycard. You will need to take the left path from the shrine into the building, just before the door you can smash with your shield is an exit on the right, go out here and follow the path around and up the walls to find the blue keycard. Drop down and go straight ahead to open the door for the secret area and gold. You will find a life sigil at the end.
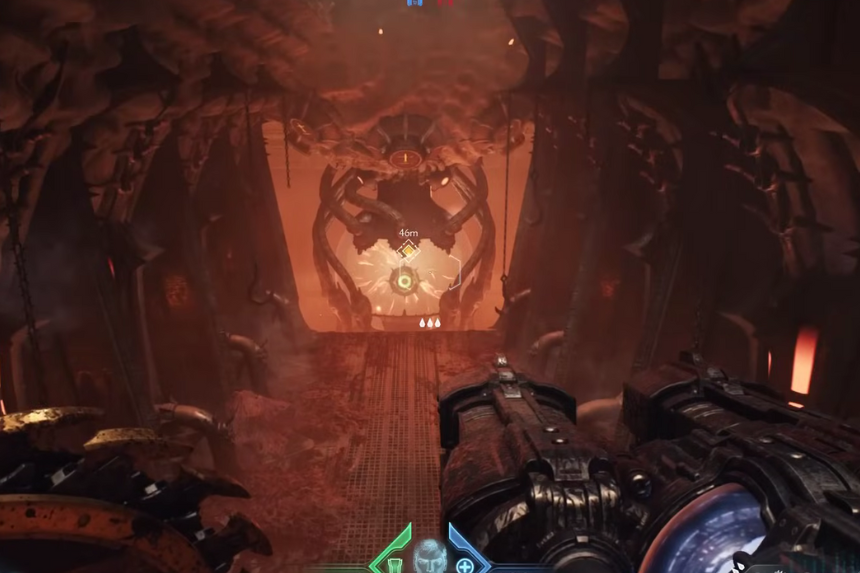
6. Secret Area – Ruby
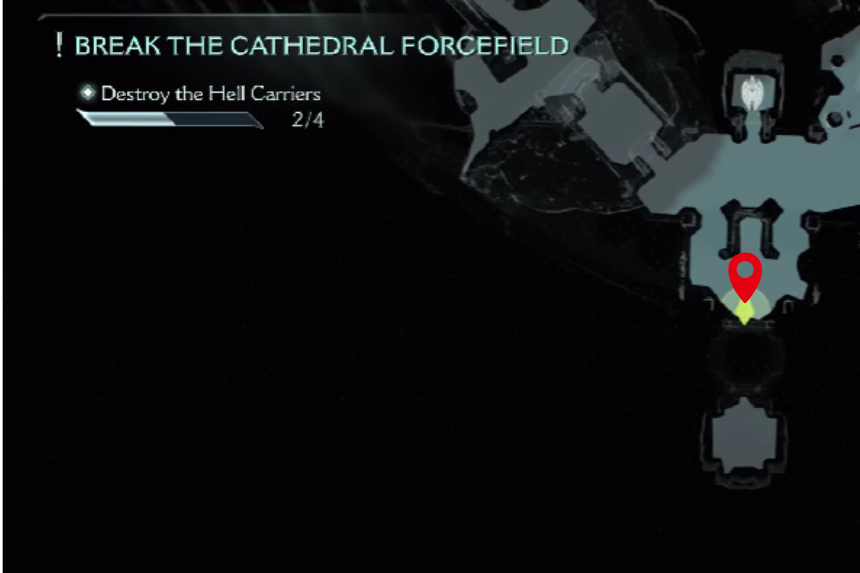

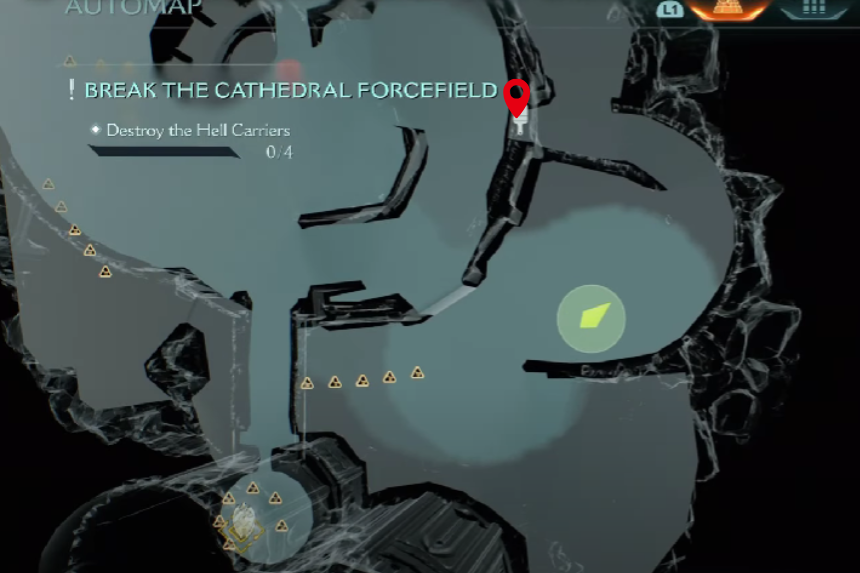
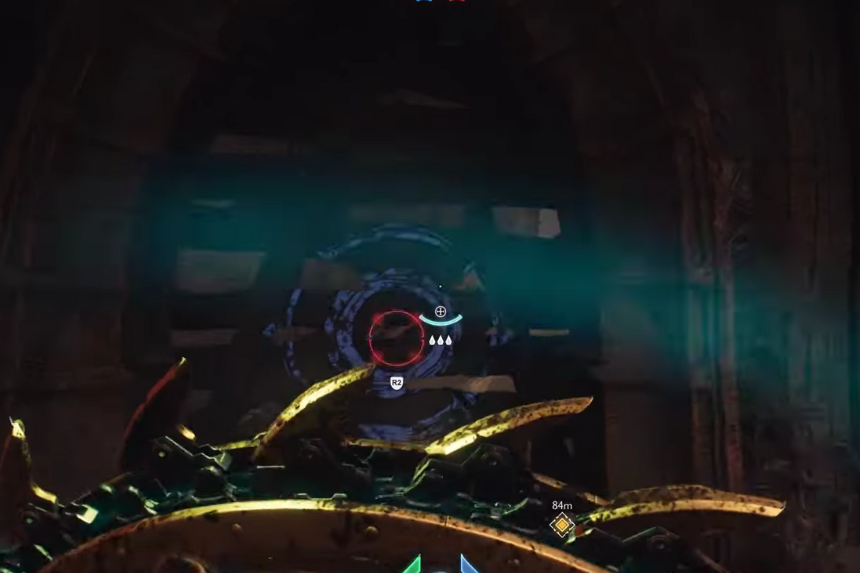
First, land on the Hell Carrier on the left and disable it. Grab the Super Shotgun and proceed into the next imp-infested tunnel. Look for the green switch on the left. You’ll notice a chain if you look up above it. To drop something upon the switch, toss your shield at the chain. The gate ahead will open as a result. Explore it to uncover a ruby and the secret.
7. Secret Area – Collectible Area

Just down and to the right of the entrance to the corridor, enter through the open doorway. Climb up and destroy the chain with your shield. After that, push the container, climb on top of it, and proceed around the path. To get to the last cultist circle and the hidden location, descend at the end. The codex is just past that, down the steps. After that, head back up the stairs and turn left to find 8 Gold.
8. Secret Area – Collectible Toy

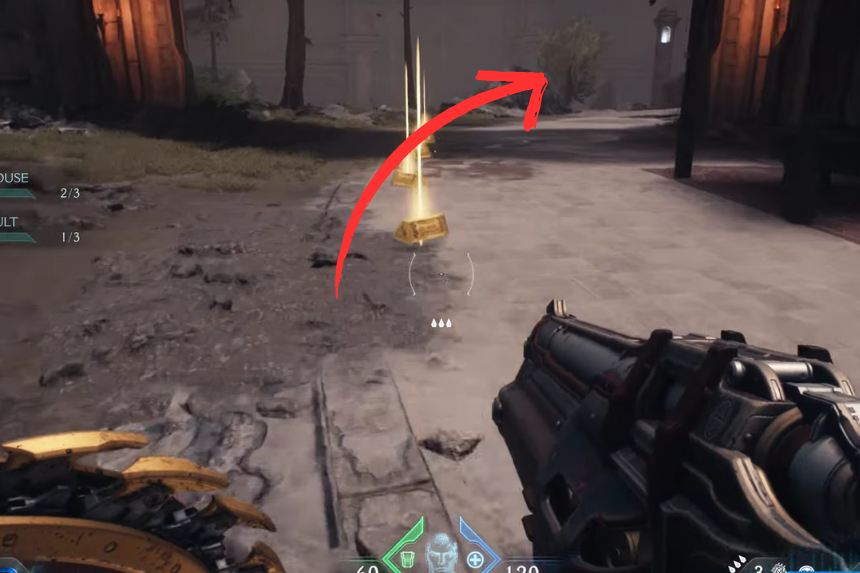
Head out the left side towards the main objective to get out of the corridor with all the imps. Look to your right once you’re outdoors; there’s a drop-down location there. In order to get to another room, which is truly the secret area grab the five gold there and continue on the trail. After defeating the Mancubus, proceed through the wall it breached. To locate the hidden toy, scale the inside walls.
9. Secret Area – Collectible Area
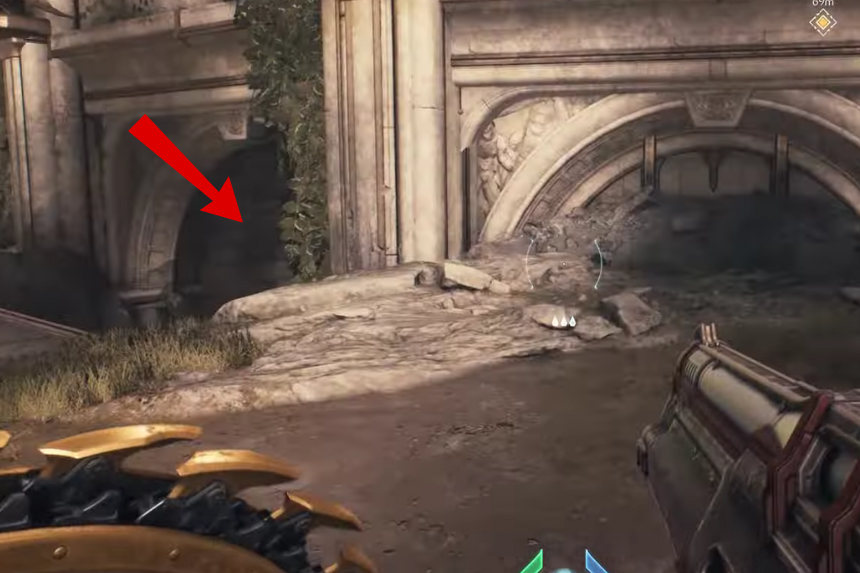
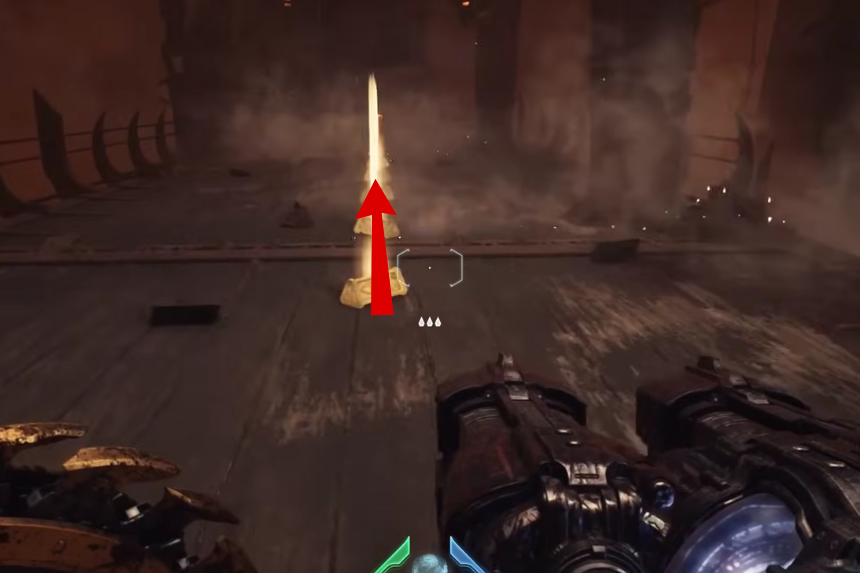
After descending into the hell carrier once again, ascend the stairs straight ahead and break through the wooden wall to reveal the secret area and a gold chest.
10. Codex Entry
Head toward the engine room, and after you drop down in front of the engine, turn around. You’ll find some gold and a codex page right behind you.
11. Countercult
You’ll complete this challenge just by following our guide on How to Dispatch All of the Cultist Circles. Throughout the mission, you’ll come across cultists performing rituals in glowing circles, these are usually found in secret areas. Simply find and eliminate all of them to finish the challenge and earn your ruby reward.
12. Layover
You’ll complete this one naturally if you read our guide on All Secret Landing Zones / Layover – DOOM: The Dark Ages. Just make sure to dismount the dragon at both secret landing zones you come across during the mission. Do that, and you’ll earn 50 gold without any extra effort.
13. Cat and Mouse
You’ll complete this challenge automatically by following our guide on Cat and Mouse Challenge in Chapter 5 DOOM: The Dark Ages. Just chase down and destroy the three Hell Fighter ships as you progress through the mission, and you’ll earn 50 gold without having to do anything extra.